CITIES VISITED:
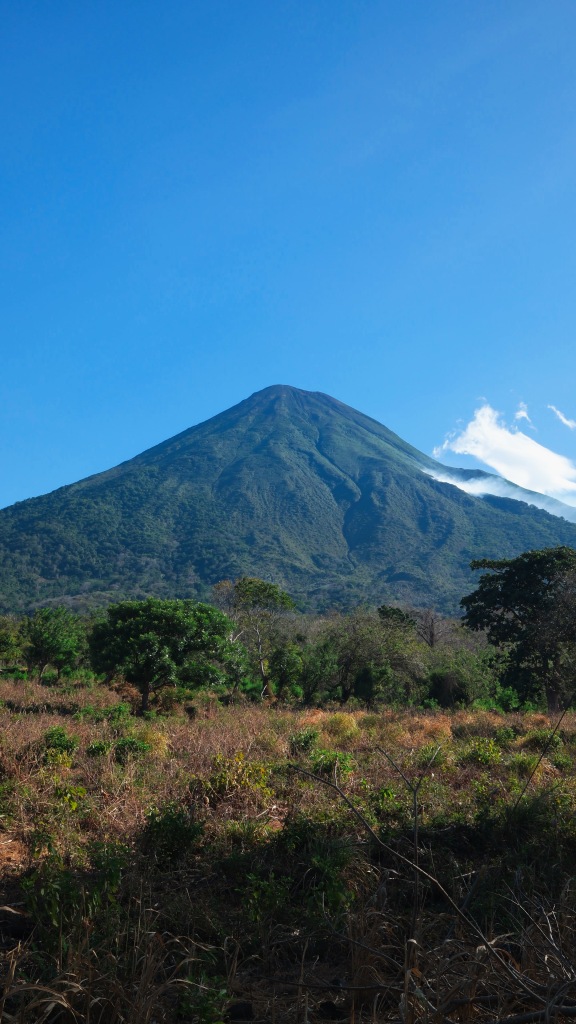
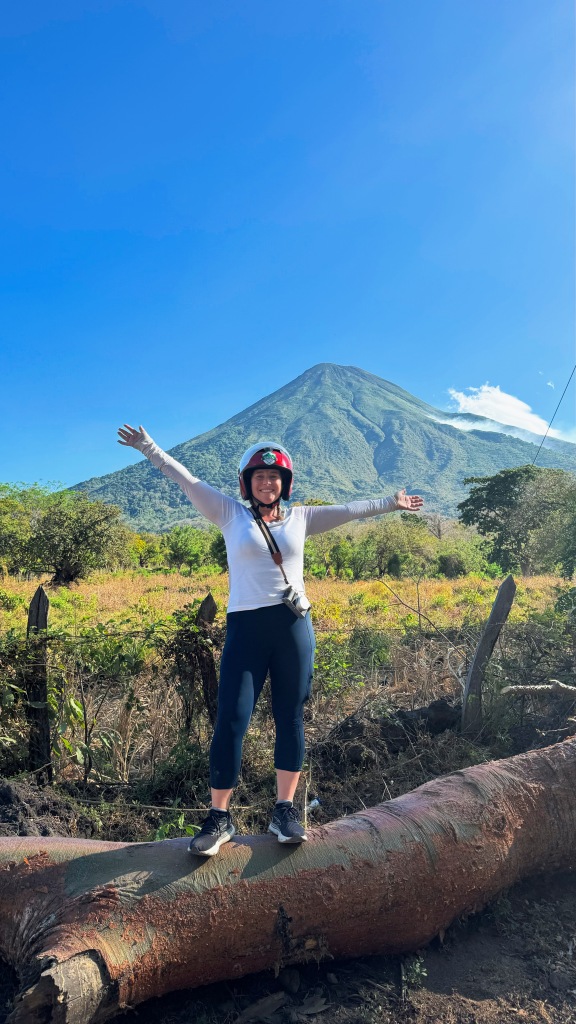
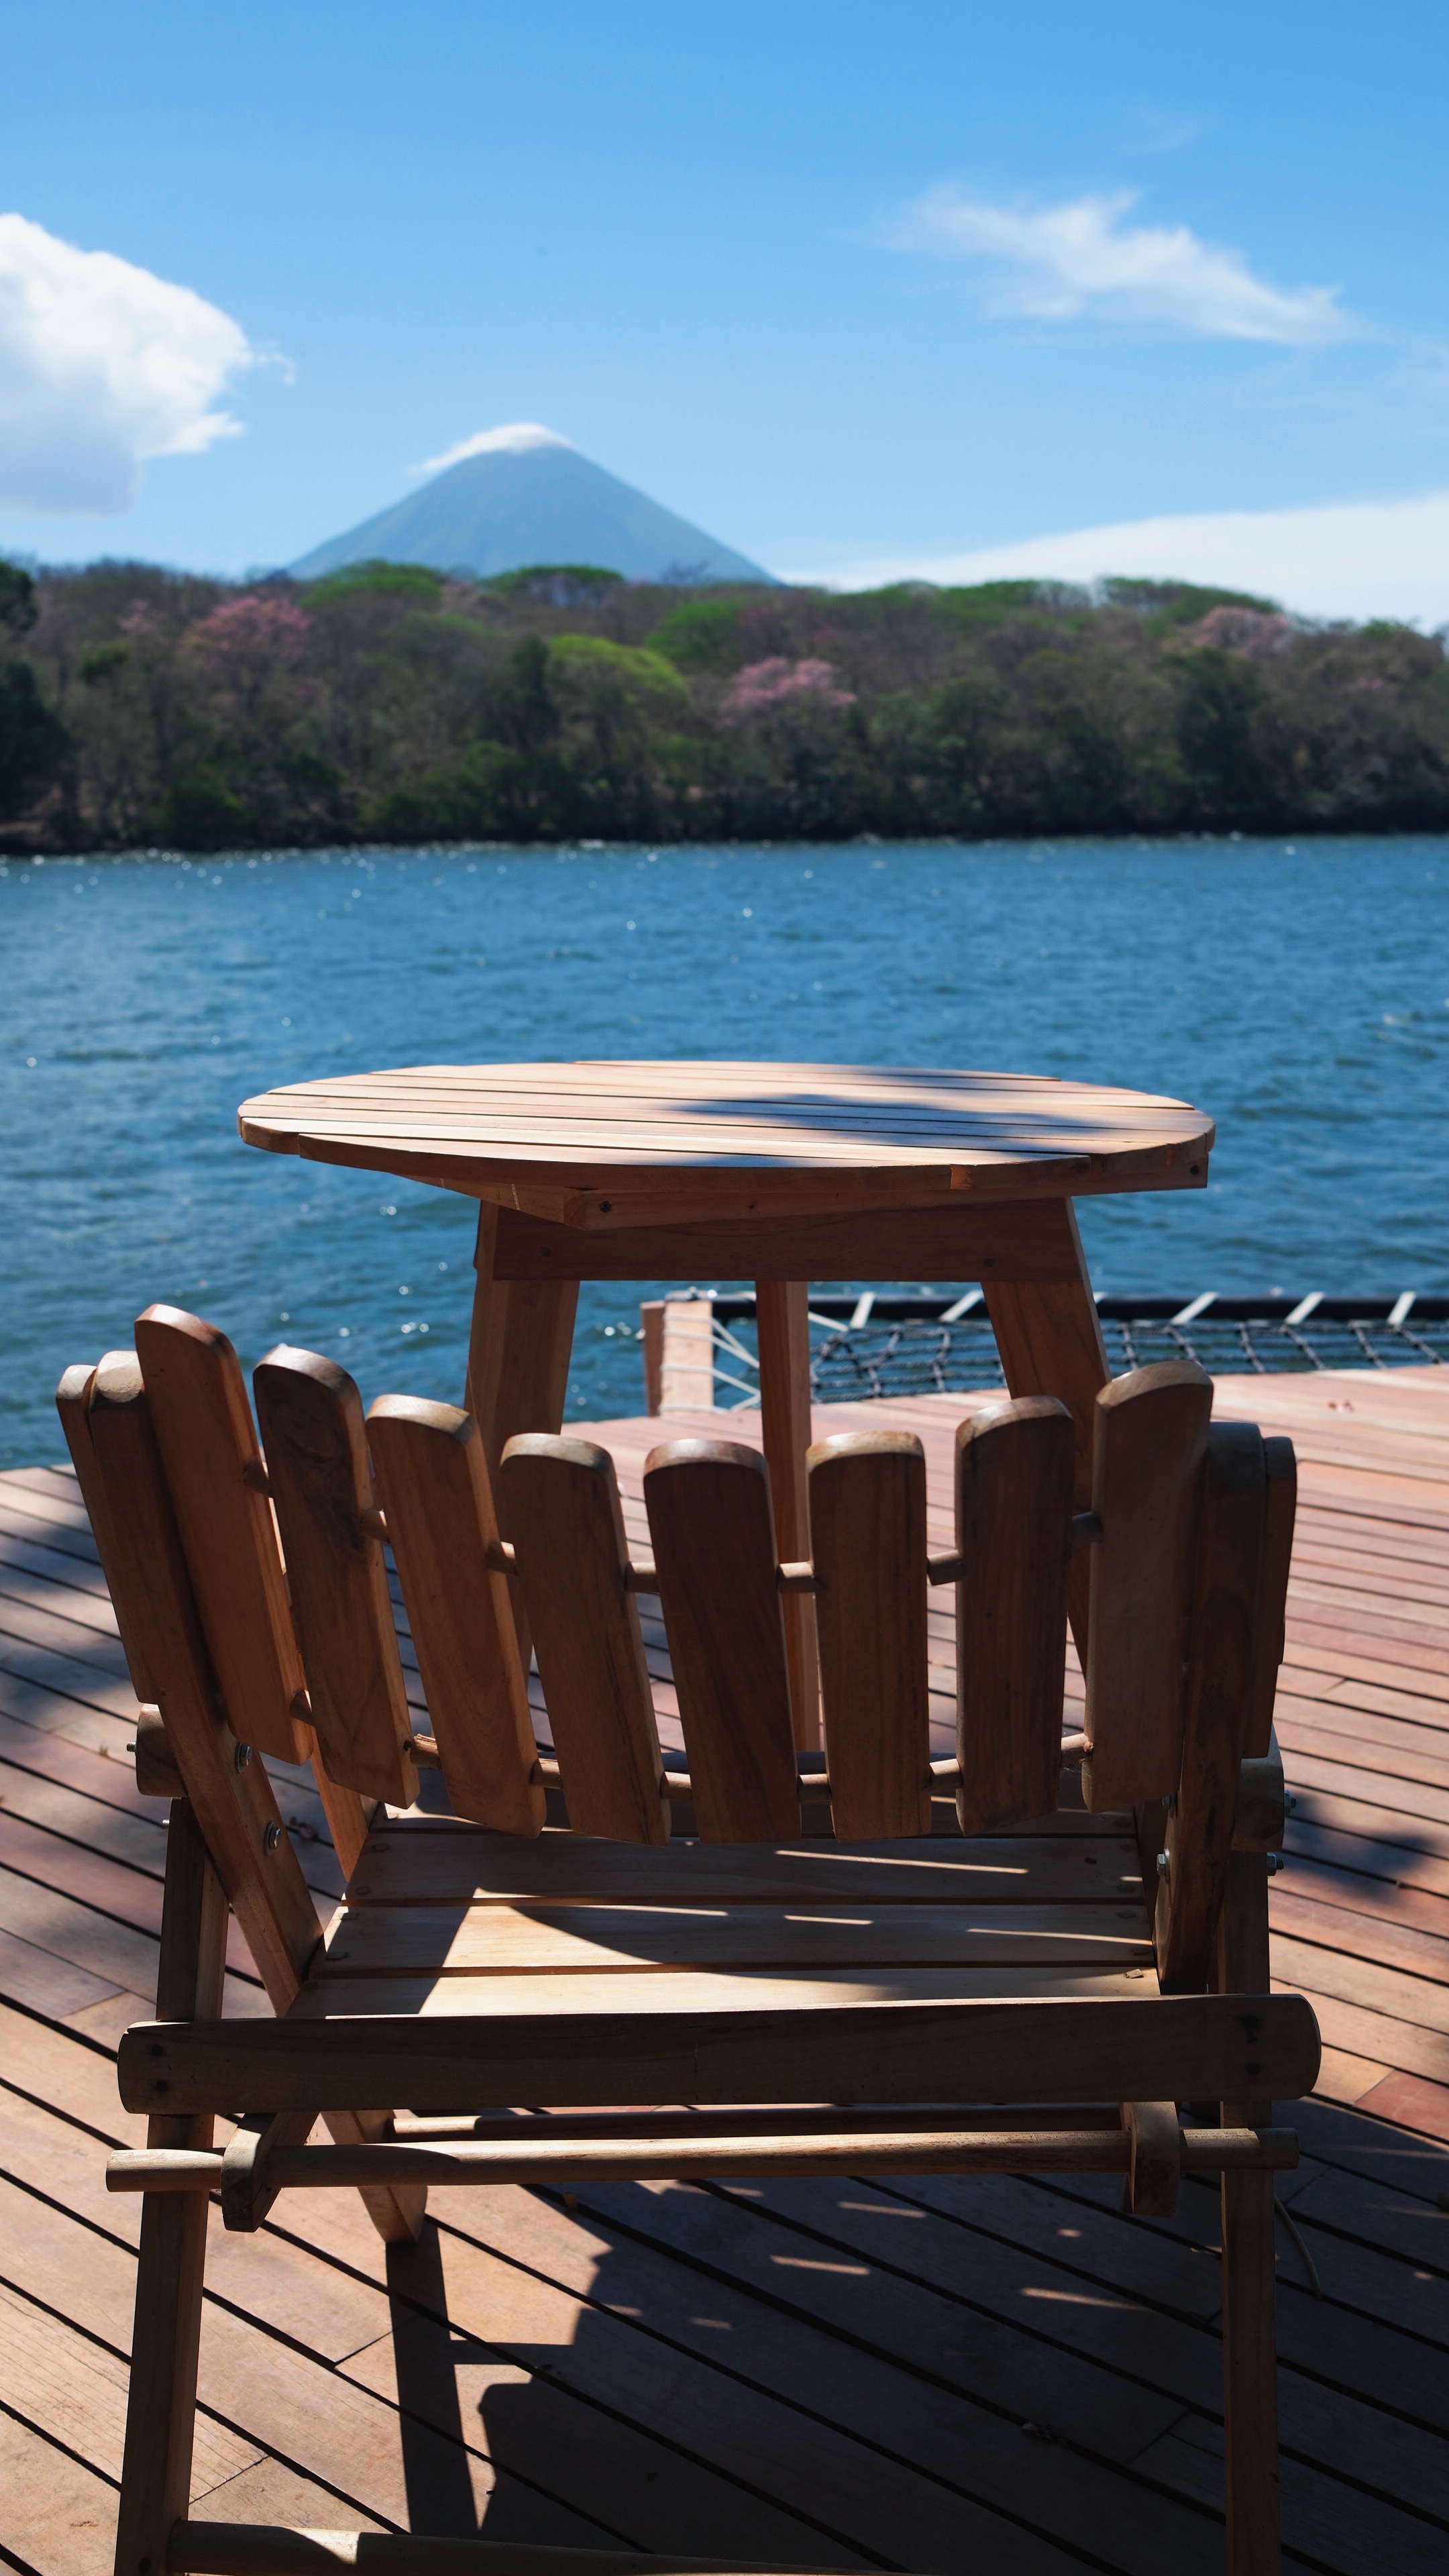
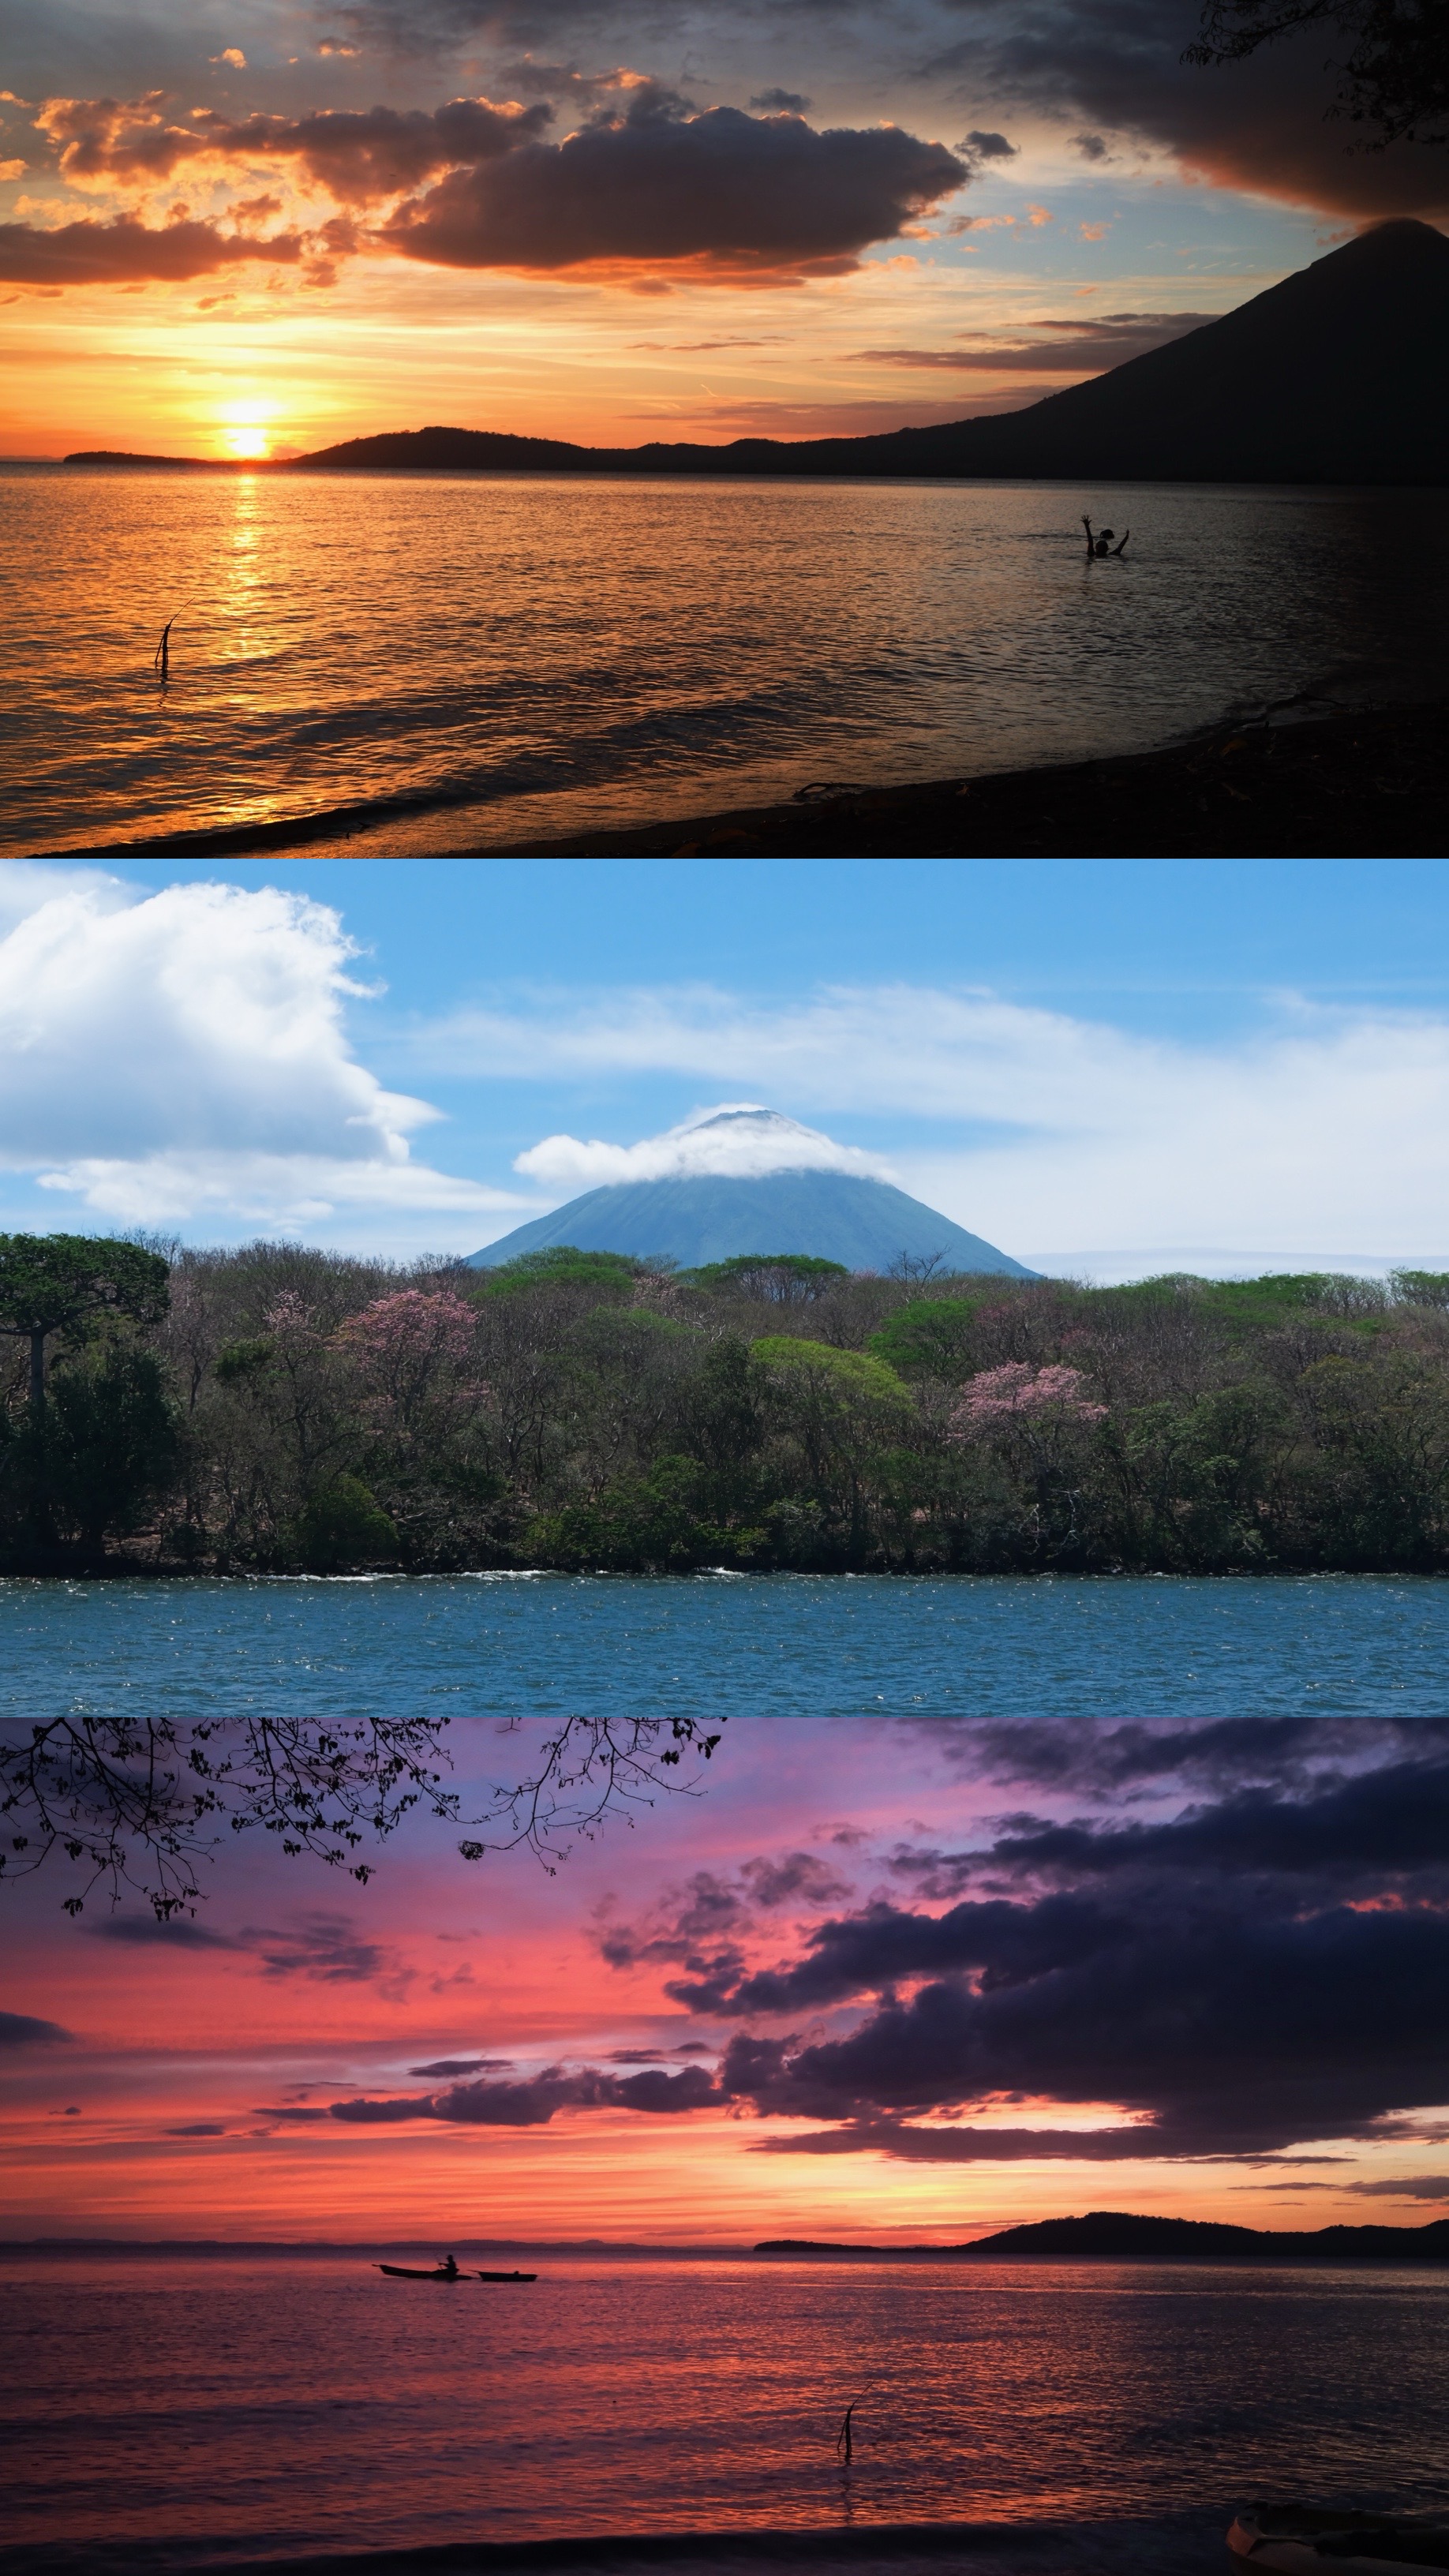
- Ometepe – glorious island in the middle of Nicaragua Lake made up of two volcanos
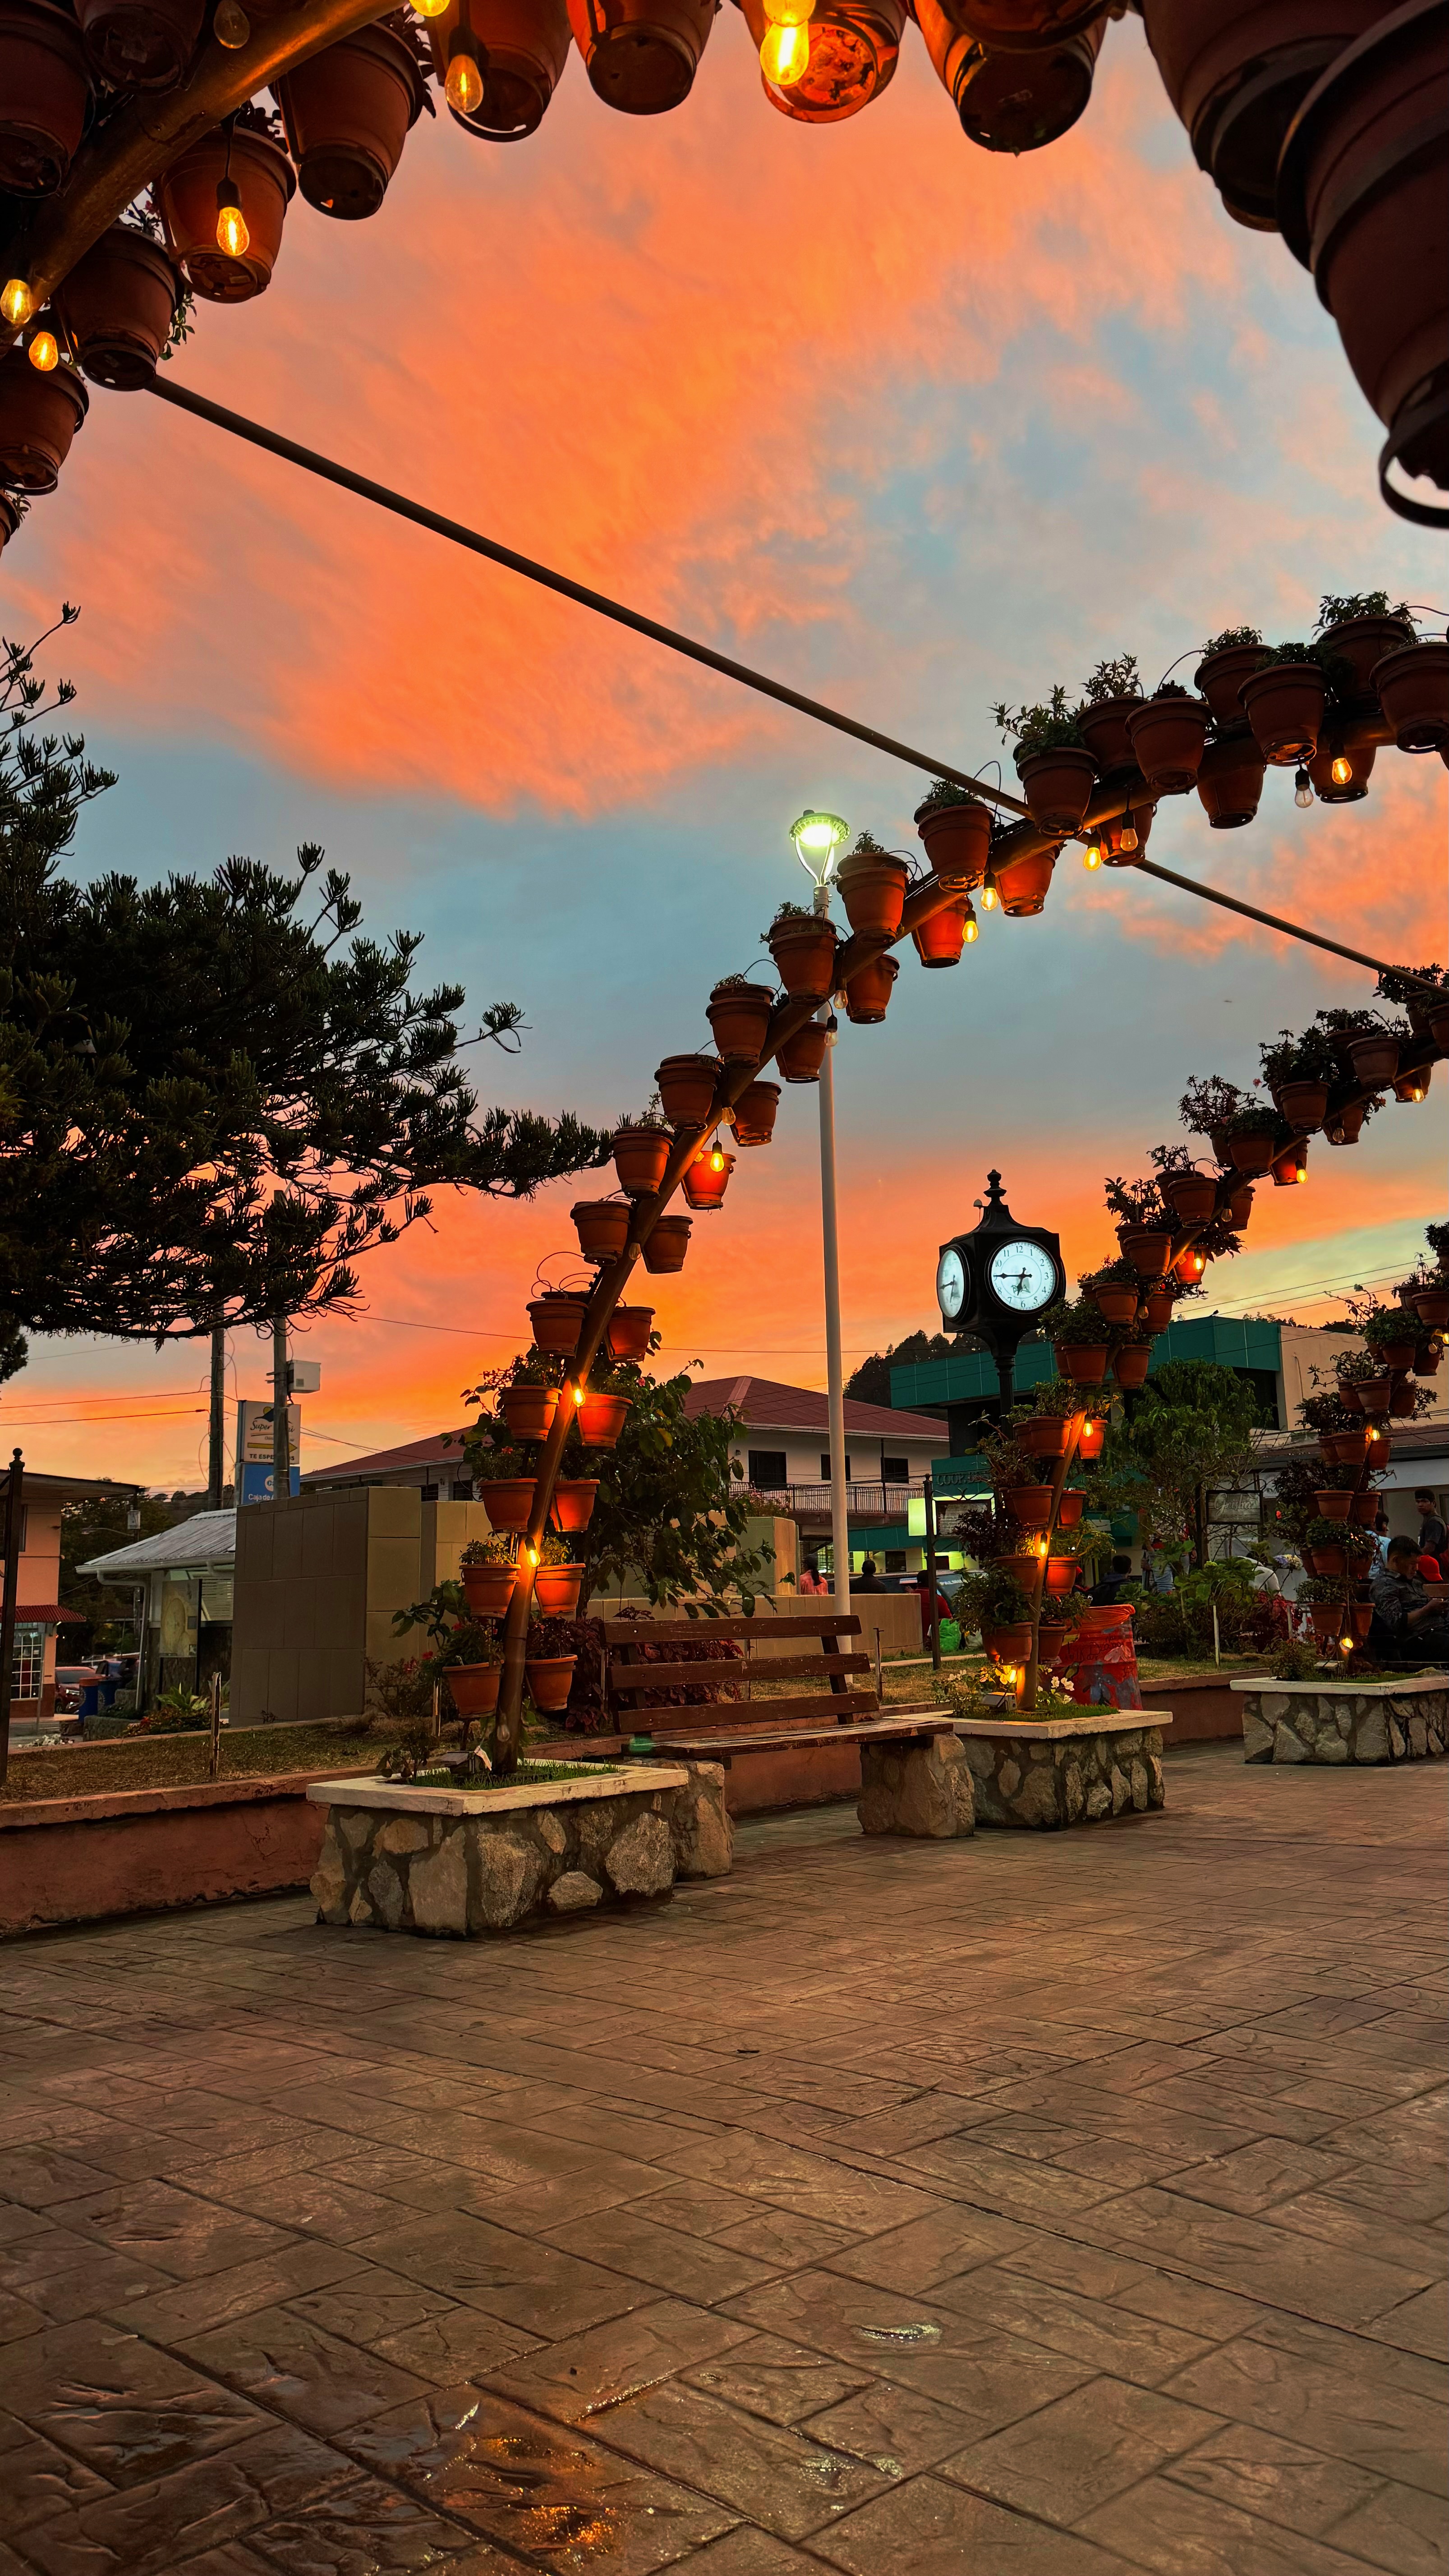
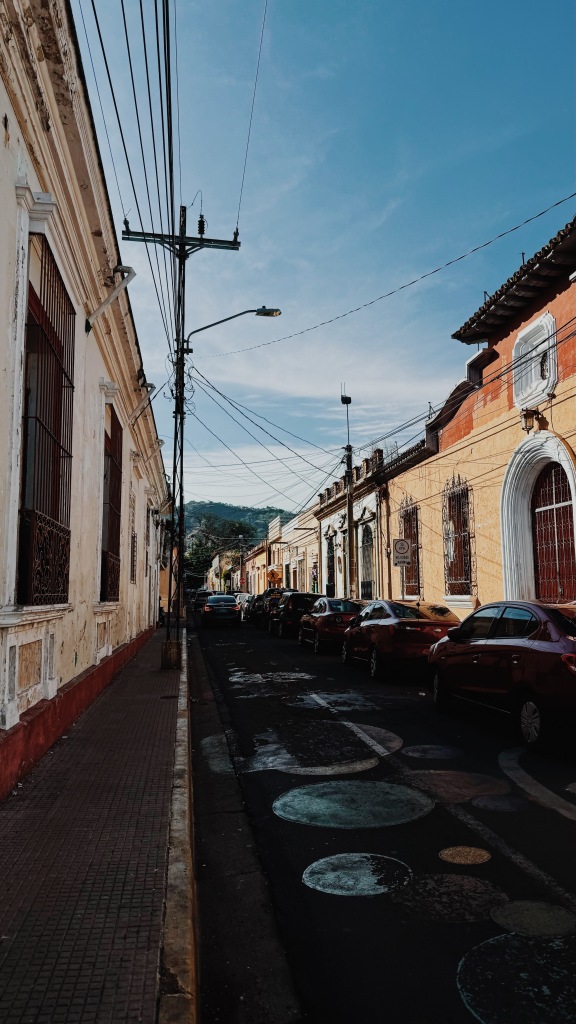
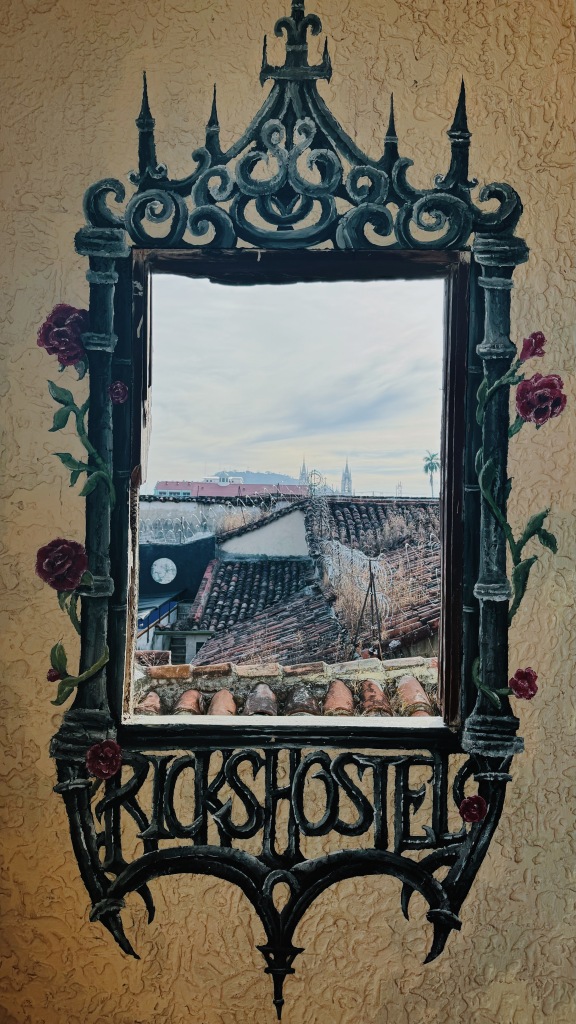
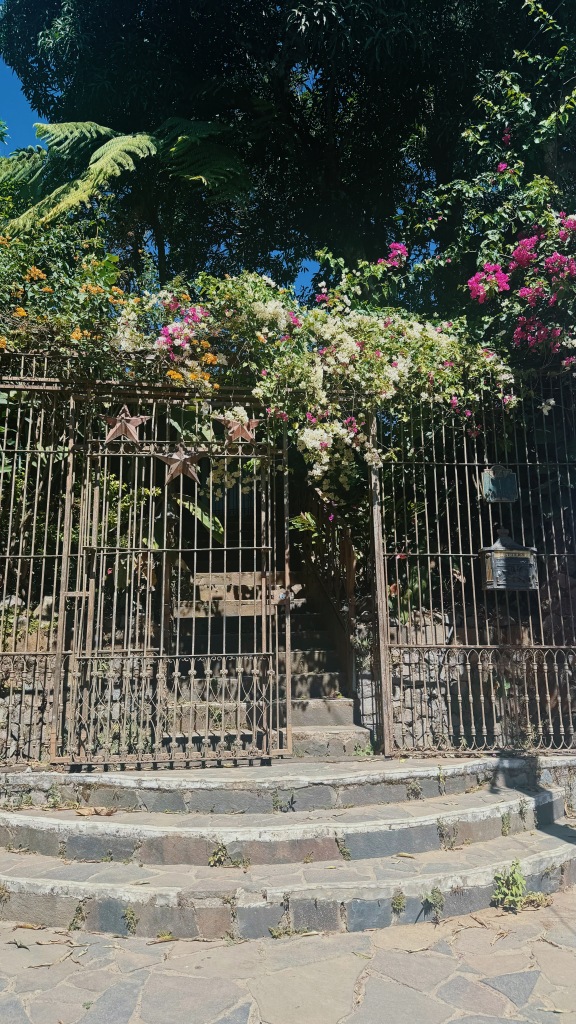
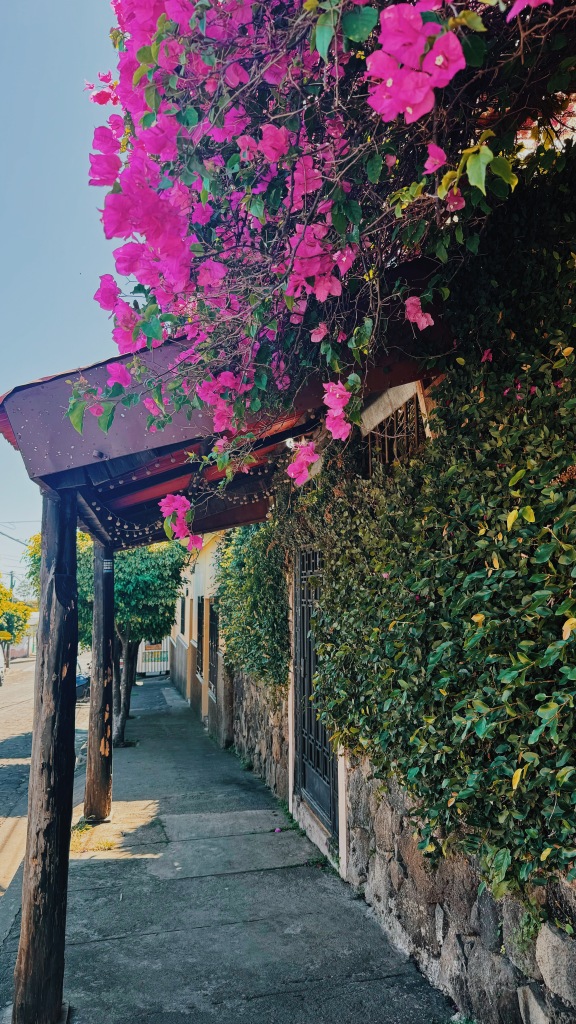
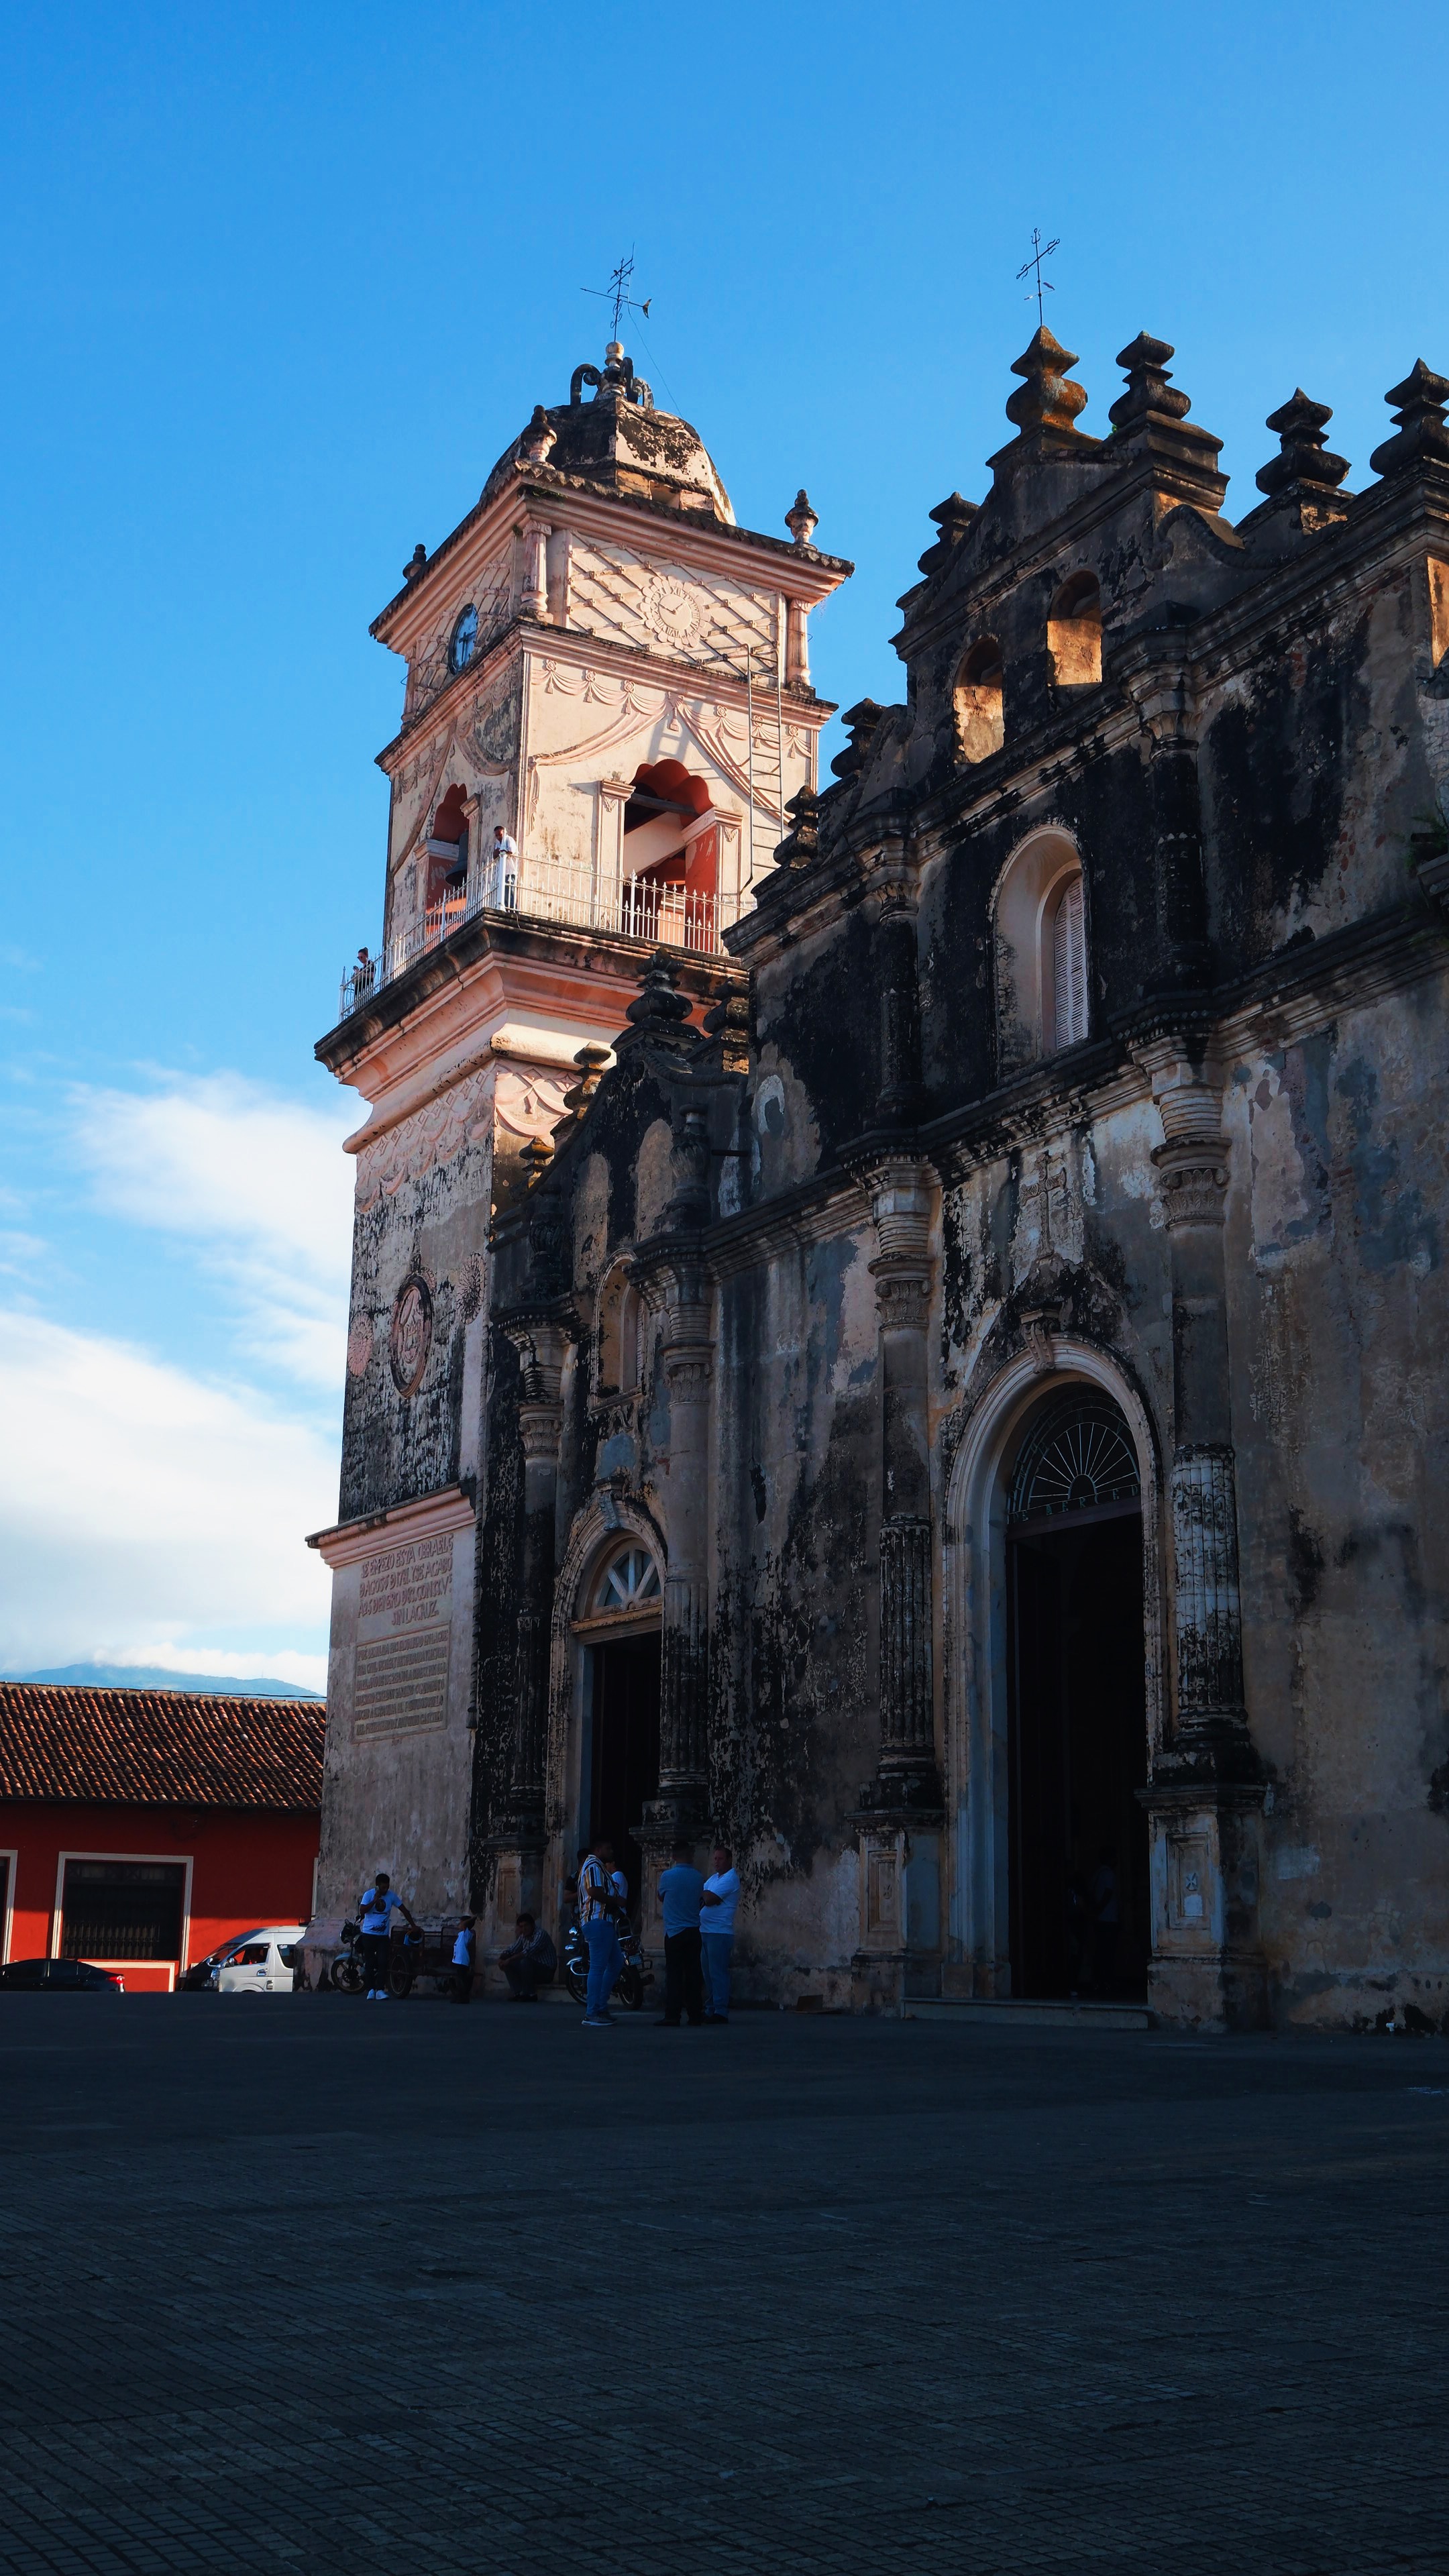
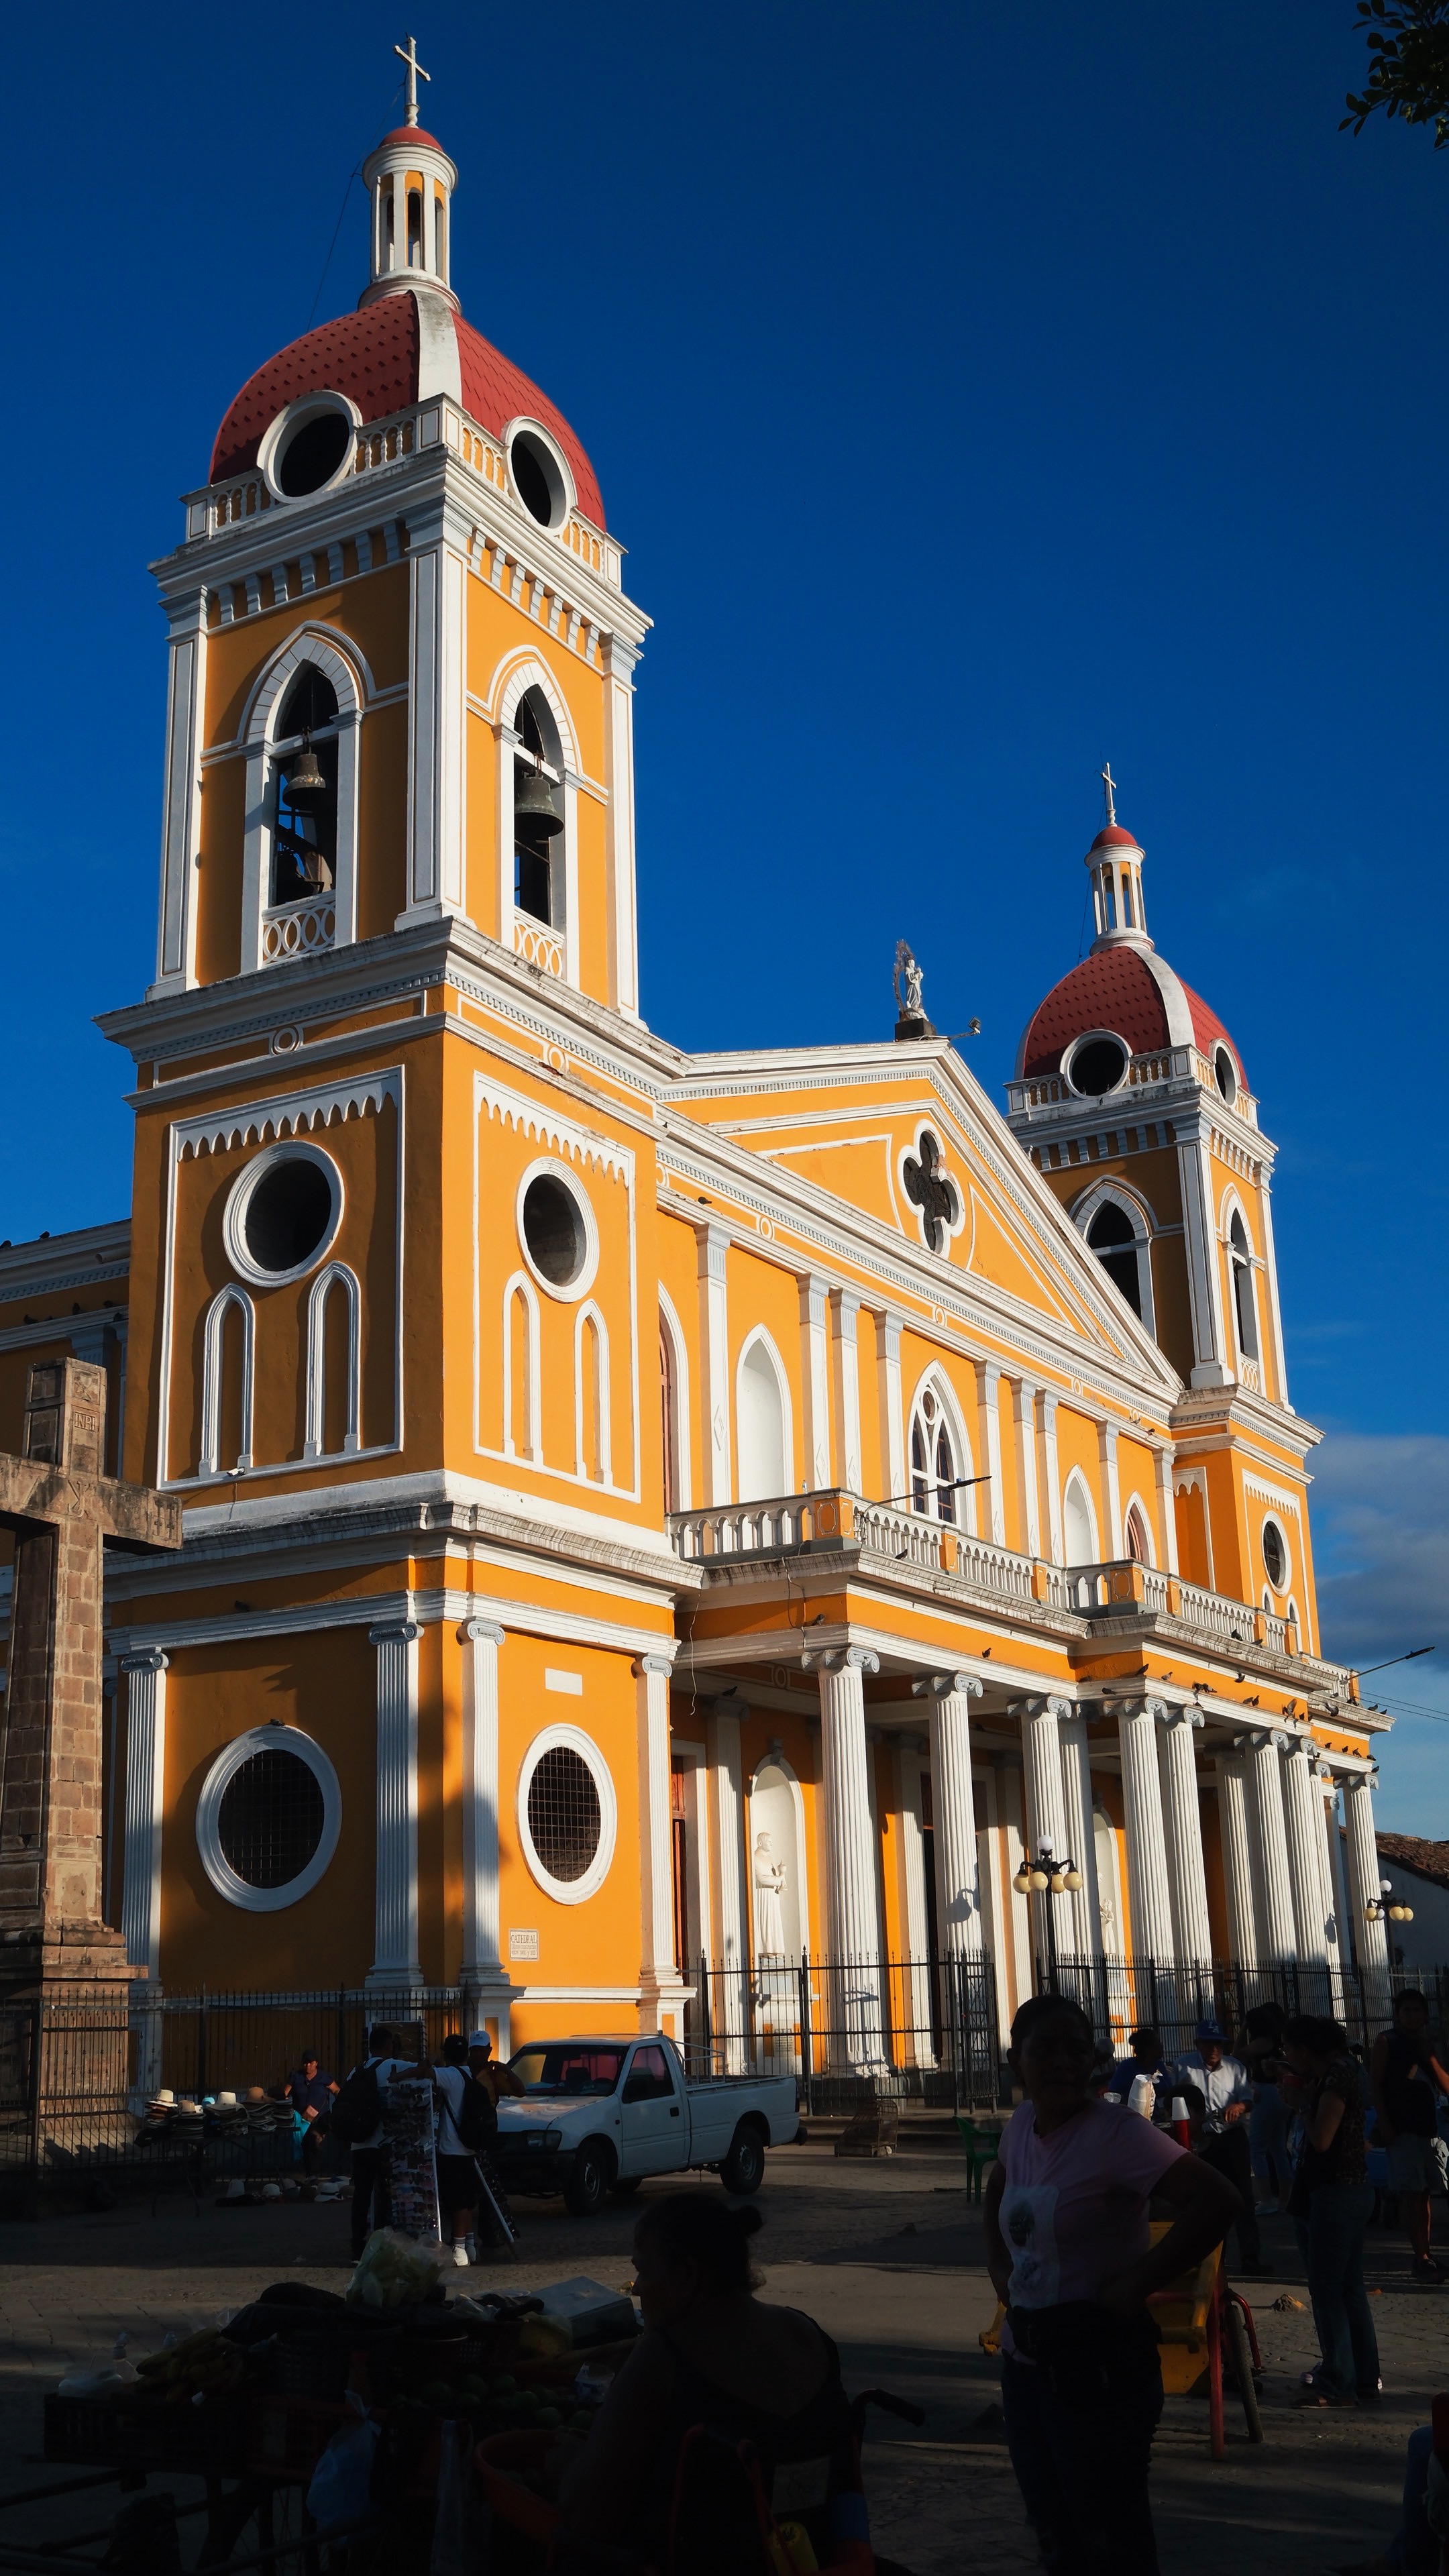
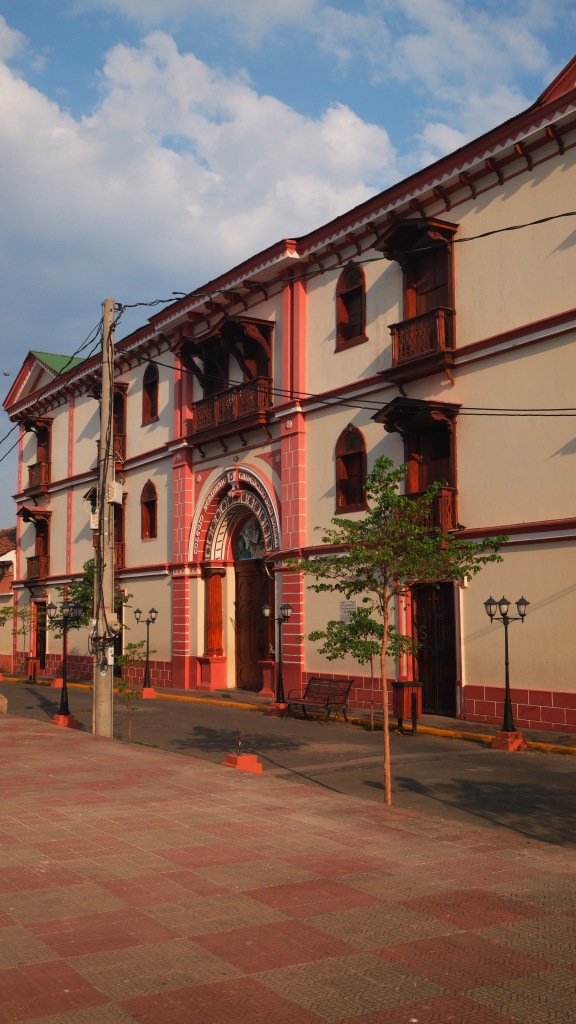
- Granada – colorful, colonial city
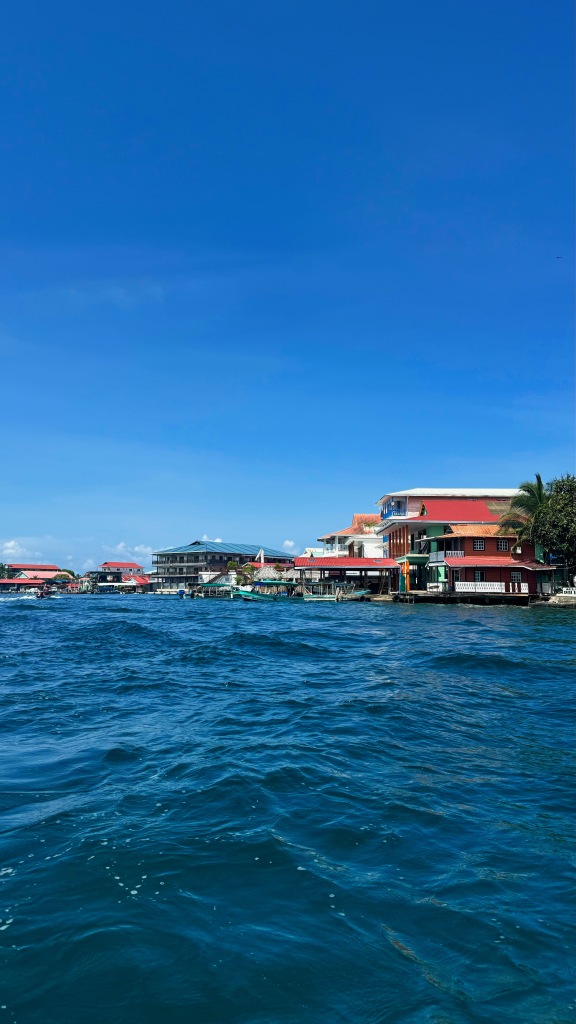
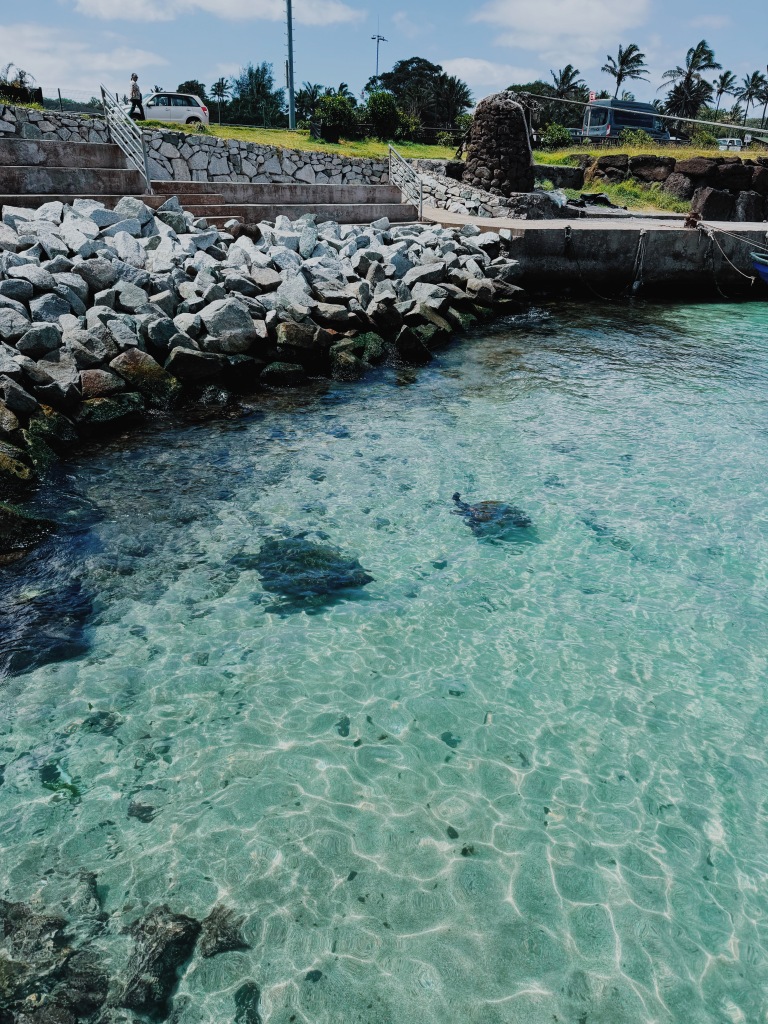
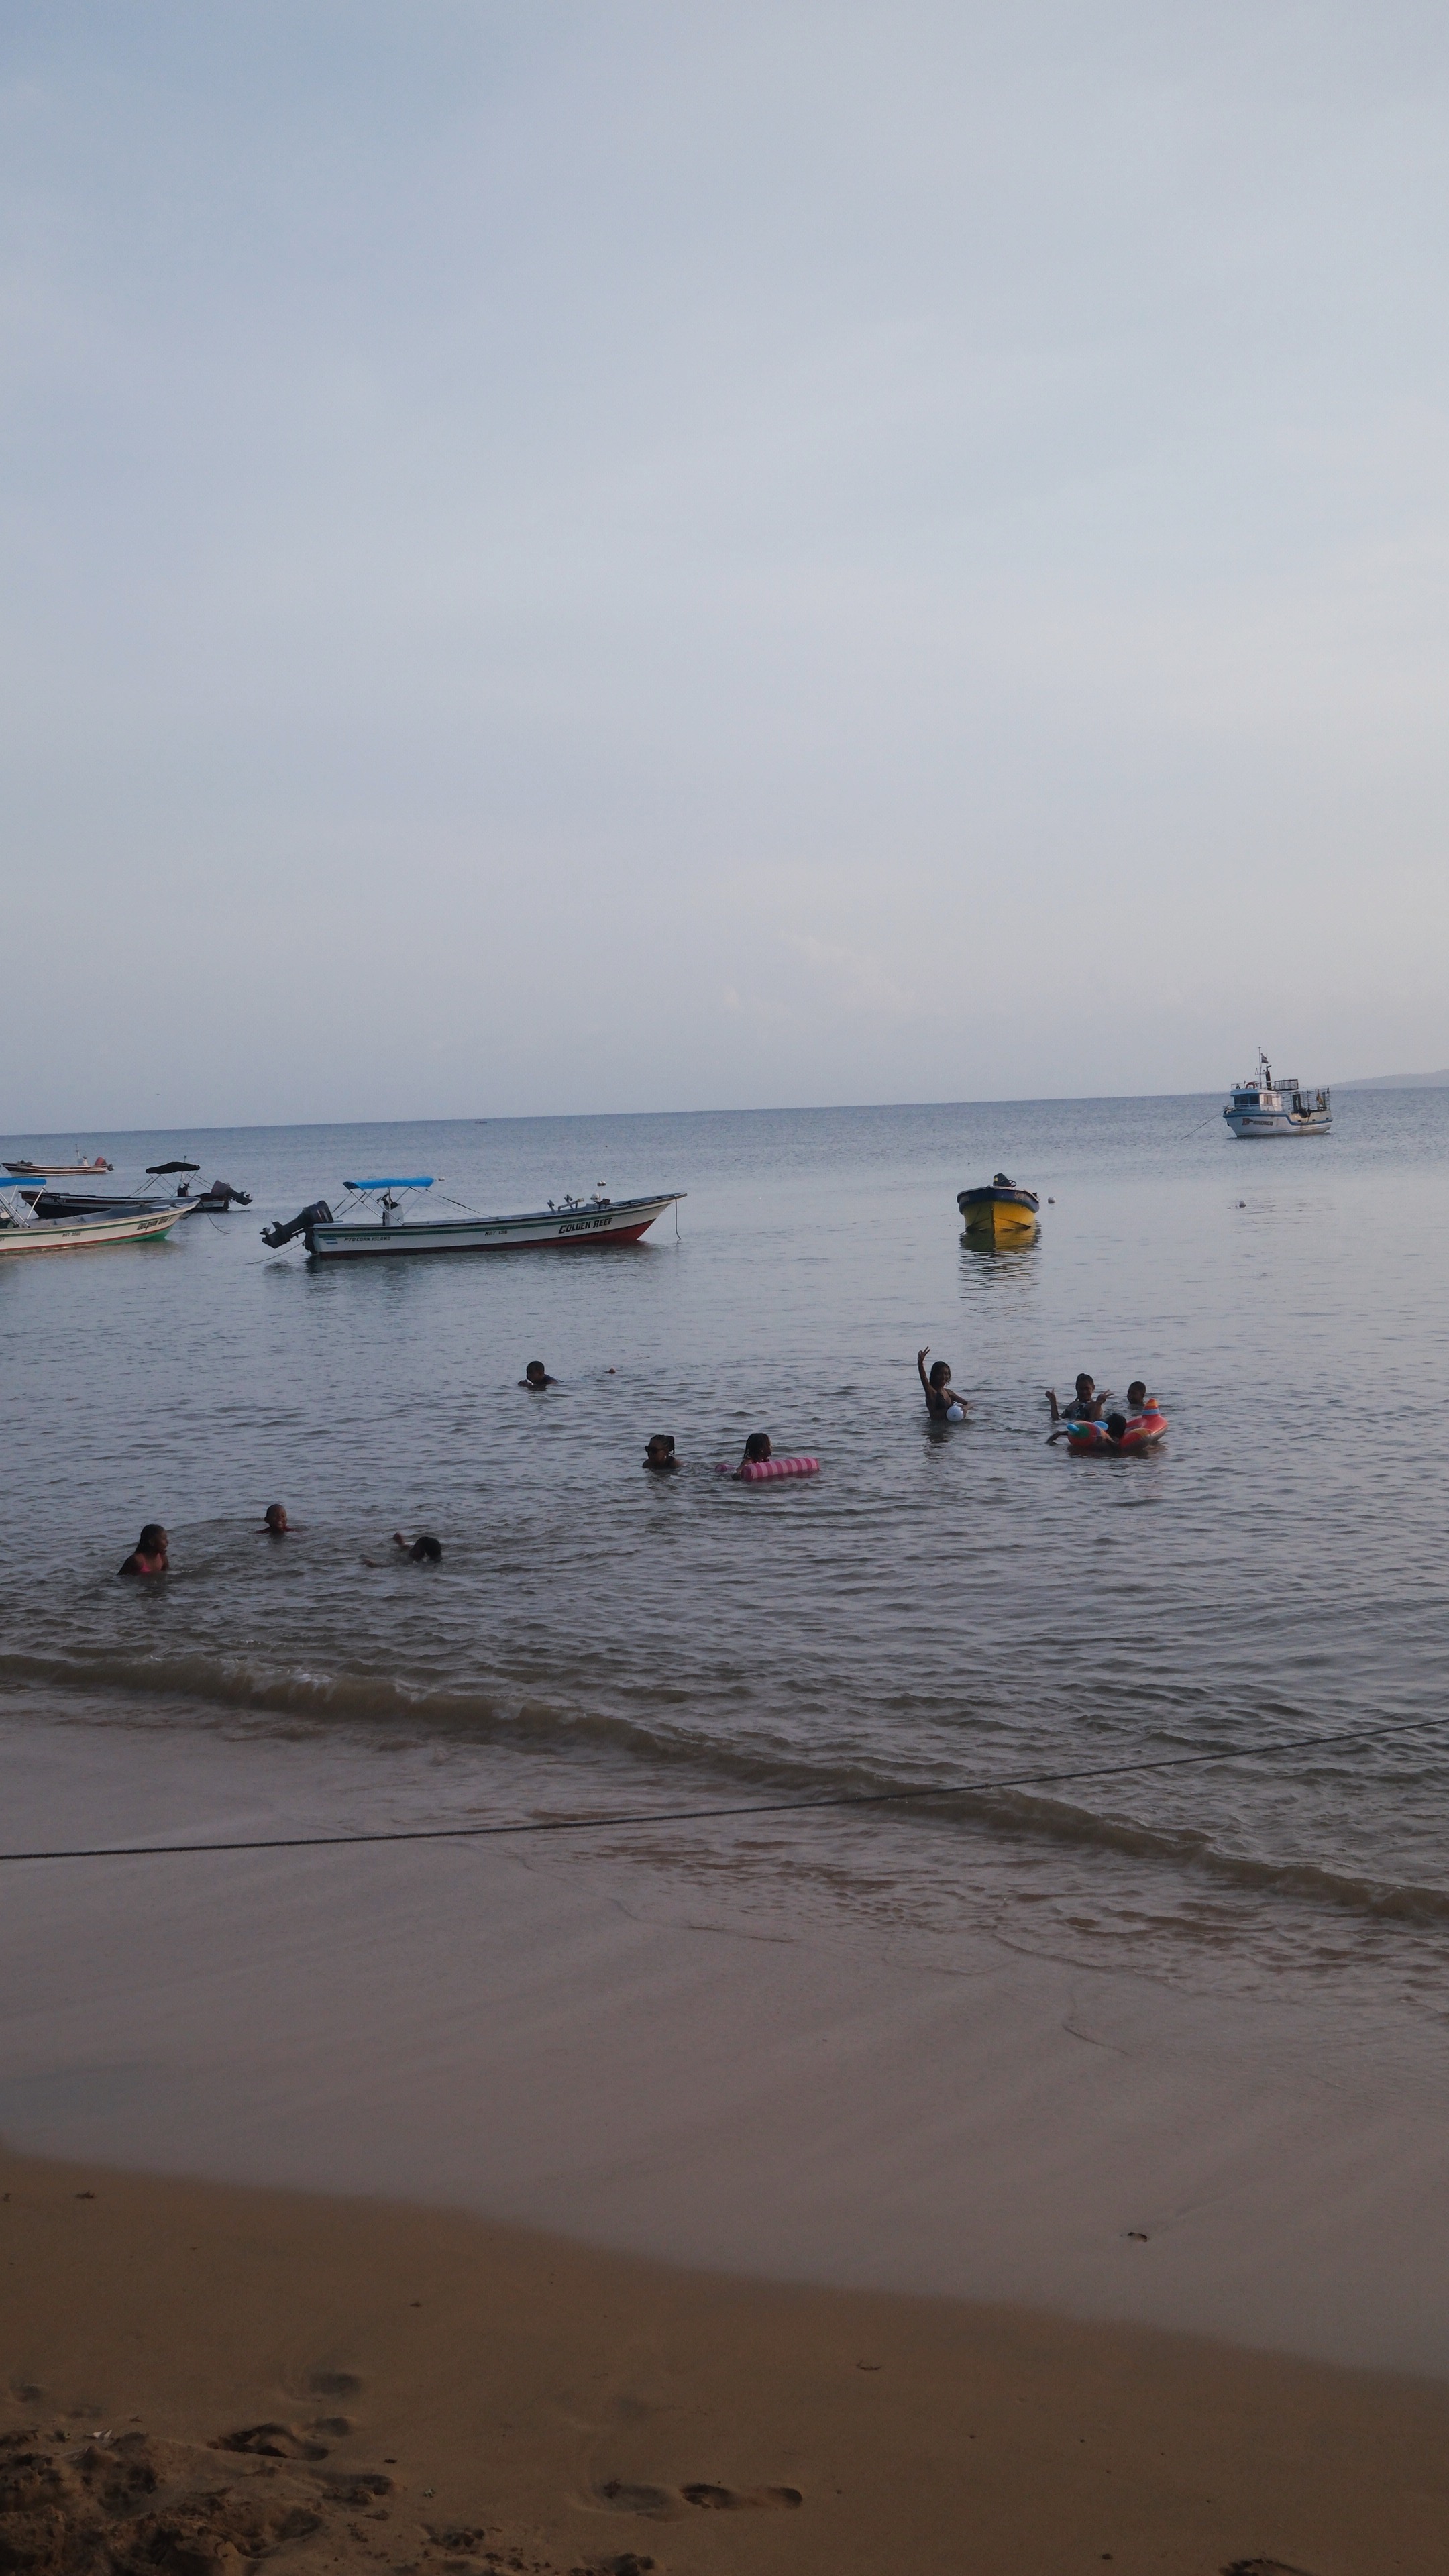
- The Corn Islands (Little Corn) – magical car-less island known for its tranquil days & shark filled scuba diving
- Leon – charming university city known for its volcano sand boarding and its heat
Other destinations to consider:
- Popoyo
- San Juan Del Sur
PRO TIPS:
- Bring crisp, “perfect” USD to exchange or use as most places will accept it and then you will get change in Cordobas. This helps avoid ATM fees.
- Bring some small USD bills for entry/exit fees that pop up at airports and land crossings in & out of the country
- Chicken busses are a cheap way to get around the country, but take care of your belongings. A quicker (but more expensive) option is shared shuttles.
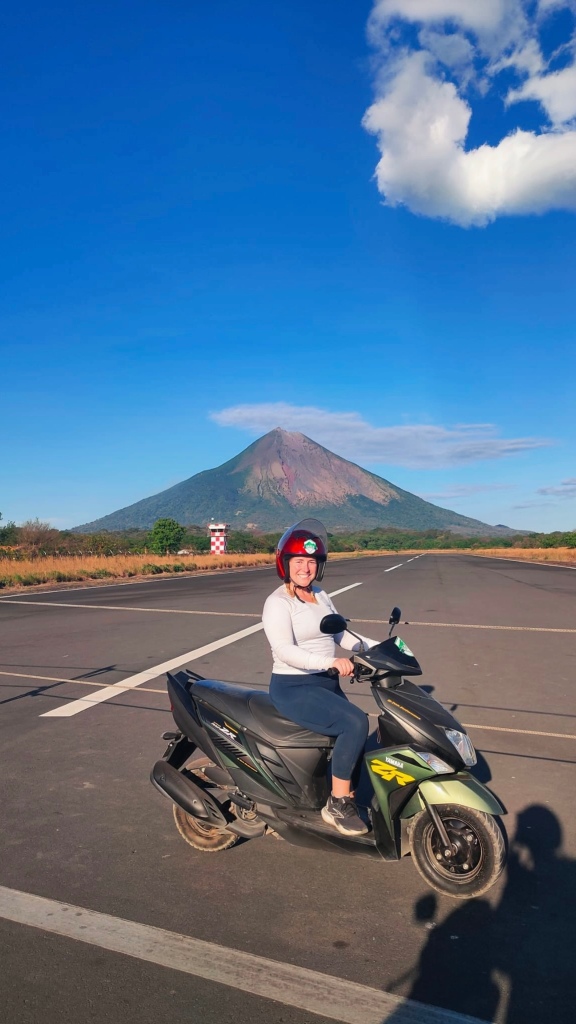
- Rent a scooter in Ometepe. It’s one of my favorite things I find in Nicaragua
- Knowing some Spanish definitely helps in Nicaragua as english is not widely spoken (but Google Translate does wonders).
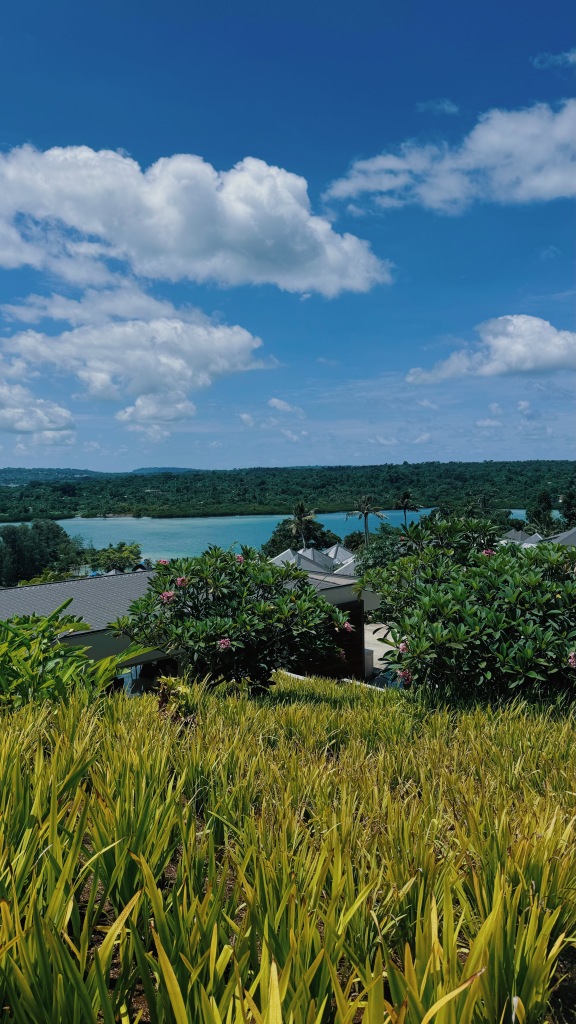
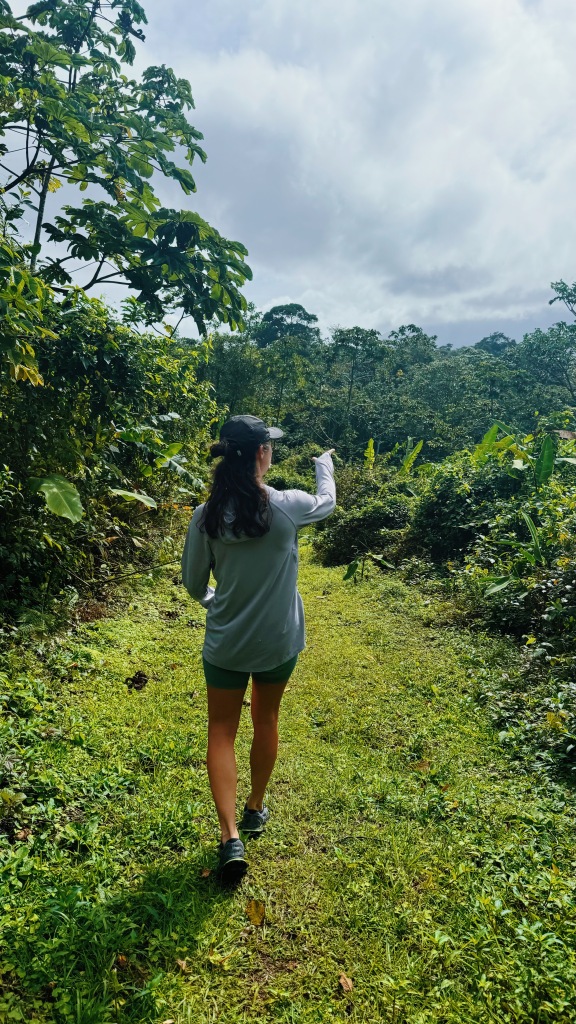
CITY: OMETEPE
HOW LONG: 4 NIGHTS
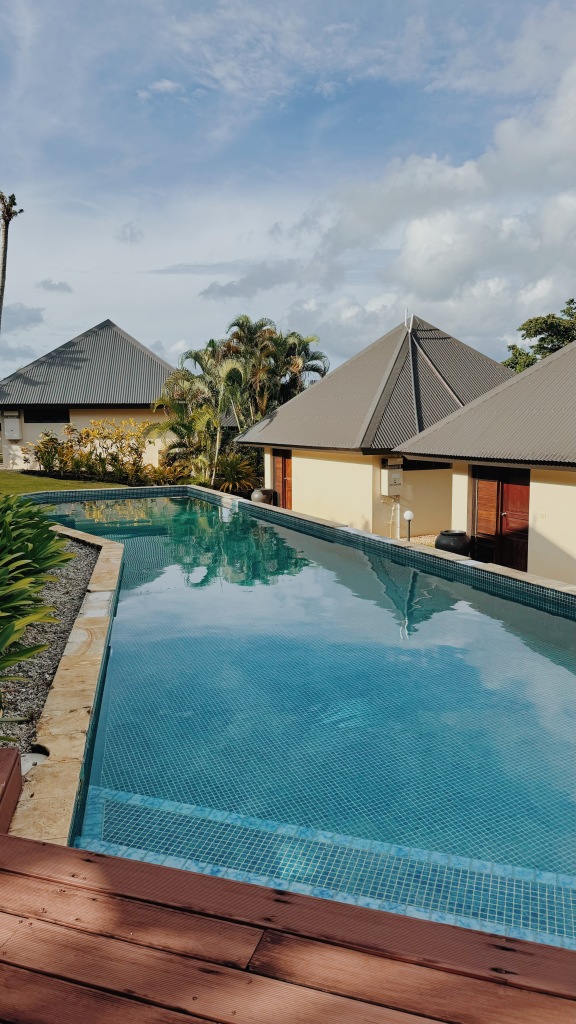
ACCOMMODATION:
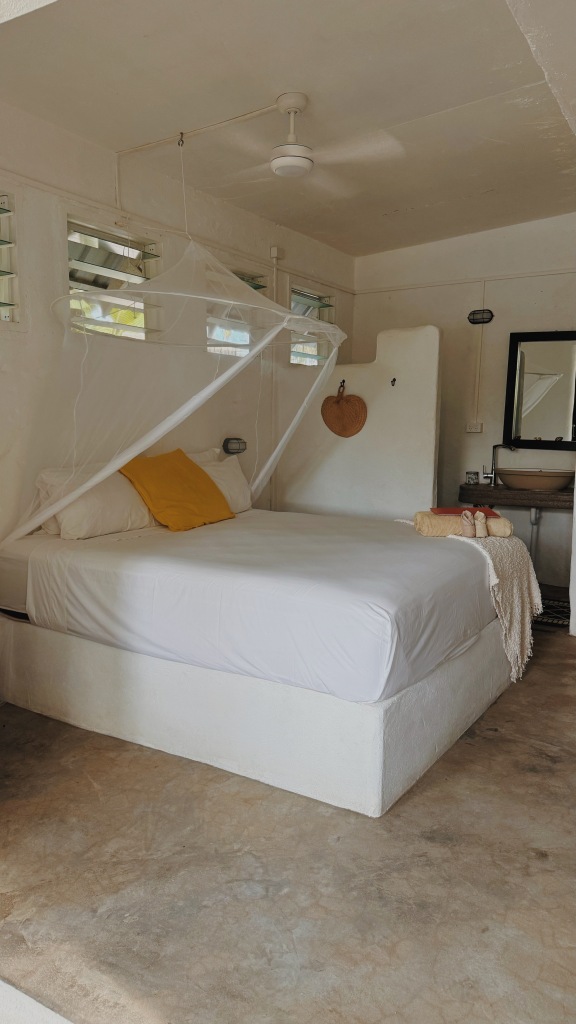
I stayed one night at Hospedaje Soma because I was arriving late via the ferry and didn’t want to traverse all the way to the other island after a long travel day. Also some friends I met in Colombia 10 months ago would be leaving early the next morning so we decided one night in the port city would be perfect! The hostel was great- it had a pool and AC, which was such a treat! The staff were incredibly generous and even let me store my big backpack there for a few days while I took my smaller backpack with me on a scooter to the other side of the island. Would happily stay here again.
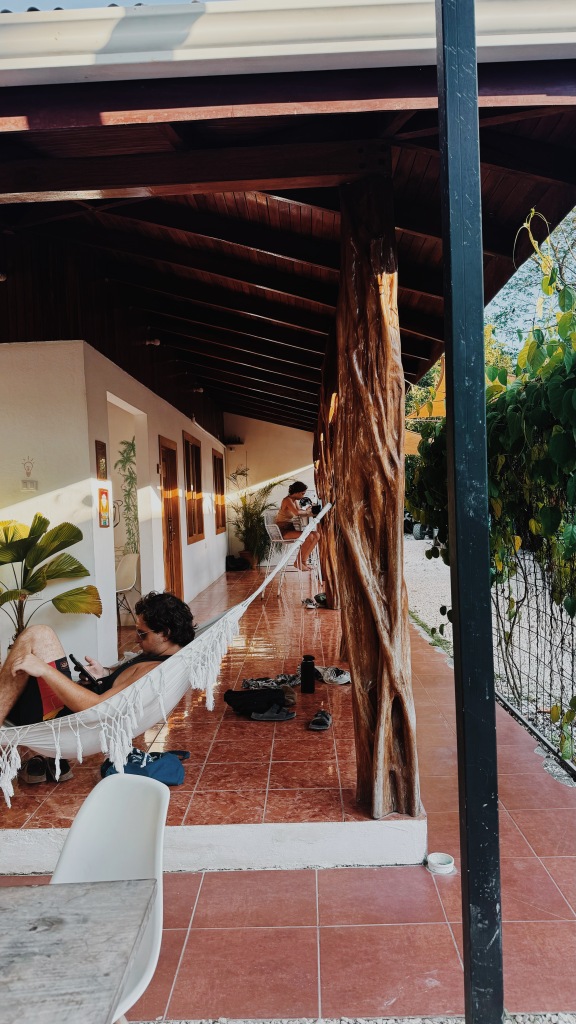
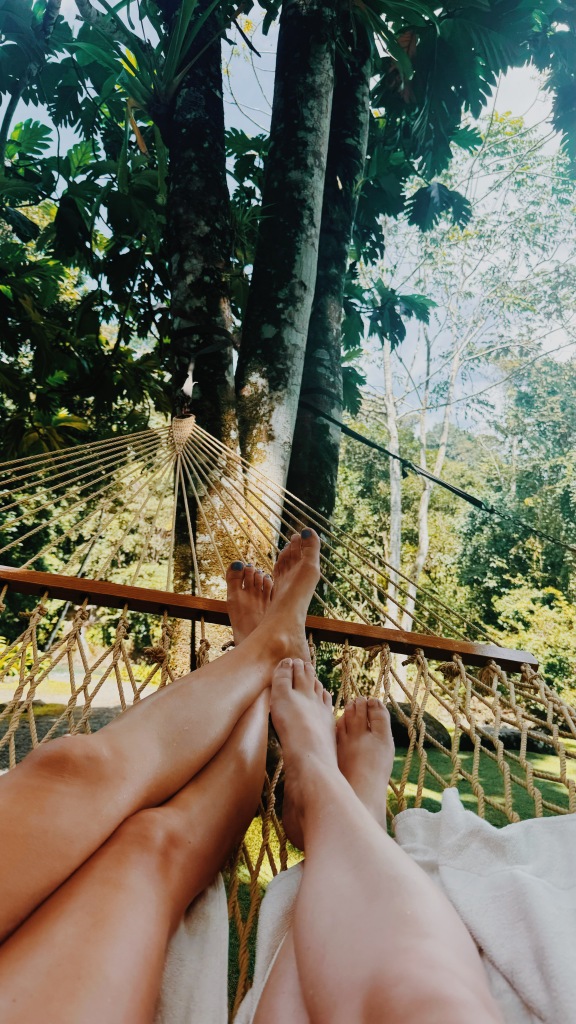
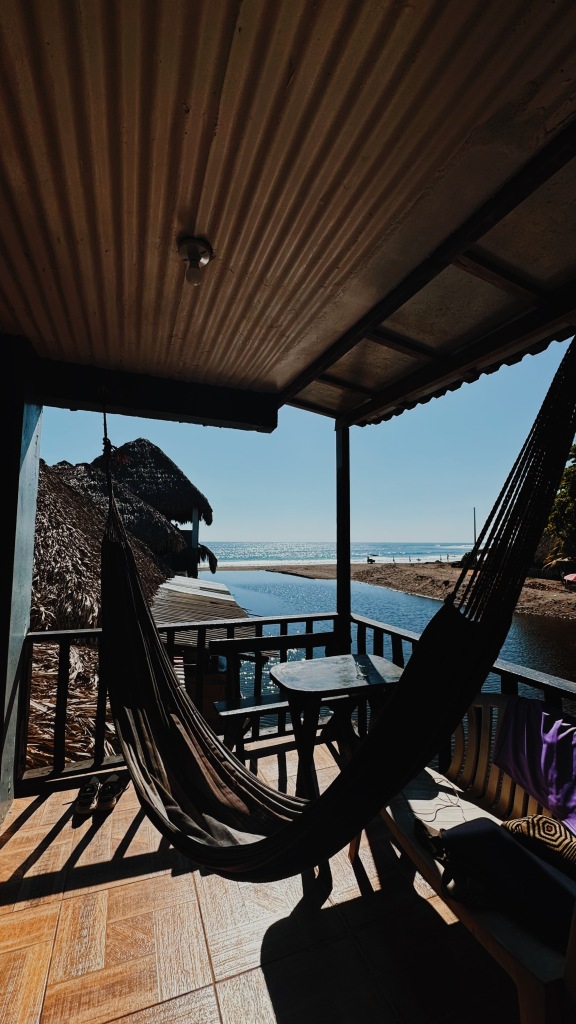
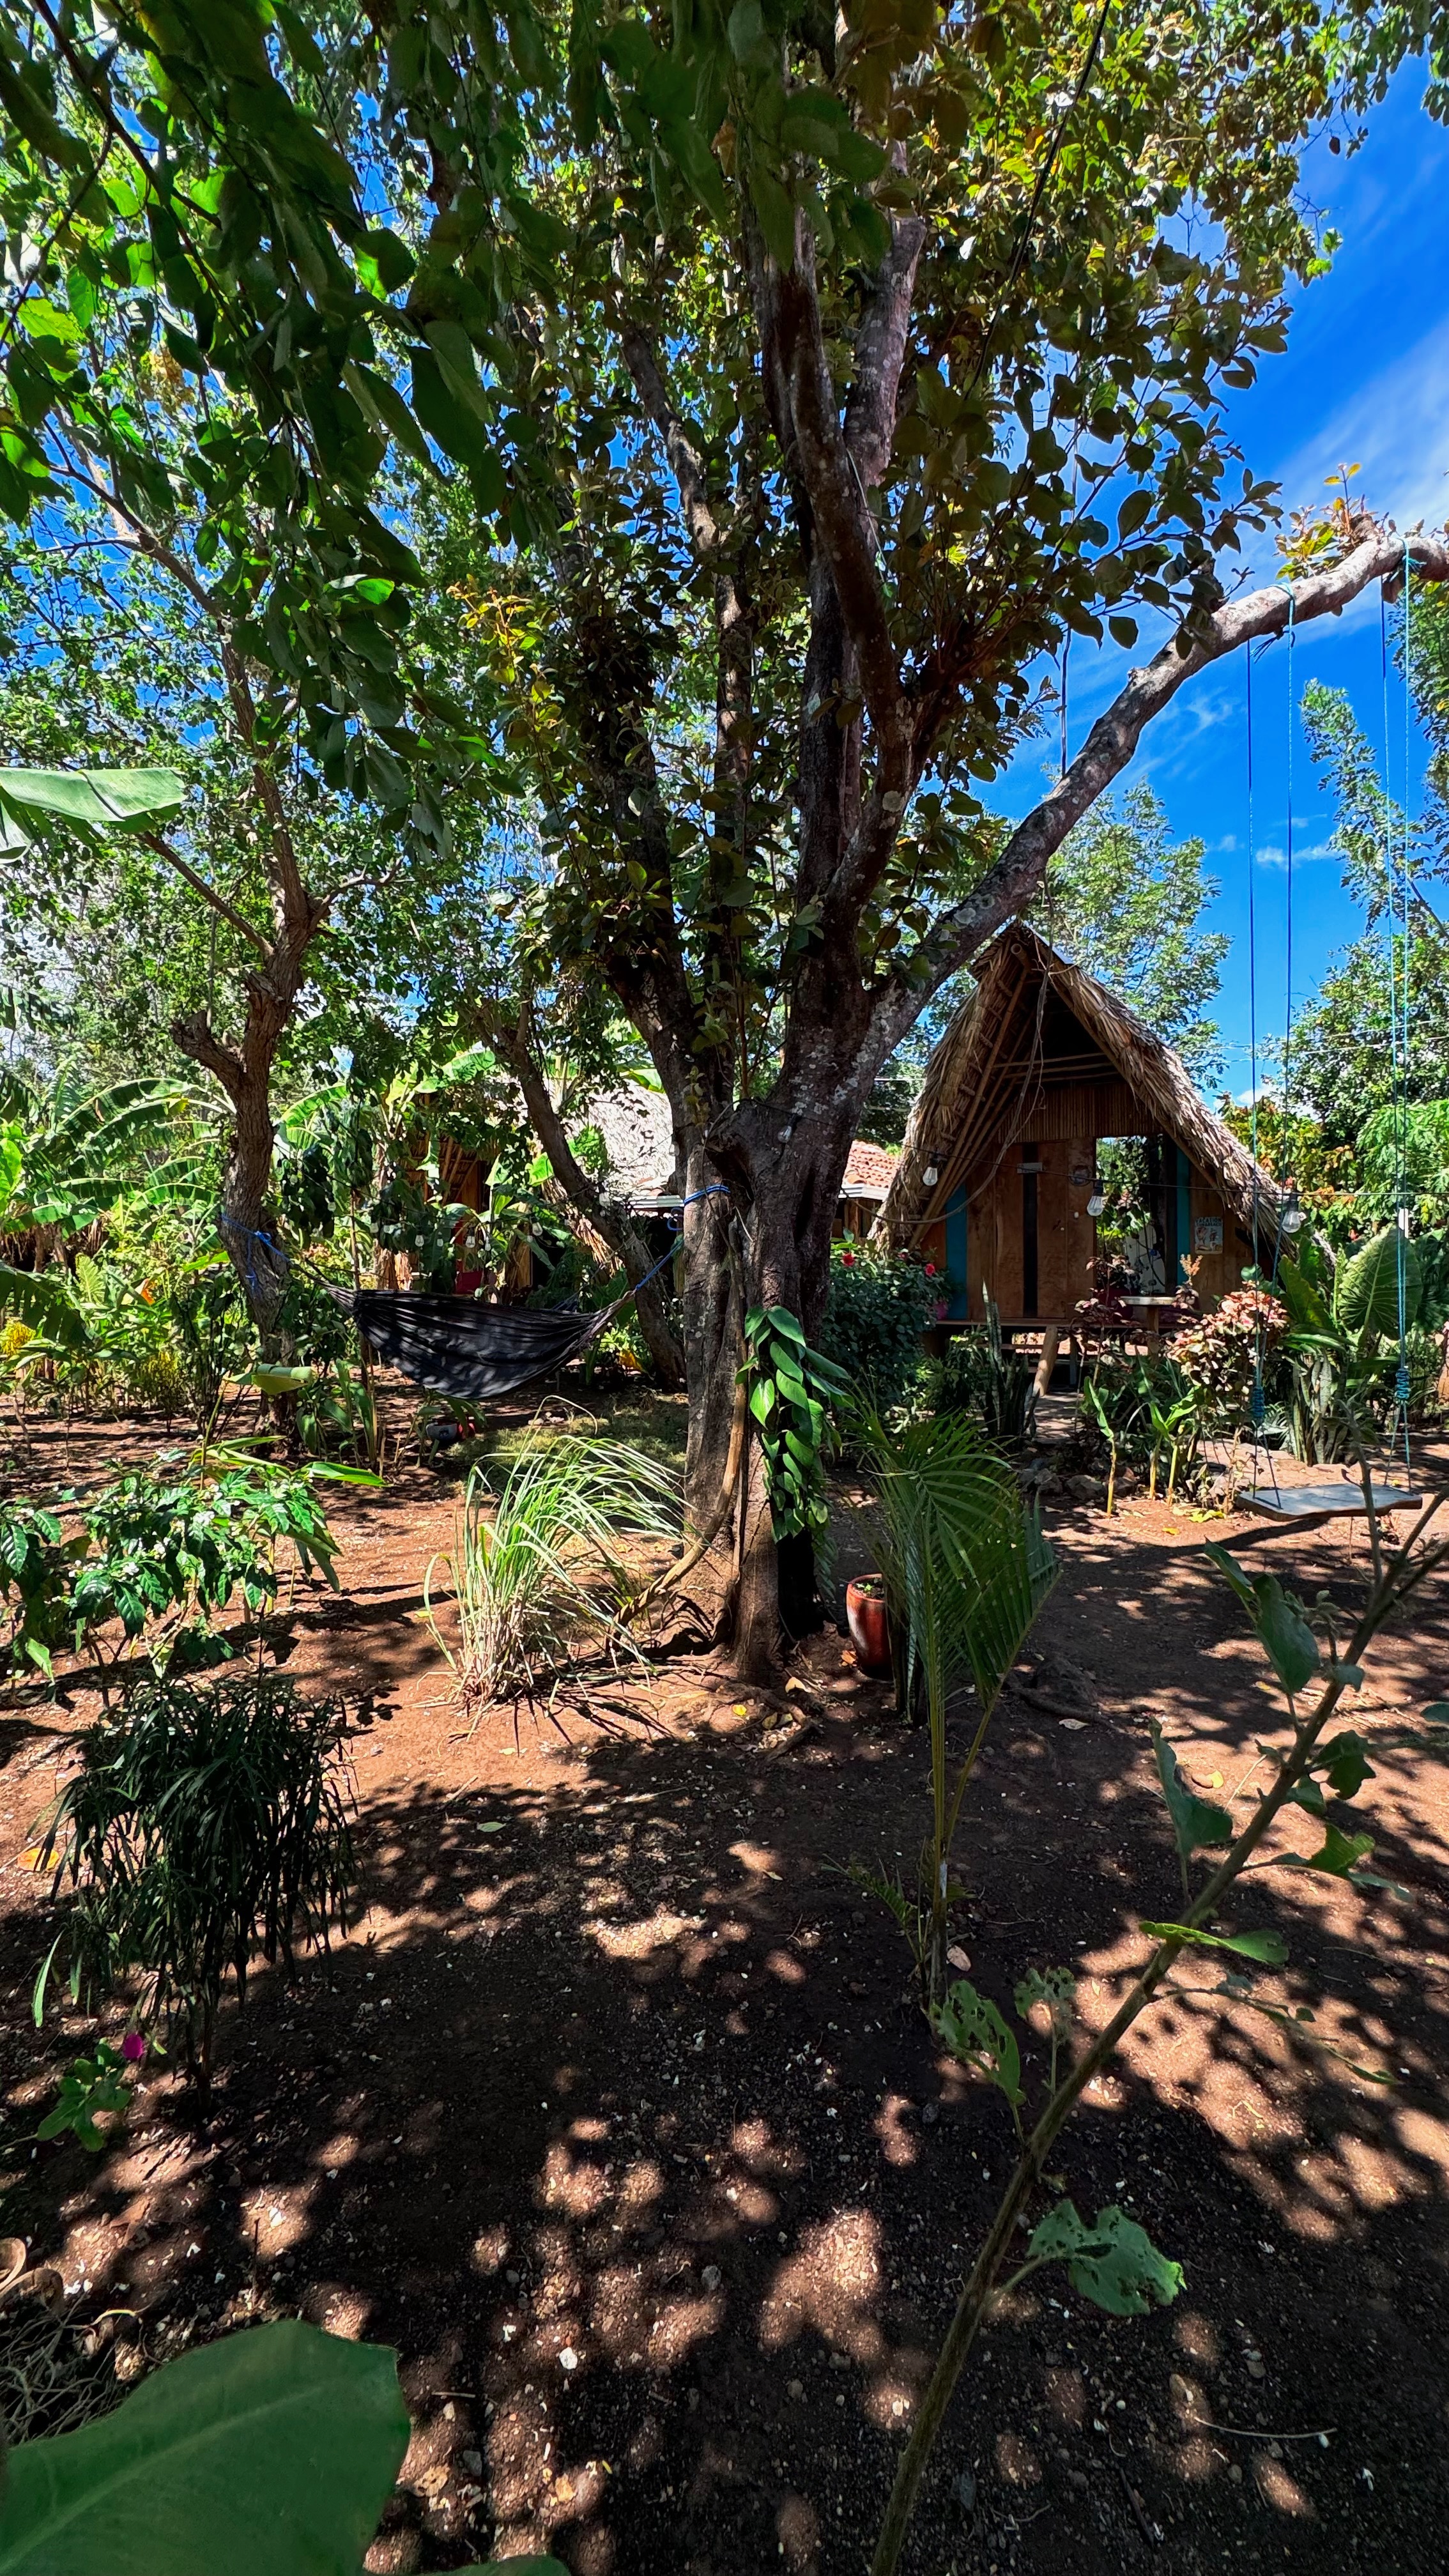
The next three nights I stayed at Urrica Loca in Balgue on the other side of the island. It’s a very cozy, cute hostel. Easy to meet people but not loud. There’s a kitchen and fans for every bed. Plenty of hammocks and picnic tables for chilling. Great location off the main road. Would highly recommend.
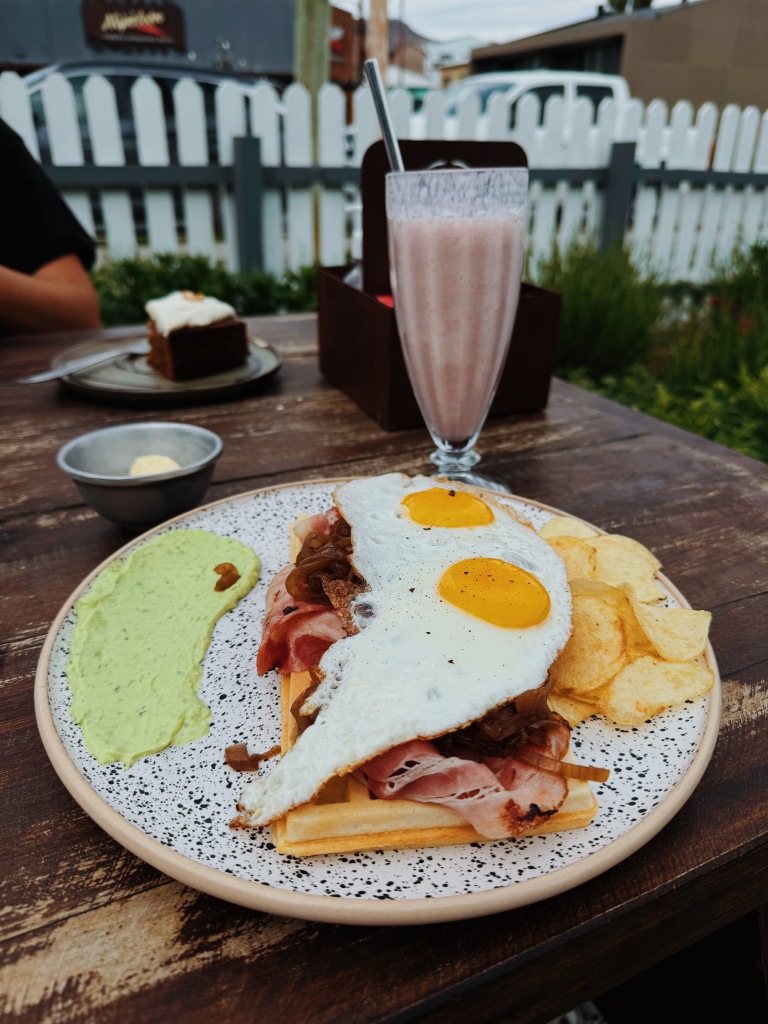
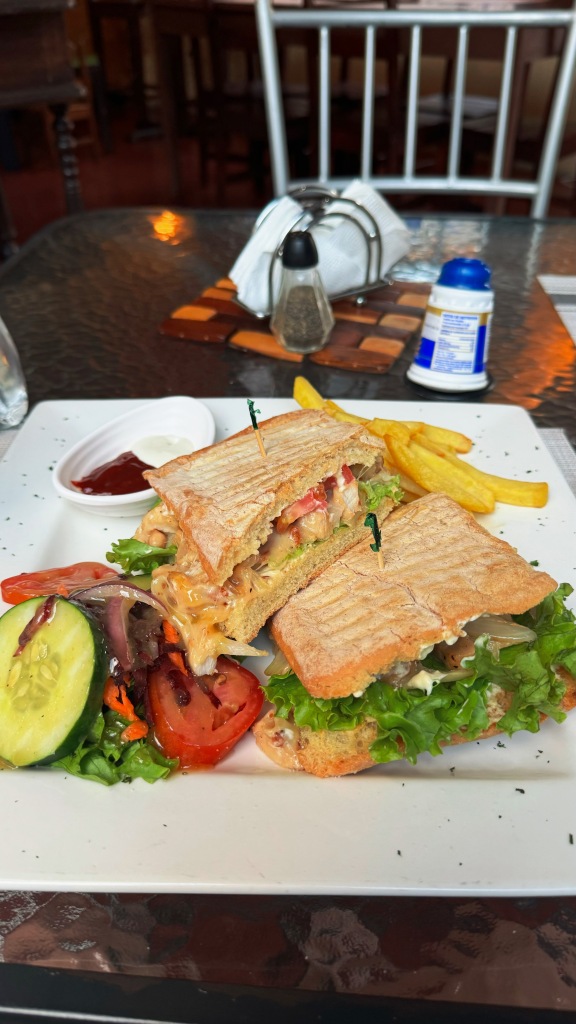
WHERE TO EAT:
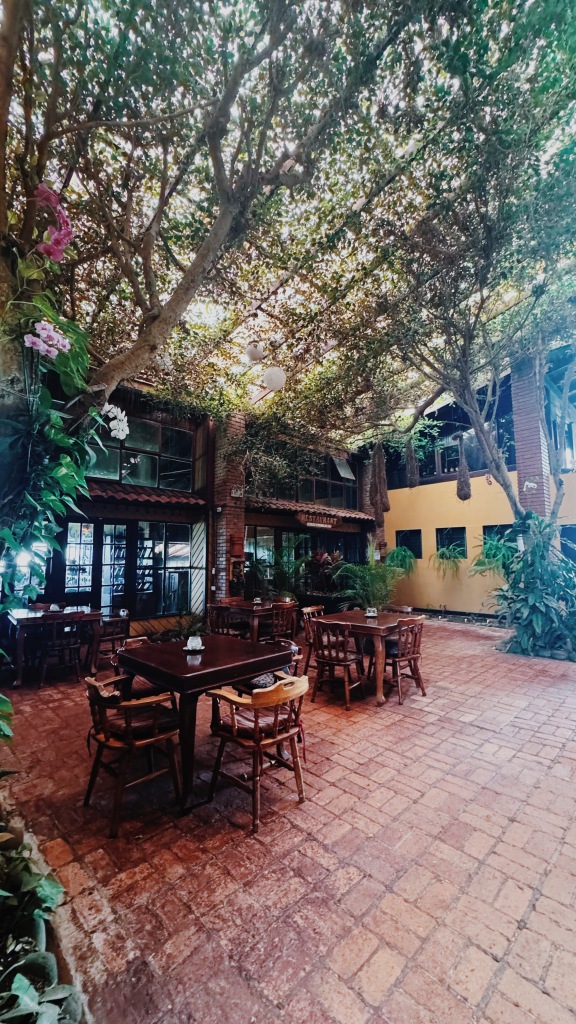
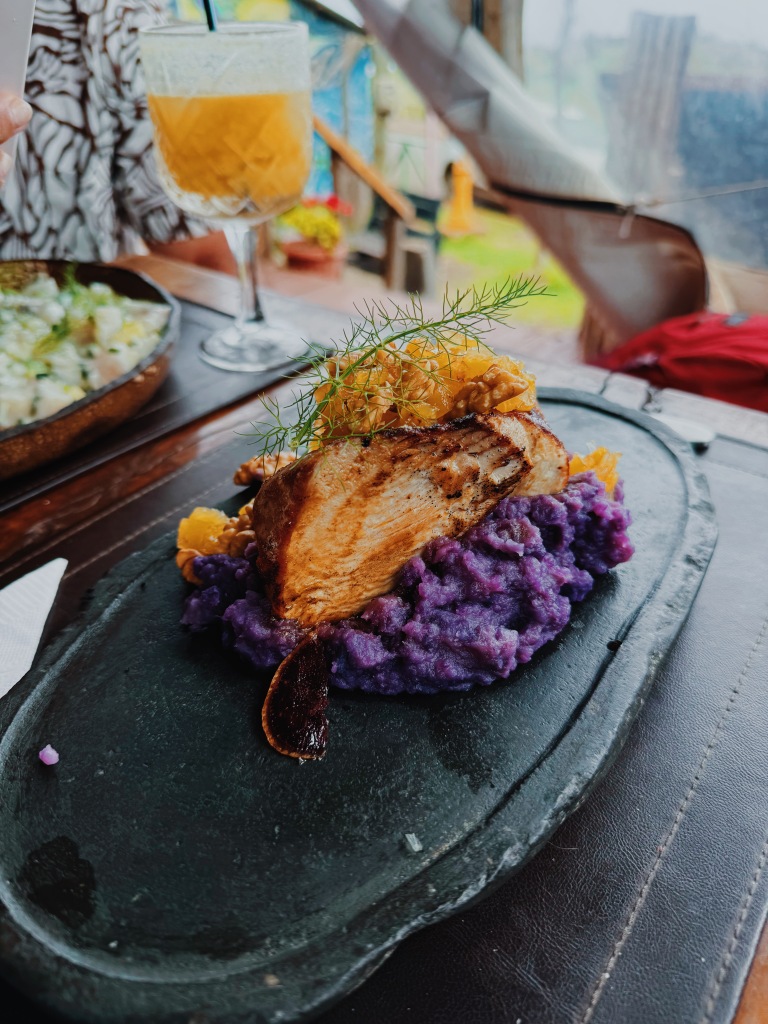
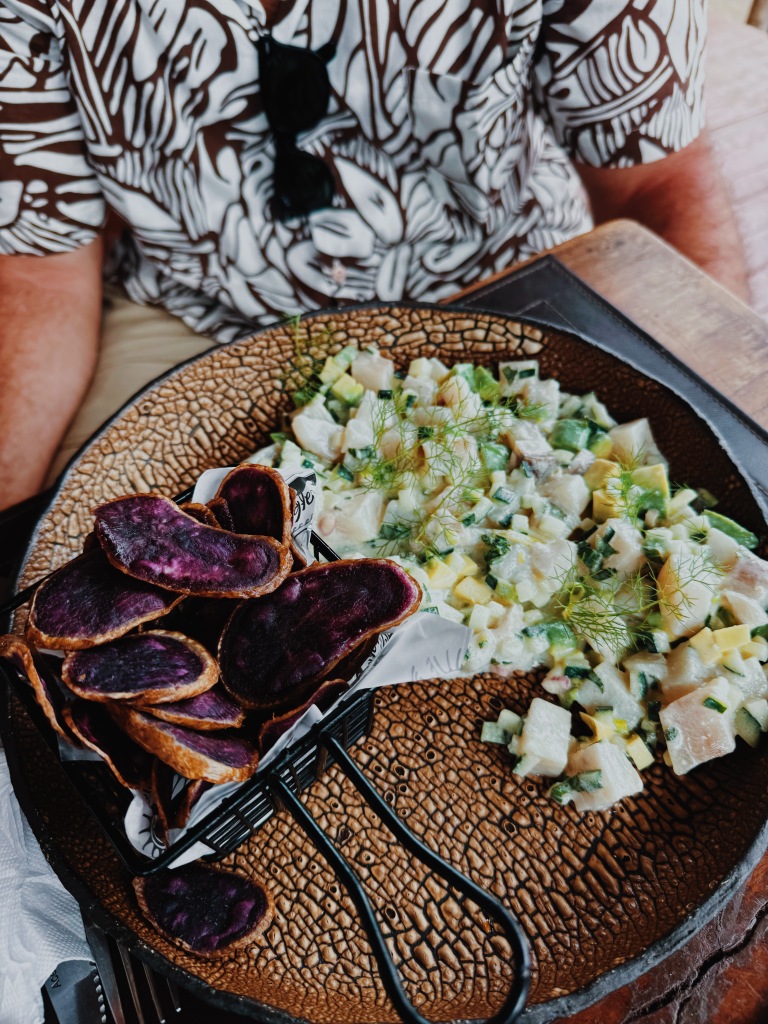
- Café Campestre is a cute restaurant in Balgue that’s a favorite amongst backpackers. Plenty of food options and nice ambiance
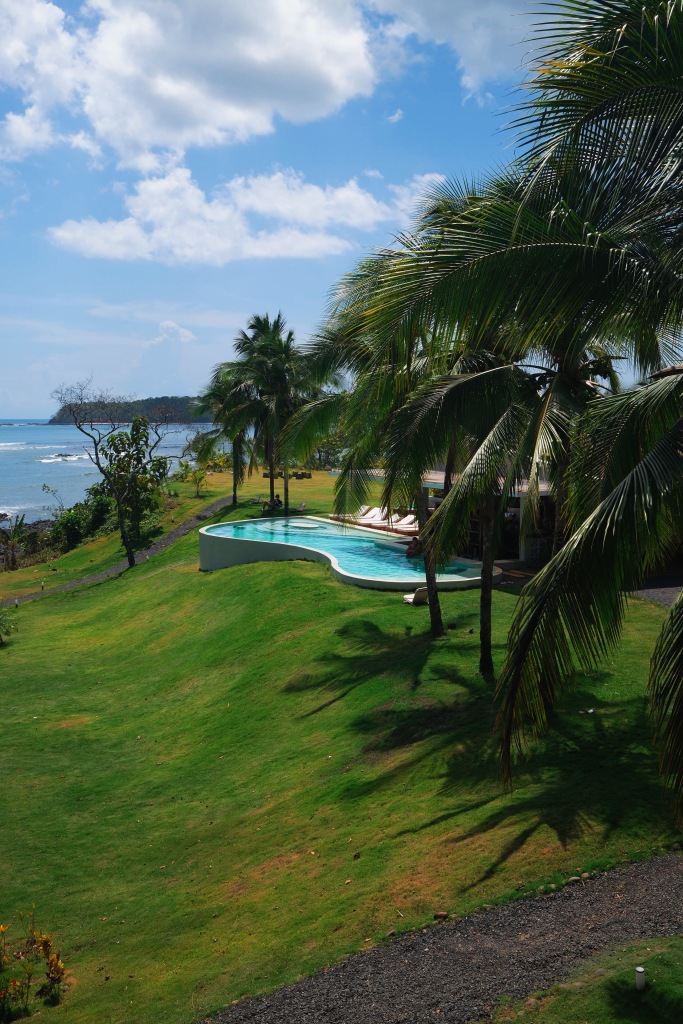
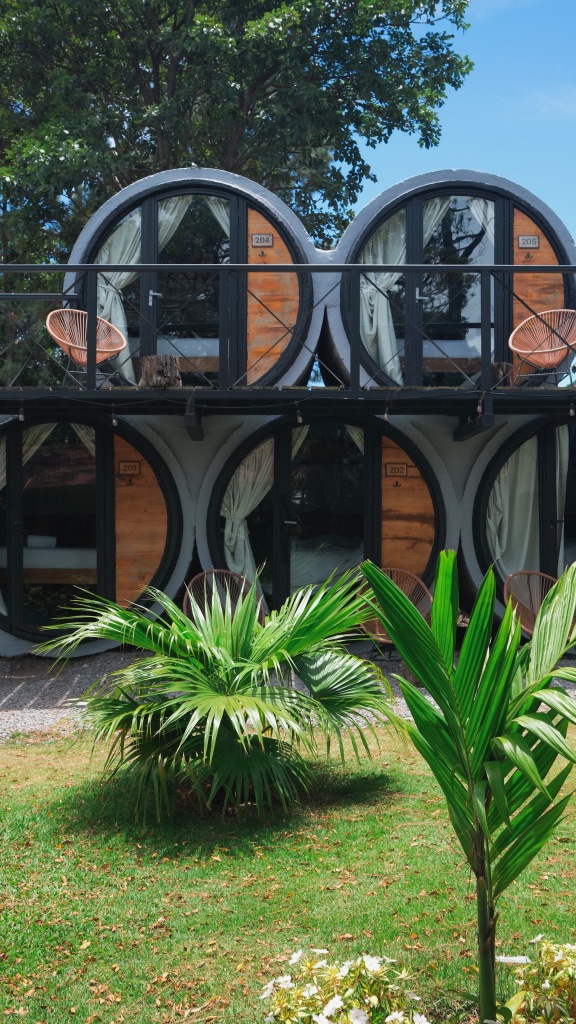
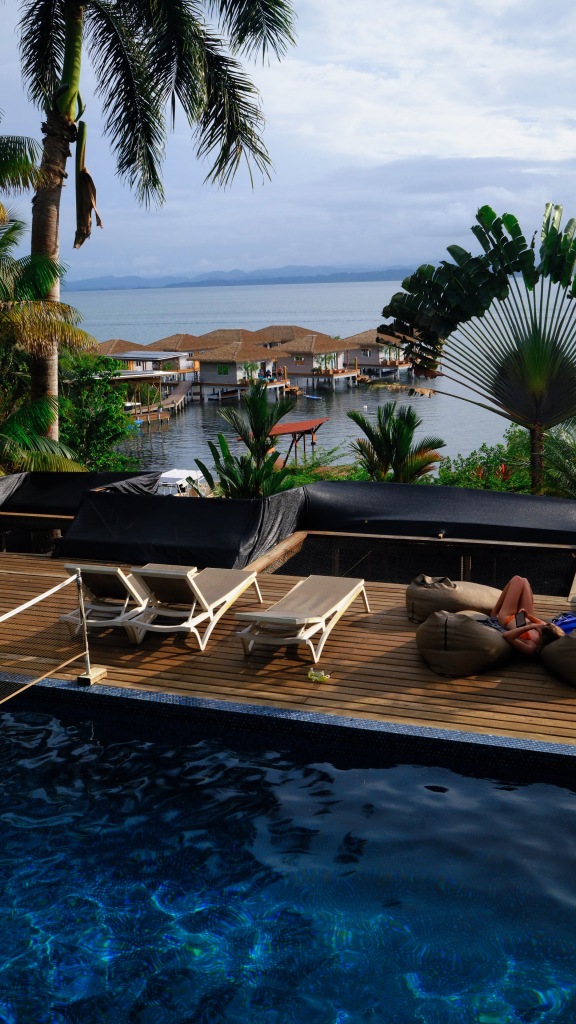
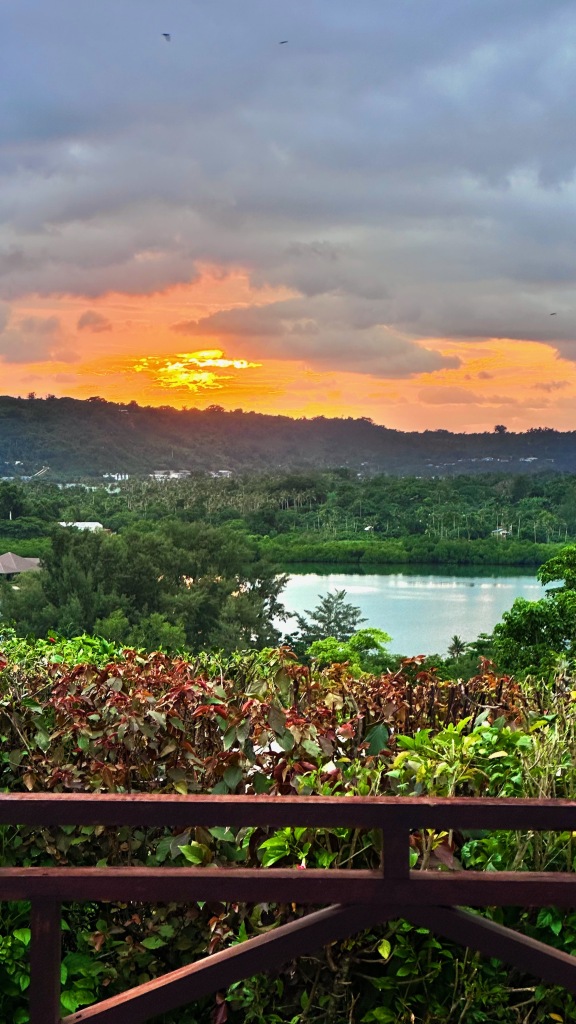
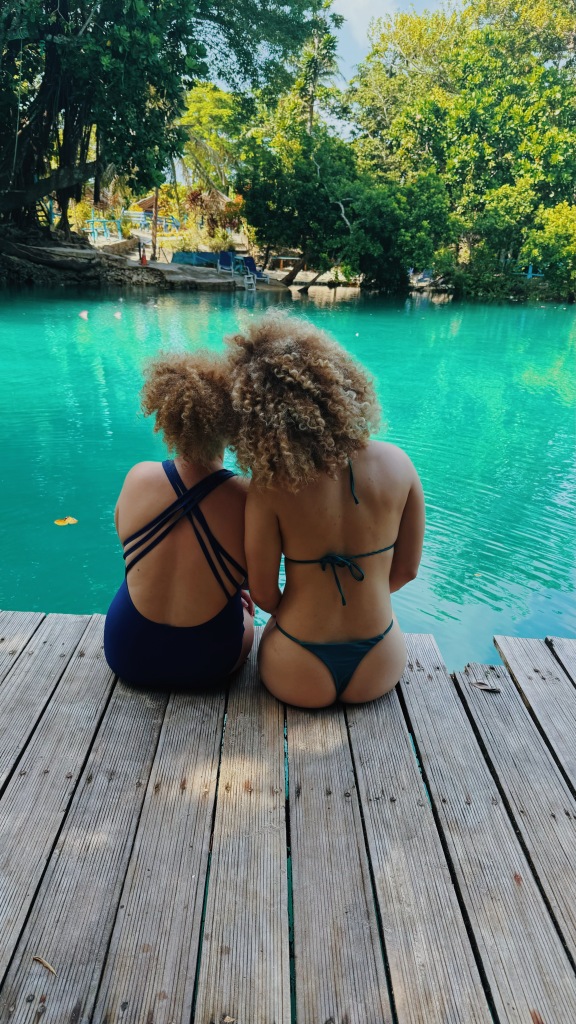
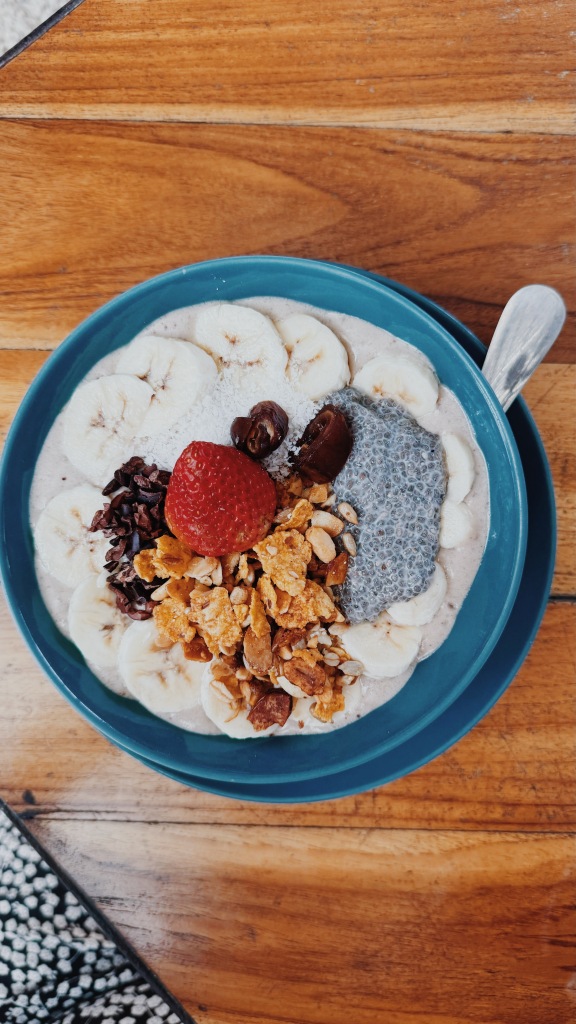
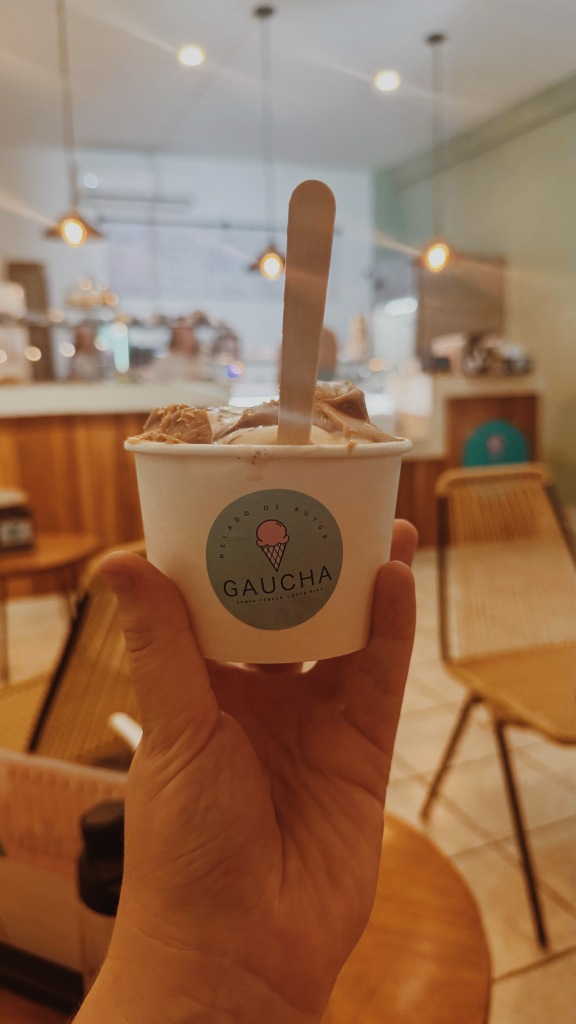
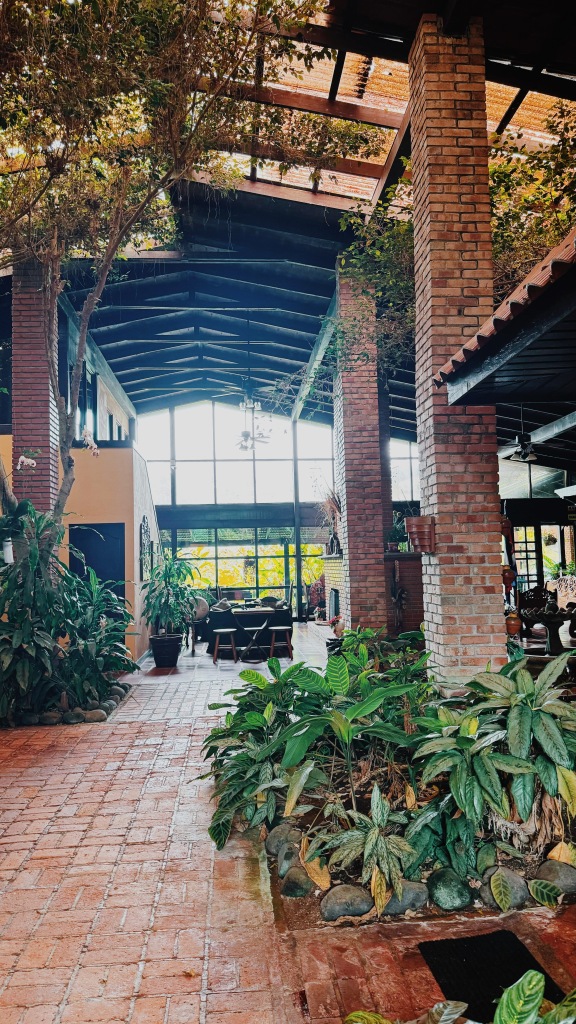
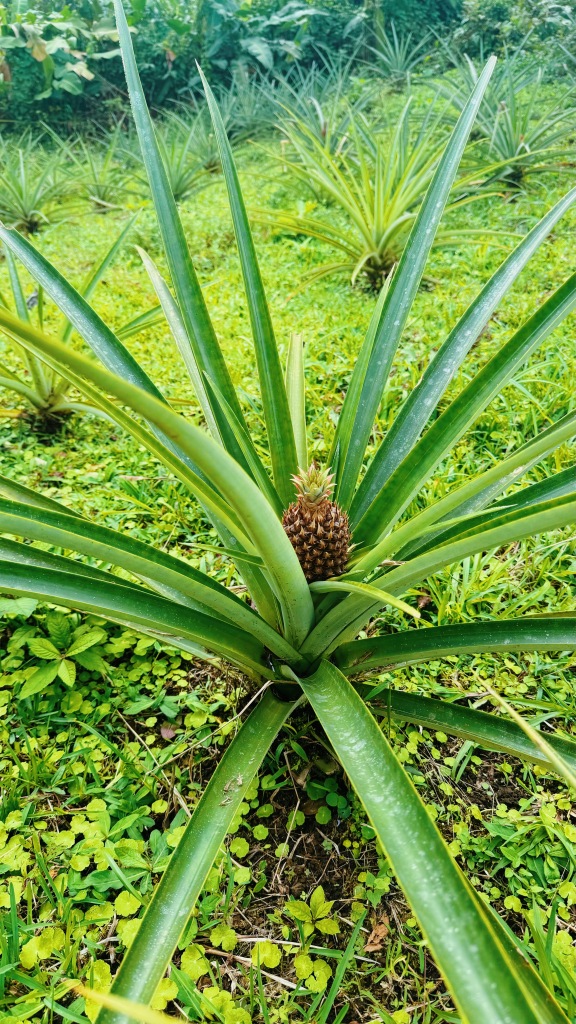
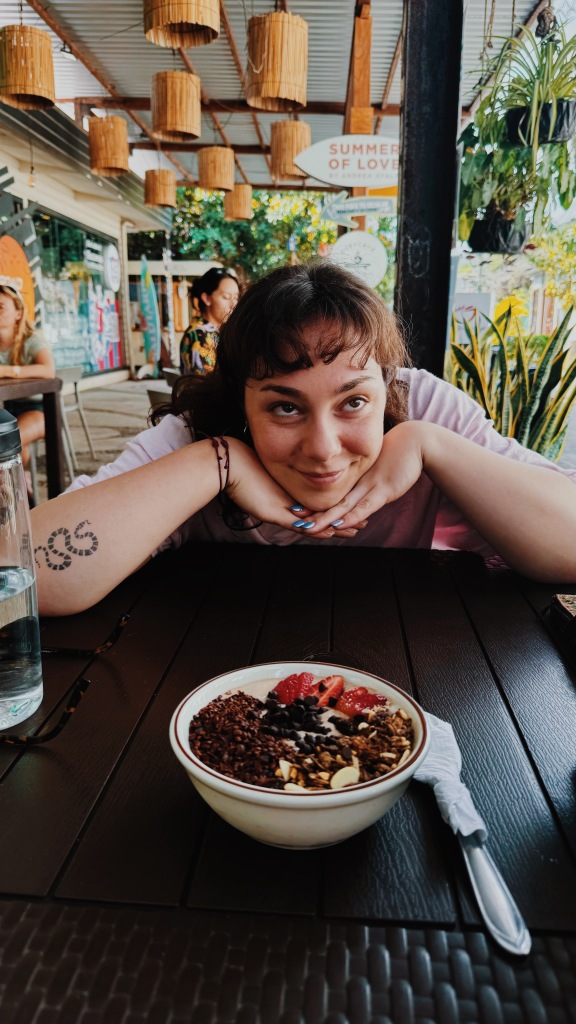
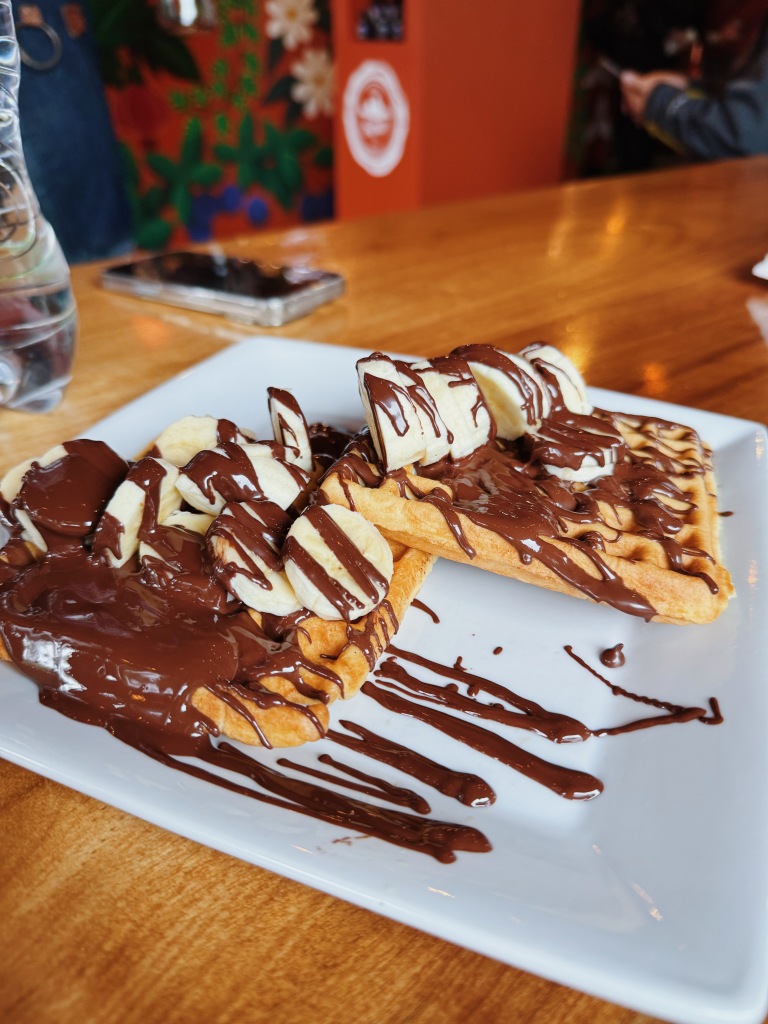
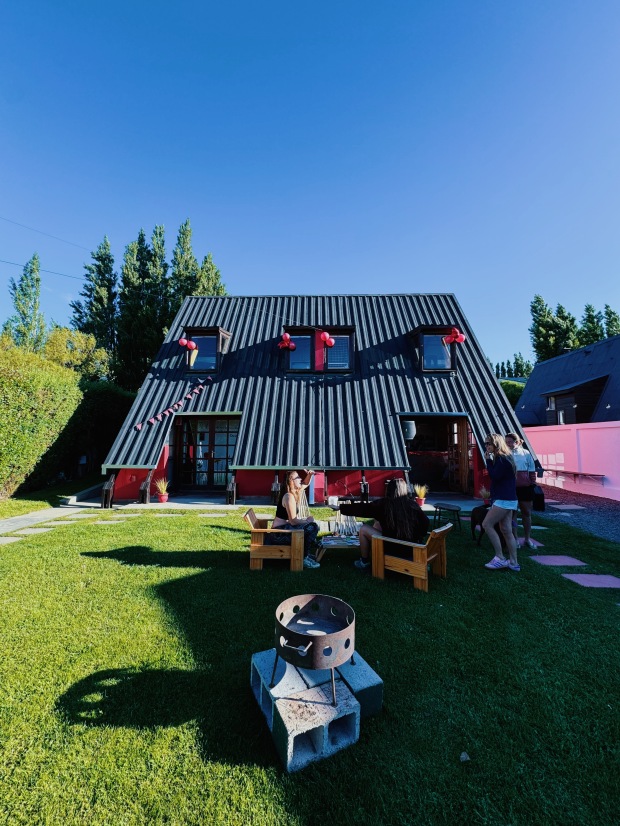
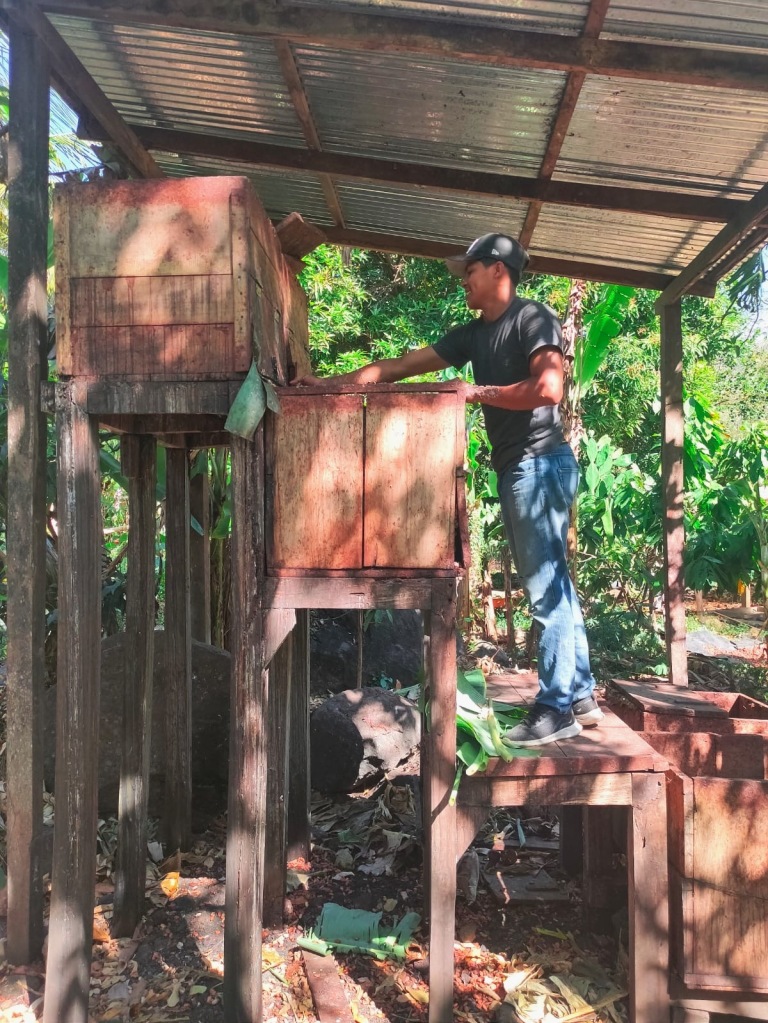
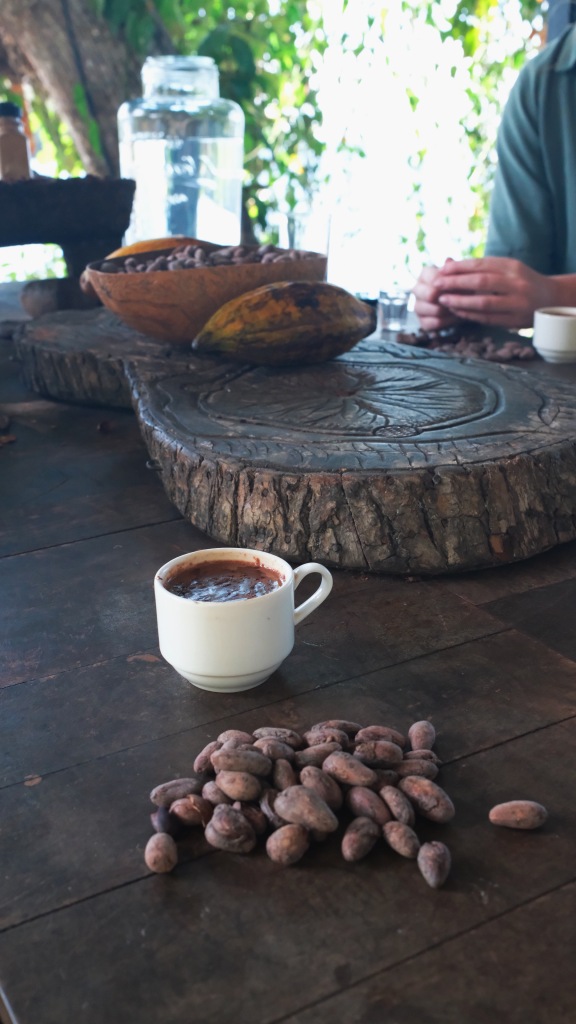
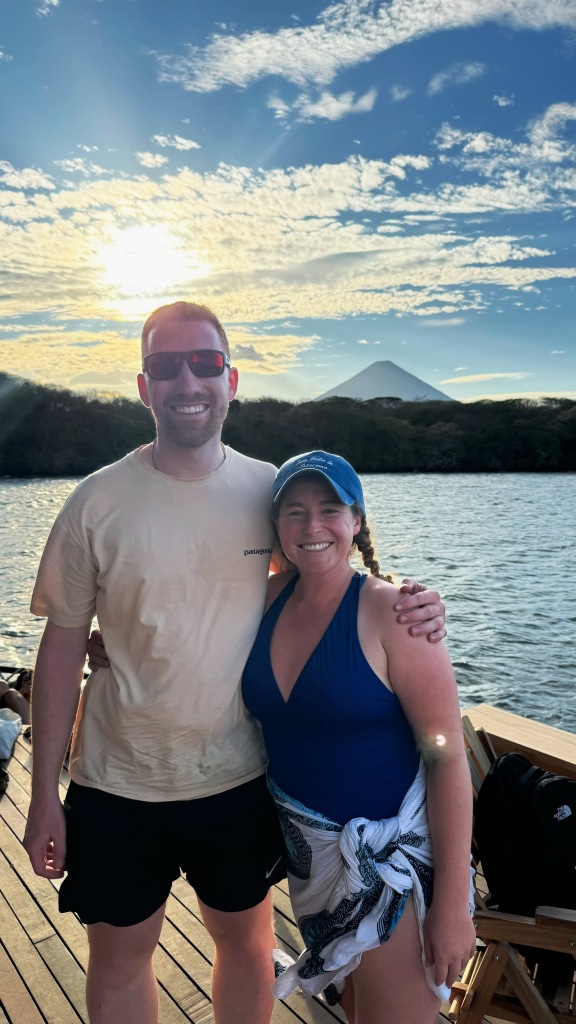
- El Pital (which you can also stay at) is a great trendy spot for sweet treats, great smoothie bowls and fabulous drinks. It’s had a beautiful deck over the lake with beautiful views of one of the volcanos. Filled with backpackers. It’s actually a cacao farm so you can also do a cacao tour! I went twice for the vibes and swimming
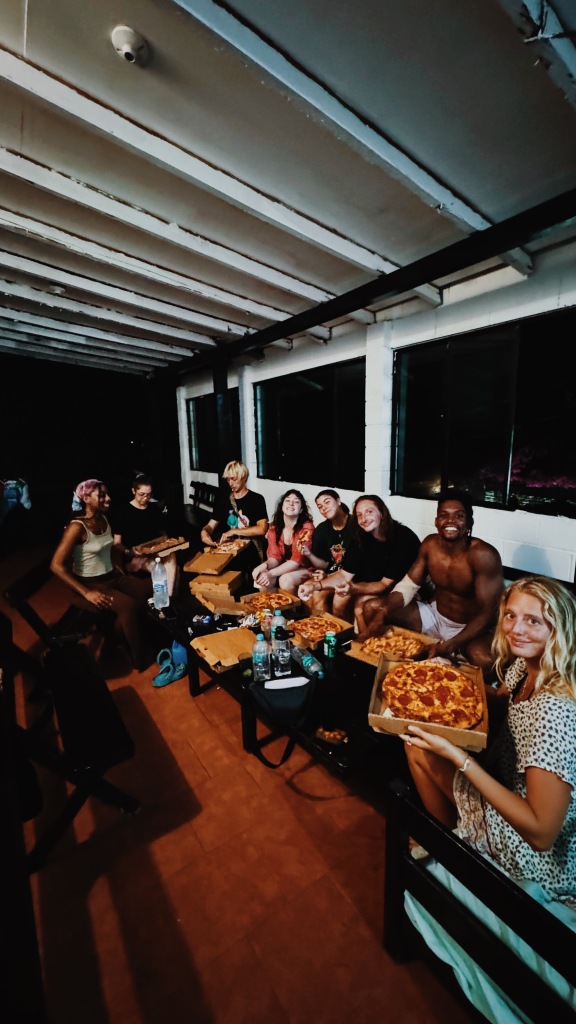
- Pizzeria Mediterranea bar ristorante for some yummy pizza
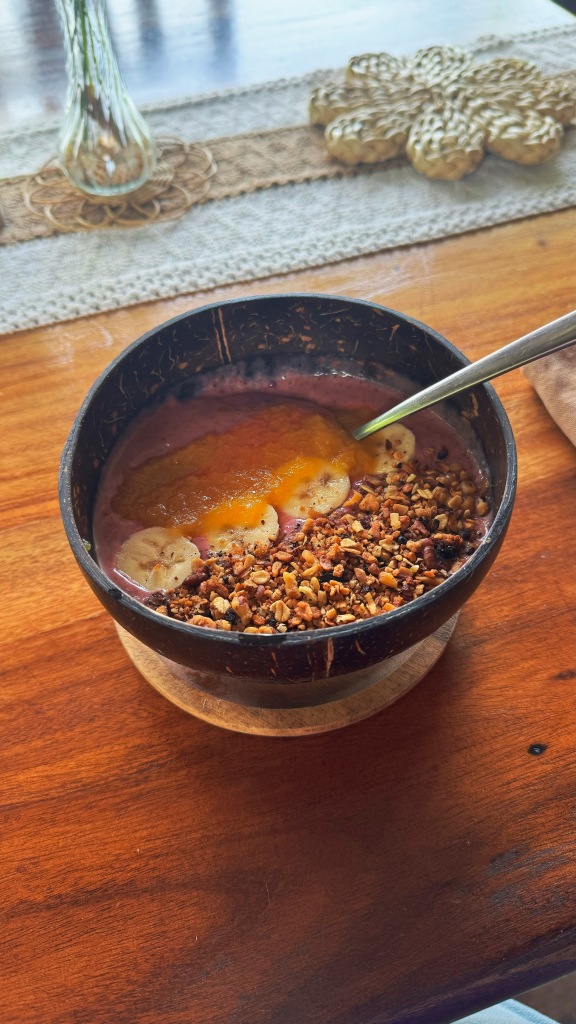
- Breakfast at the hostel was also great- especially the overnight oats!
WHAT TO DO:
- My absolute favorite thing to do was rent a scooter for my whole time on the island. I just loved the freedom. I rented from here and had no issues 😀
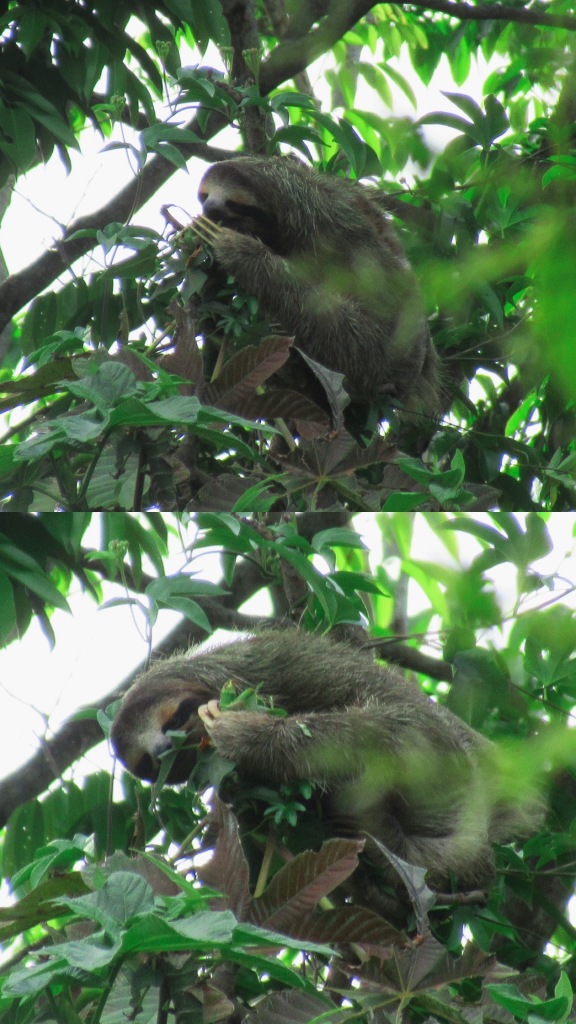
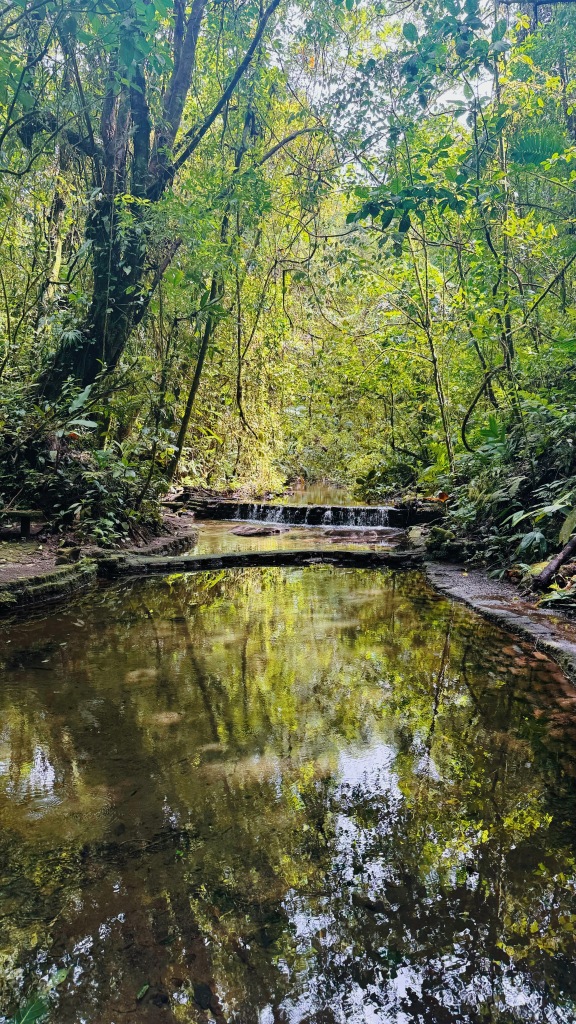
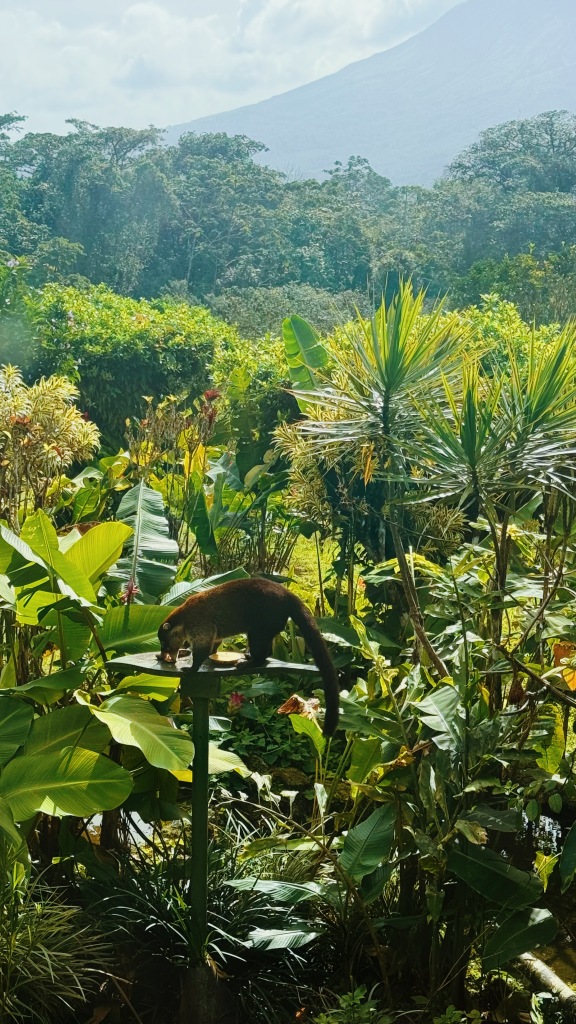
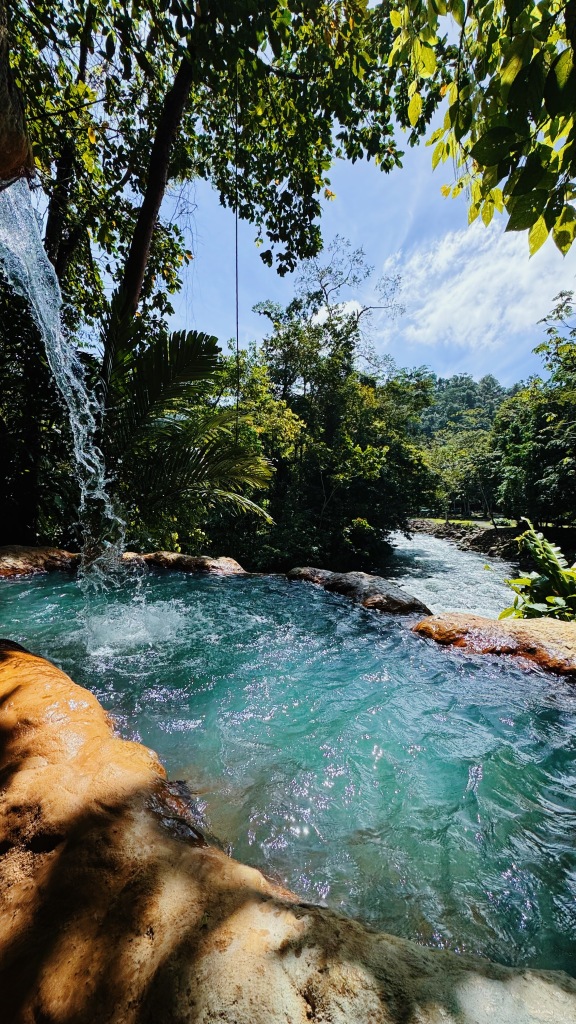
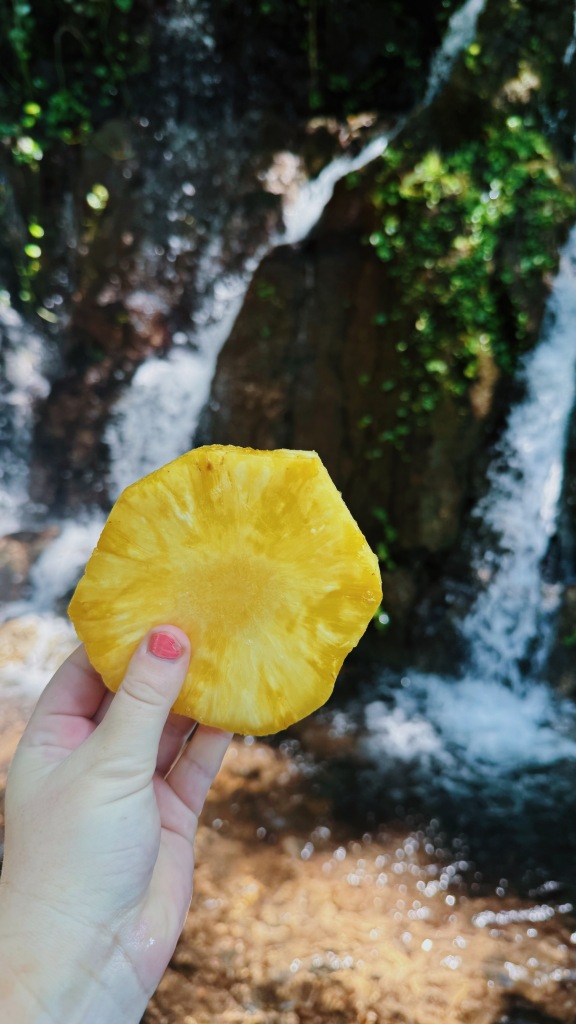
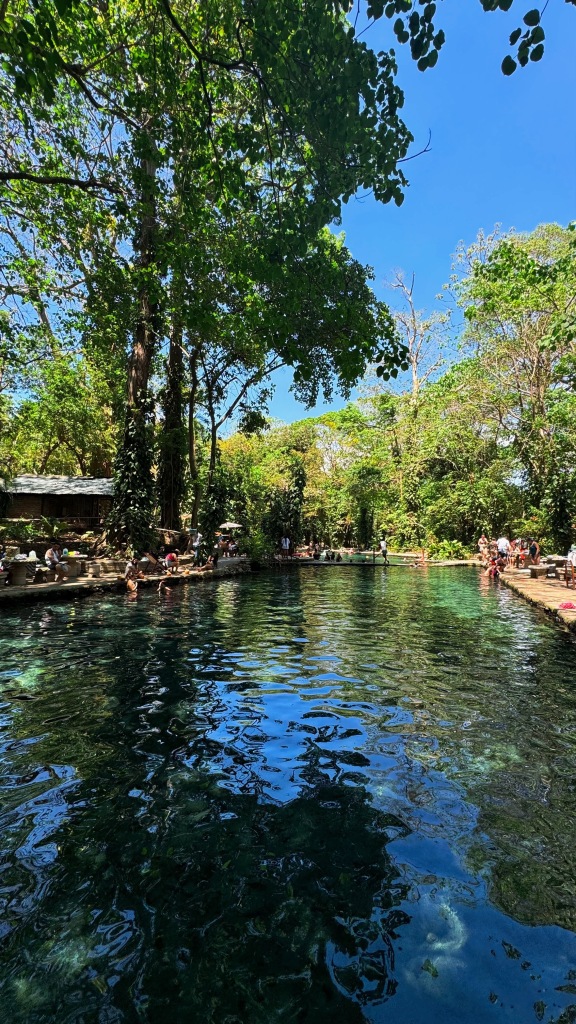
- Visit Ojo de Agua for some swimming in a manmade pool but with lovely fresh water. We also did one of the hikes inside the park to see some monkeys. Your entrance fee (~$11) also includes $5 to spend inside the park
- Do a cacao tour at El Pital (they offer Spanish and English tours so find out their schedule) they only had a Spanish tour while I was there so I did mine in Spanish!!! Pretty cool 😎
- Scooter around the entire island!!
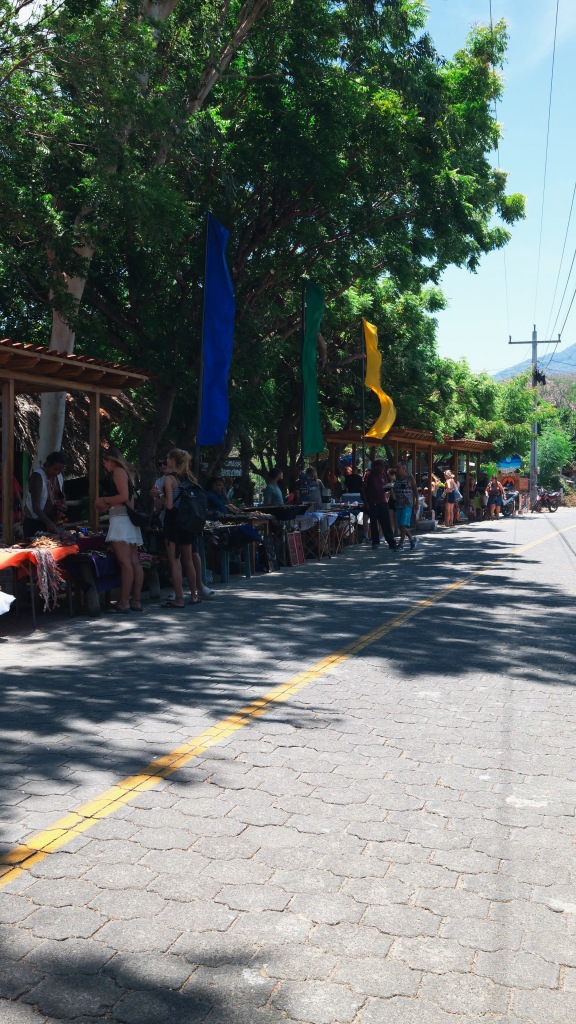
- Visit any pop up markets that are on (we went to a Saturday art market)
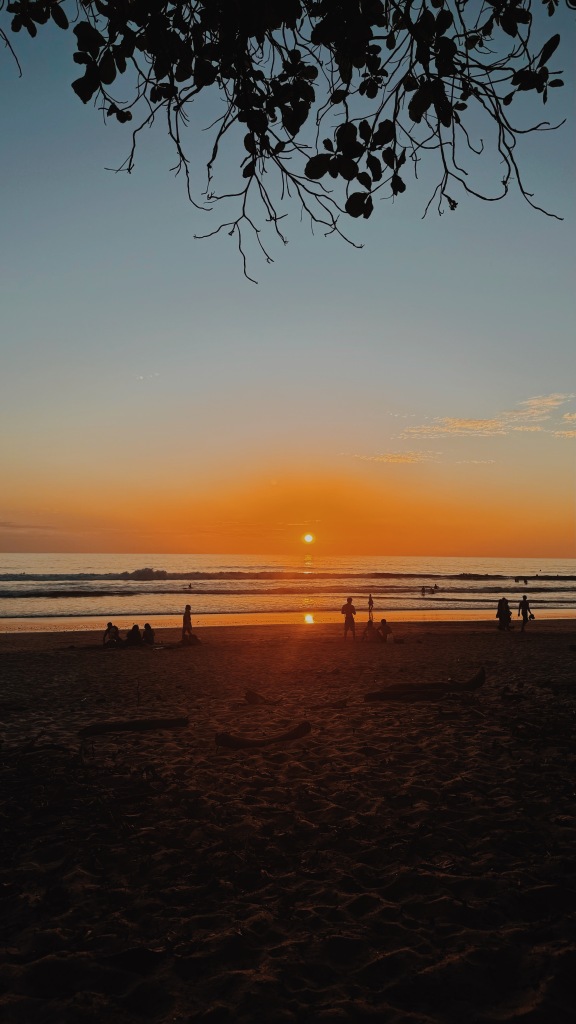
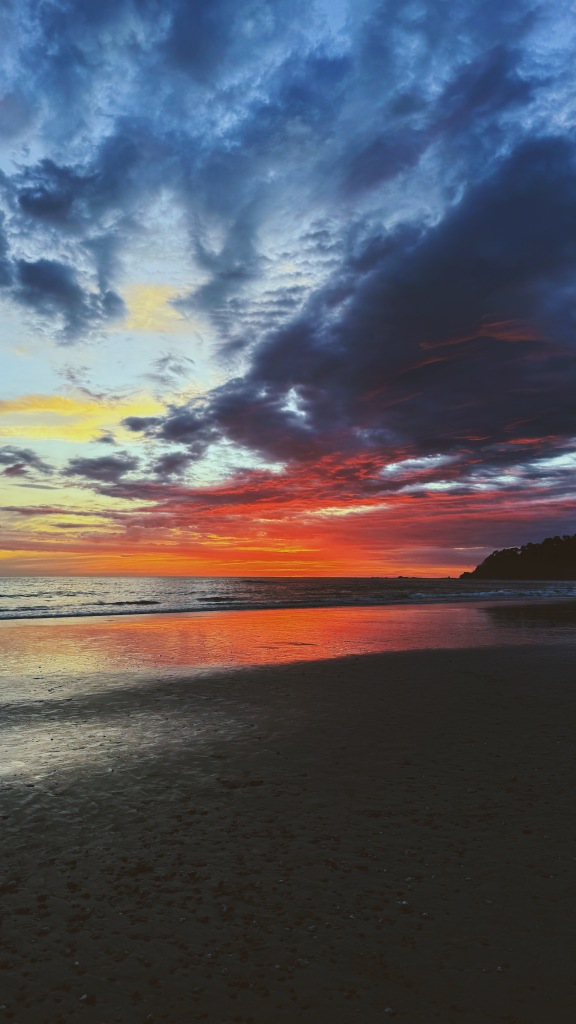
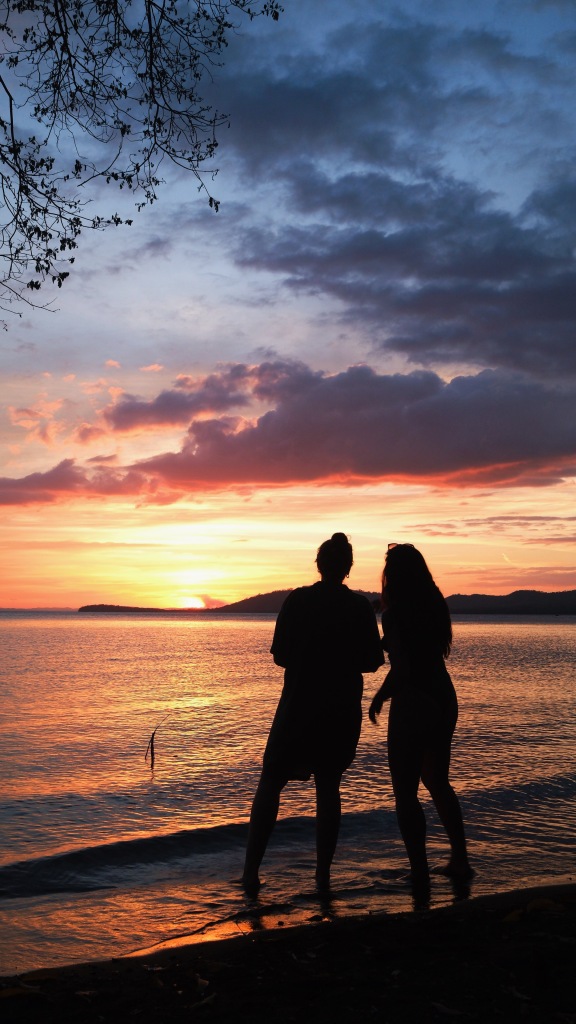
- Go to Playa Mango for sunset. We had spectacular sunsets here

Other ideas (but that I didn’t do)
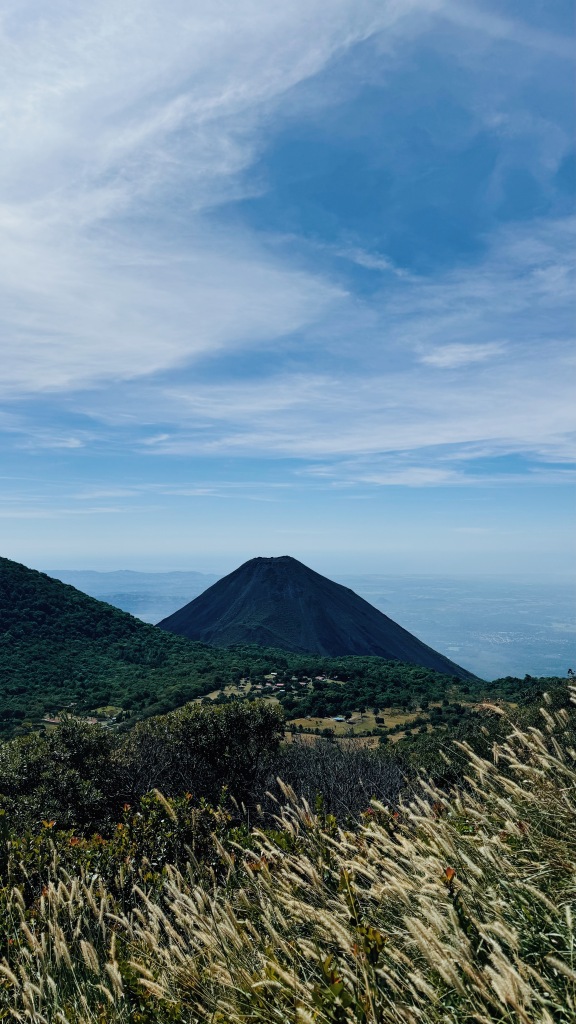
- Hike either of the volcanos. One requires a guide, the other doesn’t. Both would offer great views but think about which volcano you’d want to be able to see from up at the top
- Kayak at sunset
- Go kite surfing or get lessons
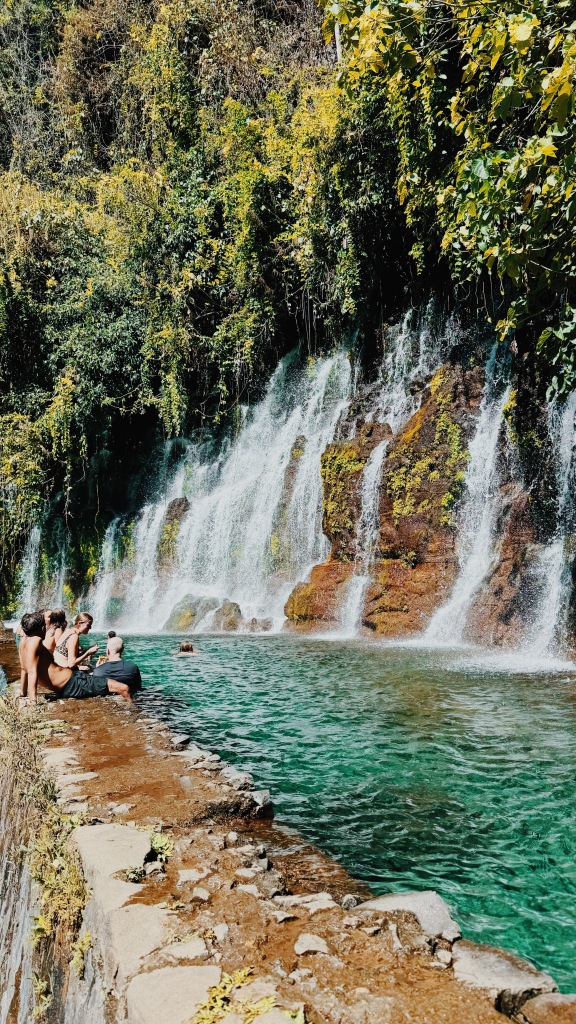
- Hike Cascada de San Ramon (if you aren’t a confident scooter driver then the hike is significantly longer or you can try to hitchhike part of the way)
OVERALL THOUGHTS:
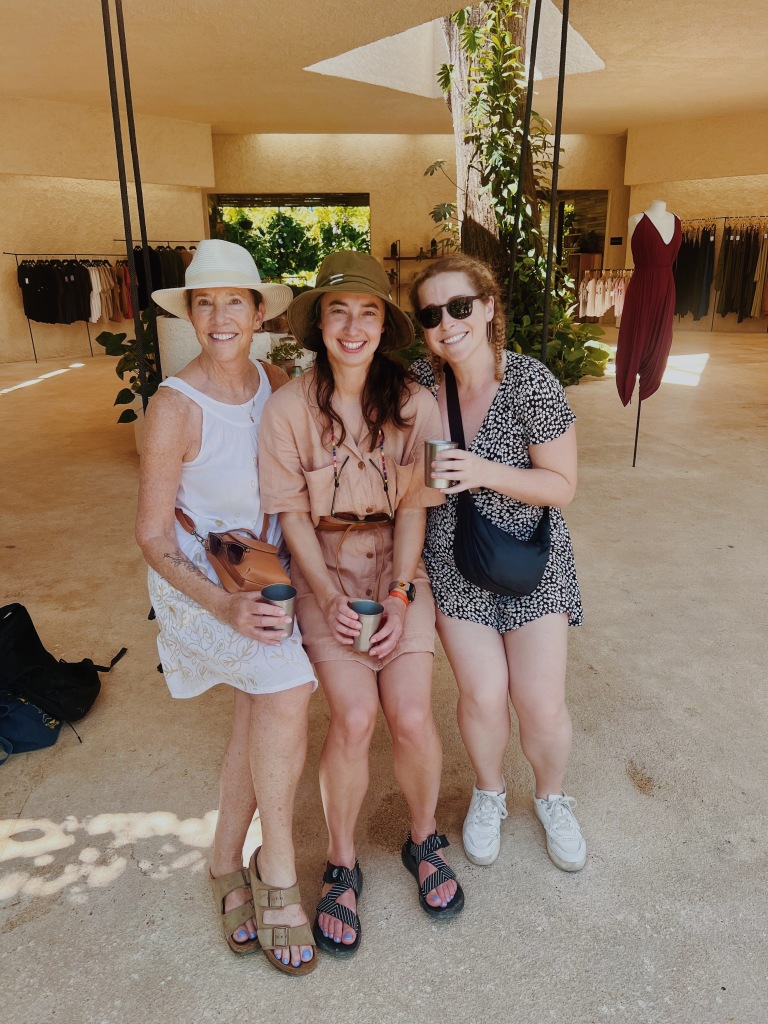
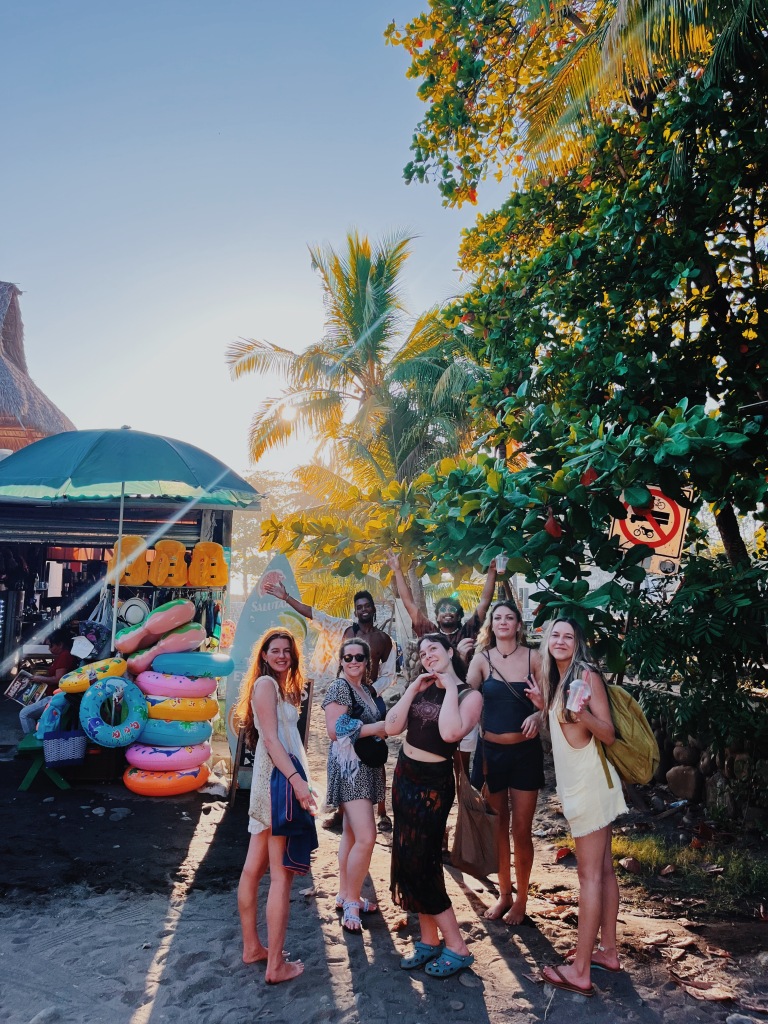
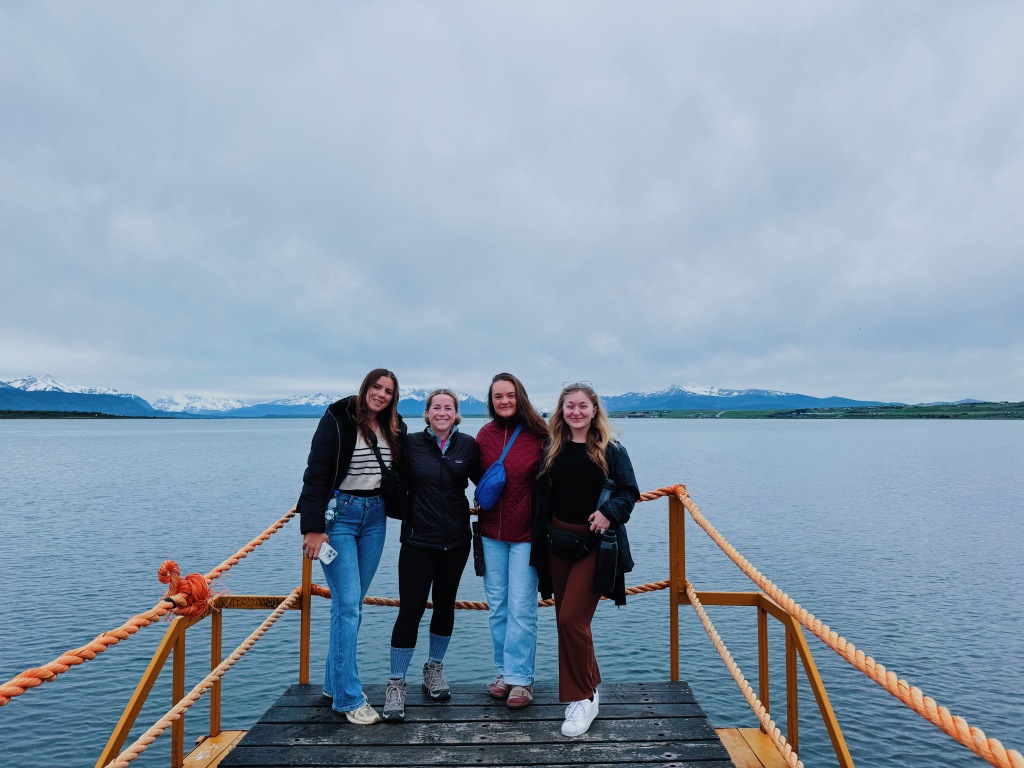
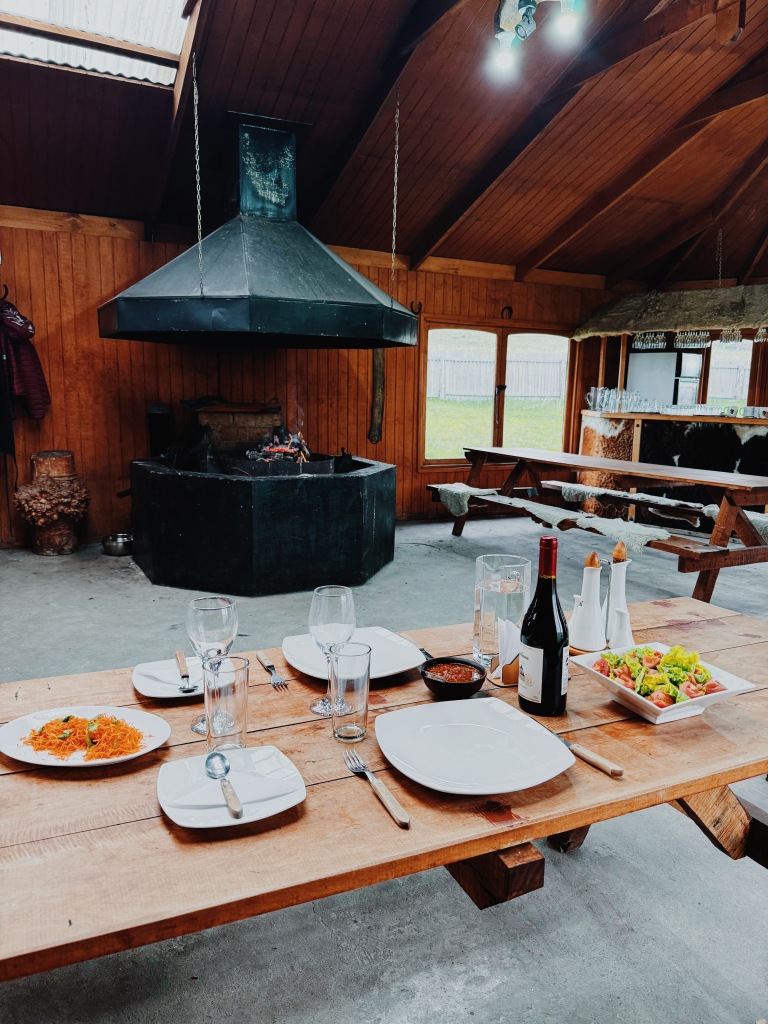
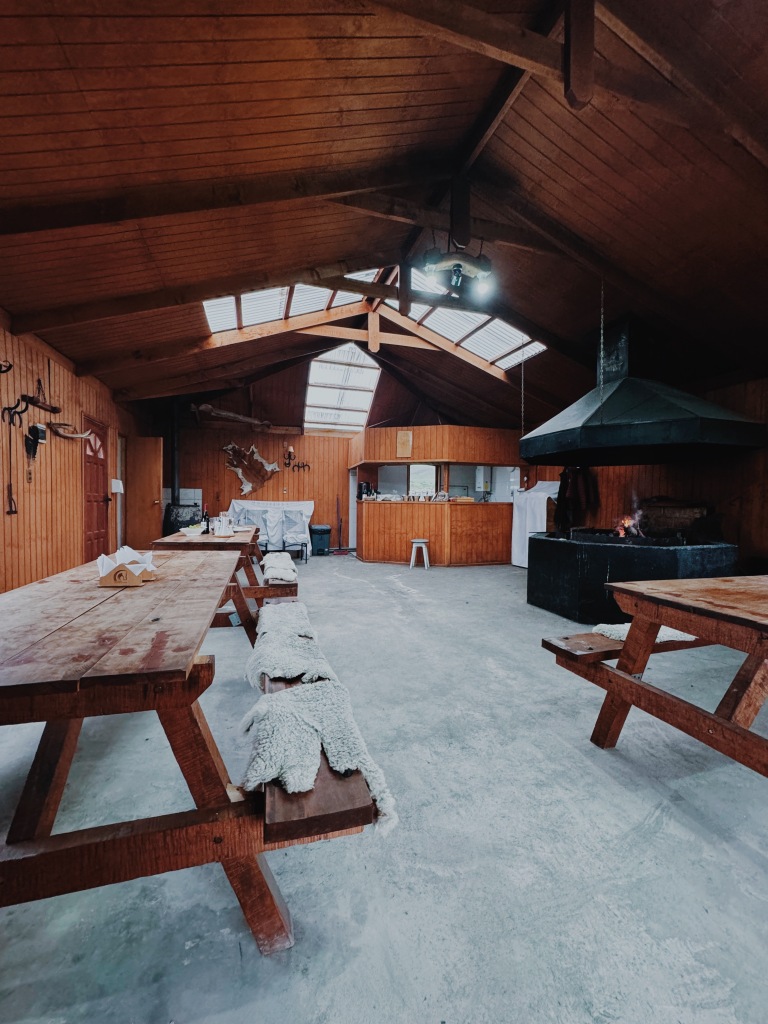
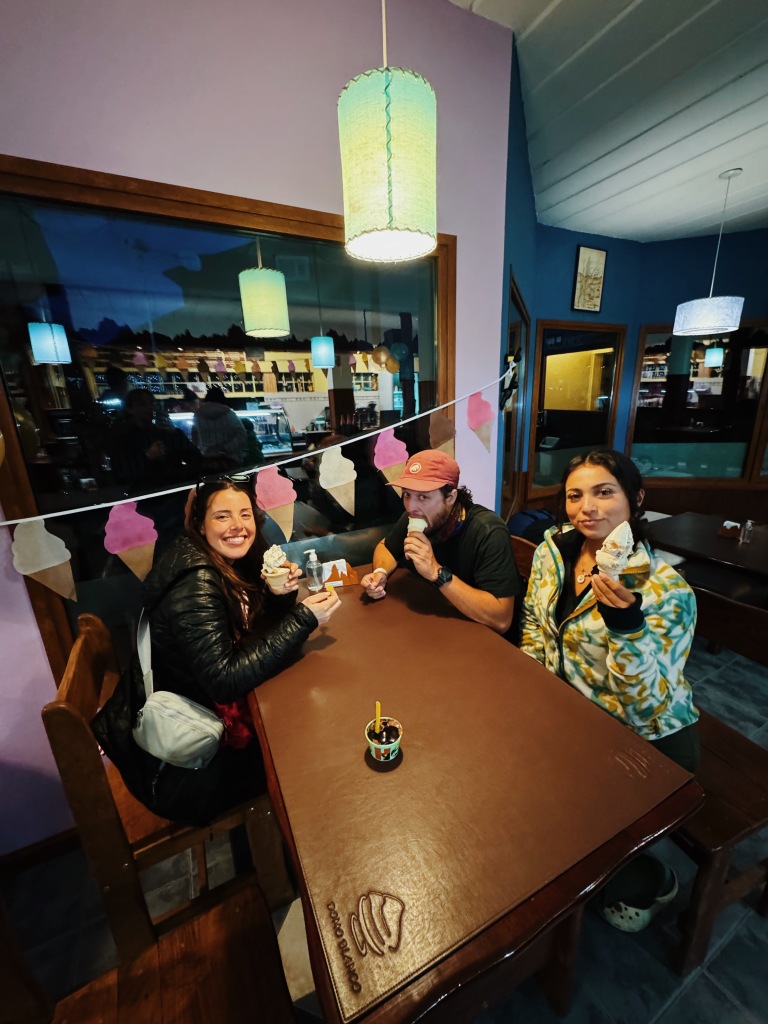
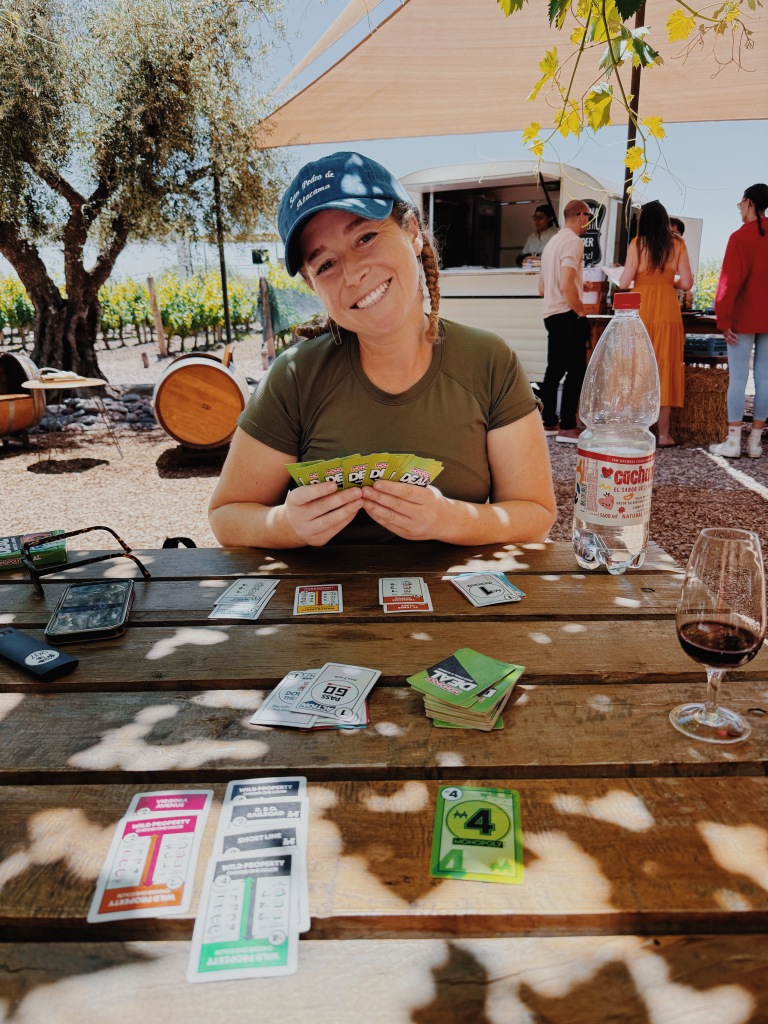
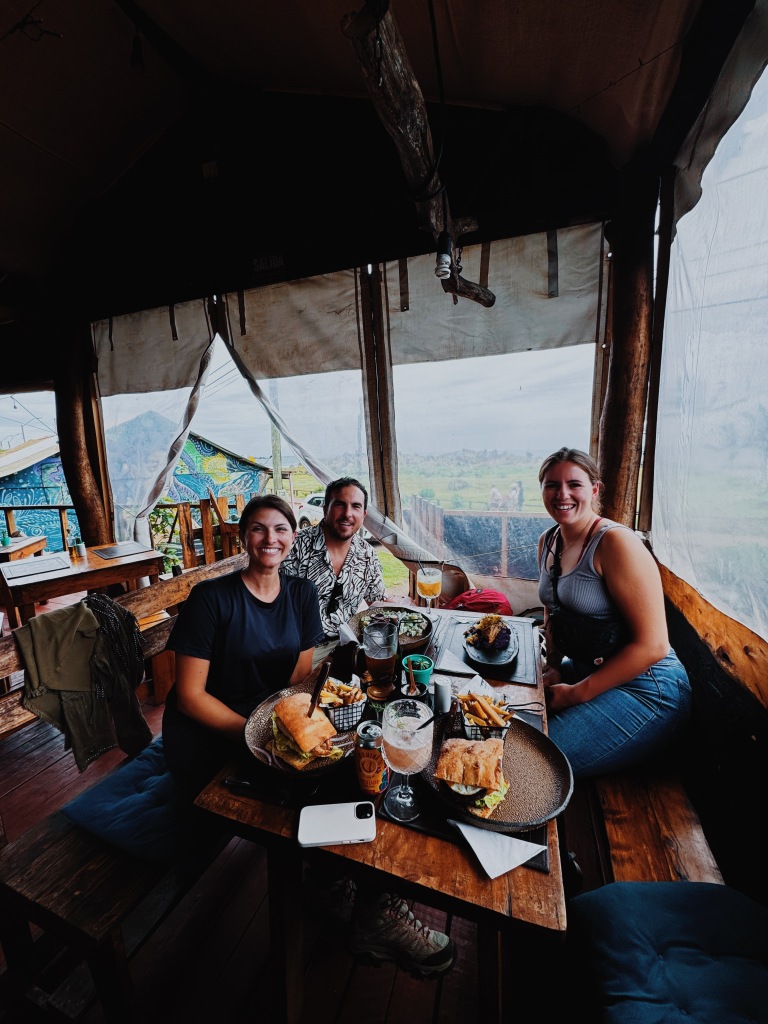
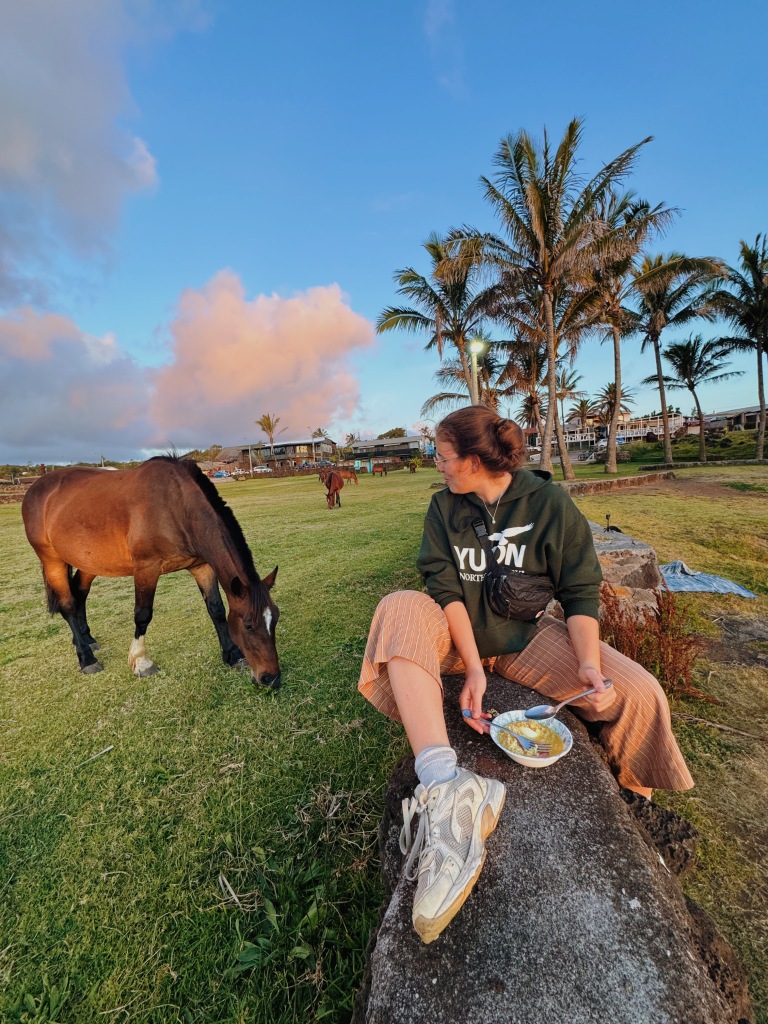
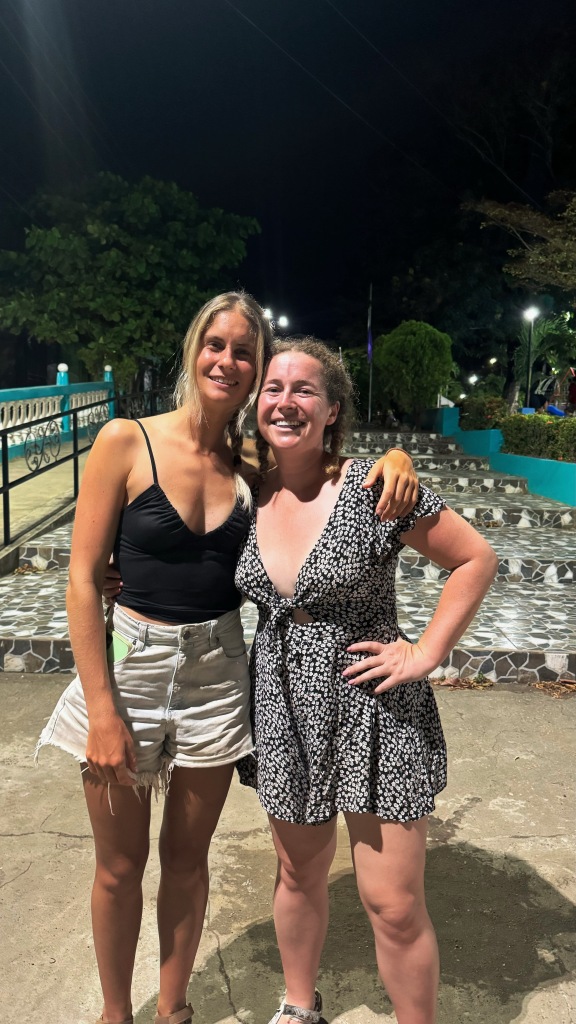
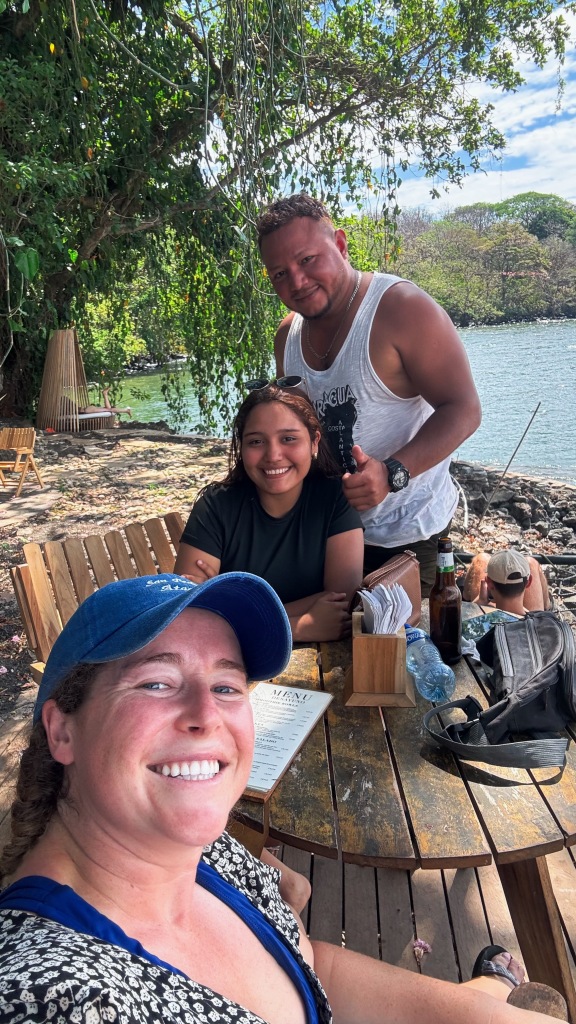
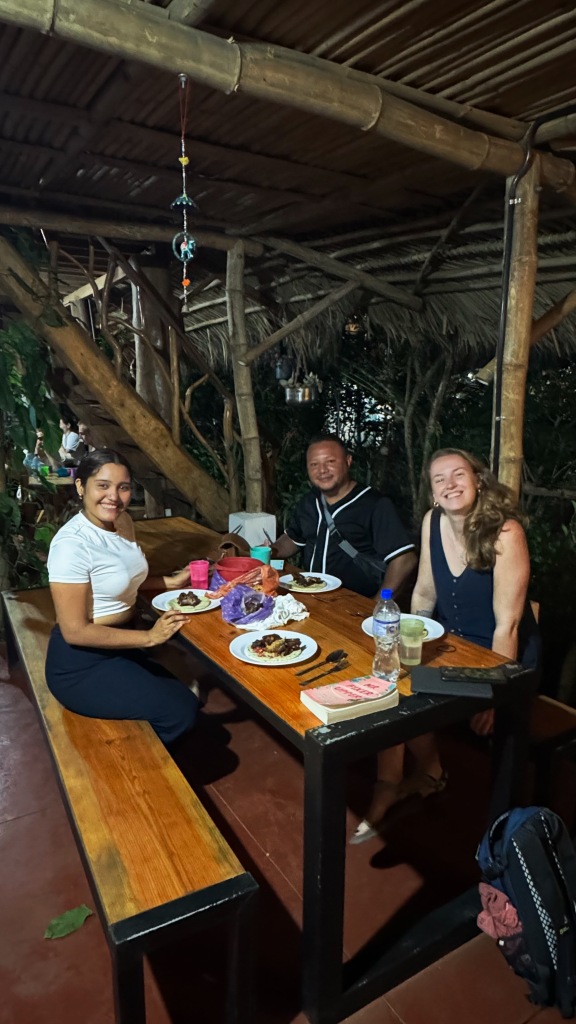
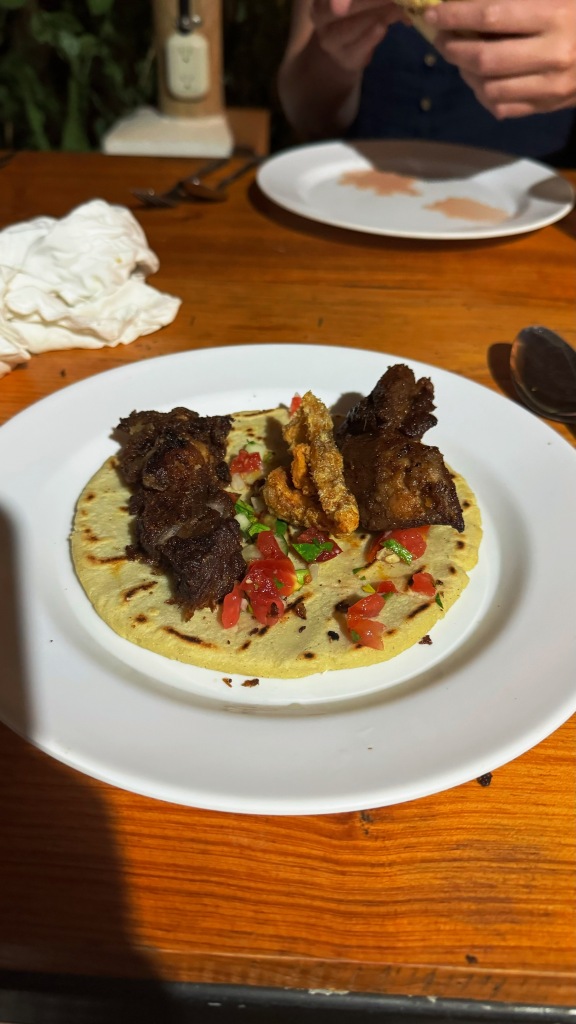
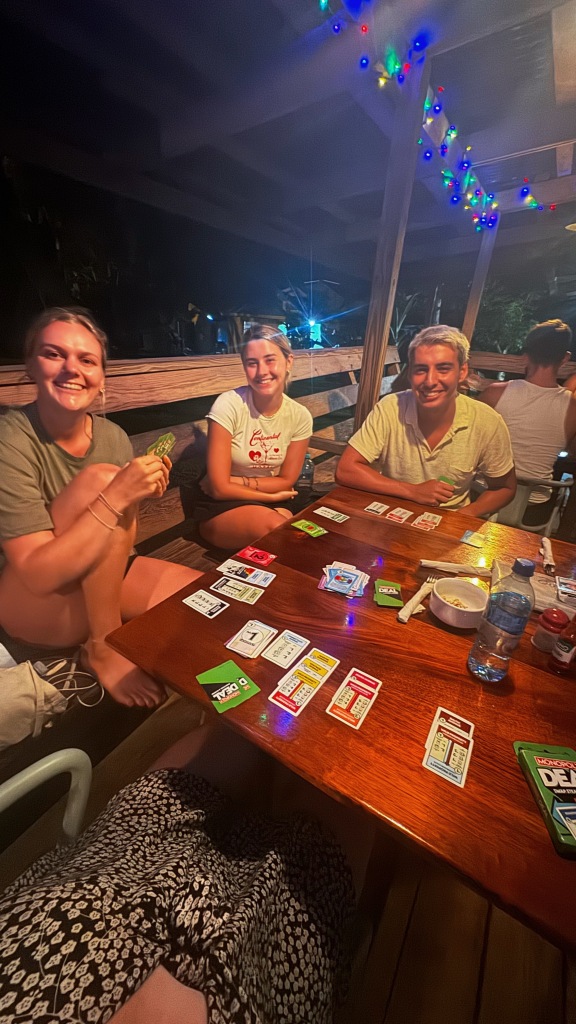
Wow I really loved it here! Having a scooter really made all the difference as I could be completely independent on what to do and when. Also it was quite unexpectedly social. I got to see Tammy (studied Spanish with her in Colombia in May of last year) and her BF for a night. Then I met Tessa (Dutch) and Cat (Australian) who I did the cacao tour and then sunset/dinner. Then Tessa and I spent 2 days scootering all around. While at El Pital I randomly ran into a British guy who I spent 2 days with in Cambodia exploring Angkor Wat. Lastly at Ojo de Agua, Tessa and I met a lovely local couple and chatted to for a bit. Then I ran into them the next day at El Pital and they offered to make us a local/typical dinner and bring it to us at our hostel to enjoy together. It was one of the highlights of Central America so far. Just so generous! I also loved that my Spanish is at a level where I can have dinner with locals now.
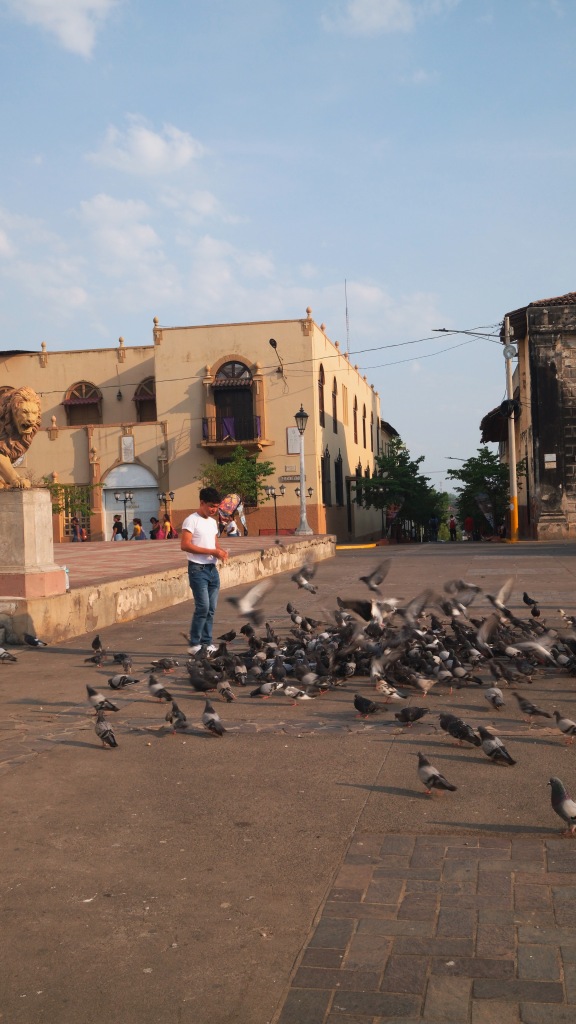
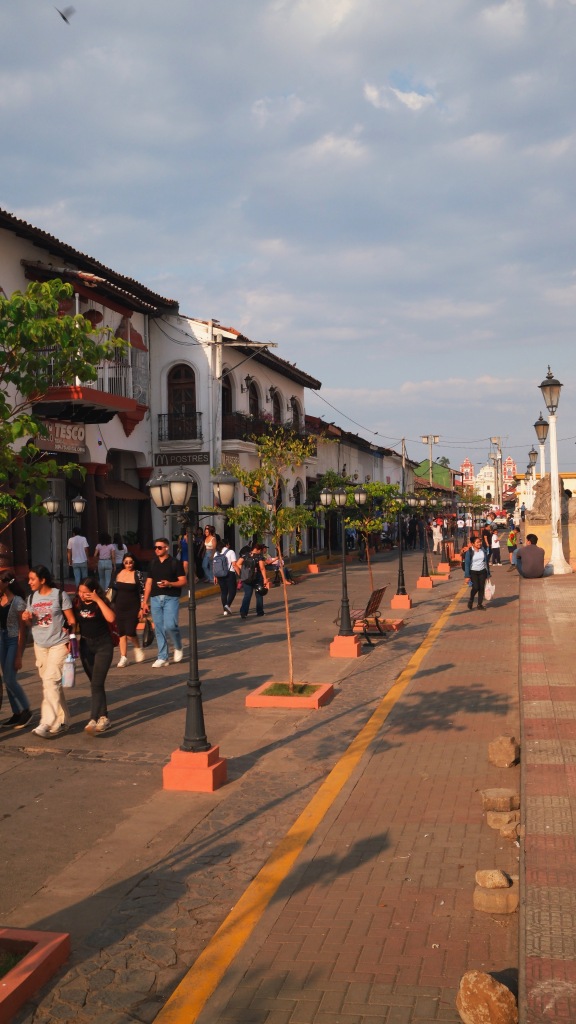
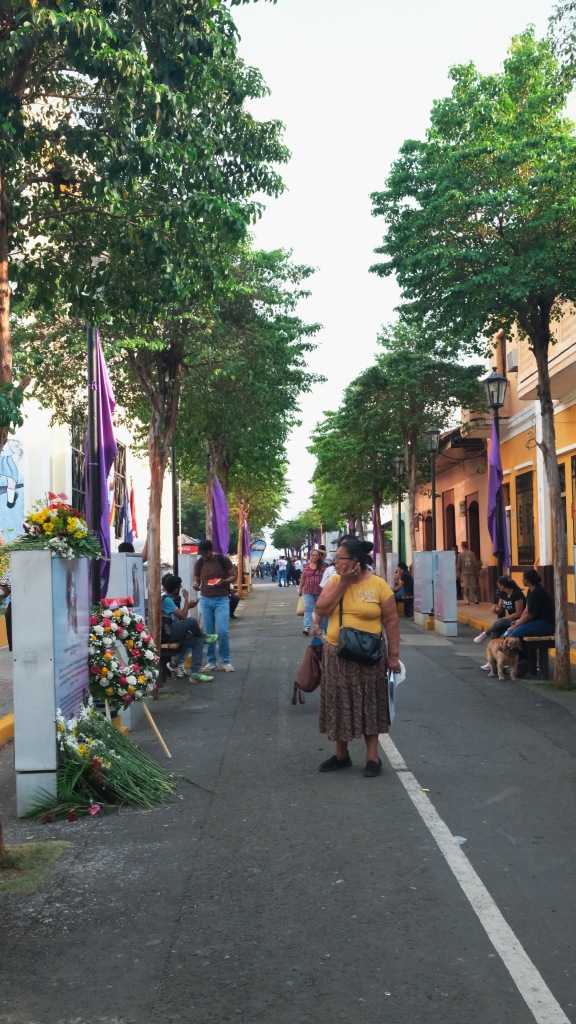
CITY: GRANADA
HOW LONG: 3 NIGHTS
ACCOMMODATION:
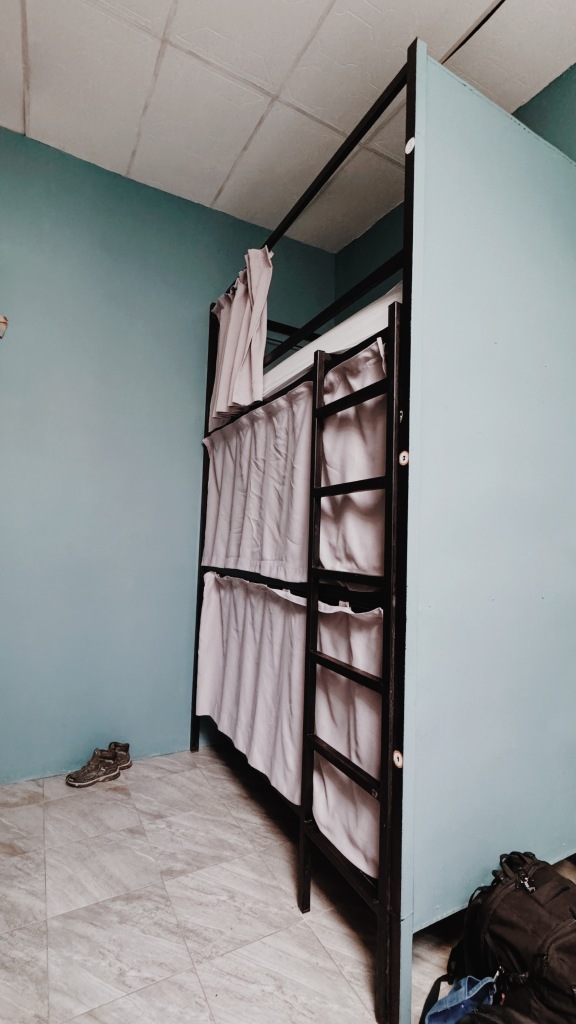
De Boca en Boca is a backpacker favorite. Lots of dorm rooms to choose from. The personal fan in each bed was enough to keep me cool at night. There’s a locker for your stuff. The outdoor common area has tons of seating and hammocks. There’s a pool table and a tiny pool to cool off. Free breakfast was great and changed each day. There were also tons of activities during the evening to meet people and they organized plenty of day trips you could sign up for. It’s in a good location, but I wouldn’t walk alone at night anywhere in Granada. 9/10
WHERE TO EAT:
I grabbed dinner to go from a yummy Mexican spot called Burrocks around the corner that I’d recommend for good, cheap food. It was convenient to grab and then bring it back to eat at the hostel since I didn’t want to walk late on my own.
For brunch/lunch I’d check out Cafe del Arte and The Garden Cafe. Both had lovely ambiances but not the cheapest.
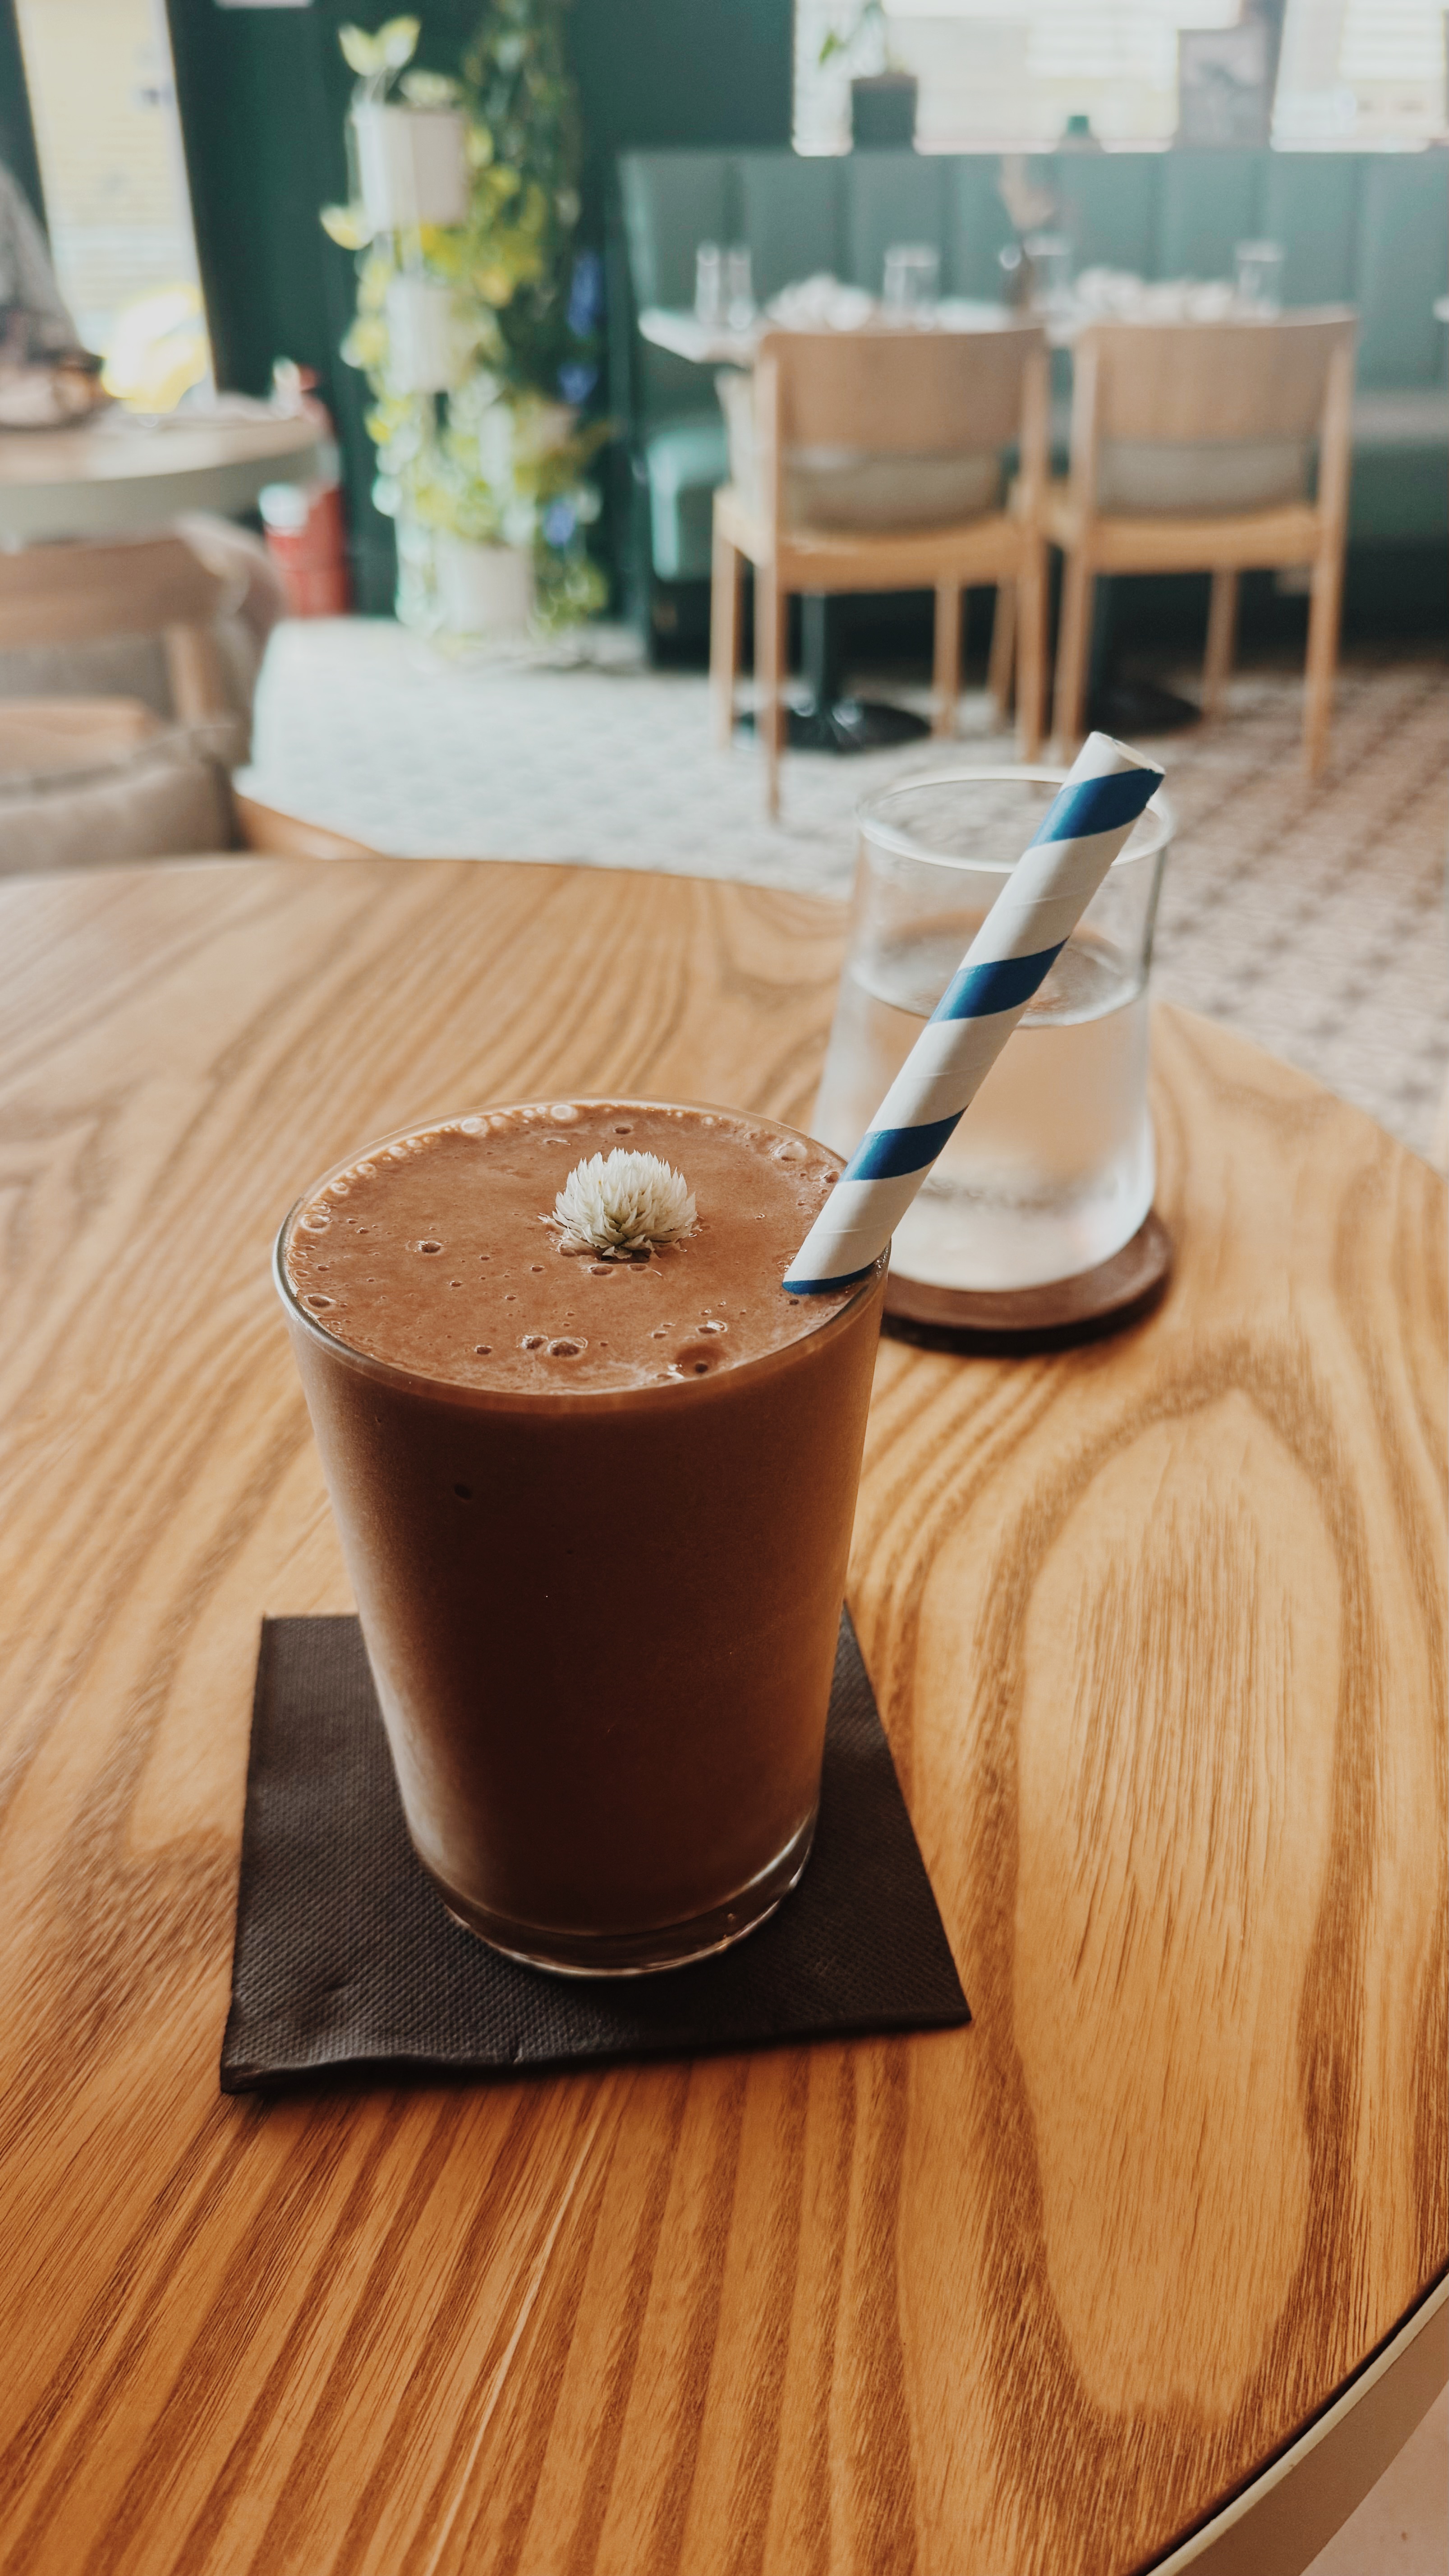
I found a smoothie/bowl place (Pitaya) that was great. I wish I’d found it earlier in my stay in Granada.

WHAT TO DO:
I was burnt out from the go go go pace of Ometepe so I mostly just chilled while here.
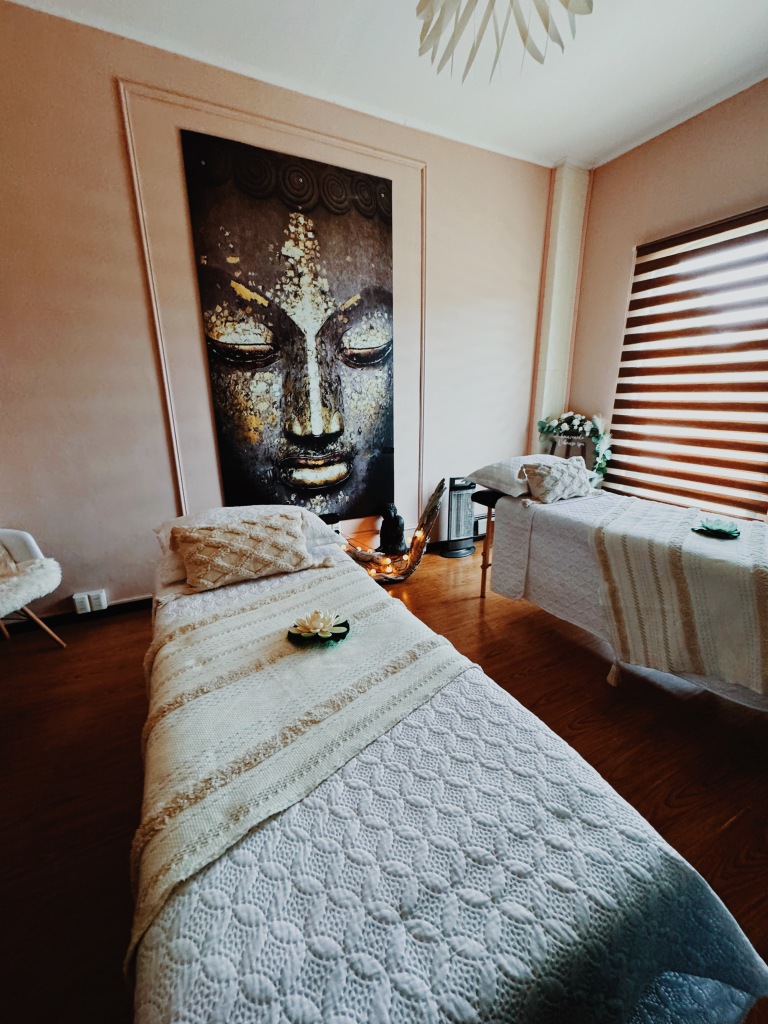
I did a walking tour, went to the dentist and had a massage (90 min for $35!!). I also did a ton of booking of hostels and flights for the rest of my Central America trip.
Other popular options:
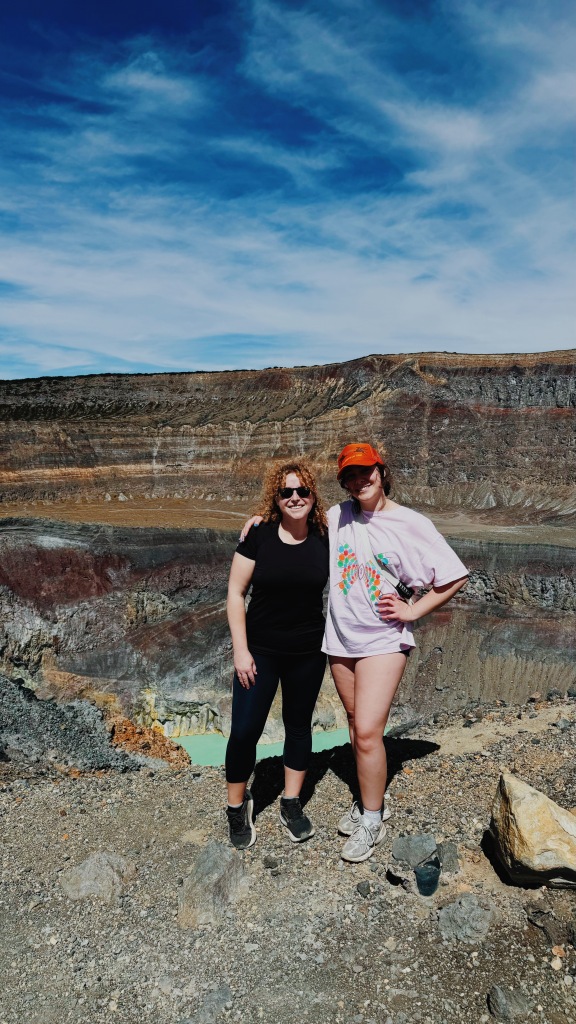
- hike a volcano
- Take a cruise of the Islets in Lake Nicaragua
- Treehouse party
OVERALL THOUGHTS:
I liked Granada and all its charming, colorful architecture, but I wouldn’t say I fell in love with it. It’s worth a stop in any Nicaraguan itinerary, but I wouldn’t say you need more than 2-3 days. Also a girl at the hostel got beat up while coming back to the hostel late at night, so just be sure to be aware of your safety while here.

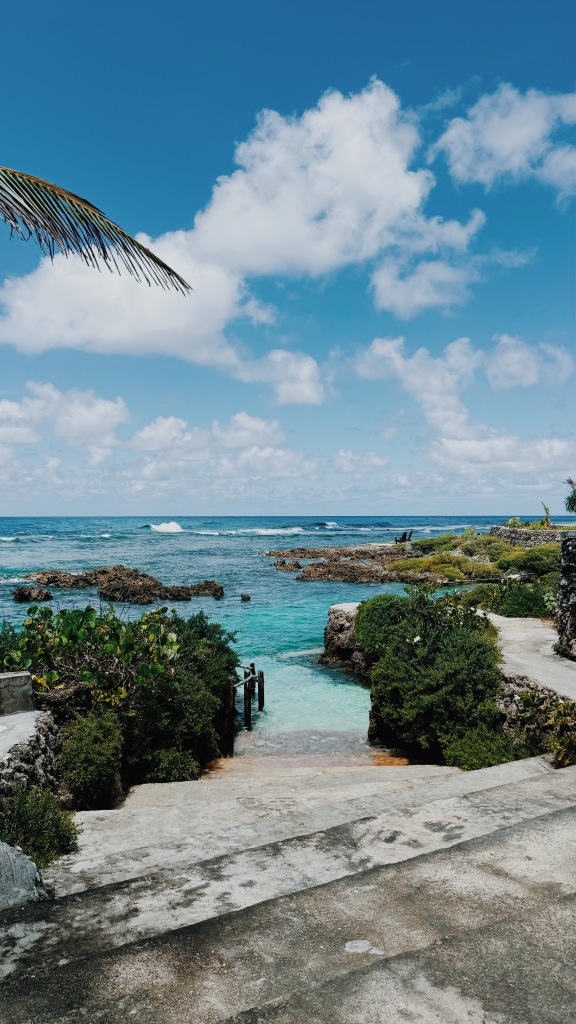
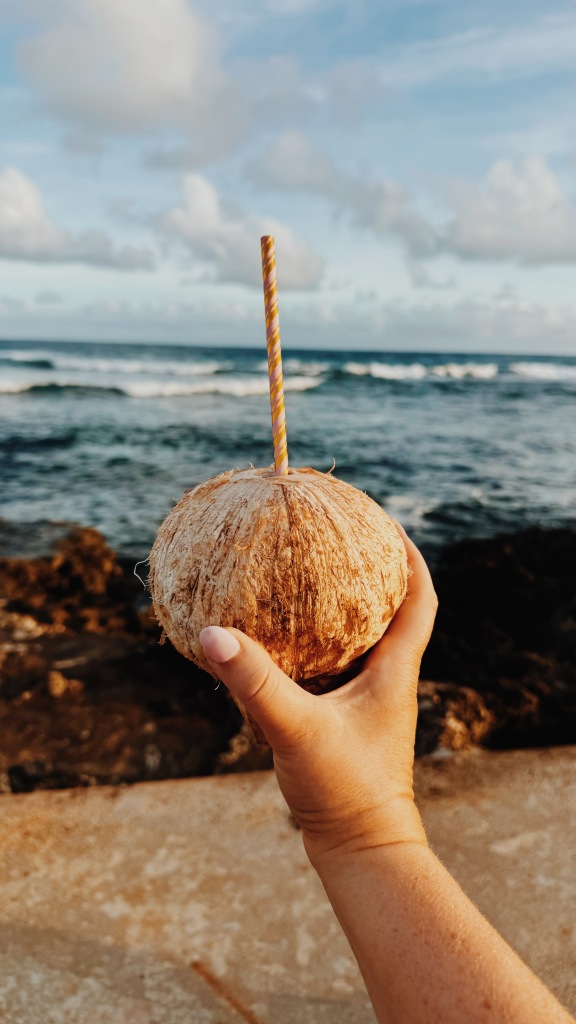
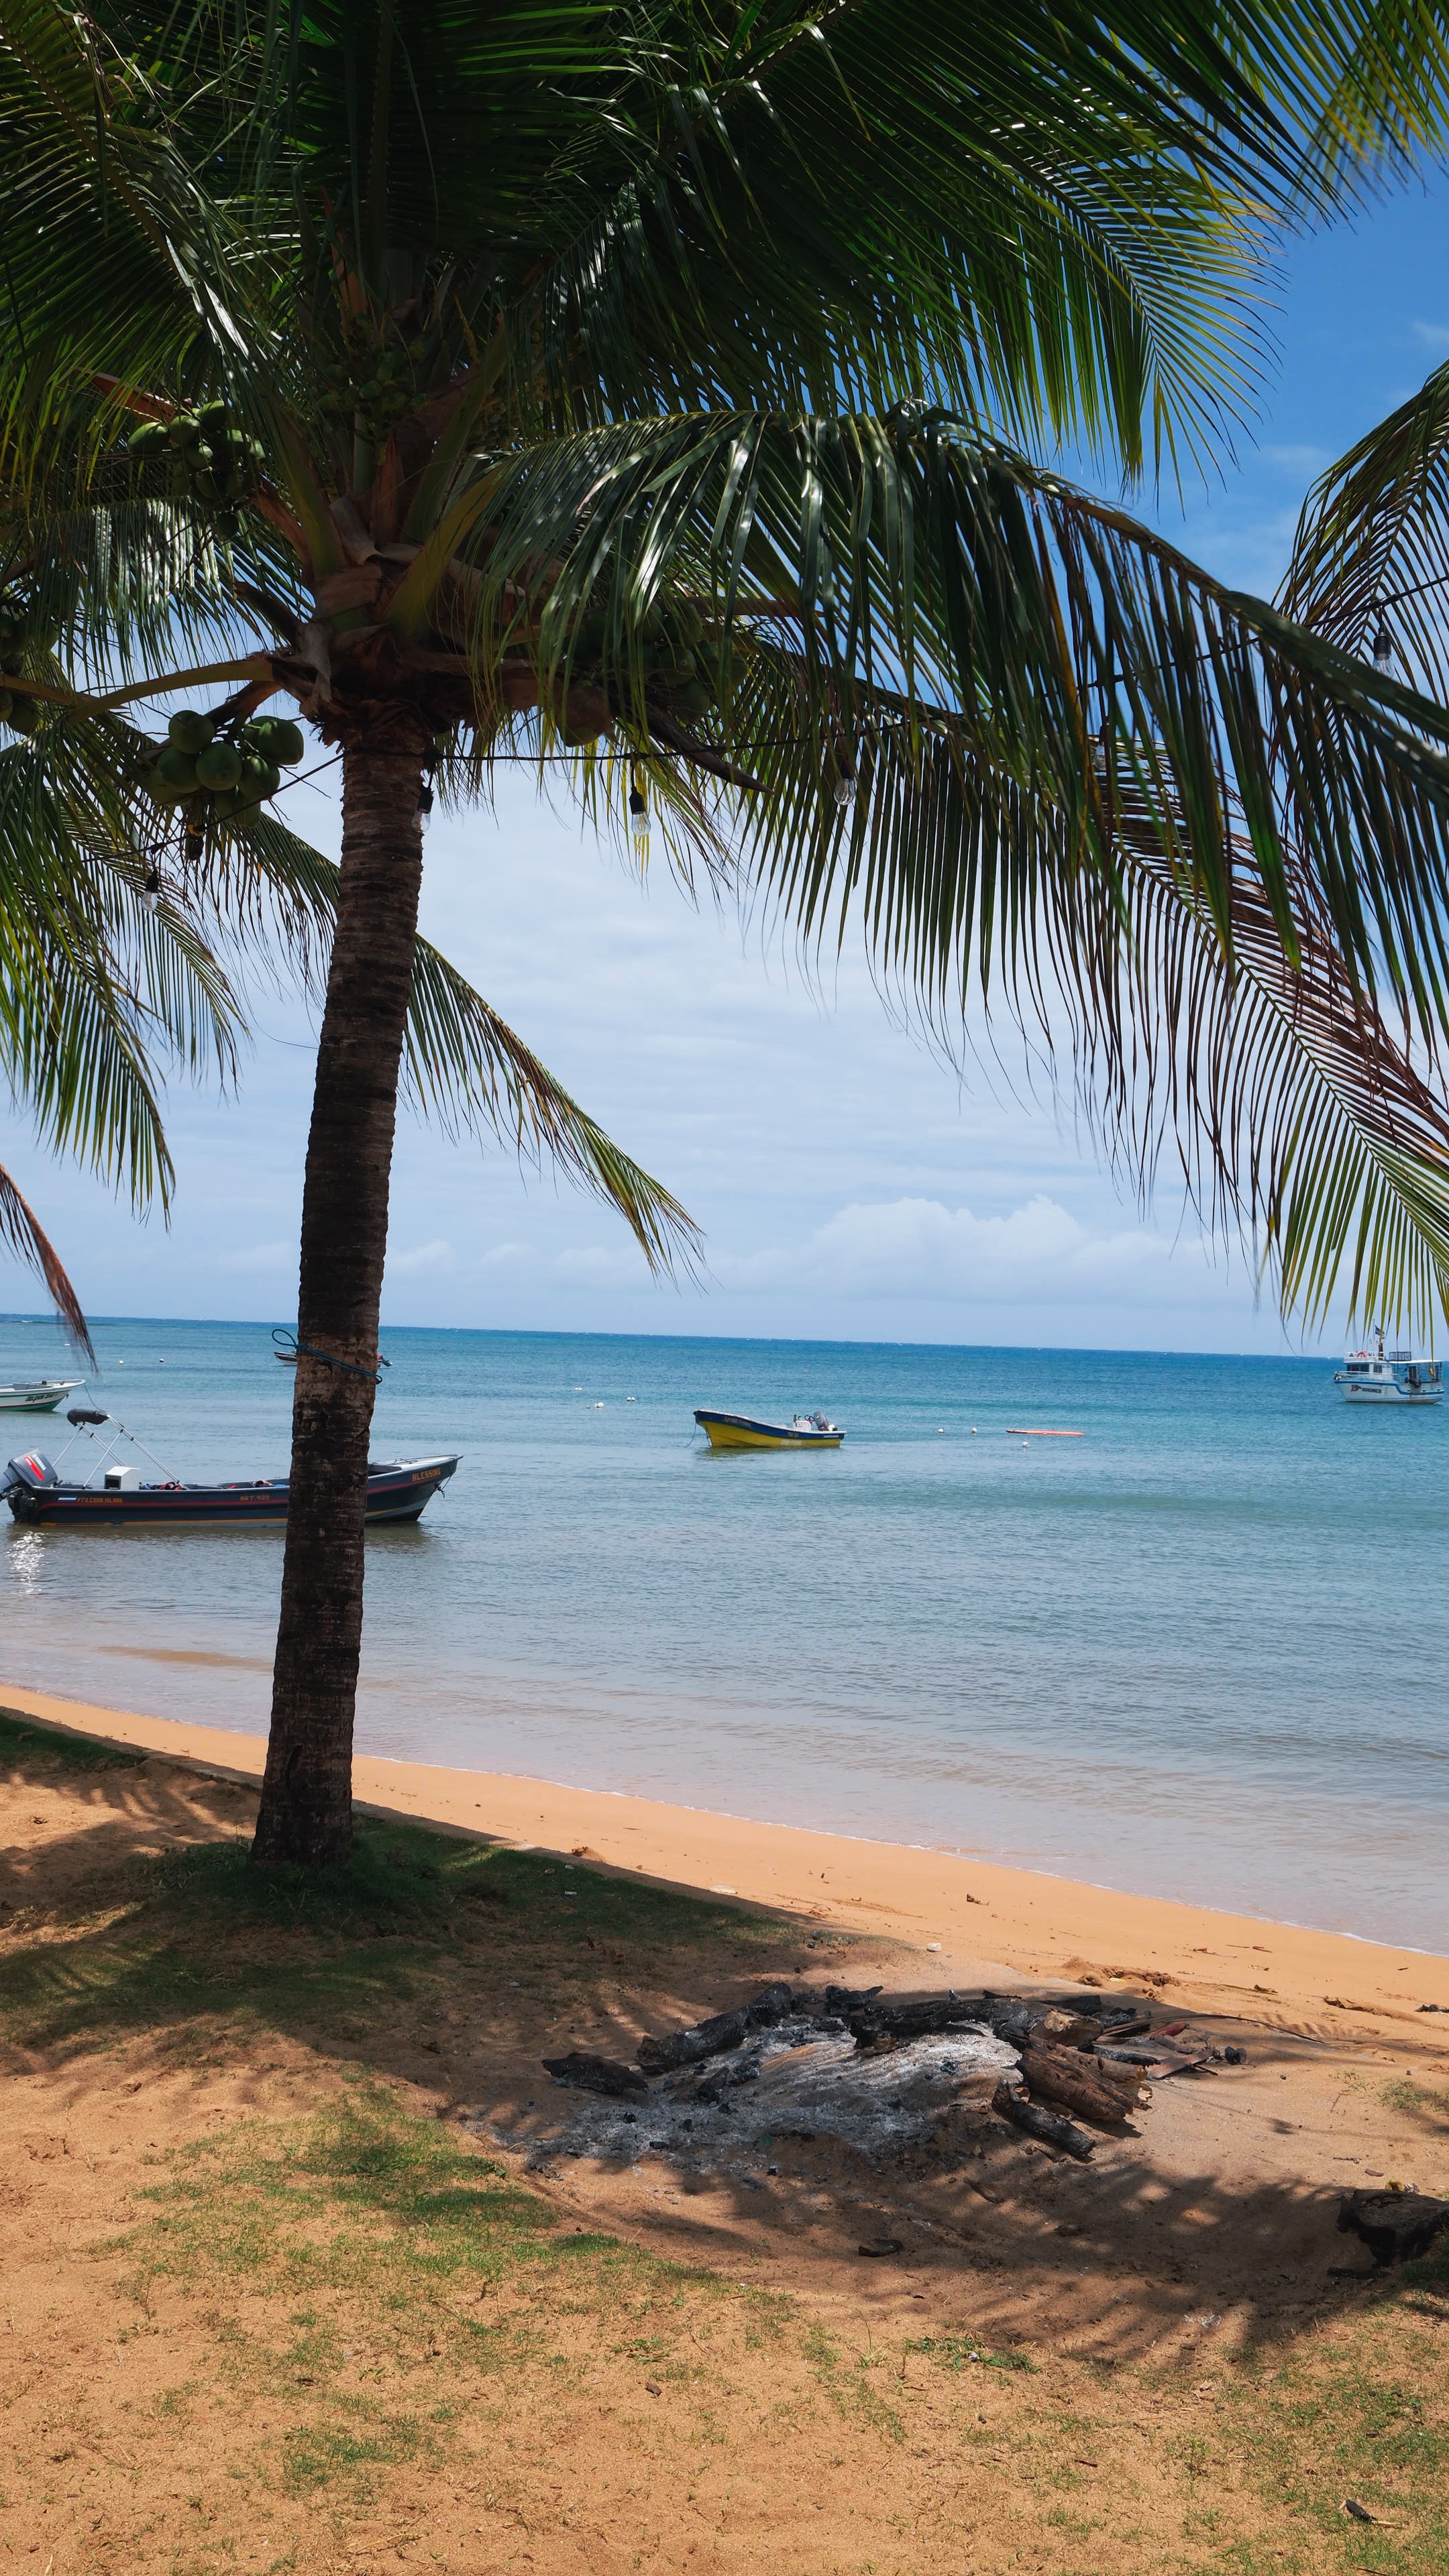
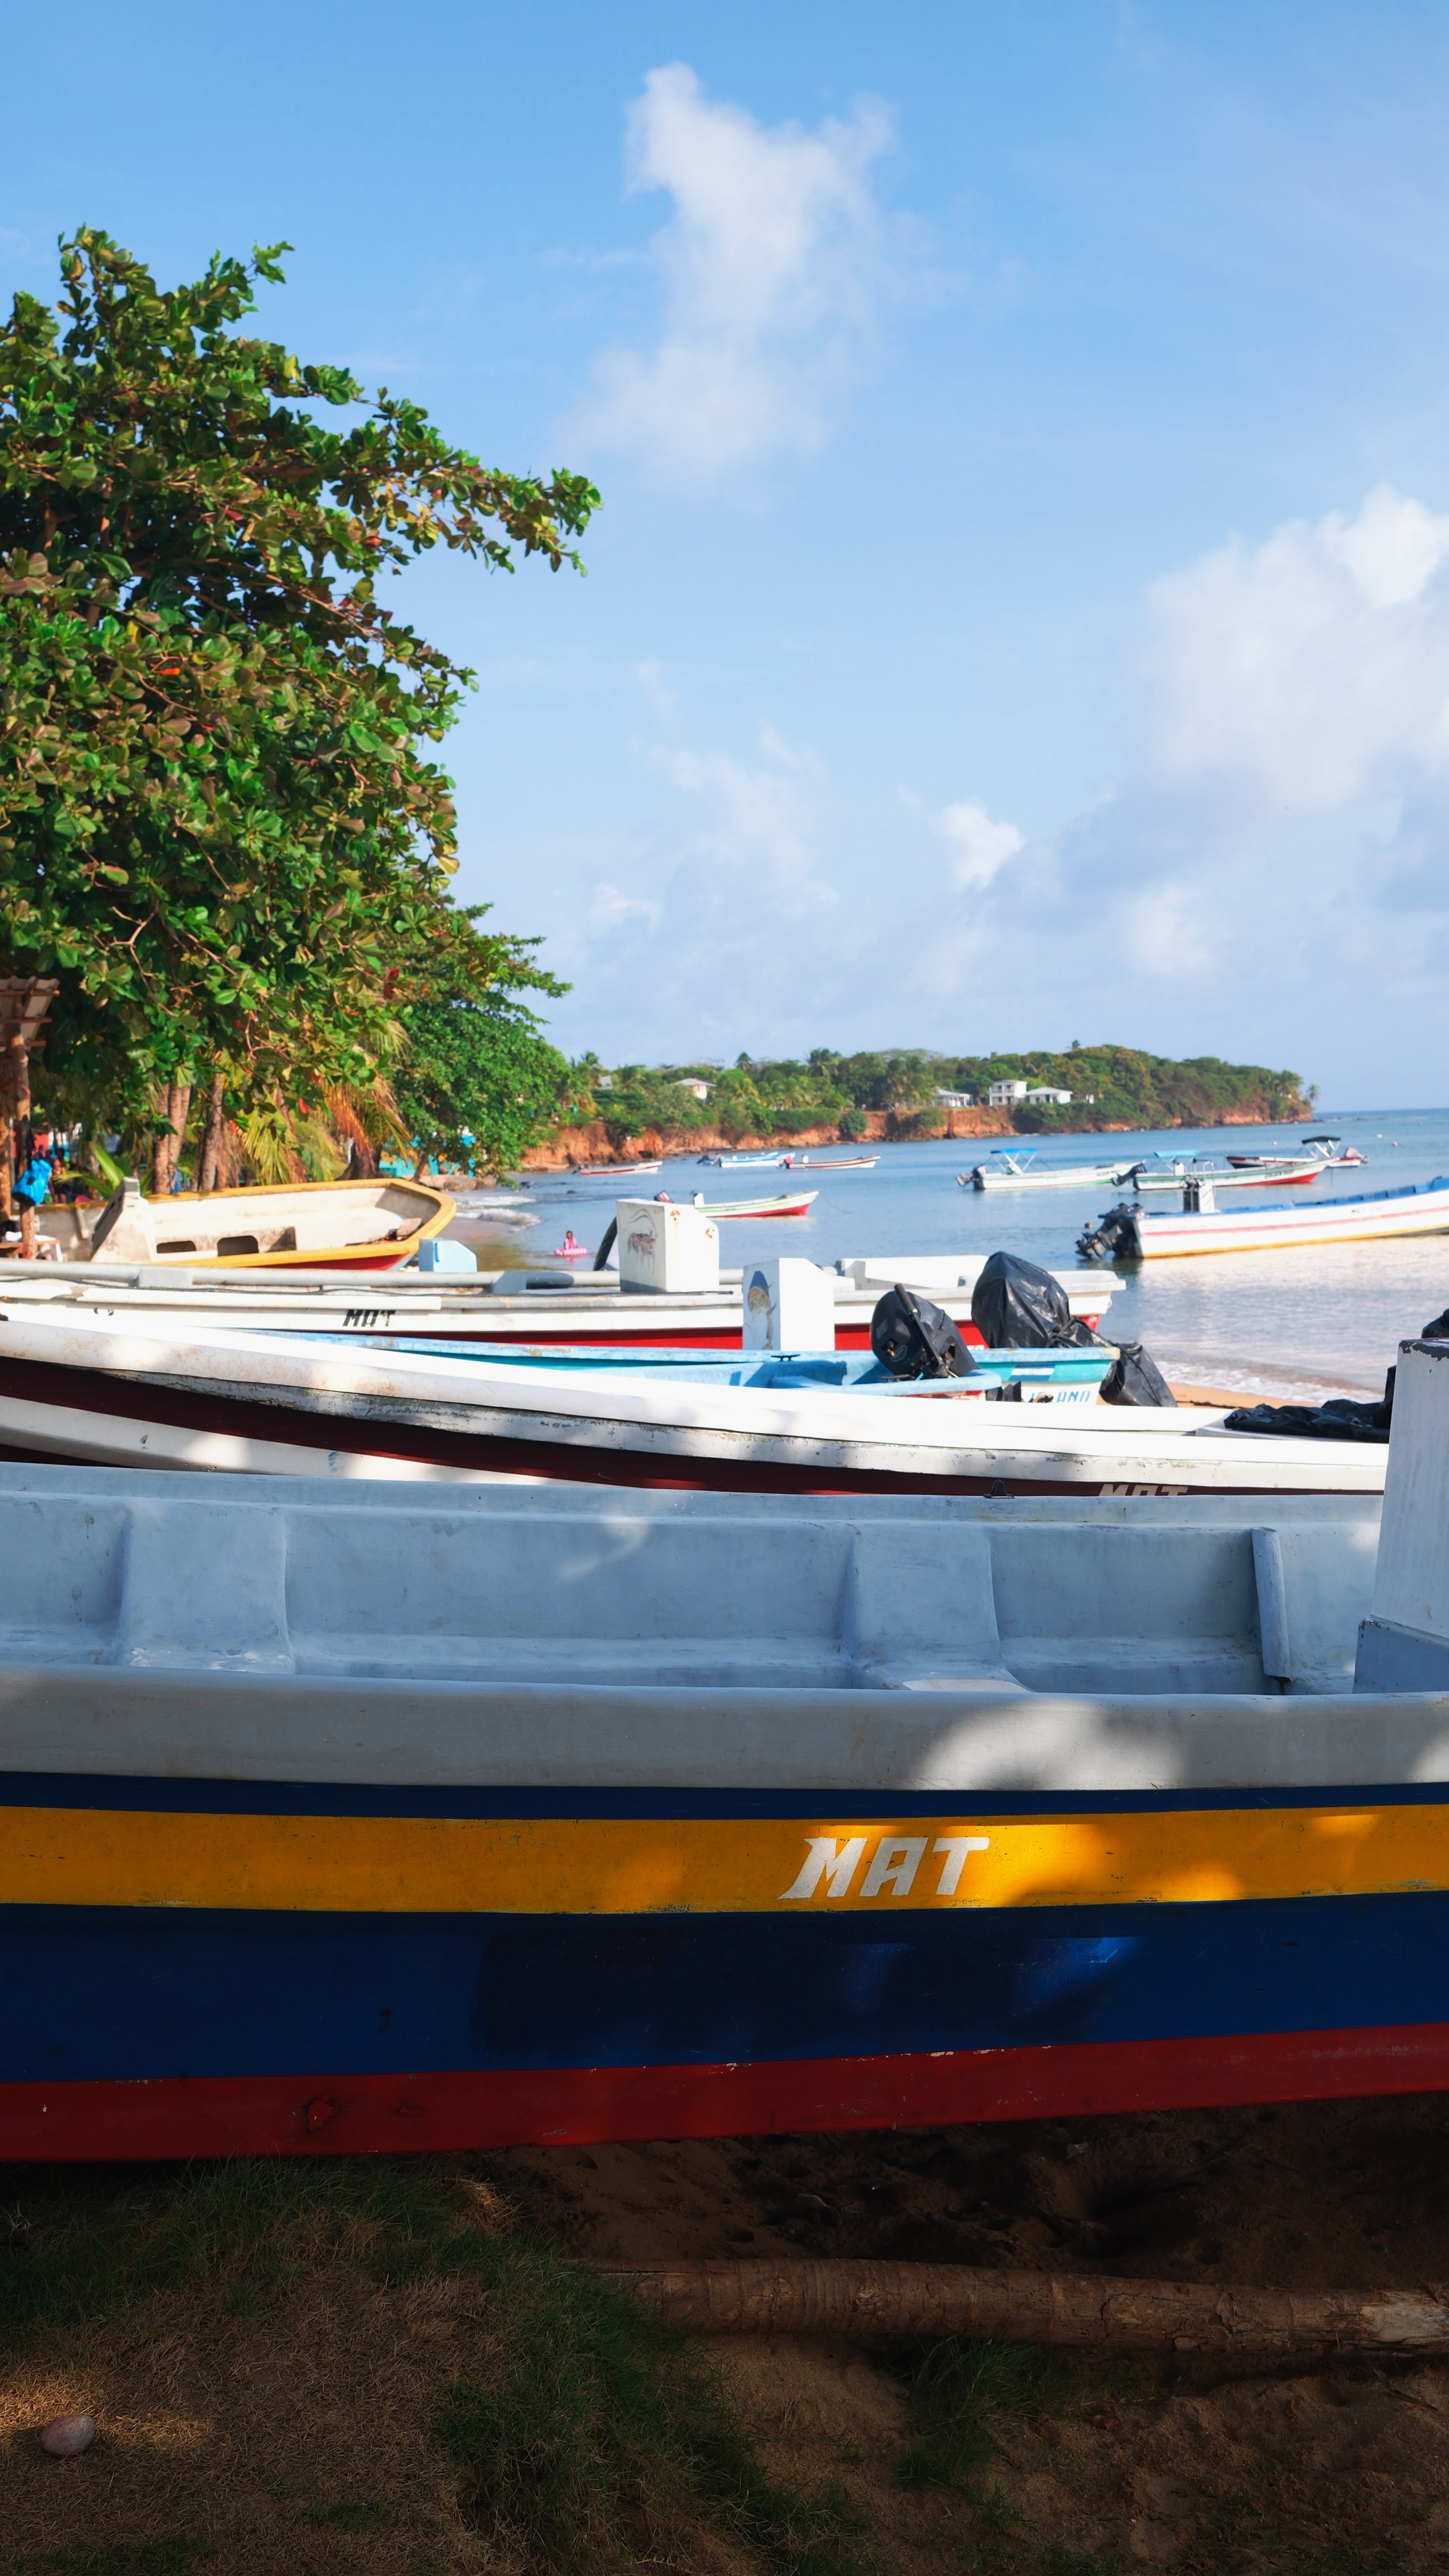
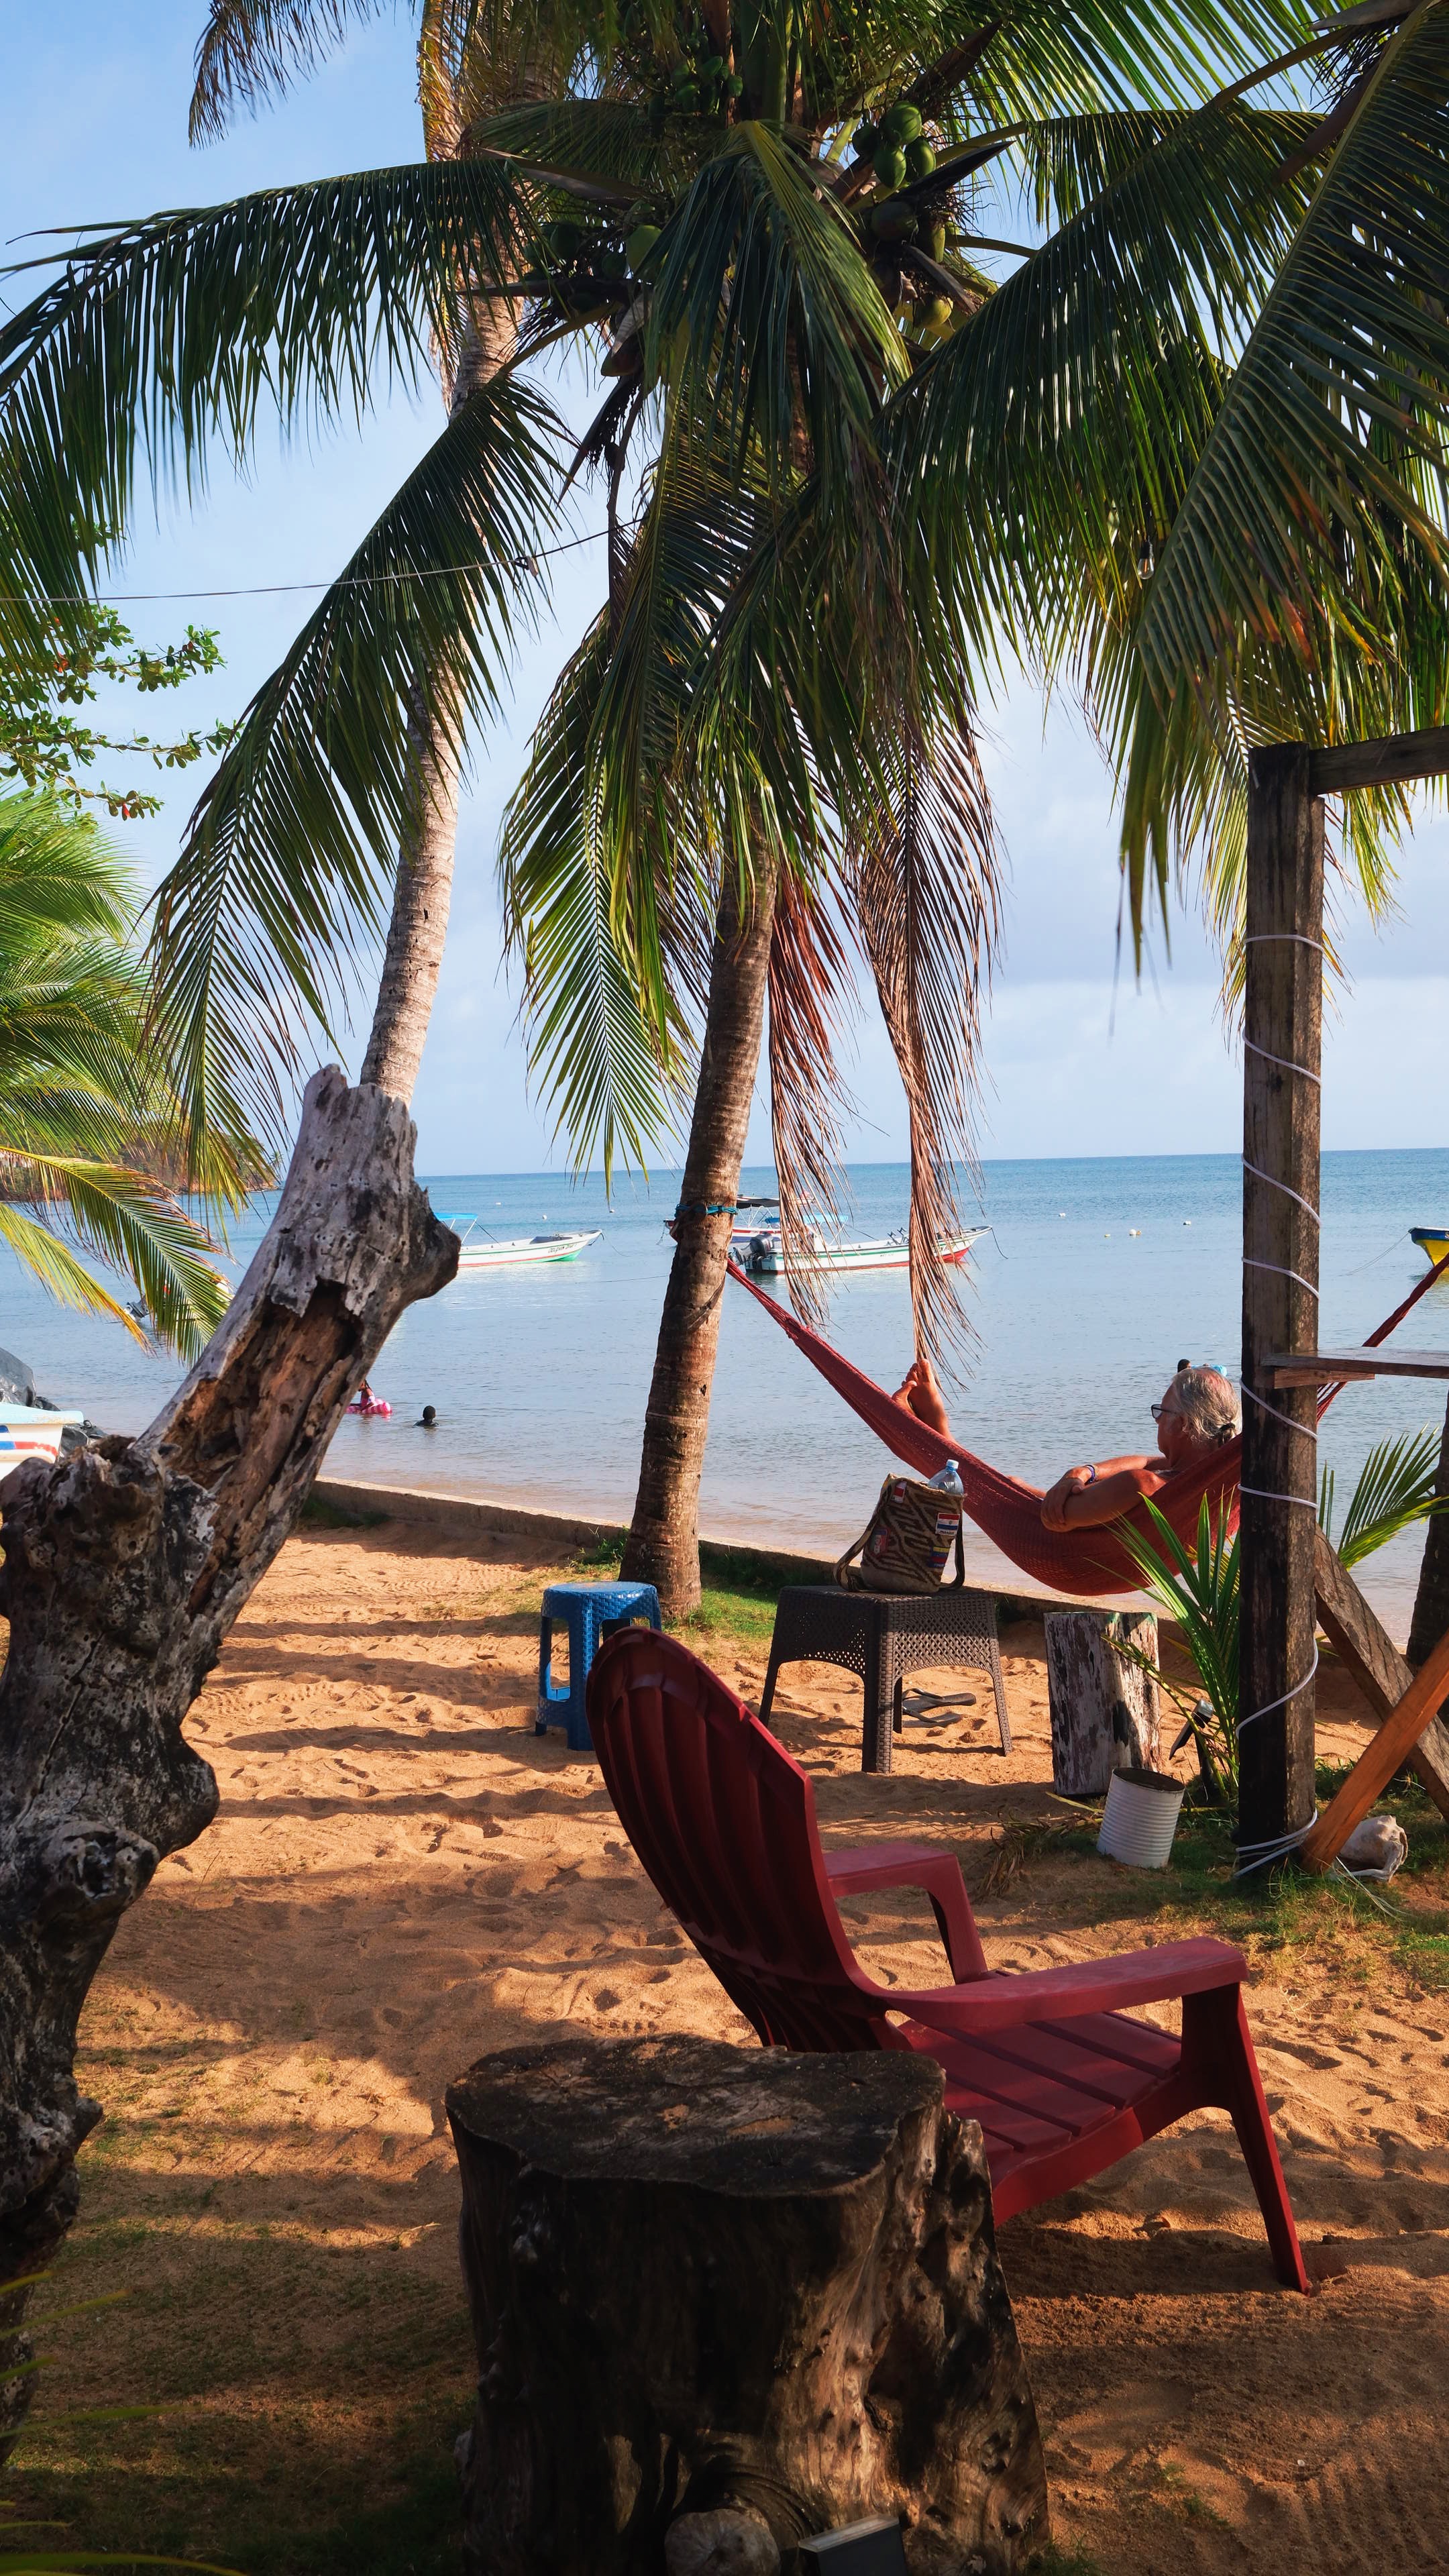
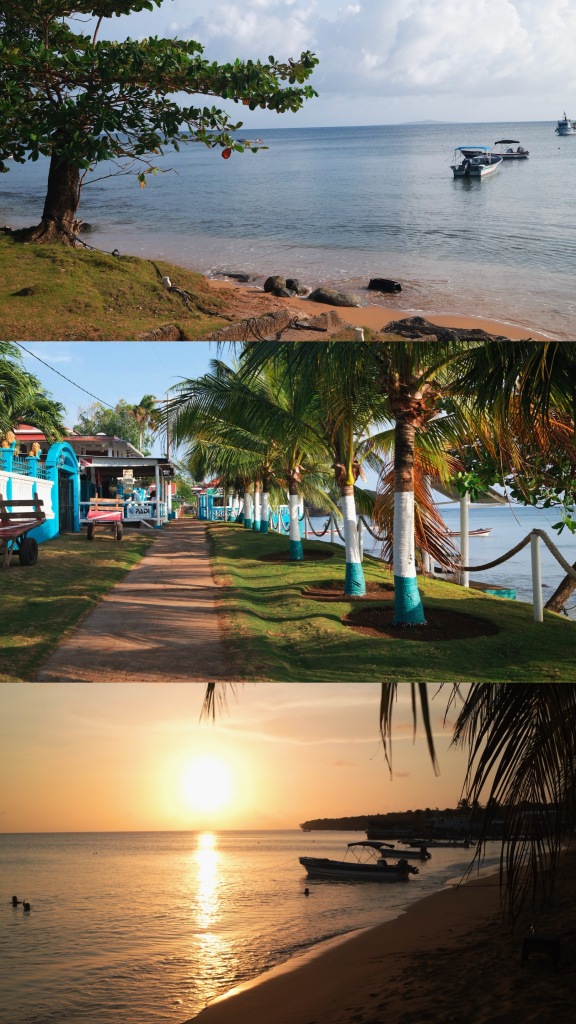
CITY: THE CORN ISLANDS
HOW LONG: 4 NIGHTS
ACCOMMODATION:
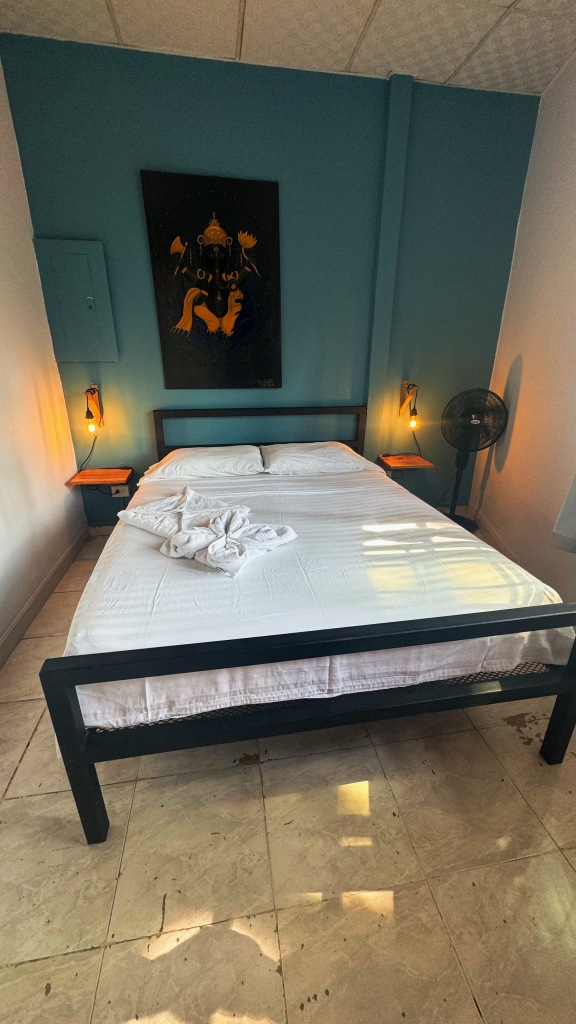
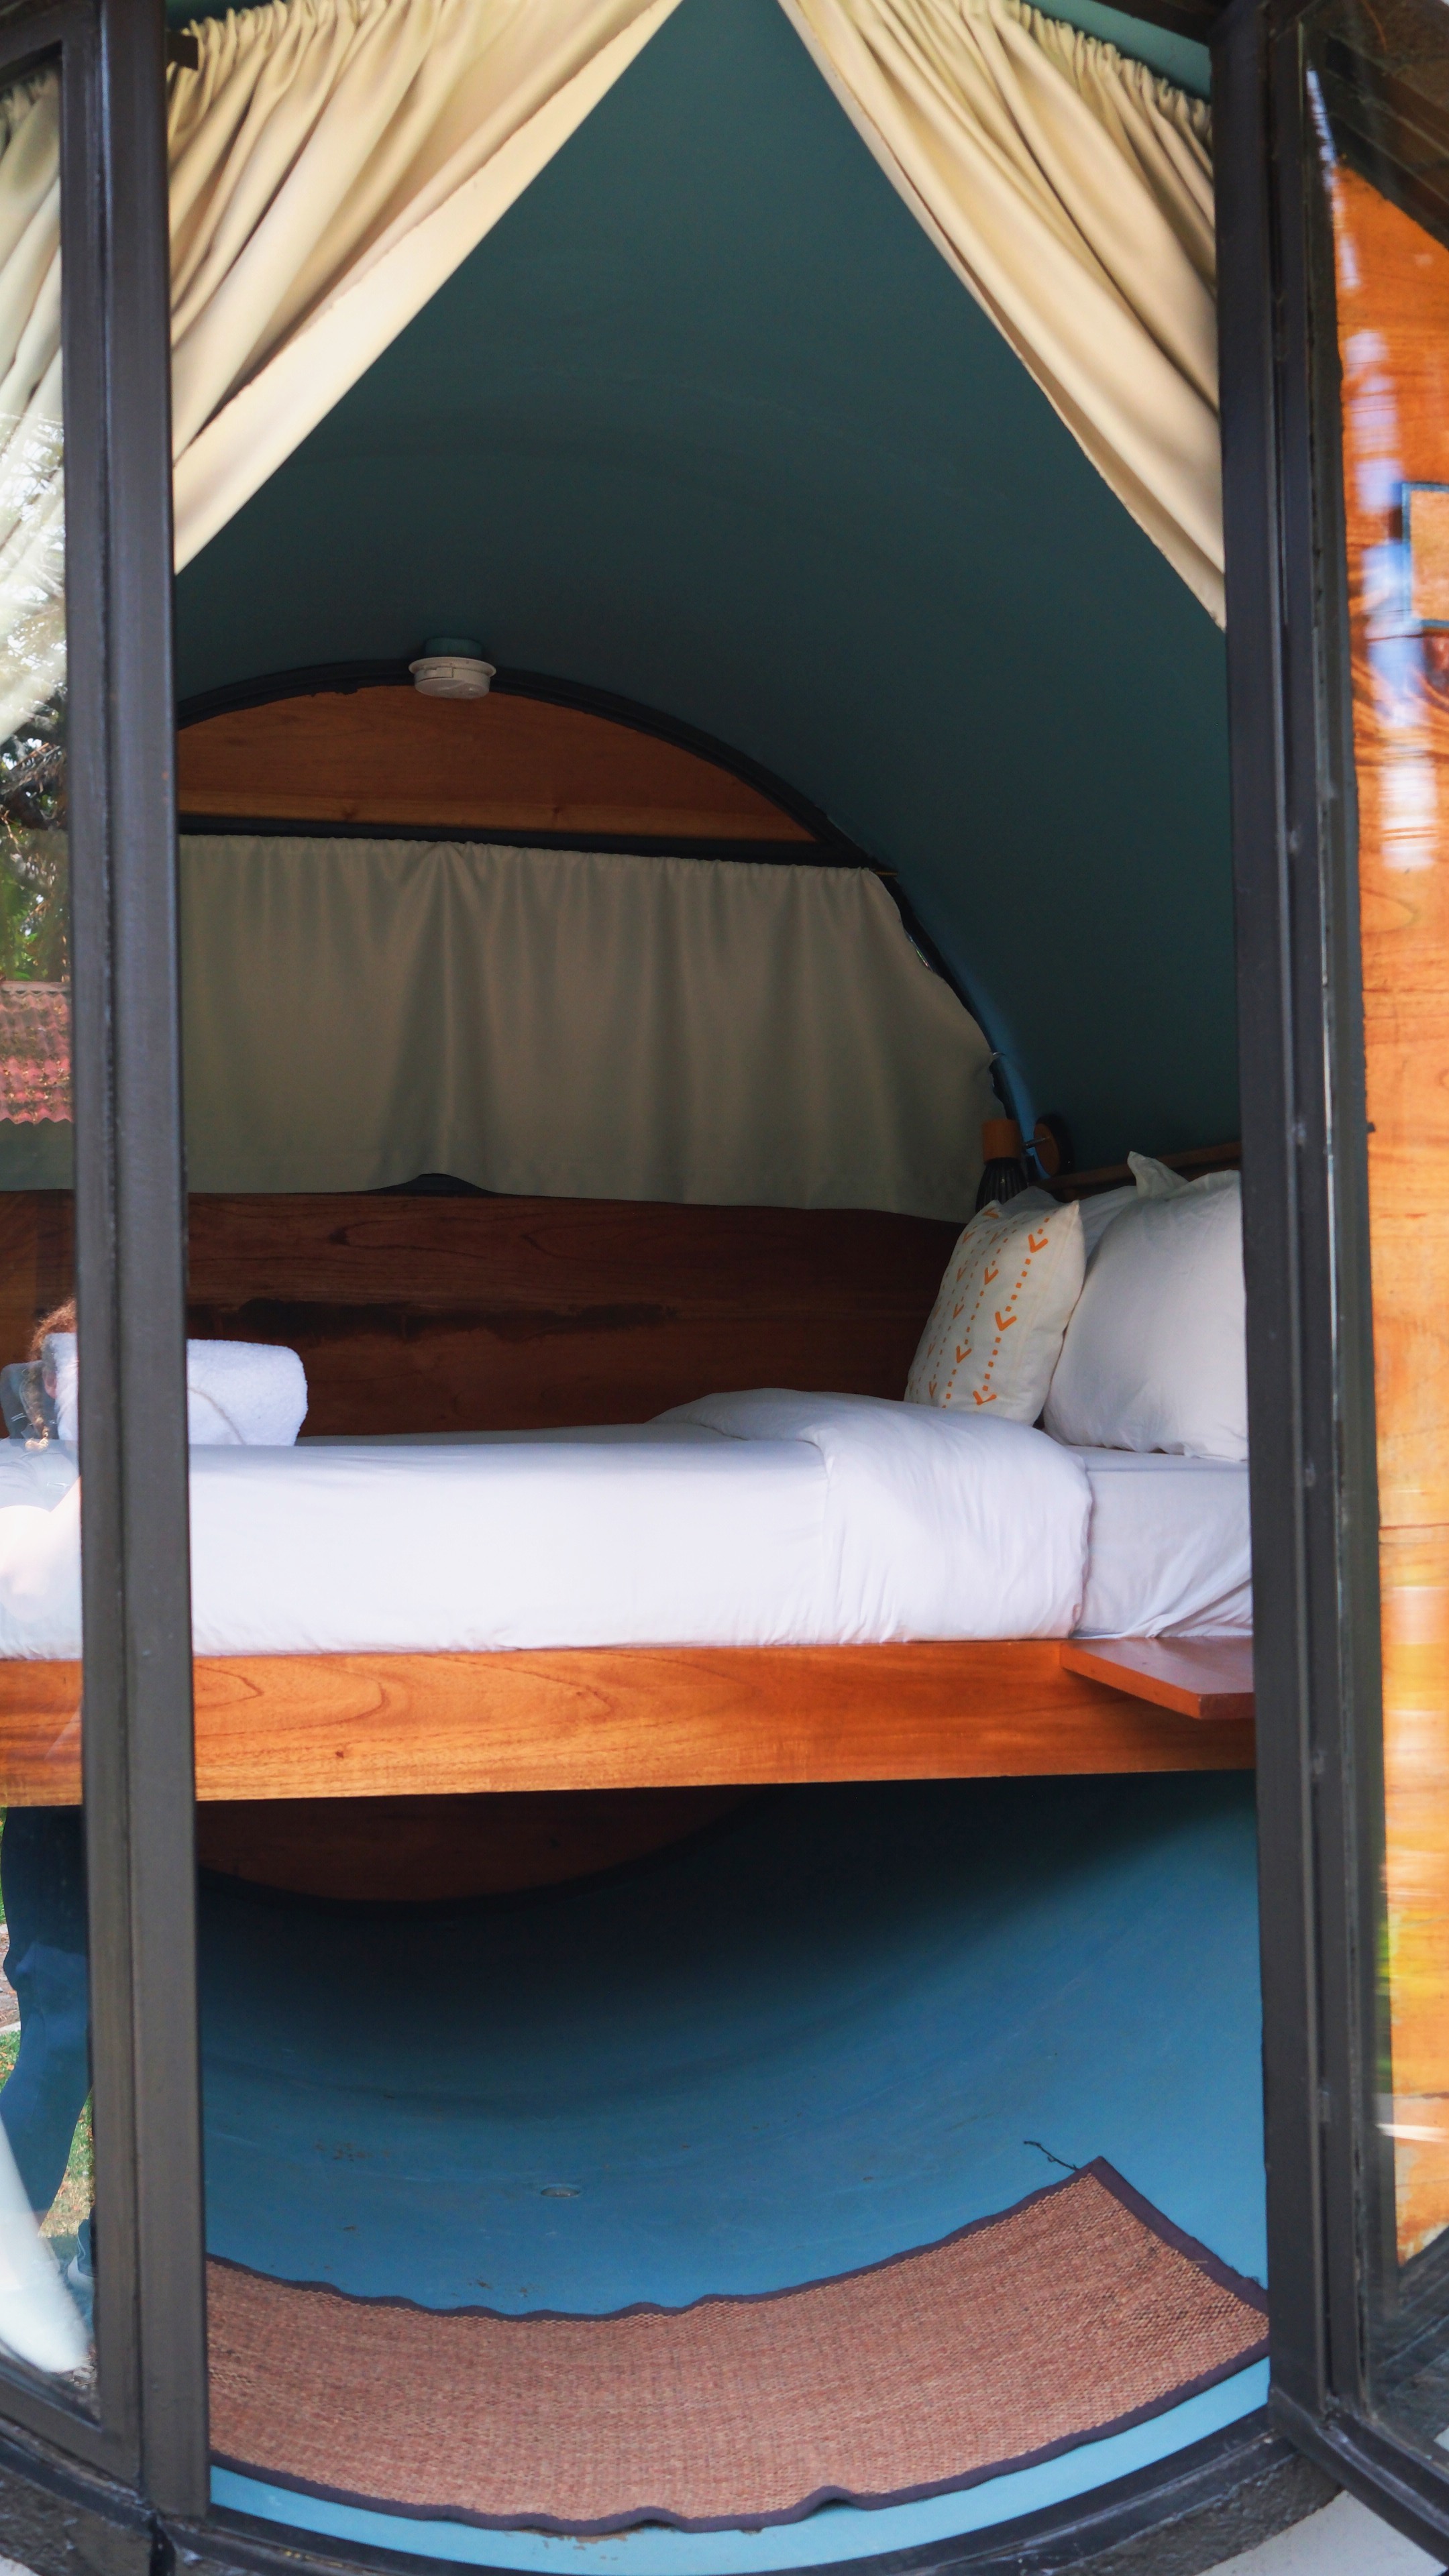
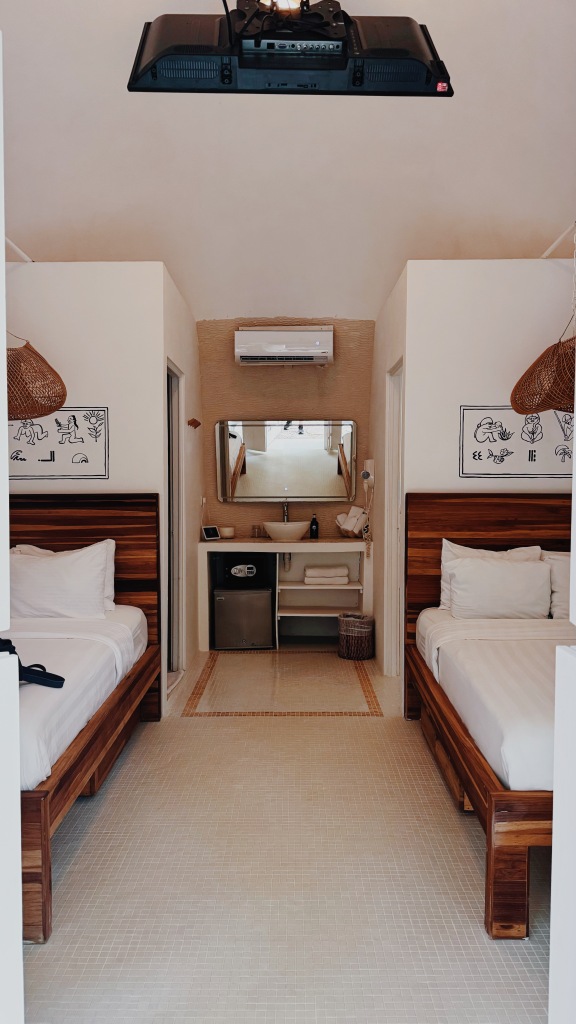
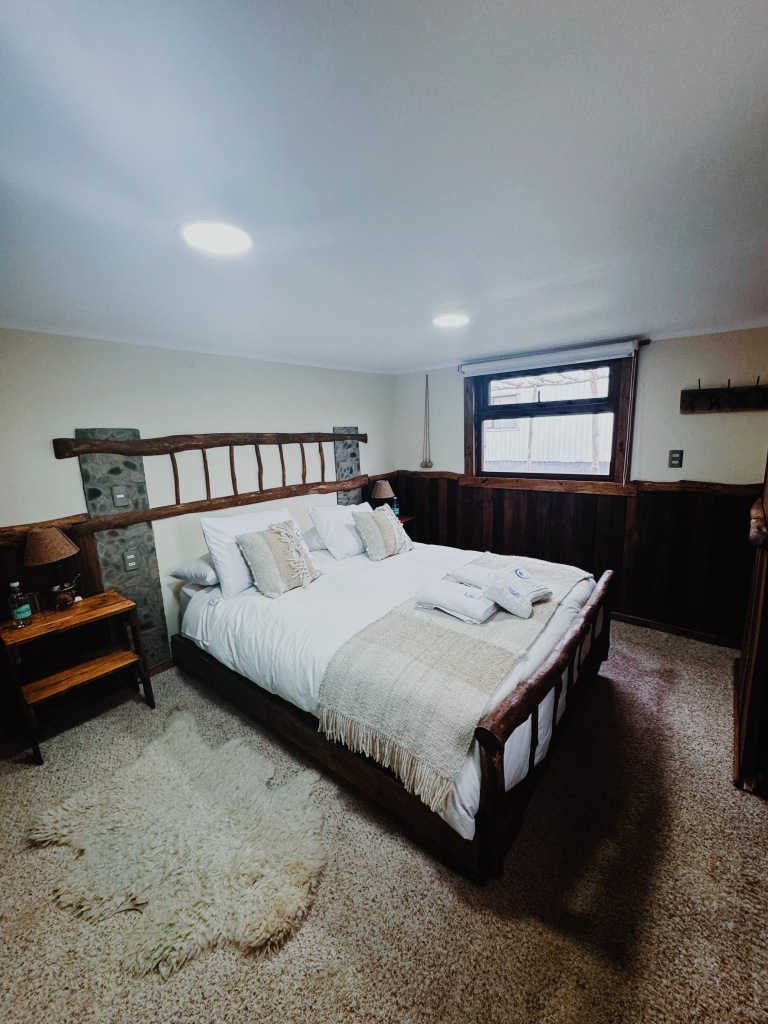
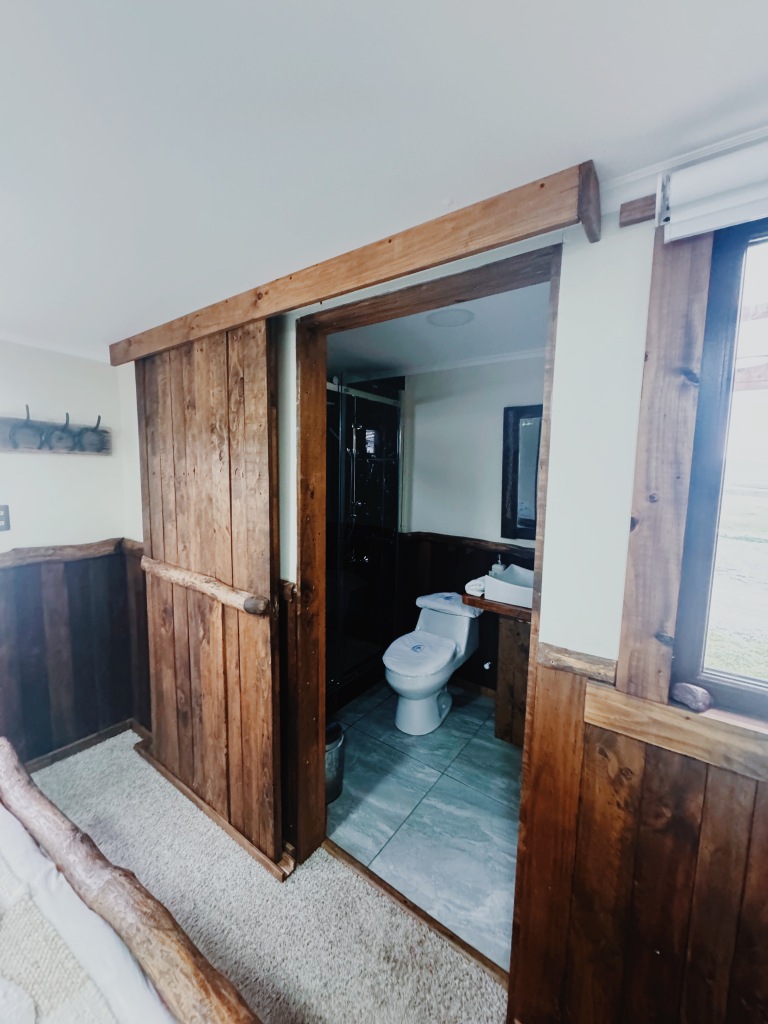
I stayed 4 nights at Christina’s Guesthouse which was perfect! It was a 5 min walk to the dive shop and 4 min to most restaurants on the islands. Room had AC, a fan and a little table to sit at. Rocking chair outside the room. There’s no electricity at hotels from 6am-1pm so be prepared for that. It was such a treat to have a private room! I slept fabulously. 10/10
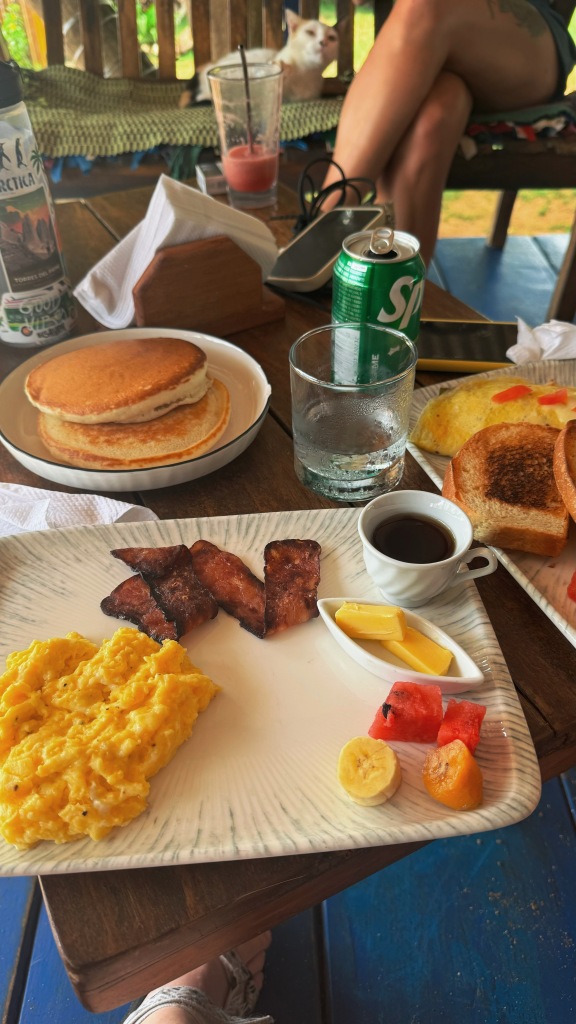
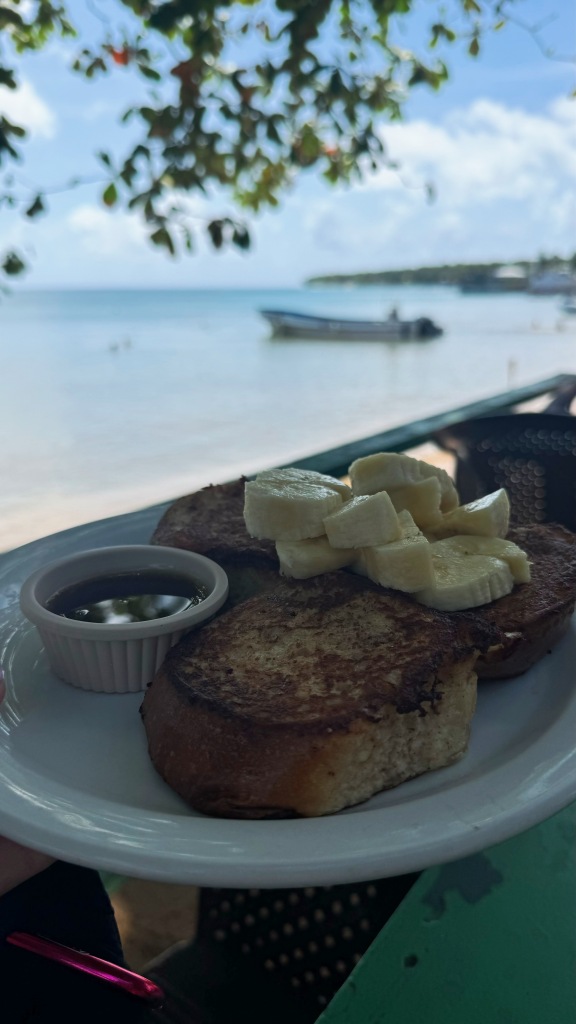
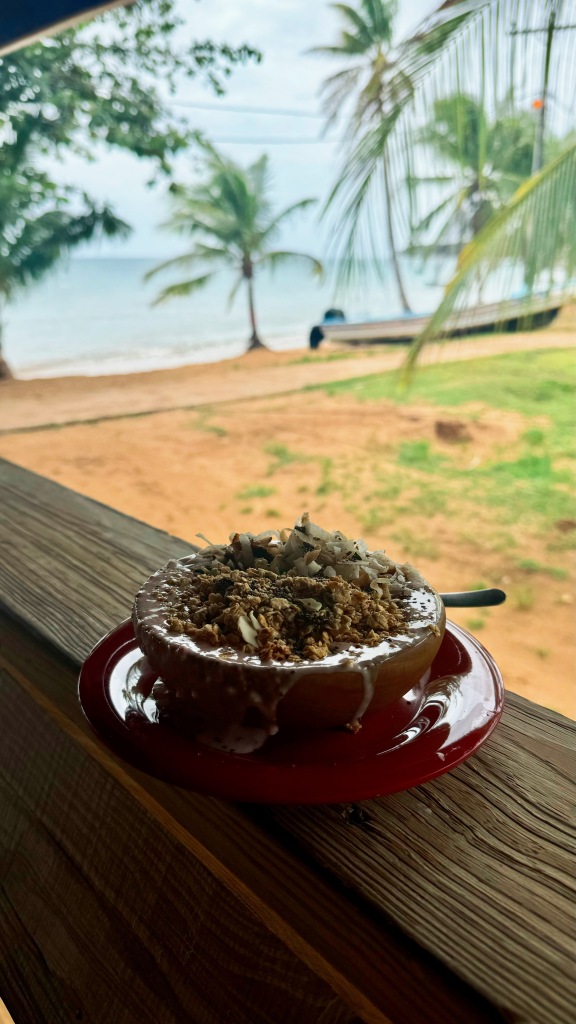
WHERE TO EAT:
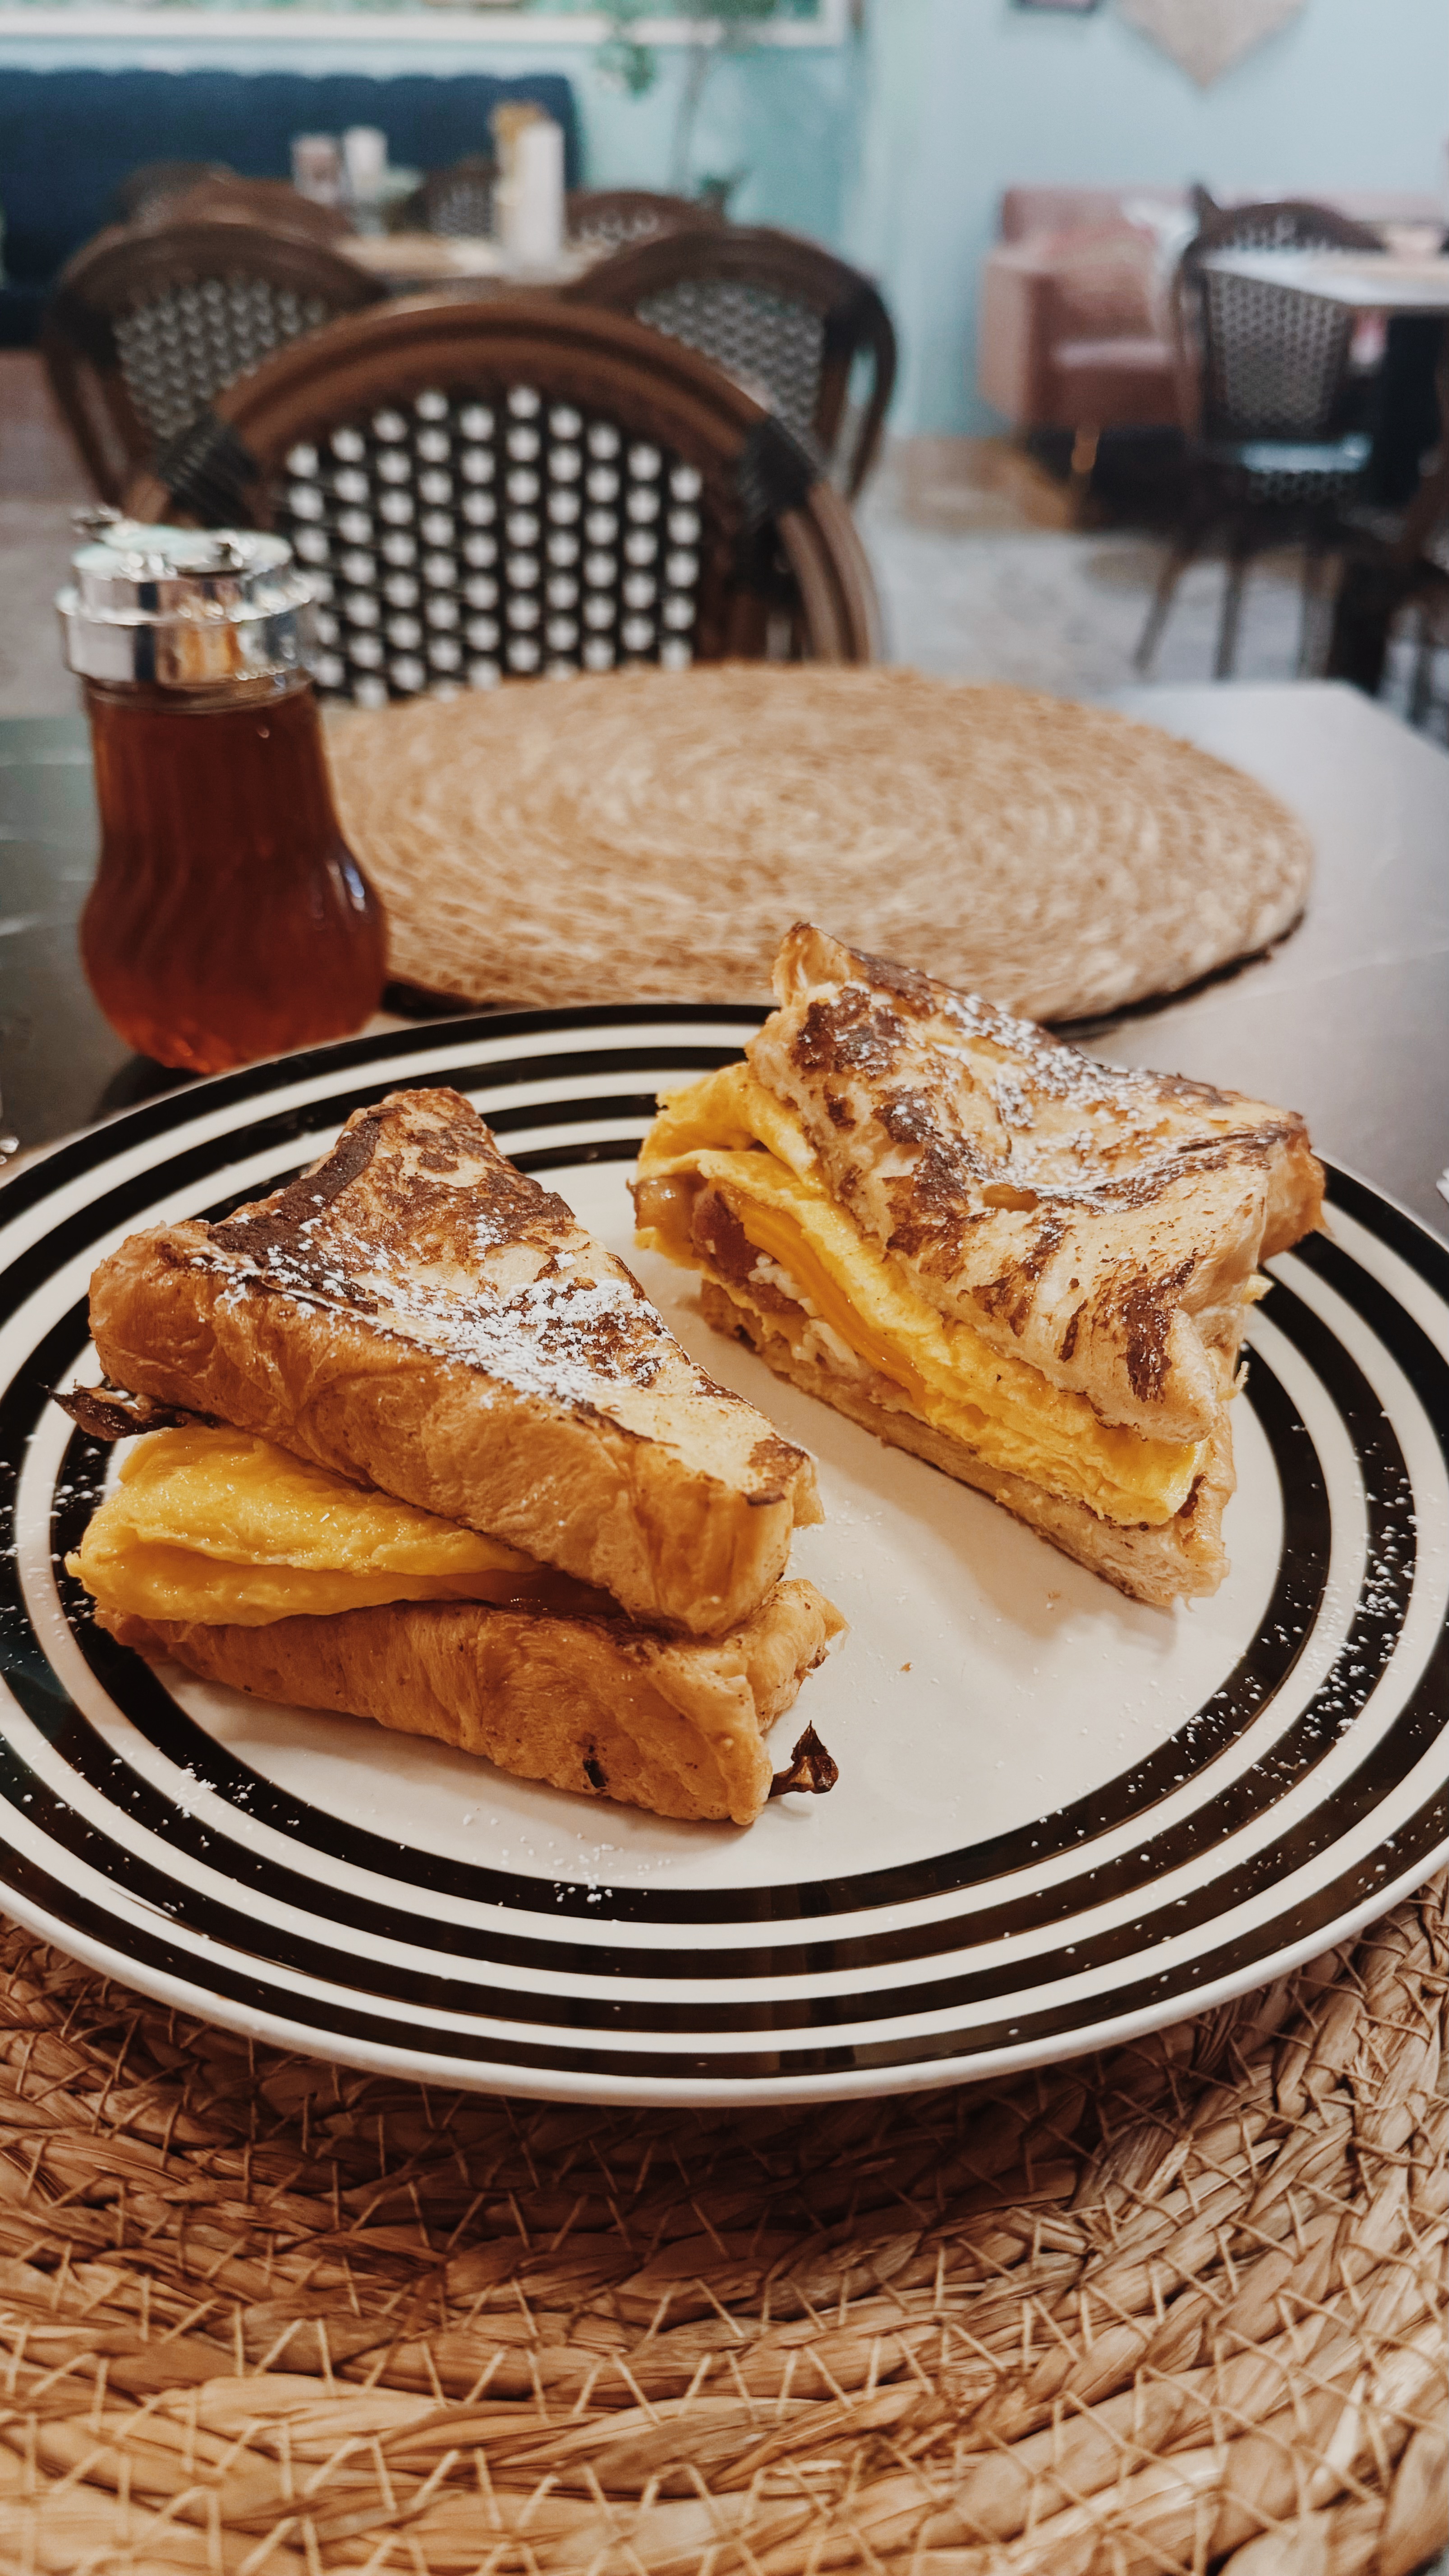
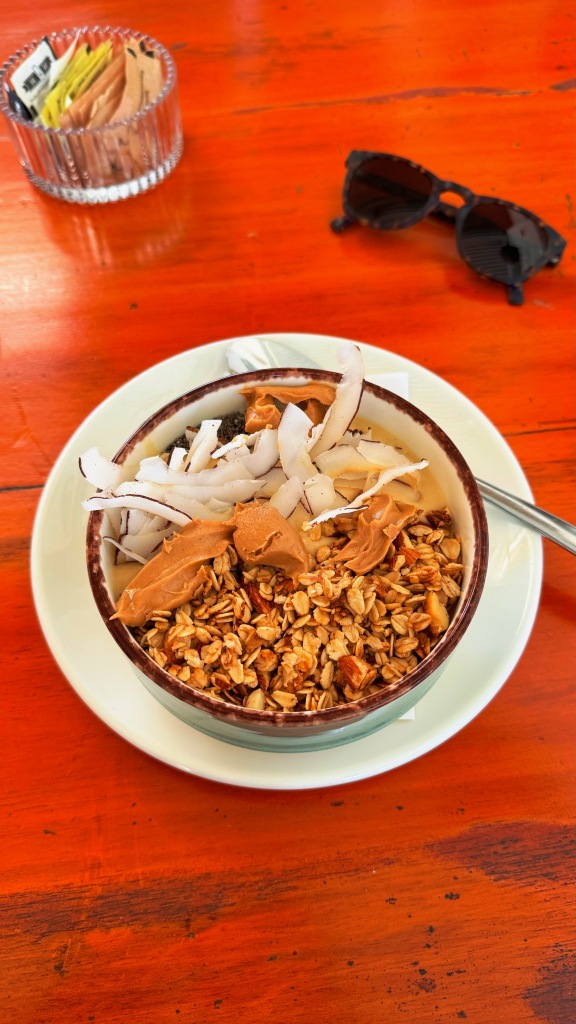
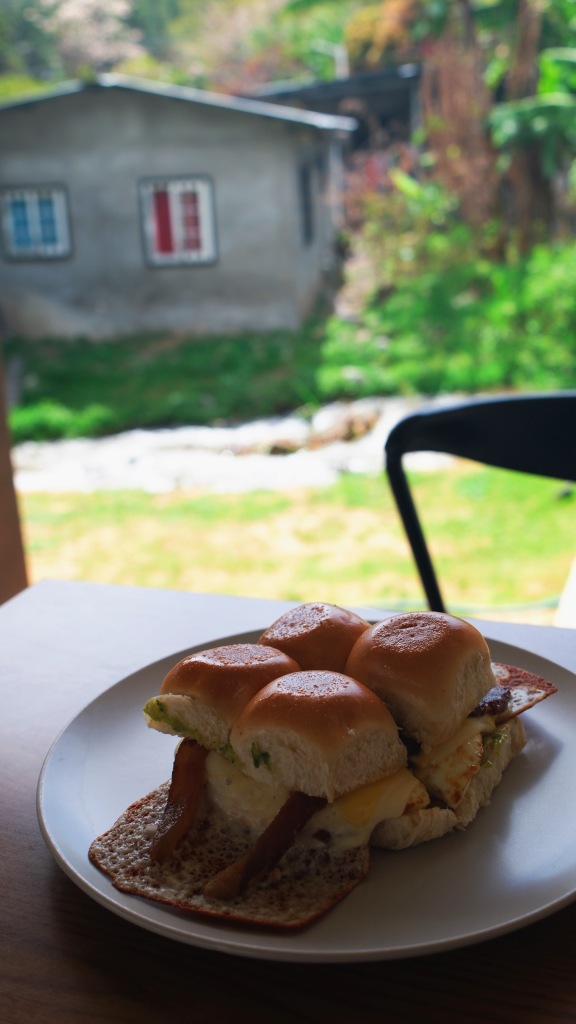
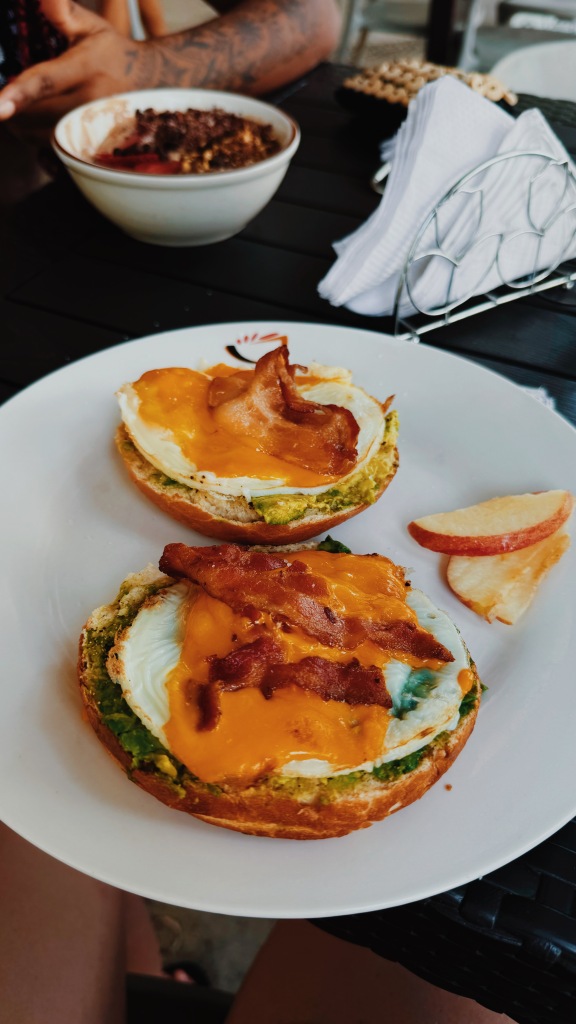
- The Shack– I had breakfast here twice and both times got the coconut French toast highly recommend!
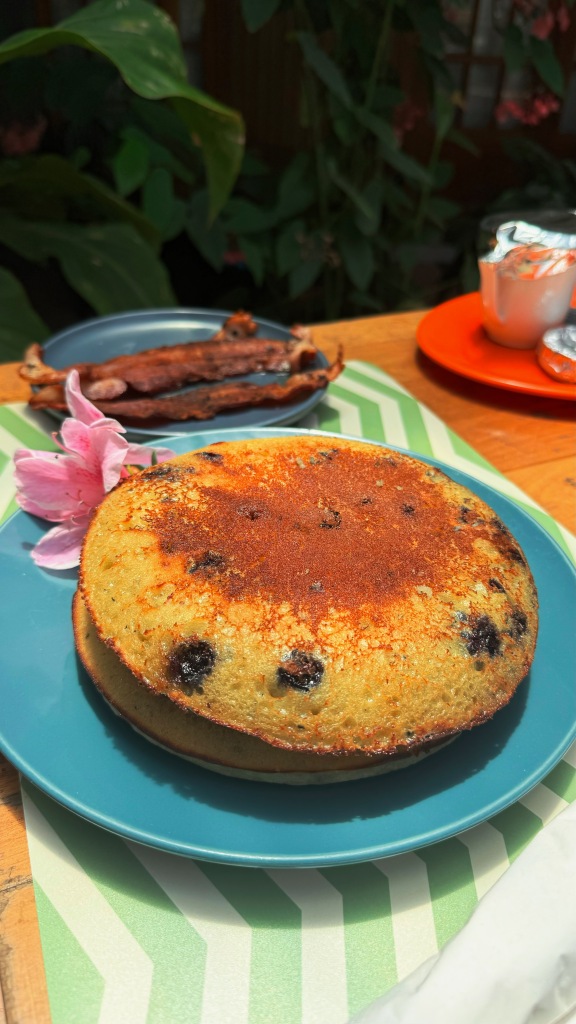
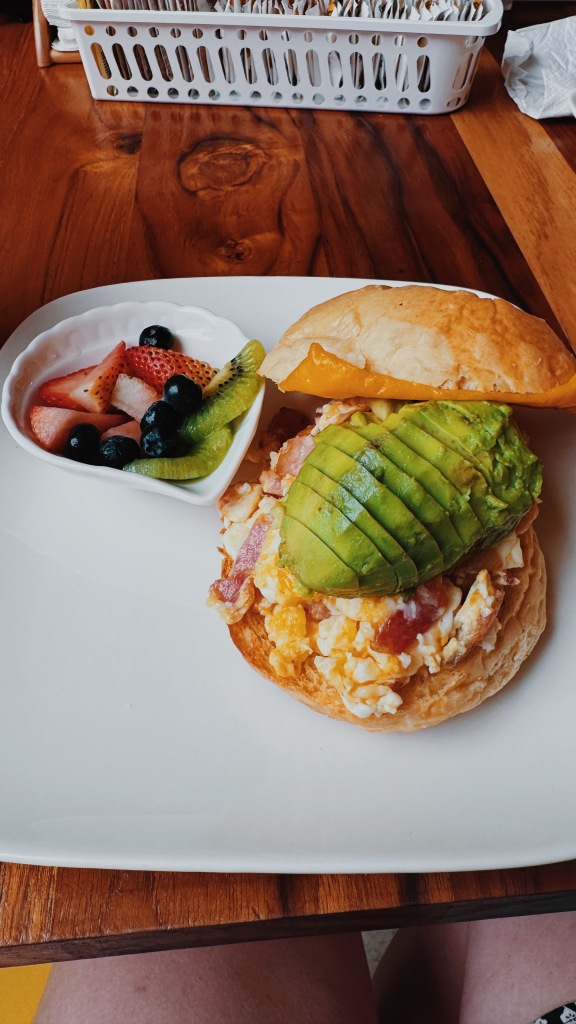
- Desi’s – I loved the pancakes and avocado/chicken sandwich here. Smoothie was also good!
- Tranquilo – activities most nights and food was good. They also have a cute little library you can check books out from.
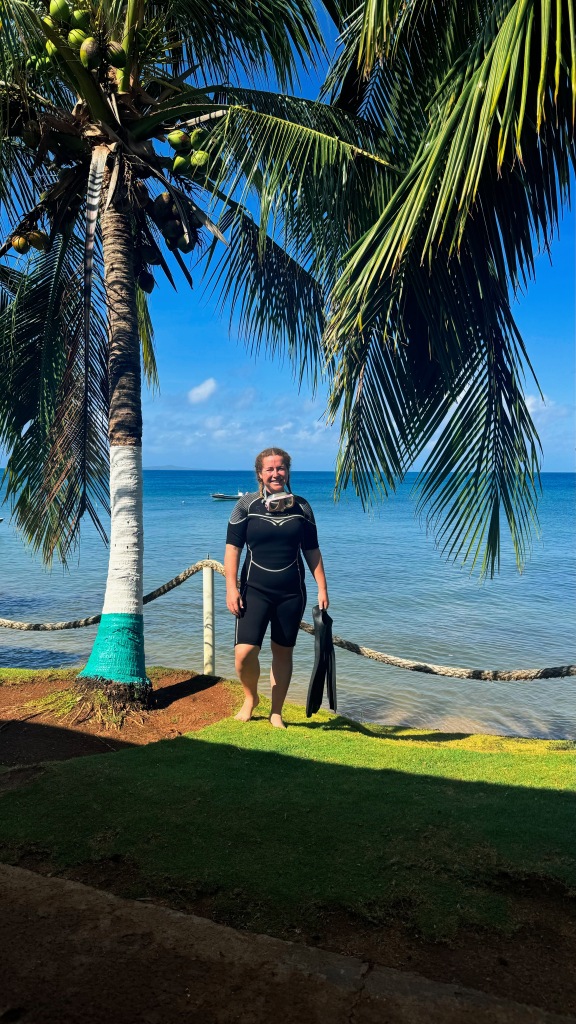
WHAT TO DO:
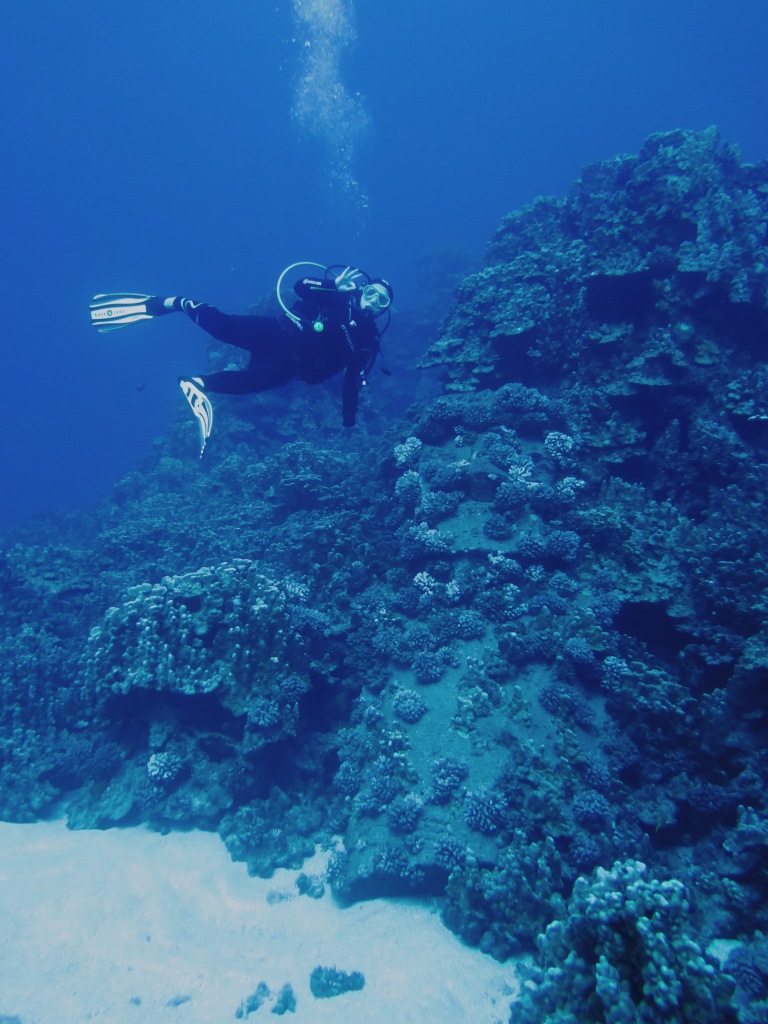
- SCUBA DIVE! I did 6 dives in 3 days, including a night dive with Dolphin Dive. The main attraction is the high chance of seeing hammerhead sharks! Unfortunately the weather did not cooperate while I was here so we couldn’t get to the hammerhead filled dive sites. Given this, I wouldn’t say my dives here were all that spectacular with the exception of the night dive. We saw a nurse shark, doing lobsters, crabs and then the highlight was when we spent 11 min kneeled down in the sand and all turned off our lights. After a minute of our eyes adjusting, we were surrounded by bioluminescent plankton!! Truly magical. It felt like we were in outer space amongst the stars. We all felt like this was the best dive we did while here.
- I also got a fabulous massage at The Little Corner.
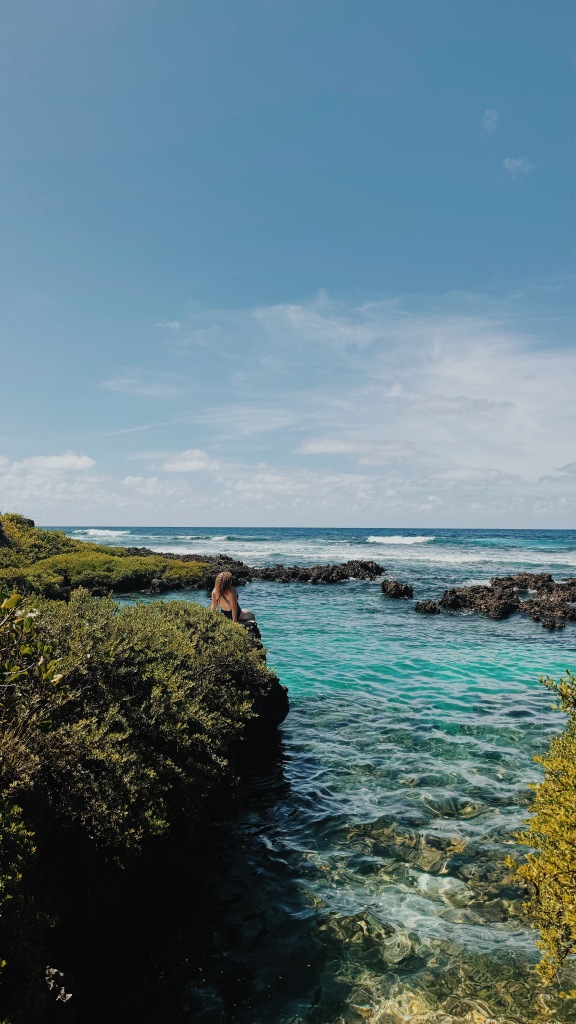
- You can also hike/walk around the island to get to some beautiful beaches that you’ll have to yourself.
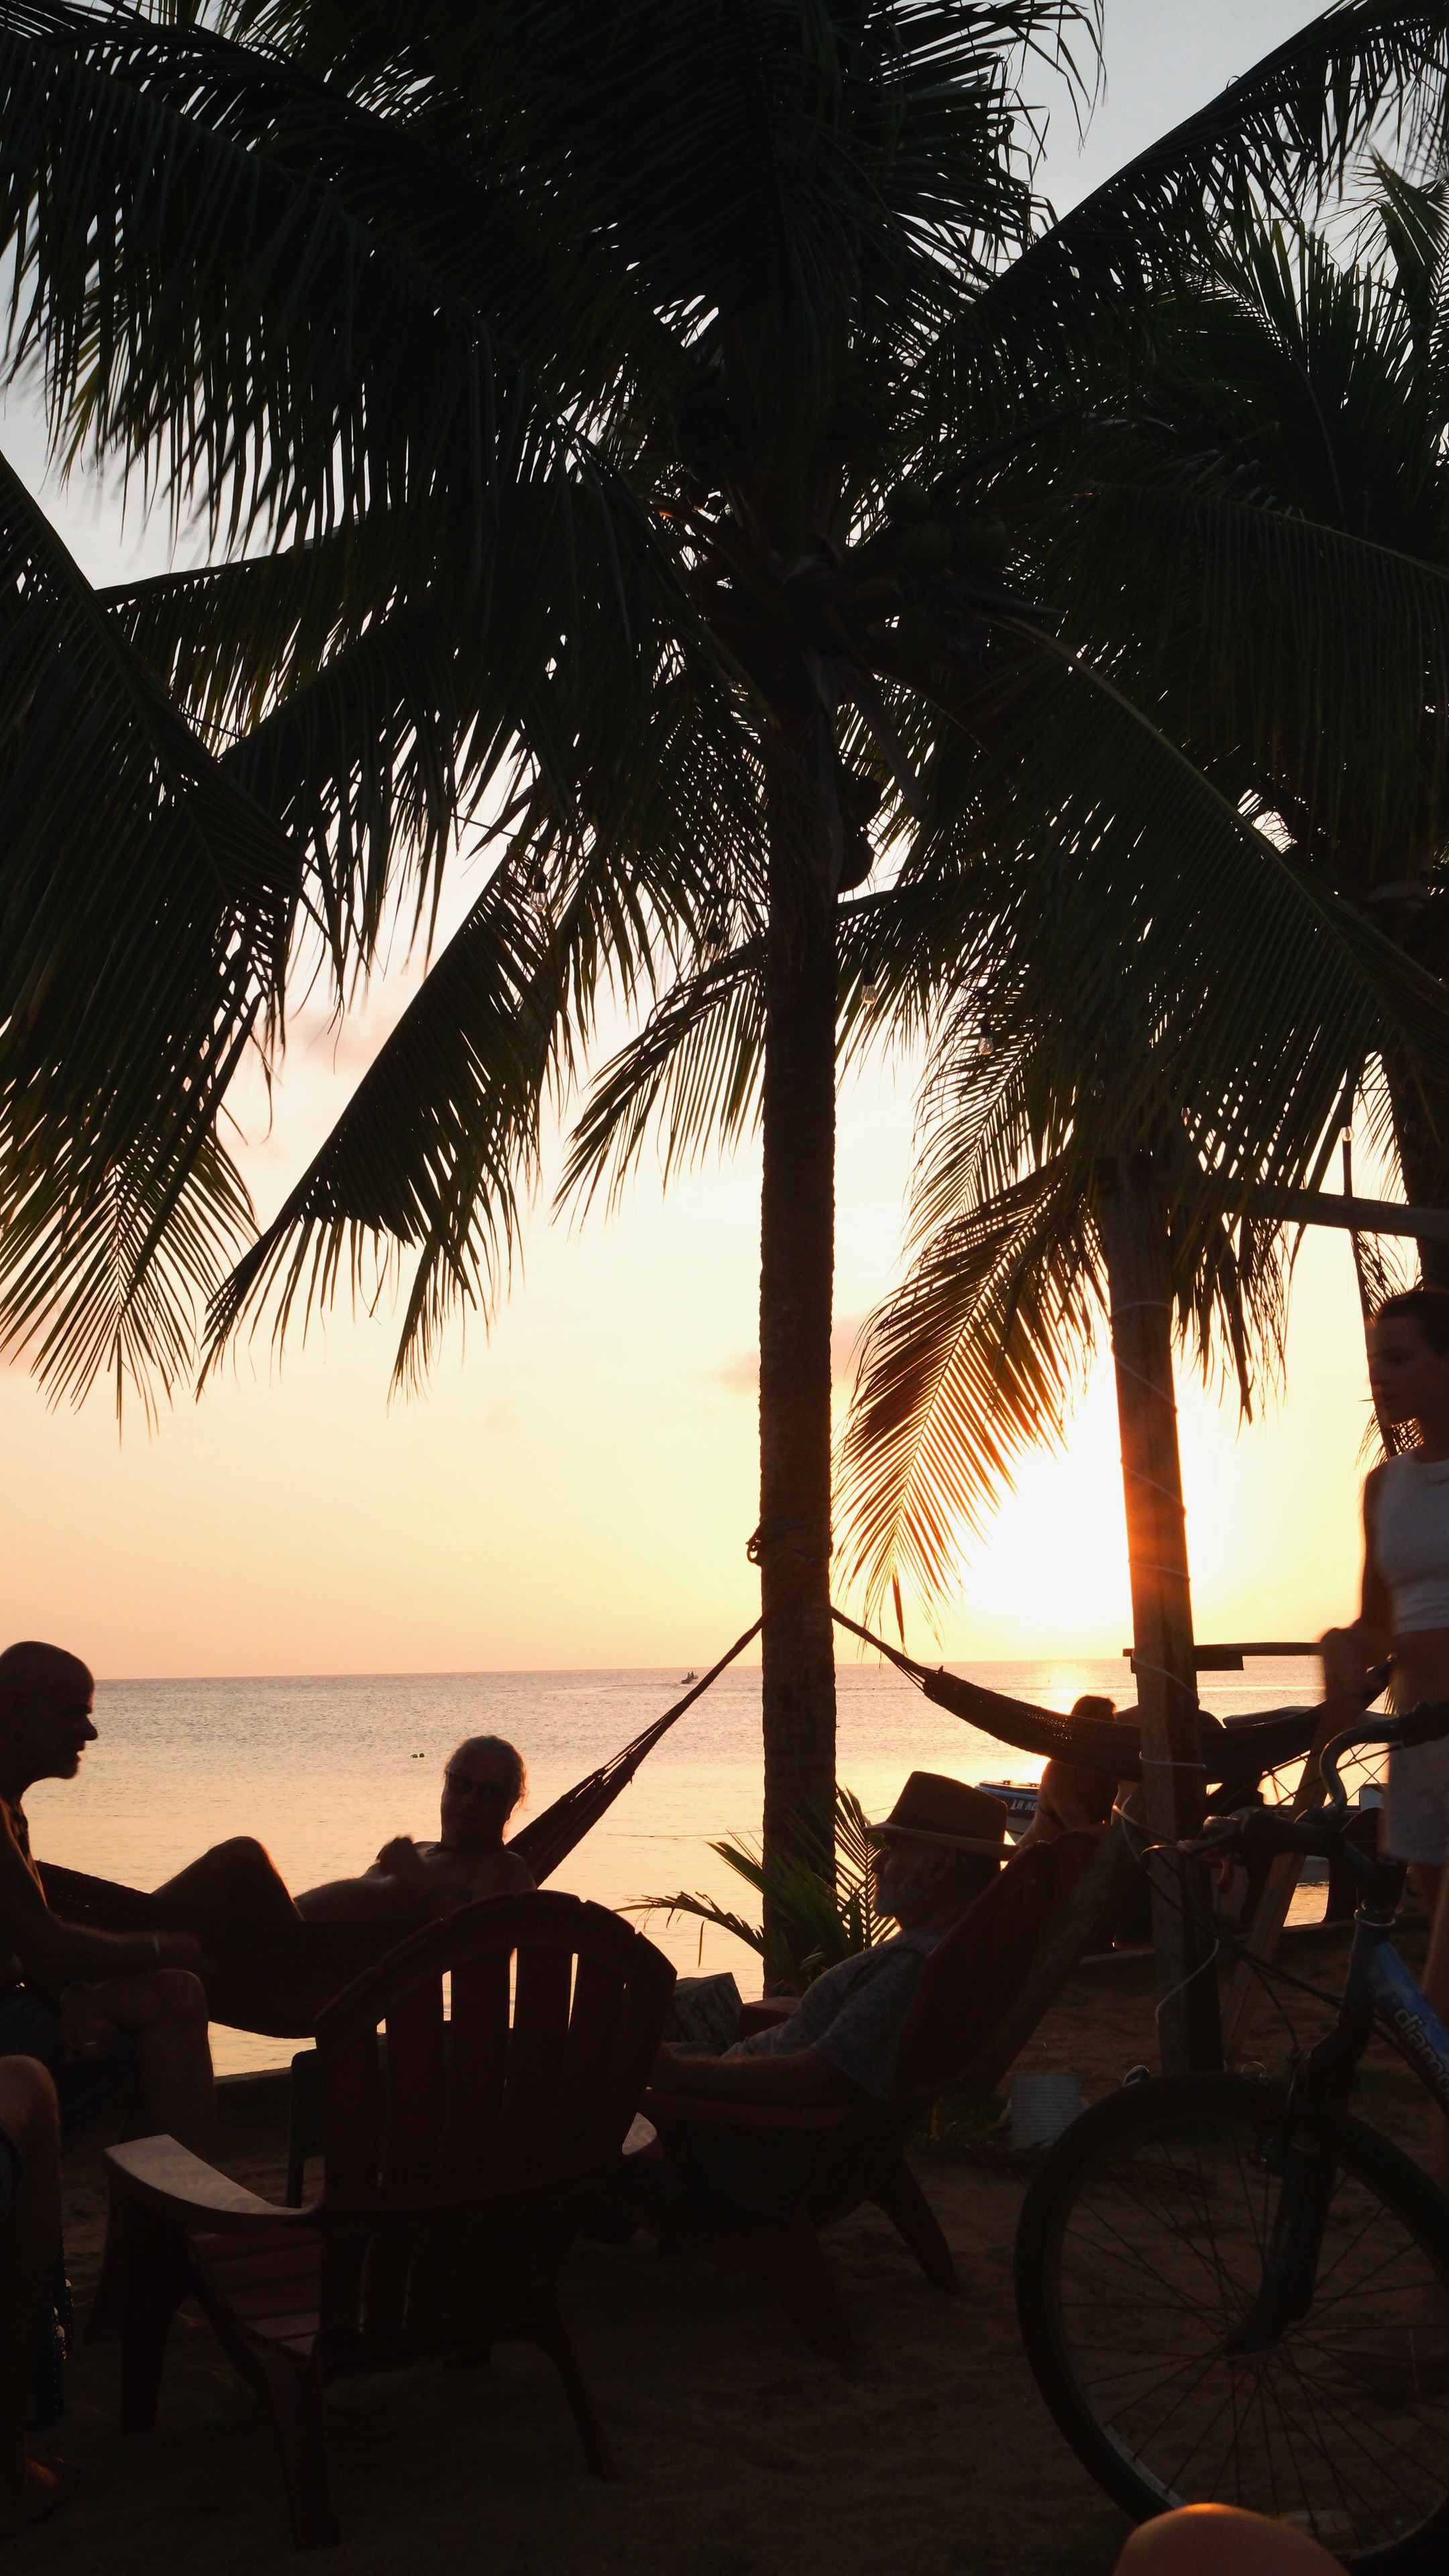
OVERALL THOUGHTS:
The island is darling! No cars and few people makes for a very cozy, friendly culture. By the end of your stay you’ll recognize most people in town! Everyone says hi to each other as you pass them. My biggest regret is only staying 4 days. I wish I had stayed longer not only because it would’ve given me a better shot at getting to the hammerhead dive spot, but also because this is just a little gem of a spot to spend some time!

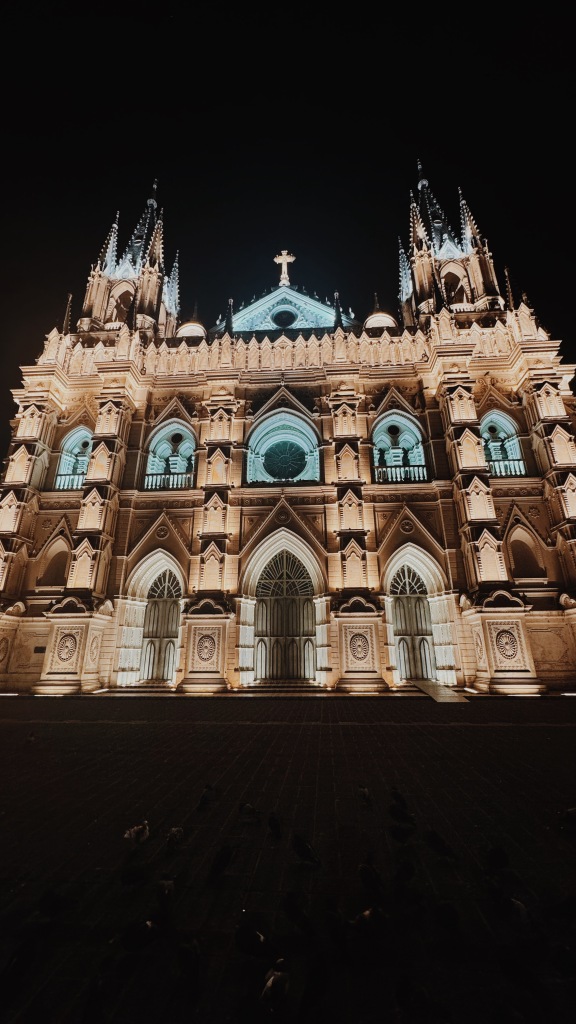
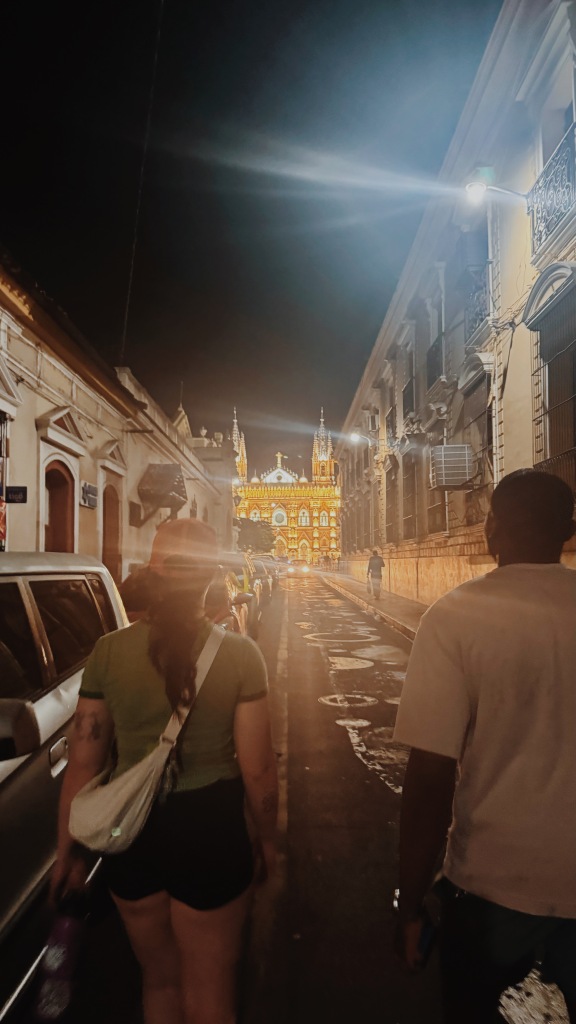
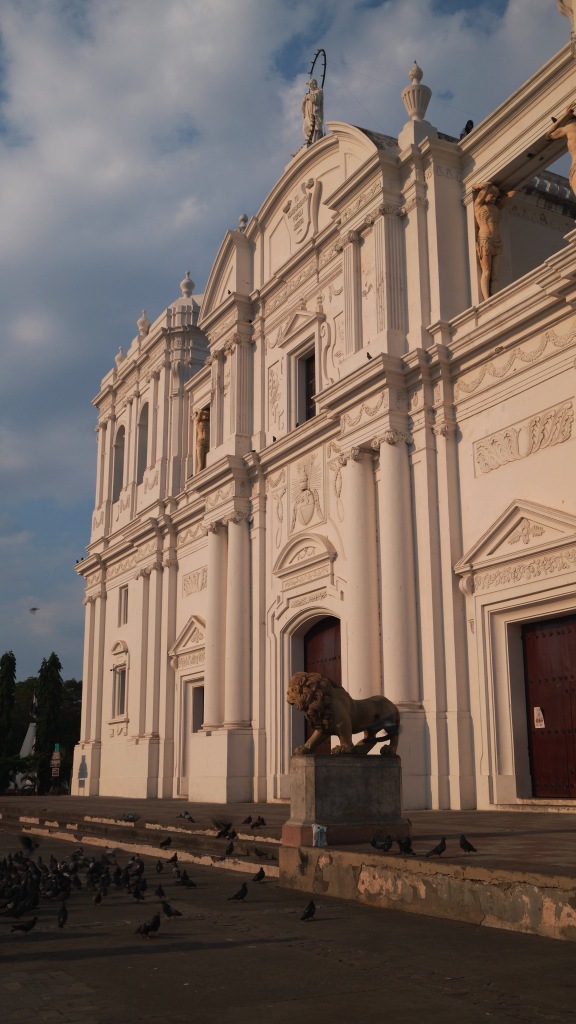
CITY: LEON
HOW LONG: 3 NIGHTS
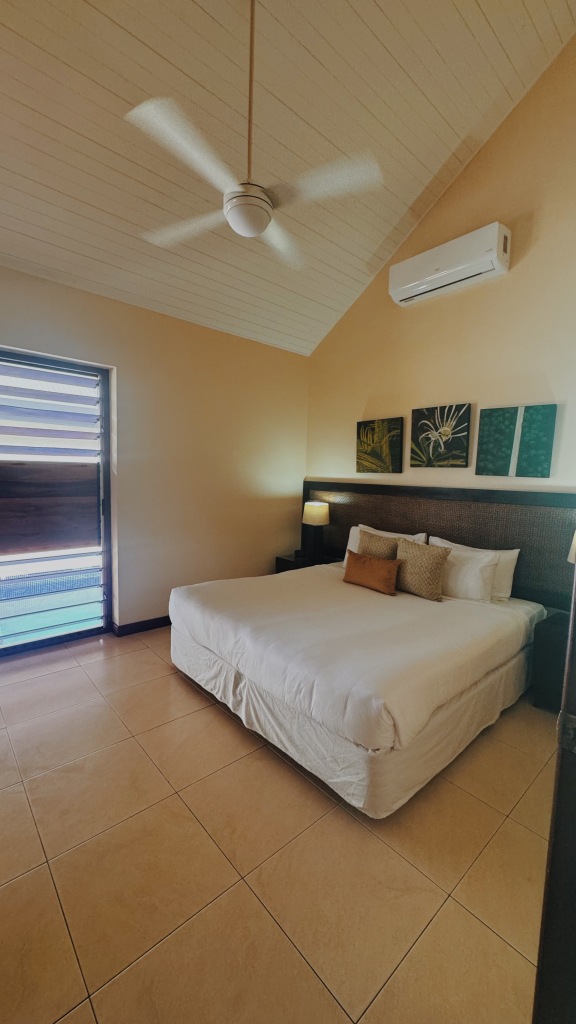
ACCOMMODATION:
I stayed at Poco a Poco hostel, another backpacker favorite. Some rooms have AC (check when you book), but all beds have a personal fan which does a great job of keeping you cool at night. Curtains, personal lights & sockets in the beds. Small pool to cool off in + lots of areas to sit (including long picnic tables and hammocks). Great location close to the center of the city. Lots of restaurants nearby. Cheap breakfast available for $2. Overall, I really liked this hostel. 8/10.
WHERE TO EAT:
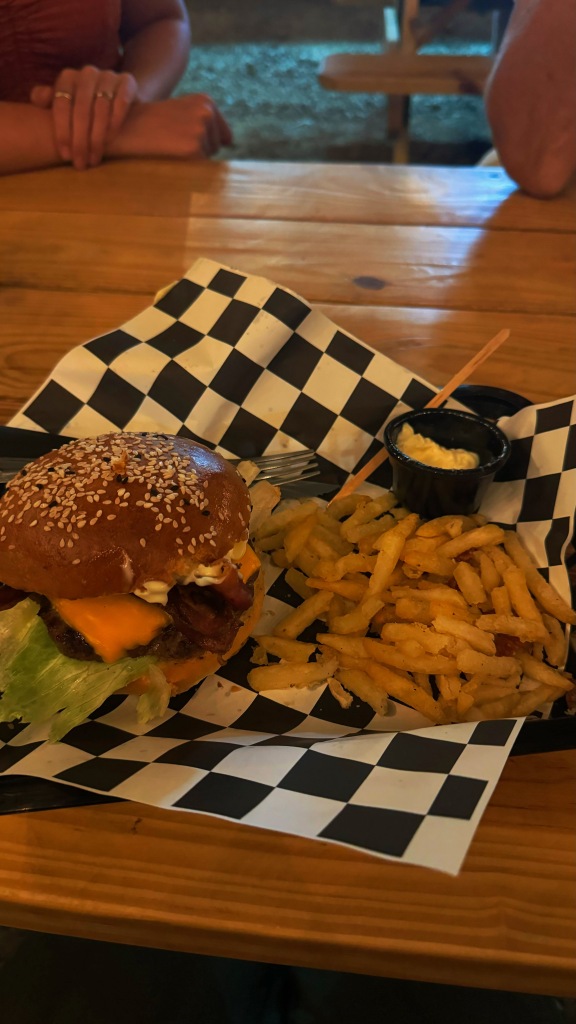
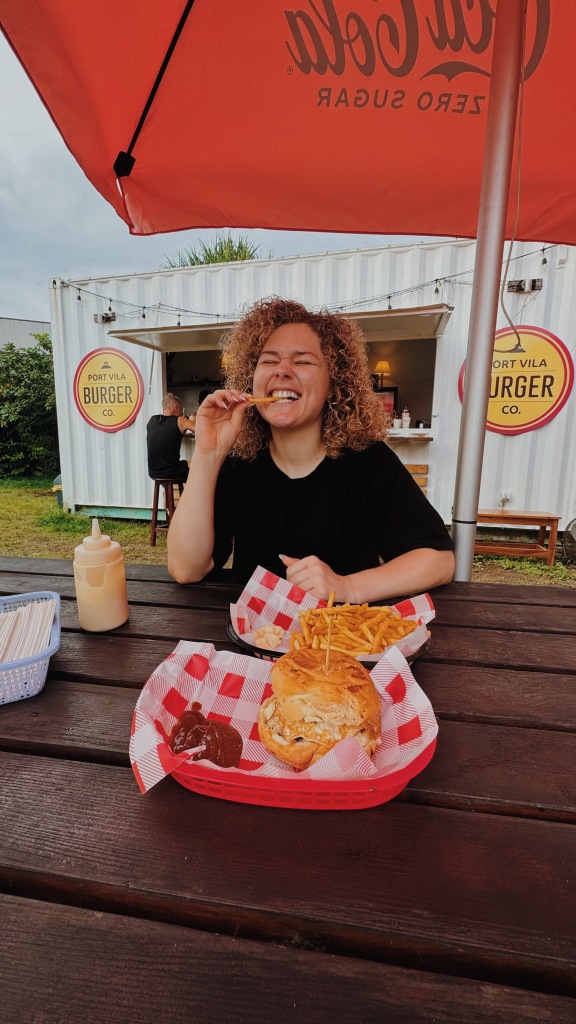
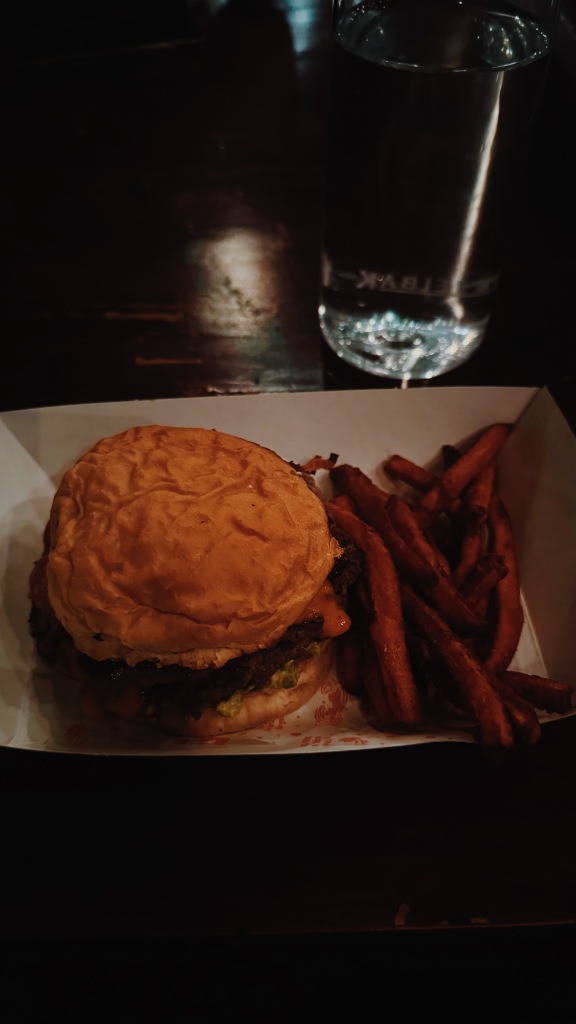
I found a smoothie spot (Jugoso) as well as another Pitaya location to get a smoothie bowl. Pan y Paz was also a good cafe to get a treat at. The food trucks also had some yummy street food so I had dinner at those two of the nights.
WHAT TO DO:
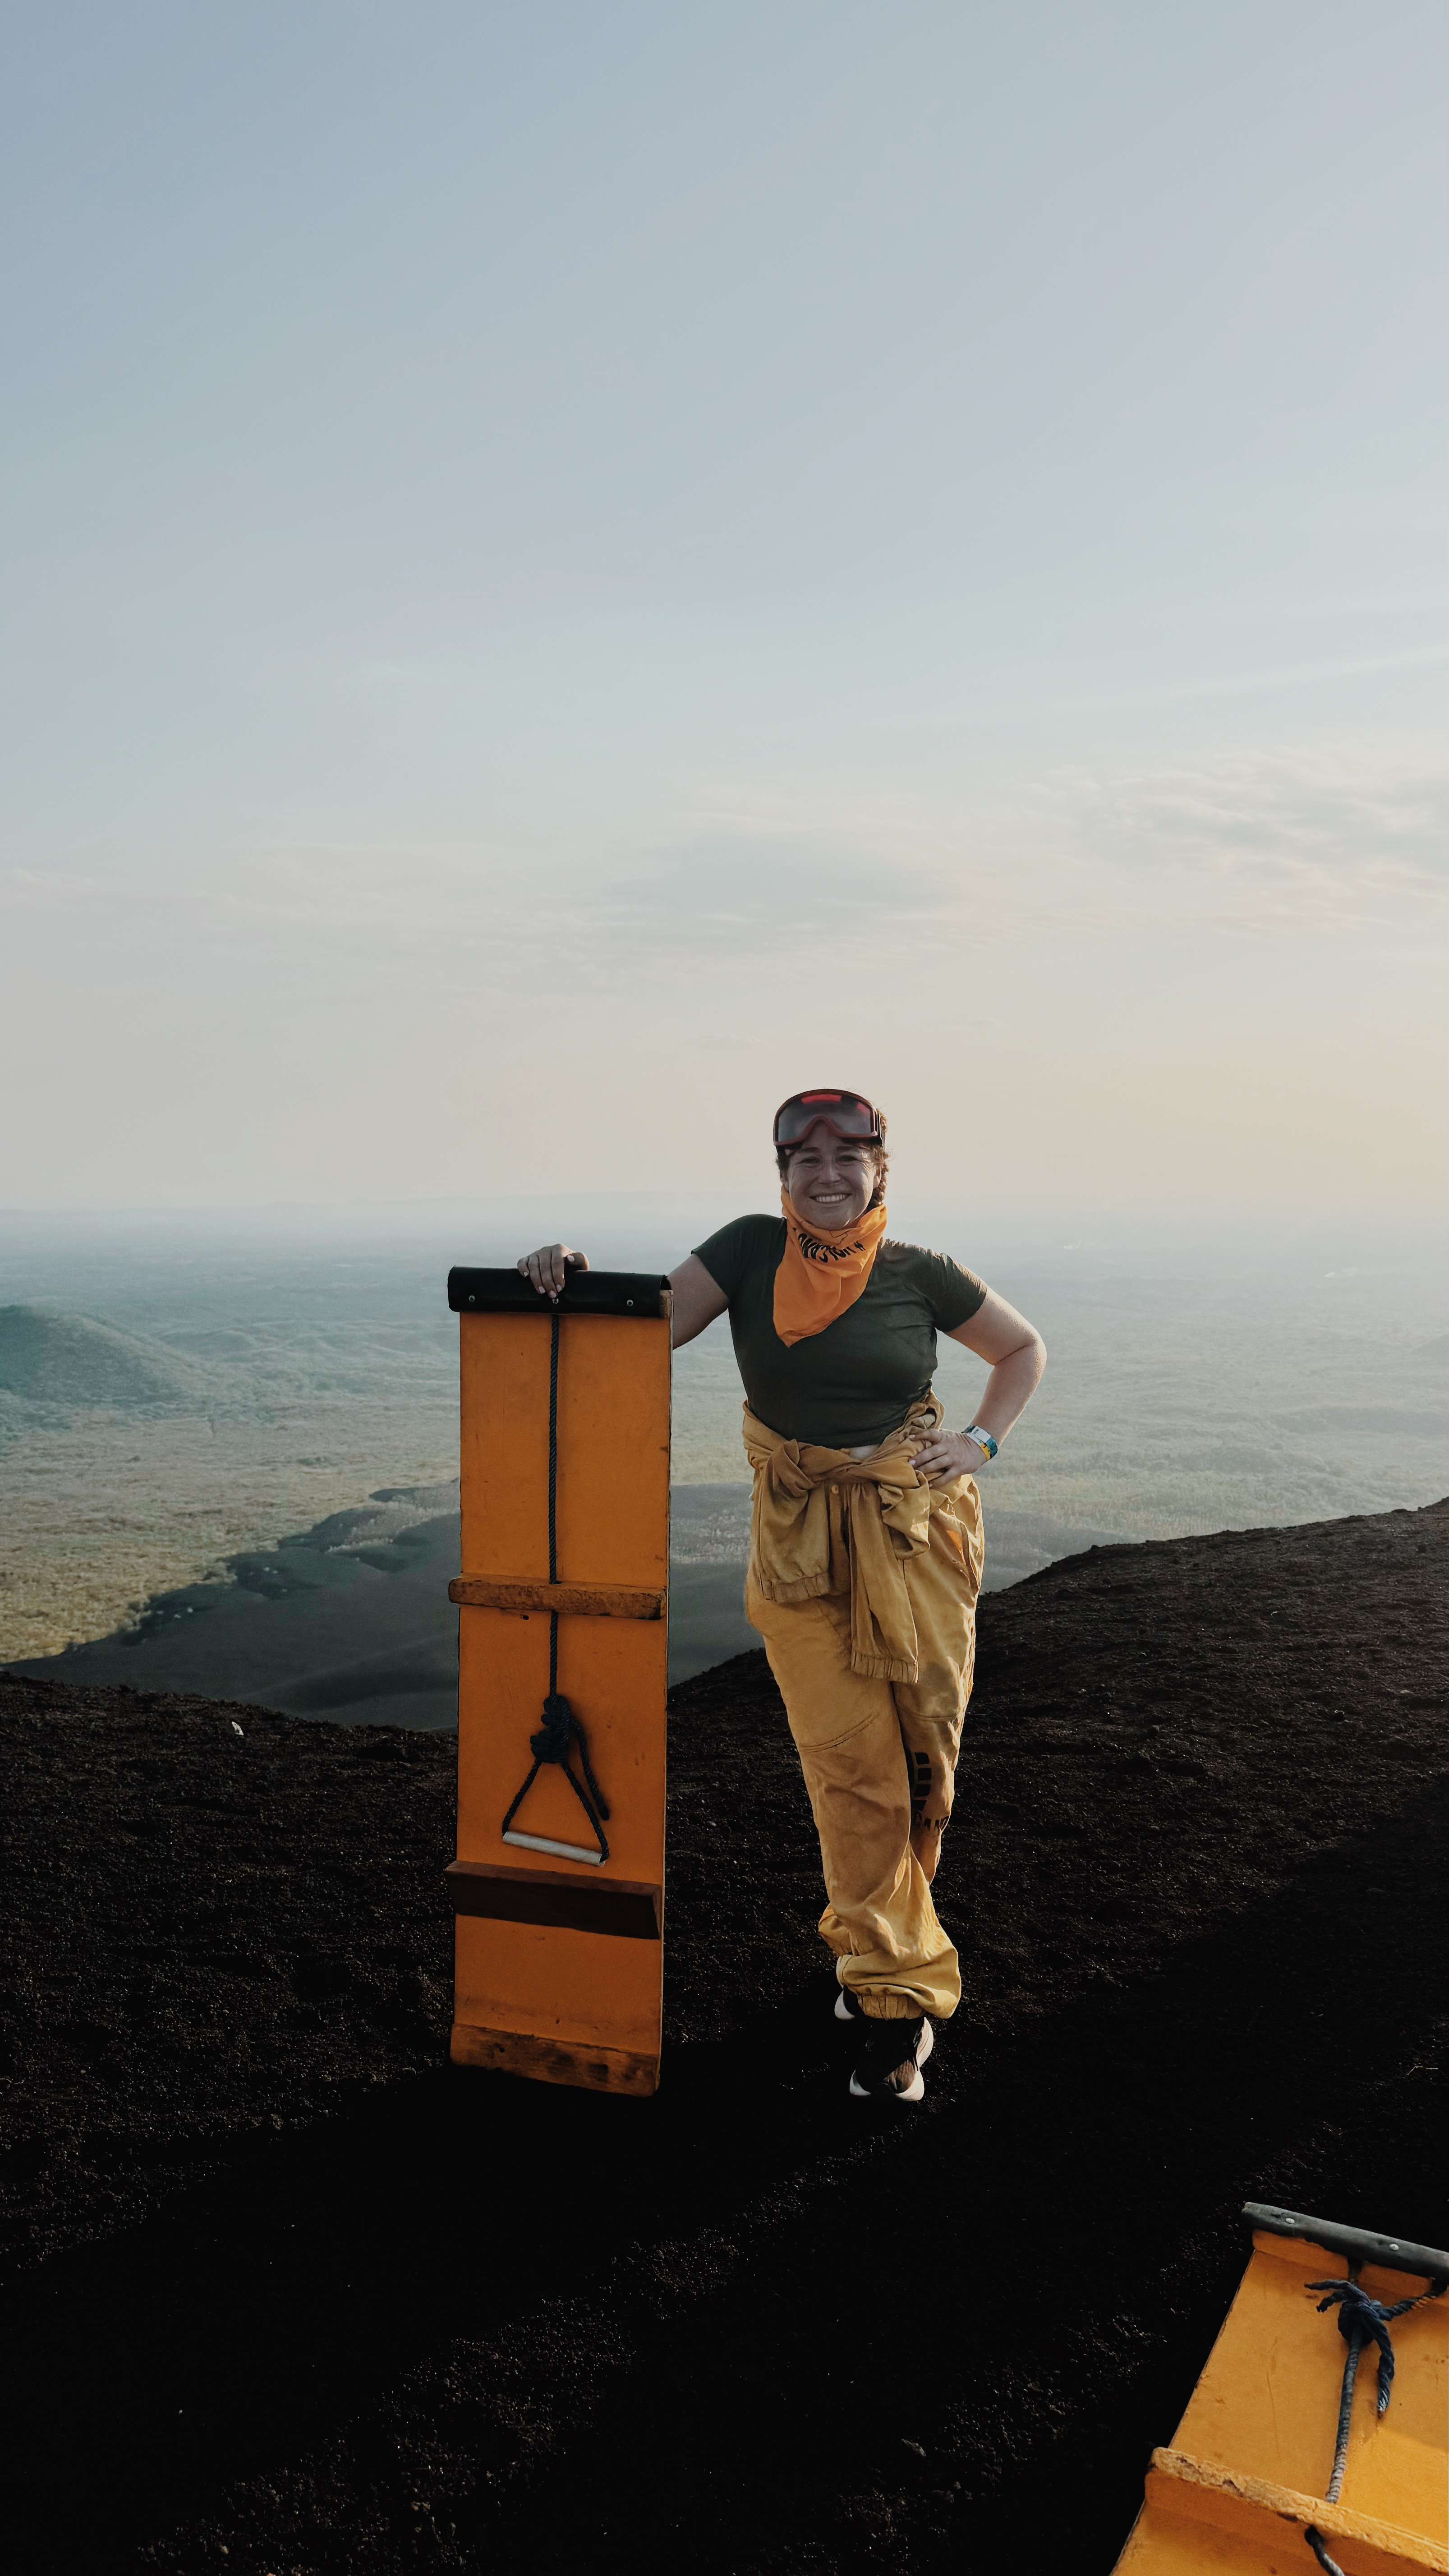
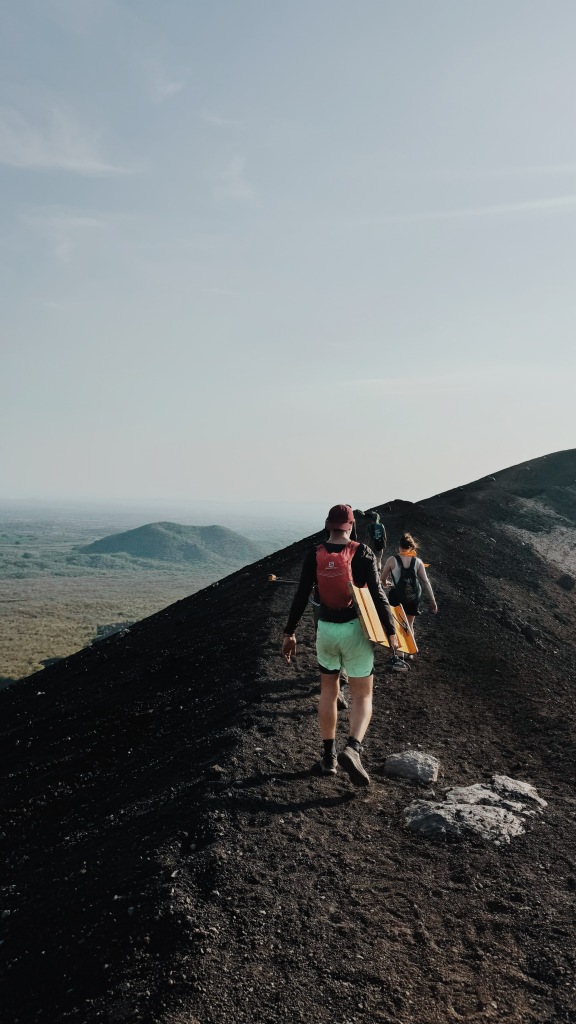
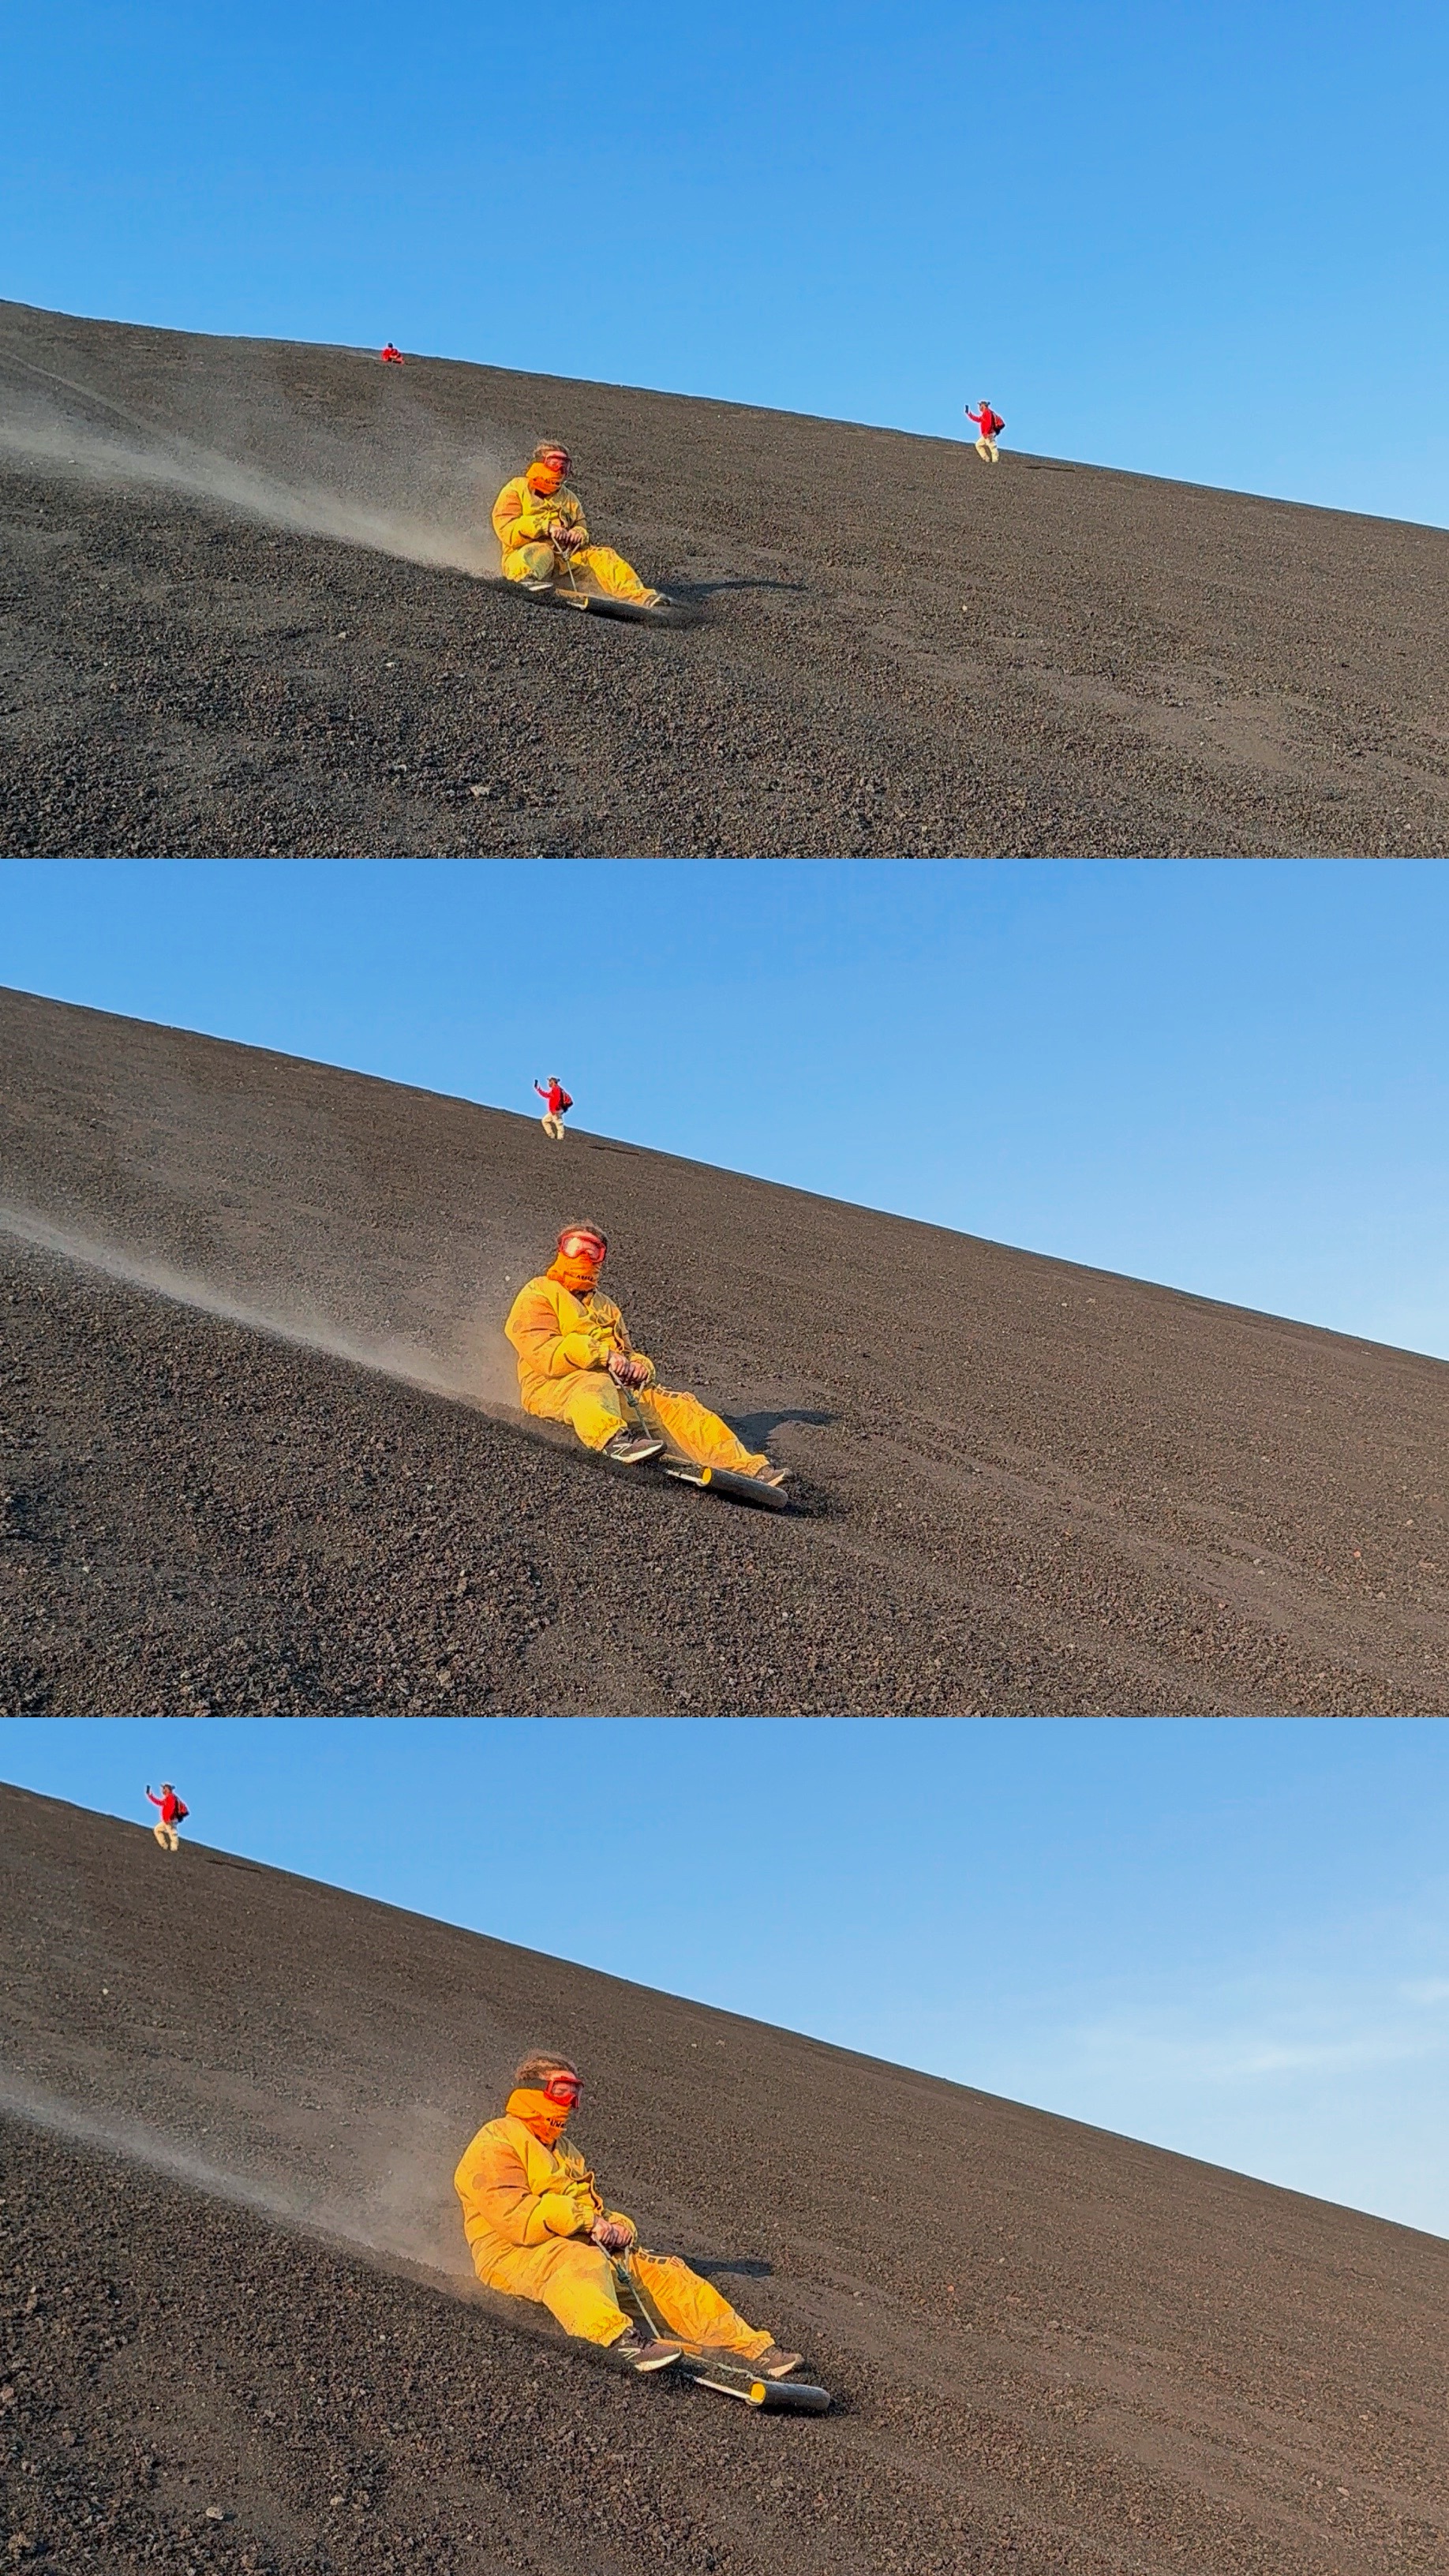
The highlight here is sand boarding down a volcano before taking the party bus home! The sand boarding was fun but the party bus was less my scene haha. There are two main companies: Via Via and Bigfoot. I did it with Via Via because it skews smaller & slightly older, while Bigfoot takes a way bigger group, and has even more of a party vibe. Overall its a very similar tour!

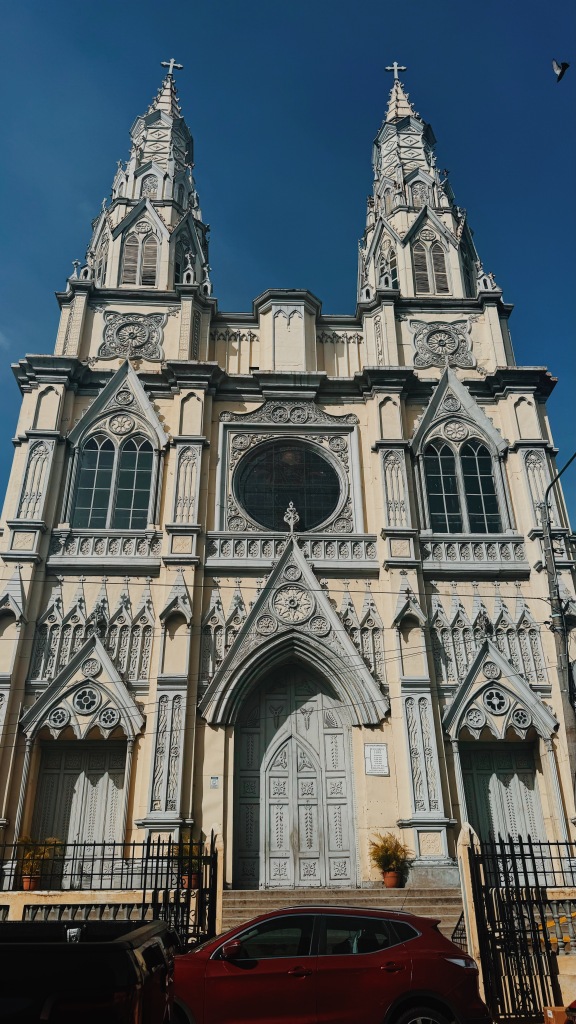
You can also go on a great walking tour, check out the cathedral at sunset or head to the beaches of Las Penitas.
OVERALL THOUGHTS:
Leon was a slightly grungy, but very fun city with lots of energy. It was a great last stop. Worth 2-3 days, but you can certainly stay longer.
BUDGET FOR 15 DAYS IN NICARAGUA:
Nicaragua is a cheaper destination (for example I averaged only $18 on food per day), but you can easily find ways to spend money, especially if you head to the Corn Islands 🙂
- Accommodation: $377 ($25 per night) – spent 4 nights in a private room in the Corn Islands
- Food: $275
- Activities: $460 (6 dives + 2 massages)
- Local Transportation: $370 (including flights to the Corn Islands)
- Miscellaneous: $93
Total: $1575 (Daily average: $105)
Transportation to next destination: $84 (Shuttle to El Salvador)