San Pedro de Atacama + Santiago

Pro tips:

  • Currency is not complicated here (unlike Argentina or Bolivia). You can pay by credit card most places and to get cash, just use any ATM. FYI ATM fees can be pricy (but doesn’t matter if you have a debit card that reimburses ATM fees like mine does).
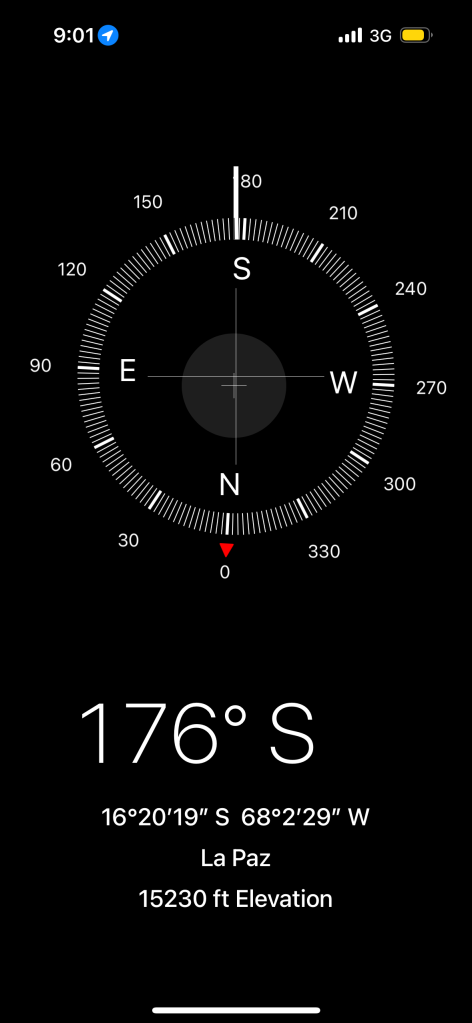
  • When you cross the border into Chile, you will receive a slip of paper called the PDI. DO NOT LOSE IT. You need it to leave the country!
  • Chile is definitely a more expensive South American country, but the infrastructure is generally better.
  • In South America, domestic flights tend to be much, much cheaper than international ones so if you can try to fly domestically and then do border crossings by bus, you can often save money. For example, we fly from Santiago down to Patagonia but stay on the Chilean side (Puerto Natales). Then we will take a bus to El Calafate (Argentinean side) and will do the border crossing by bus. Then we fly to Ushuaia from there, successfully avoiding any international flights.

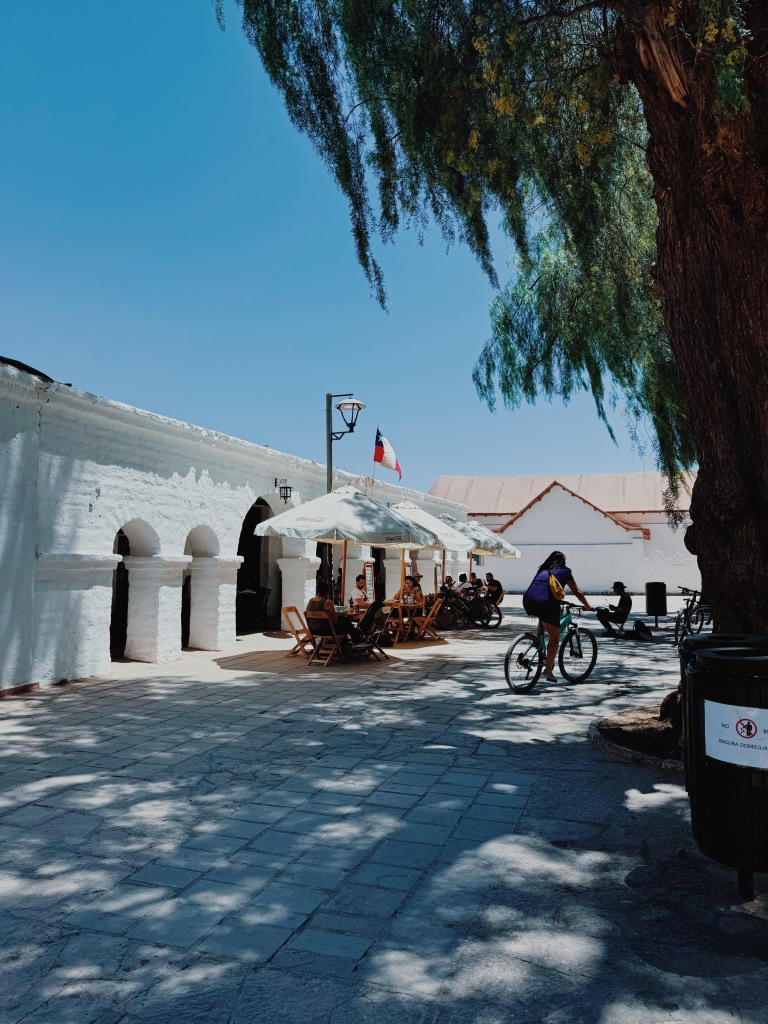
CITY: San Pedro de Atacama

HOW LONG: 5 Nights

ACCOMMODATION:

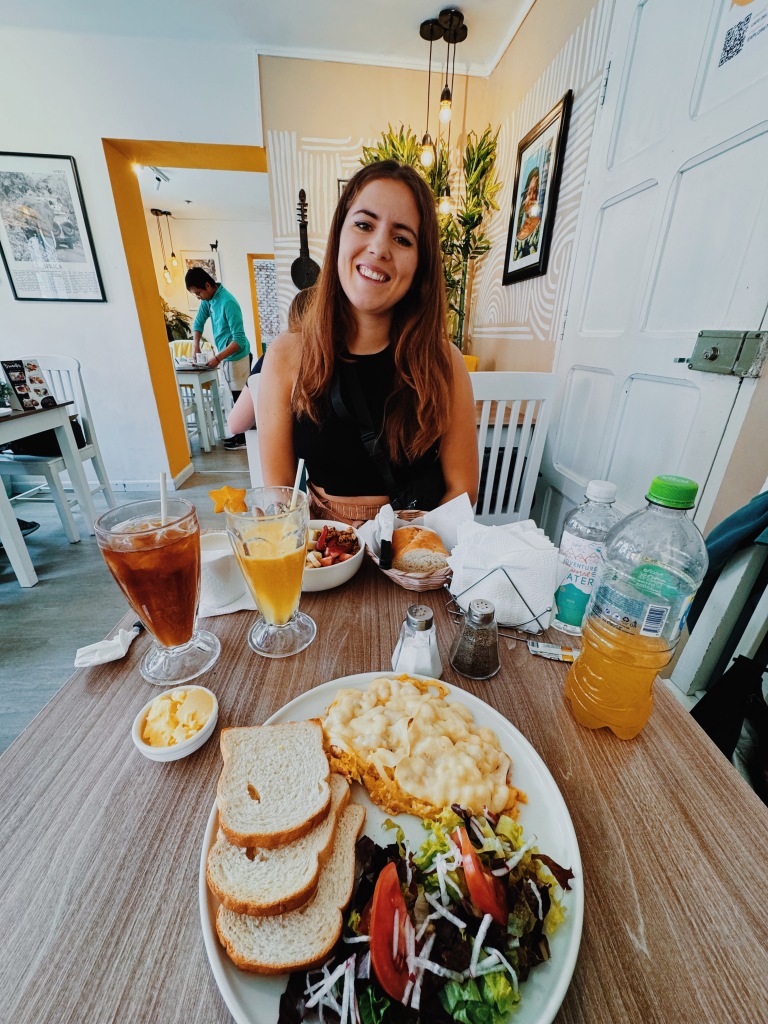
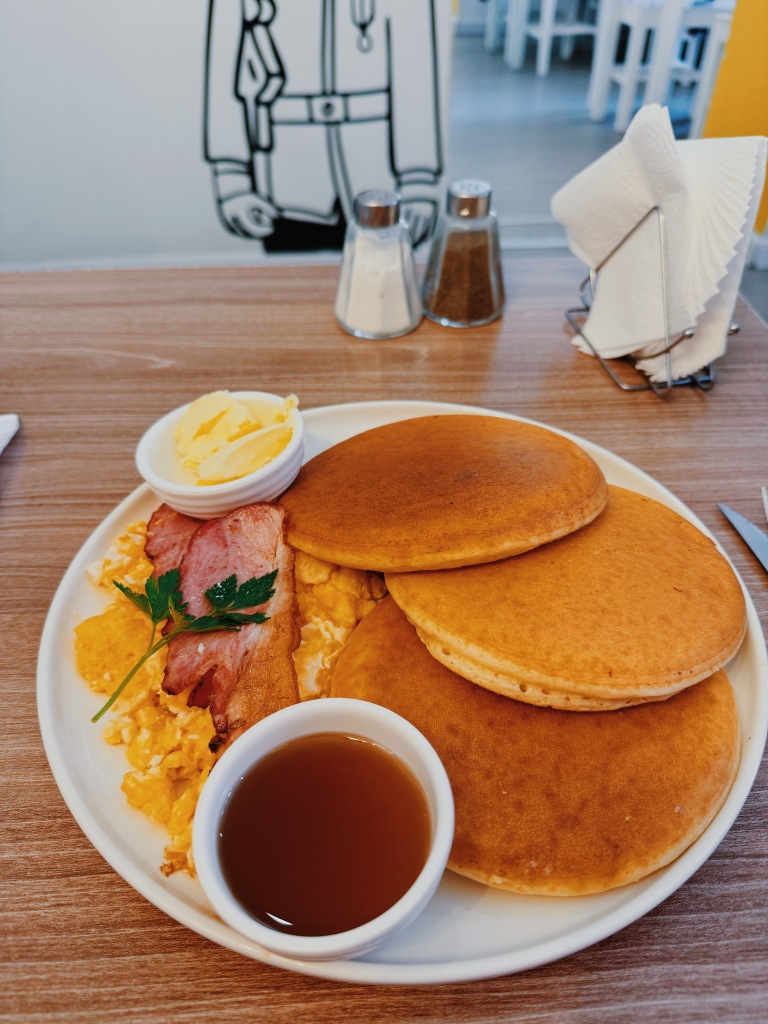
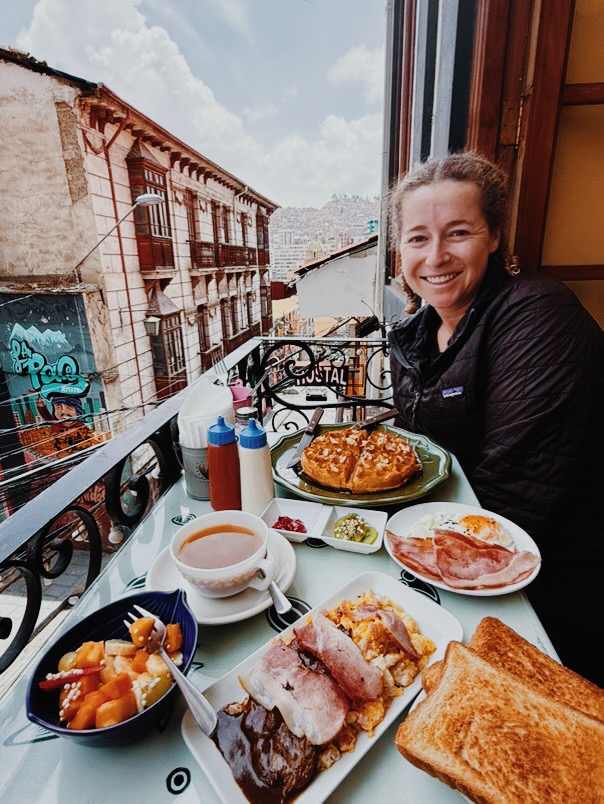
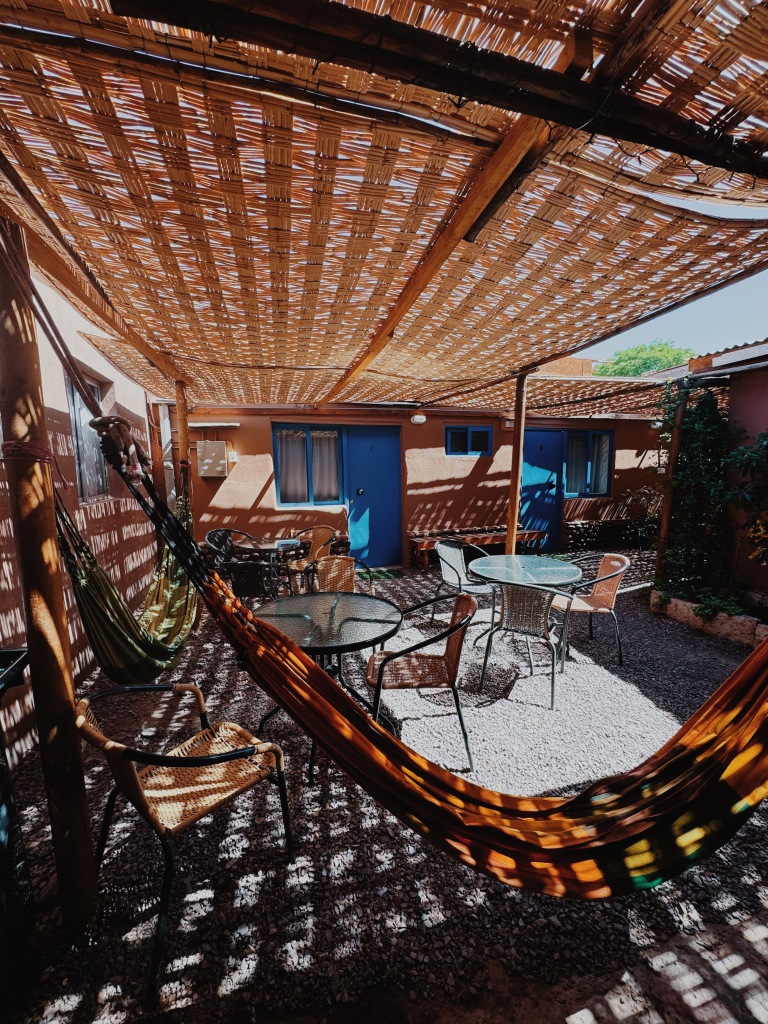
I loved my hostel here! When I began searching for the right spot, every review of Hostal Mamatierra mentioned how clean it was. It lived up to its reputation! It was so cozy, clean and had the best hostel breakfast I’ve had in a while. Pancakes, fruit, & eggs in addition to cereal & yogurt. Very easy to meet people and it’s small enough that you actually end up talking to almost everyone over breakfast or in one of the hammocks. Easy to book tours through the front desk as well. Beds were comfy and the rooms were cleaned every day! Overall a 10/10, can’t recommend enough!

WHERE TO EAT:

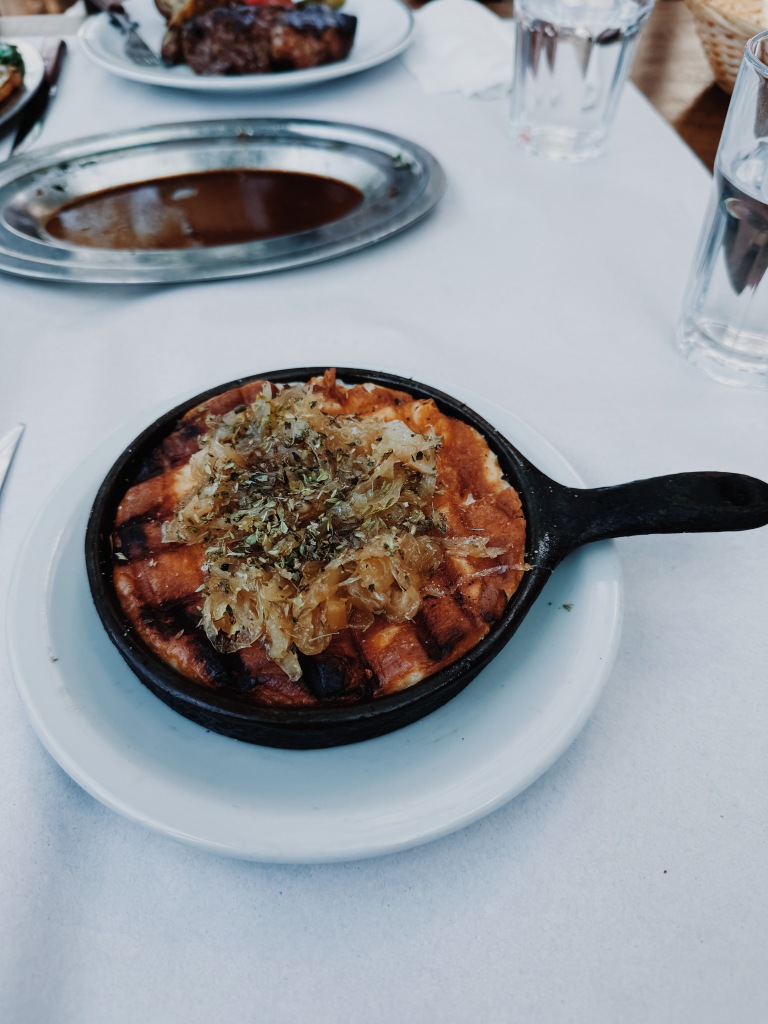
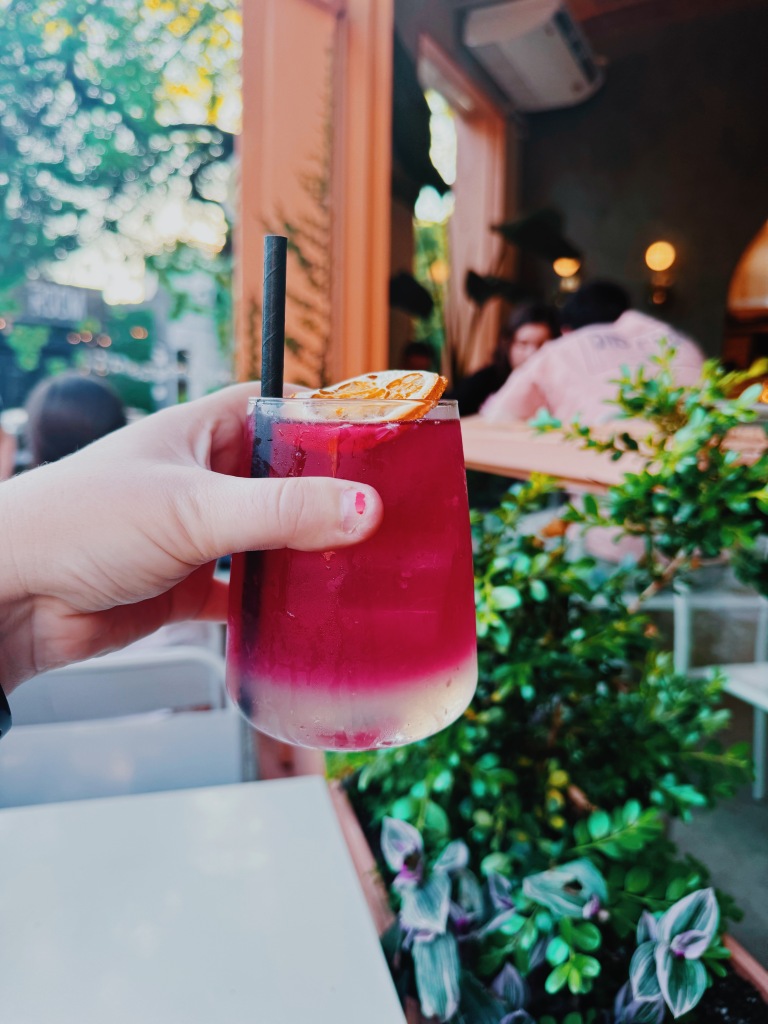
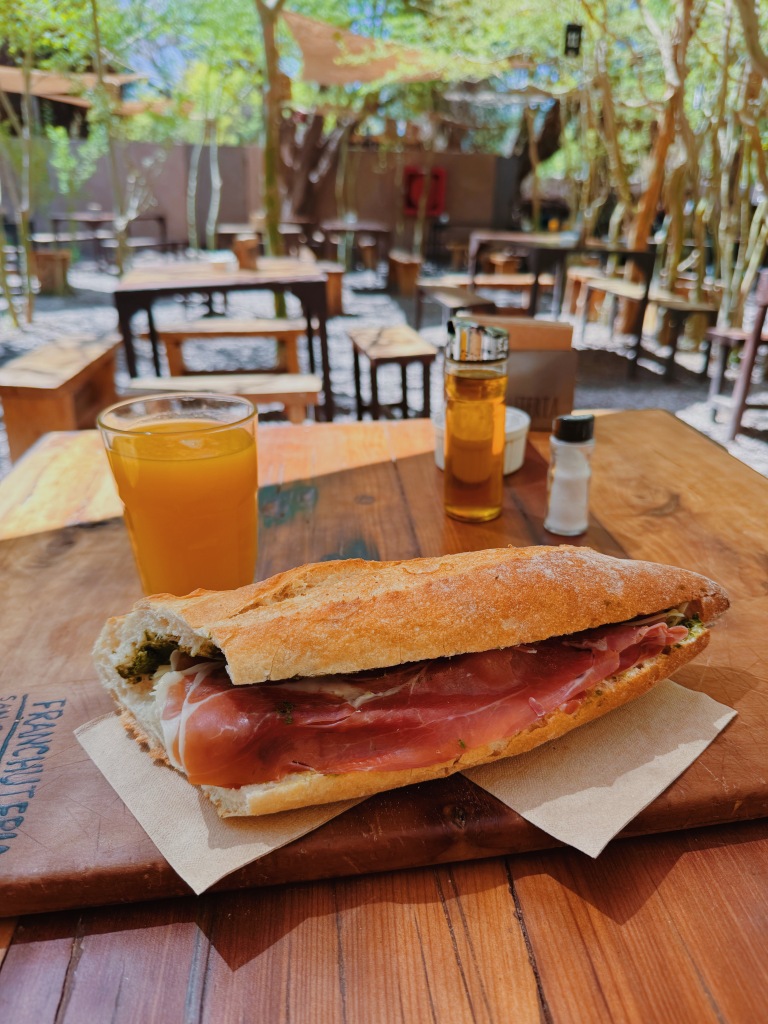
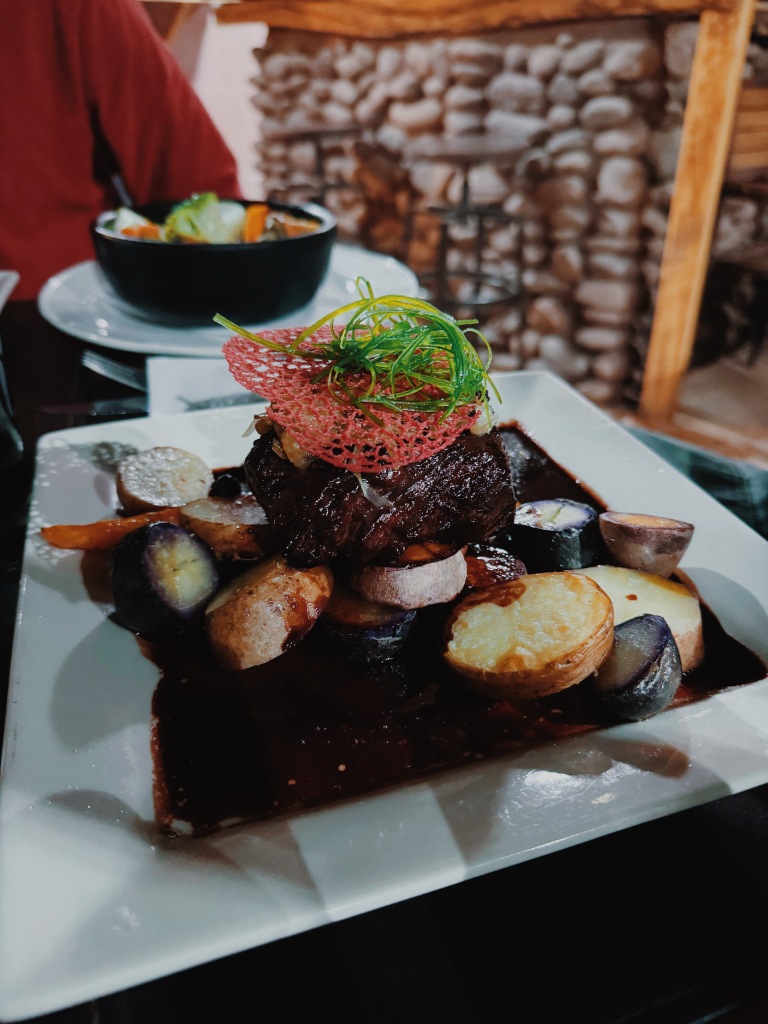
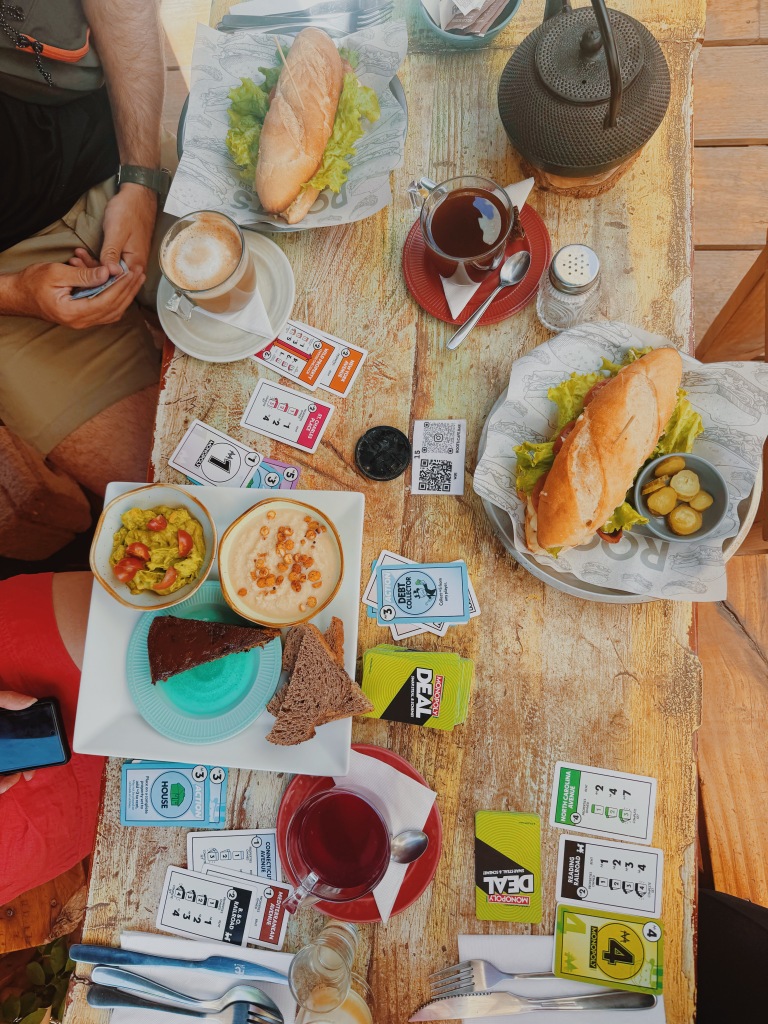
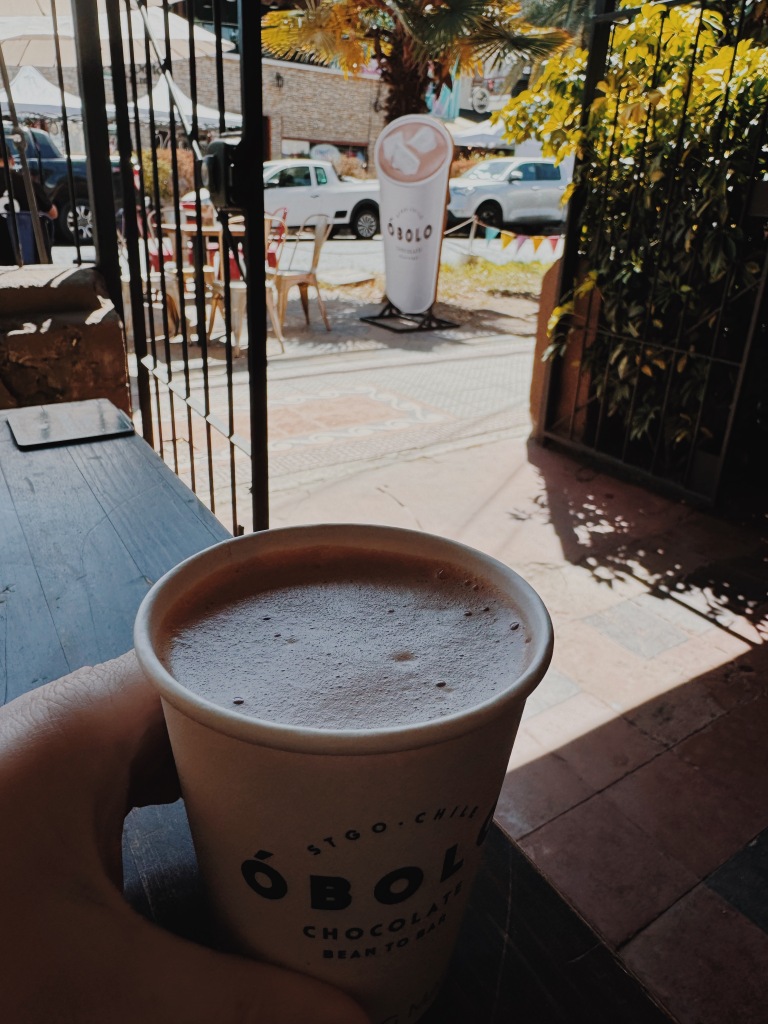
  • Franchuteria – cute cafe with outdoor seating. Two locations in town but I preferred the one with the outdoor seating. Delicious baguettes and sandwiches. Huge portions. I ate lunch and had enough leftover for dinner. Great spot to play cards or chat with new friends from the hostel. Definitely my favorite place in San Pedro.
  • Adobe – pretty expensive but very cute restaurant. Live music and food was delicious. I had a cheese, mushroom, and onion quesadillas. Again, I had a lovely experience but the price comes from it being touristy, rather than exceptional food.
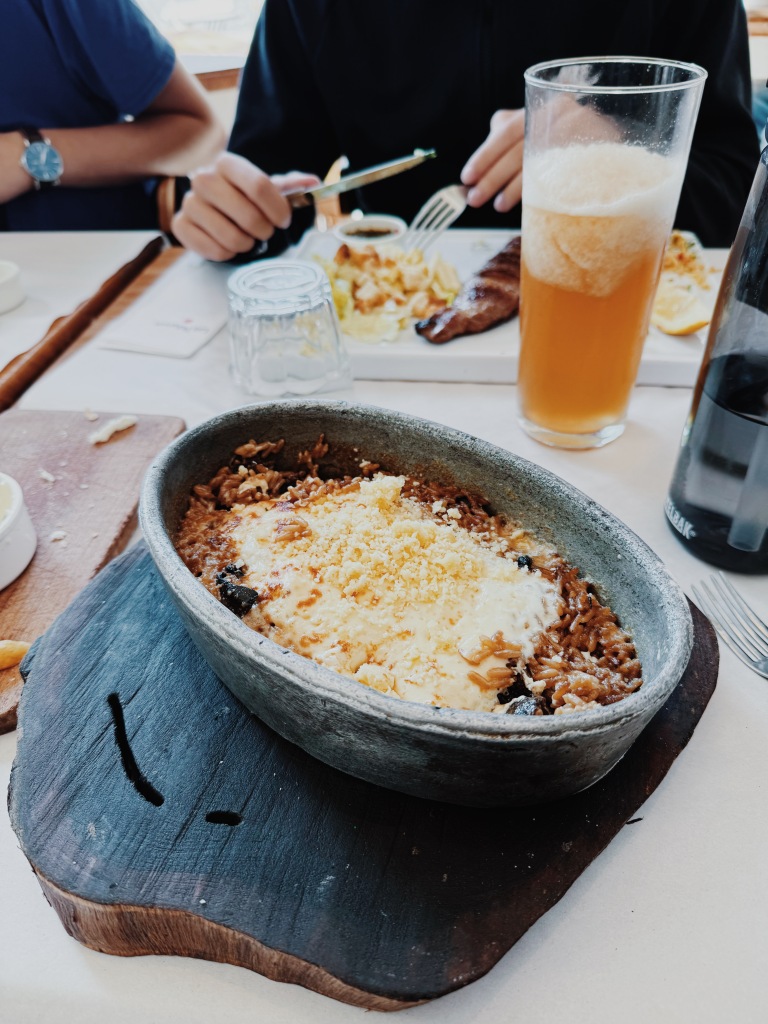
  • Ckunna – lovely spot slightly out of the main touristy bit. Pasta was delicious and my friends raved about their steaks. Great outdoor patio to enjoy dinner.
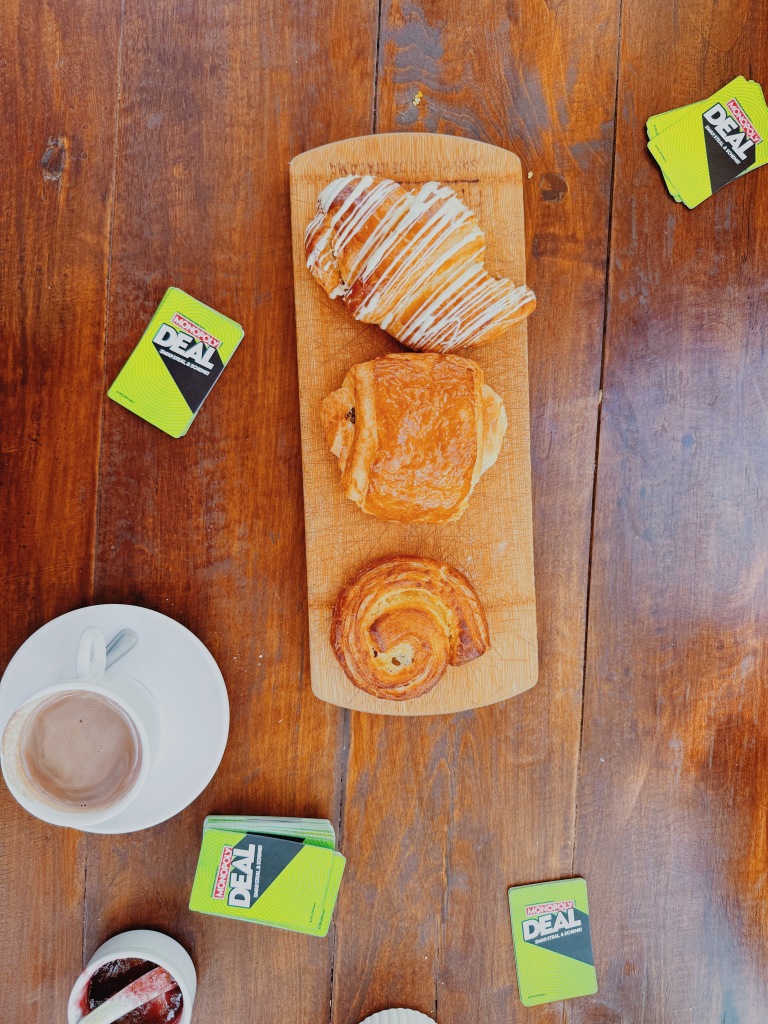
  • Roots Cafe Pizza – Went here for brunch/lunch & some monopoly deal with my new friends. Very cute outdoor space in the back. Really enjoyed it.
  • Astro Burger – A great burger in a kinda funky space. You don’t go for the ambiance 😉

WHAT TO DO:

There are sooooo many tours & activities in San Pedro! Your accommodation will likely have a booklet or packet for you to peruse with all the options. Also it felt like almost every other business in town was a travel agency who are happy to book you onto one of their tours.

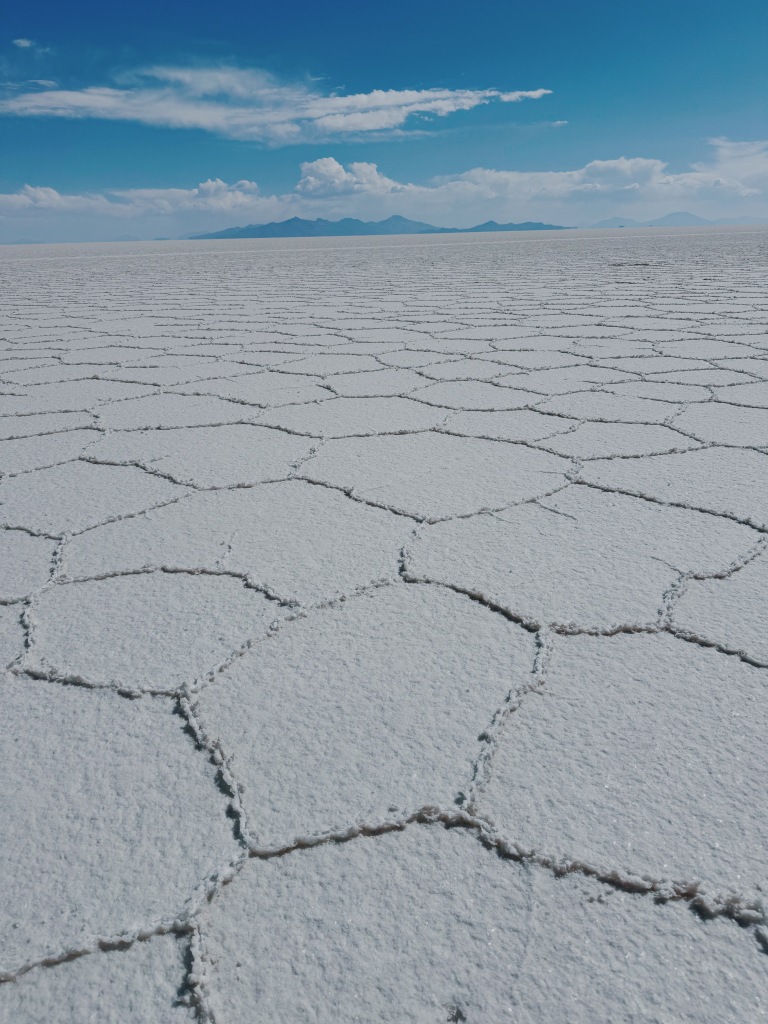
Because the landscape is quite similar to that of Southern Bolivia, I opted to skip some of the (sometimes) pricy tours. The two I chose to do:

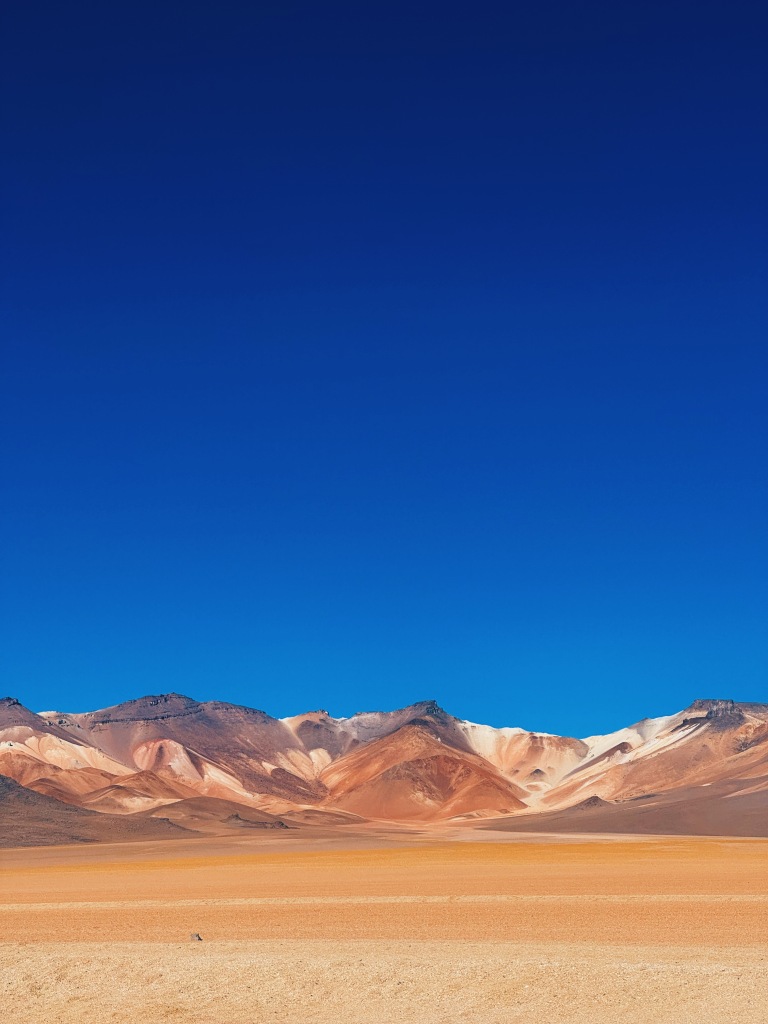
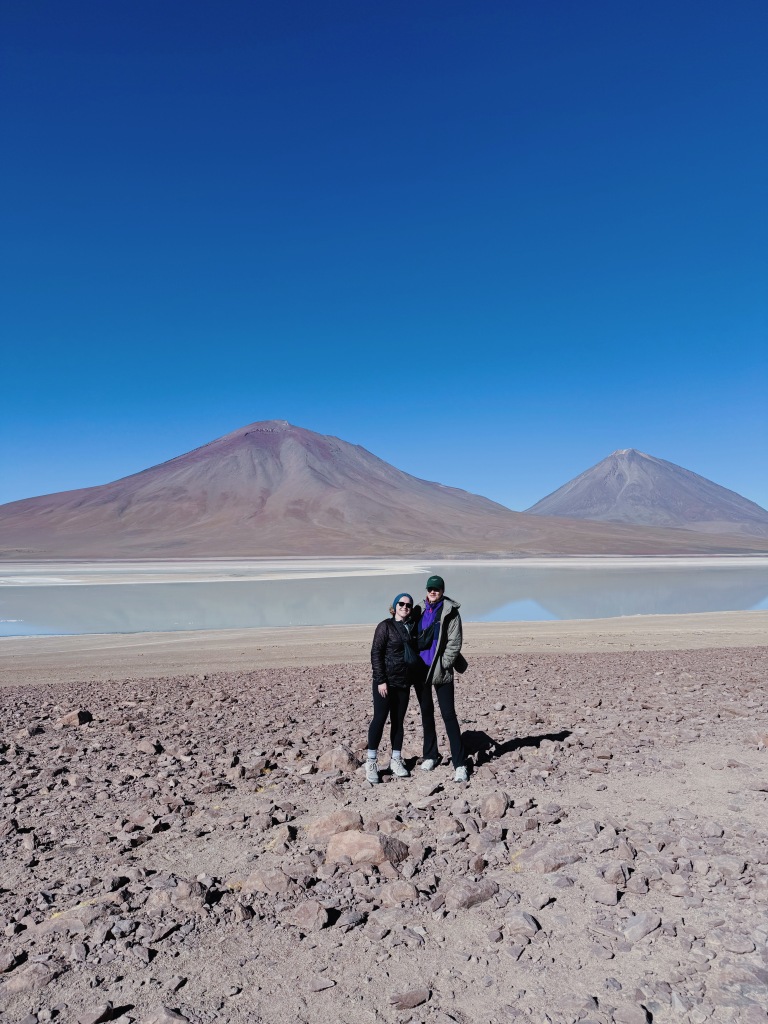
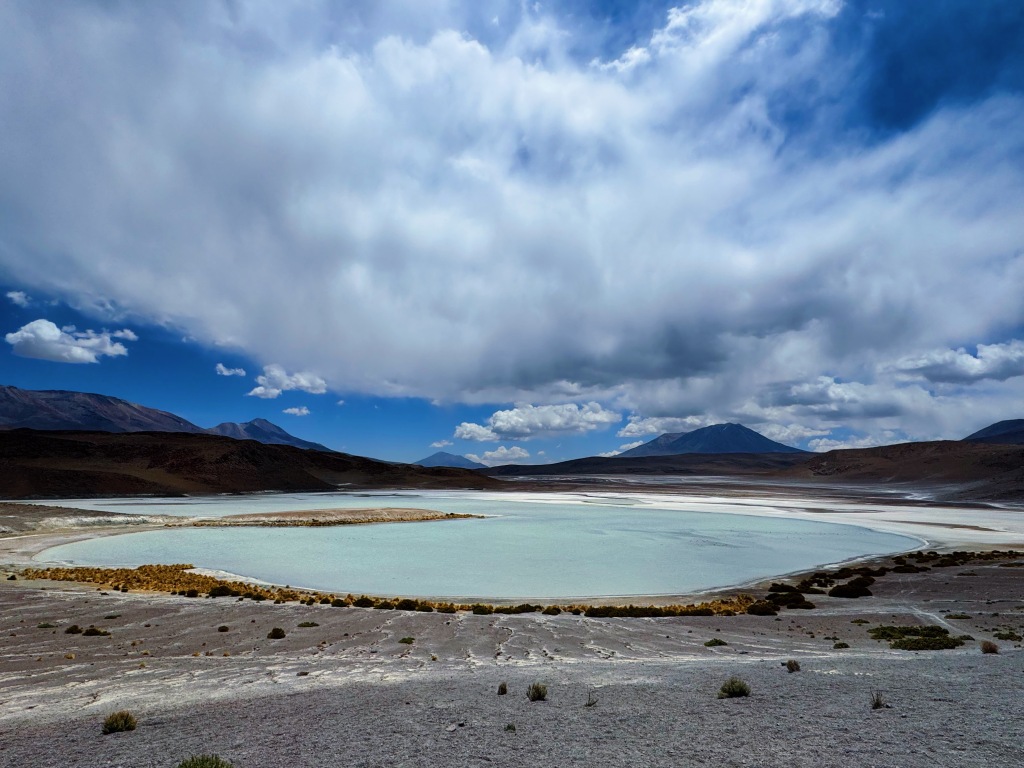
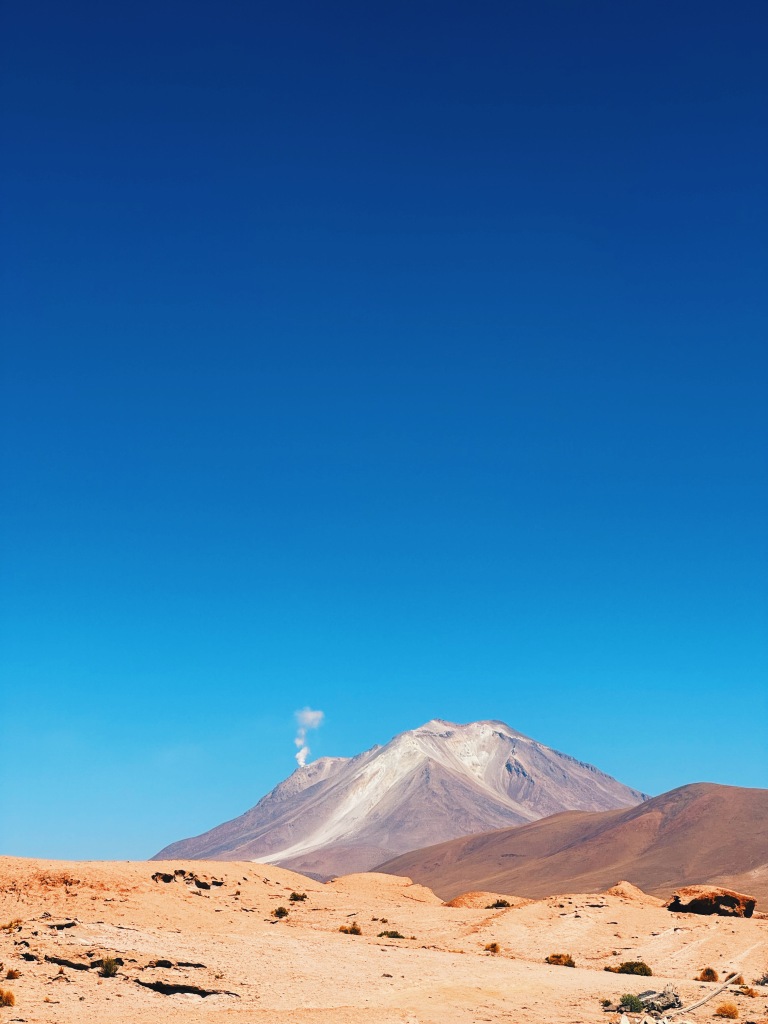
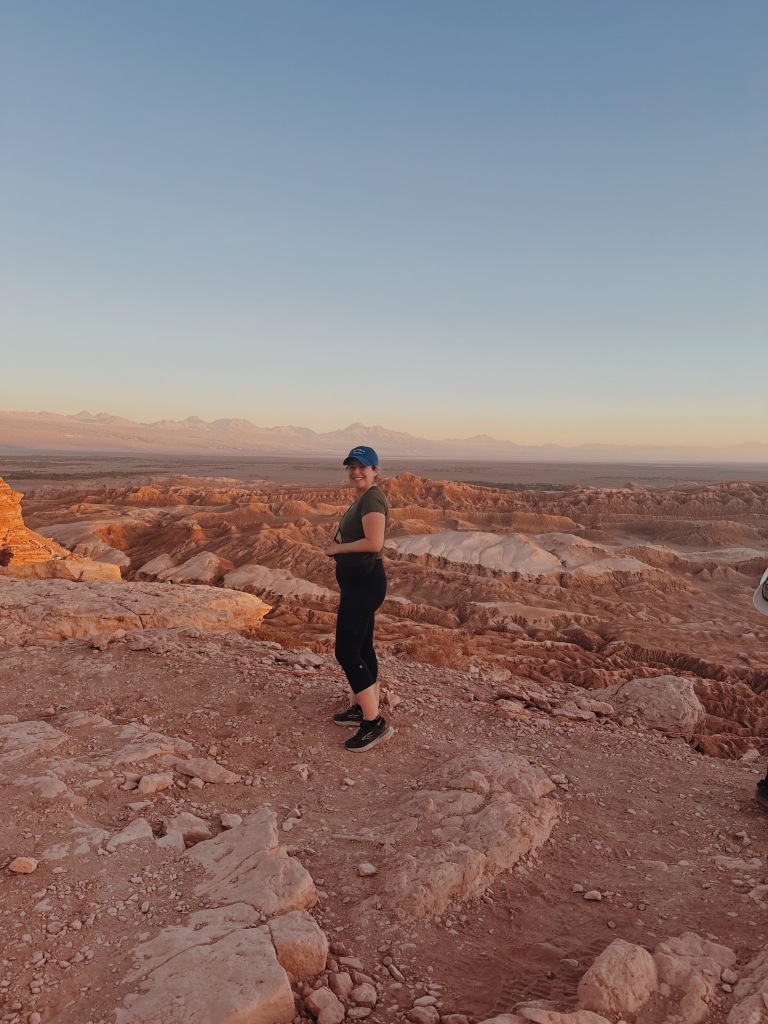
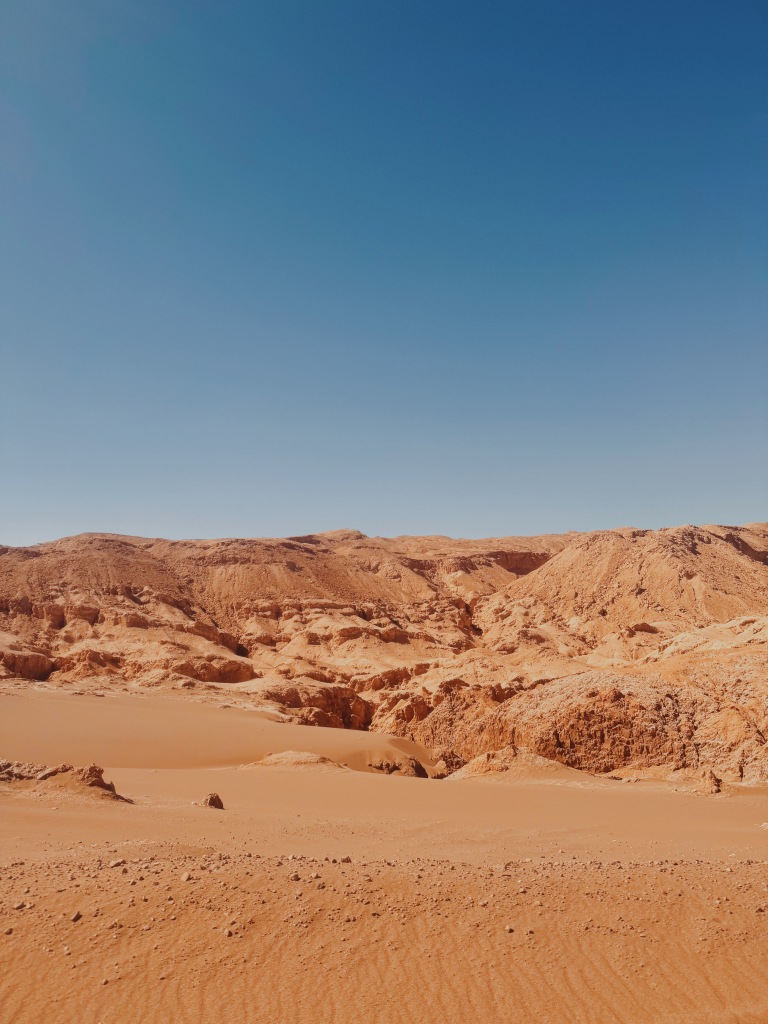
  • Valle de la Luna – was declared a Nature Sanctuary in 1982 for its natural environment and strange lunar landscape, from which its name is derived. It definitely has a Mars-like feel to it. It has various stone and sand formations which have been carved by wind and water. This tour usually includes a sunset stop + a little picnic which is fun. Pro tip: Make sure your tour will have an English speaking guide. I forgot to ask and my tour was in Spanish – whoops!

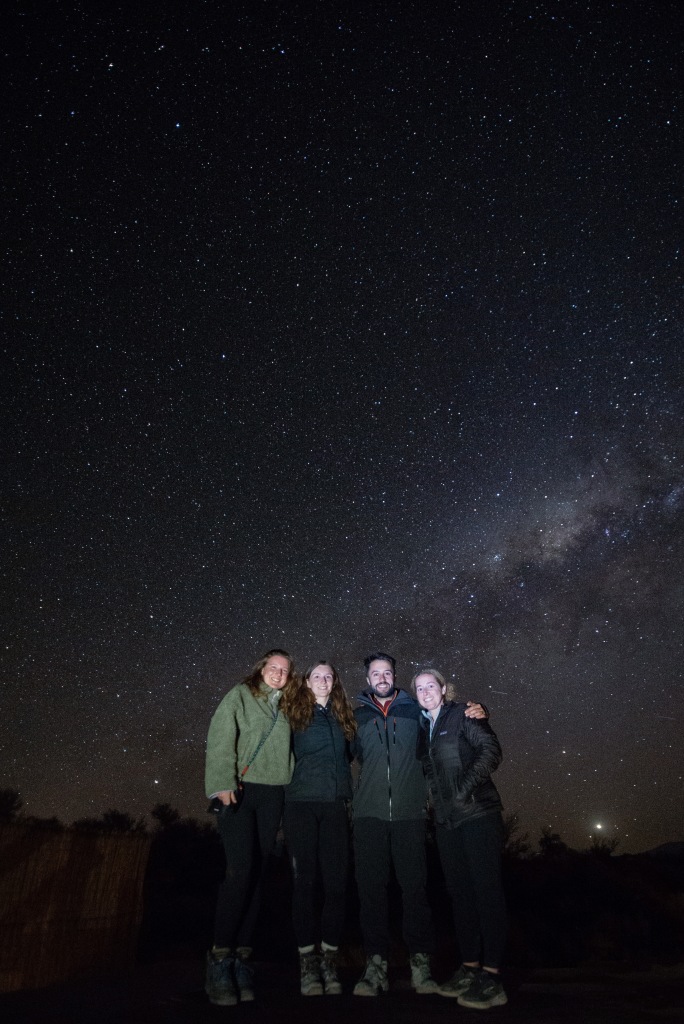
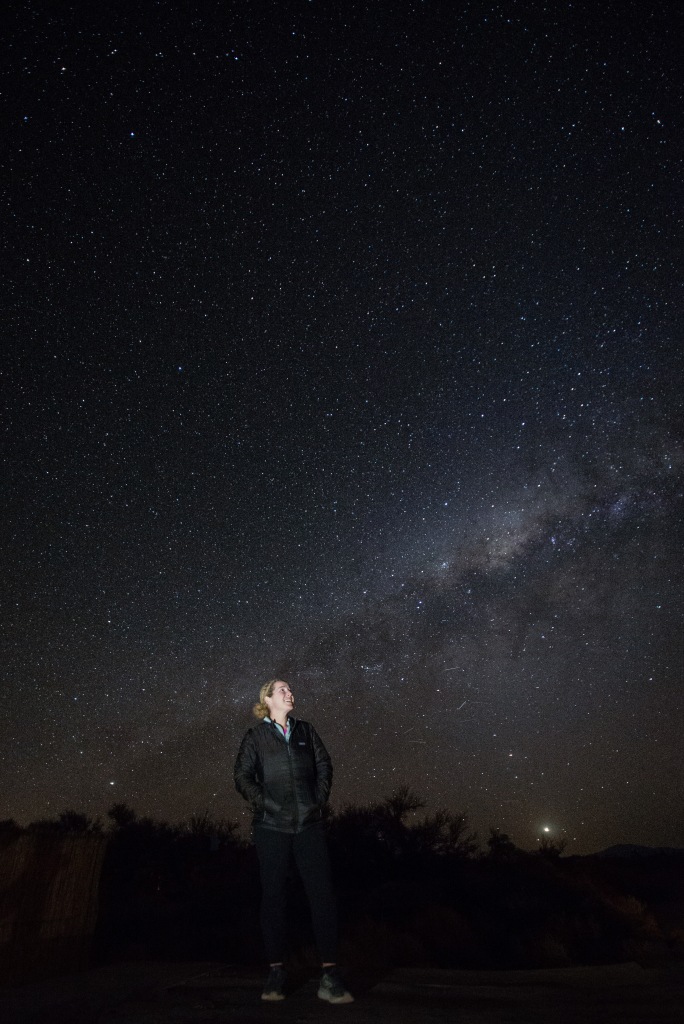
  • Astronomy Tour (Stargazing) – The Atacama Desert is one of the few locations on the globe with over 300 days of clear skies per year. When you add no light pollution and its high altitude, you have might have the best place for stargazing in the world. Do not skip this tour. We had a blast! It included a short film about astrology, naked eye stargazing, snacks + warm drinks, & stargazing through incredible telescopes! Pro tip: Pay attention how big/bright the moon will be and try to time your tour when it will be less obstructive.

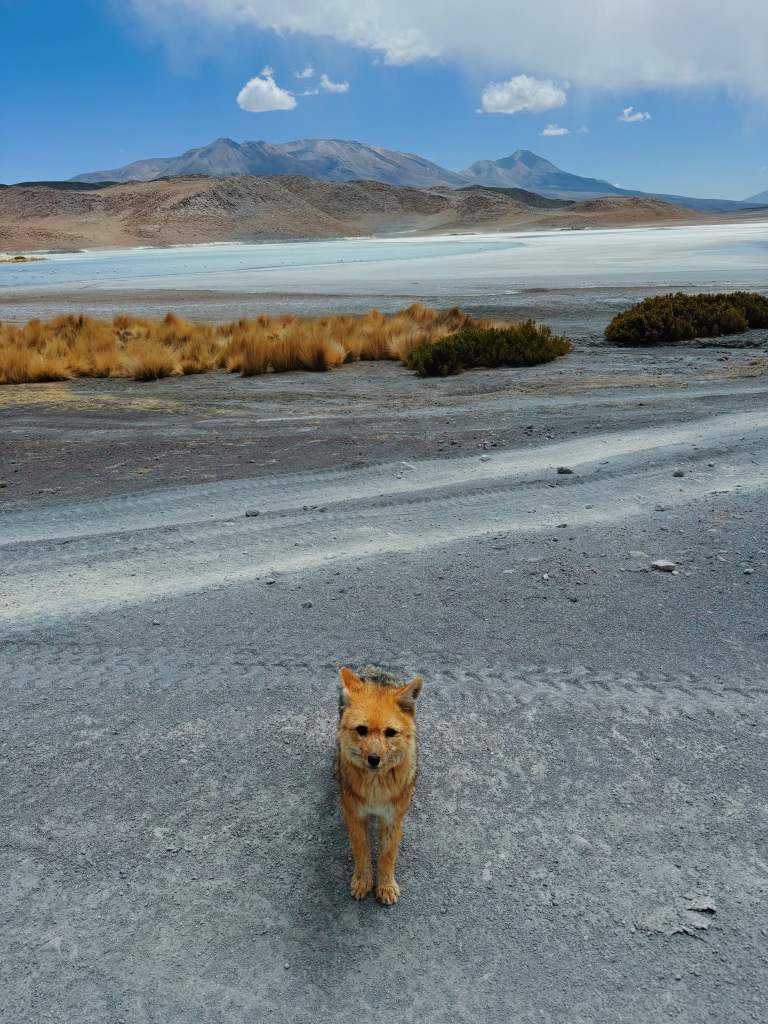
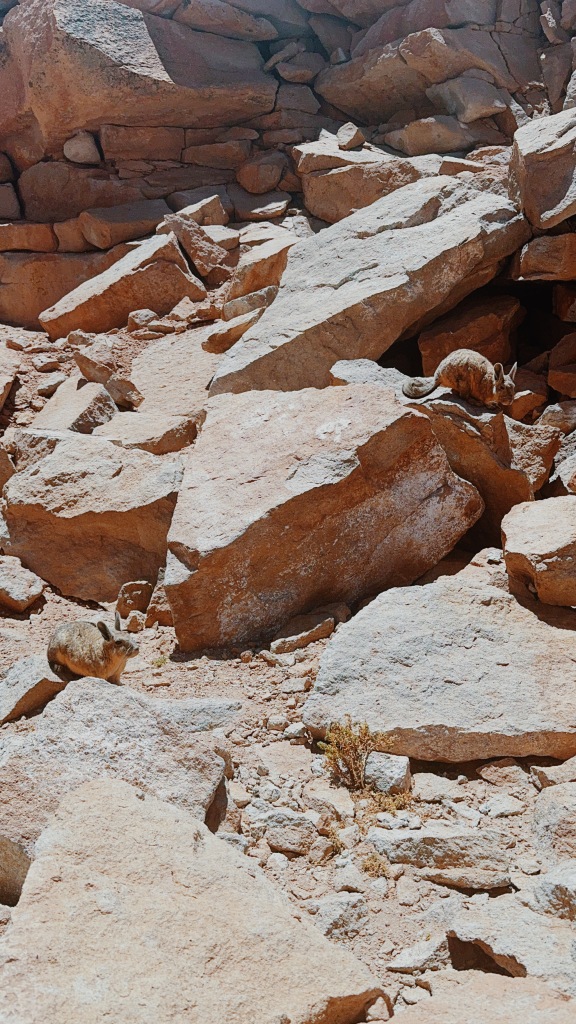
There are many, many other tours like floating in a salty lagoon, hot springs, geysers and more. See here for a comprehensive overview of your options or just ask your hostel/hotel when you arrive 🙂

OVERALL THOUGHTS:

Atacama is a very cute, but touristy spot in the north of Chile. It’s fairly expensive, but I really enjoyed it. It was a fabulous spot to spend 5 days, soaking up the warmth & sun after the cold mountains in Bolivia. I met fun travelers and loved my hostel. Highly recommend this on any Chile itinerary as the nature is stunning!
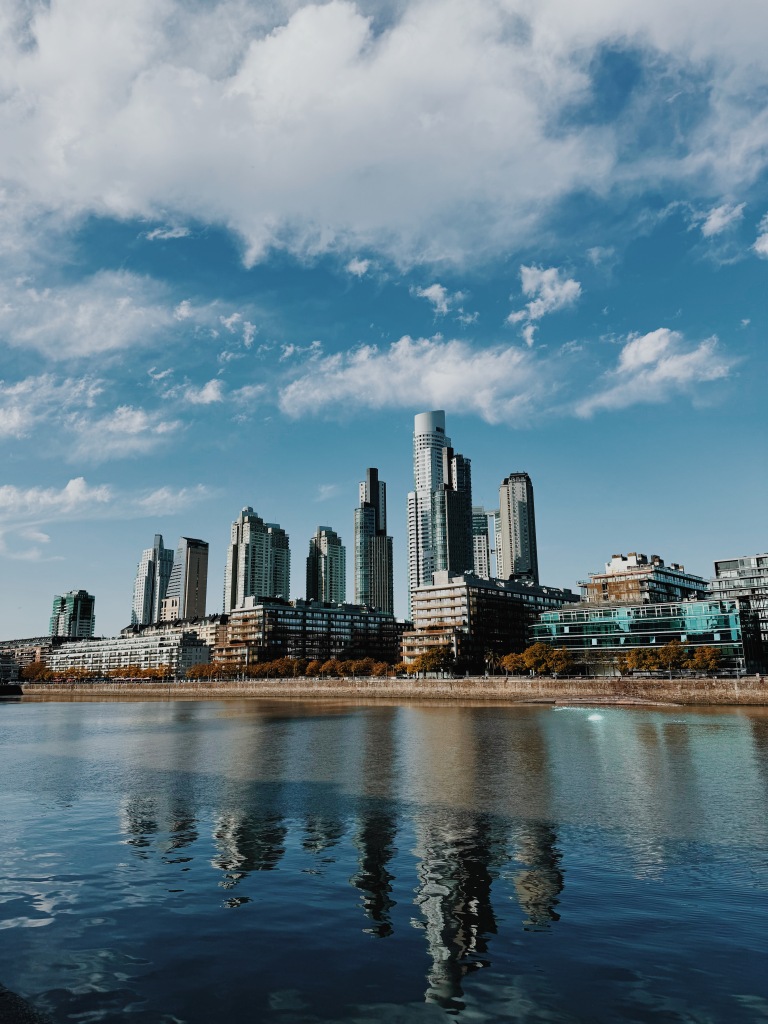
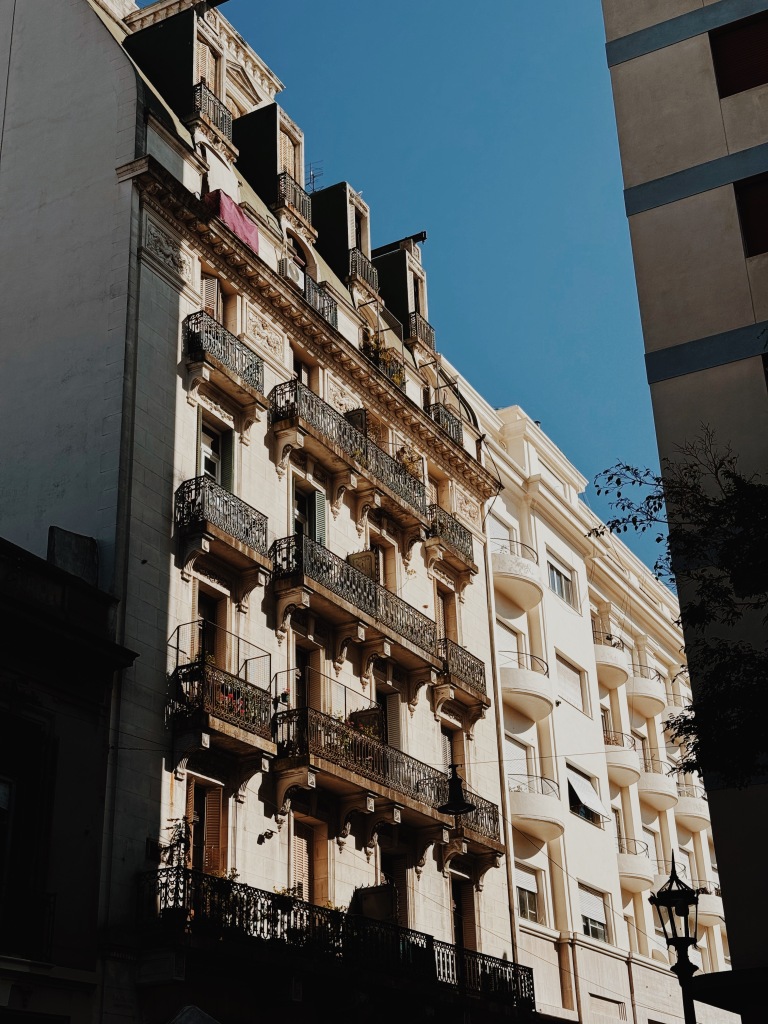
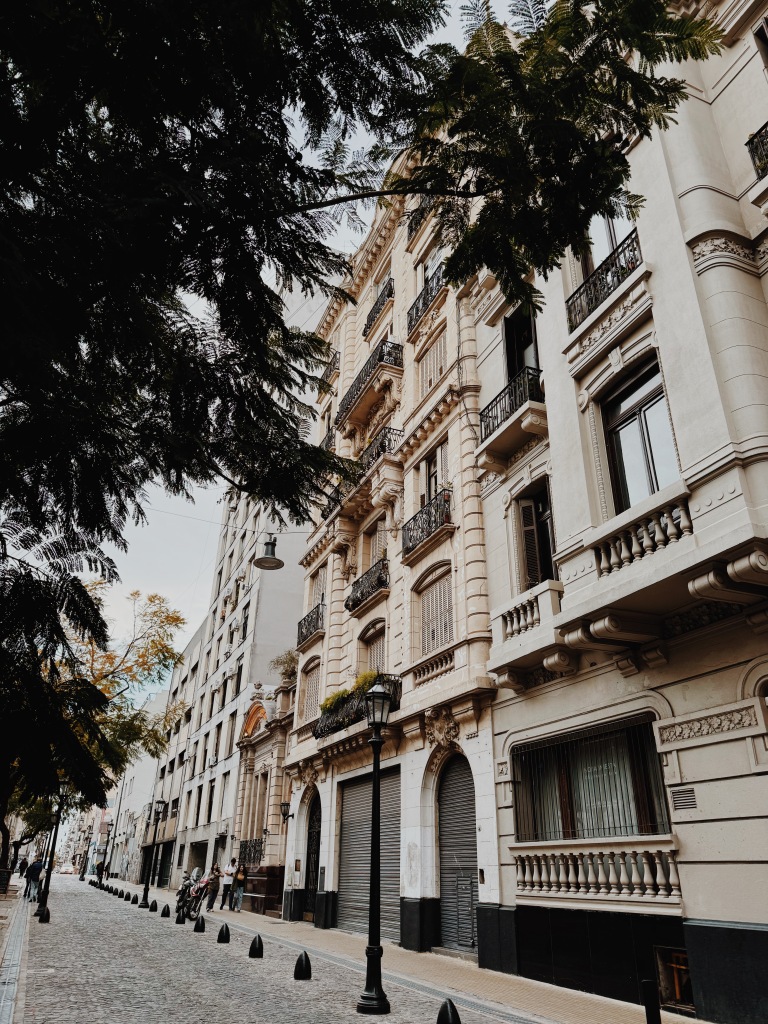
CITY: Santiago

HOW LONG: 6 Nights

ACCOMMODATION:

We cannot recommend Ventana Sur more if you stay in Santiago! It’s basically a home converted into a hostel, which makes it so cozy and incredibly easy to meet people. Free breakfast is yummy and everyone sits at one of two large tables so you get to know everyone. Each night people are hanging out, drinking socially and playing games. The neighborhood is wonderful and incredibly safe (huge perk). We loved being here and Ivan is a wonderful host!

WHERE TO EAT:

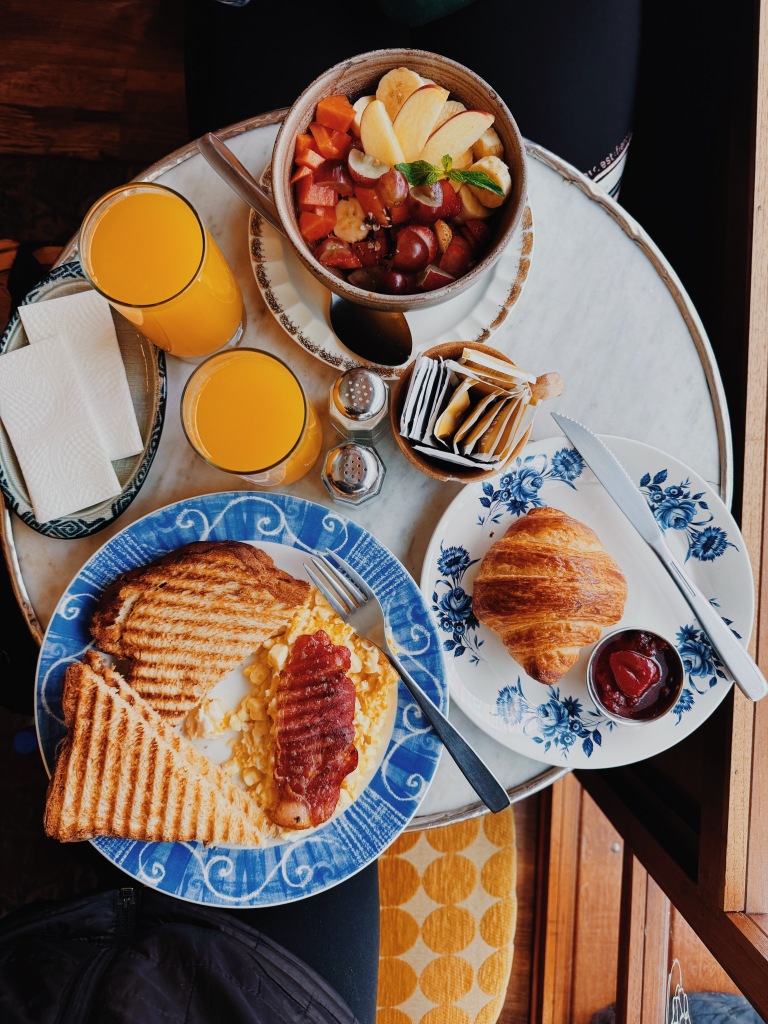
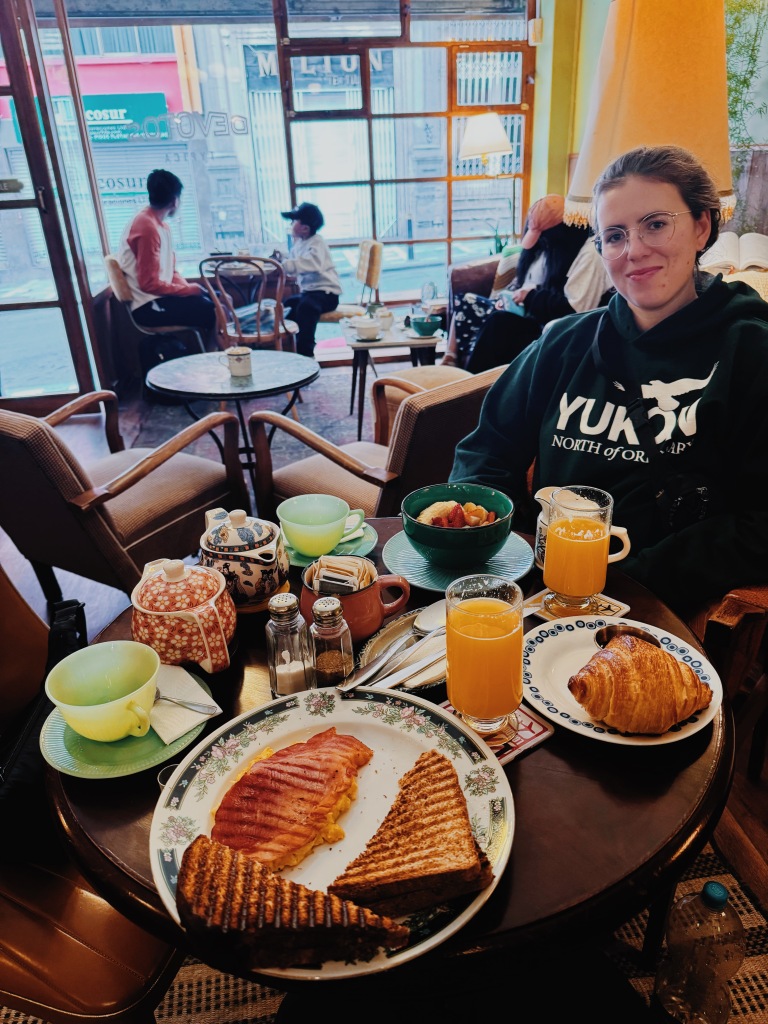
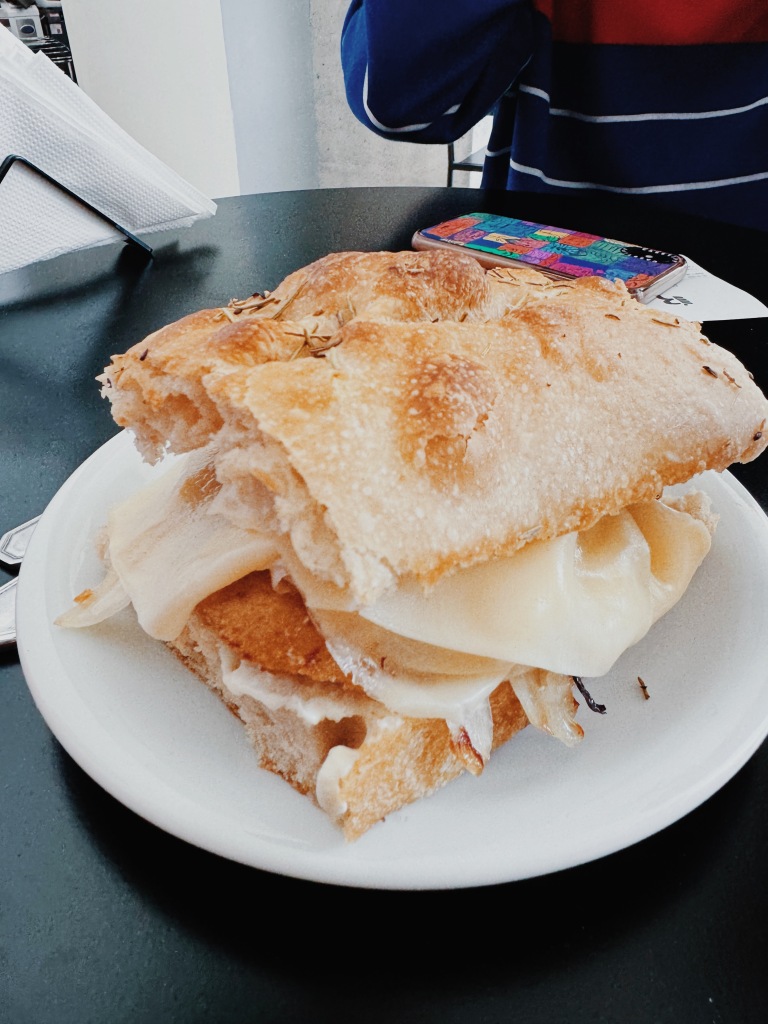
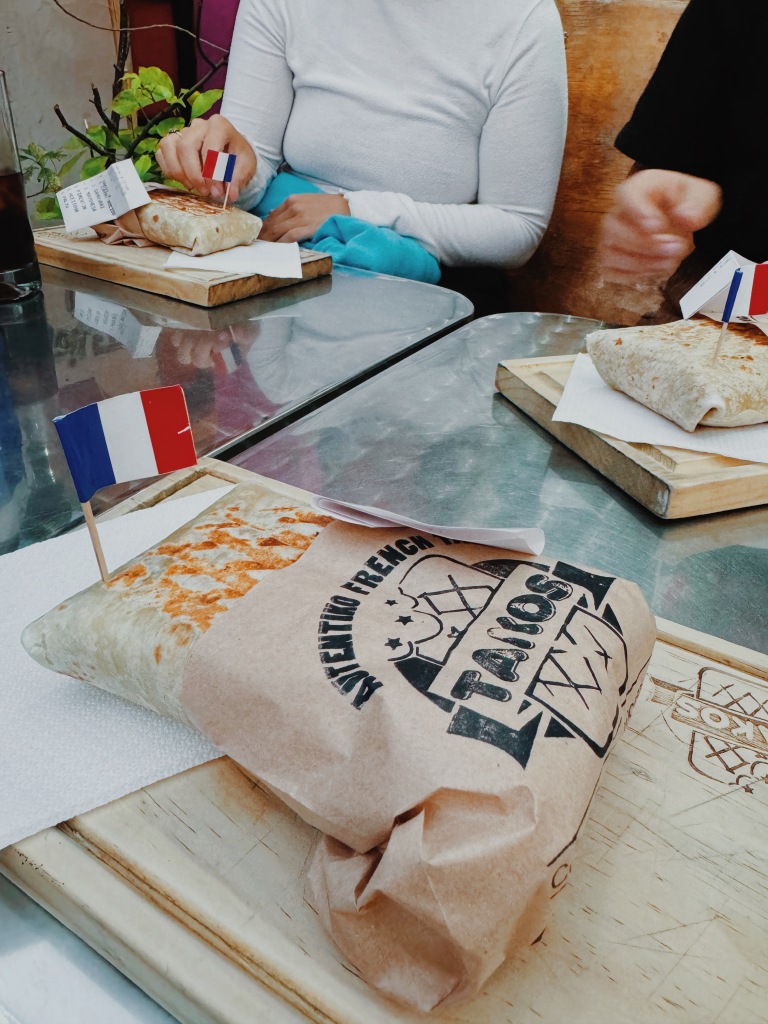
  • Auténtiko French Takos – weird fusion but it was pretty dang delicious. I had a cordon blue with avocado and there are French fries inside all wrapped up in a grilled tortilla. My friends didn’t love theirs but I quite enjoyed mine haha.
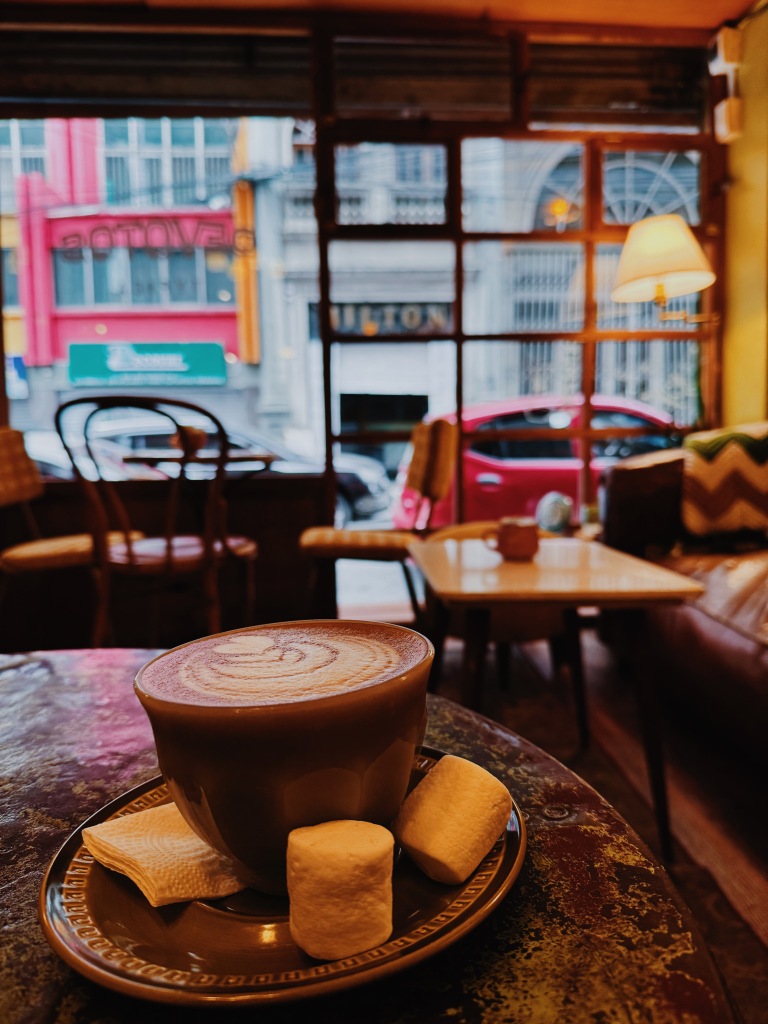
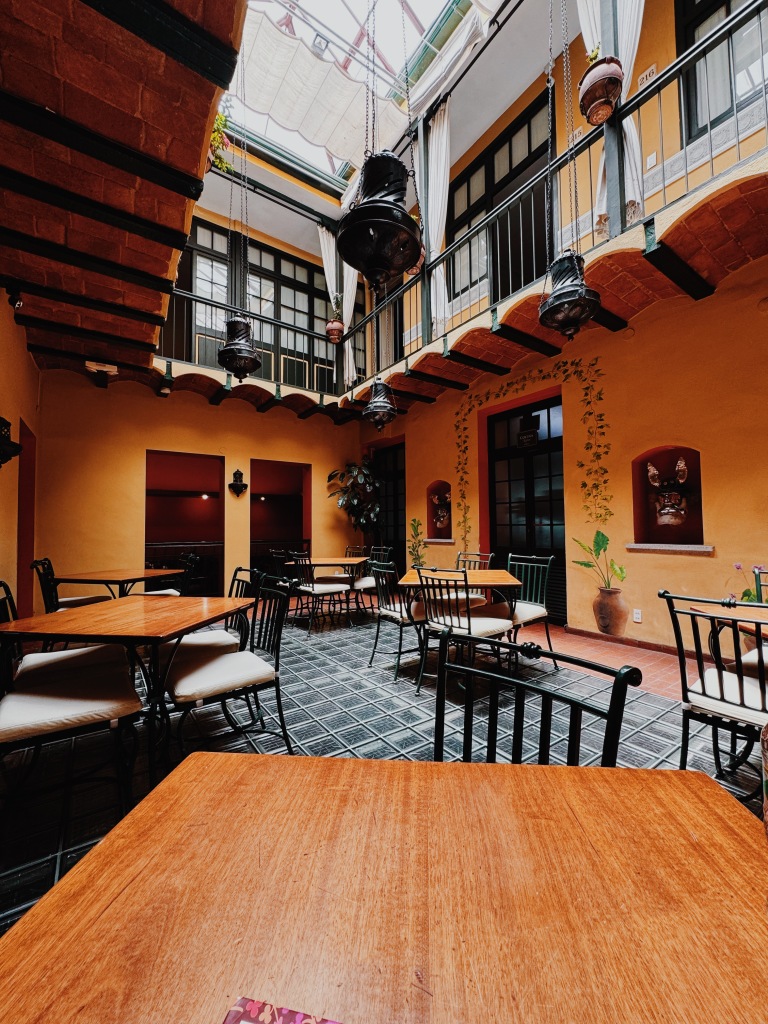
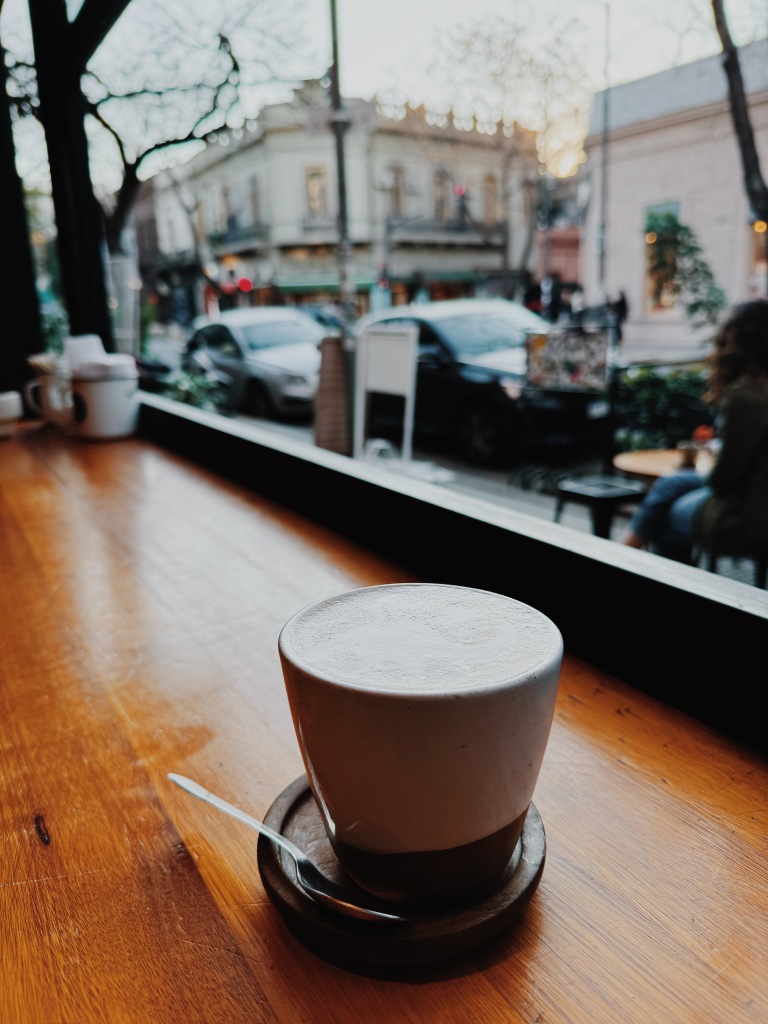
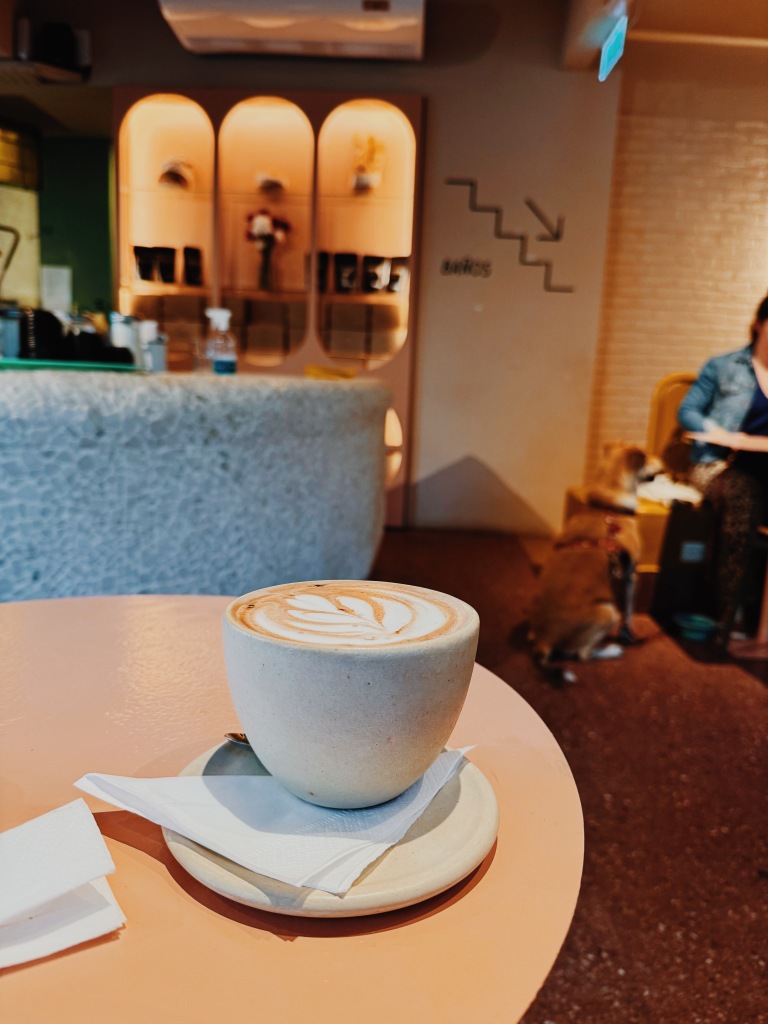
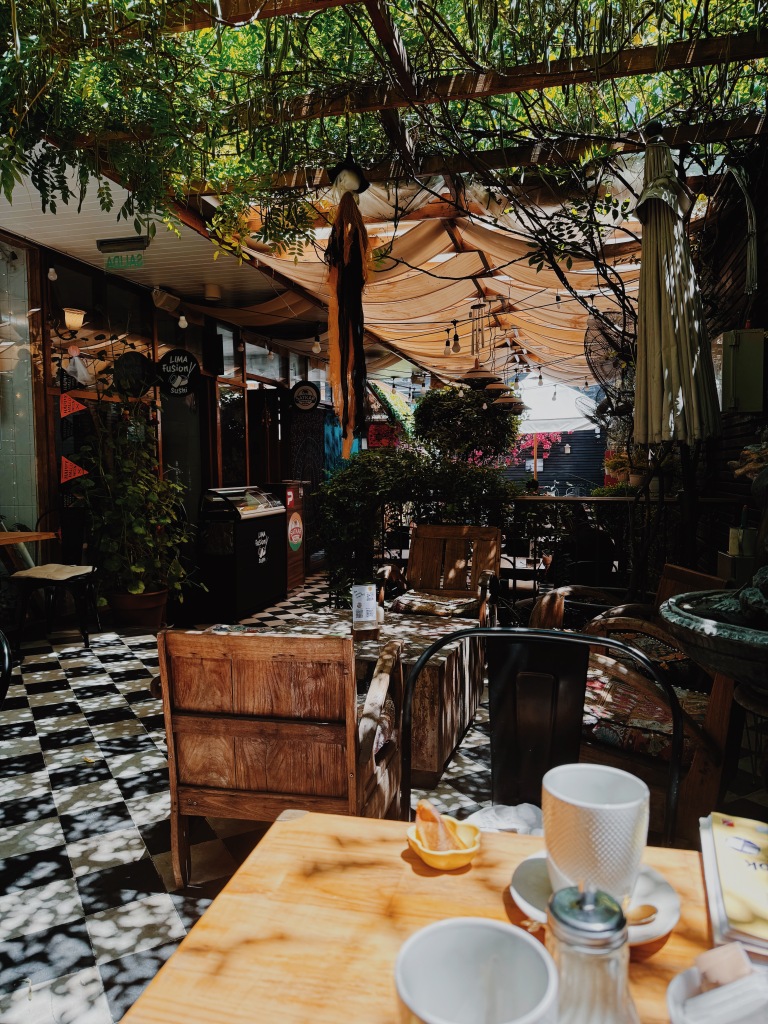
  • Bemvindo Cafe – cute cozy spot to work with a hot drink 
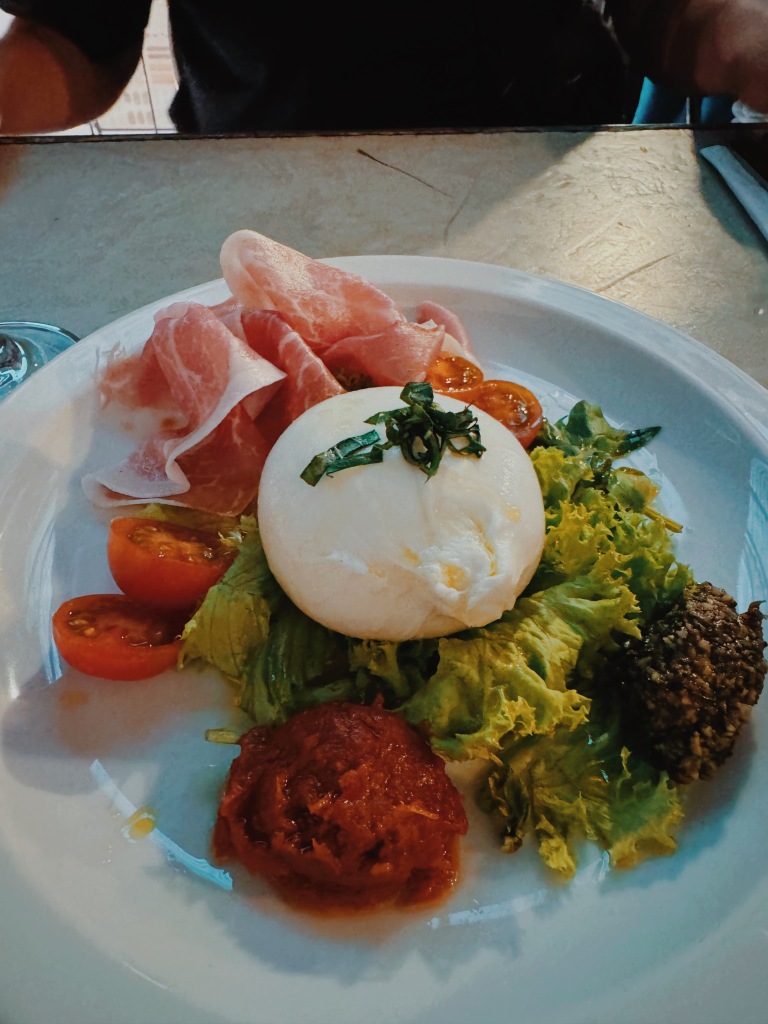
  • In Pasta – Fabulous Italian restaurant. We had yummy mushroom pasta and fun drinks. 
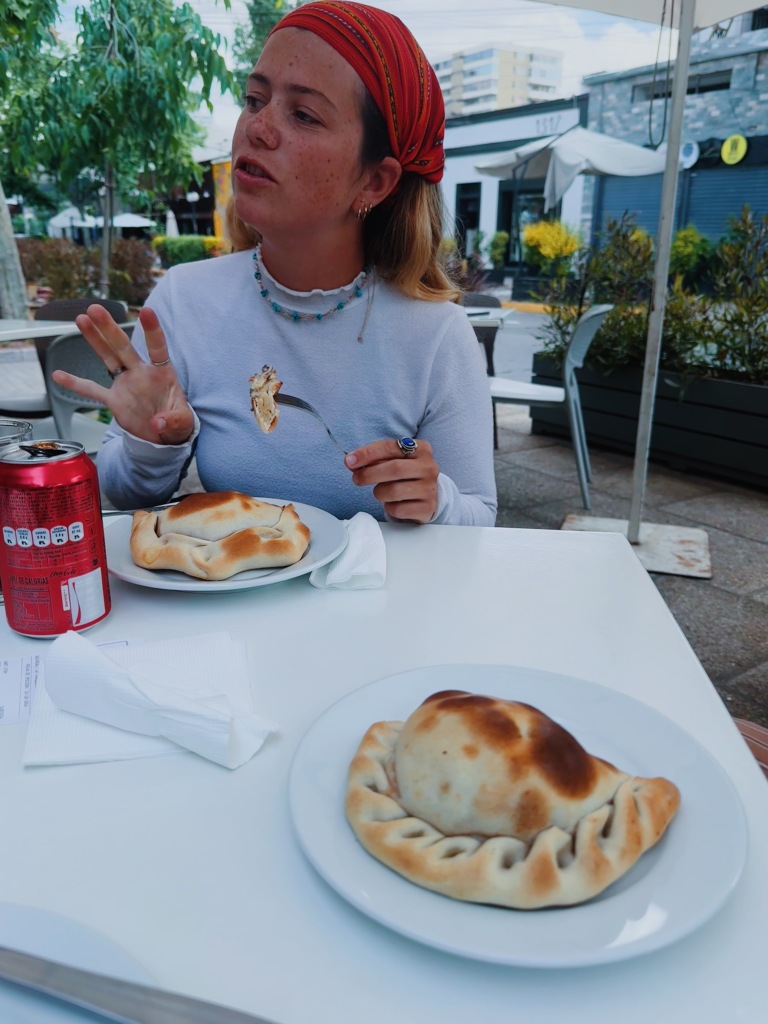
  • La Tranquera Pastelería – yummy empanadas with seating in front to watch the world go by 
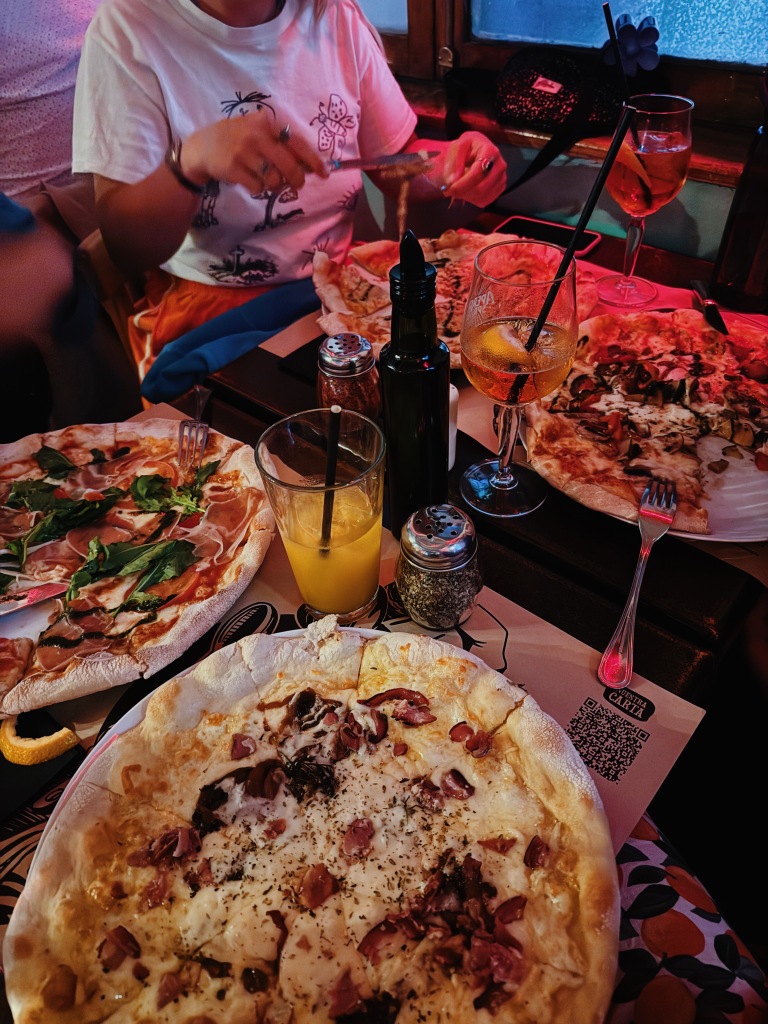
  • Ciudadano – delicious pizza. We ate here twice. It was great for eating 1/2 for dinner and then taking 1/2 for the bus ride the next day.
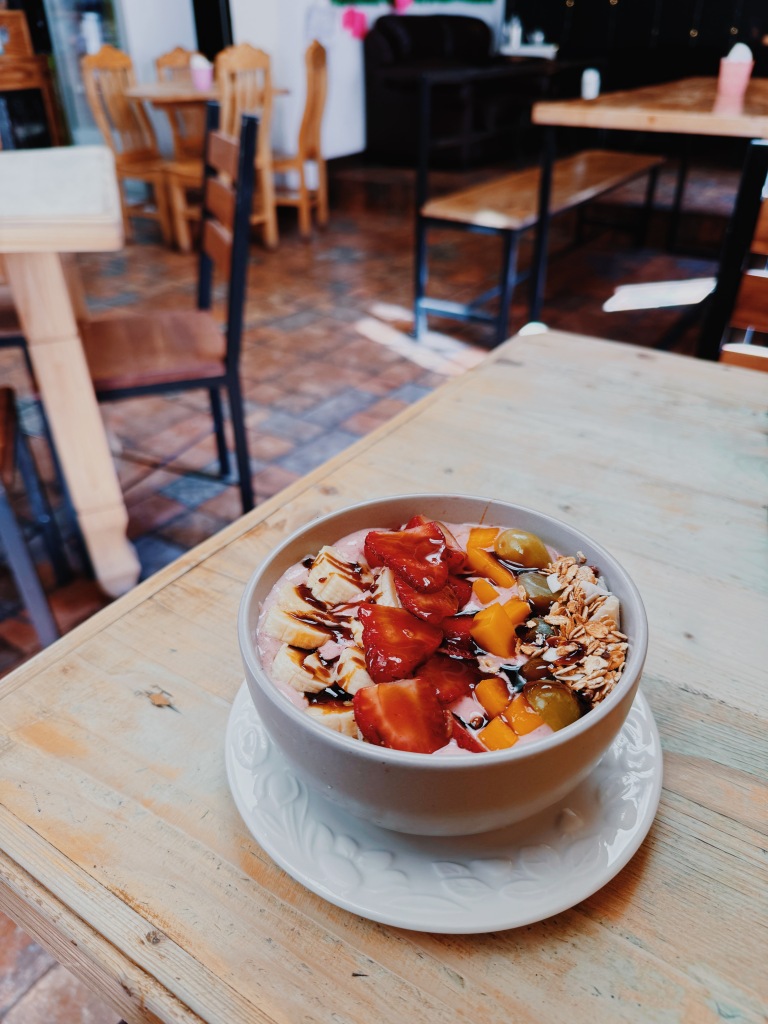
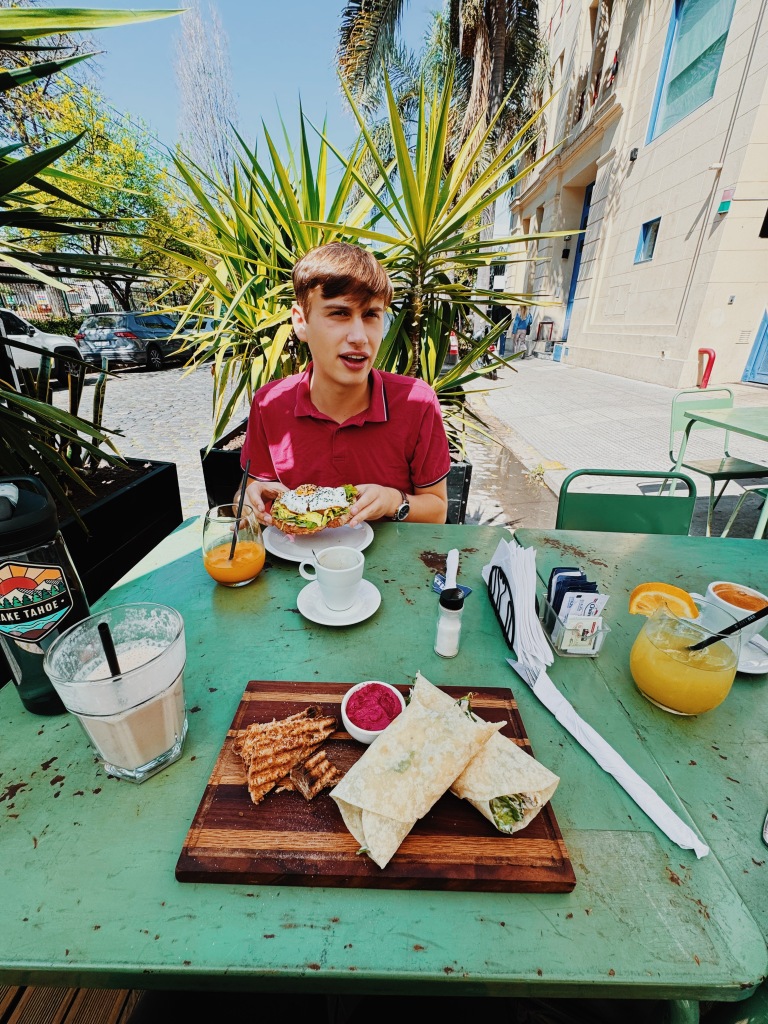
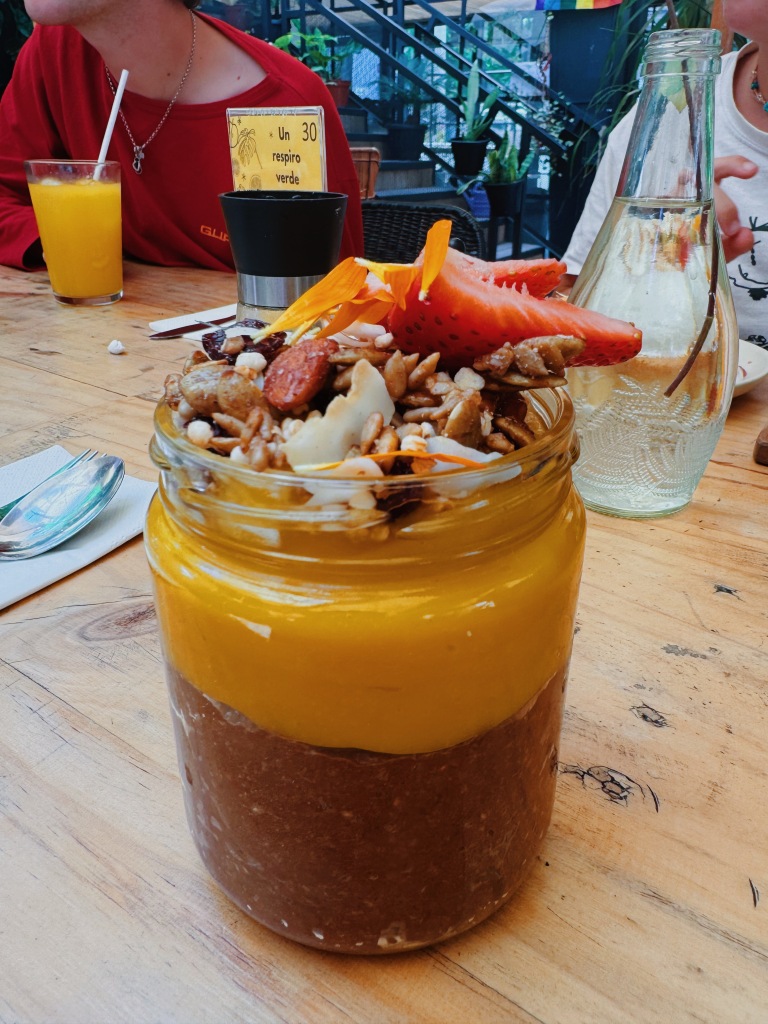
  • Mala Mia – vegetarian brunch spots. Lots of plants and colorful, creative plants 
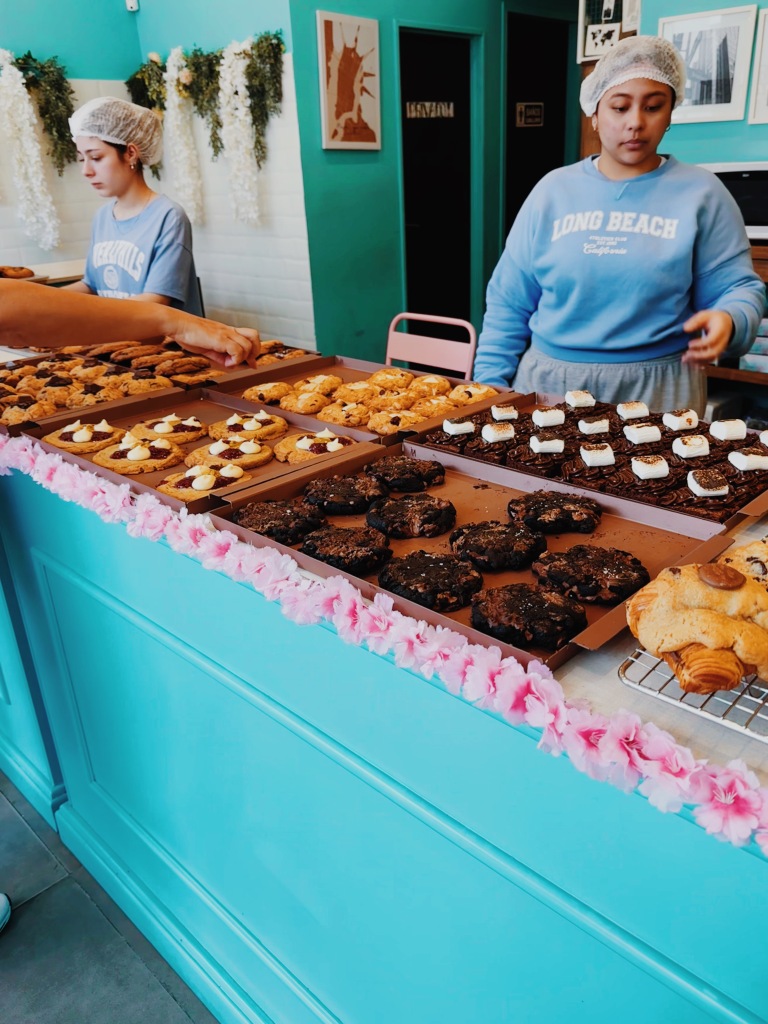
  • La Panadera – fabulous croissants for the morning or a long bus ride to your next destination
  • Doña Empanada – quick, cheap, great empanada spot.
  • Cafe de La Candelaria – cute indoor and outdoor seating. Fairly affordable cute brunch vibes

WHAT TO DO:

I had been to Santiago before so I honestly didn’t do much. Last time I was here I did a day trip to Valparaíso (Sonja did this while we were here), which is popular. We did do a walking tour with two women from our hostel, which is always a great option while in a big city to efficiently get a bit of history.

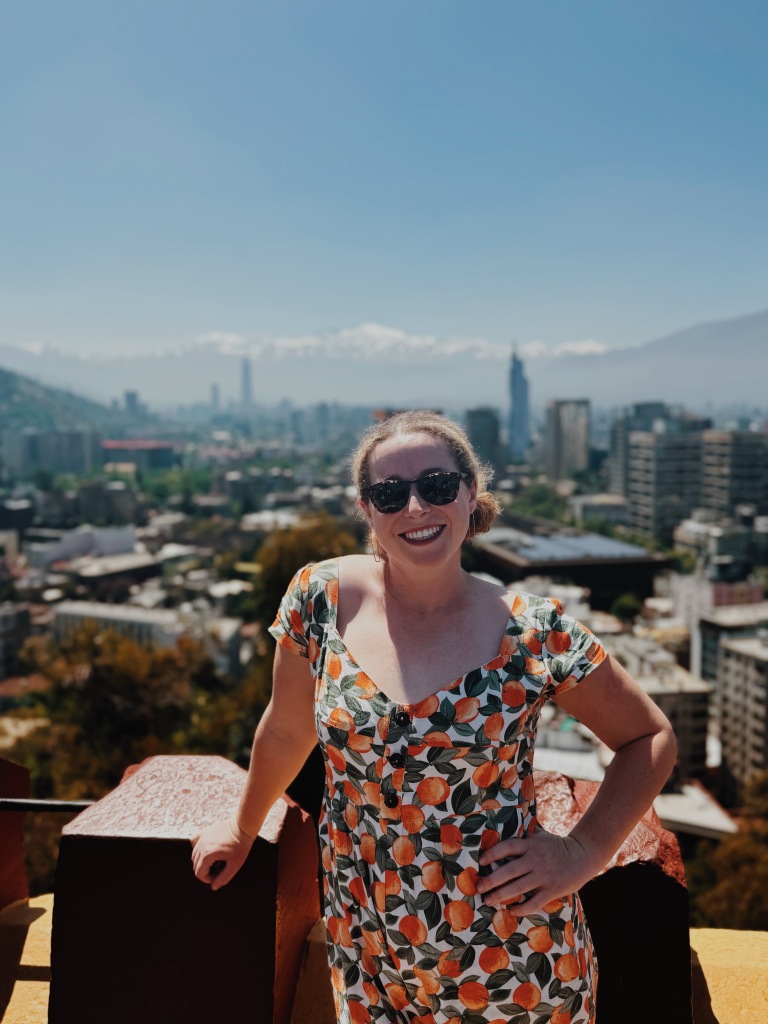
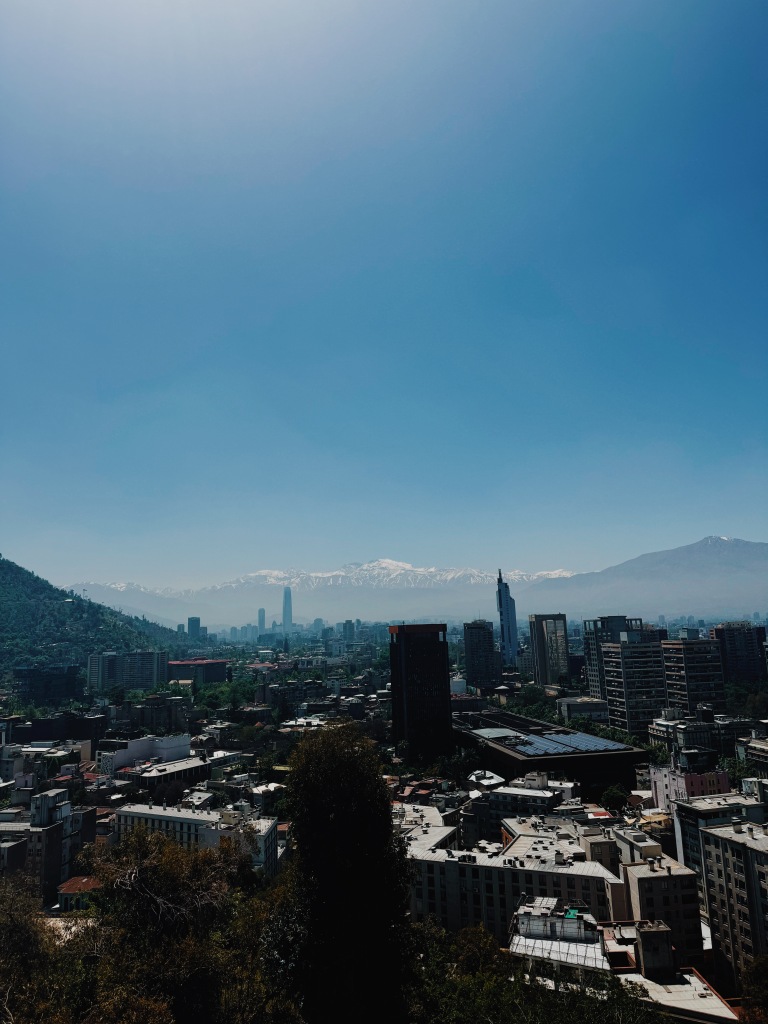
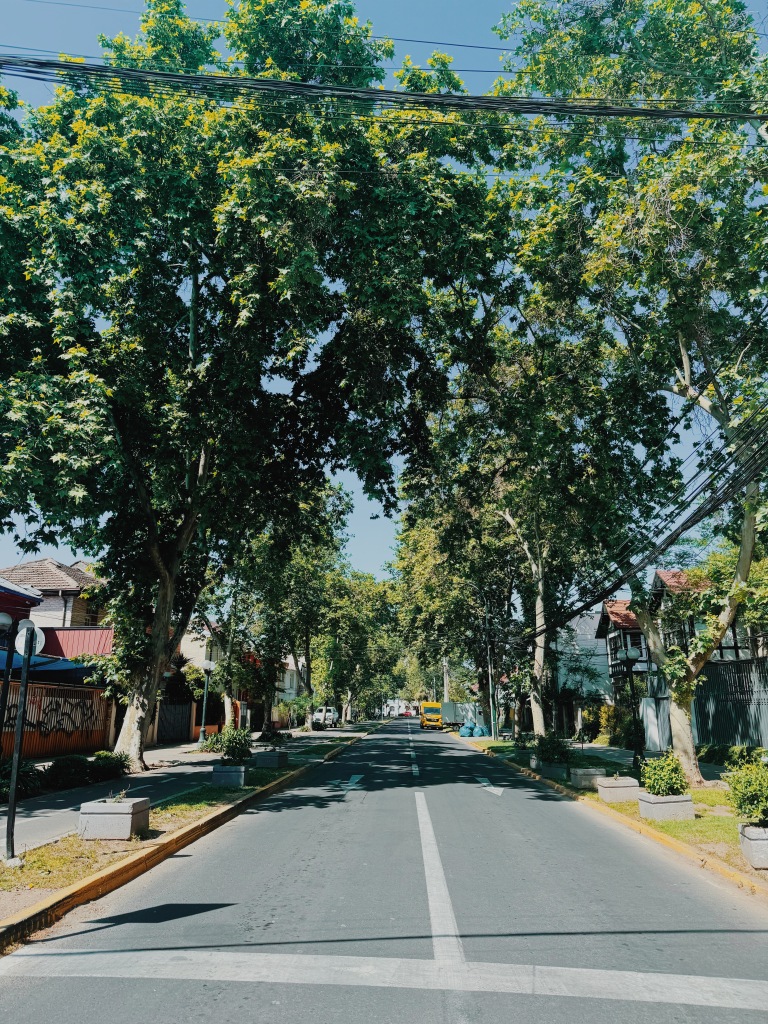
The highlight was accidentally stumbling upon Santa Lucia Hills. It’s a beautiful park with a peak offering 360 degree views of the city and surrounding mountains. Highly recommend visiting here.

Other friends from the hostel went on a wine tasting here that they raved about so might be worth checking out if that’s your thing.

OVERALL THOUGHTS:

Santiago was not my favorite place the first time I came here 6 years ago. This time I had a blast, mostly because of the peaceful, cafe filled neighborhood we stayed in & because the hostel was perfect! We met so many wonderful humans here.

BUDGET FOR 11 DAYS IN CHILE:

Chile is definitely not a cheap country in South America.

Accommodation: $240 ($21.8 per night)

Food: $251

Groceries: $15

Activities: $86

Local Transportation: $98

Miscellaneous: $77 (includes some gifts)

Total: $767 (Daily average: $70)

Transportation to next destination: $35 (bus to Mendoza)

Bolivia

Pro tips:

  • Bolivia makes US citizens get a visa so be prepared. Everything online about US citizens getting visas made it seem complicated but it ended up not being too big of a deal. I had to stand in a different line and literally got a physical visa printed and put into my passport. It looks 20 min (but there was no one else in line at the Santa Cruz airport). They only asked me for my first accommodation and my proof of onward travel. I paid the (exorbitant) $160 visa fee by credit card (but 2 of my 3 credit cards were declined so bring crisp USD as a backup) and then I was stamped into the country. Please be prepared with the list of items that they list as requirements on official govt websites, but just know I expereinced a very smooth, relatively quick process that was very less intense than I was prepared for.
  • Be prepared for the altitude. The elevation is this country is no joke, so take excessive precautions with either building in rest days for when you arrive to acclimatize or bring medication with you. Some people are fine, but most feel some effects. I felt like I was hungover for 3 days when I arrived and was very happy that I was planning to stay over a week here so I had no rush to get things done.
  • Bring USD to exchange. This is by far the best way to get local currency. As of Oct 2024, officially exchange rates were $1 USD = 7 Bolivianos, but on the main street, there were people offering up to 10.5 Bolivianos for $1 USD, which means I got a 50% better rate using my USD vs taking money from an ATM. Don’t be fooled by people offering a 10% discount if you use cash to pay for things, go straight to the local folks exchanging on the street as you’ll get a way better rate. Folks did warn about counterfeit money being exchanged, but I exchanged money 8-10 times and never once had an issue. One trick is to exchange $20 (you’ll get the best rate by exchanging $100 bills FYI) and then testing it by buying breakfast to ensure it’s legitimate. Then you can go back to the same person and exchange more.

CITY: La Paz

HOW LONG: 9 NIGHTS

Side note: My friend, Sonja & I reunited in La Paz to begin our 2 month South America adventure together! A quick reminder: we met in a hostel in Thailand 8 months ago (Jan 2024) and realized we are both doing big around the world trips and coincidentally would be overlapping a few times throughout 2024. We began with a reunion in Laos in February, and then a meetup in Japan in March, where she met my cousin and Dad! Next up Sonja did a 3 month camper van trip around the US, Canada, & Alaska so I convinced her to come visit me in Lake Tahoe since I spent the summer there. Our final meetup is our most exciting: 2 months in South America through Bolivia, Chile, Argentina and ANTARCTICA!!

Accommodation:

I stayed at Wild Rover La Paz, an Irish owned hostel in the heart of La Paz. It’s definitely a party hostel, but we actually didn’t mind it. There were tons of other backpackers and it was easy to make friends. We requested a room away from the bar so noise wasn’t an issue. There are shared coed bathrooms as a heads up, but it was fine for us. The beds were very comfy & had curtains and personal plugs. They were built in bunk beds so no wobbly movements when your bunkmate gets into bed!

The location was great as it’s close to a supermarket, some cute restaurants and the gondolas. The cute walking street filled with tons of restaurants was only a 15 min away.

Where to Eat:

Well Sonja and I are obsessed with breakfast food & a cute cafe (you can see why we travel well with each other!) so we became creatures of habit and ate at the same 4 places over and over again 🙂

  • Cafe del Mundo – this is a staple backpacker spot with breakfast all day and plenty of other great options as menu items range from all around the world. It was started by a Swedish backpacker who fell in love with La Paz and started the cafe. Each room is decorated/inspired by a different continent (and her travels there).

  • Devotos Typica – This is two blocks from the hostel and quickly became a favorite. Great coffee (according to Sonja) & their few breakfast menu offerings deliver. I loved their breakfast plate that included toast, scrambled eggs, bacon, croissant and hot drink. All for ~$3.5usd. Unreal! Also I became obsessed with their croissants. I felt like I was in France.

  • La Grosería – This is across the way from Cafe Del Mundo and we ate here just as often. Located on the second floor, their balcony tables offered a romantic view down the street of La Paz. They had an expansive menu and also breakfast all day. They had an incredible assortment of fancy, extravagant milkshake options, with some including brownies or donuts on top haha.

  • Café Restaurante Bañáis – we actually never ate anything here, but came here almost daily in the afternoon to enjoy a hot coca tea (to help with the altitude) and play some cards or do some admin. The cafe is lovely and we generally found it to be quiet. The service was excellent. If you need some down time to just be still in a tranquil environment with a hot drink, this is the place to be. Wifi was decent as well.

What to Do:

There is a TON to do in La Paz. There are mountains to climb, cable cars to traverse, Death Roads to bike down, & rock landscapes to check out. Walk into any agency (there are hundreds) and they will happily tell you what all your options are. Pro tip: Ask for a discount if you book a few tours through one agency, and don’t book through your accommodation as it will always be more expensive. Wild Rover offered tours that were 50-100% more expensive than the agency down the street

We spent a lot of time acclimatizing to the elevation (don’t underestimate the effects), but we enjoyed conquering the Death Road. The Death Road near La Paz in Bolivia is one gigantic winding snake of a road (specifically ~69 km/40 miles long) named Yungas Road. It was built in the 1930’s to connect the Amazonian jungle to La Paz. Before it was shut to cars, around 300 people died annually driving the road, thus its name as Death Road. At one point you can look down and see a bus that is still visible half way down the cliff. Very sad to see the remnants of all that the Death Road has taken from Bolivian families. At times, it’s only about 3 meters wide, and protective barriers are nonexistent. With the rain, fog, and landscapes, it is easy to see how it lives up to its name. Now, the only use is for tourists to mountain bike down as a group (and while there’s far fewer deaths for bikers than drivers, people do still die on this road so take precautions). You start at 15,230 ft (4600 m) and end at around 3870ft (1200m). This is like going from the base of Breckenridge Ski Resort all the way down to sea level & then add 2000 more feet. We had a blast, but it was definitely hard biking down steep gravel. I heard from lots of backpackers that we met that either they themselves or others on their group had fallen and gotten hurt. Luckily neither of us fell, and no one from our group fell either. I biked very, very slowly haha. I did not want to injure myself before our trip to Patagonia or Antarctica! It was wild going from the chilly, barren mountain tops all the way down to the hot and humid jungle in one day. It also definitely took a toll on our body – neither of us felt 100% the next day due to the extreme changes in elevation we put our body through. I’d still recommend it though!

I also did a day hike to Charquini with a tour since I didn’t feel up to attempting Pico Austria (one full day hike) or Huayna Potosi (3 day tour/hike). It was high up (started at 15,560 ft & at the lagoon we were at 16,340 ft) but I surprisingly felt fine. It’s a short 1.5 hour hike (roundtrip) and while it was pretty, I think it would be better during the winter when there is a blanket of snow! I wouldn’t say it’s a can’t miss experience. Pico Austria & Huayna Potosi are more worthy of the bucket list if you are feeling up for it.

Another highlight was the spending an afternoon riding the Cable Car system around La Paz. Like Medellin, they use cable cars as a form of their public transit since the city is nestled within a valley. It cost me around $2usd to ride 4-5 different lines and I just made a huge circle around the city. It was such a fabulous way to see La Paz from a different perspective!

I had a self care day as well where I had my hair washed (such a backpacker luxury) and I had a massage at Spa Bolivia Home con Altura. The massage was $20 with tip and while it wasn’t the BEST massage i’ve had, for $20usd I can’t complain 🙂

Overall Thoughts:

I really enjoyed spending 9 days in La Paz, but you certainly don’t NEED that long here. The city is chaotic, more run down than Buenos Aires, but charming and the people are so friendly. I never felt unsafe here. I think 4-5 days would be a good amount (since you’ll need some time to acclimatize before jumping into all the fun activities).

CITY: 3D/2N Uyuni Salt Flat Tour

HOW LONG: 2 NIGHTS

Accommodation:

The first night we stayed in a hotel made from salt, which was pretty cool! It was still quite basic, but we slept well after the first day of activities. Showers cost around $2USD. Wifi also cost extra. I enjoyed being unplugged and playing cards with one of the women from my group.

The second night we slept way high up (~14,500 ft), and it was COLD. I think I wore 3 layers to bed and I was still chilly. VERY basic accommodation, no heating (obviously), no shower, and paid wifi. We had dinner and breakfast here and it wasn’t executed as well as the first night, but we were in the middle of nowhere, so we just tried to embraced the experience 🙂

Where to Eat:

Obviously the tour provides all the food so not many choices to be made. Overall the food was decent and we didn’t go hungry. I would recommend bringing a few snacks in the car in case you need a chocolate pick me up (as I always do 🙂 )

What to Do:

You cover a lot of ground over the 3 day tour:

Day 1 is focused on the Salt Flats. You do start with the train graveyard where there are a lot of old trains. We also visited a town where they process a lot of the salt. Then we were off the to the Salt Flats itself. This was the highlight for me for sure! Such an incredible landscape that I’ve never experienced before. You could spin 360 degrees and all you could see was salt & the blue skies. Remarkable! We also visited the Isla Incahuasi – an island that used to be an underwater volcano. There’s volcanic rock and coral remaining and now a bunch of cacti live there. They are huge!

You get a chance to take lots of fun, silly photos that mess with perspective! The guides are usually pros at this (but ours was only alright, unfortunately).

Day 2 is focused on lagoons and the desert. This was still pretty cool, but I definitely preferred day 1. We saw lots of flamingos, llamas and even a desert fox! We had a picnic lunch where all the Viscacha, while technically a part of the chinchilla family, they resemble rabbits, joined us. They were happy to take any of the carrots we dropped. We reached over 16,000 feet (which I think is the highest elevation I’ve ever been to!). We visited some geysers before arriving to our accommodation. The thermal hot springs were an option but I was honestly too cold to think about getting wet without access to a hot shower afterwards

Day 3 was actually not a full day at all. The folks who were heading to Chile were dropped off at the border crossing around 9:30am after seeing some more lagoons. The rest had a very long drive back to Uyuni where the tour began. They then would hop onto another night bus back to La Paz. I was very grateful I only had an hour drive to Atacama ahead of me. The border crossing was very smooth and the tour guide got me settled onto the bus to Atacama. Now time to sleep 🙂

Overall Thoughts:

I always get so tired/burned out from these types of tours but they are incredibly efficient and you sorta just have to do it haha. Usually you meet some great people and see some cool sights. I didn’t love my group except one German girl. Also, it’s very hit or miss whether you get a good guide, so if you are lucky you’ll get one who takes awesome/creative photos/videos in the flats, or you’ll get one like mine who was just alright. Not much you can do about it. Overall, I’d highly recommend doing a tour of the Salt Flats. Also it was great because it got me to my next destination: the Atacama Desert in Chile.

BUDGET FOR 12 DAYS IN BOLIVIA:

WOW was Bolivia affordable 🙂

Accommodation: $80 ($8.90 per night) – This is slightly skewed because I had one overnight bus (aka $0 for accommodation) + my 2 nights on the Salt flat tour were accounted for in my activity cost.

Food: $105

Groceries: $9

Activities: $260 – includes Hike tour ($15), Death road ($45), & 3 days Uyuni Tour ($148)

Health: $60 – includes Massage ($20), doctor visit ($38), & hair wash ($15)

Local Transportation: $17

Visa- $160

Total: $691 (Daily average: $57) (without visa, daily spend was $44)

Transportation to next destination: $0 (bus to Chile was included in my Salt Flat tour!!!)

Buenos Aires

Pro tips:

  • No visa needed from Americans (as of writing this). I wasn’t even asked for proof of onward travel. Also sadly no stamp
  • Bring US dollar bills as you will get a much better rate exchanging dollars (or euros/pounds) than taking money out of a ATM. This rate is known as the Blue Dollar rate & you can check what it’s currently at here. While I was here, I received around 15% more pesos for my USD while exchanging at a Western Union.
  • The public transit is super easy to use (google maps works great), but you need to buy a Sube card (which sometimes can be hard to find, so just ask the front desk of wherever you are staying to help you find a store or station that sells them).
  • In general I felt very safe, even walking home at night, but I was in the Palermo neighborhood which is particularly busy and full of tourists. Take care of your belongings and pay attention to your surroundings, but I never felt unsafe.
  • Consider adding a day trip or a few days to Uruguay since it’s just a ferry away!

CITY: BUENOS AIRES

HOW LONG: 15 NIGHTS

ACCOMMODATION:

I spent a total of 2 nights at a hostel when I first arrived to Buenos Aires (then I went to Uruguay for a week) and then spend 13 nights at an airbnb solo while I took Spanish language classes for 2 weeks 🙂 I stayed America del Sur Hostel which was in a cool neighborhood for walking around. The hostel had a nice common area + kitchen. The front desk was super helpful! Beds were comfy & had curtains/personal light/socket. The only complaint was that the sink in my room was outside the bathroom which meant when people arrived late or left earlier, you pretty were guaranteed to wake up since someone was using the sink 2 feet from your sleeping face Very odd design haha

For my airbnb stay I chose an apartment within a 15 min walk from my school in the Palermo neighborhood. I loved this area! Highly recommend. The airbnb itself was cute, and was perfect for a two week stay. Kitchen was sufficient, laundry & gym in the building, and grocery stores nearby. I felt completely safe walking around solo day or night as well, which is such a treat while traveling! If I were to come back to Buenos Aires I would aim to stay as close to Plaza Immigrantes as possible as I loved eating it that area.

WHAT TO EAT:

  • Fruto cafe – Cozy coffee/hot chocolate spot.
  • Le Ble – Had a bagel sandwich for breakfast near my hostel.
  • Casa Telma – I didn’t eat here, but it looked very cute. Had a line so it must be good!
  • bBlue. Deli & Natural Bar – My first lunch in Palermo was here. Cute, quiet spot with good food.
  • Las Petunias – Right on the main square in Palermo. Delicious (but slightly more expensive) Argentinian restaurant.  
  • Ubu cafe – I ate here twice. Loved the Chicken Cesar wrap. It’s located right on the main square in Palermo.
  • NYC cookies – Always happy to find a yummy cookie spot!
  • La paniglia – cute cafe with cozy vibes + hot chocolate 
  • Arte focaccia – Delicious sandwiches! Felt like I was in Italy 🙂 We took the sandwiches and headed to the park to enjoy them
  • The Burger Company – Wow what a delicious burger. I expected a more fast-food level burger, but we all raved about the food. Great spot for lunch.
  • Casa Dingo – Aussie cafe right on the main square. Cute drinks & yummy lunch food.
  • Lardito – incredible, elevated club sandwich. Adorable vibes and every plate was delicious and interesting. Great for trying a bunch of different dishes. Highly recommend for dinner. You could go to the wine shop and pick out a bottle for the table. This was my favorite restaurant I ate at.

WHAT TO DO:

Weirdly because I was using this two week as a break before heading into a bust two month stretch, I actually didn’t do much while here. Instead, I got into a routine where I worked out at the tiny gym in my airbnb, walked to Spanish class which was 4 hours long, and then headed to lunch with my classmates. In the late afternoons, I would catch up on admin work before cooking at home & watching some netflix. Honestly, I absolutely loved my chill time.

Given I have very little recommendations, here is a very comprehensive, well respected blog on a complete guide to Buenos Aires 🙂

We did go to some language exchanges which were fun! They are a great way to meet people and also practice some Spanish 🙂

I also managed to get fairly sick my one weekend here However, I did go to the La Recoleta Cemetery and the Sunday market outside it. It was pretty cool to walk around the first public cemetery in Buenos Aires. Lots of old graves to check out.

Other than that, I just loved eating my way through all the fun & cute restaurants in Palermo with my friends.

OVERALL THOUGHTS:

I always felt like I would love Buenos Aires and I was not wrong! It was such a beautiful city. It felt like a mixture of Paris, Barcelona & a hint of NYC, but overall a very European vibe. I was obsessed with the tree lined streets. I took a thousand photos but none did them justice. I was quite happy to be here for two weeks and would’ve loved to be here longer, but if you are just playing tourist, 3-5 days is probably plenty (but keep a minimum of one day for a day trip to Uruguay).

BUDGET FOR 17 DAYS IN BUENOS AIRES:

Accommodation: $440 ($30 per night)

Food: $155

Groceries: $78

Activities: $380 (This includes $370 for two weeks of Spanish classes; $9.25 per hour of class)

Local Transportation: $40

Total: $109 (Daily average: $72)

Transportation to next destination: $58 ferry to Uruguay + $226 flight to Bolivia