Places visited:
- Puerto Natales, Chile
- Torres Del Paine, Chile
- El Chaltén, Argentina
- El Calafate, Argentina
Pro tips for Chilean side:
- In South America, domestic flights tend to be much, much cheaper than international ones so if you can try to fly domestically and then do border crossings by bus, you can often save money. For example, we flew from Santiago down to Patagonia but stayed on the Chilean side (Puerto Natales). Then we took a bus to El Calafate (Argentinean side) and will do the border crossing by bus. Then we fly to Ushuaia from there, successfully avoiding any international flights!
- For Torres Del Paine, you want to fly to Puerto Natales or Punta Arenas (but this is much further). You can base yourself in Puerto Natales but it means a 4 hr bus ride or 3 hr drive roundtrip each day into the park.
- Don’t forget to get your park pass. There’s limited service at the park so best to buy it in advance. You can buy it at the park if you need to (double check this before going though).
- I’d recommend renting a car. Our favorite part of exploring the park was driving around on our own time.
- If you want to do the W Trek or O Trek, you’ll need to book pretty far in advance. The refugios book up pretty quick. We decided not to do it because we didn’t want to lock ourselves into any dates and we didn’t know how long it would take us to get from Bolivia down to Southern Argentina.
- The W & O Trek’s get all the glory and fame, but also the people. We loved our tranquil, empty hikes through the rest of the park better than our day hike on the W trek.
- In general we found that most places took credit card (except our hotel outside the park), but it’s always good to have some cash.
Pro tips for Argentinian side:
- Argentina just implemented park fees so make sure to read up on which one you want to get. It’s pretty new so my experience is that they are still figuring out how to implement everything. Most folks would just enter the park or trailheads before 7am before the park rangers were at the stations. There were some reports that they would check your ticket as you left, but I didn’t personally see any of this happening. We bought a 3 day Flex pass so we could use it for the two hikes in El Chaltén as well as the Perito Moreno Glacier in El Calafate, tbh they never scanned the ticket so I’m not sure how they would track how many days we were using it.
- El Chaltén is very expensive, especially restaurants so I would go as far as to say it might behoove you to bring groceries with you from elsewhere as the groceries stores weren’t much cheaper and weren’t all that well stocked.
- Cell service was very spotty in El Chaltén, so download some offline maps before heading there.
- Renting a car last minute in El Calafate is near impossible or extremely expensive so if you think you’ll want one to take you to the glacier, then book ahead of time. We ended up using a tour, which was ultimately totally fine.
CITY: Puerto Natales, Chile
HOW LONG: 4 Nights
ACCOMMODATION:
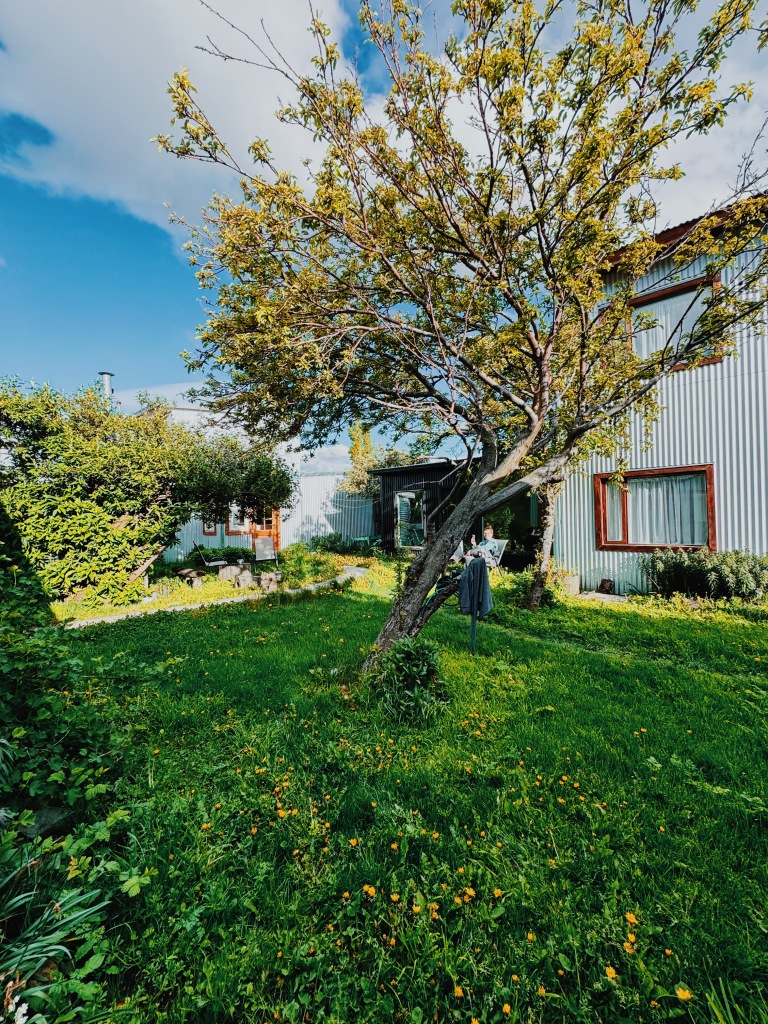
We stayed at El Patagonico in Puerto Natales. It was a great hostel. Big open concept kitchen + common area that was really cozy. The outdoor garden was great for phone calls. The rooms were quiet and we got good nights sleep here. Wifi worked great. Highly recommend staying here!
WHERE TO EAT:
Puerto Natales is full of cute restaurants and cafes! We celebrated Sonja’s birthday here as well so we tried out some nice spots:
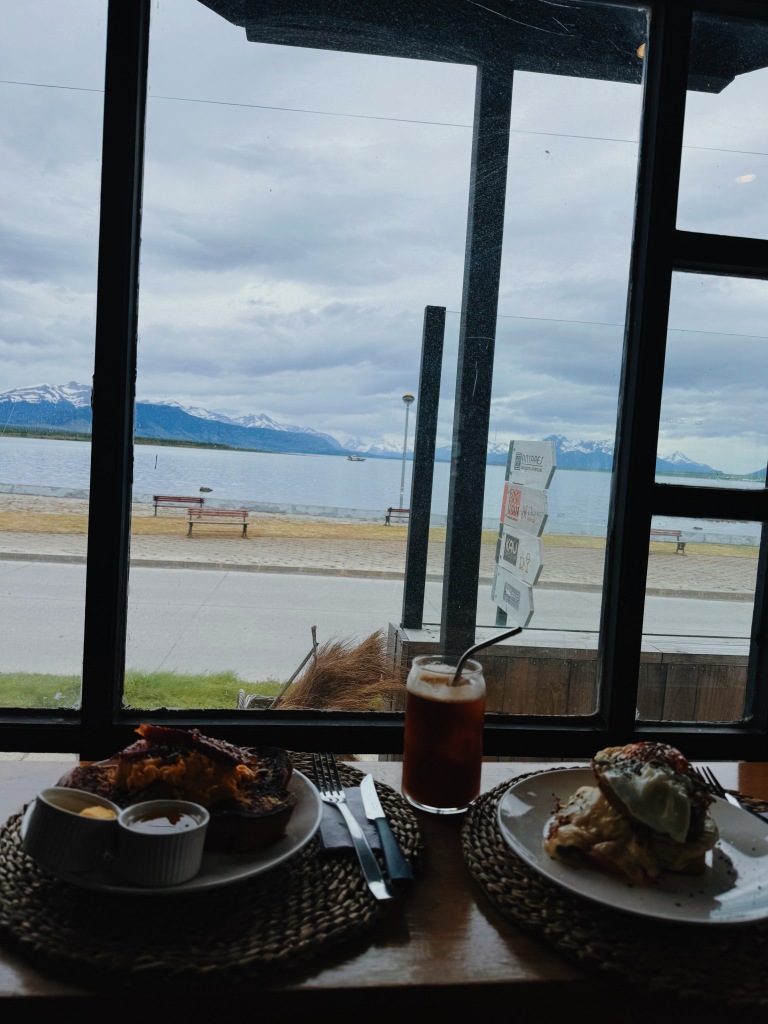
- Kau Lodge – Great spot for a coffee, brunch or to read. Has a lodge feel and it’s super cozy. We loved it so much we went twice, including once for Sonja’s birthday 🙂
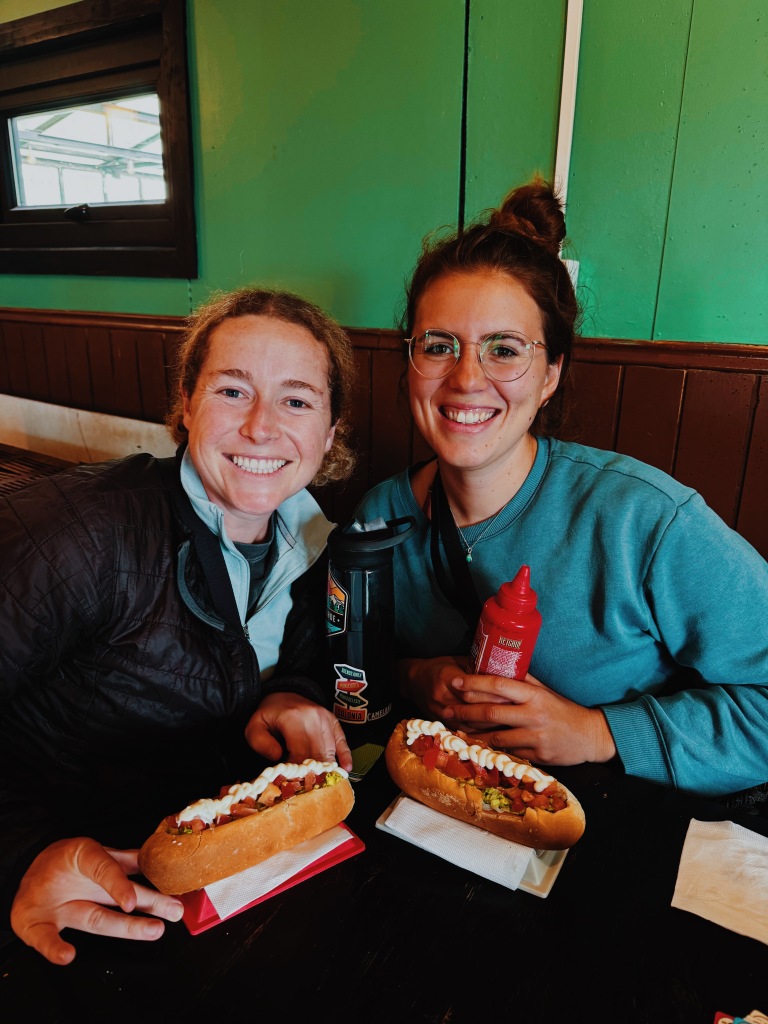
- Slowly Bar – great spot for a cheap Completo (Chilean hot dog)
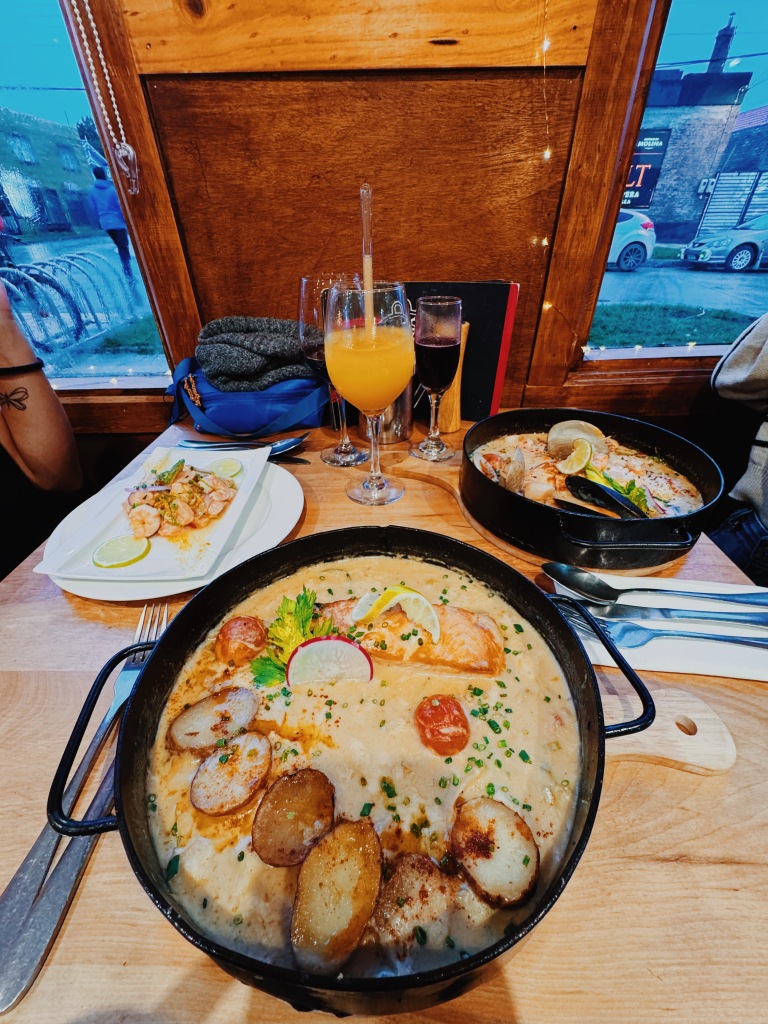
- Restaurant La Picada de Carlitos – We went here for Sonja’s birthday dinner and it was awesome!! It was packed and we were lucky to get a table at 9pm. Food was delicious and it was a real treat after so many backpacker meals haha. Always nice to have a proper, good meal once in a while.
- Nomad Coffee – cute spot for a hot chocolate & to catch up on your book.
WHAT TO DO:
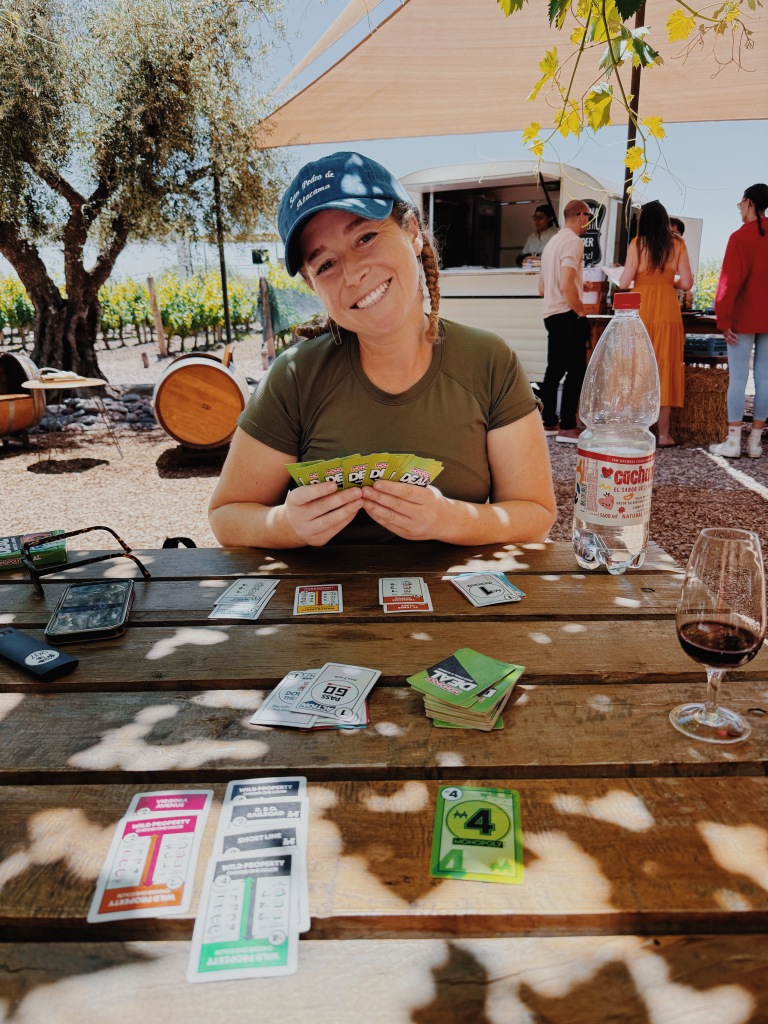
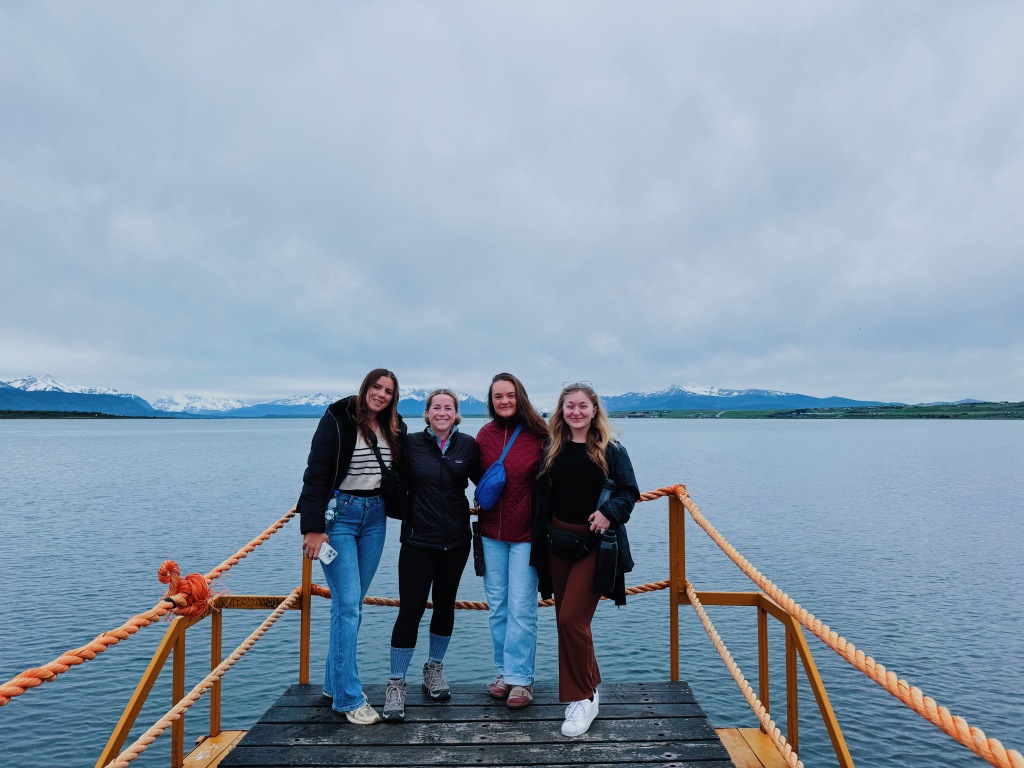
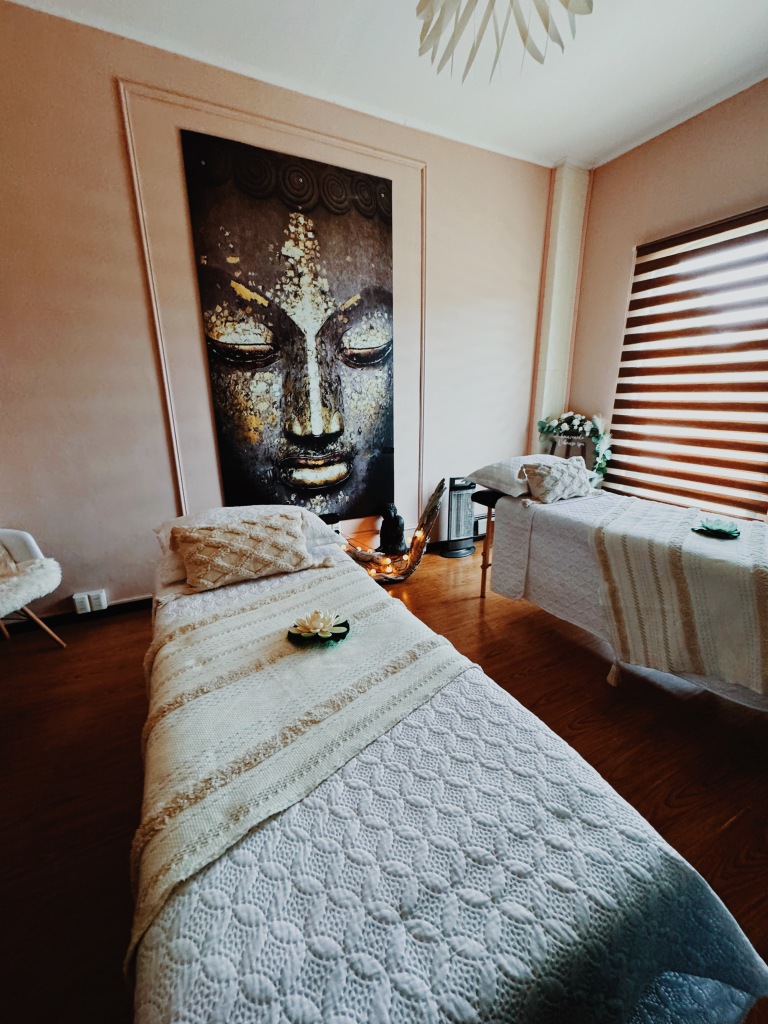
There’s not much to DO in Puerto Natales, unless you are using this as your base to/from the park. Given we had the luxury of traveling slower, we enjoyed 2 days before and after the park here just preparing and catching up on admin stuff. It’s a lovely, lovely spot for a chilled out break. It was Sonja’s birthday so we had a spa treatment at Vibenso Spa (at the Darwin Hotel) We did enjoy walking along the waterfront, as well as just around the small town. We also met some new friends to play monopoly deal and explore the park with!
OVERALL THOUGHTS:
I really liked the town itself, but if you aren’t using it as a base then you don’t need to spend all that long here. If you are using it as a base, then prepare yourself for some long days. Our friend Gabbi met us in the park and she had to leave at 6:45am and returned at 10:30pm using the bus. We’d recommend renting a car, no matter whether you stay close to the park or in PN.
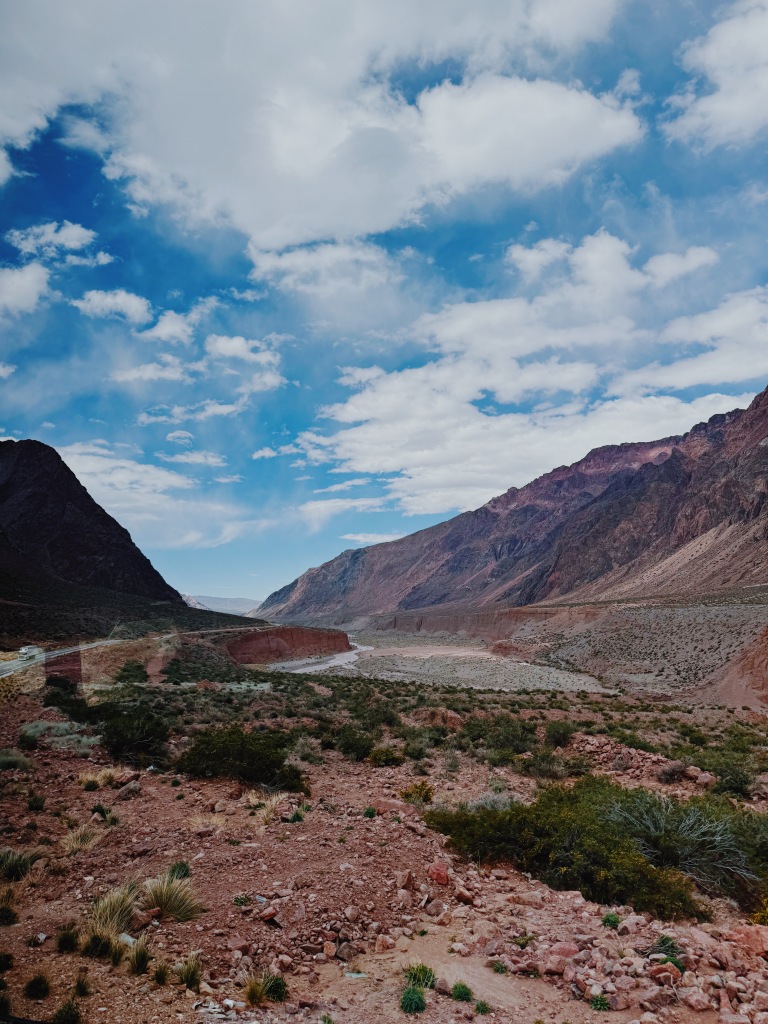
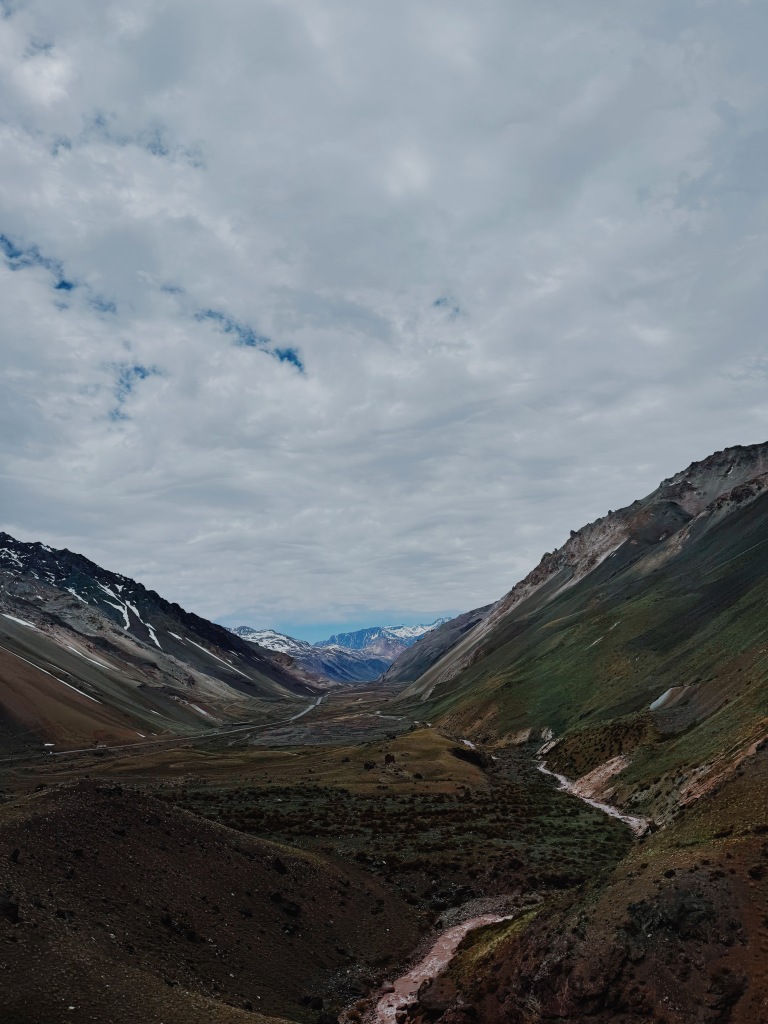
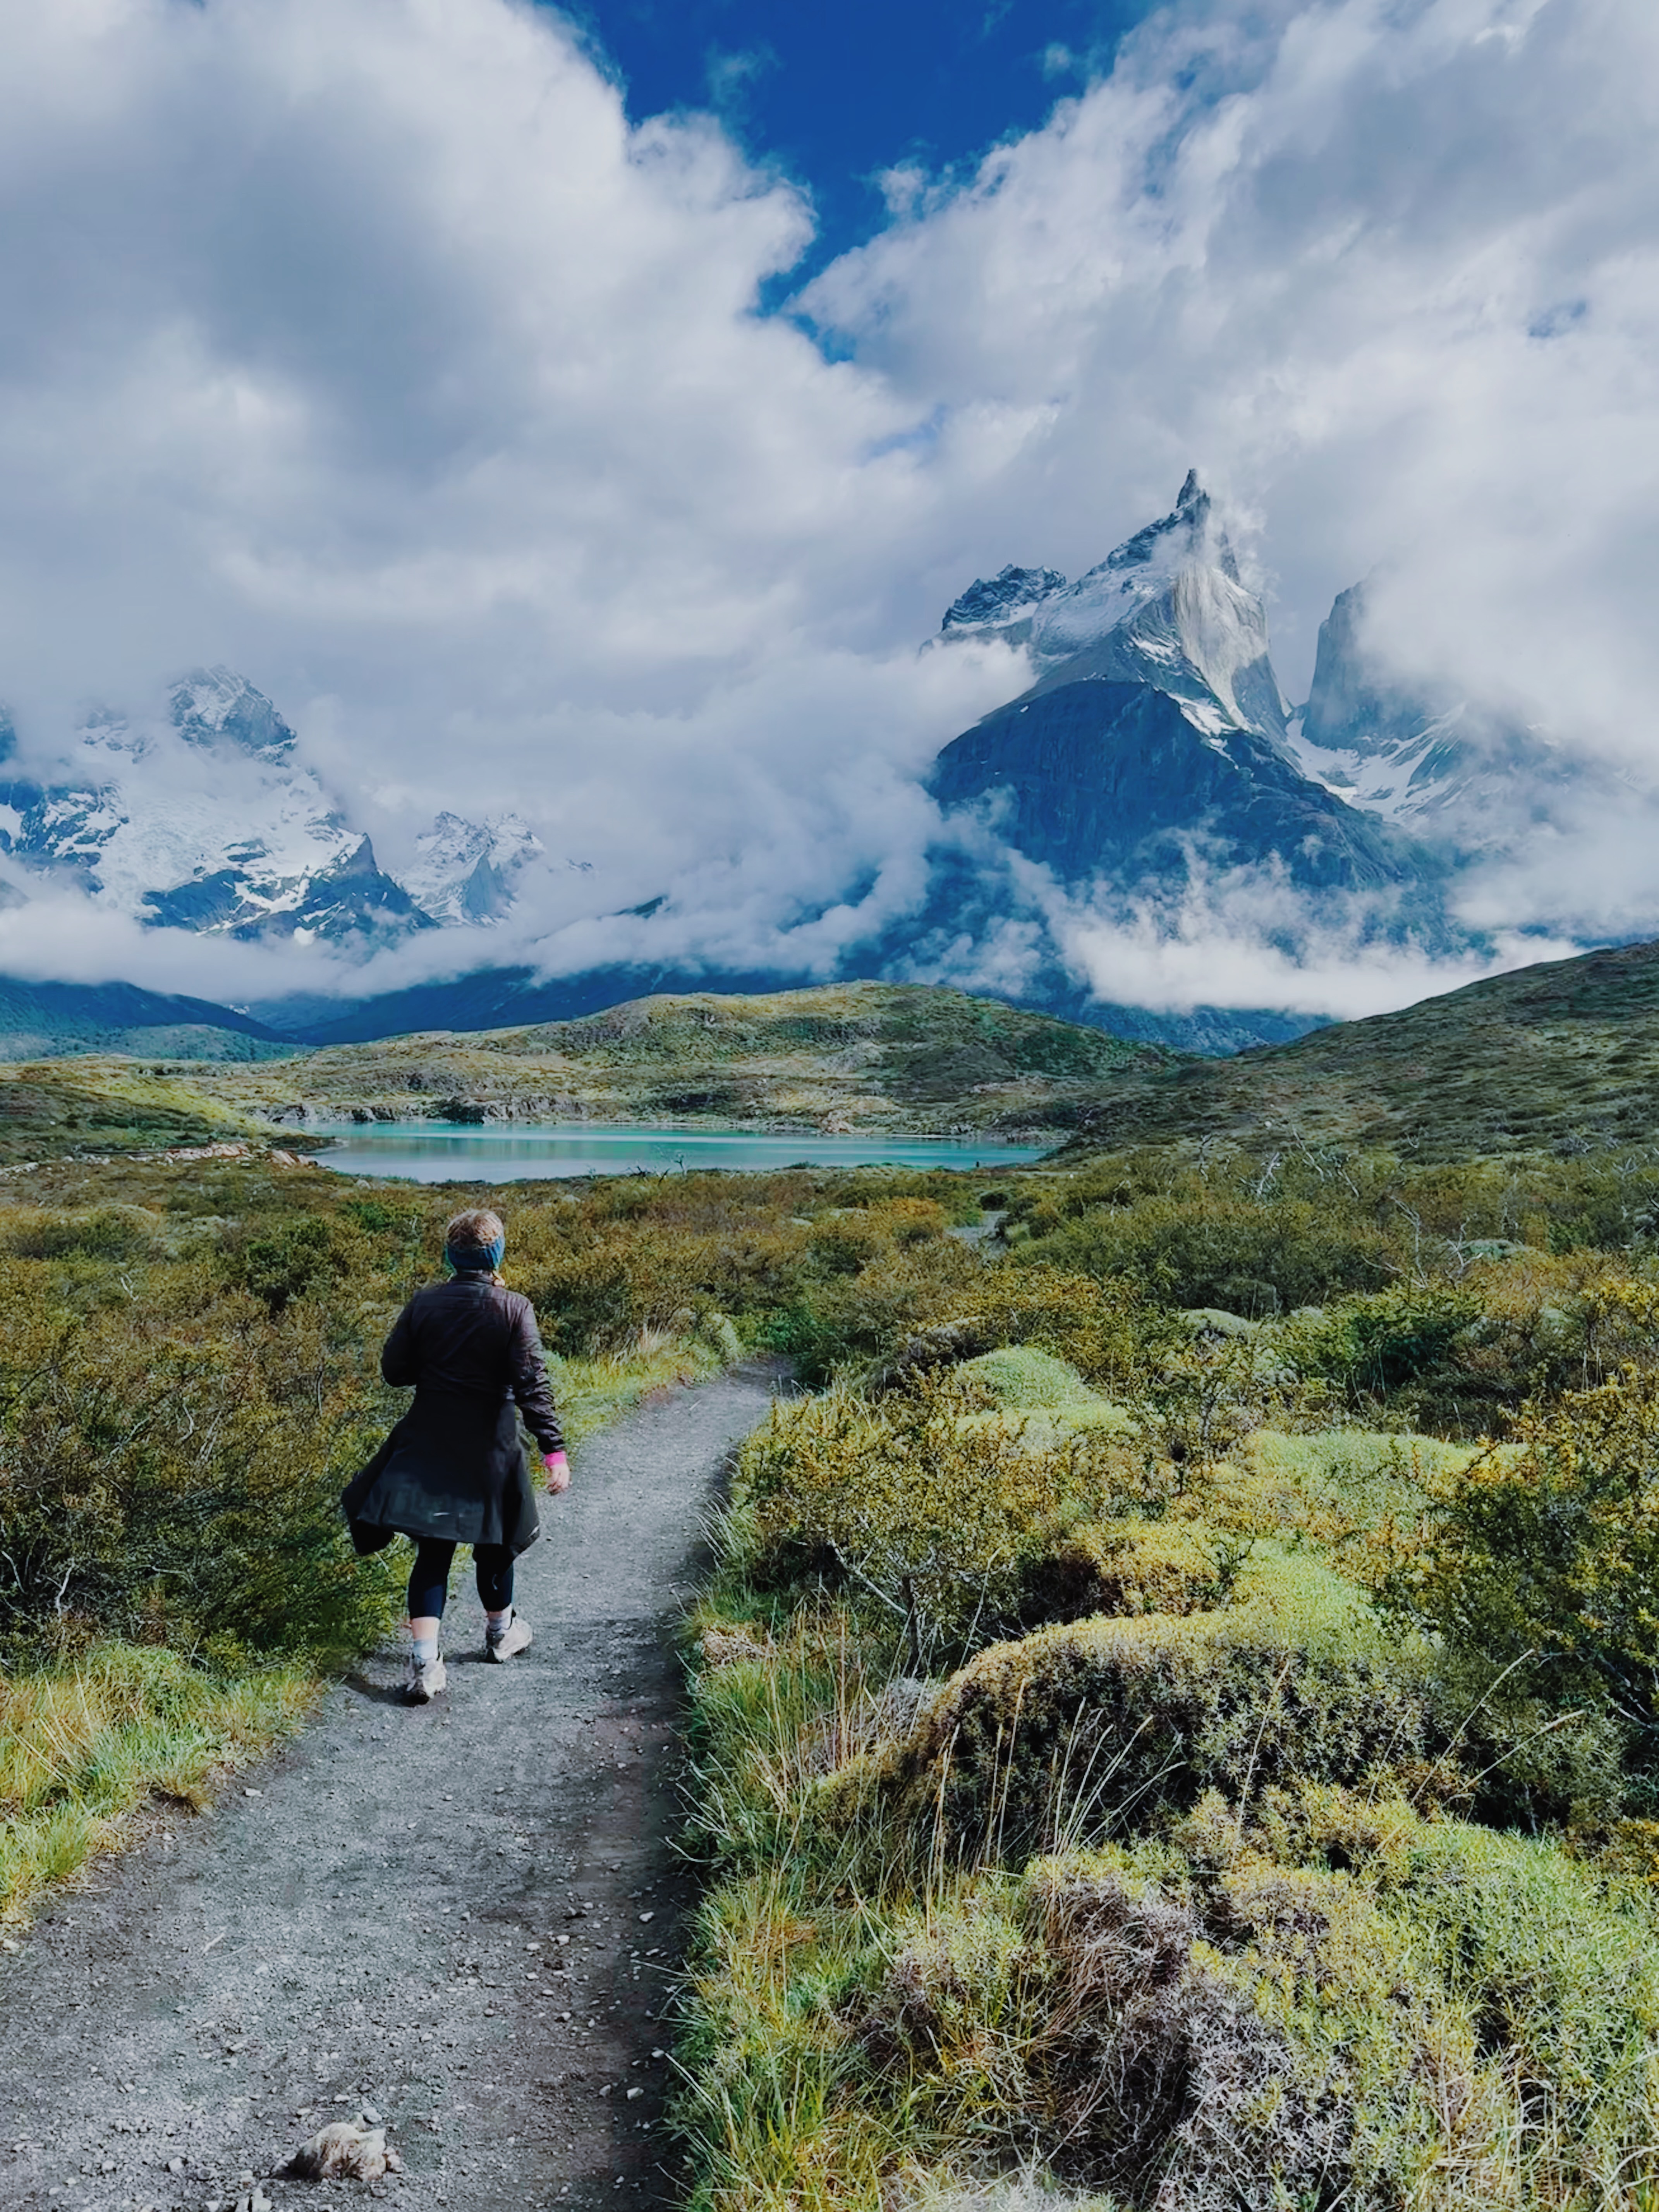
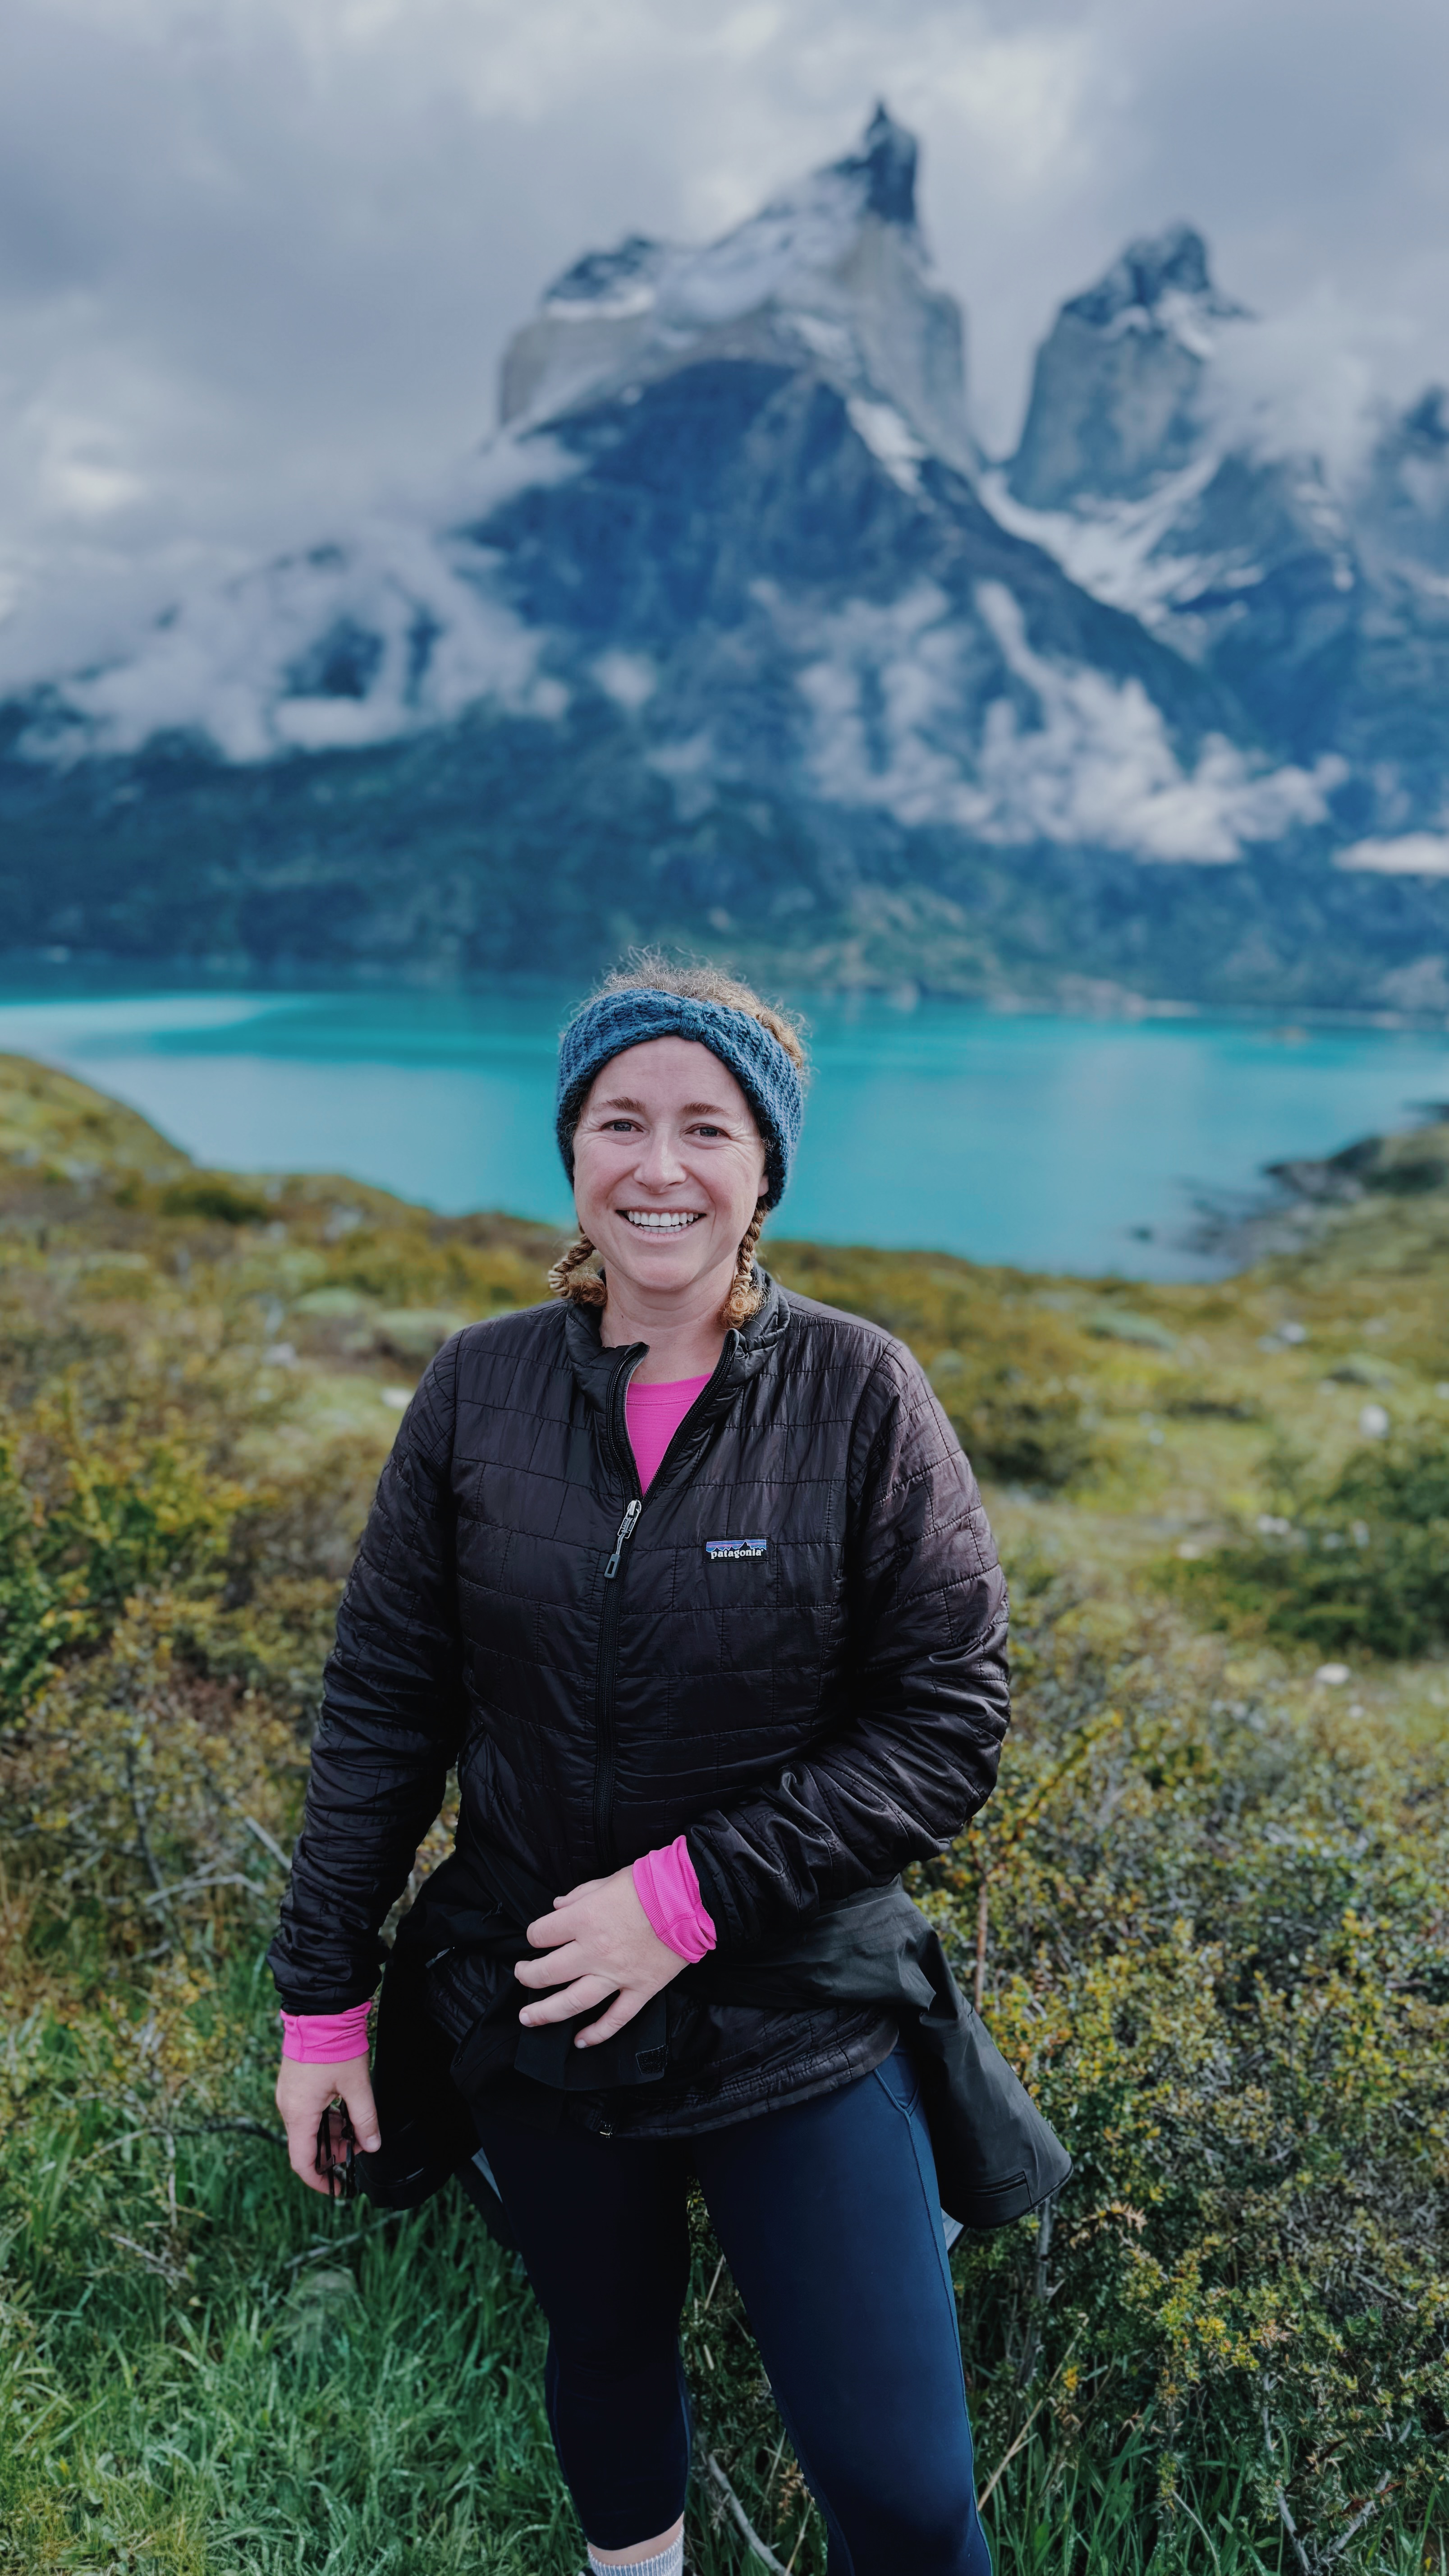
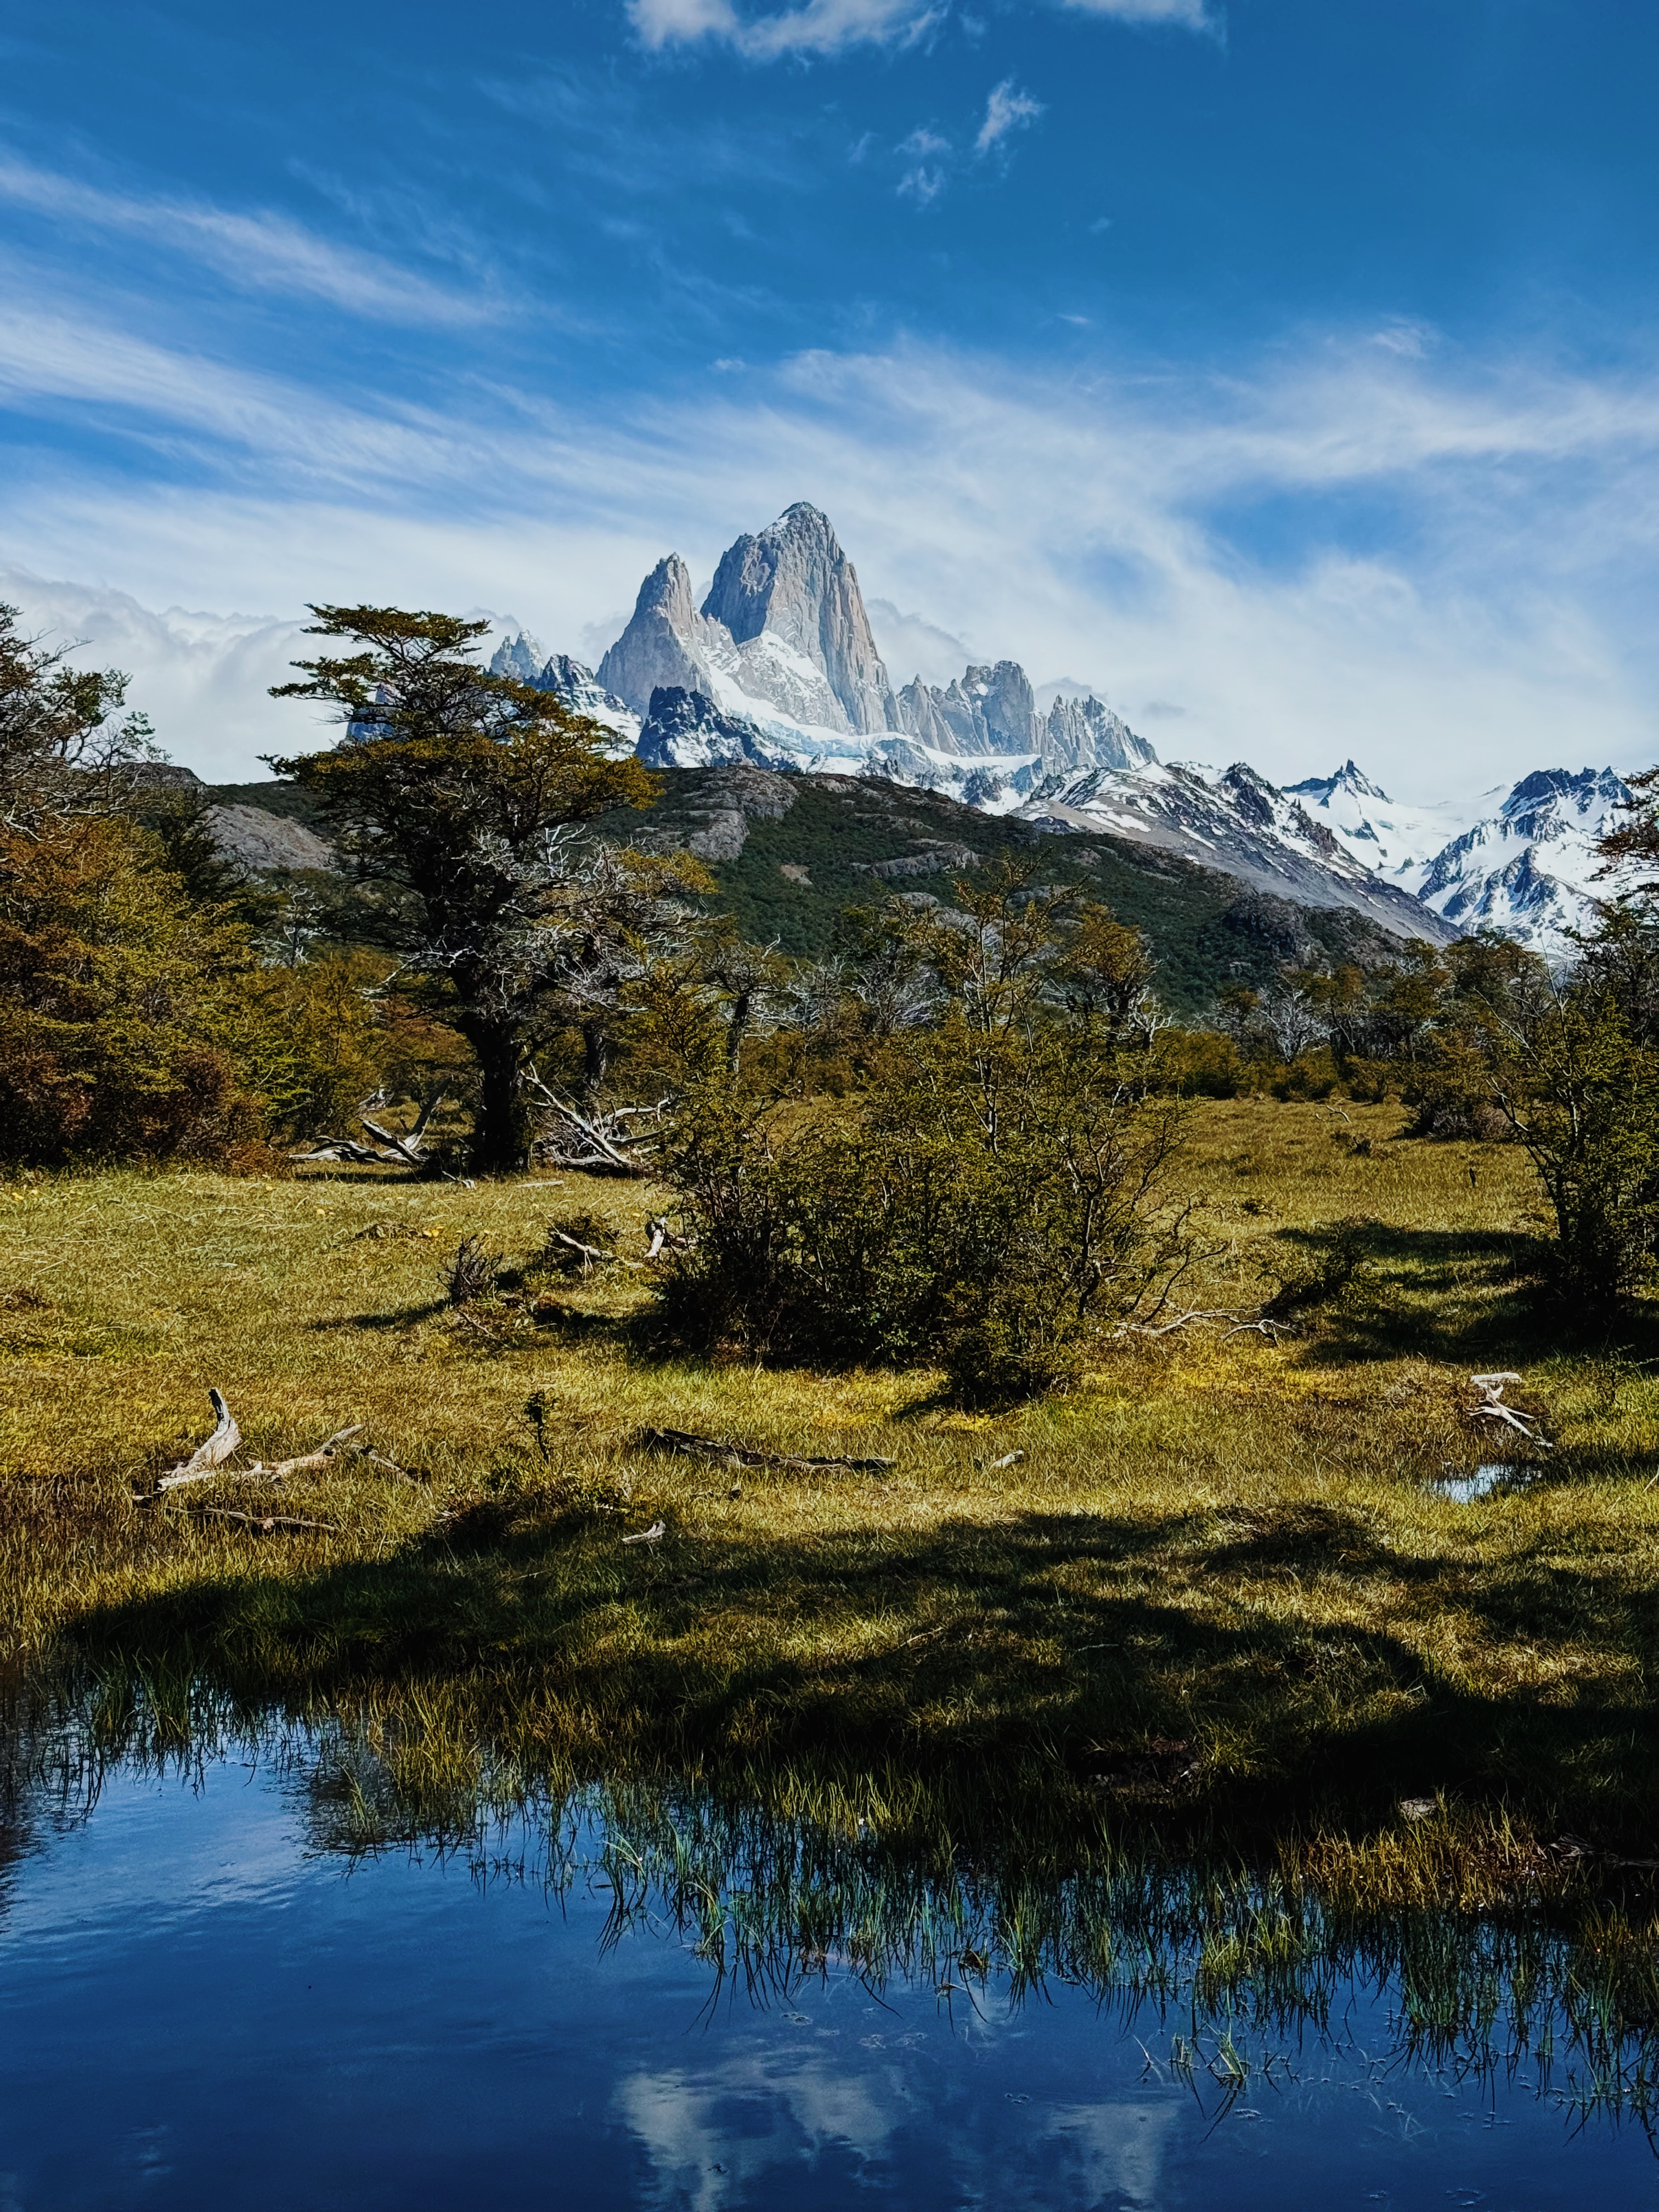
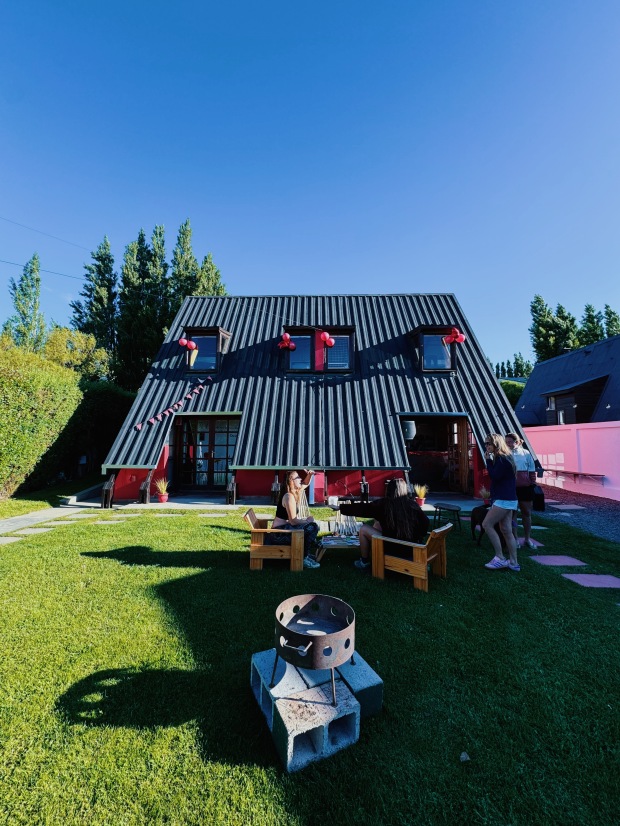
CITY: Torres Del Paine, Chile
HOW LONG: 3 Nights
ACCOMMODATION:
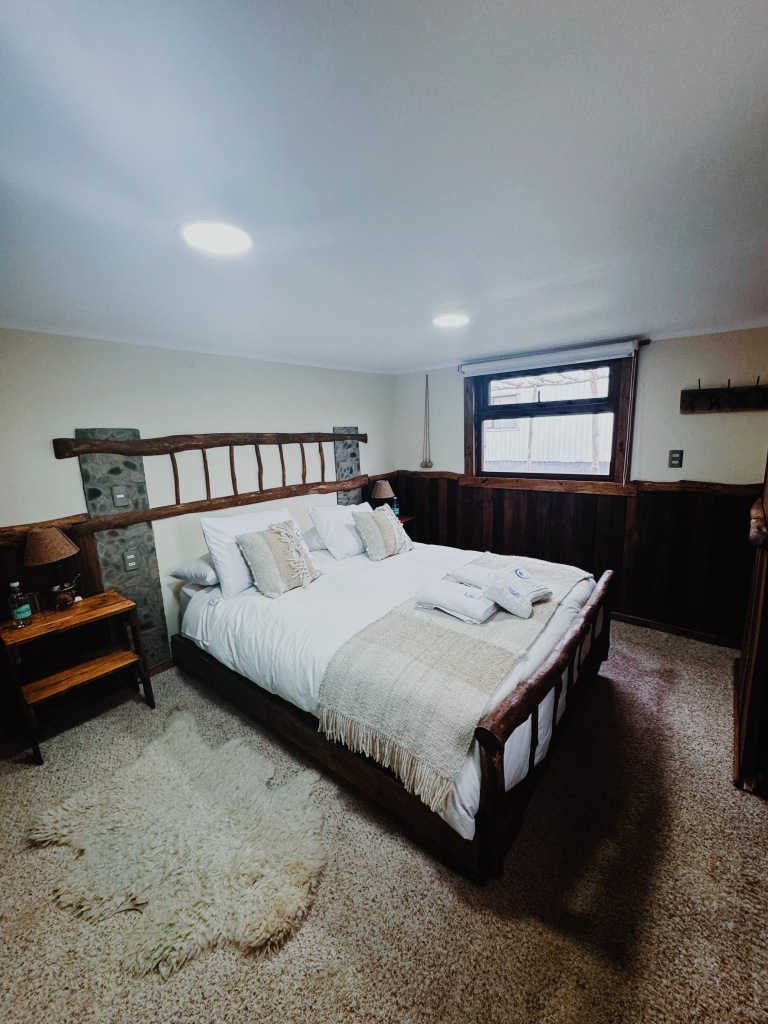
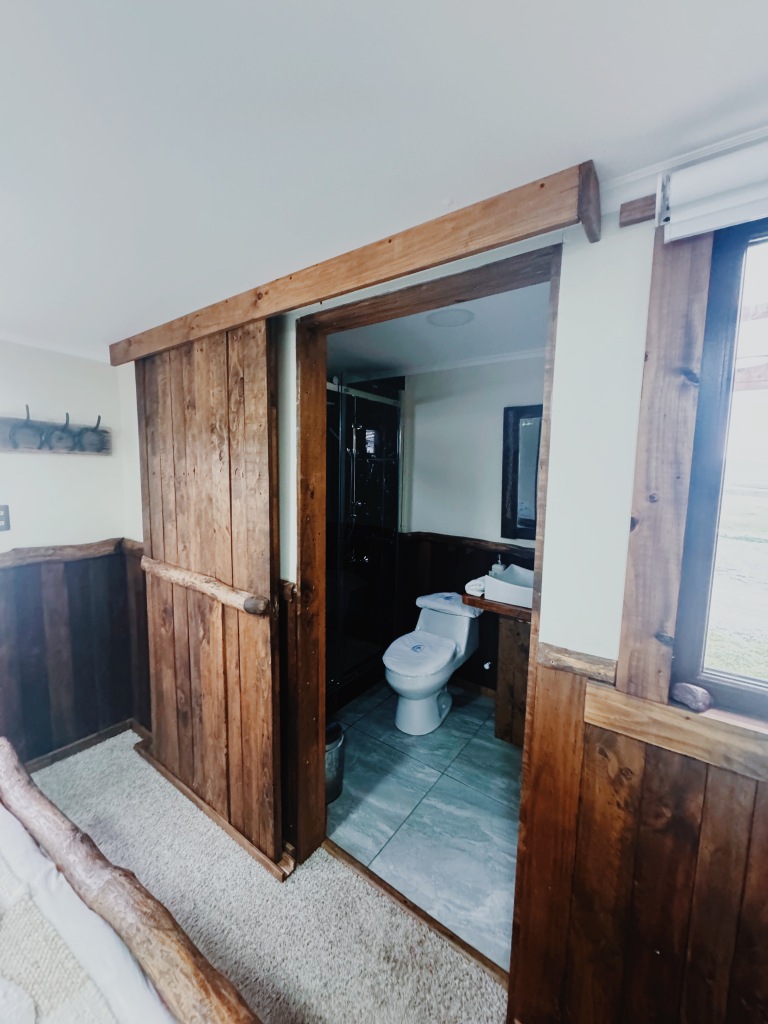
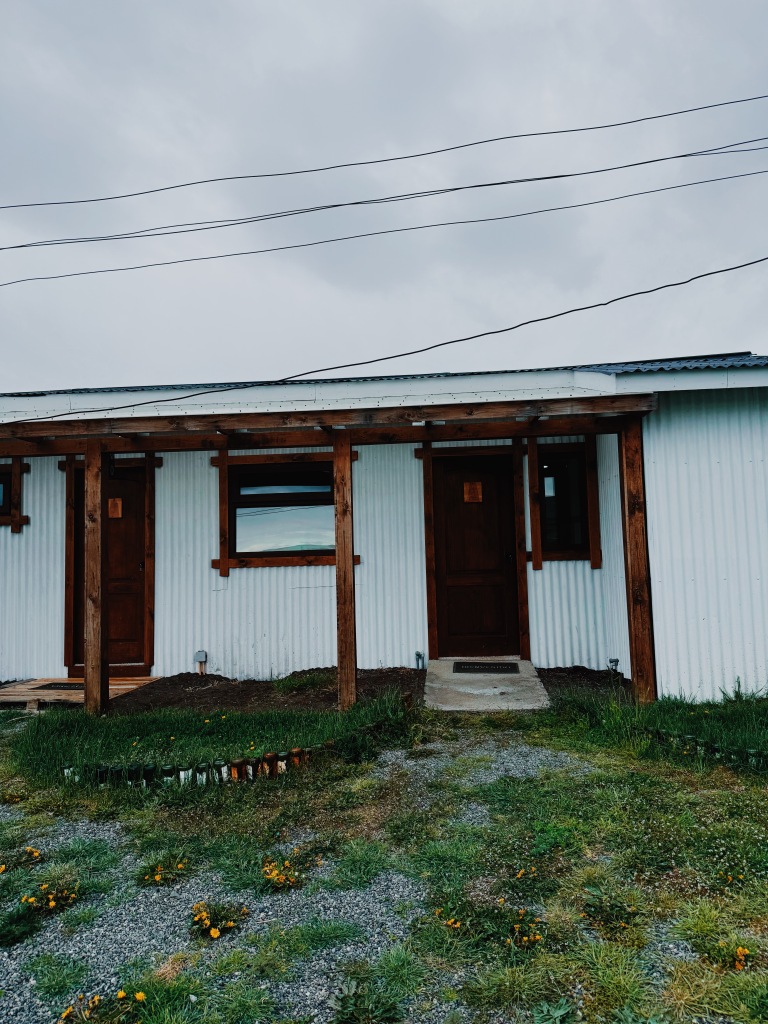
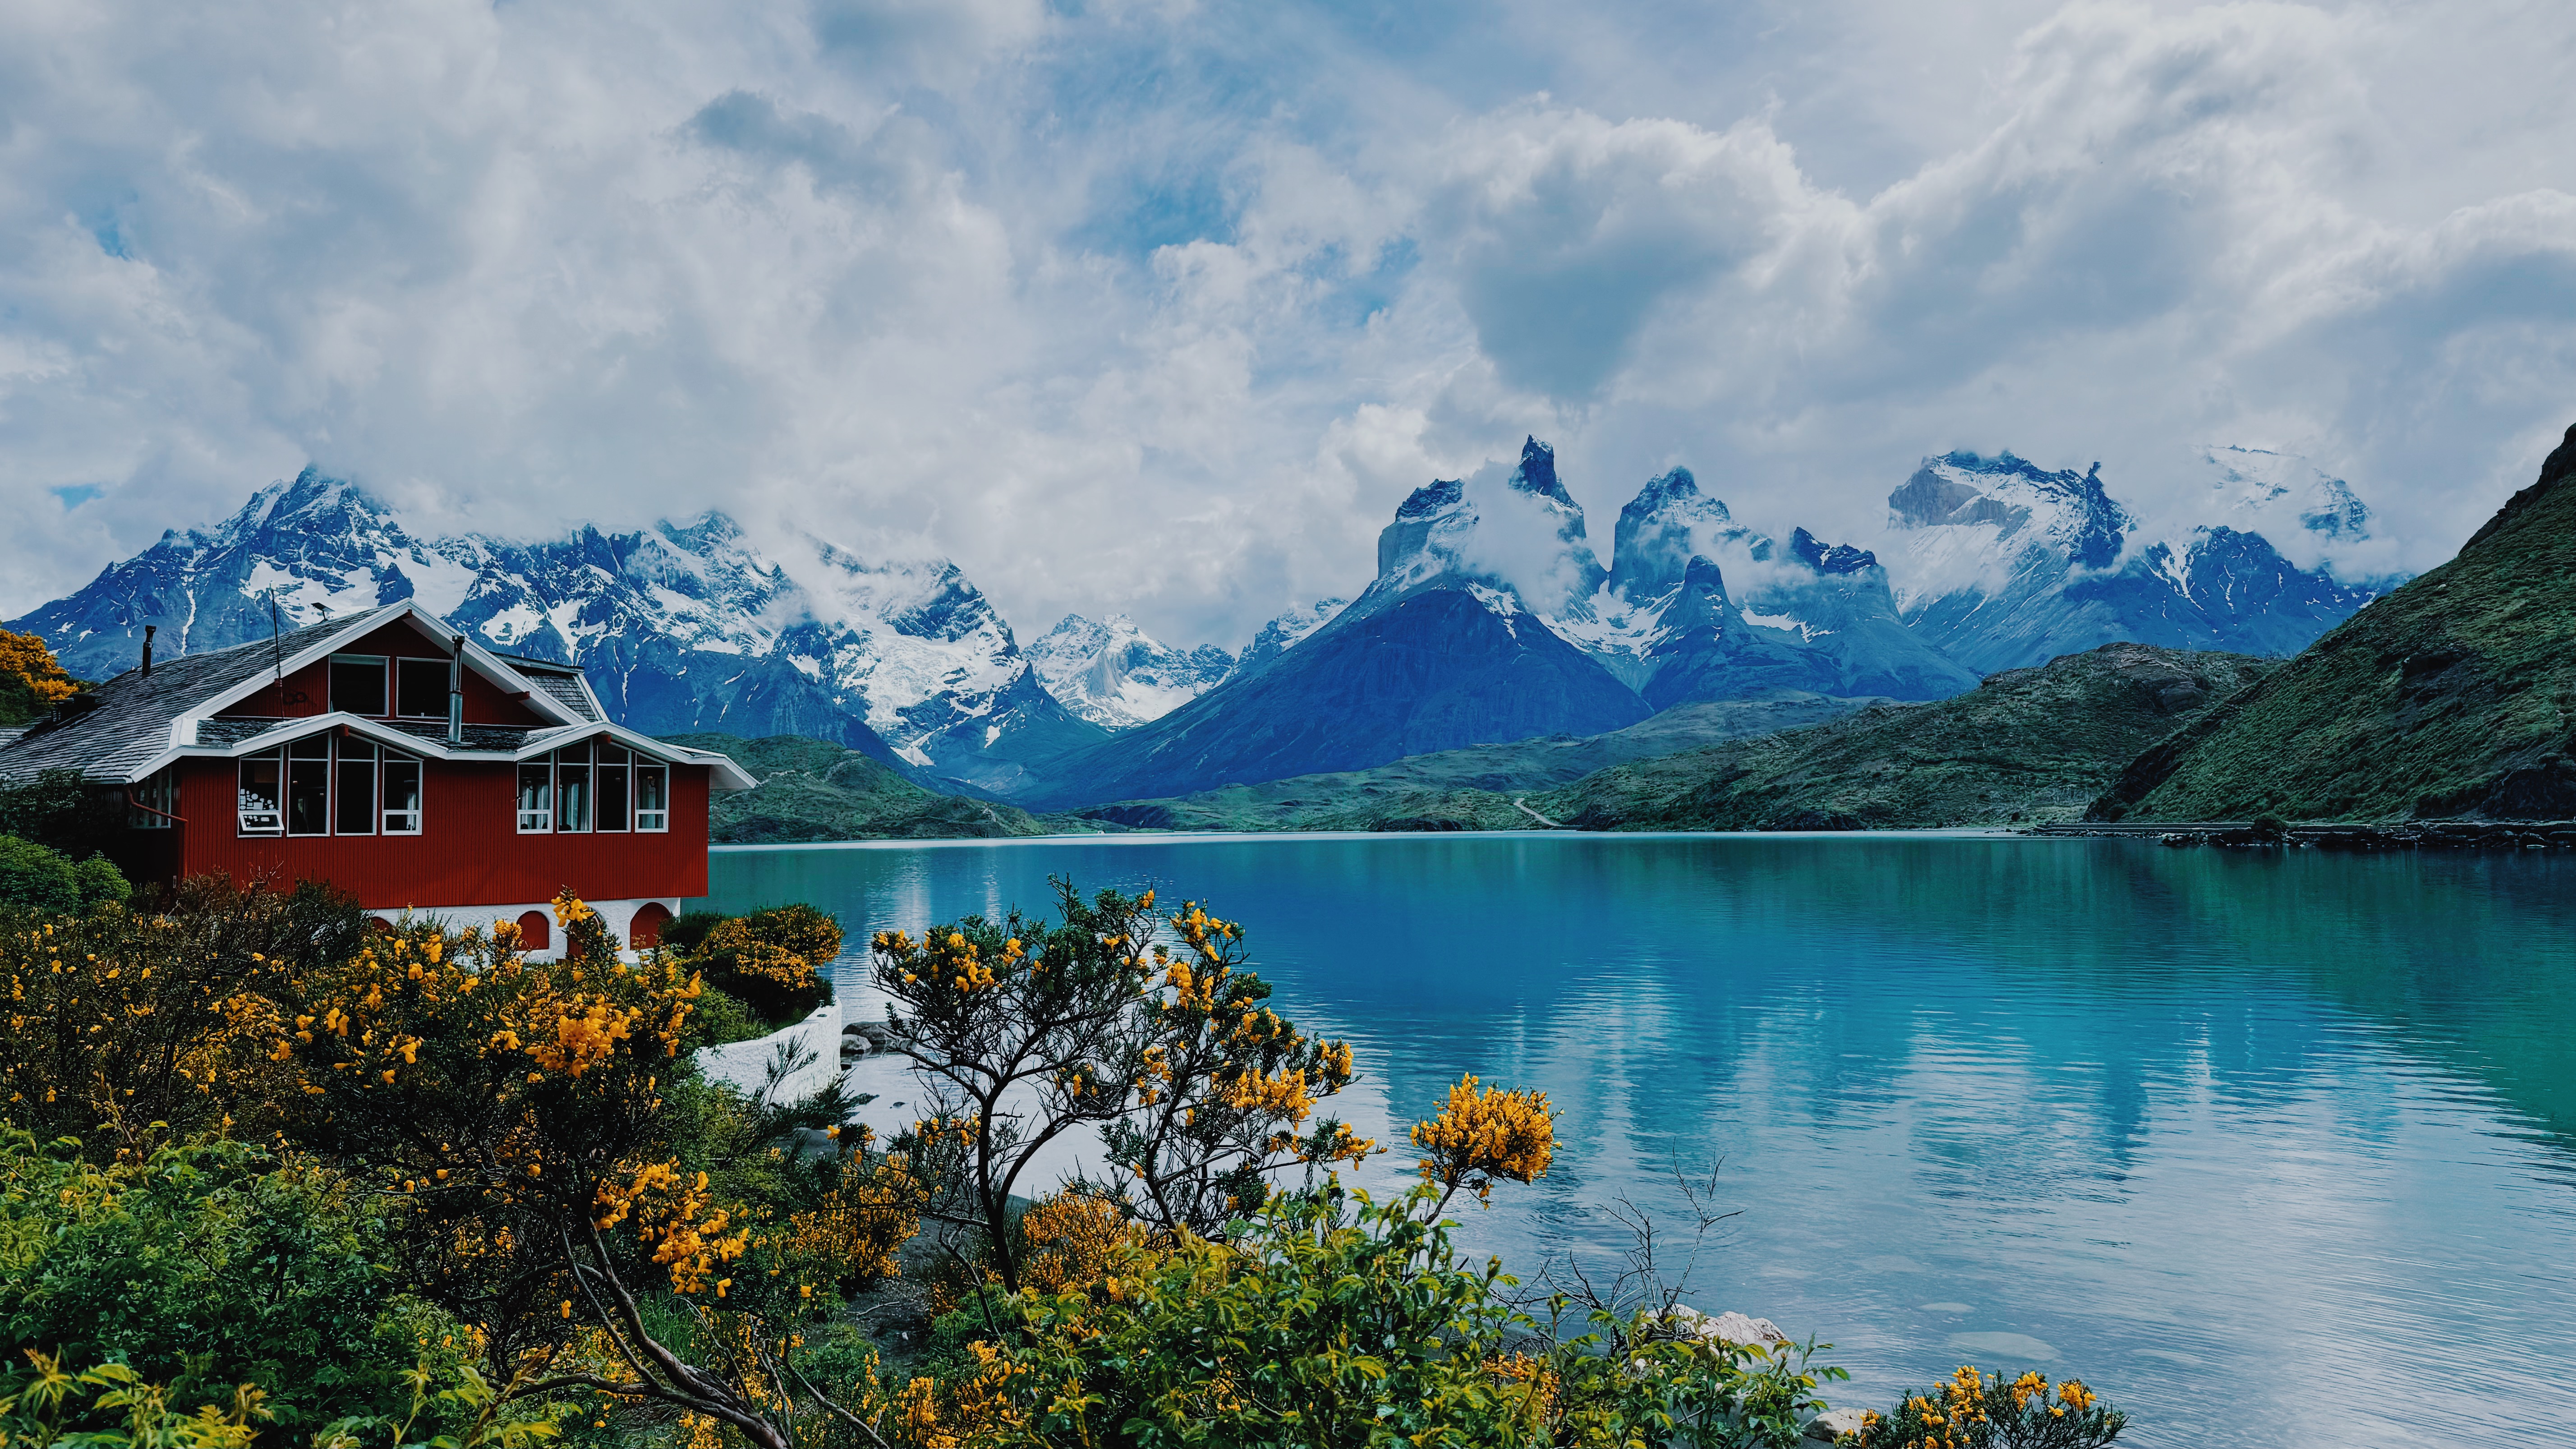
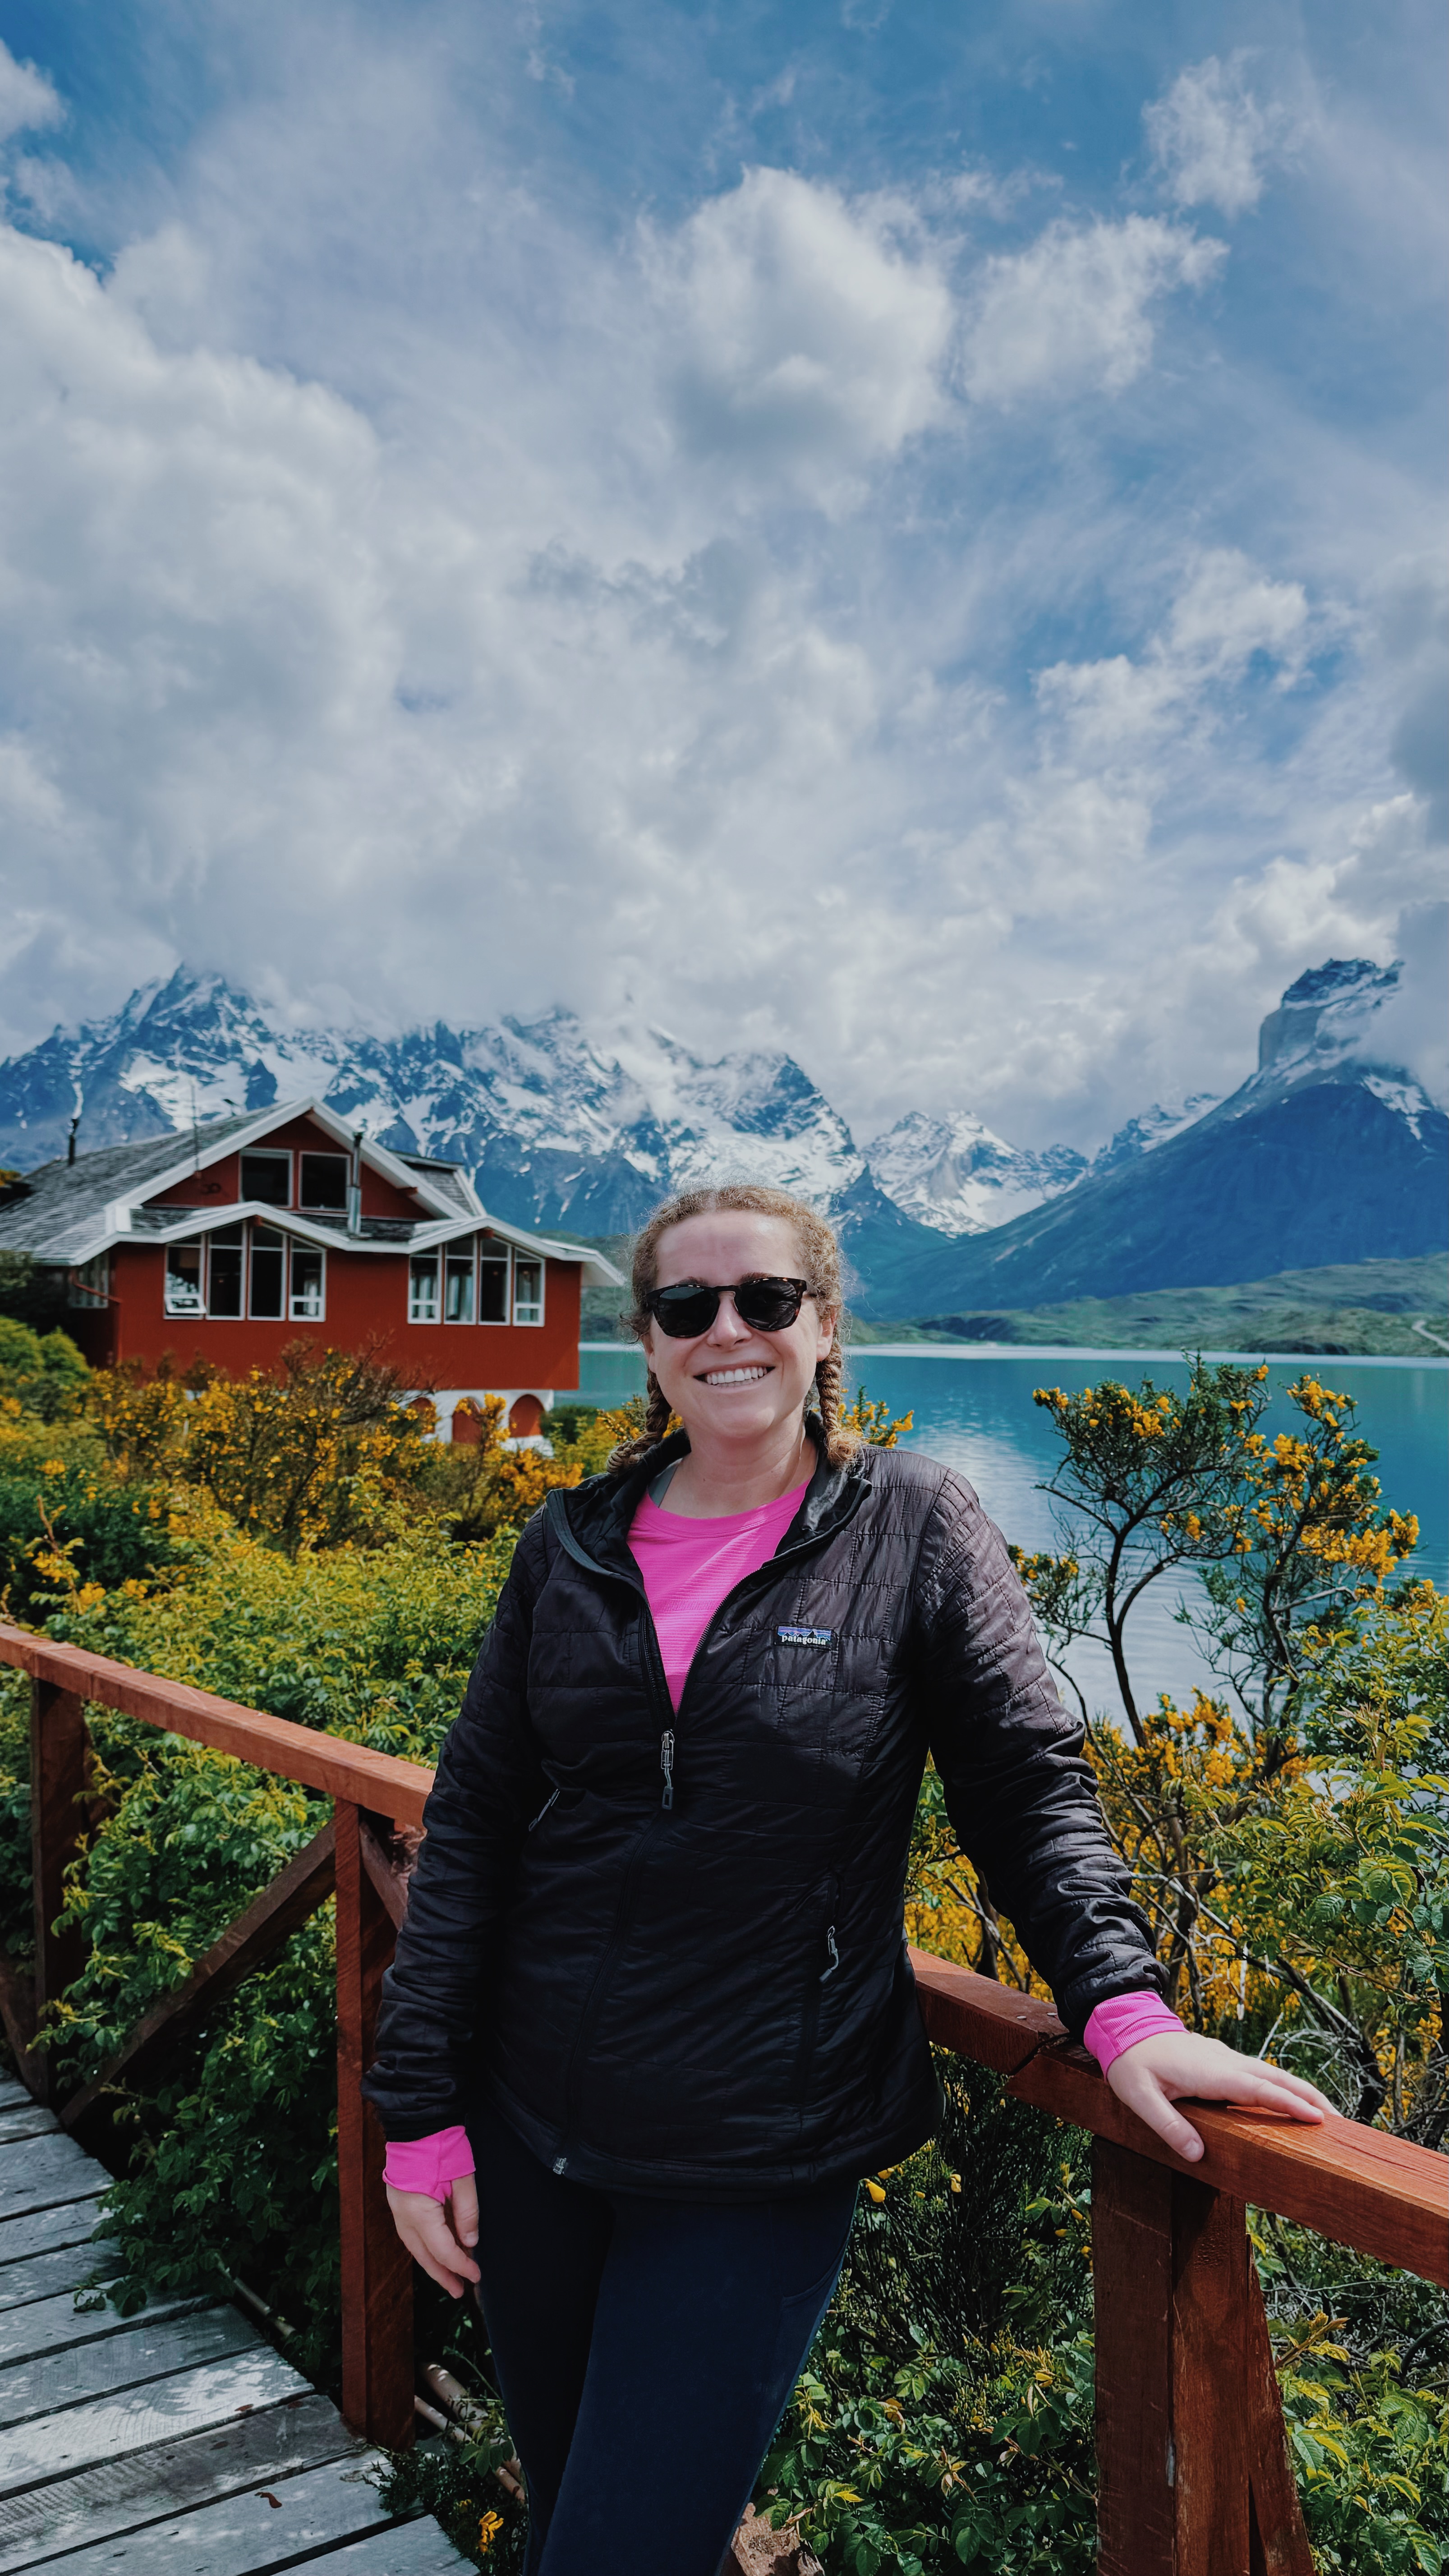
We splurged a little and stayed at a hotel near the park entrance to save some back & forth driving. Estancia Dos Elianas ended up being the perfect little spot! The room was so cozy and the heat cranked, which was much needed after chilly days in the park. Breakfast was included as well. There were cute cats & a dog on the grounds as well.
Don’t count on access to gas or an ATM once in the park, so be prepared. We found a hotel 5 min from that ended up selling us some gas from a gas canister – when in Patagonia!!!
WHERE TO EAT:
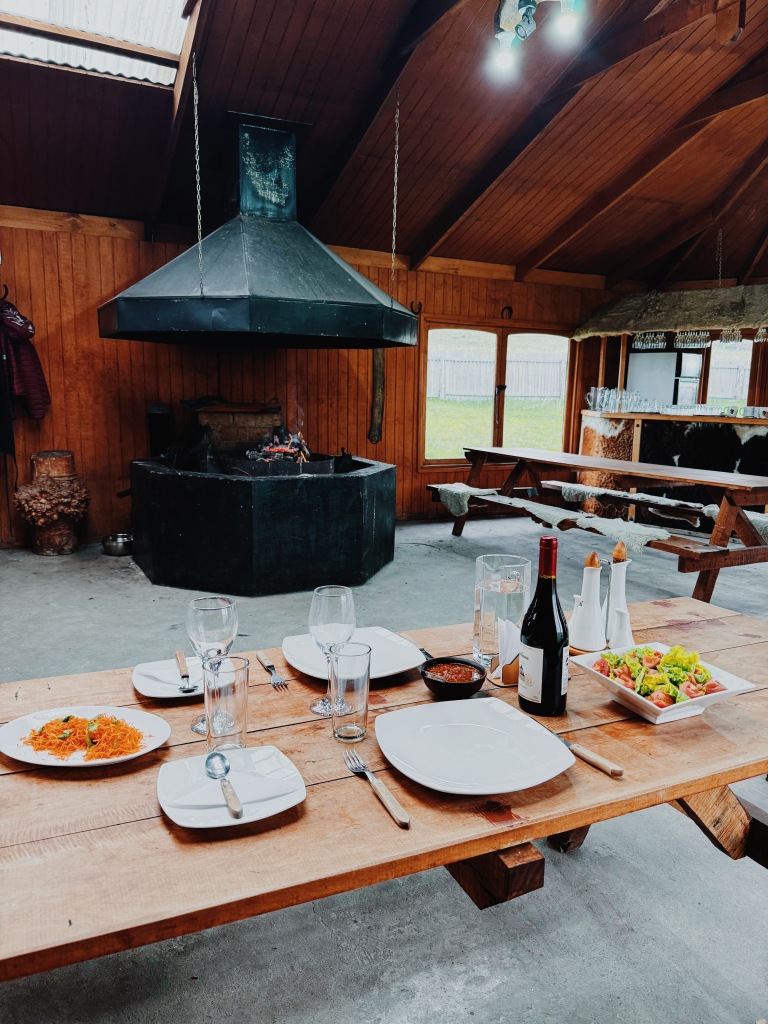
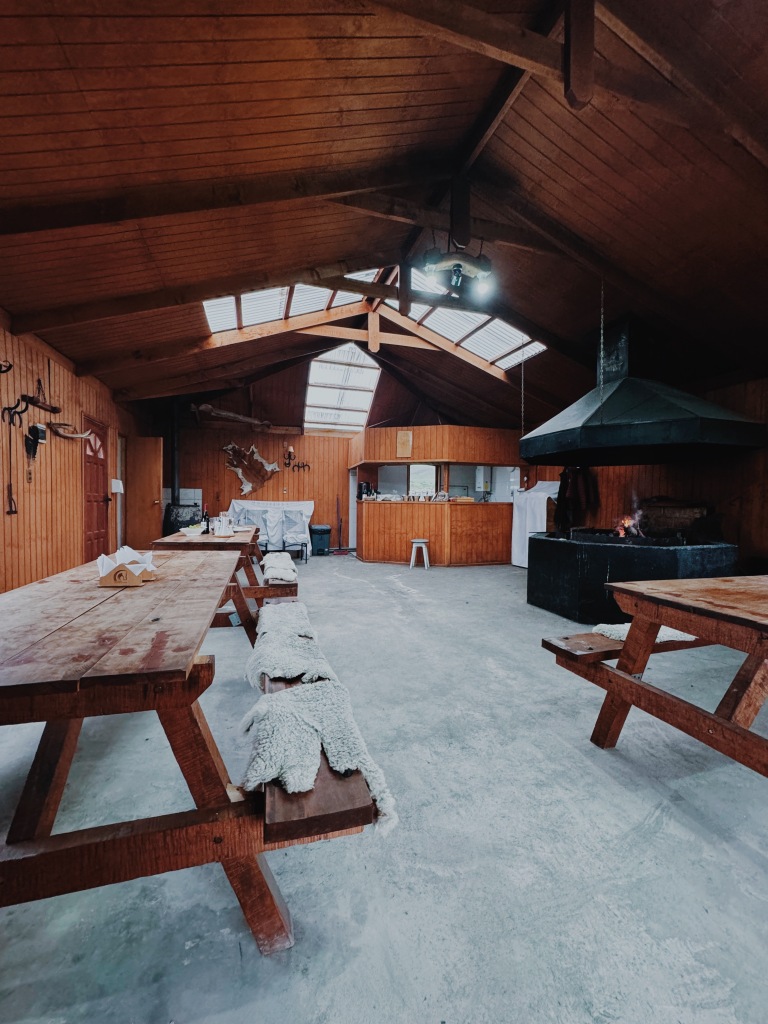
Honestly either bring your own food or bring your wallet lol. Because we had splurged on a hotel and a rental car, we decided not to buy food while at the park. Knowing we wouldn’t have access to a kitchen, we brought ingredients to make sandwiches for lunch & packs of ramen since all we would need is some hot water to cook that. We got very creative haha.
We found that the refugios or other cafes that are supposedly open in the park were sometimes closed or were very expensive. The only thing we bought was a hot chocolate at Hosteria Pehoe. It was $5 but the views were worth it.
WHAT TO DO:
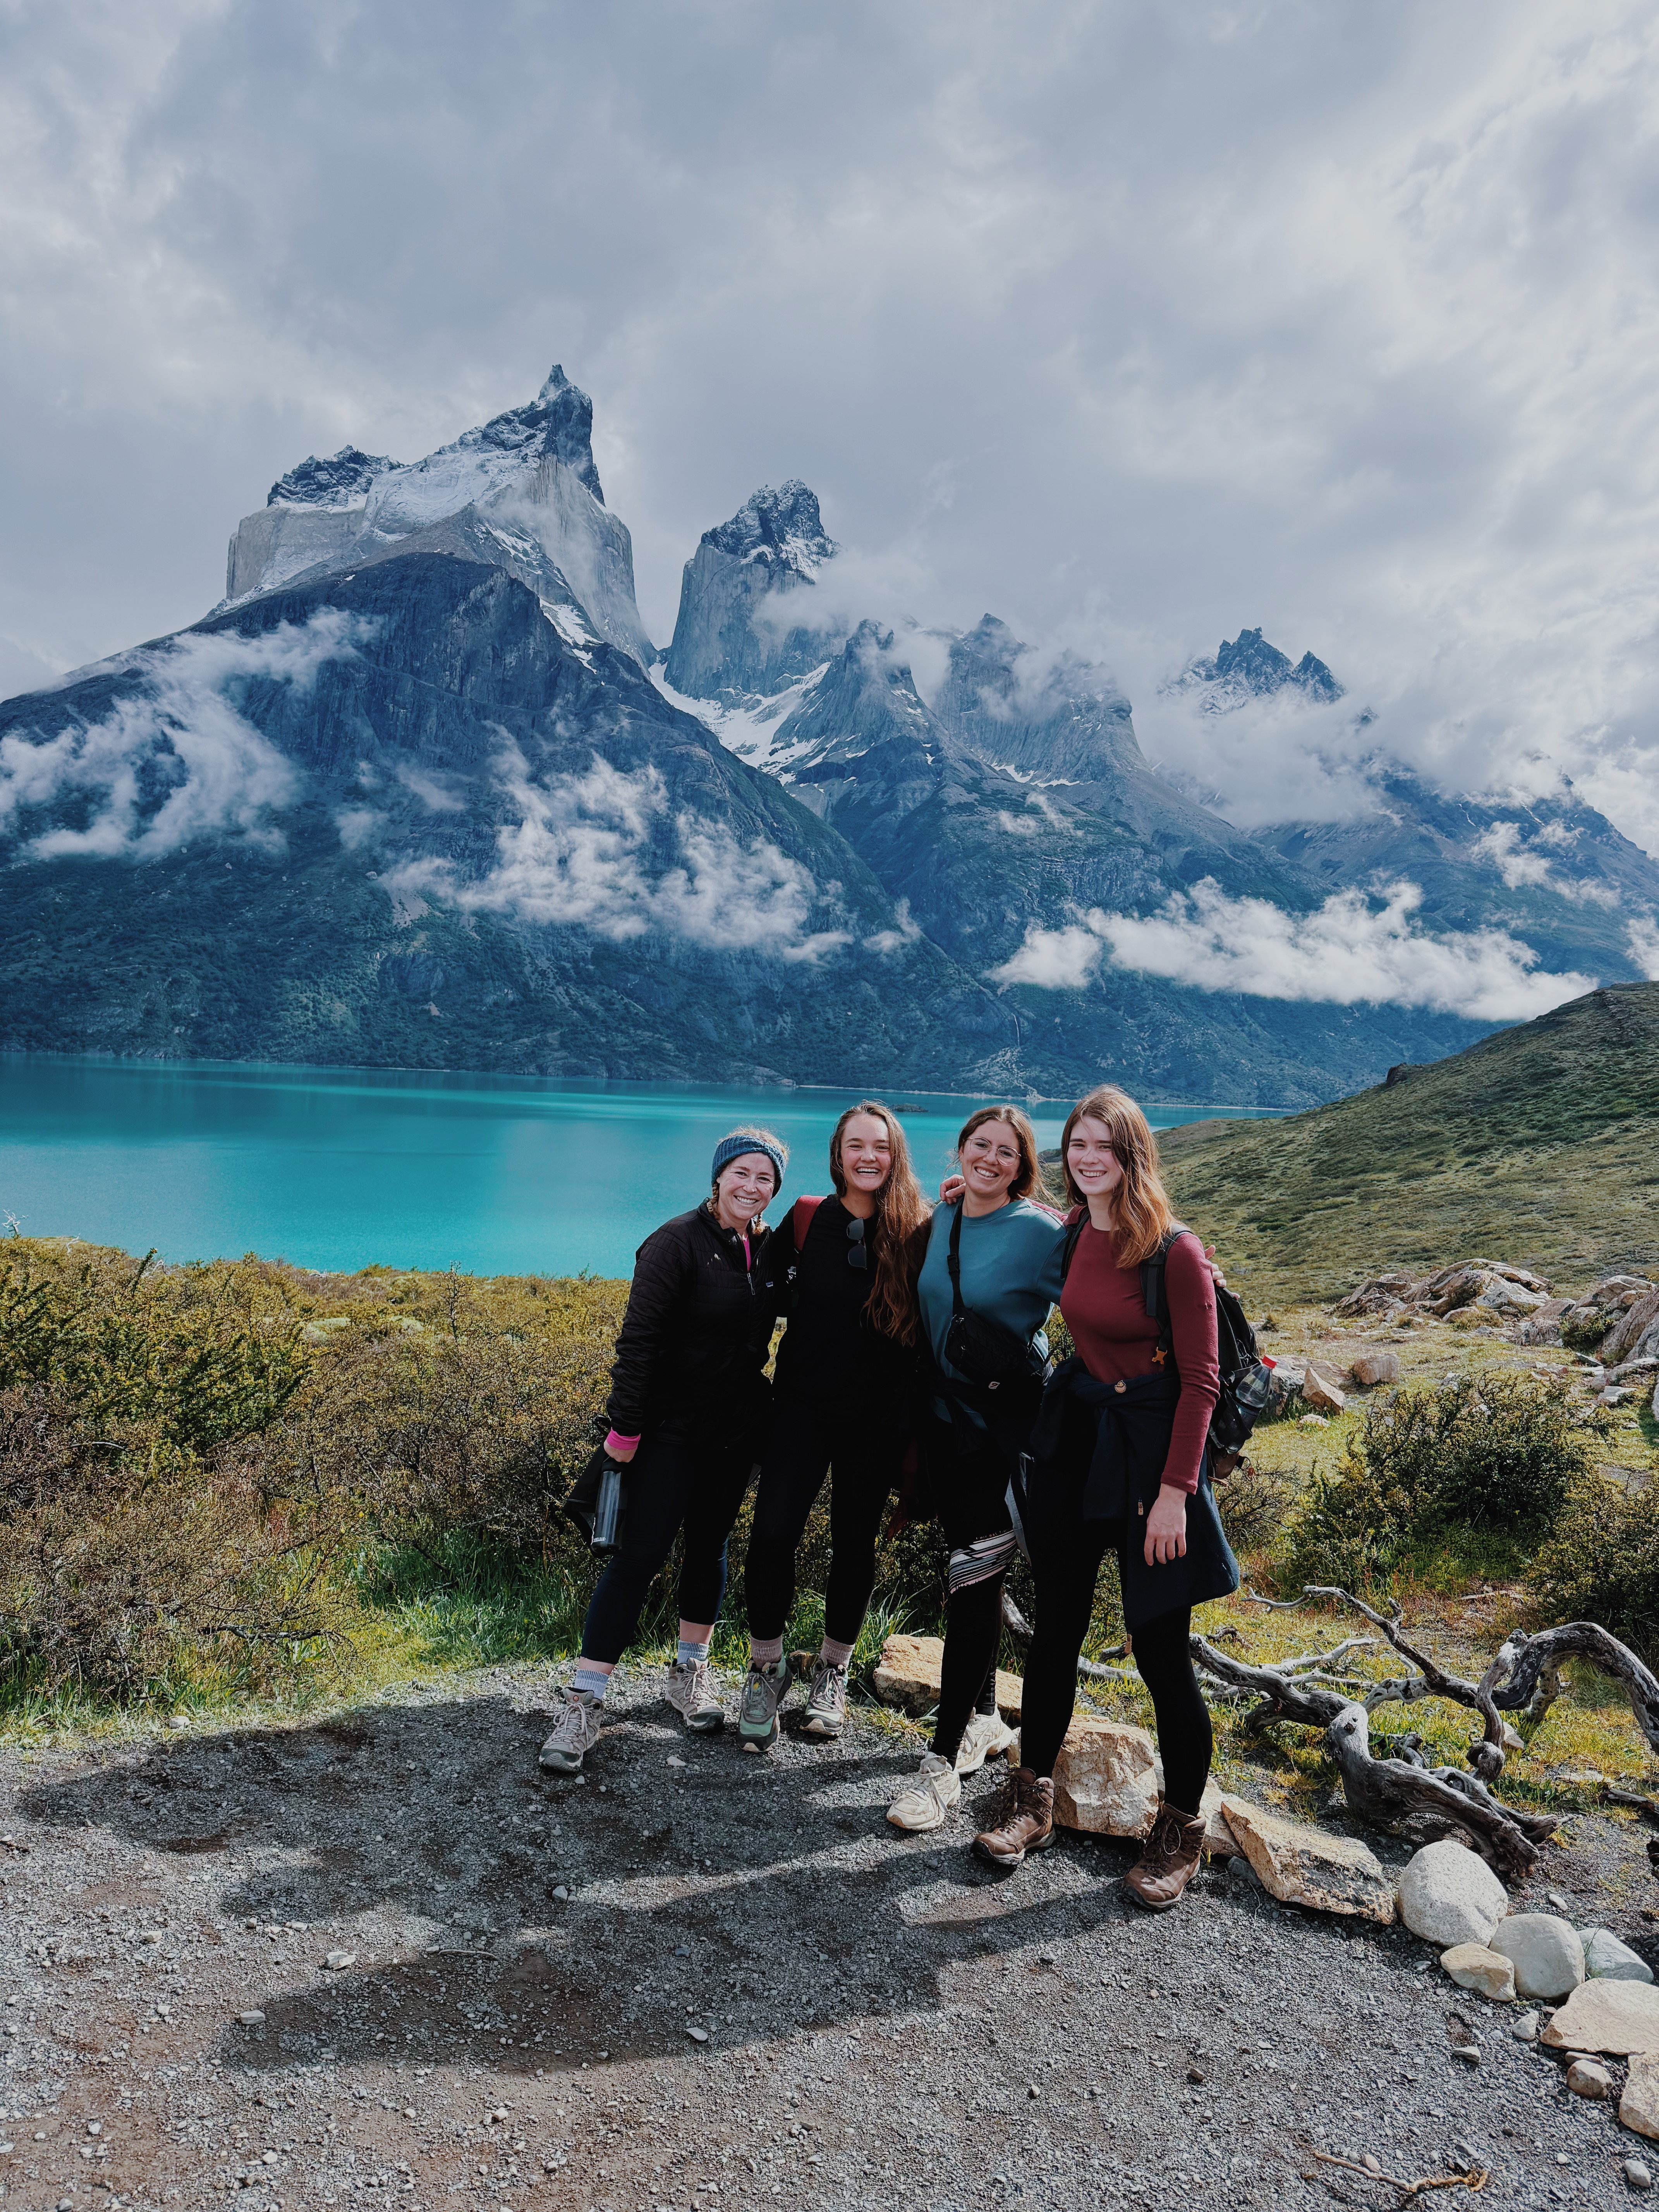
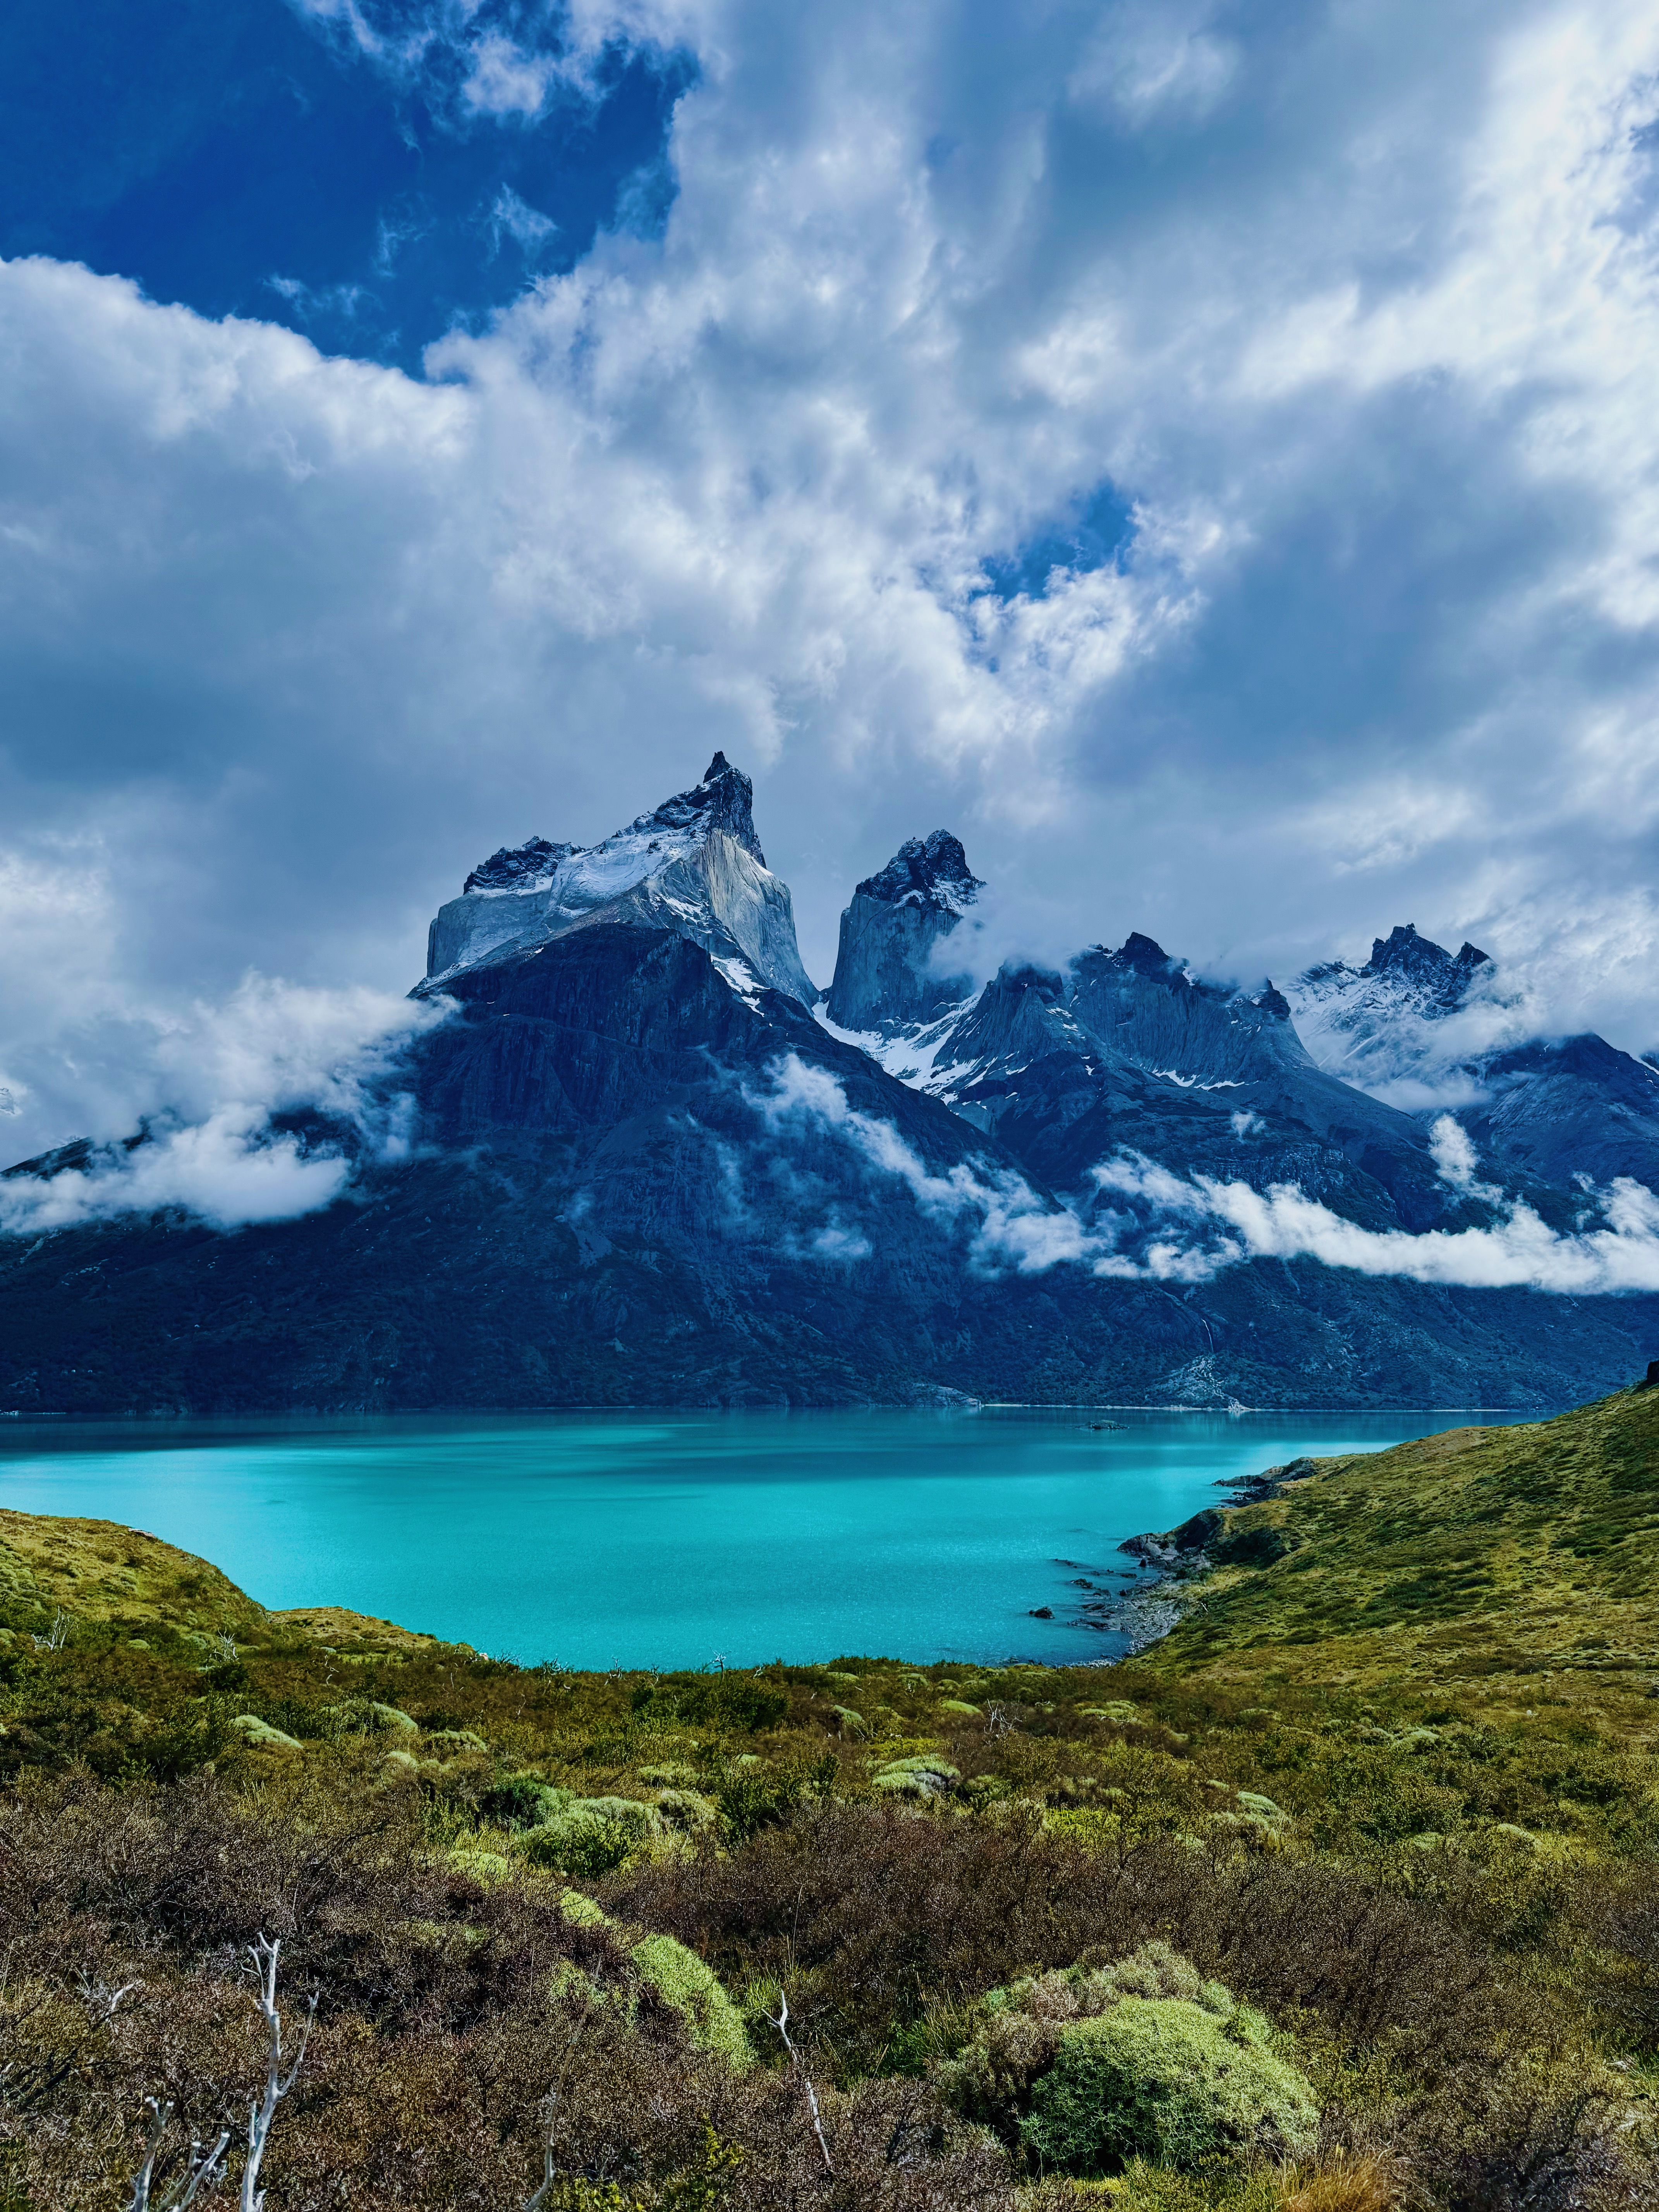
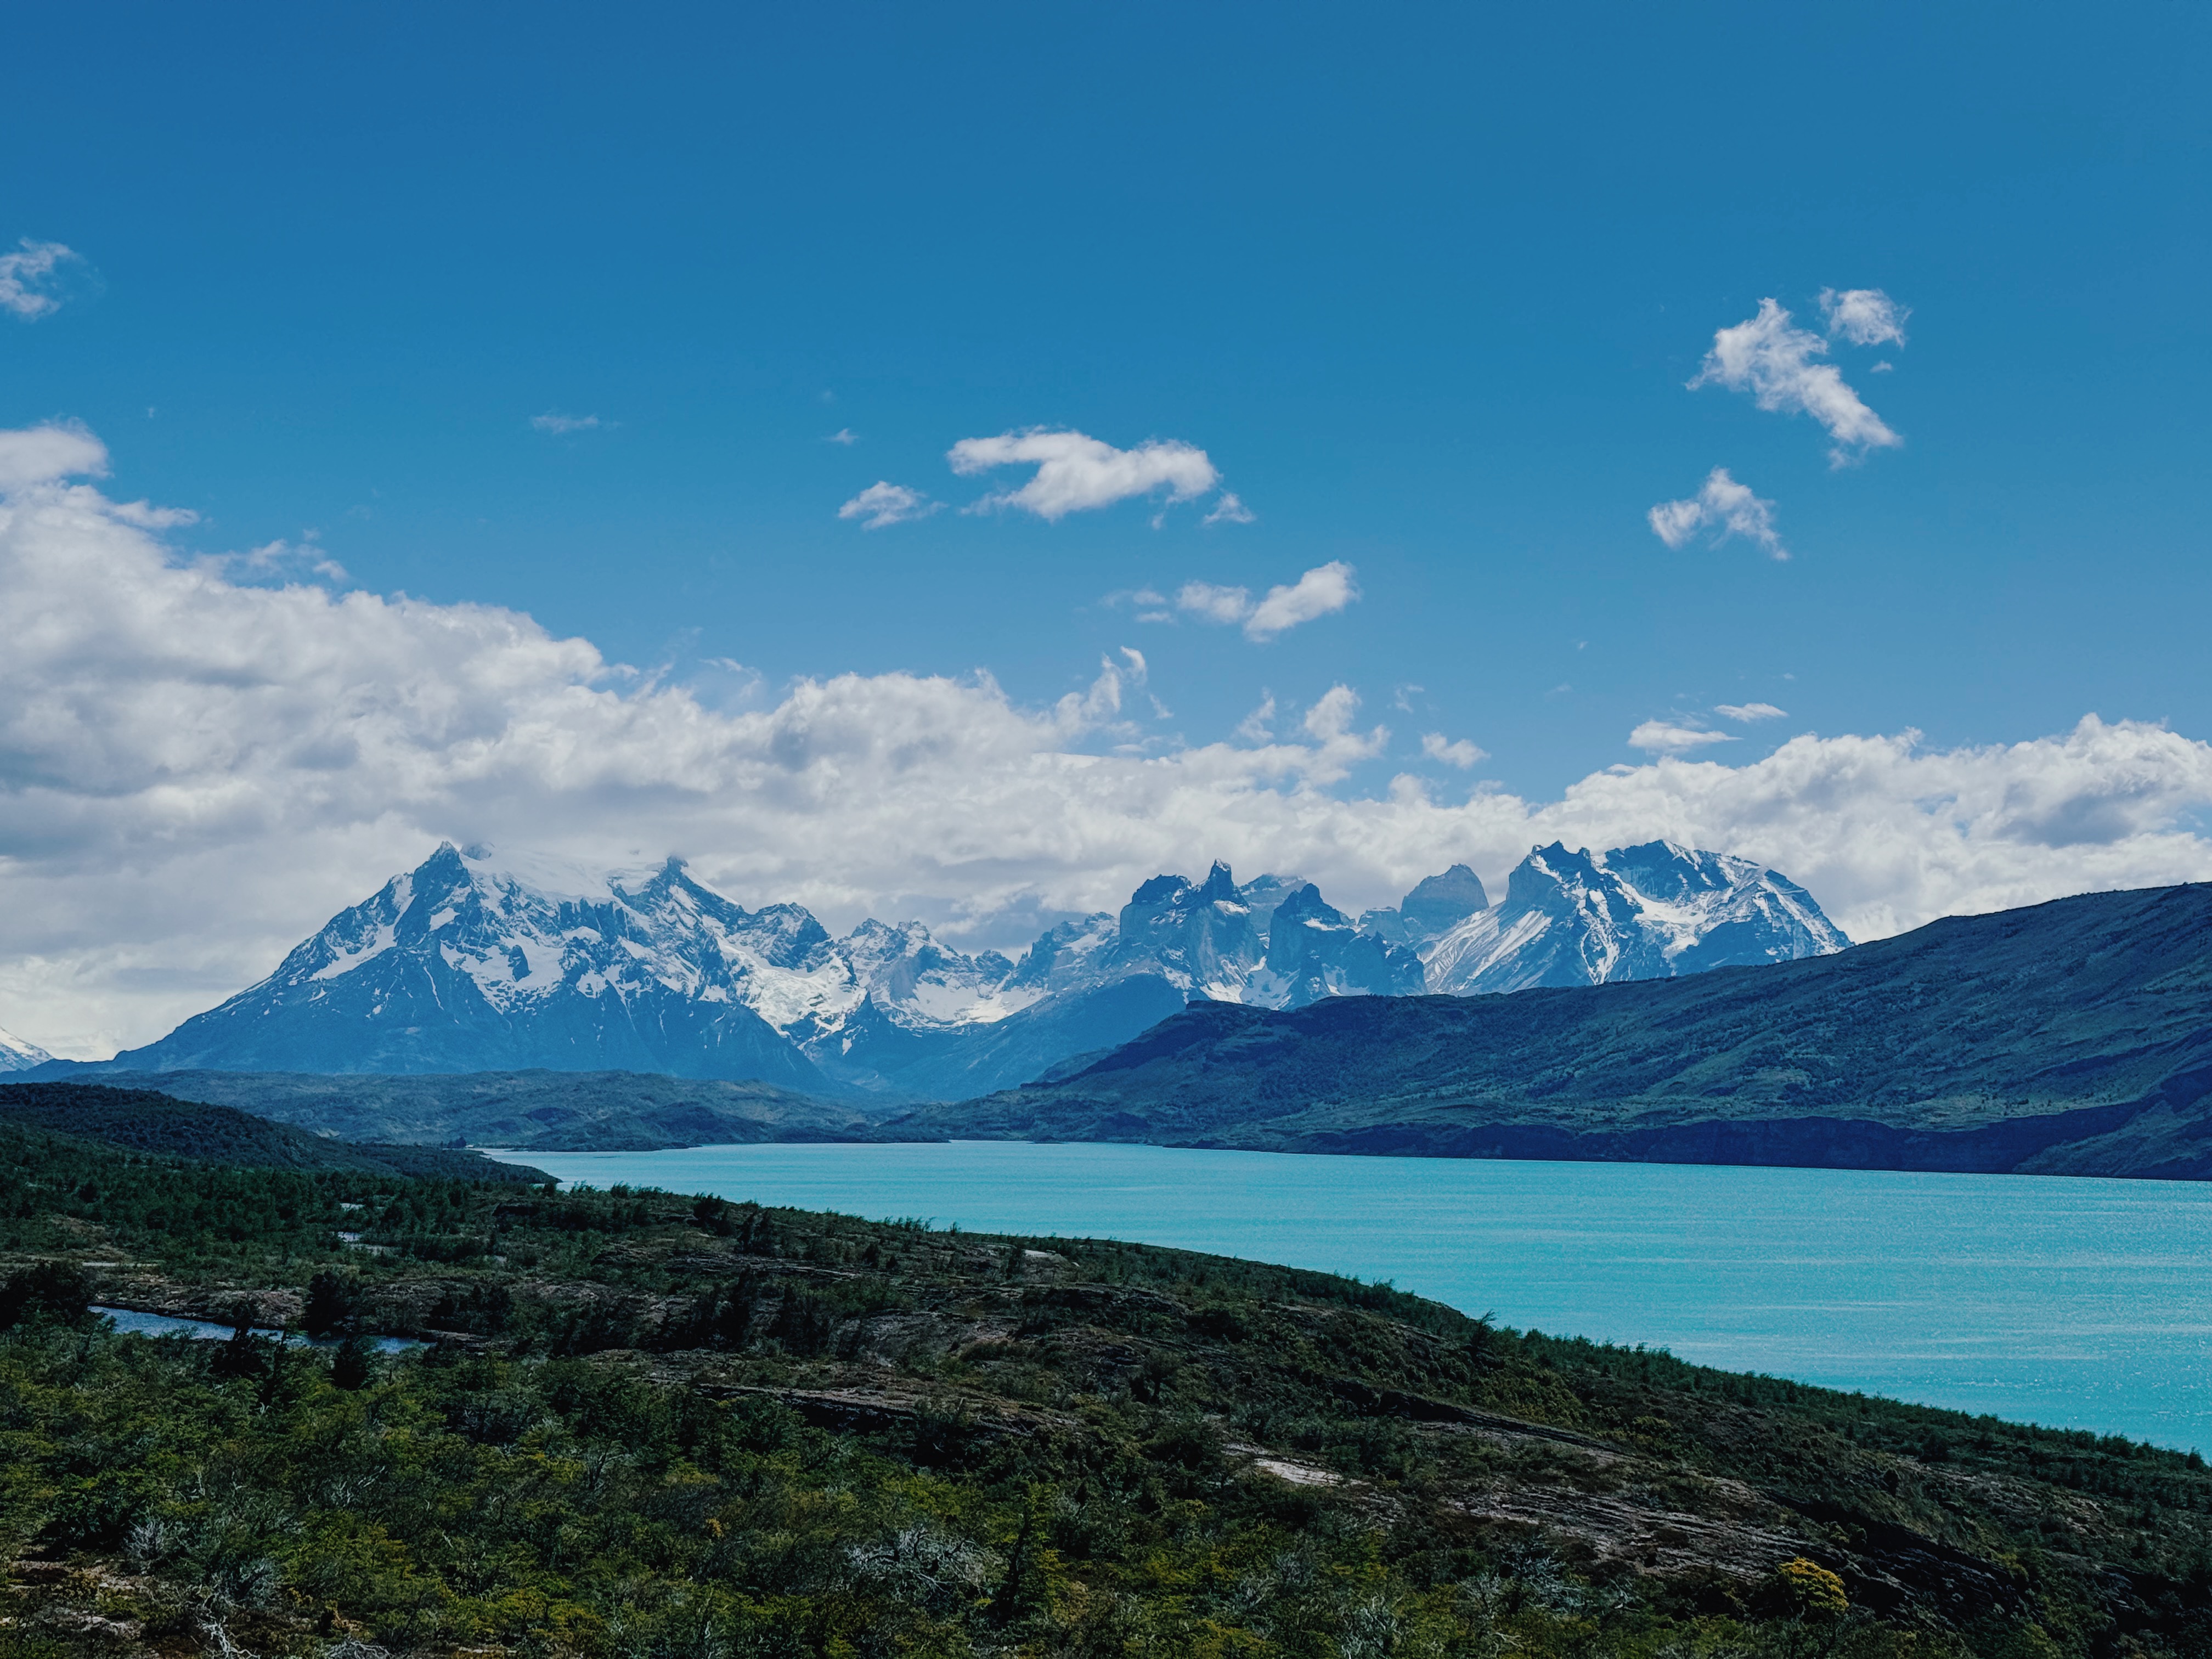
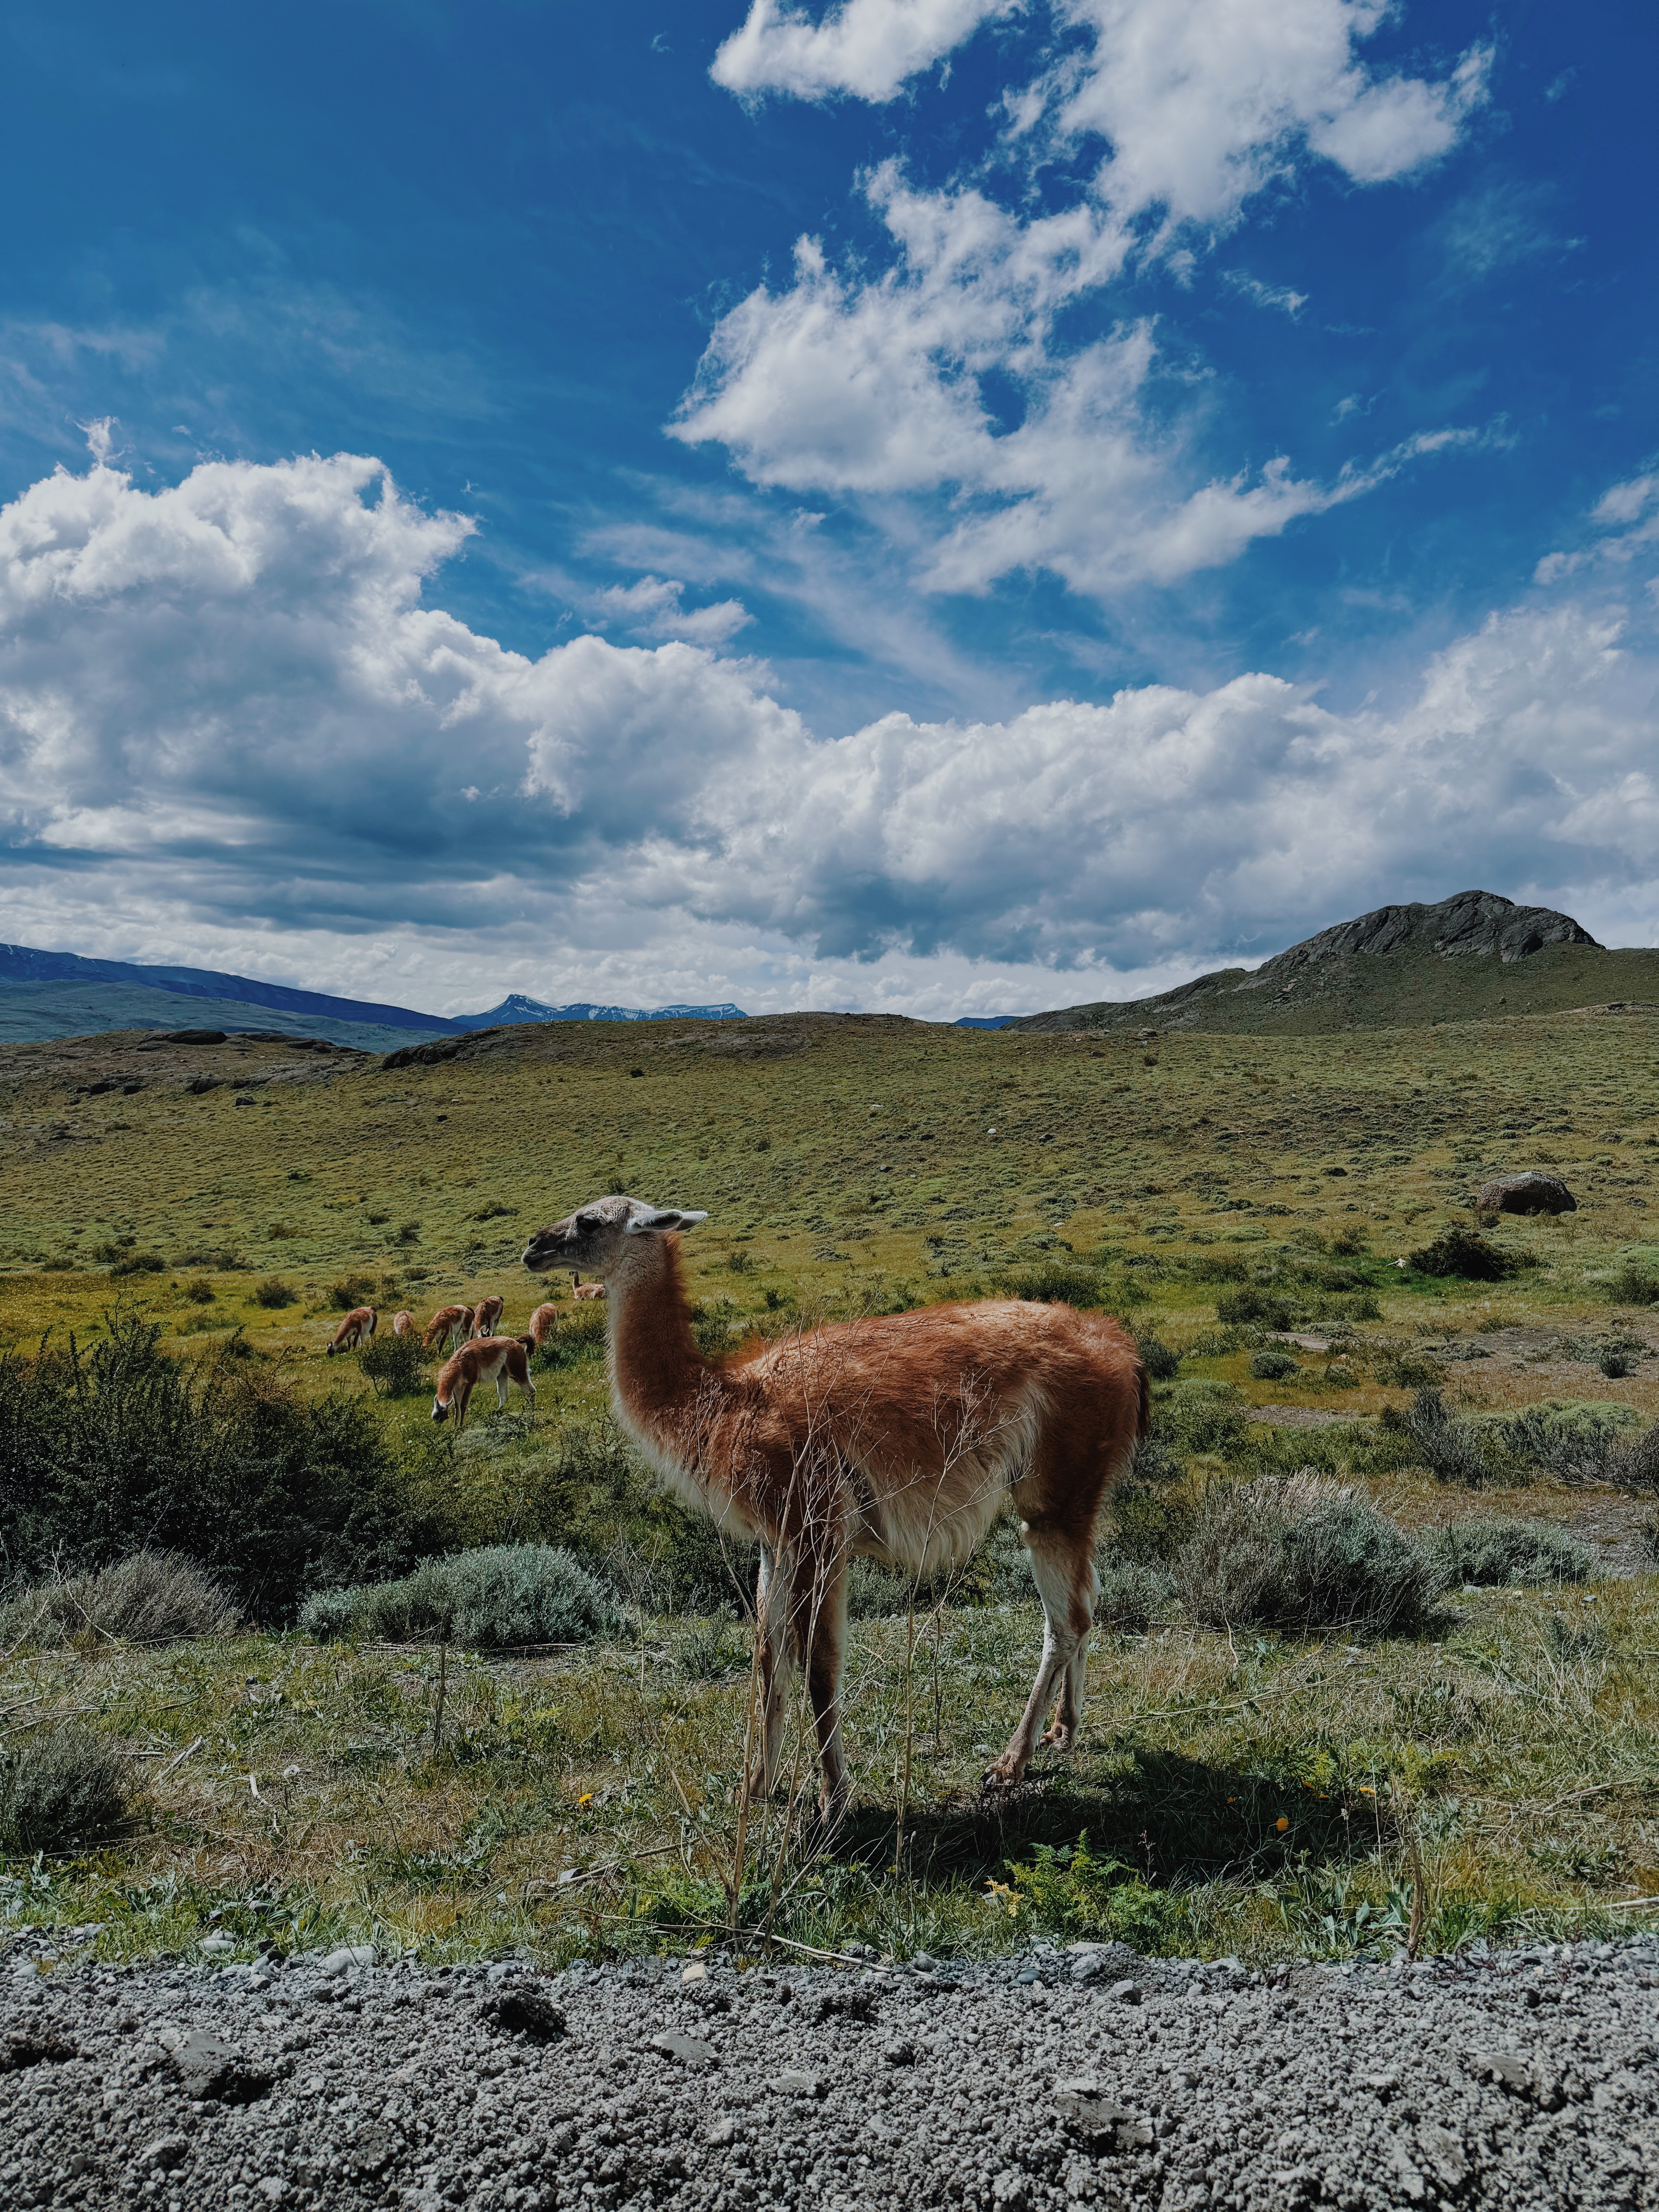
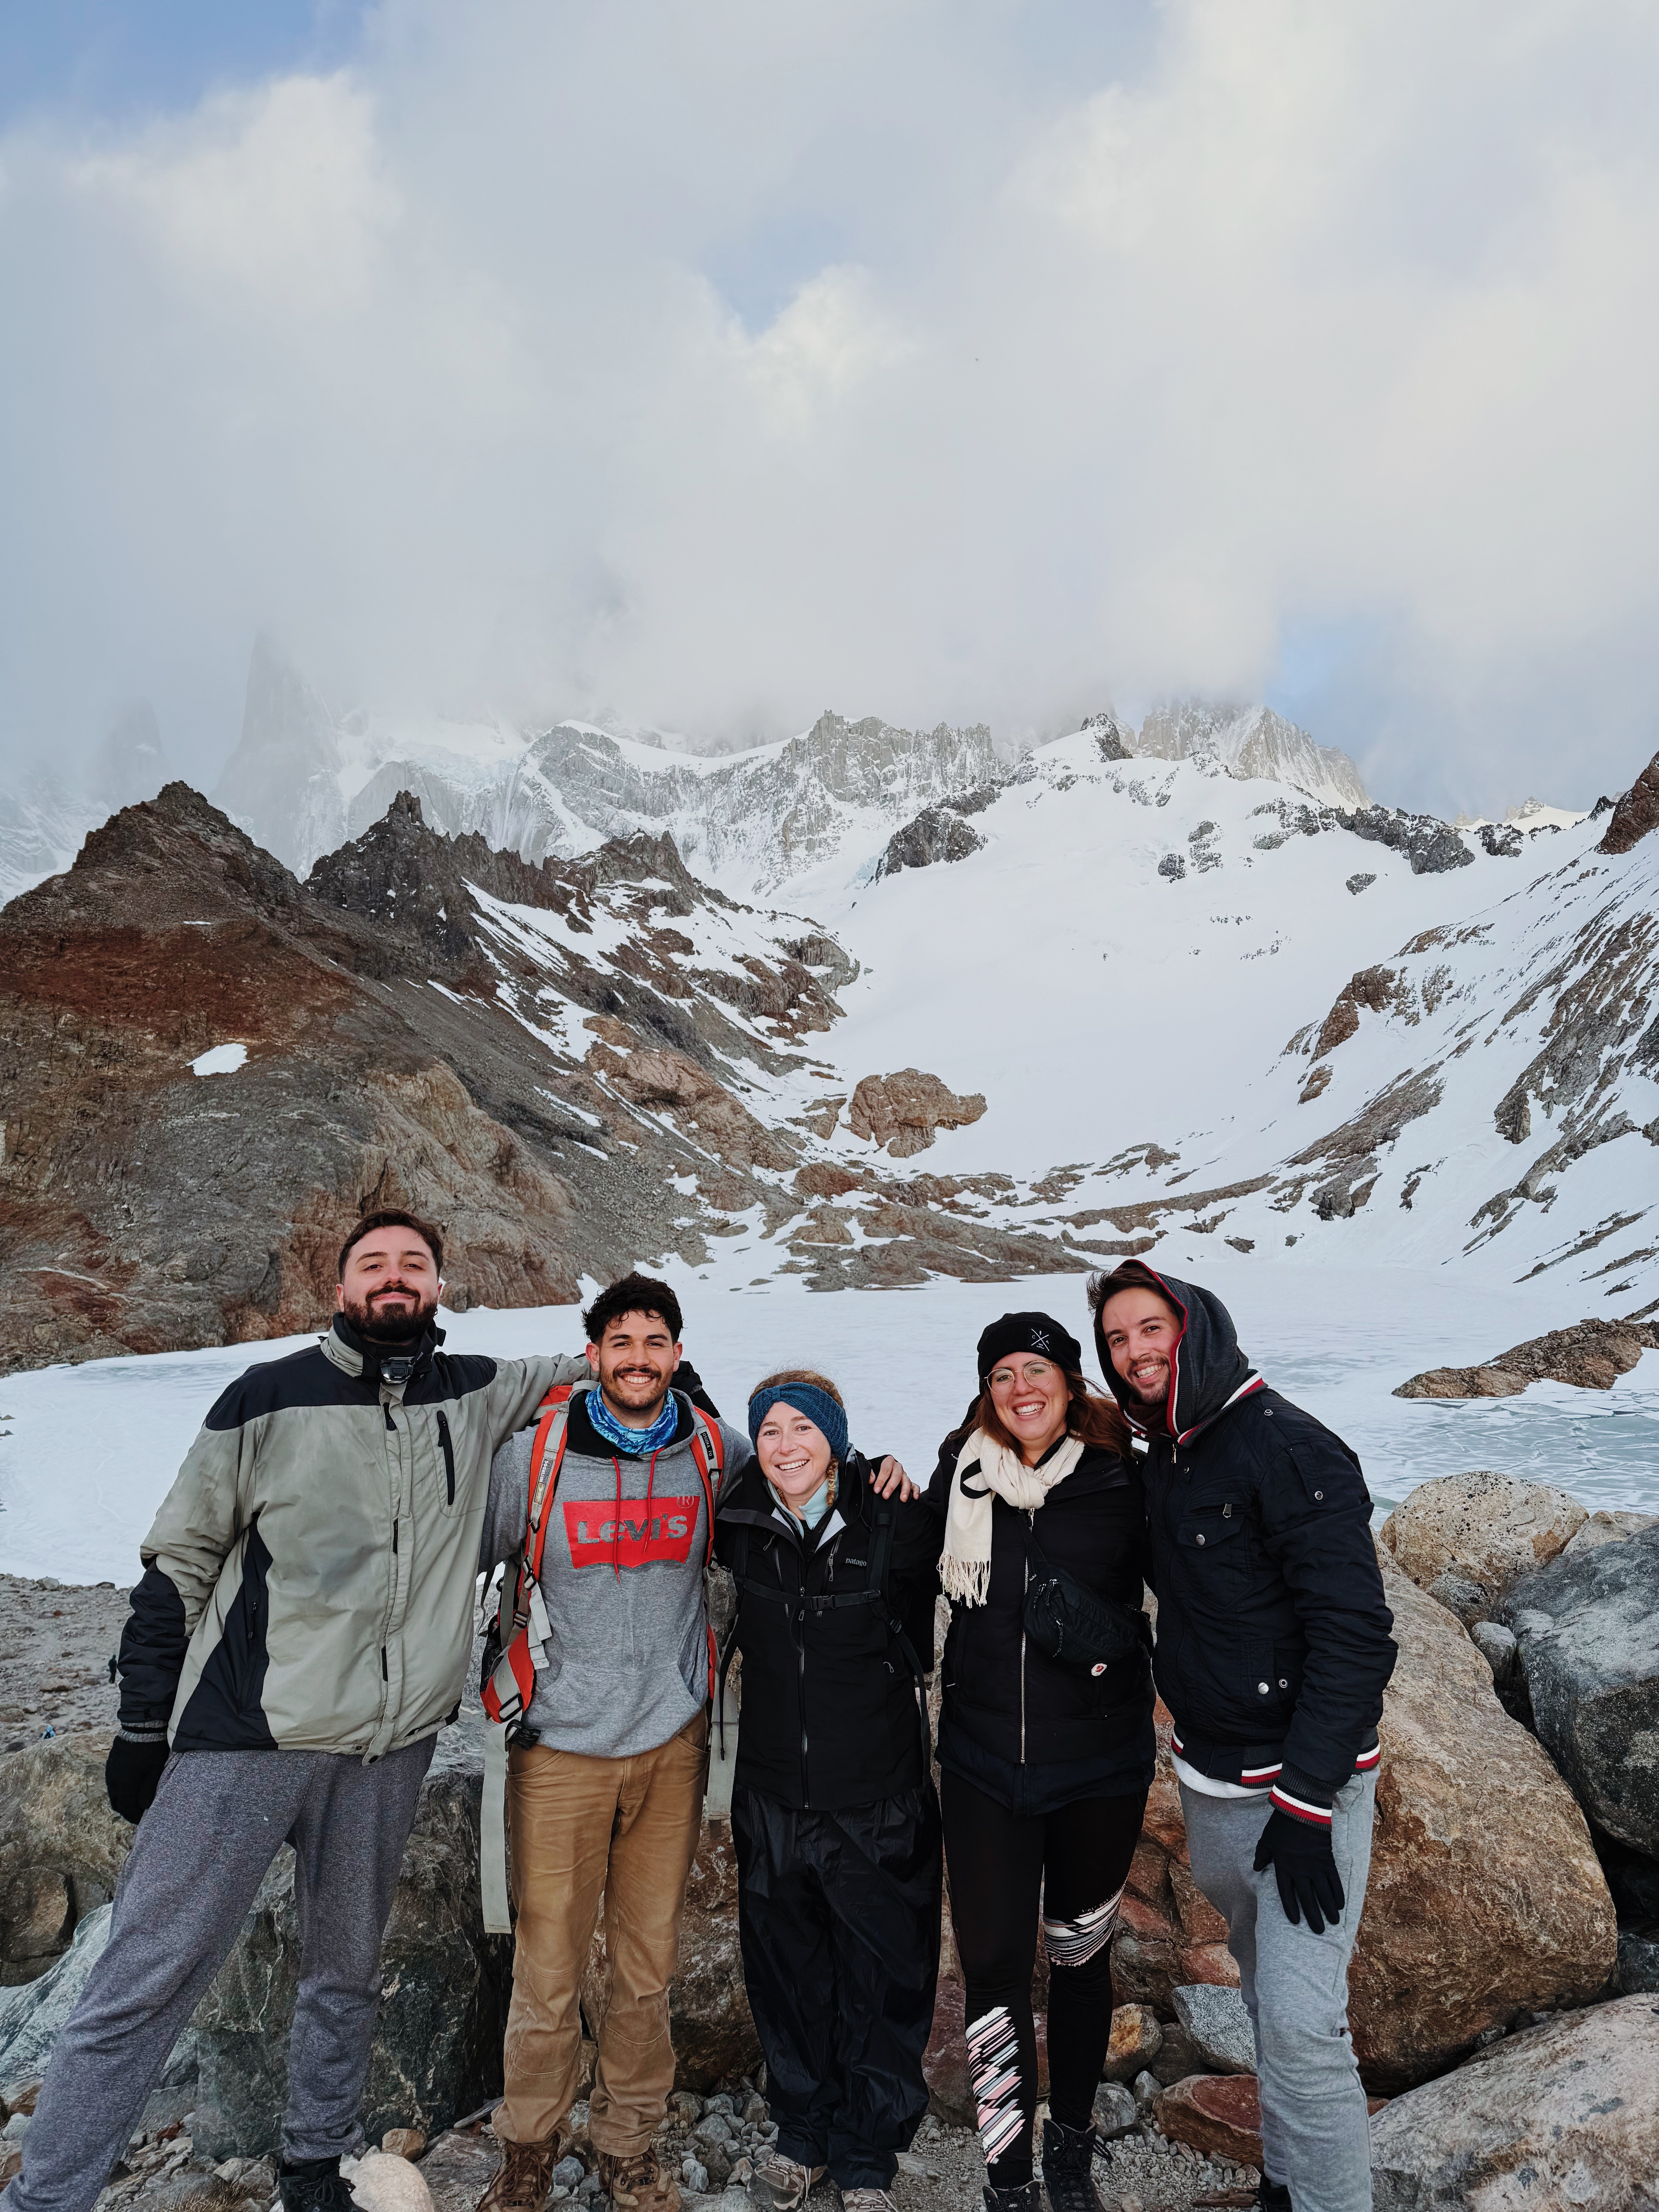
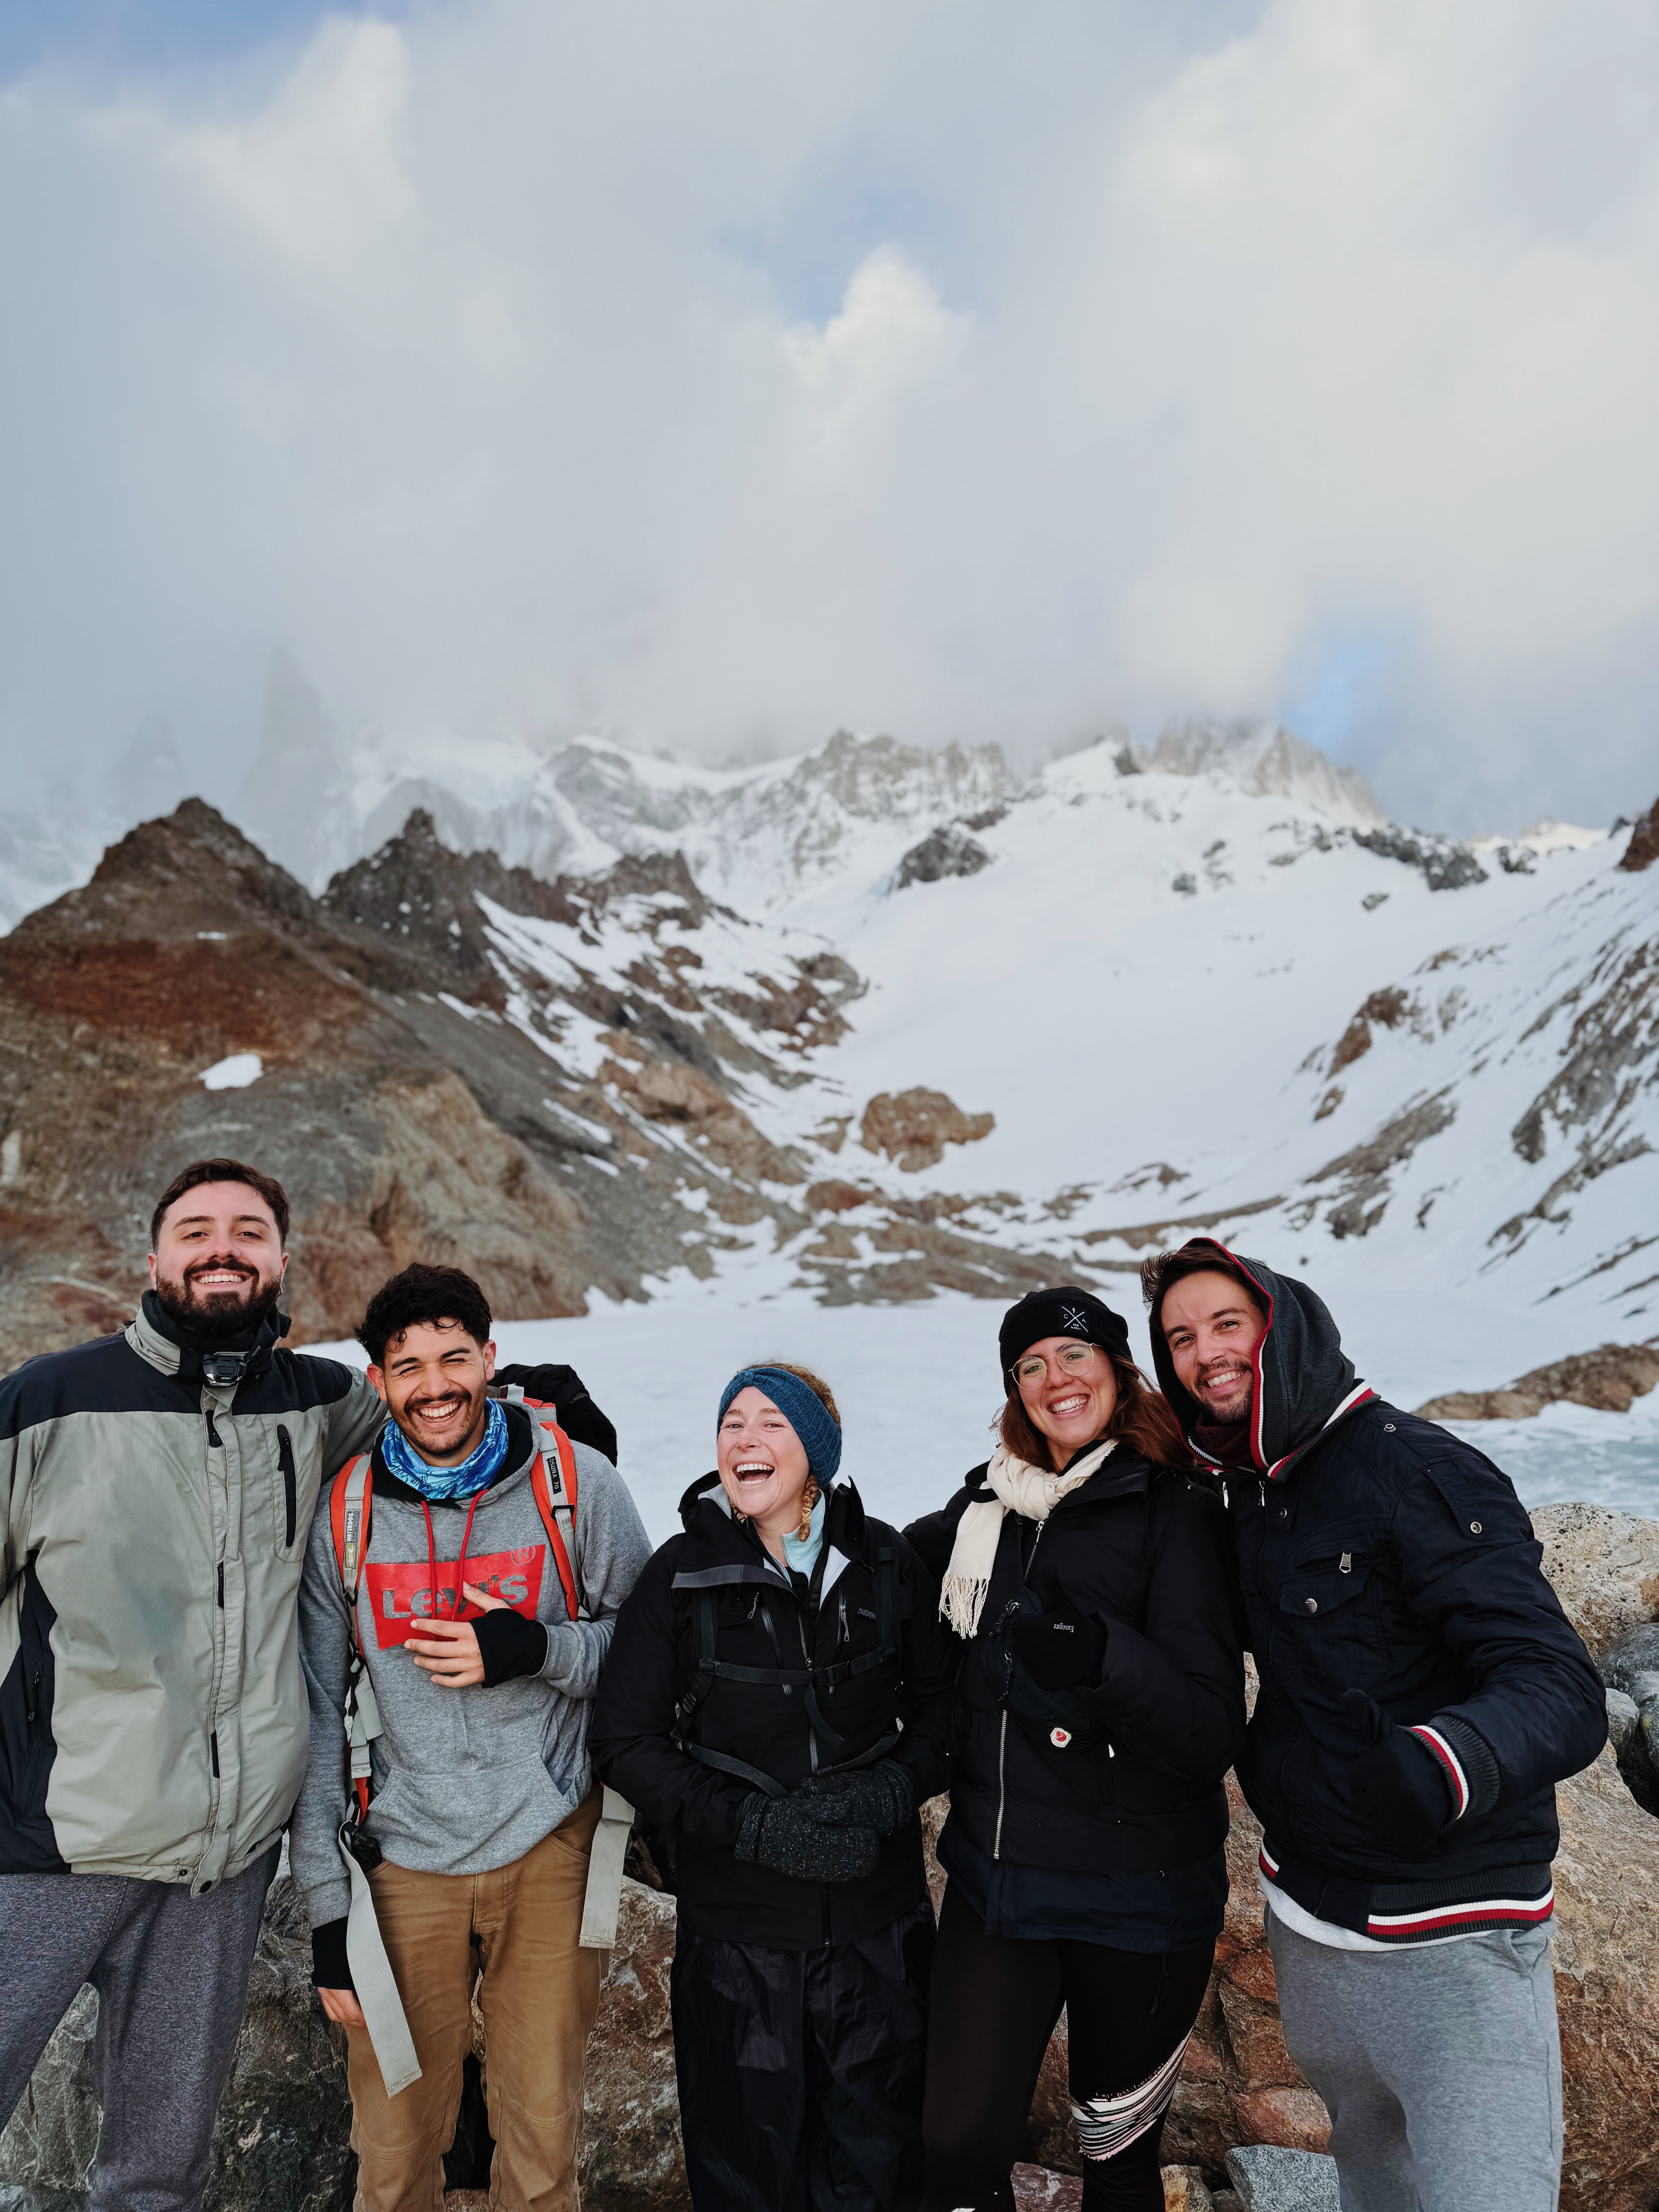
Again, obviously the most popular thing to do here is the W Trek, O trek or hiking to Grey Glacier. We did none of those things. As I mentioned earlier, because we weren’t sure of our dates as we planned our South American adventure, Sonja & I didn’t want to lock ourselves into anything ahead of time. Instead, we spent 3 days exploring the park with our rental car. Some of our new friends from Puerto Natales met us in the park and joined us for 2 of the days as well. The park felt very empty since everyone who was here was doing one of the more popular hiking adventures. Here’s what we did do to fill our three days:
- Mirador Condor – beautiful lookout, but it’s a steep 40 min walk up. We loved watching the condors soar above us.
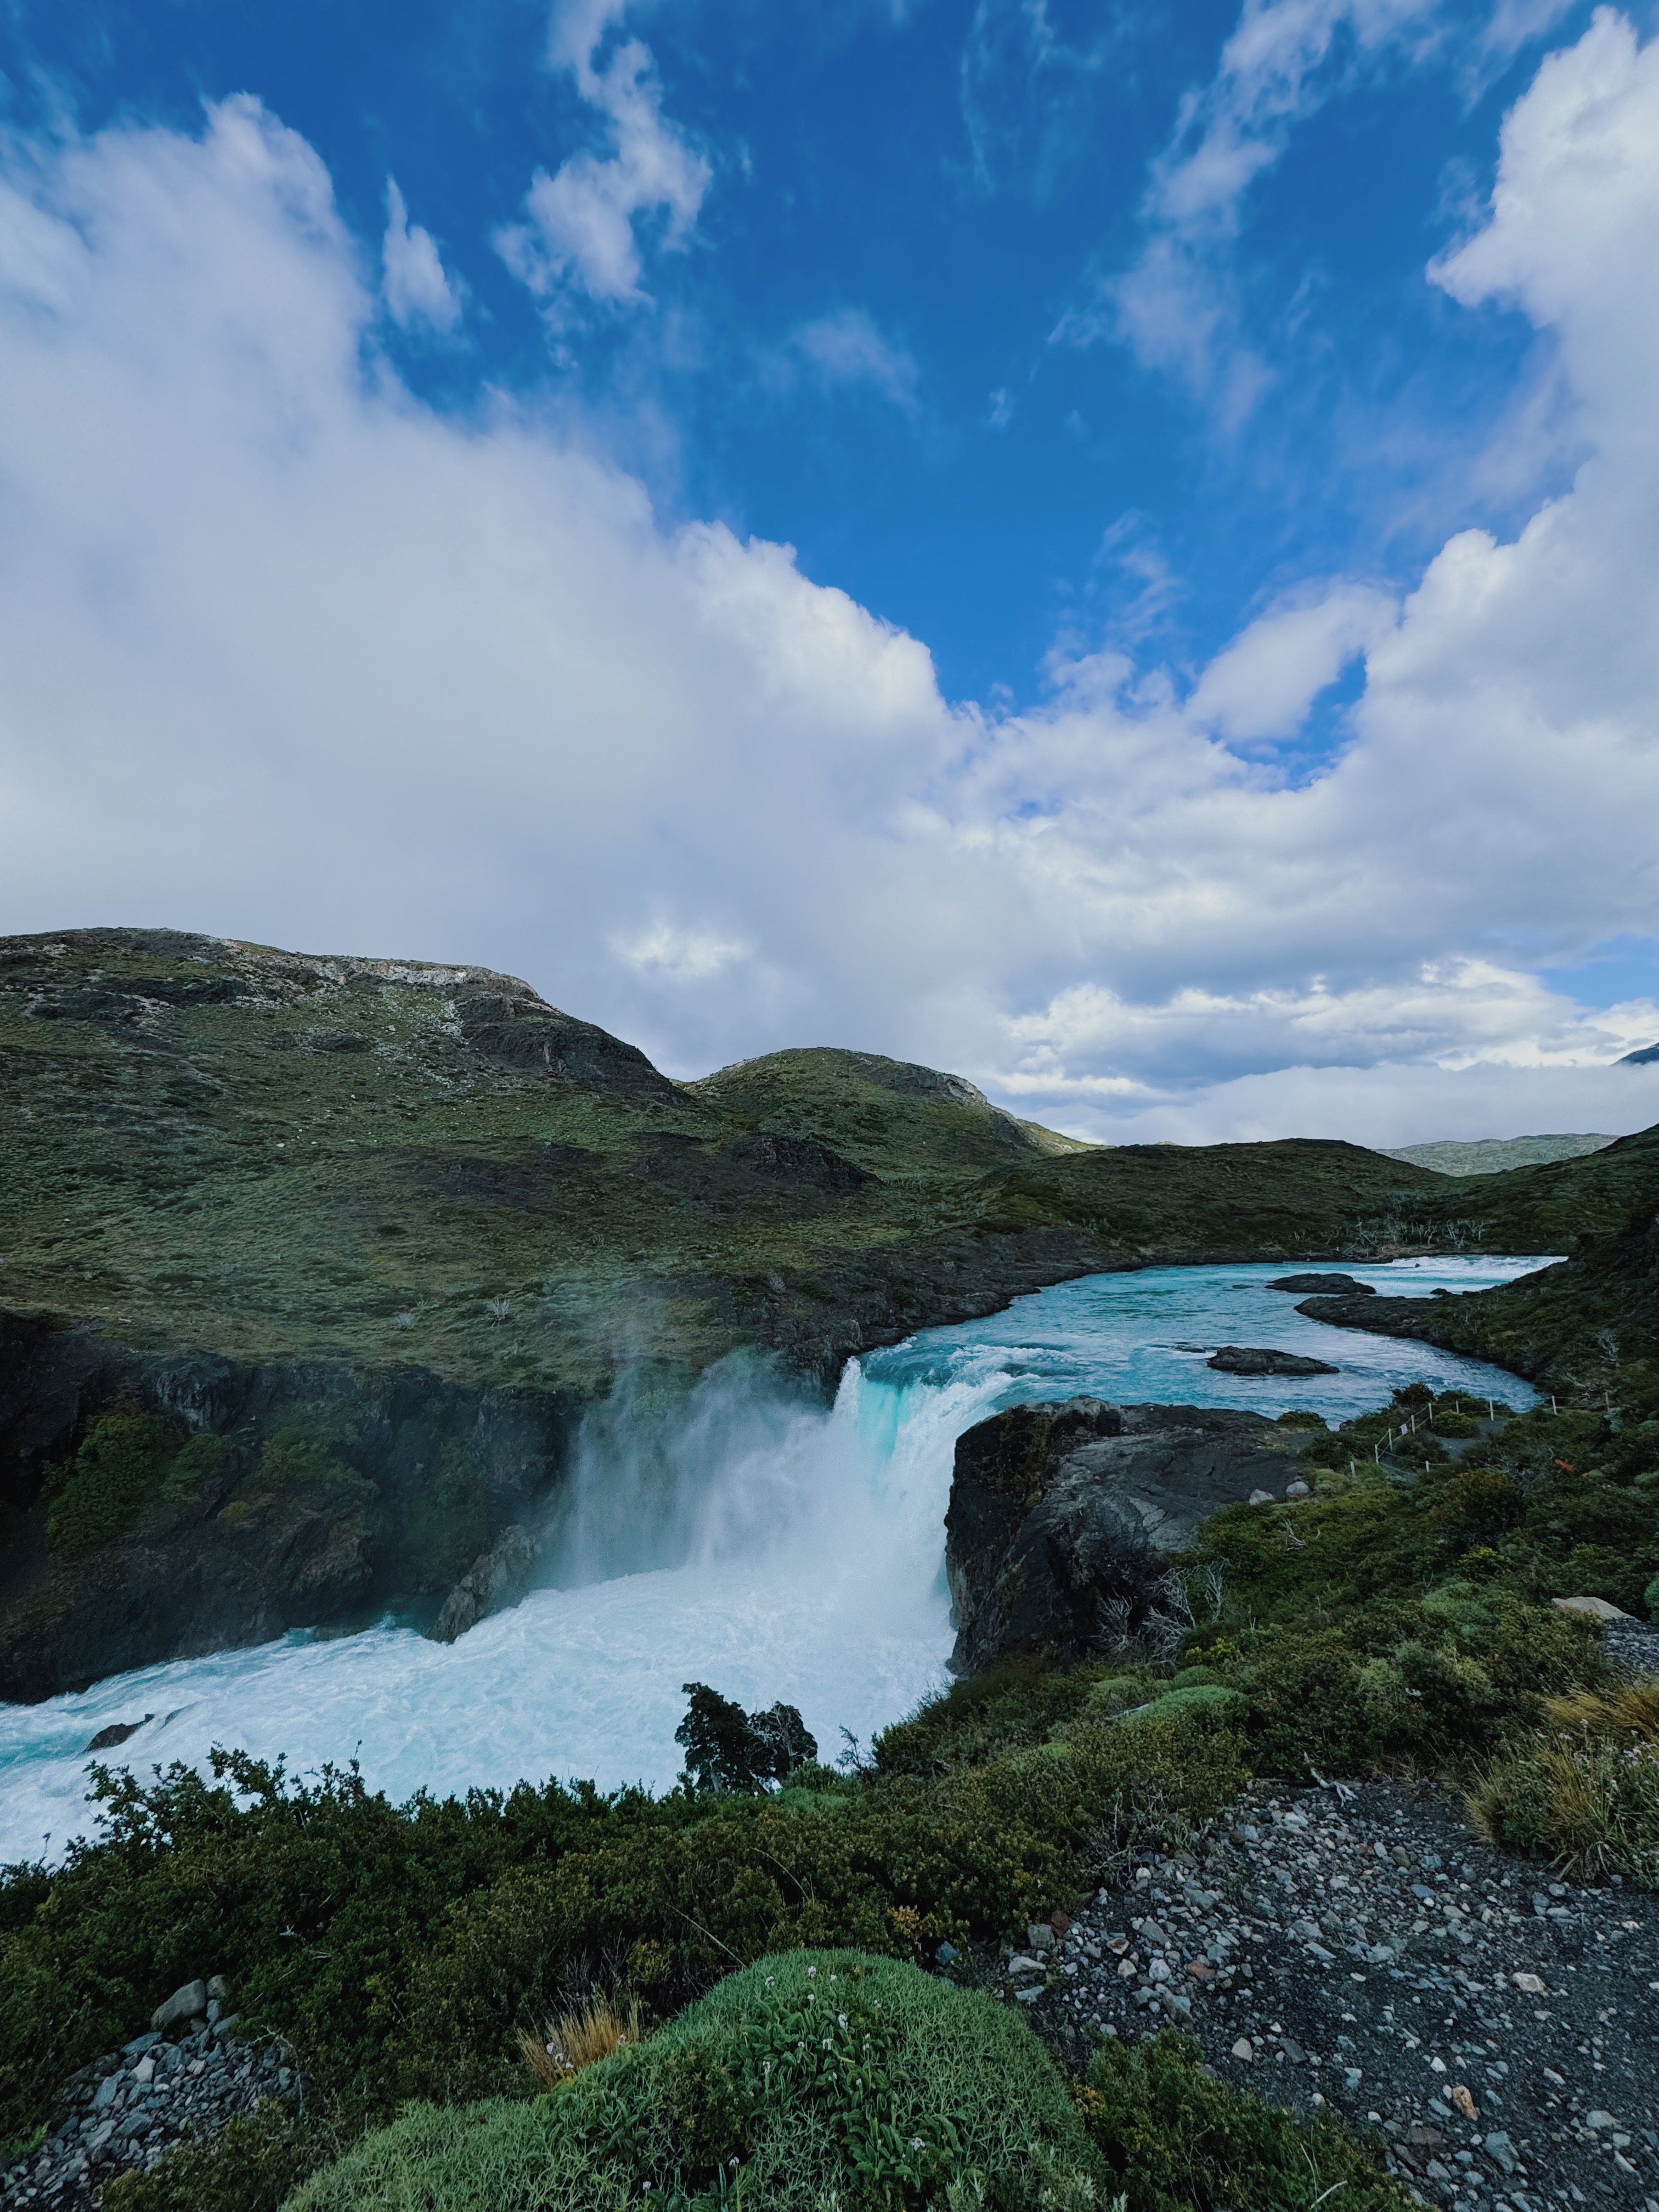
- Mirador Cuervos – our favorite hike! You pass by the beautiful waterfall and continue on your way until you see the backside of the Towers.
- Lunch by the lake right about here – we ate our sandwiches right on the lake with gorgeous views
- Hot chocolate at Hosteria Pehoe
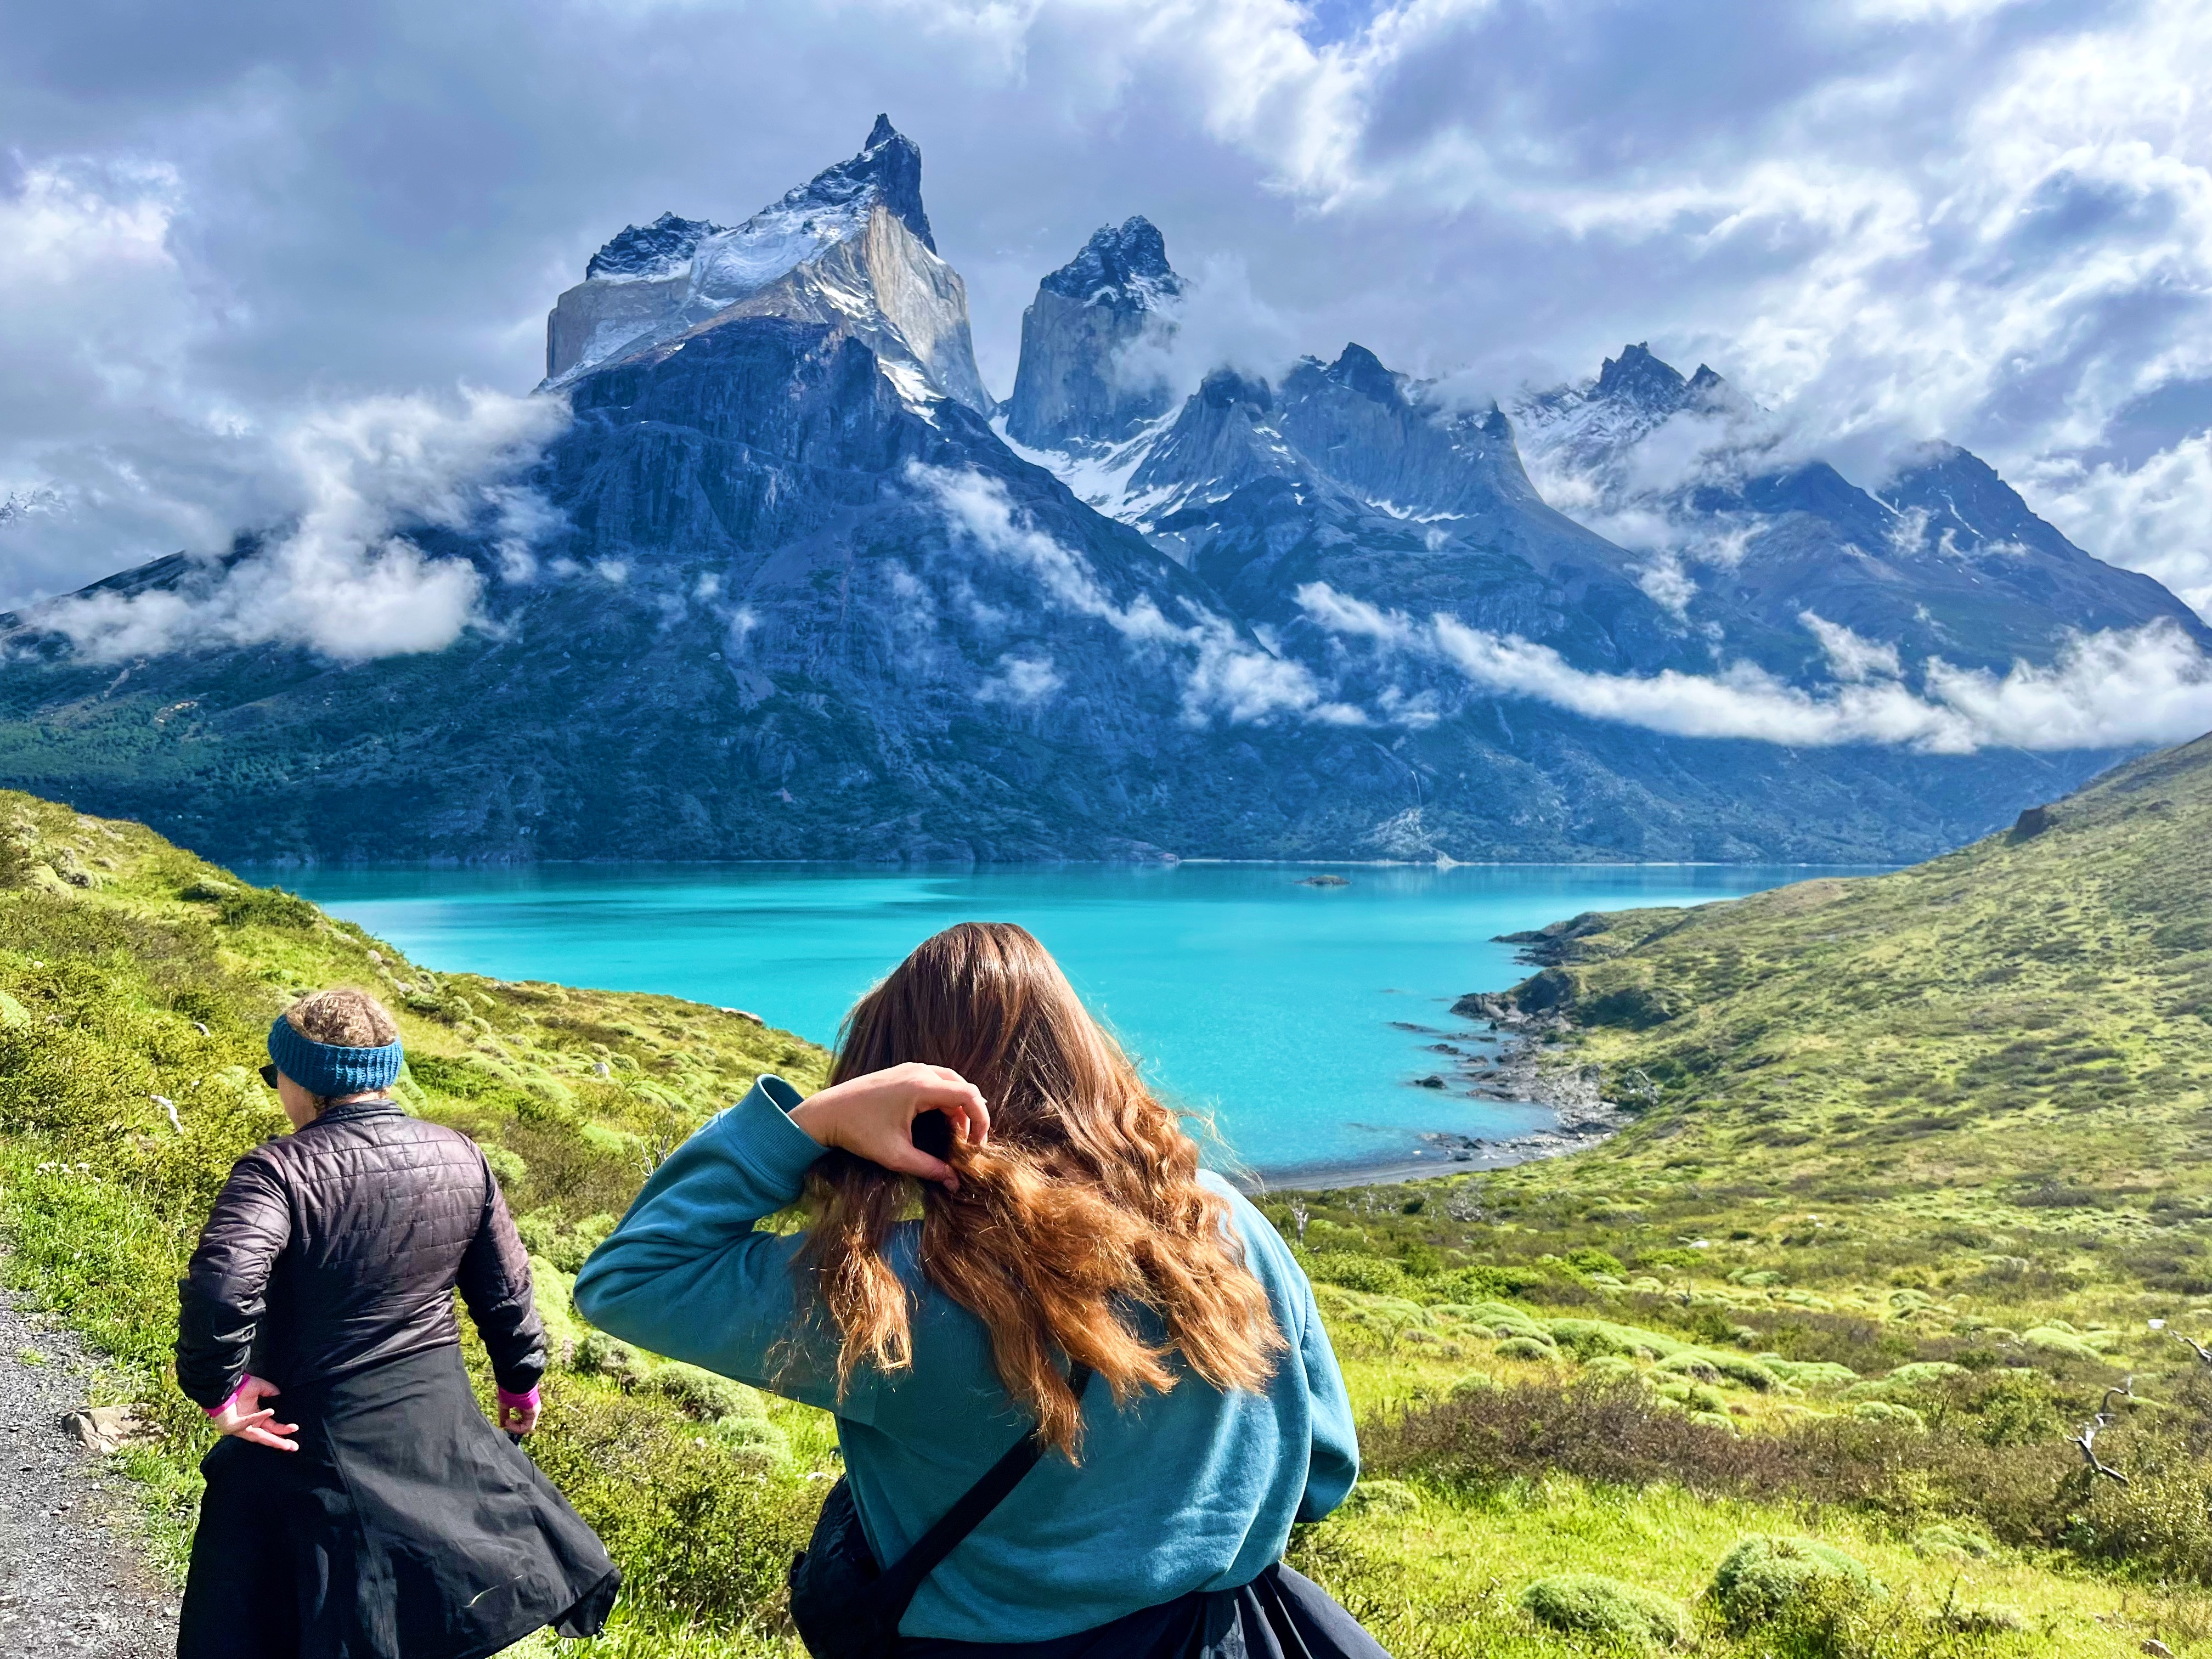
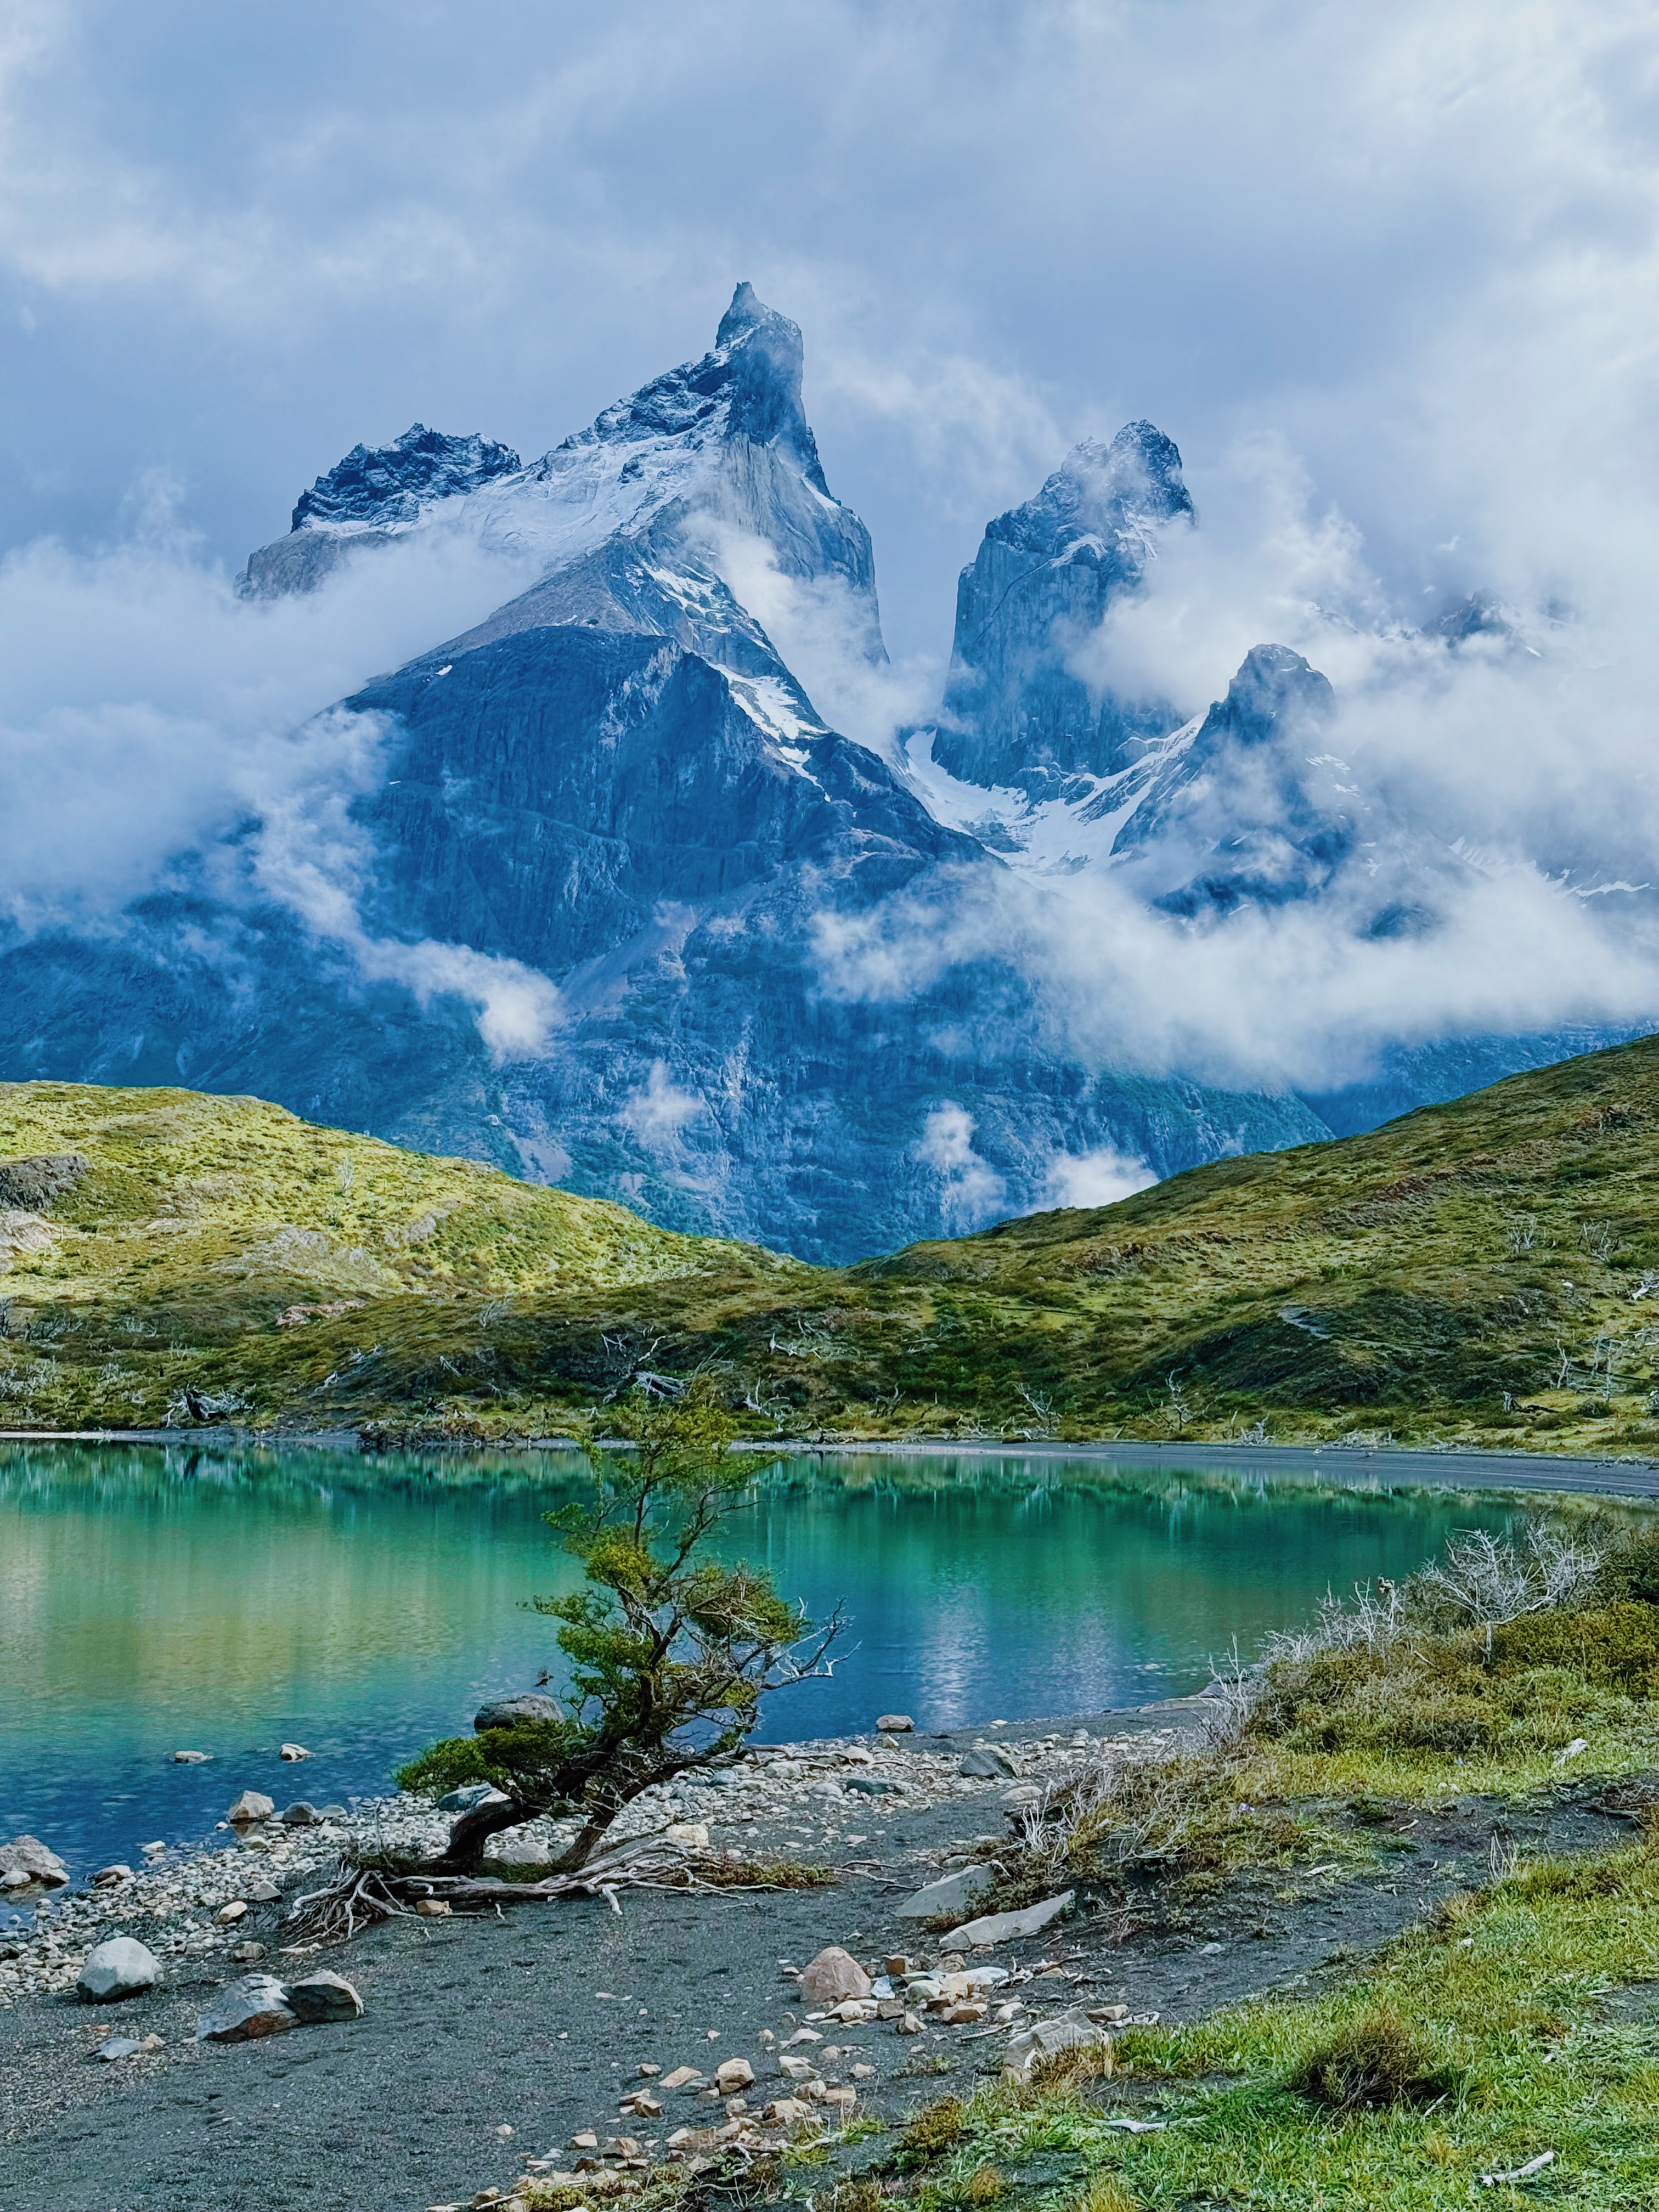
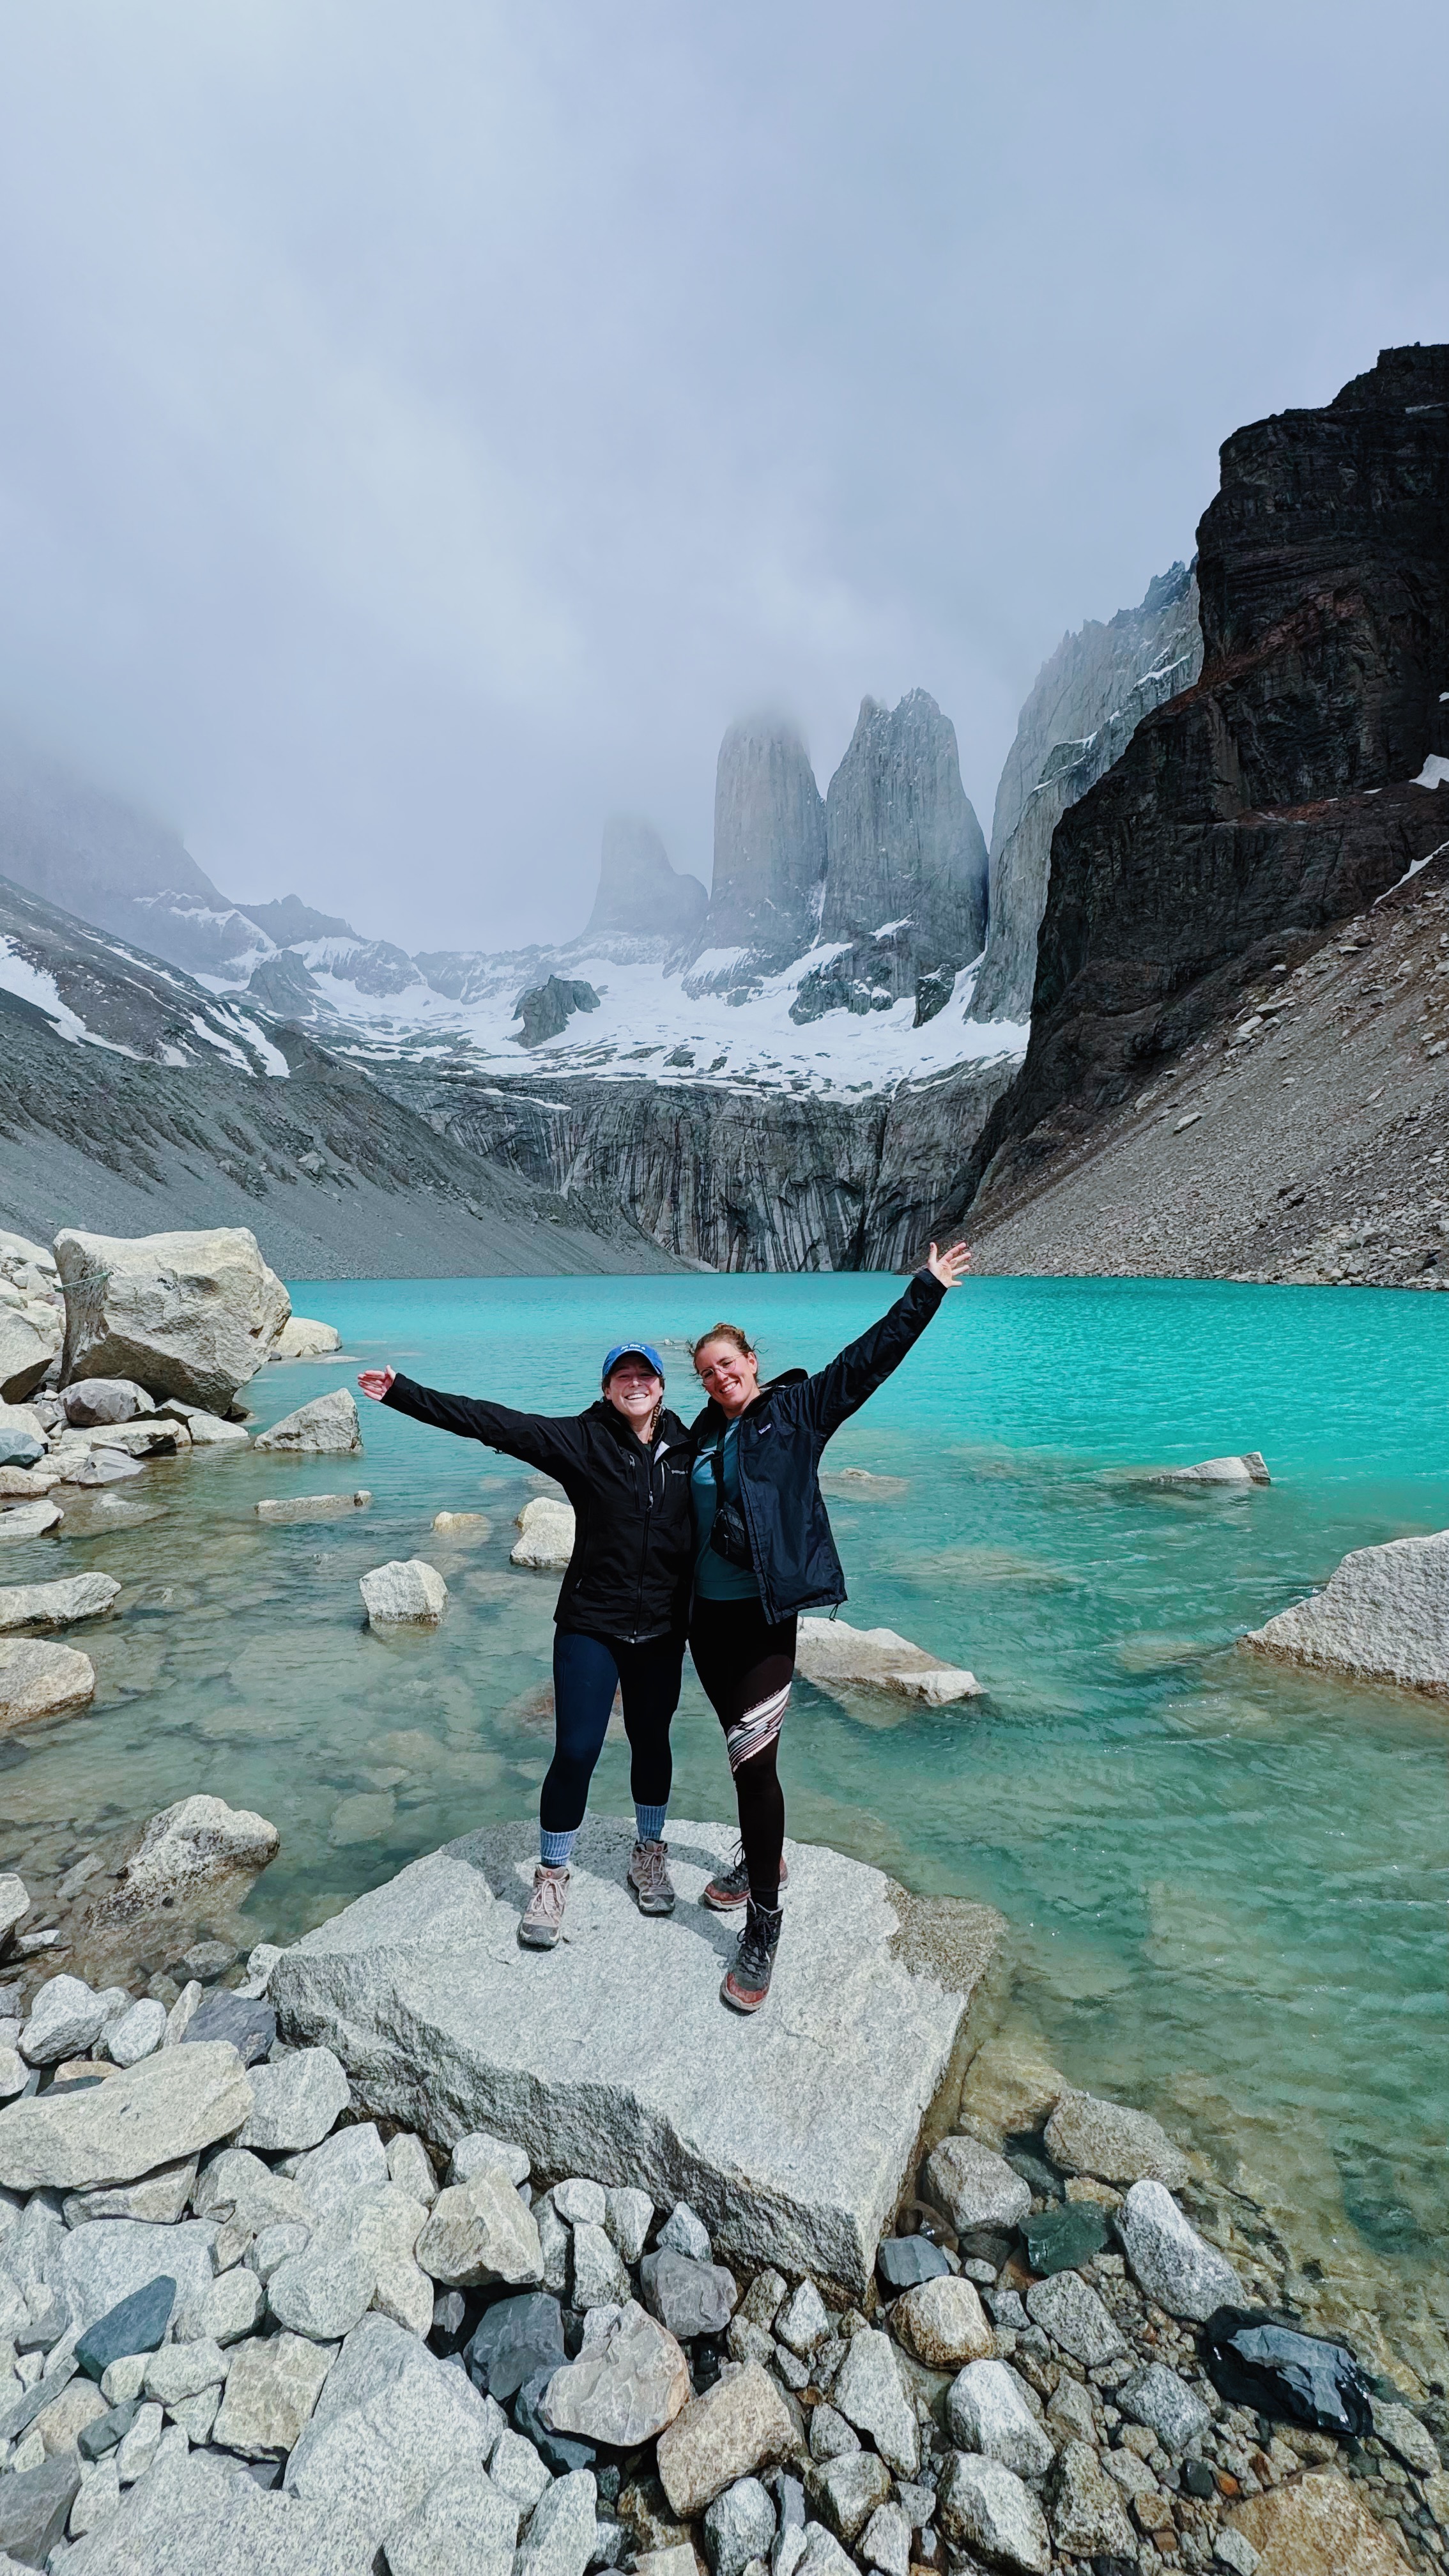
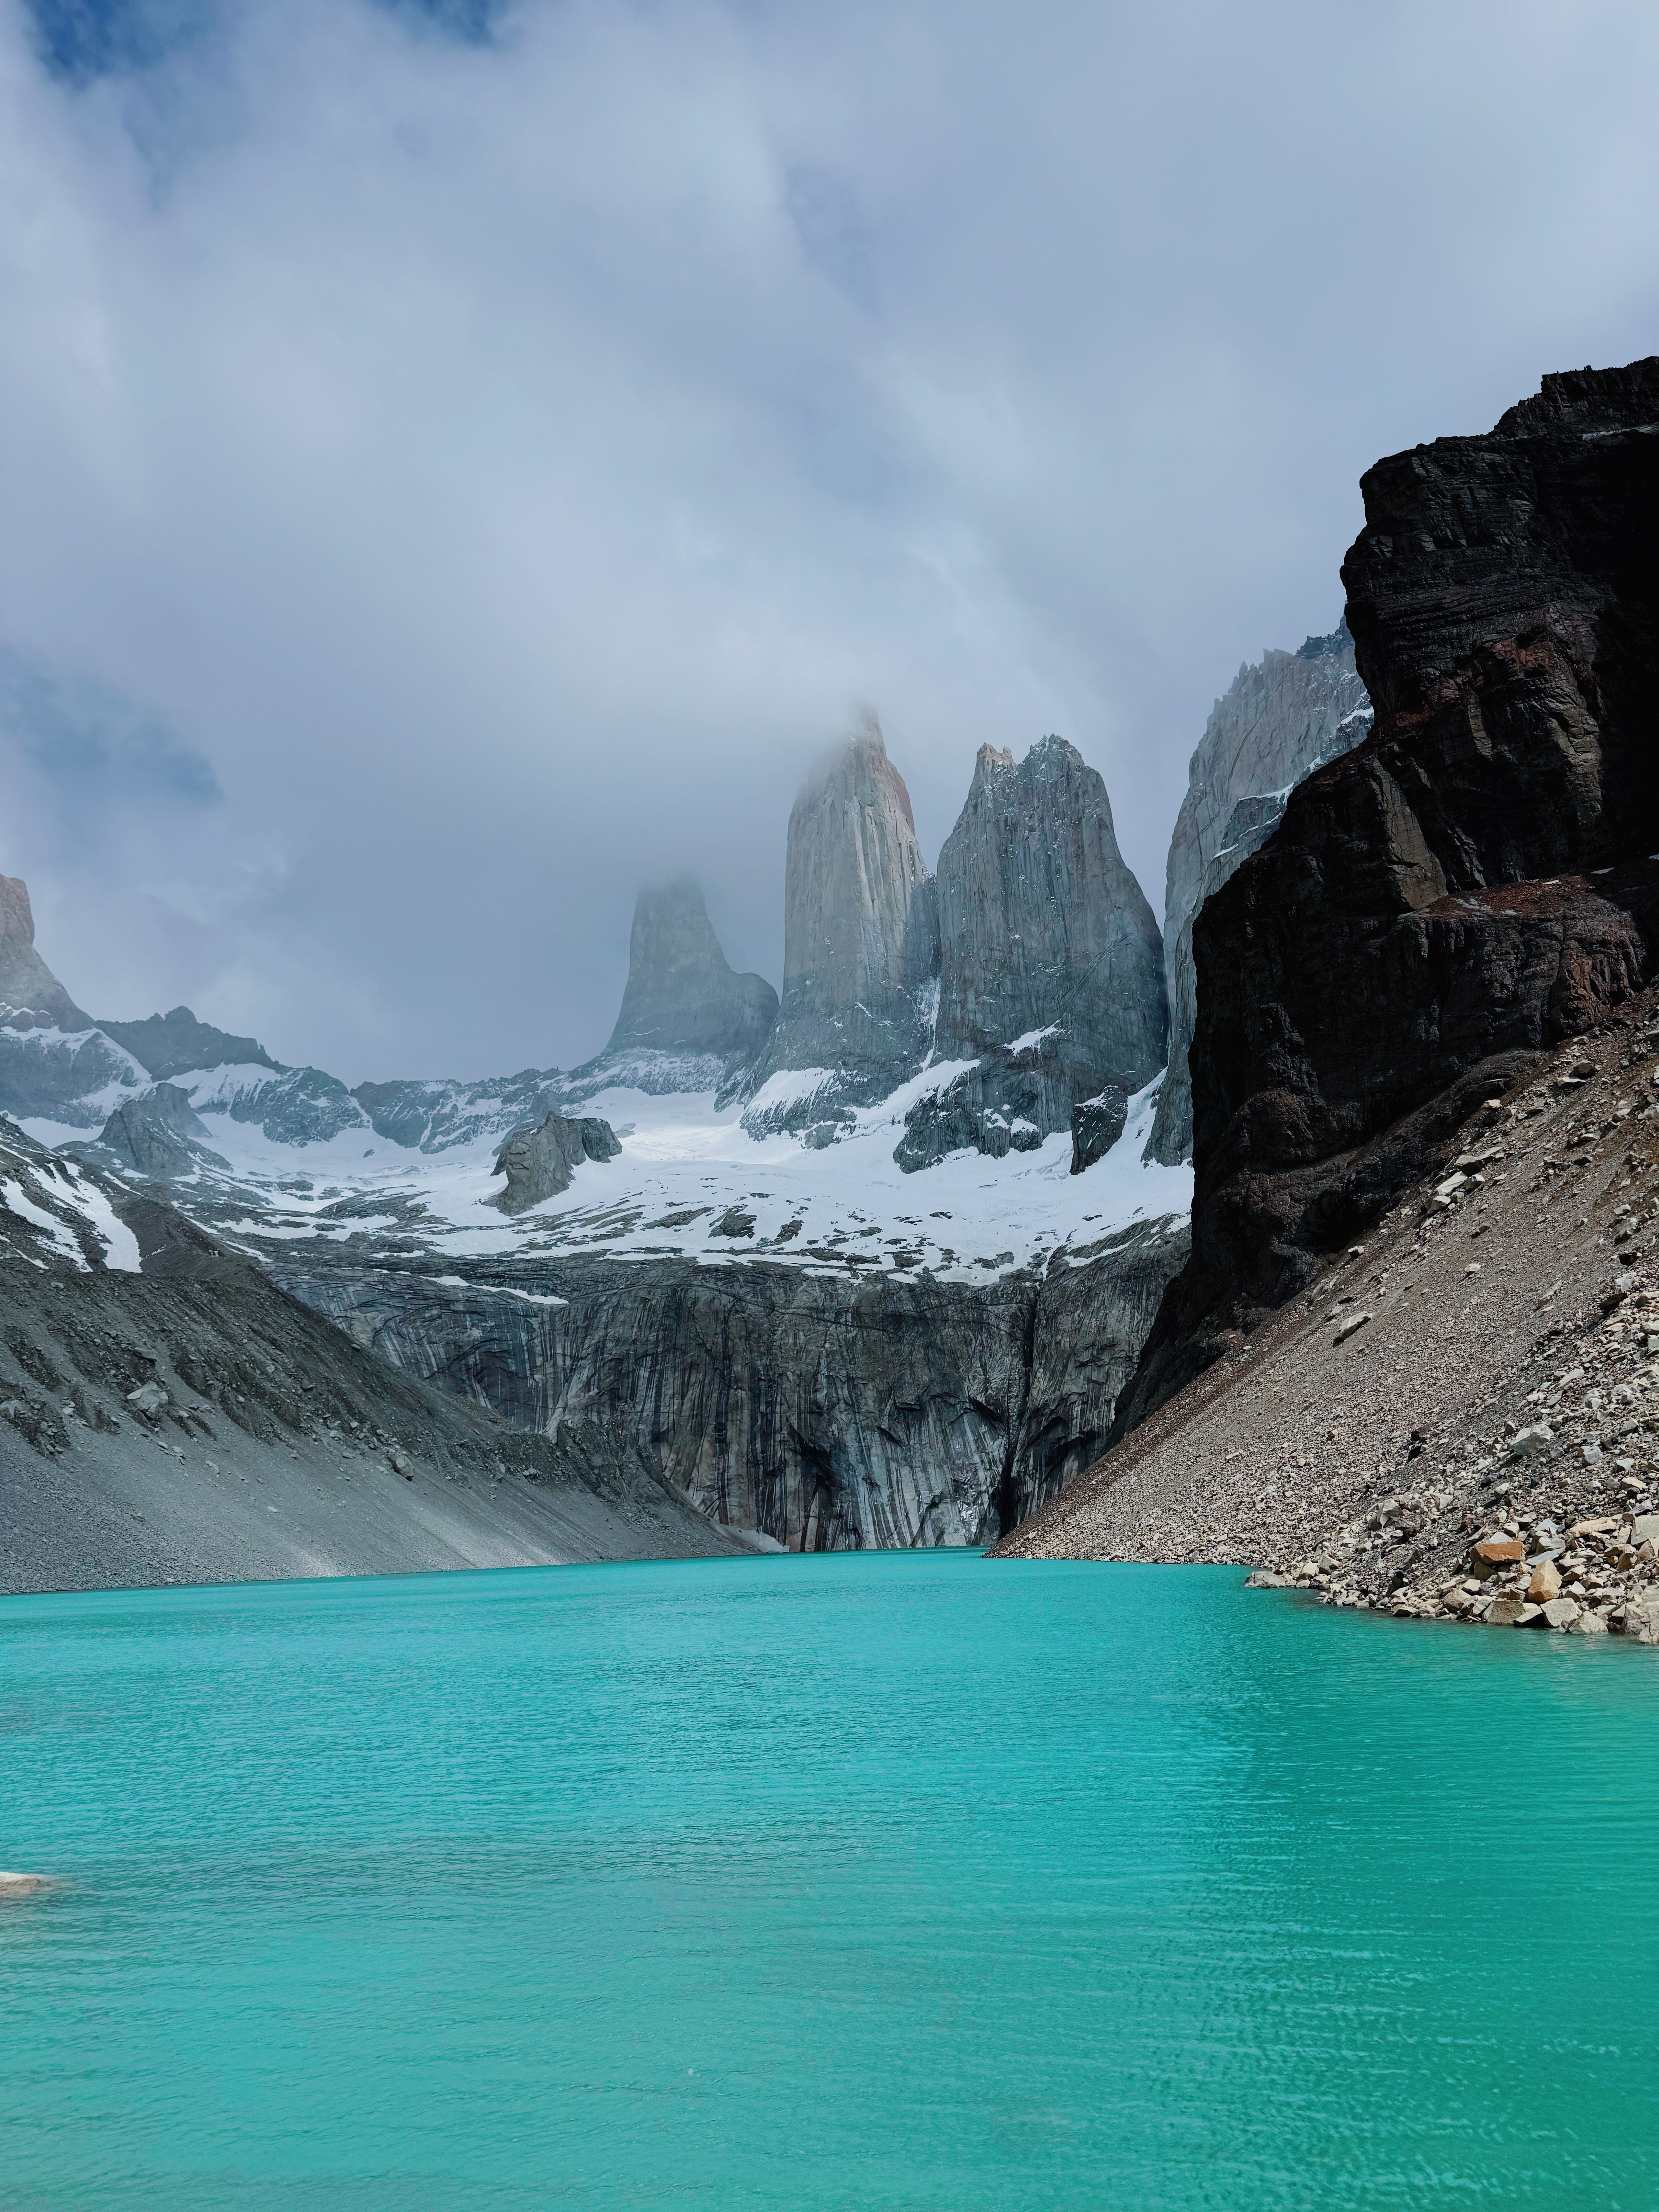
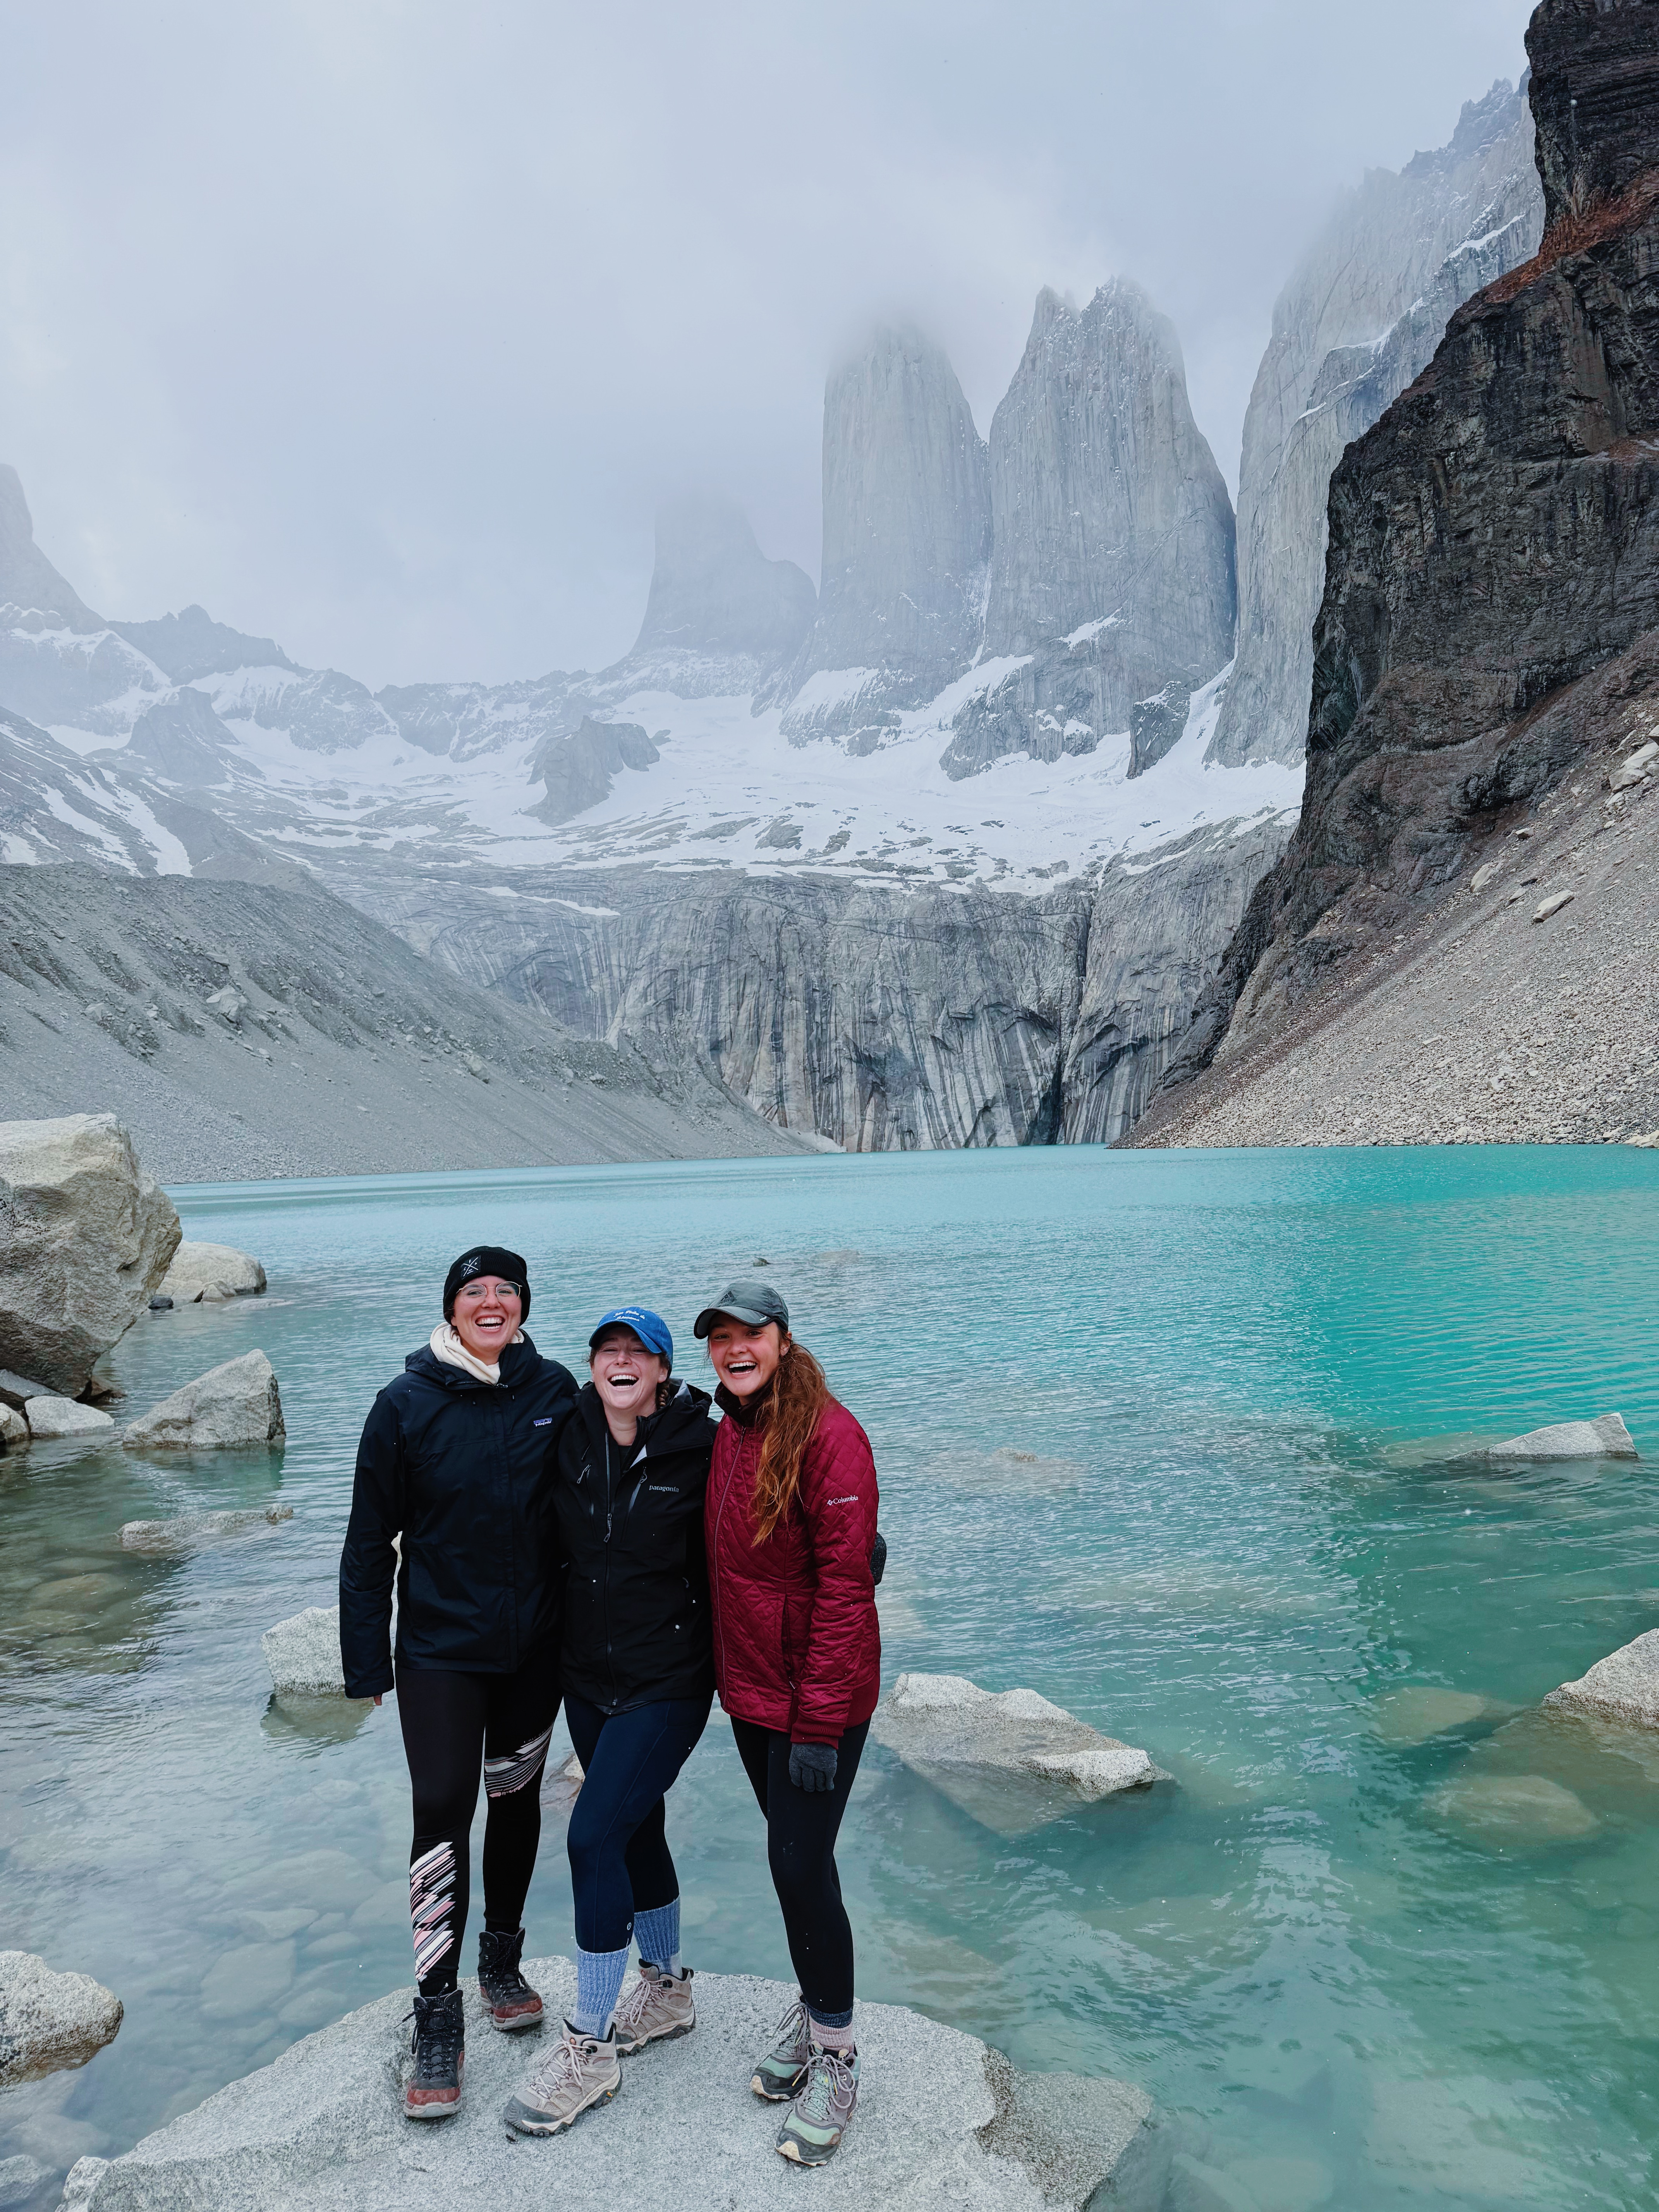
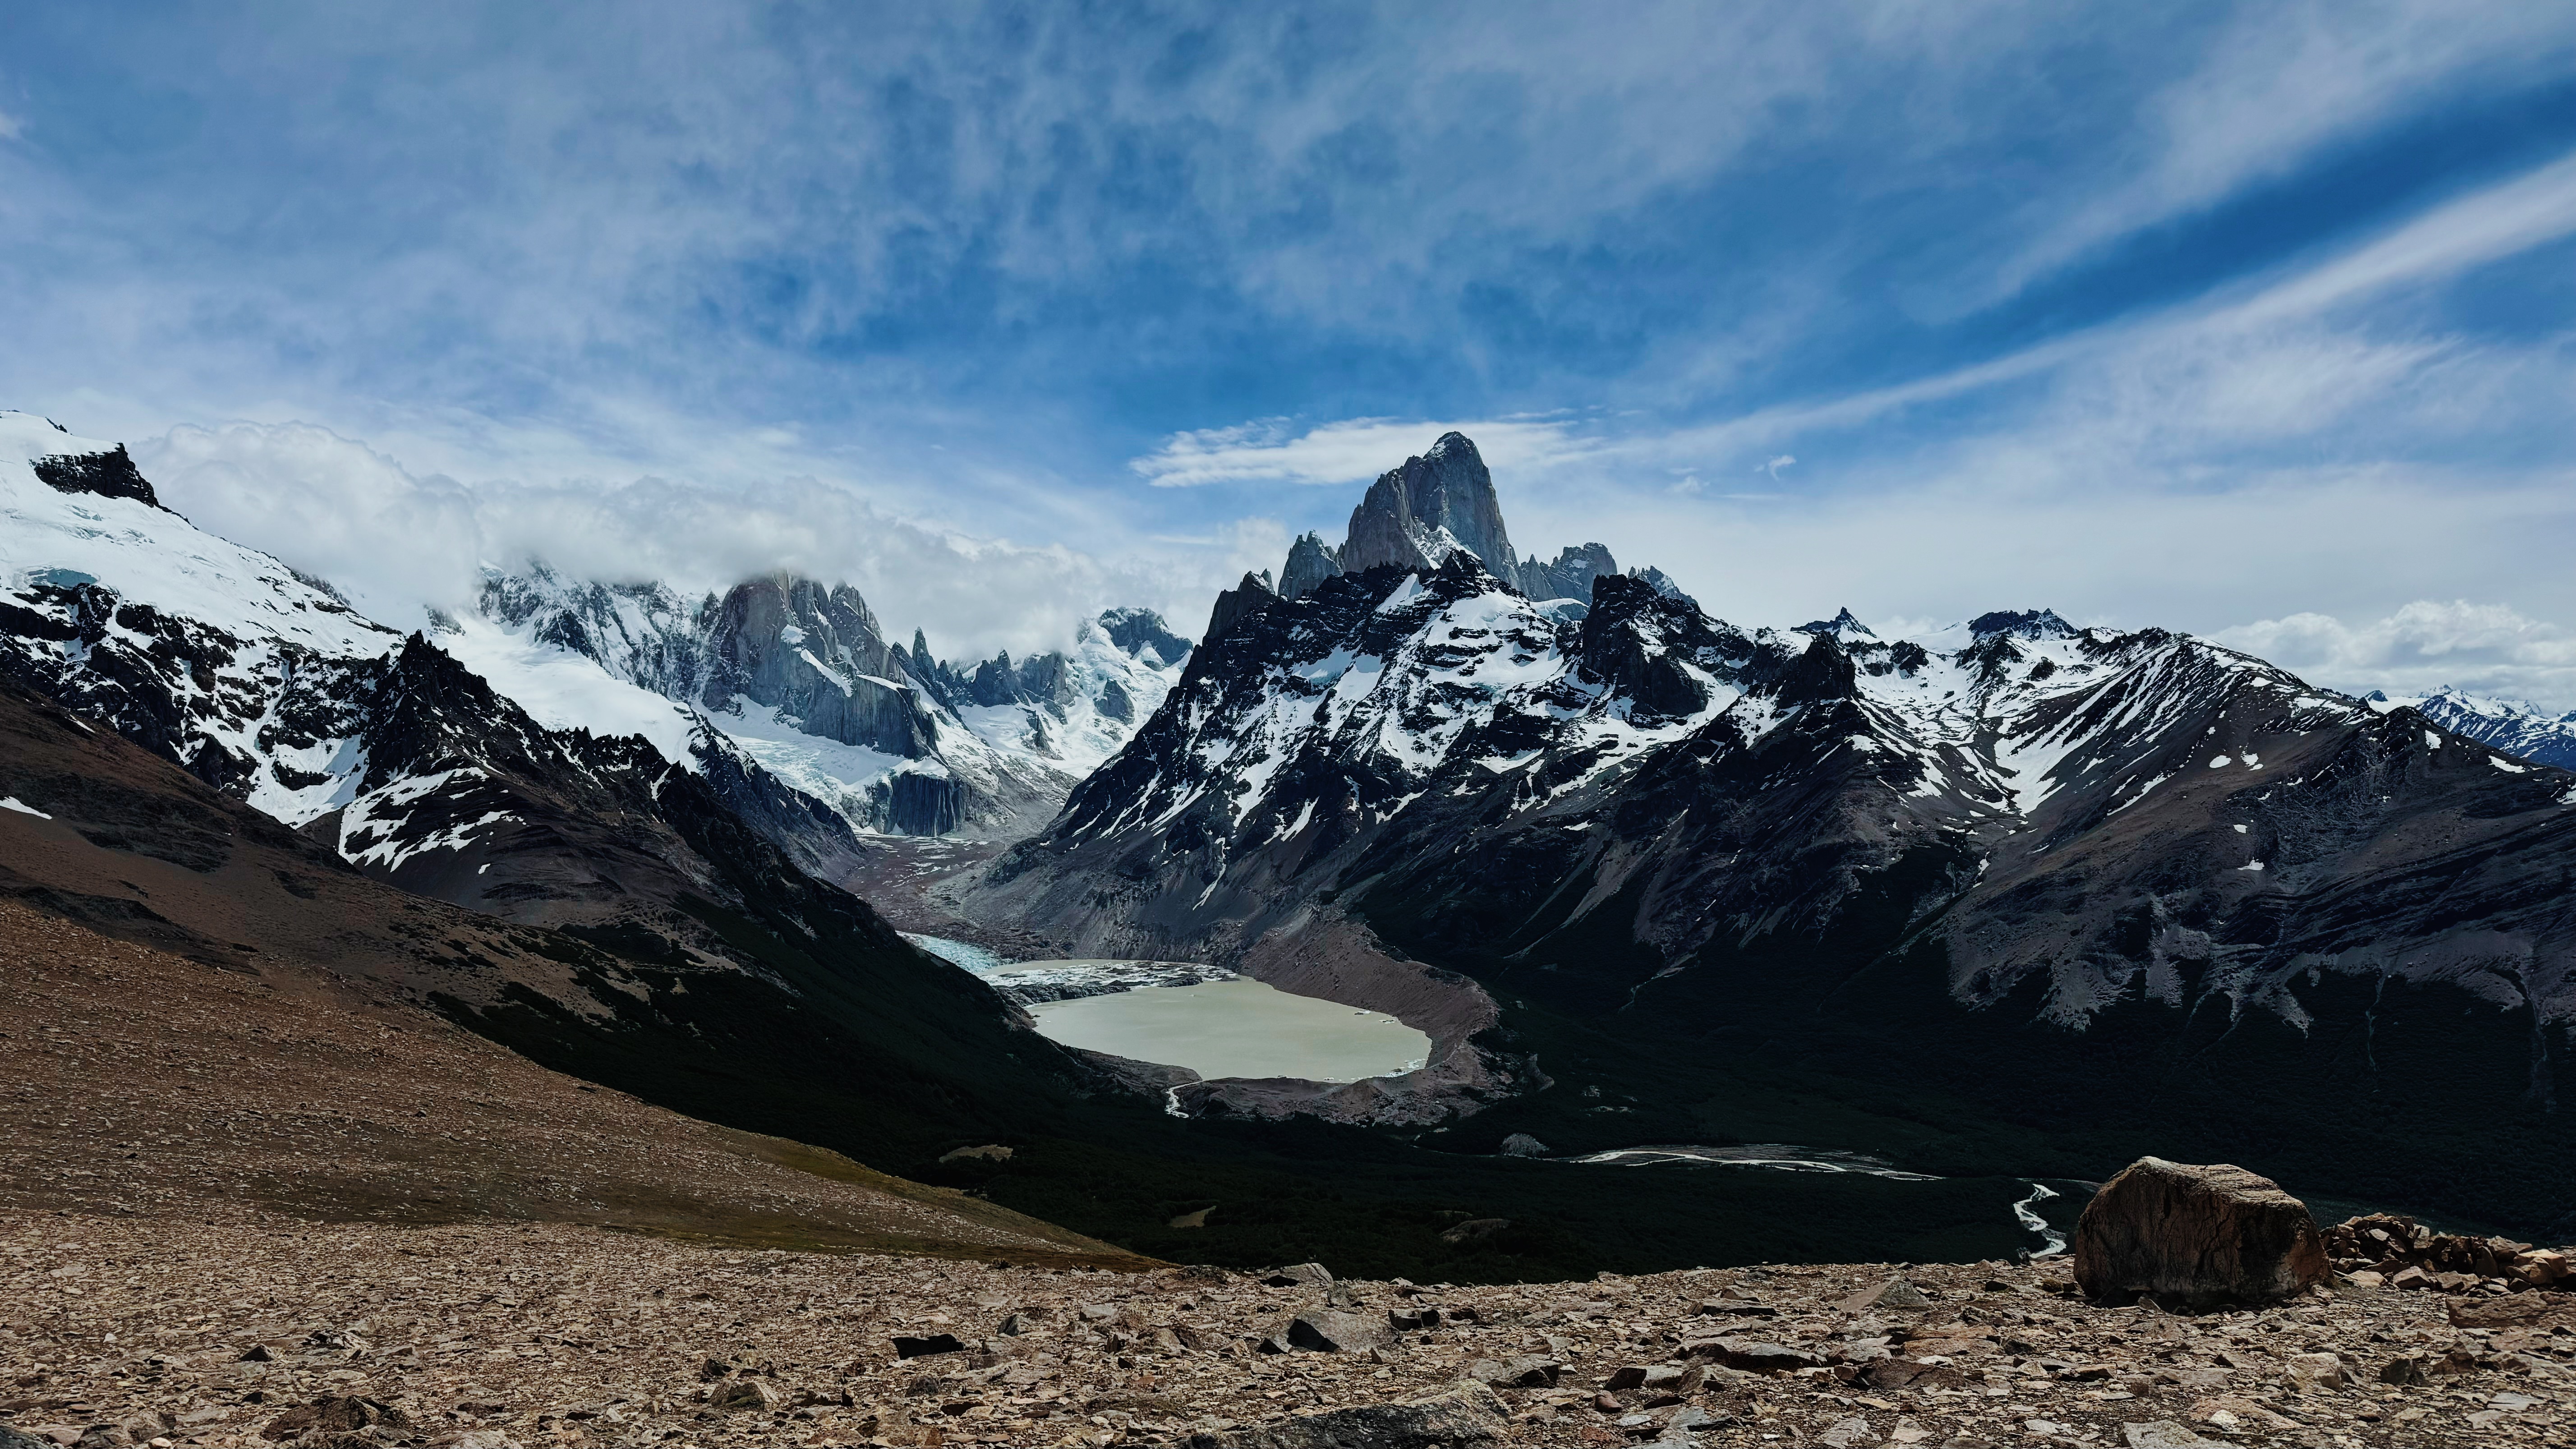
- Base Towers hike – this was our one monster hike! It’s a day hike along the W Trek. It took us around 9-10 hours with some stops along the way. The top was absolutely incredible. The water is such a beautiful, intense blue. Sadly, other than that, we didn’t love this hike. The hike itself wasn’t THAT stunning, and there were so, so many people. It felt like a Disneyland line trying to all pass each other along a very narrow path. It’s hard to tell people not to do the hike since it’s the iconic spot in the park, but I would recommend starting earlier than all the people coming via the bus aka start earlier than 9am.
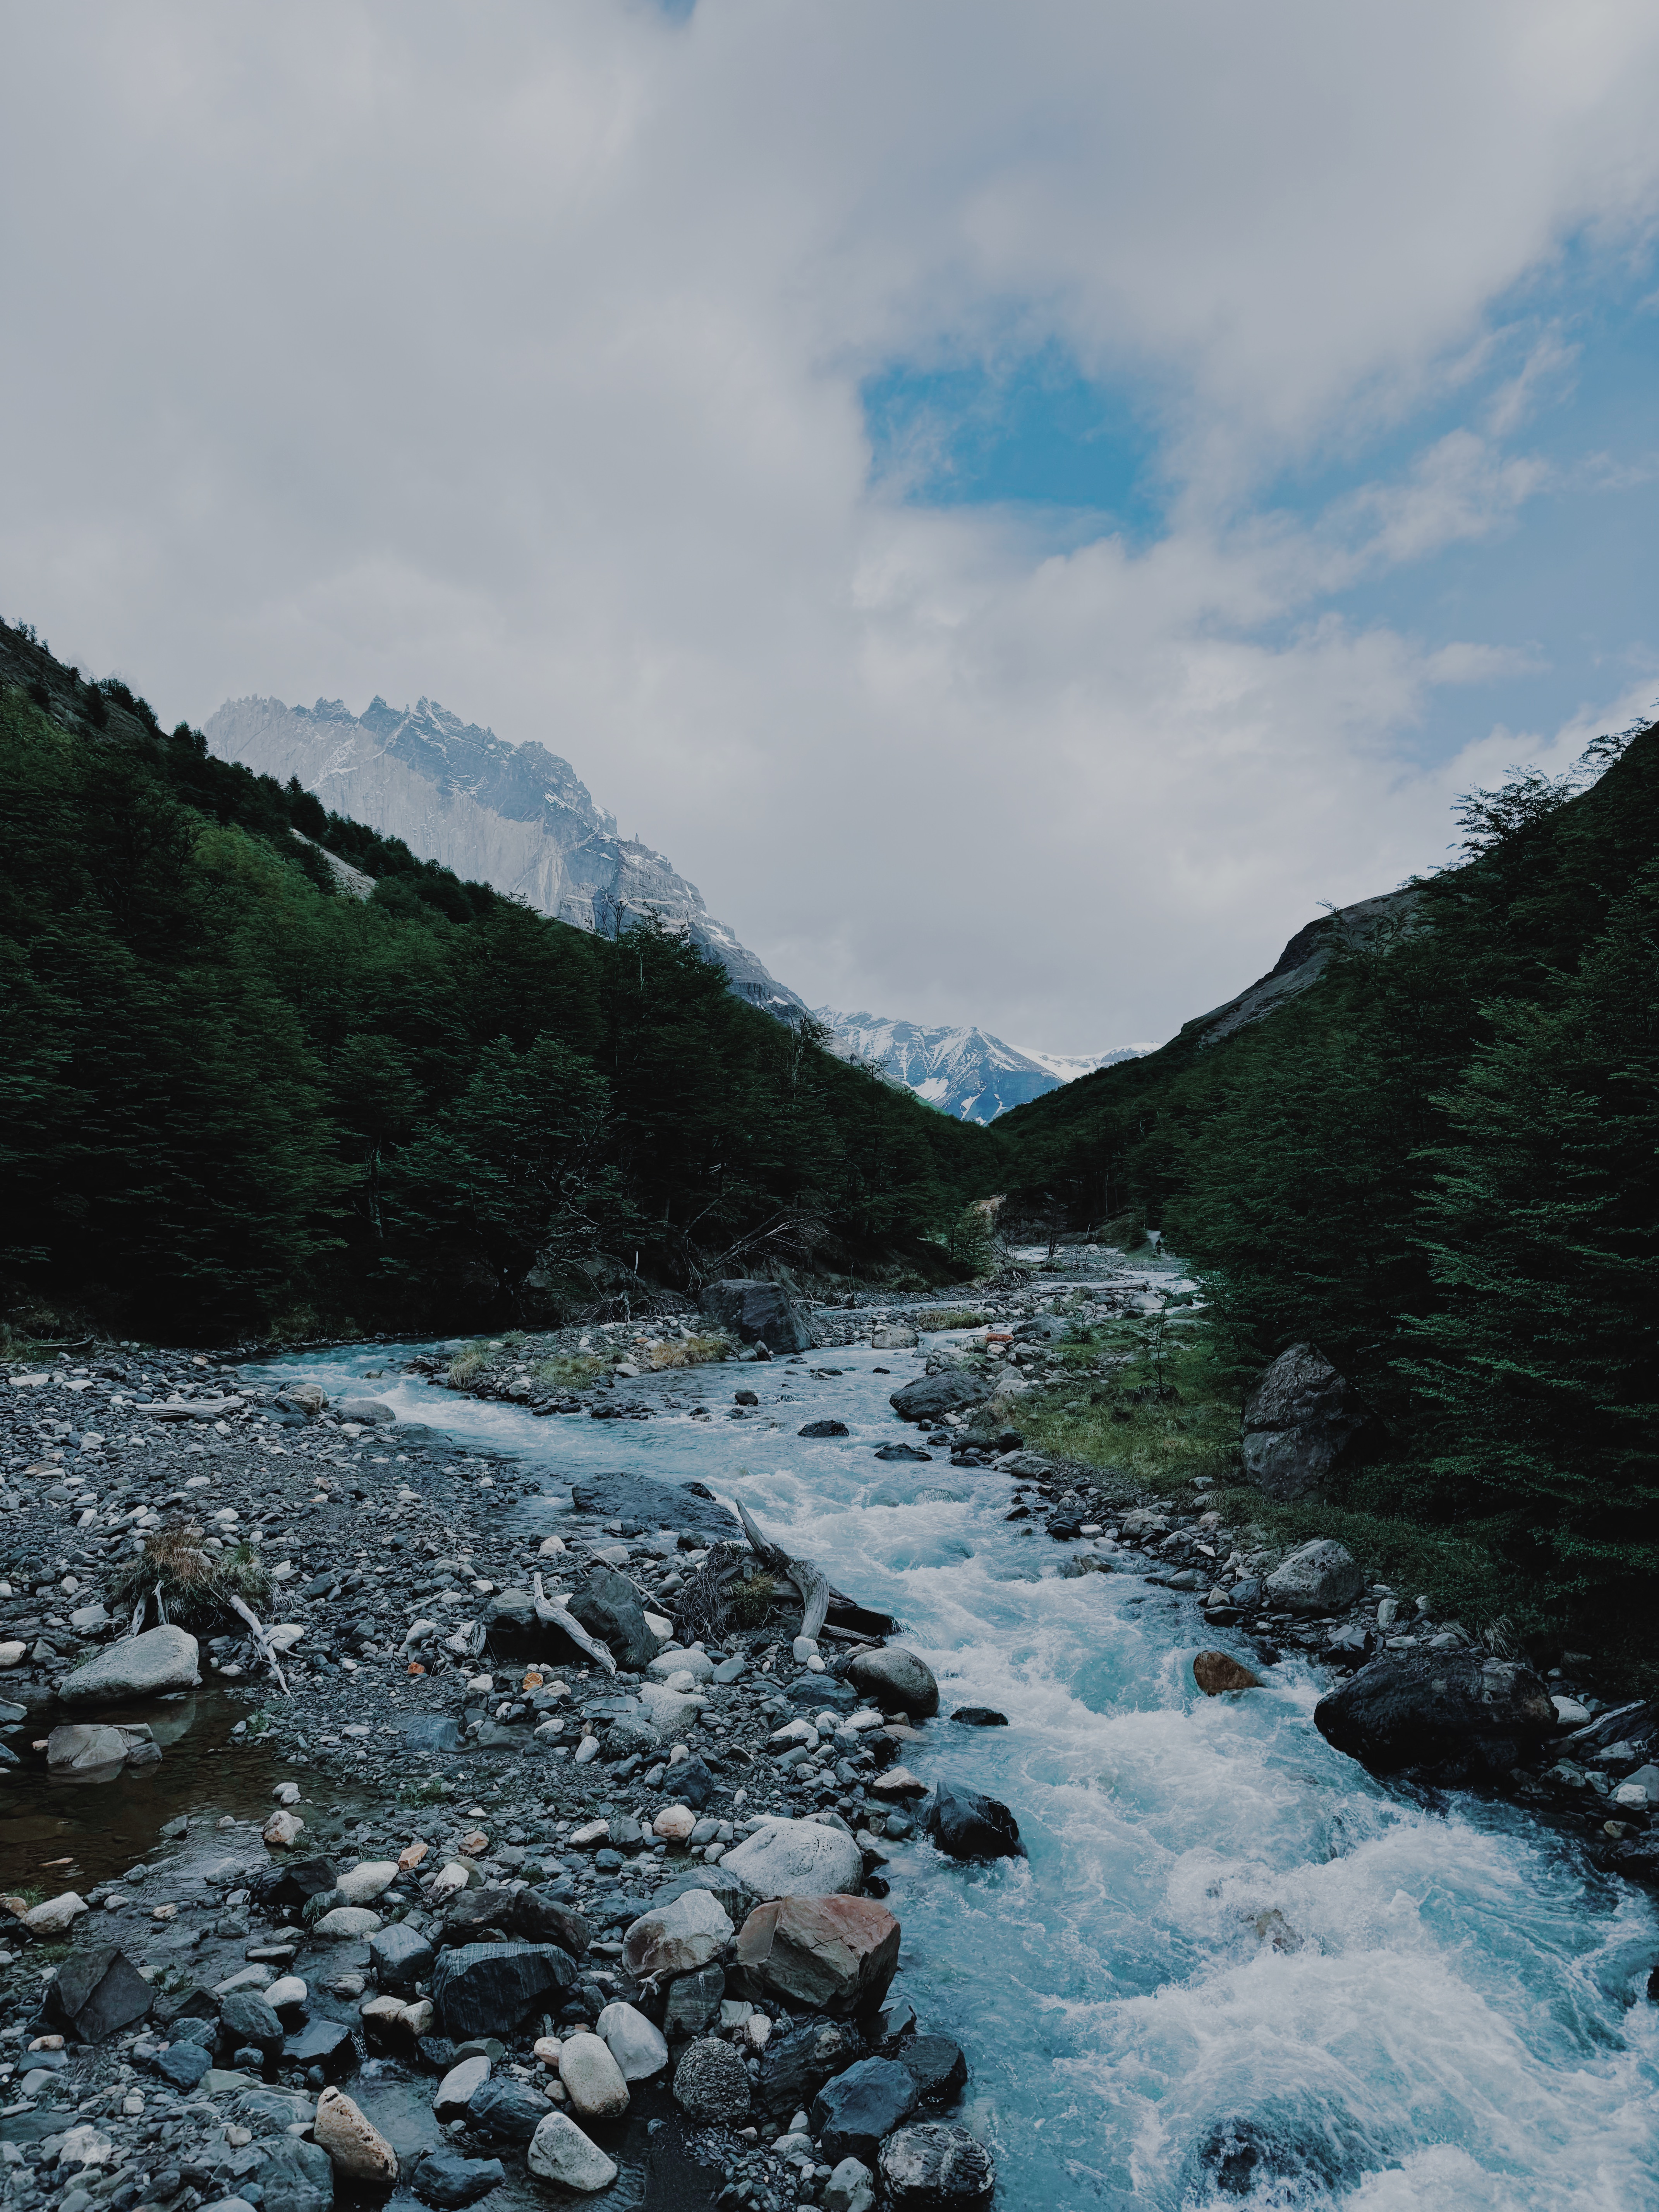
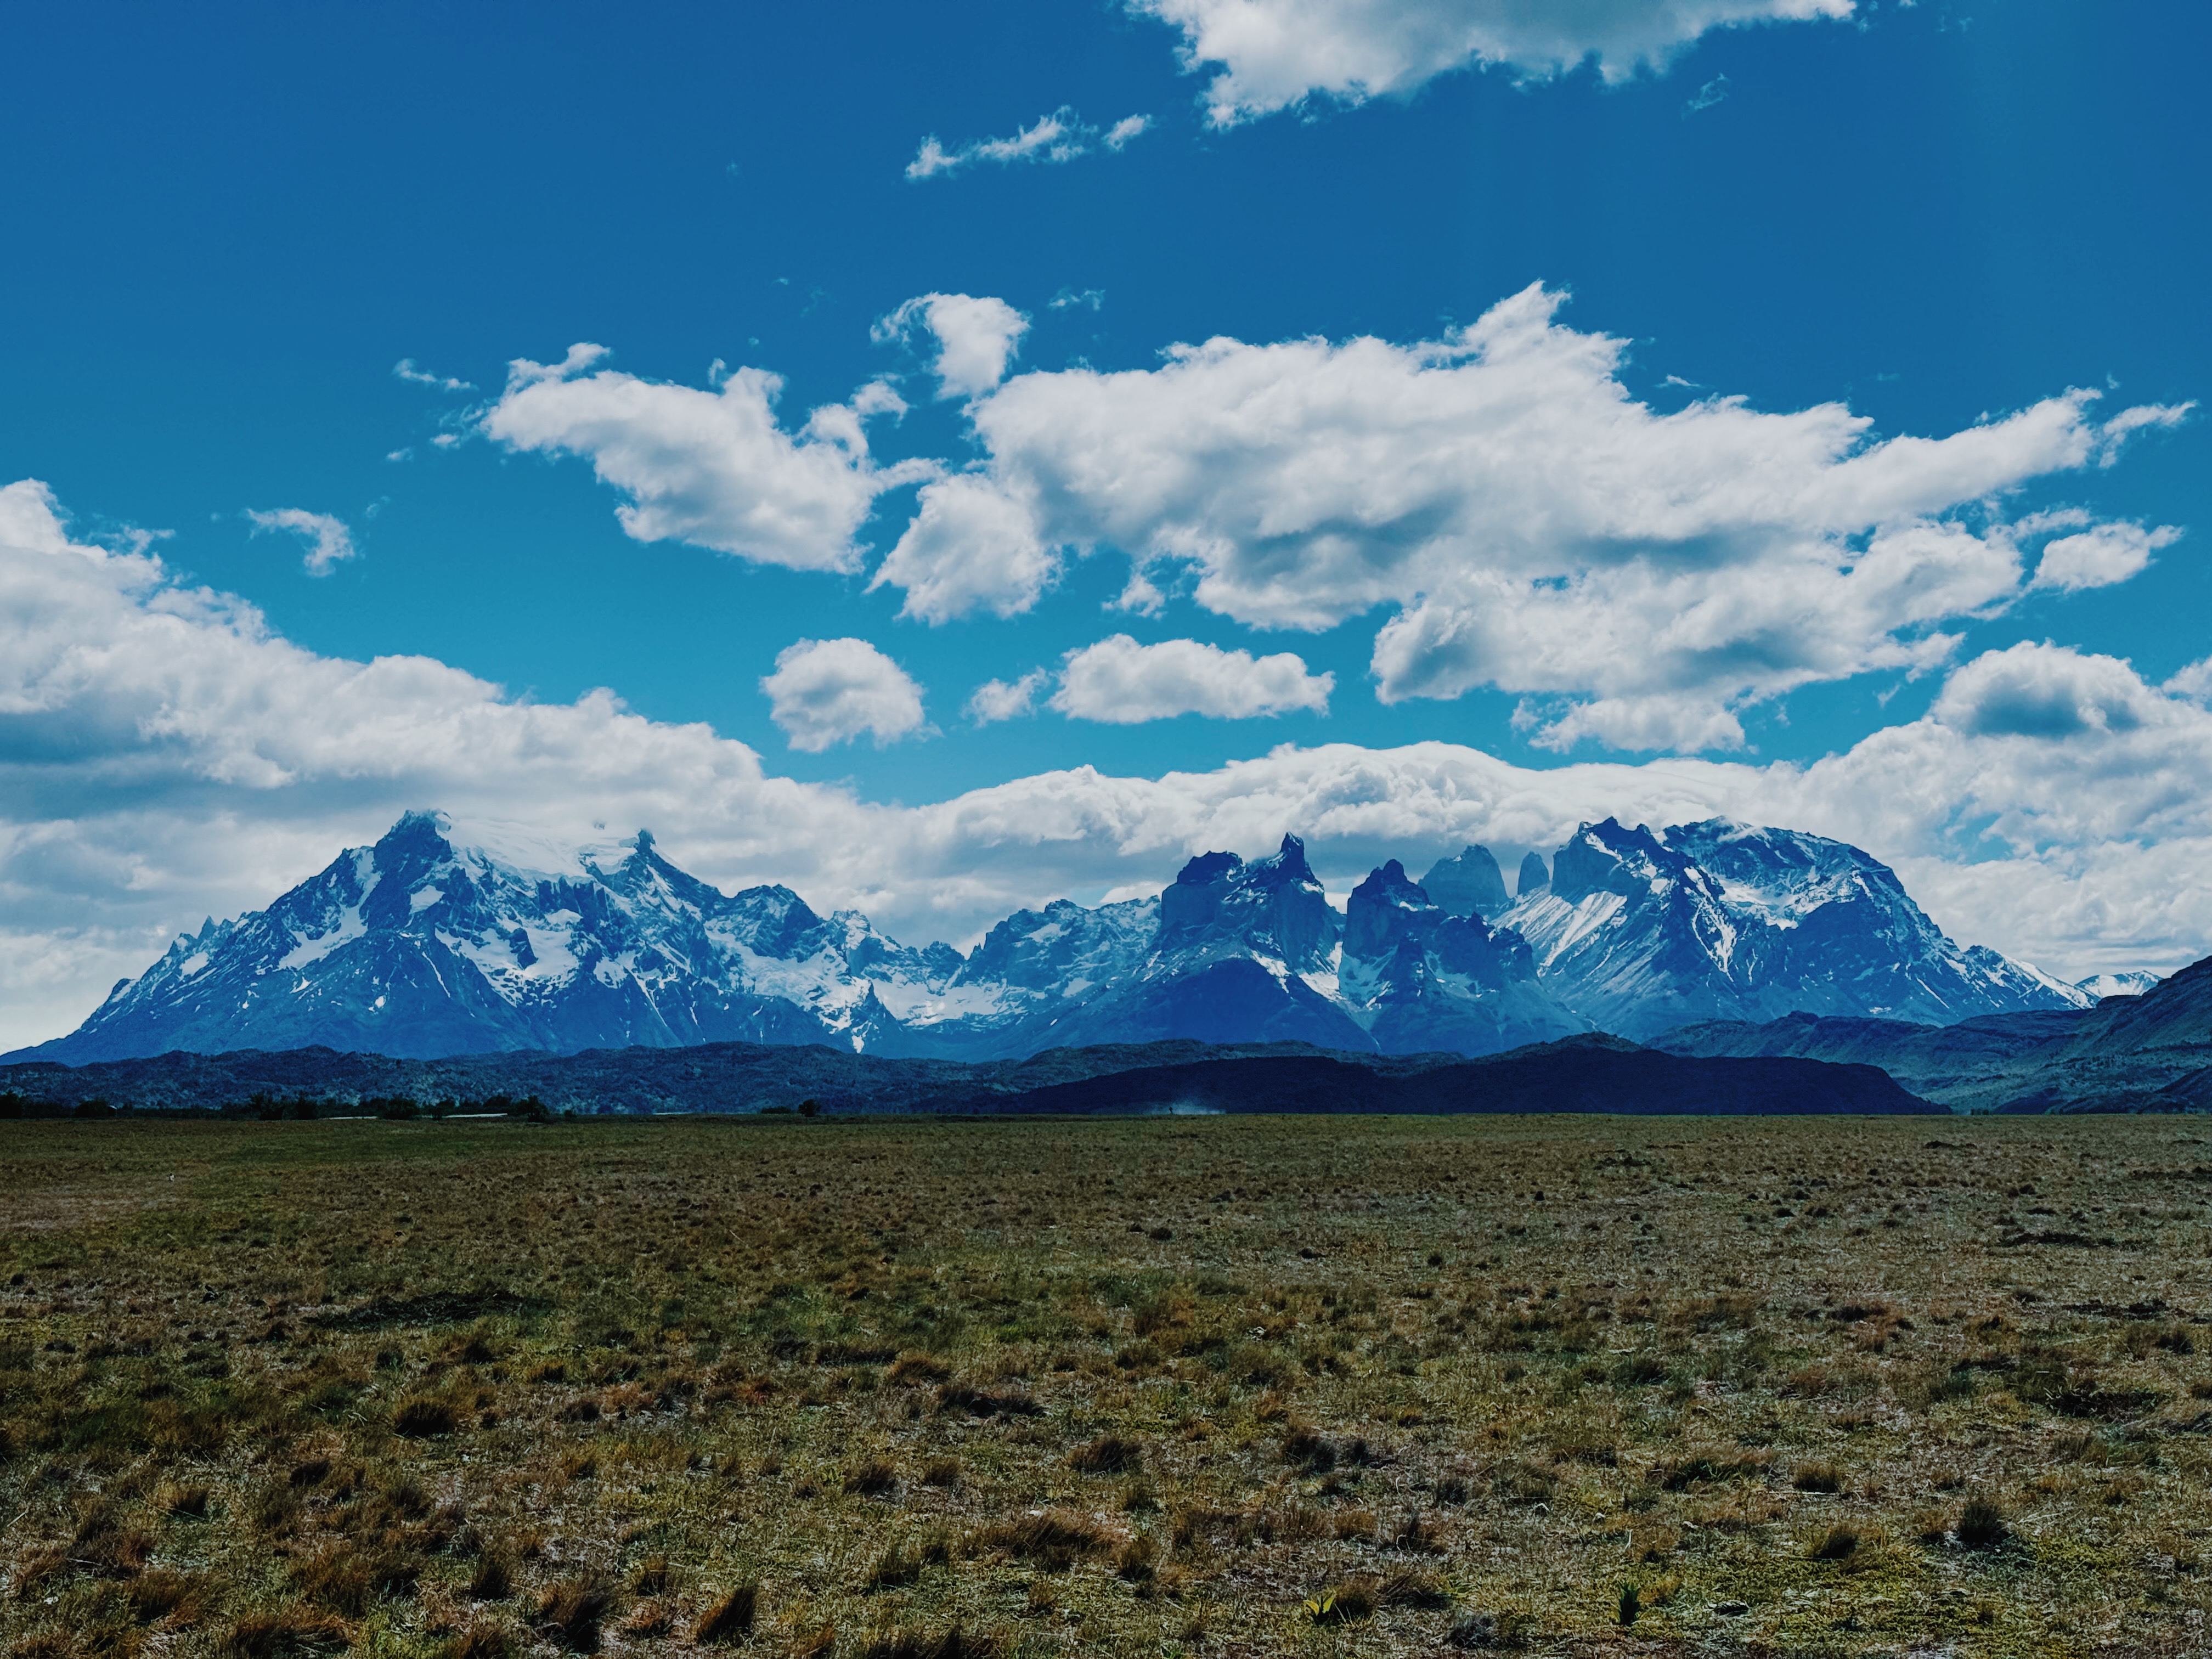
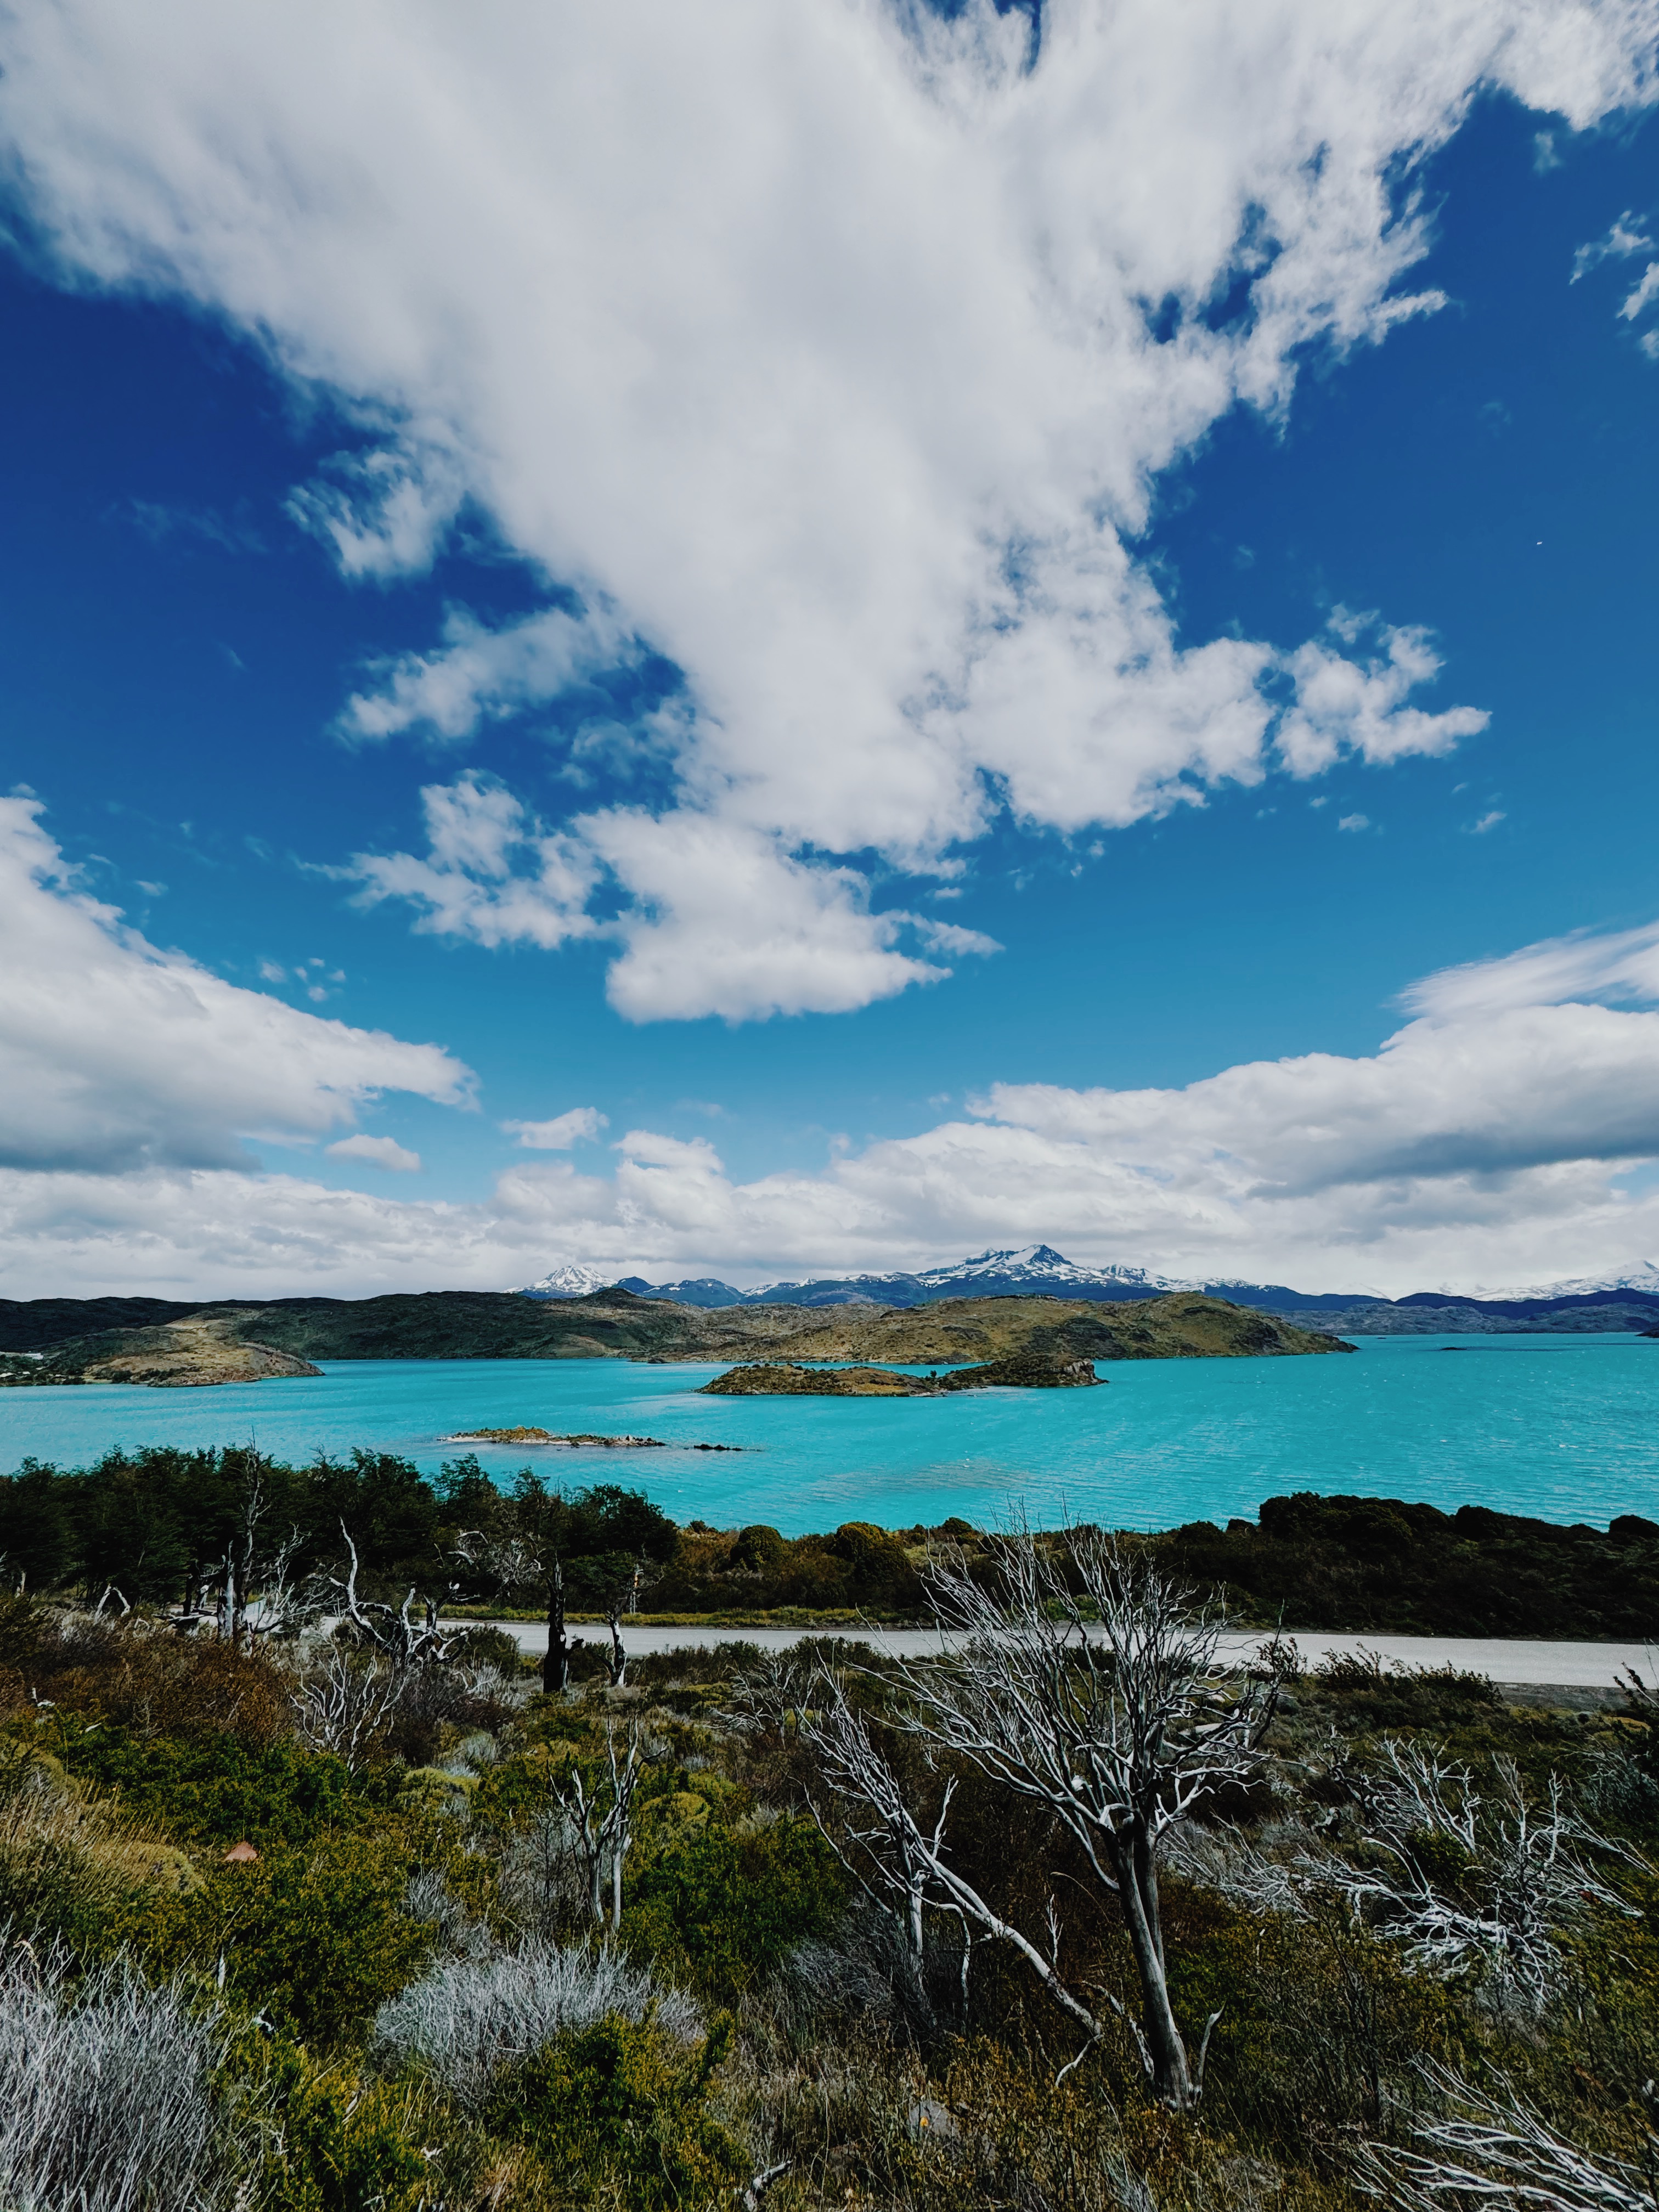
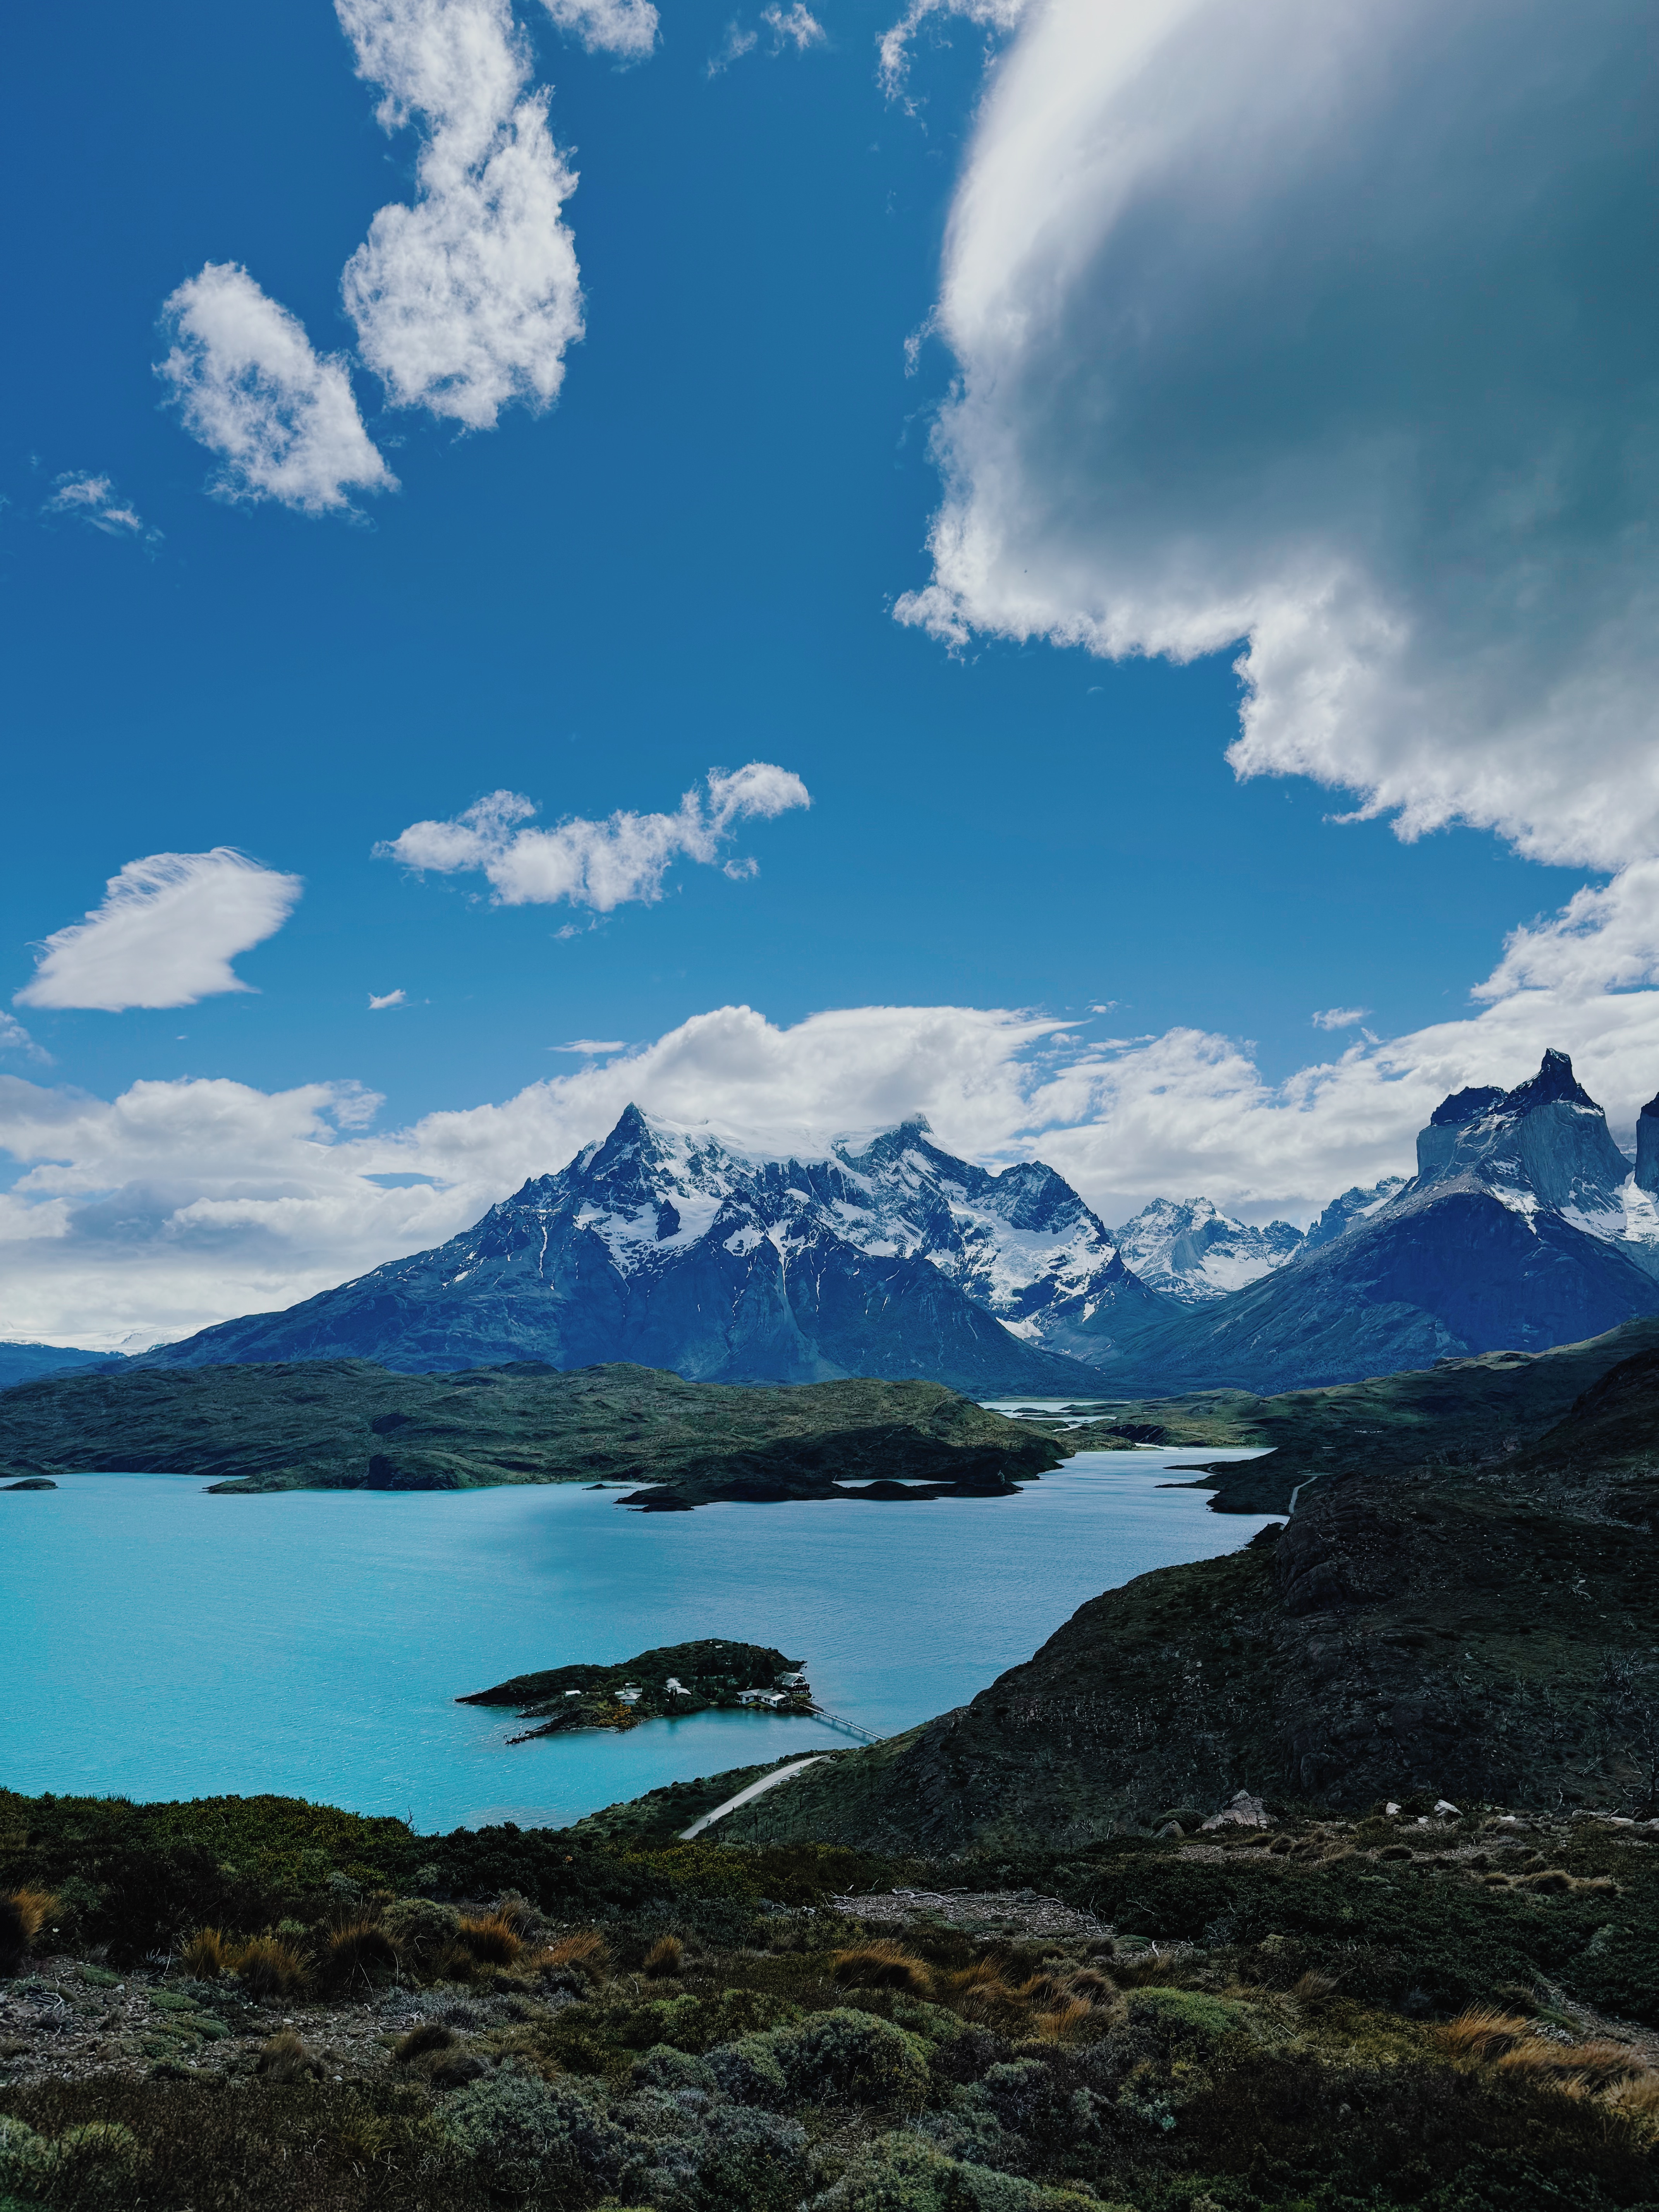
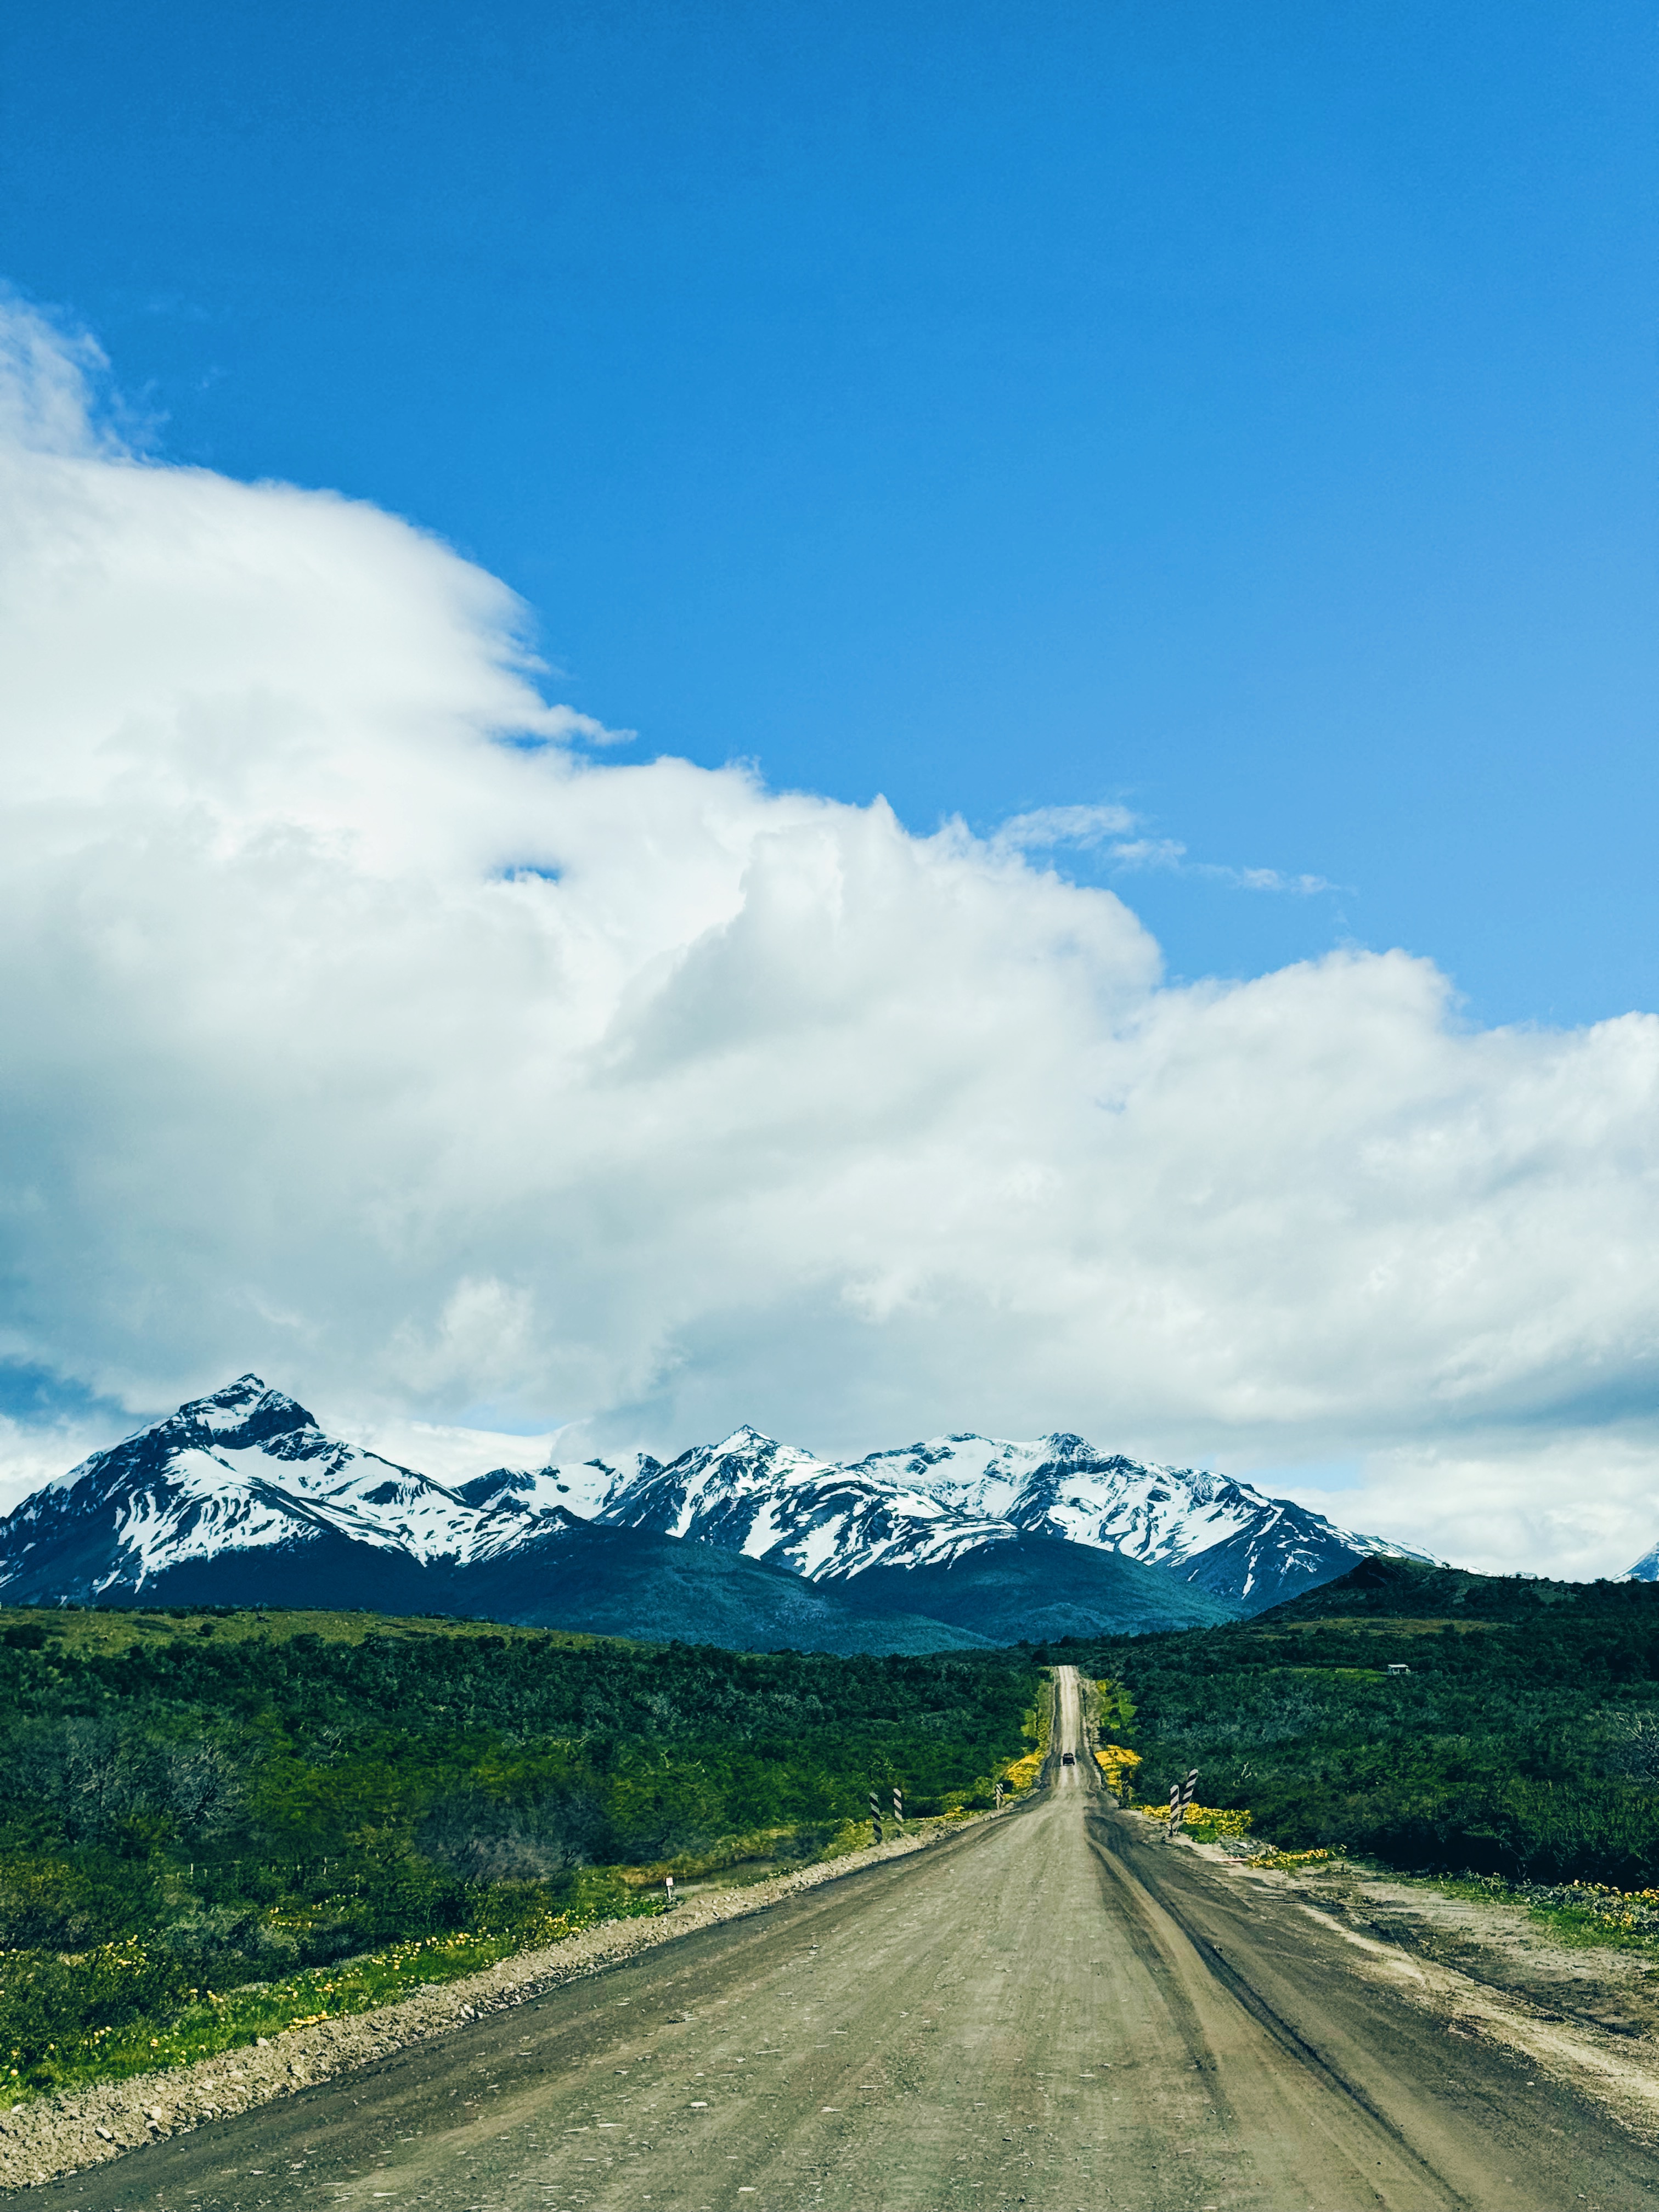
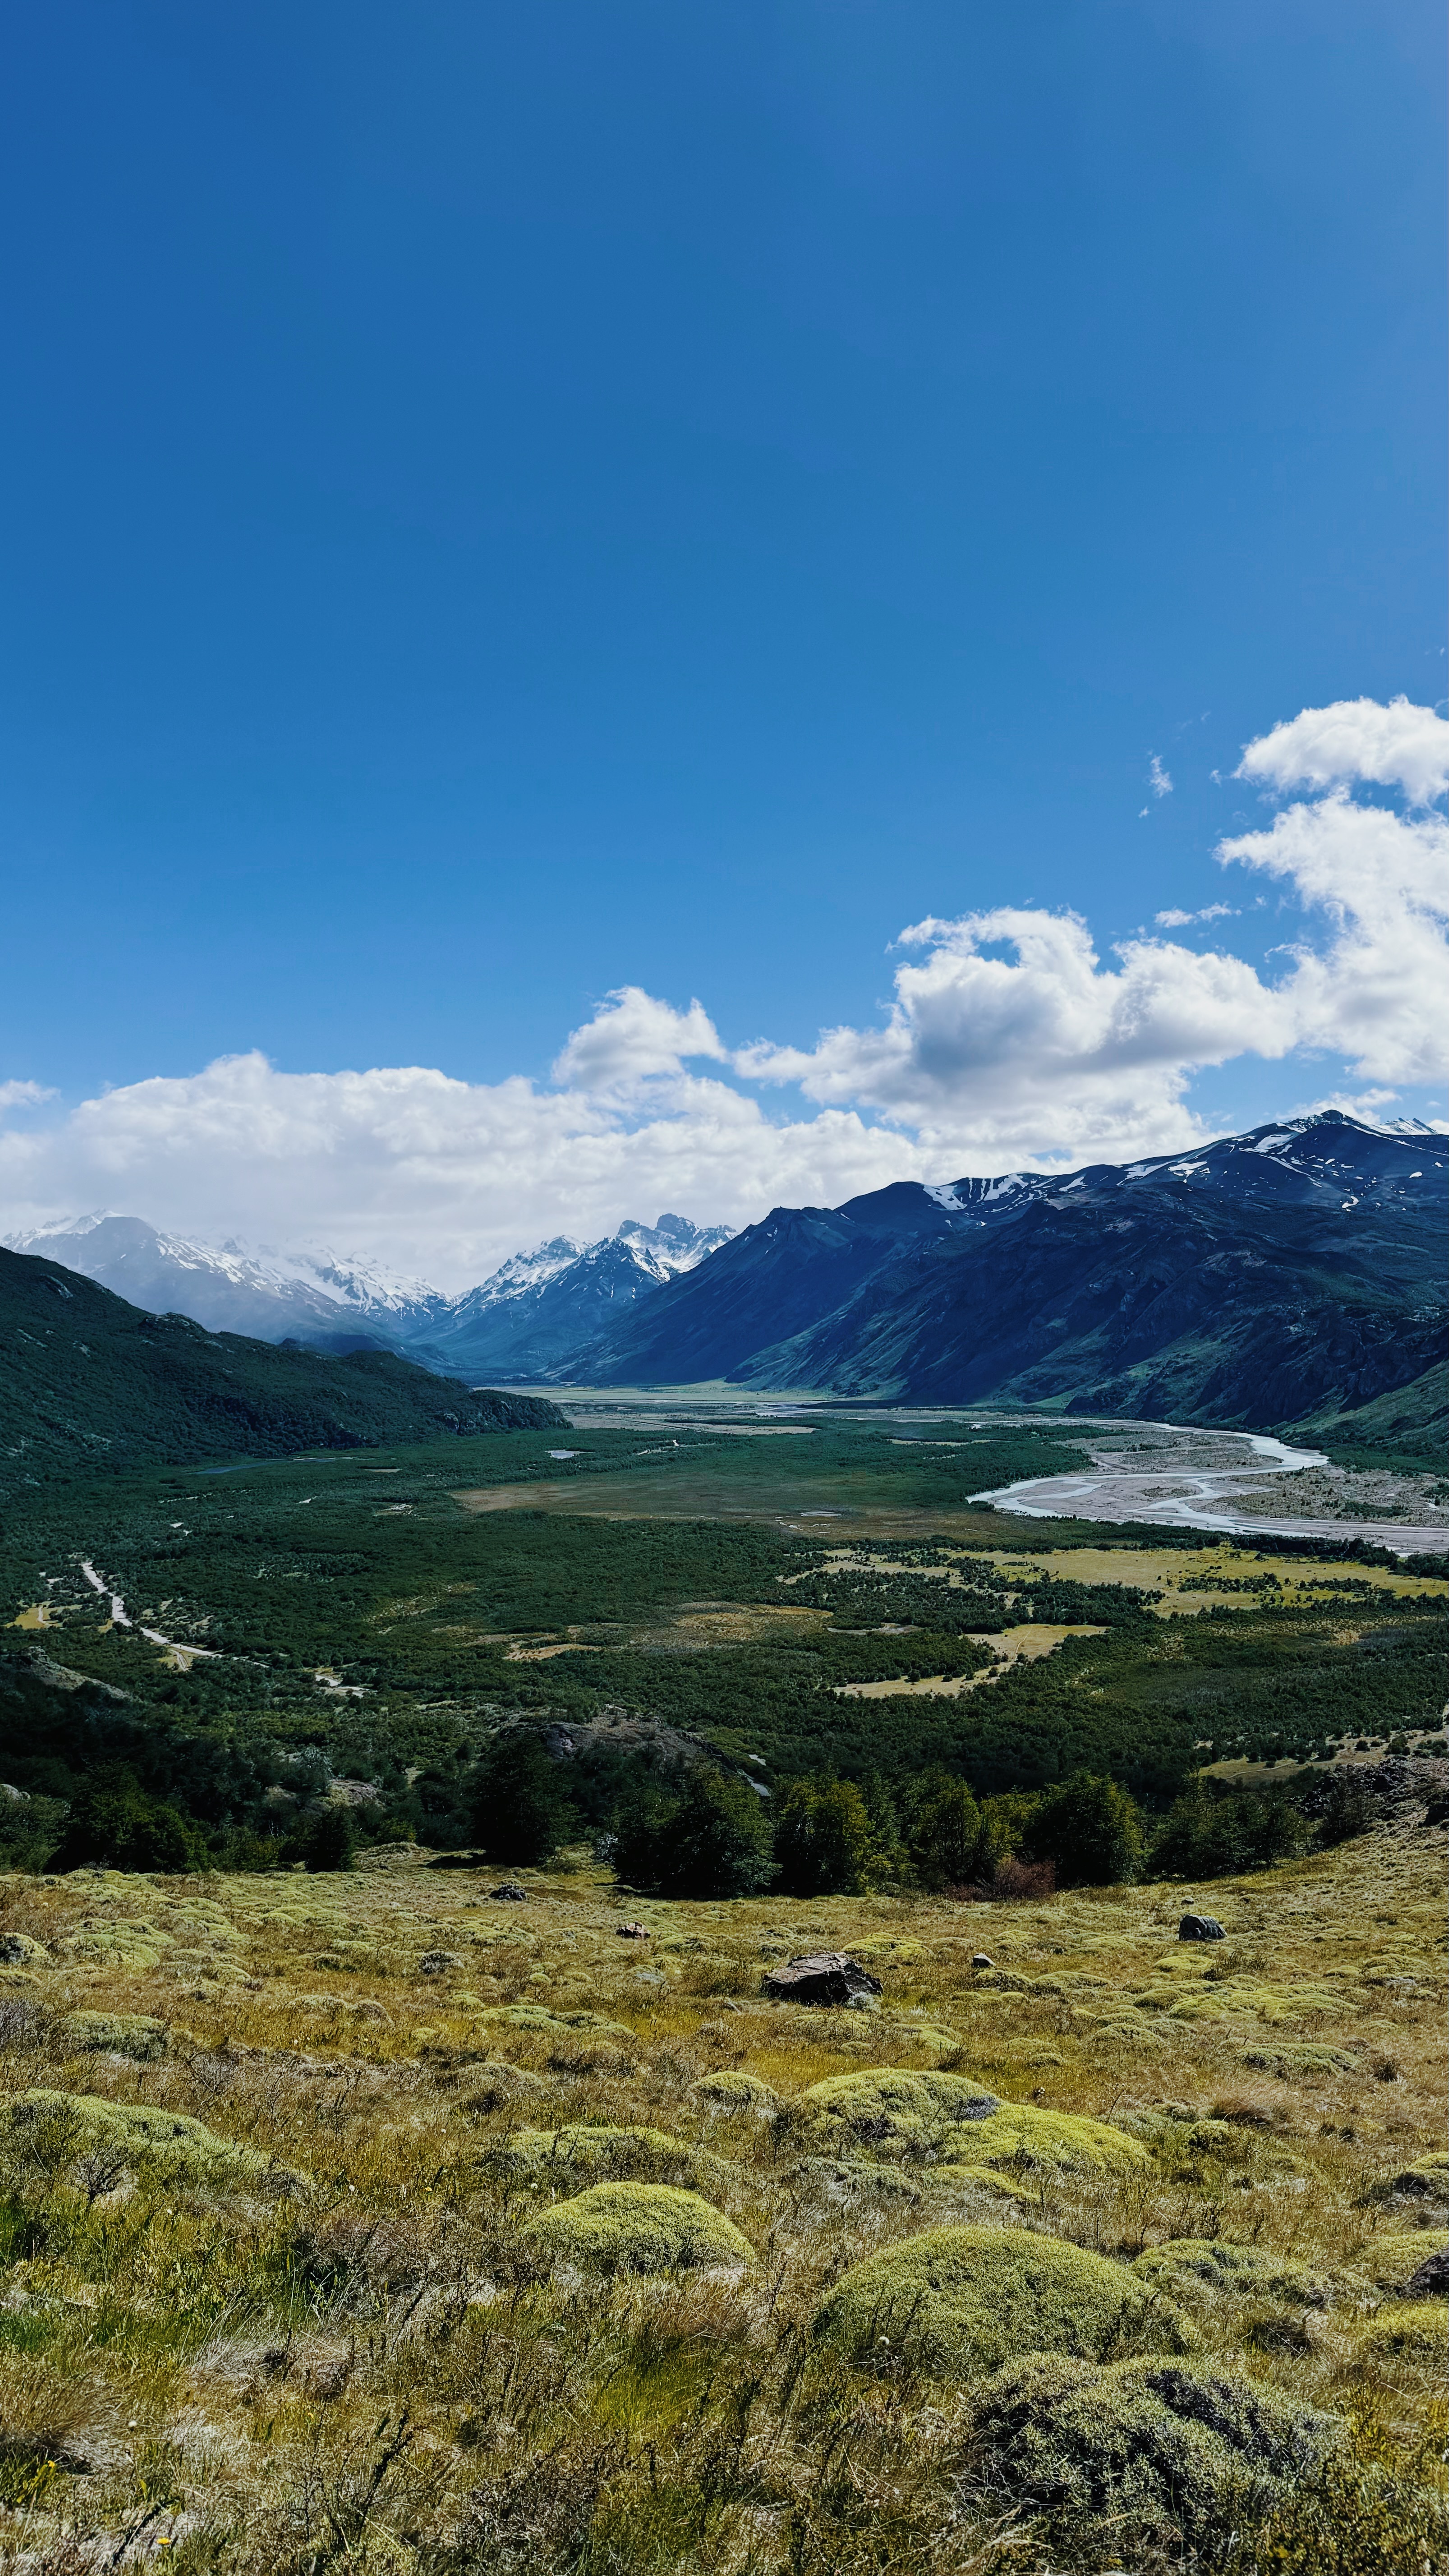
- Just drive around the park for views like the below
OVERALL THOUGHTS:
This park is stunning! Take your time, and enjoy the park beyond the W Trek. We loved having the park to ourselves. Our introduction to Patagonia lived up to the hype!
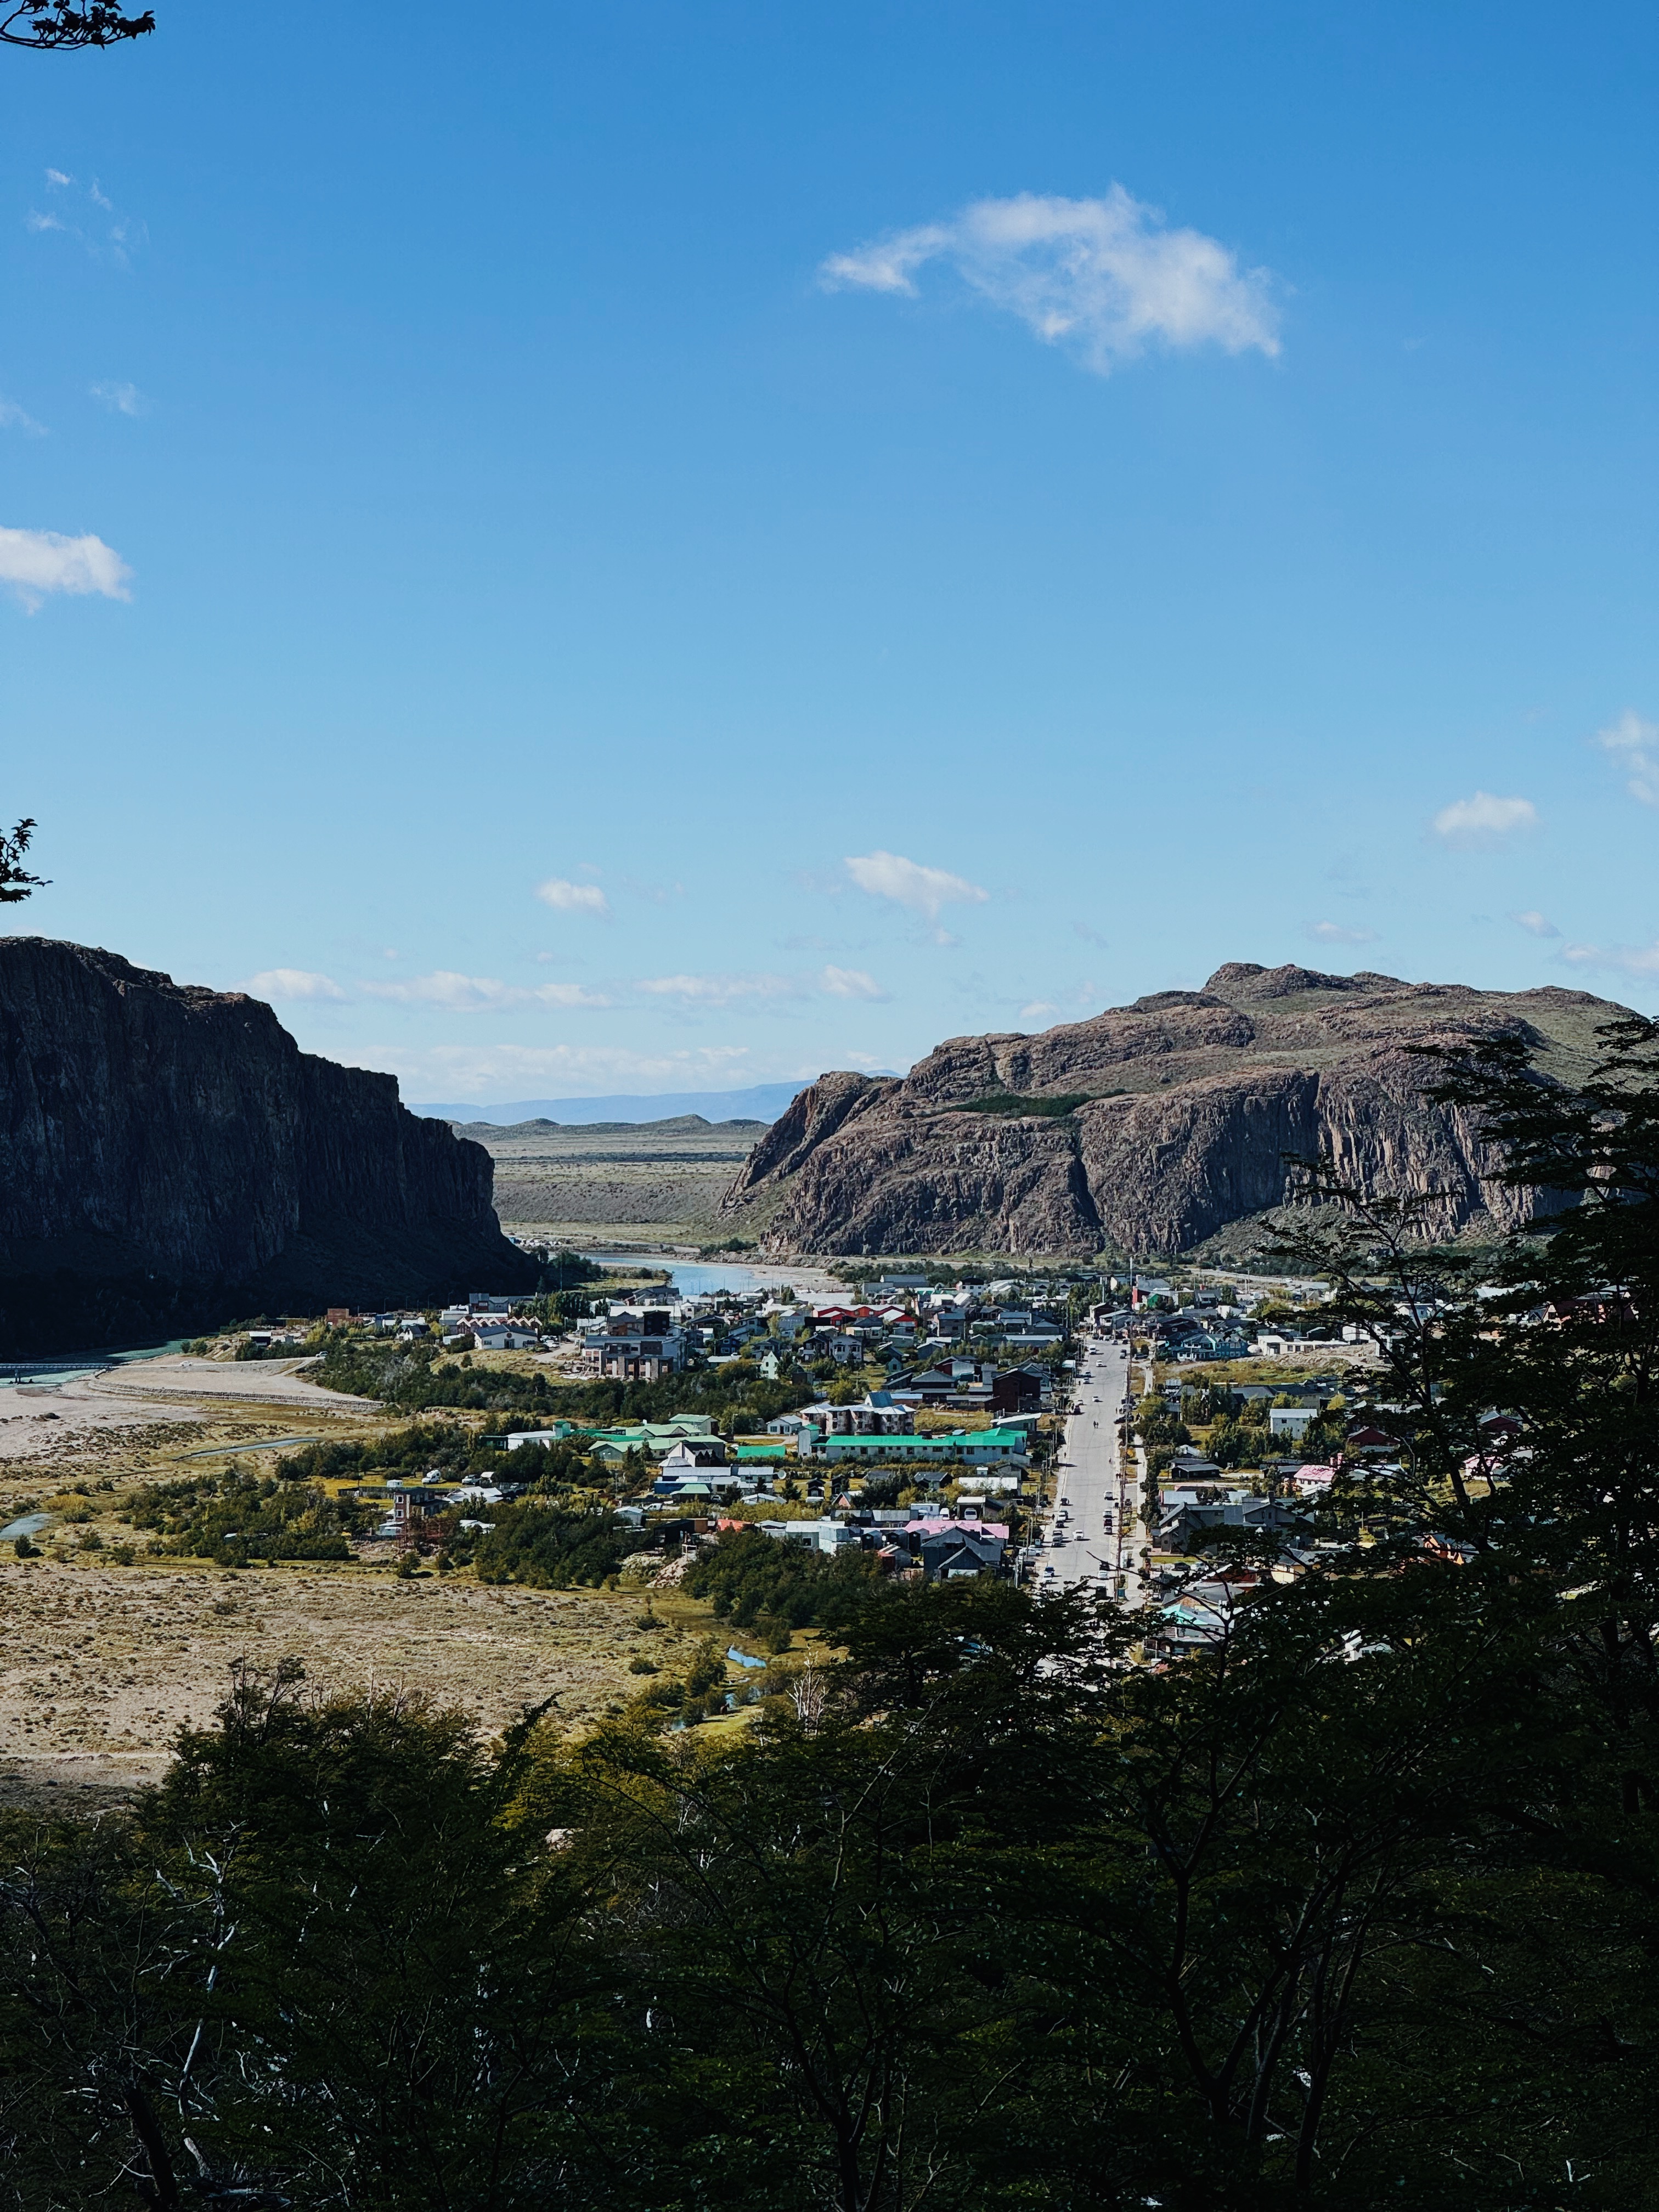
CITY: El Chalten, Argentina
HOW LONG: 5 Nights
ACCOMMODATION:
We stayed at Rancho Grande hostel. The customer service was pretty bad and the downstairs was a restaurant so it was sometimes hard to distinguish who was staying versus just eating. Luckily the upstairs was just backpackers. The beds were not great but got the job done. We were worried it would be hard to meet people but we ended up finding our tribe. The kitchen was horrible and disgusting, but when prices are sky high, you make it work. Overall I would try to find a different hostel or airbnb before staying here, but it’s not the worst place in the world.

WHERE TO EAT:
Since it was so expensive here, we did lots of cheap backpacker dinners at the hostel, but here were out highlight finds in town:
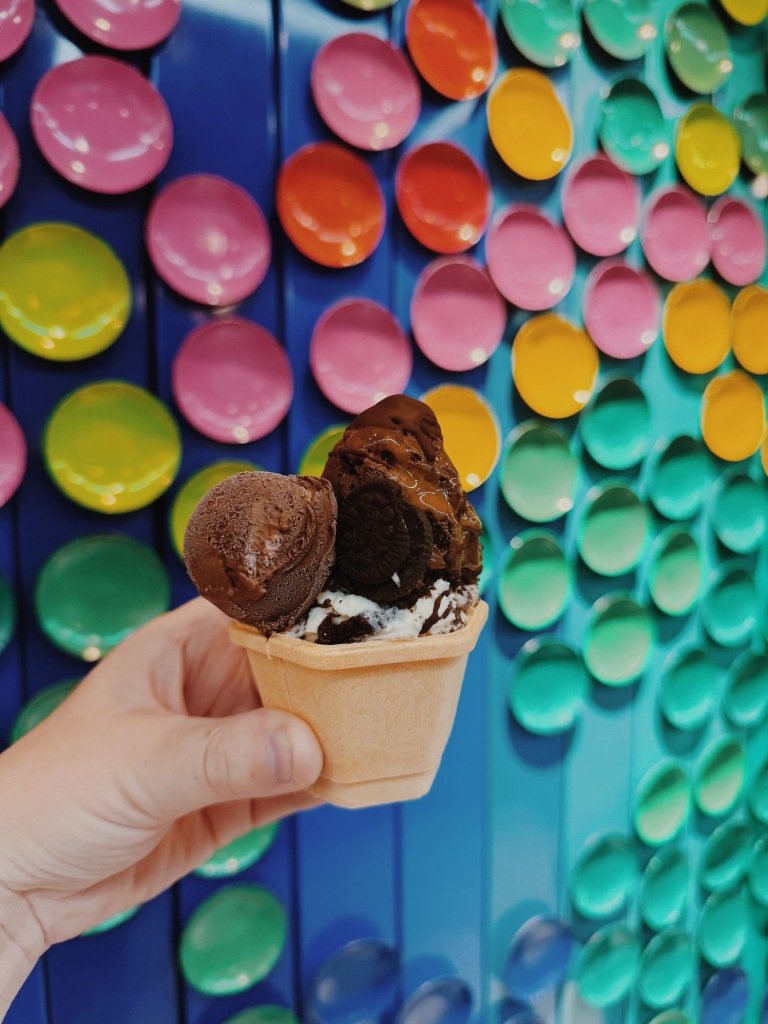
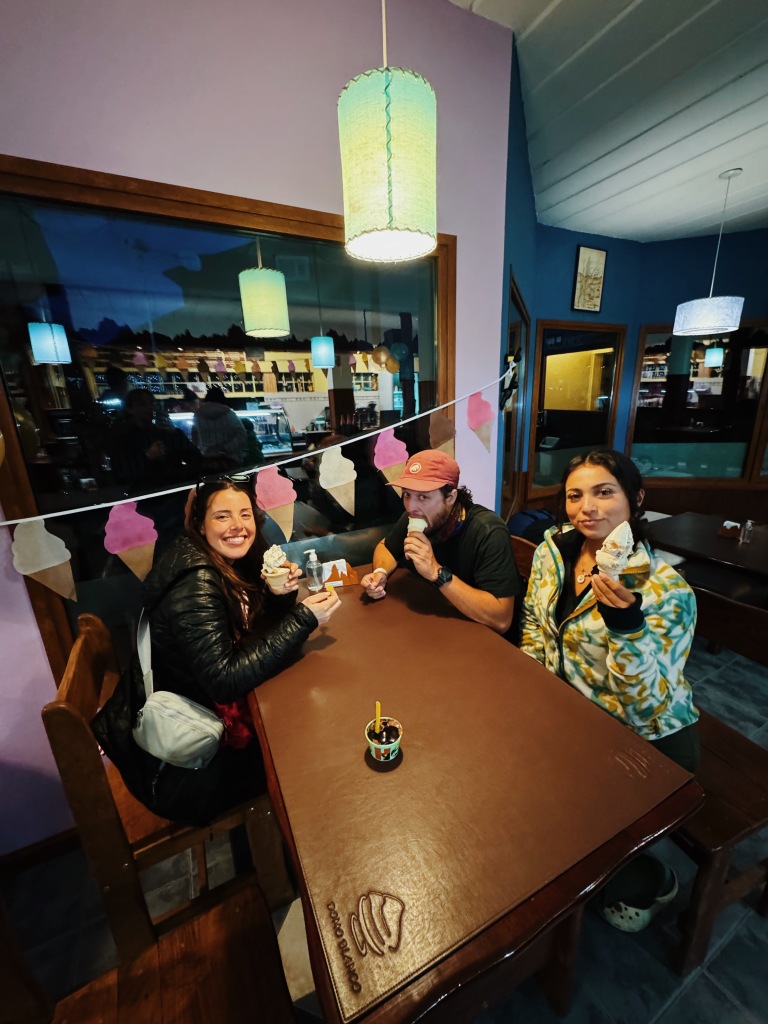
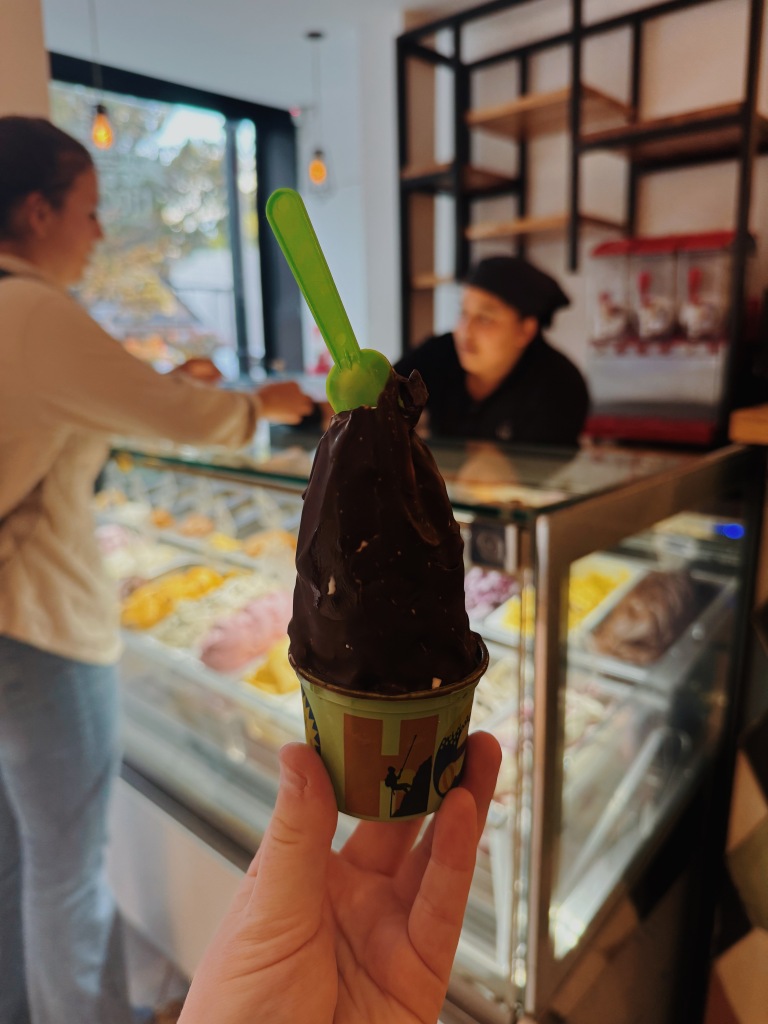
- Domo Blanco – delicious ice cream for a relatively affordable price (this town is expensive okay). $4 for a small but 2 flavors and all you can pour sauces!!! My dream.
- Andrea’s – new bar with cute vibes and great bartenders.
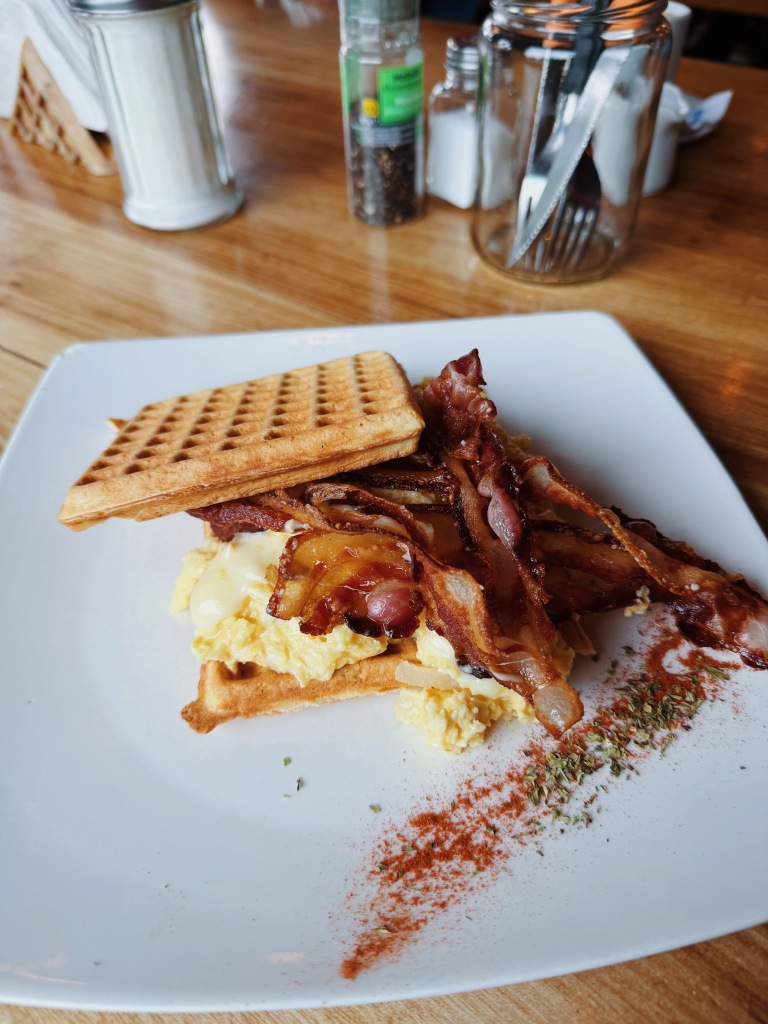
- La Wafletaria – great after a hike!! Lots of waffle options to choose from.

WHAT TO DO:
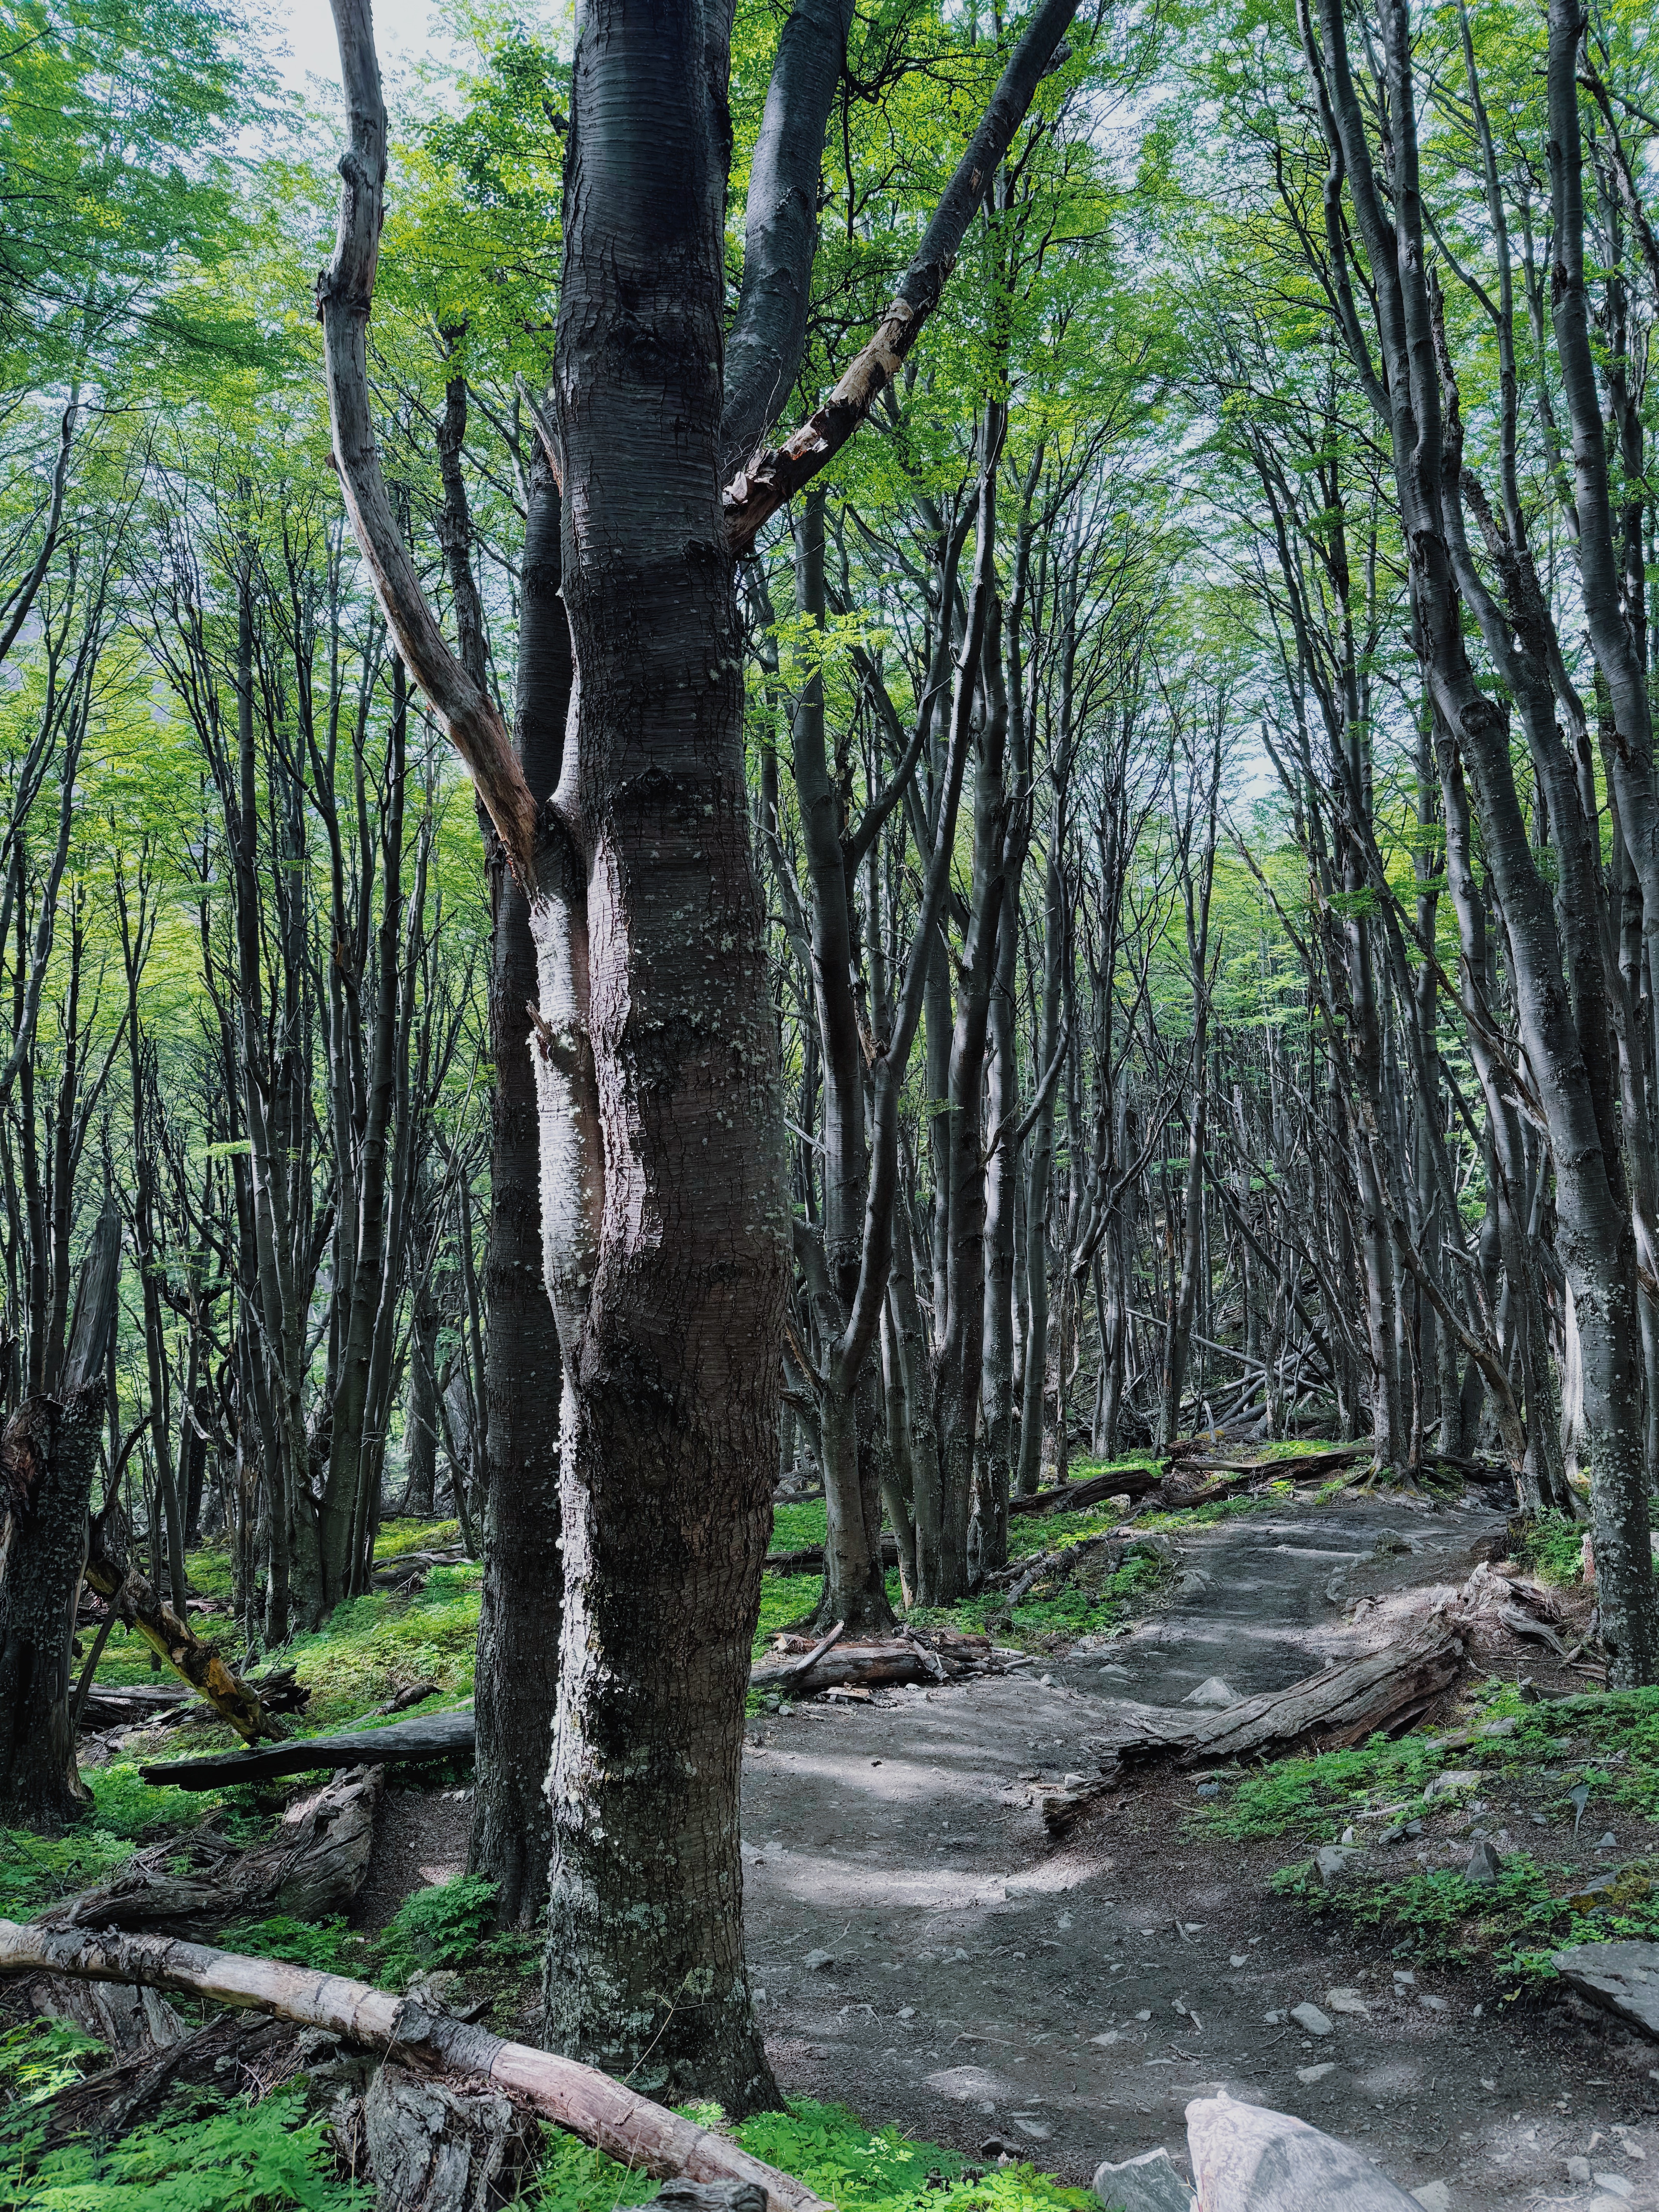
Hiking, hiking, and more hiking! Honestly if you don’t like hiking, then there wouldn’t be a reason to come here haha. This town is known as the “hiking capital” of Argentina. It’s like a ski town but for hiking. Most trailheads are walking distance from town, which is so cool! The two big hikes we took on:
- Lomo del Pliegue Lombado – This is a fabulous hike that is a local favorite, but not one of the most popular hikes. It’s stunning and we passed maybe 20 people so you have the trail to yourself. We started at 10 am and got back at 4pm. 22km total with 1000m of elevation. Trailhead is walking distance from town.
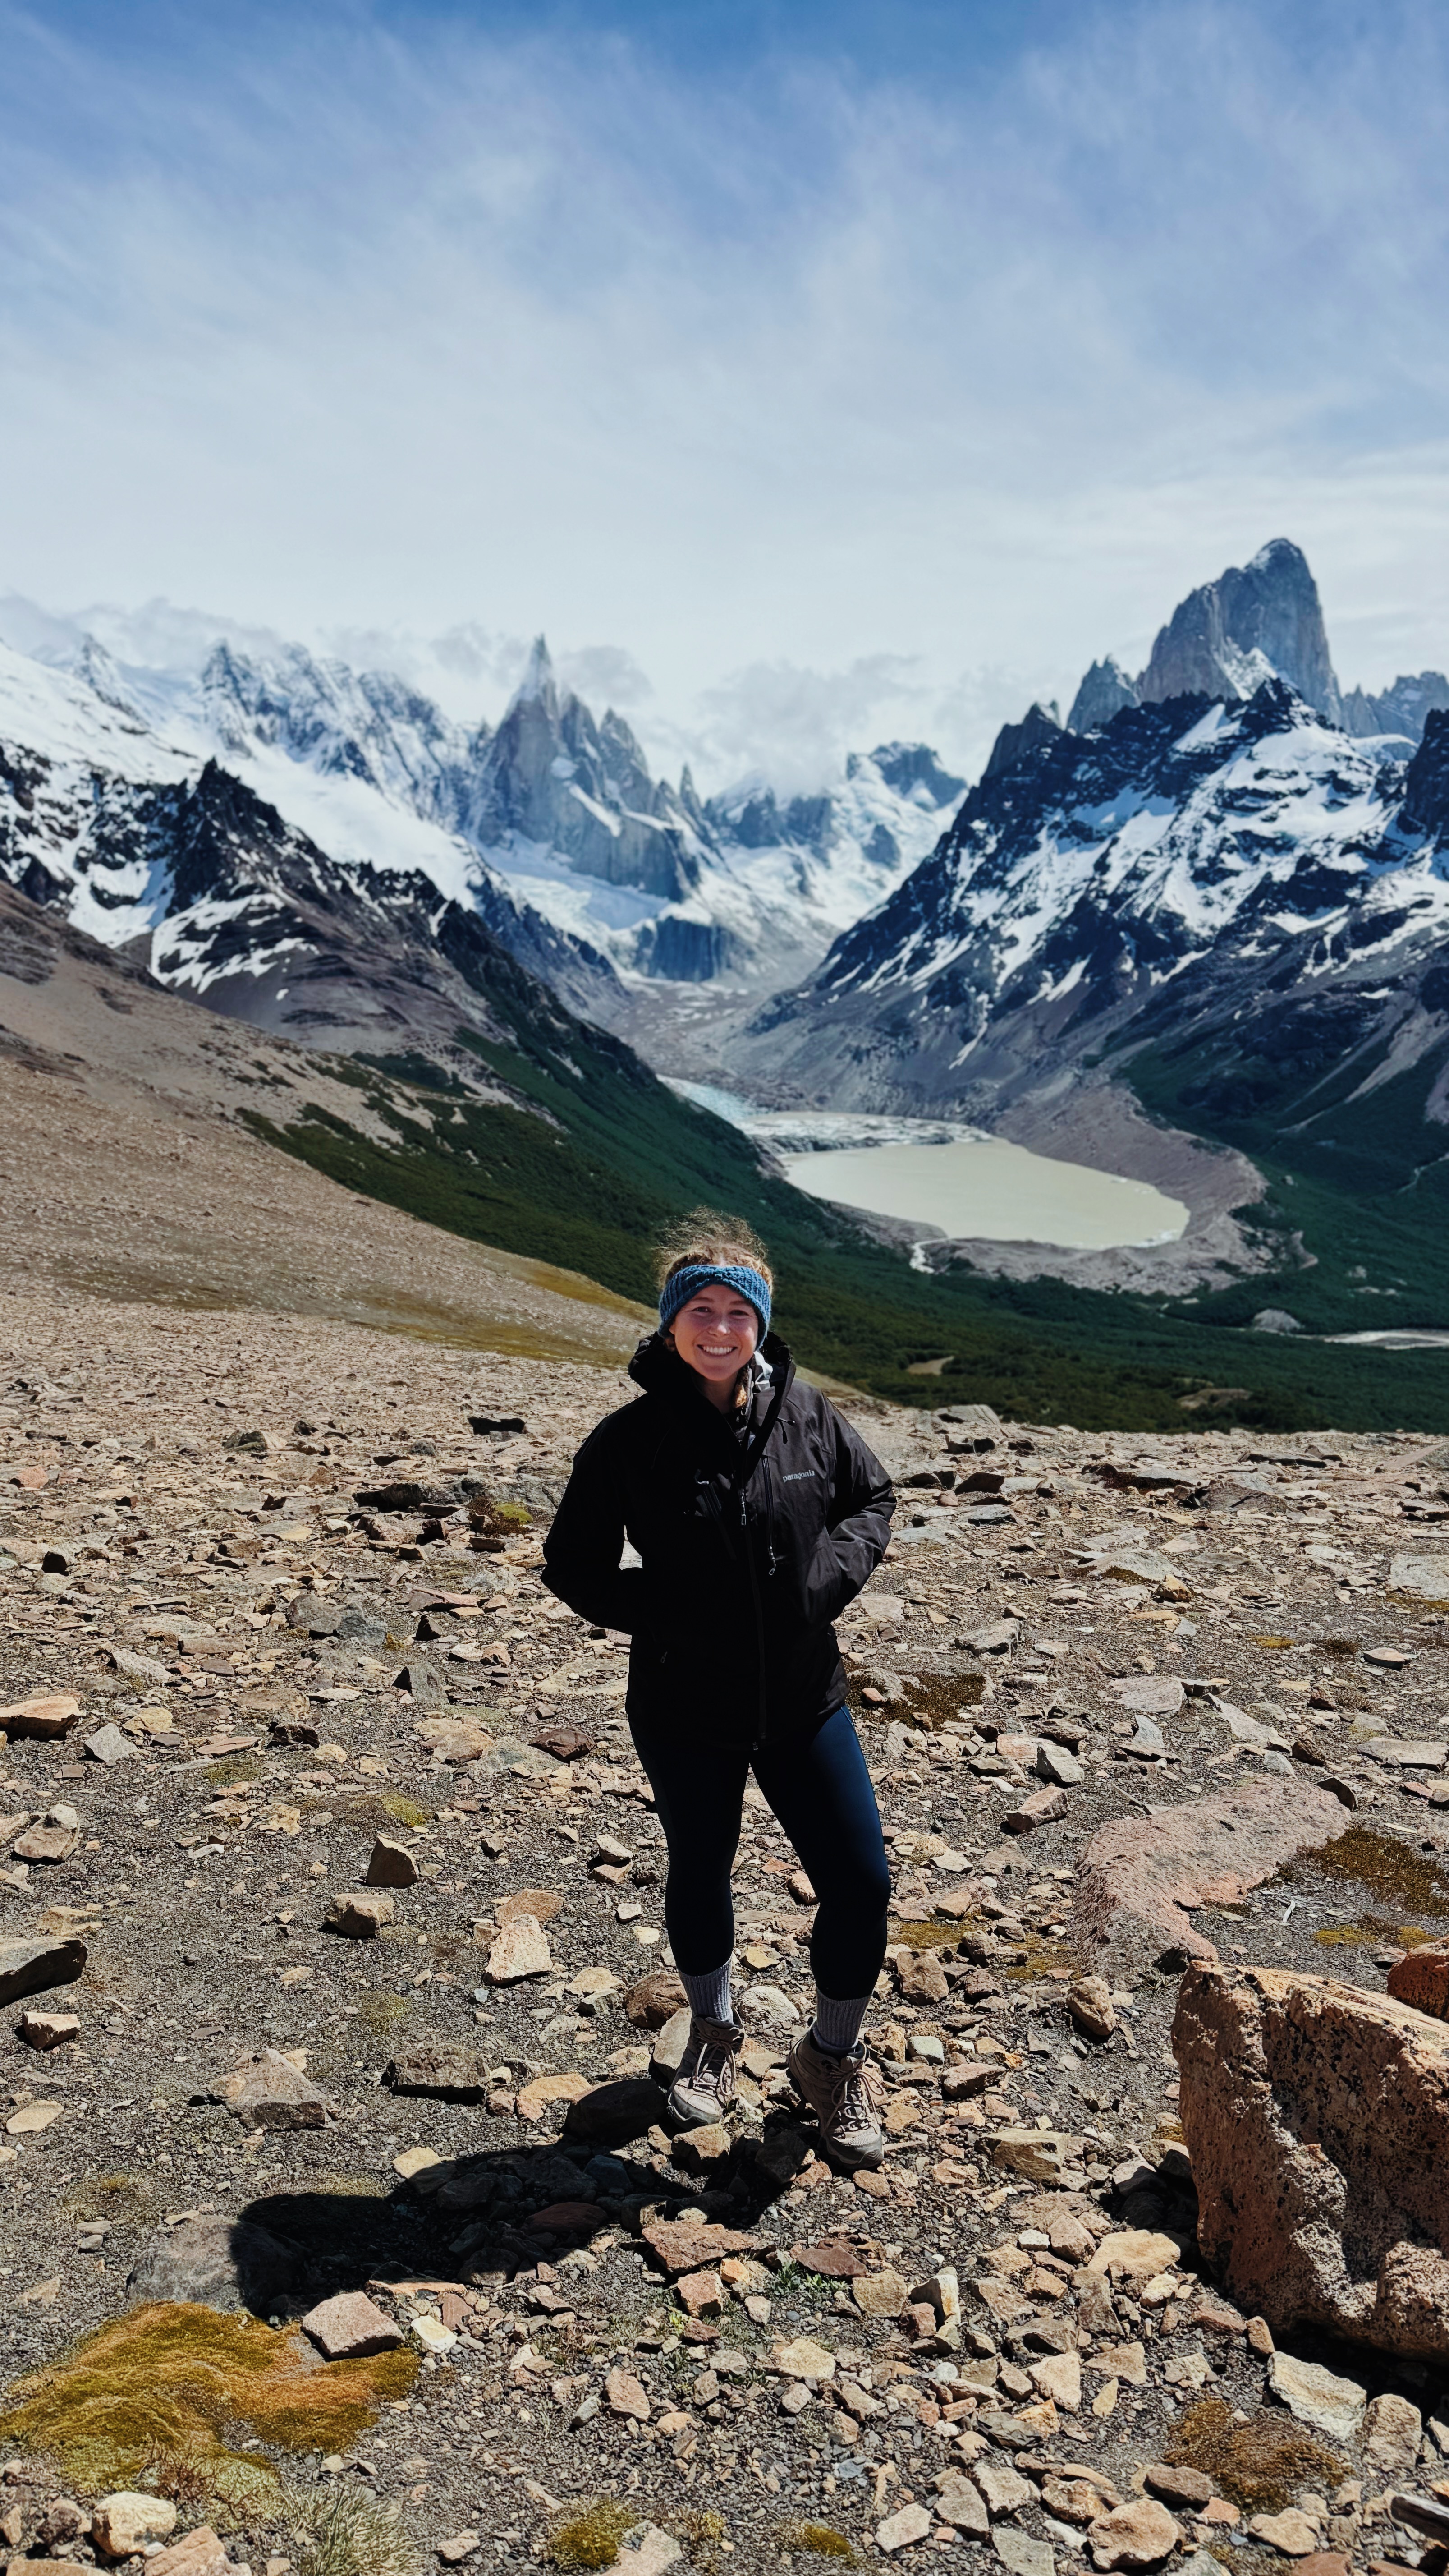
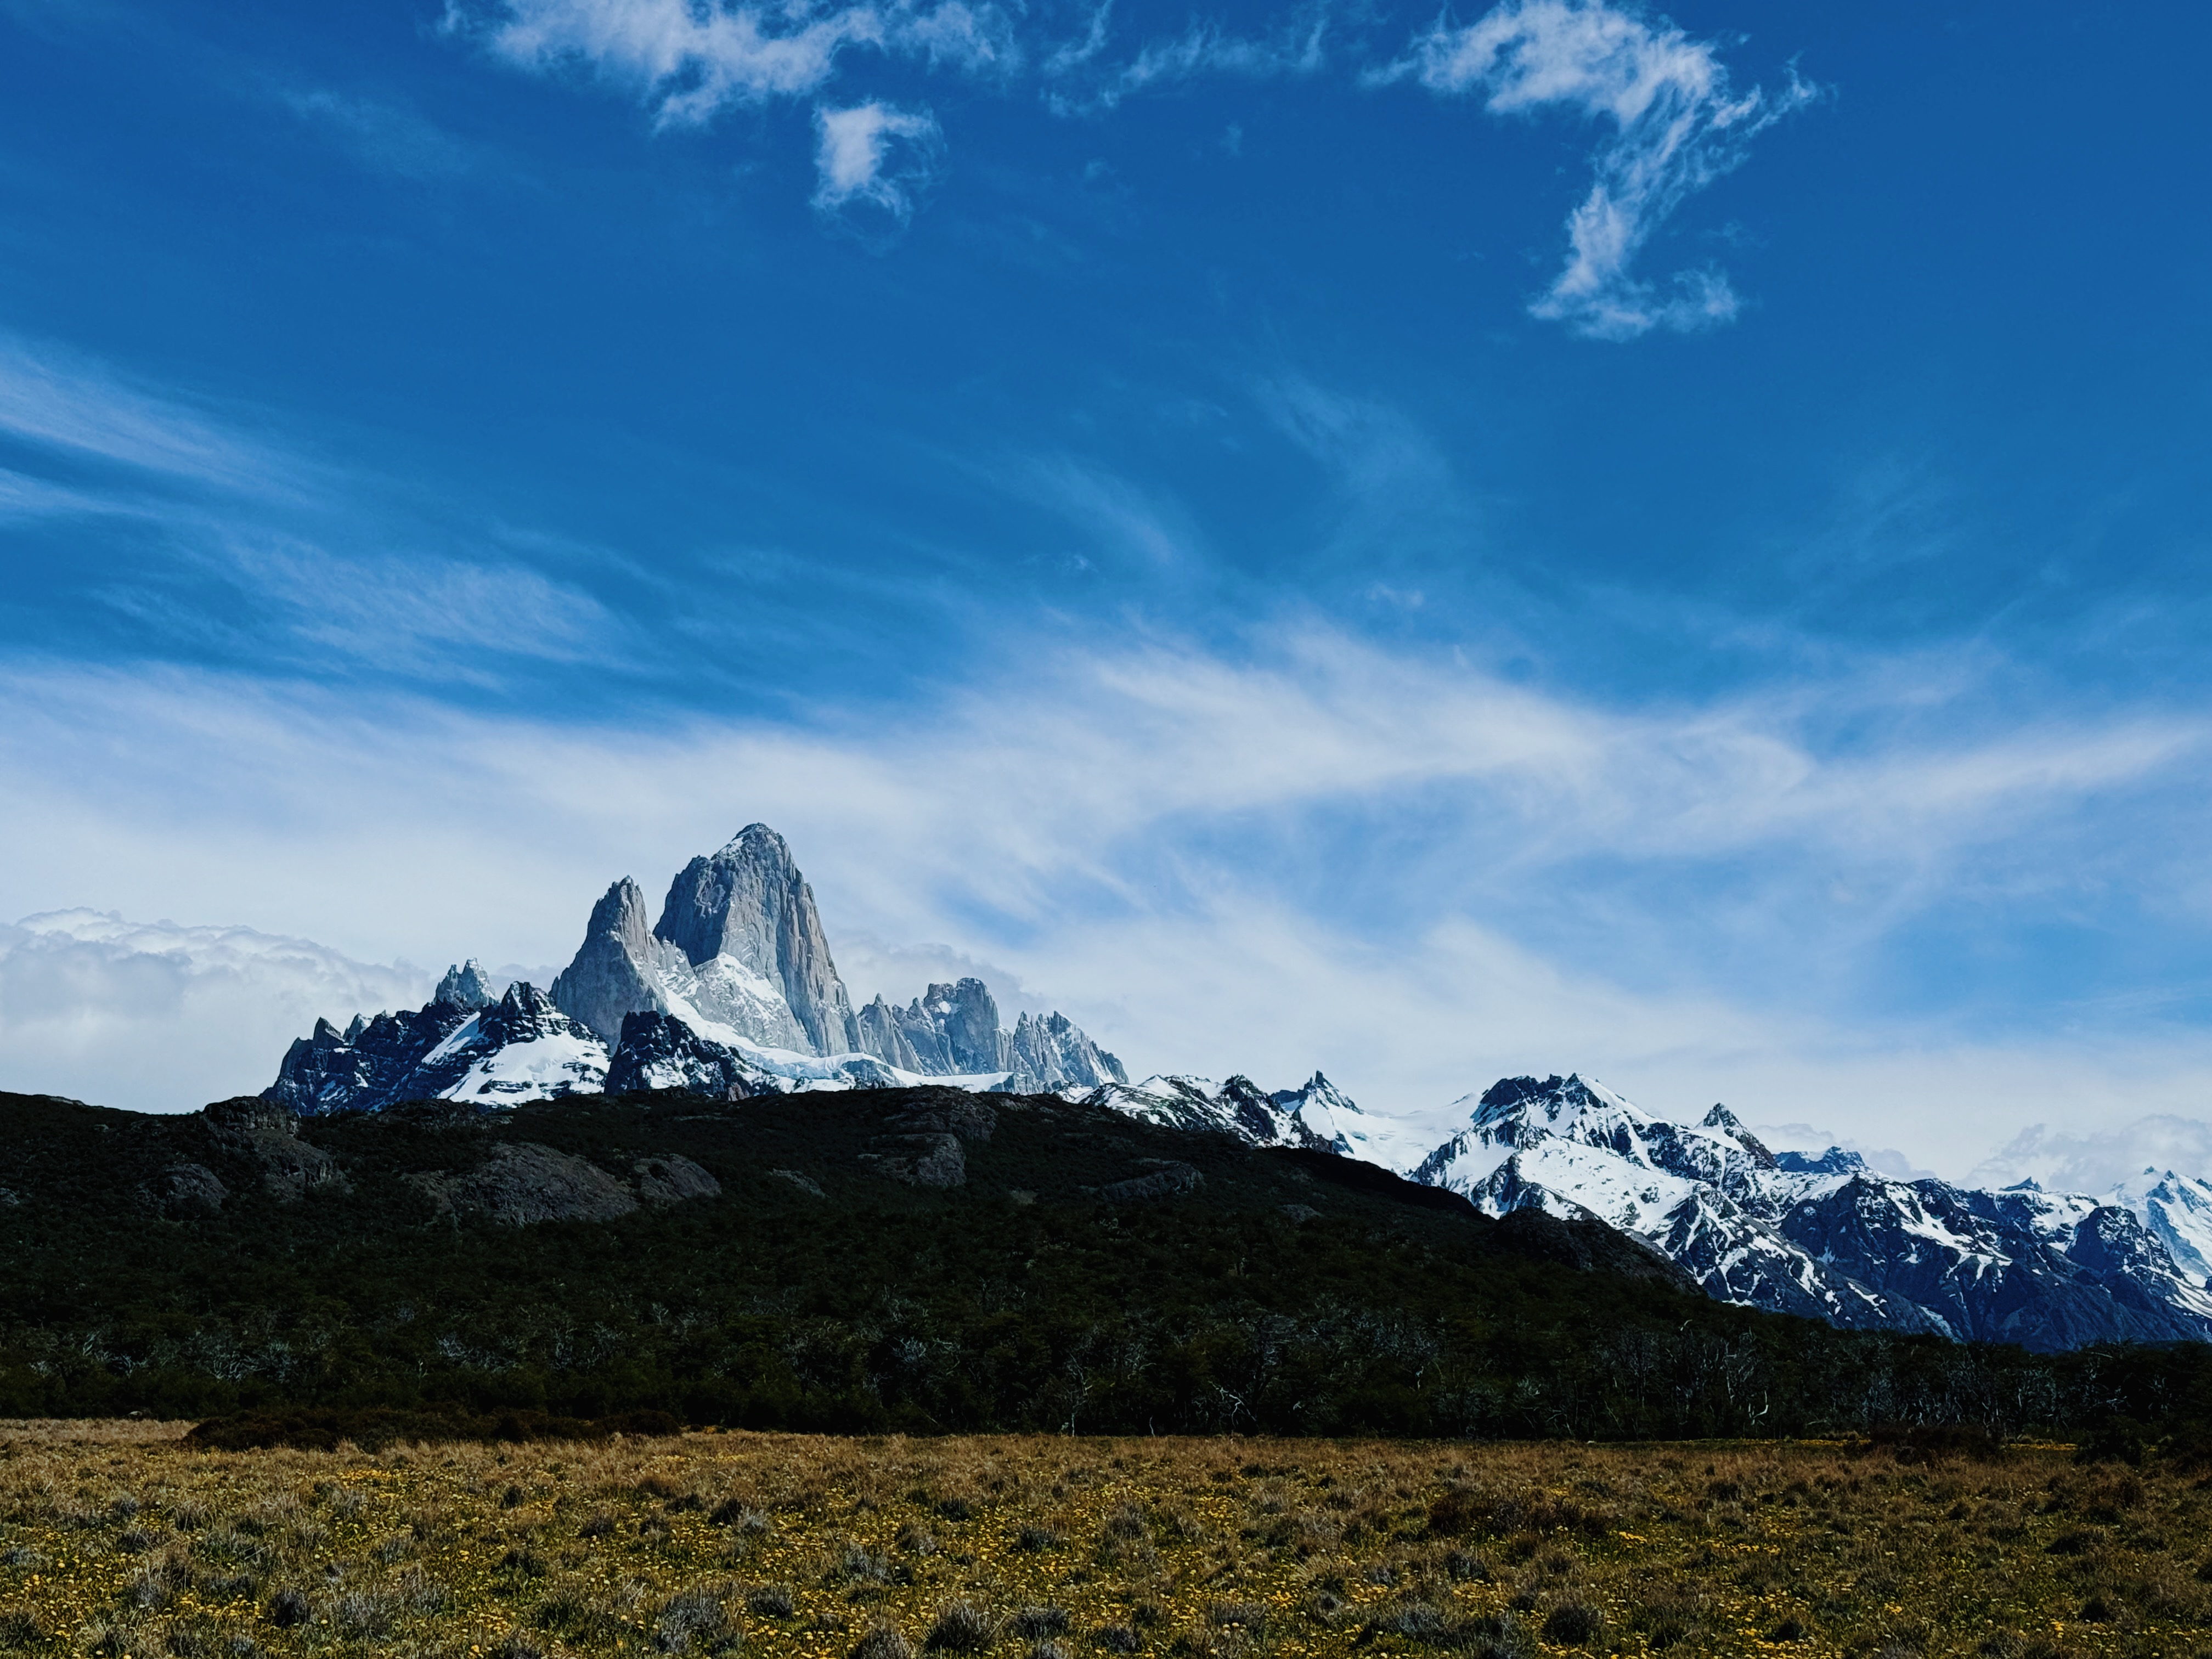
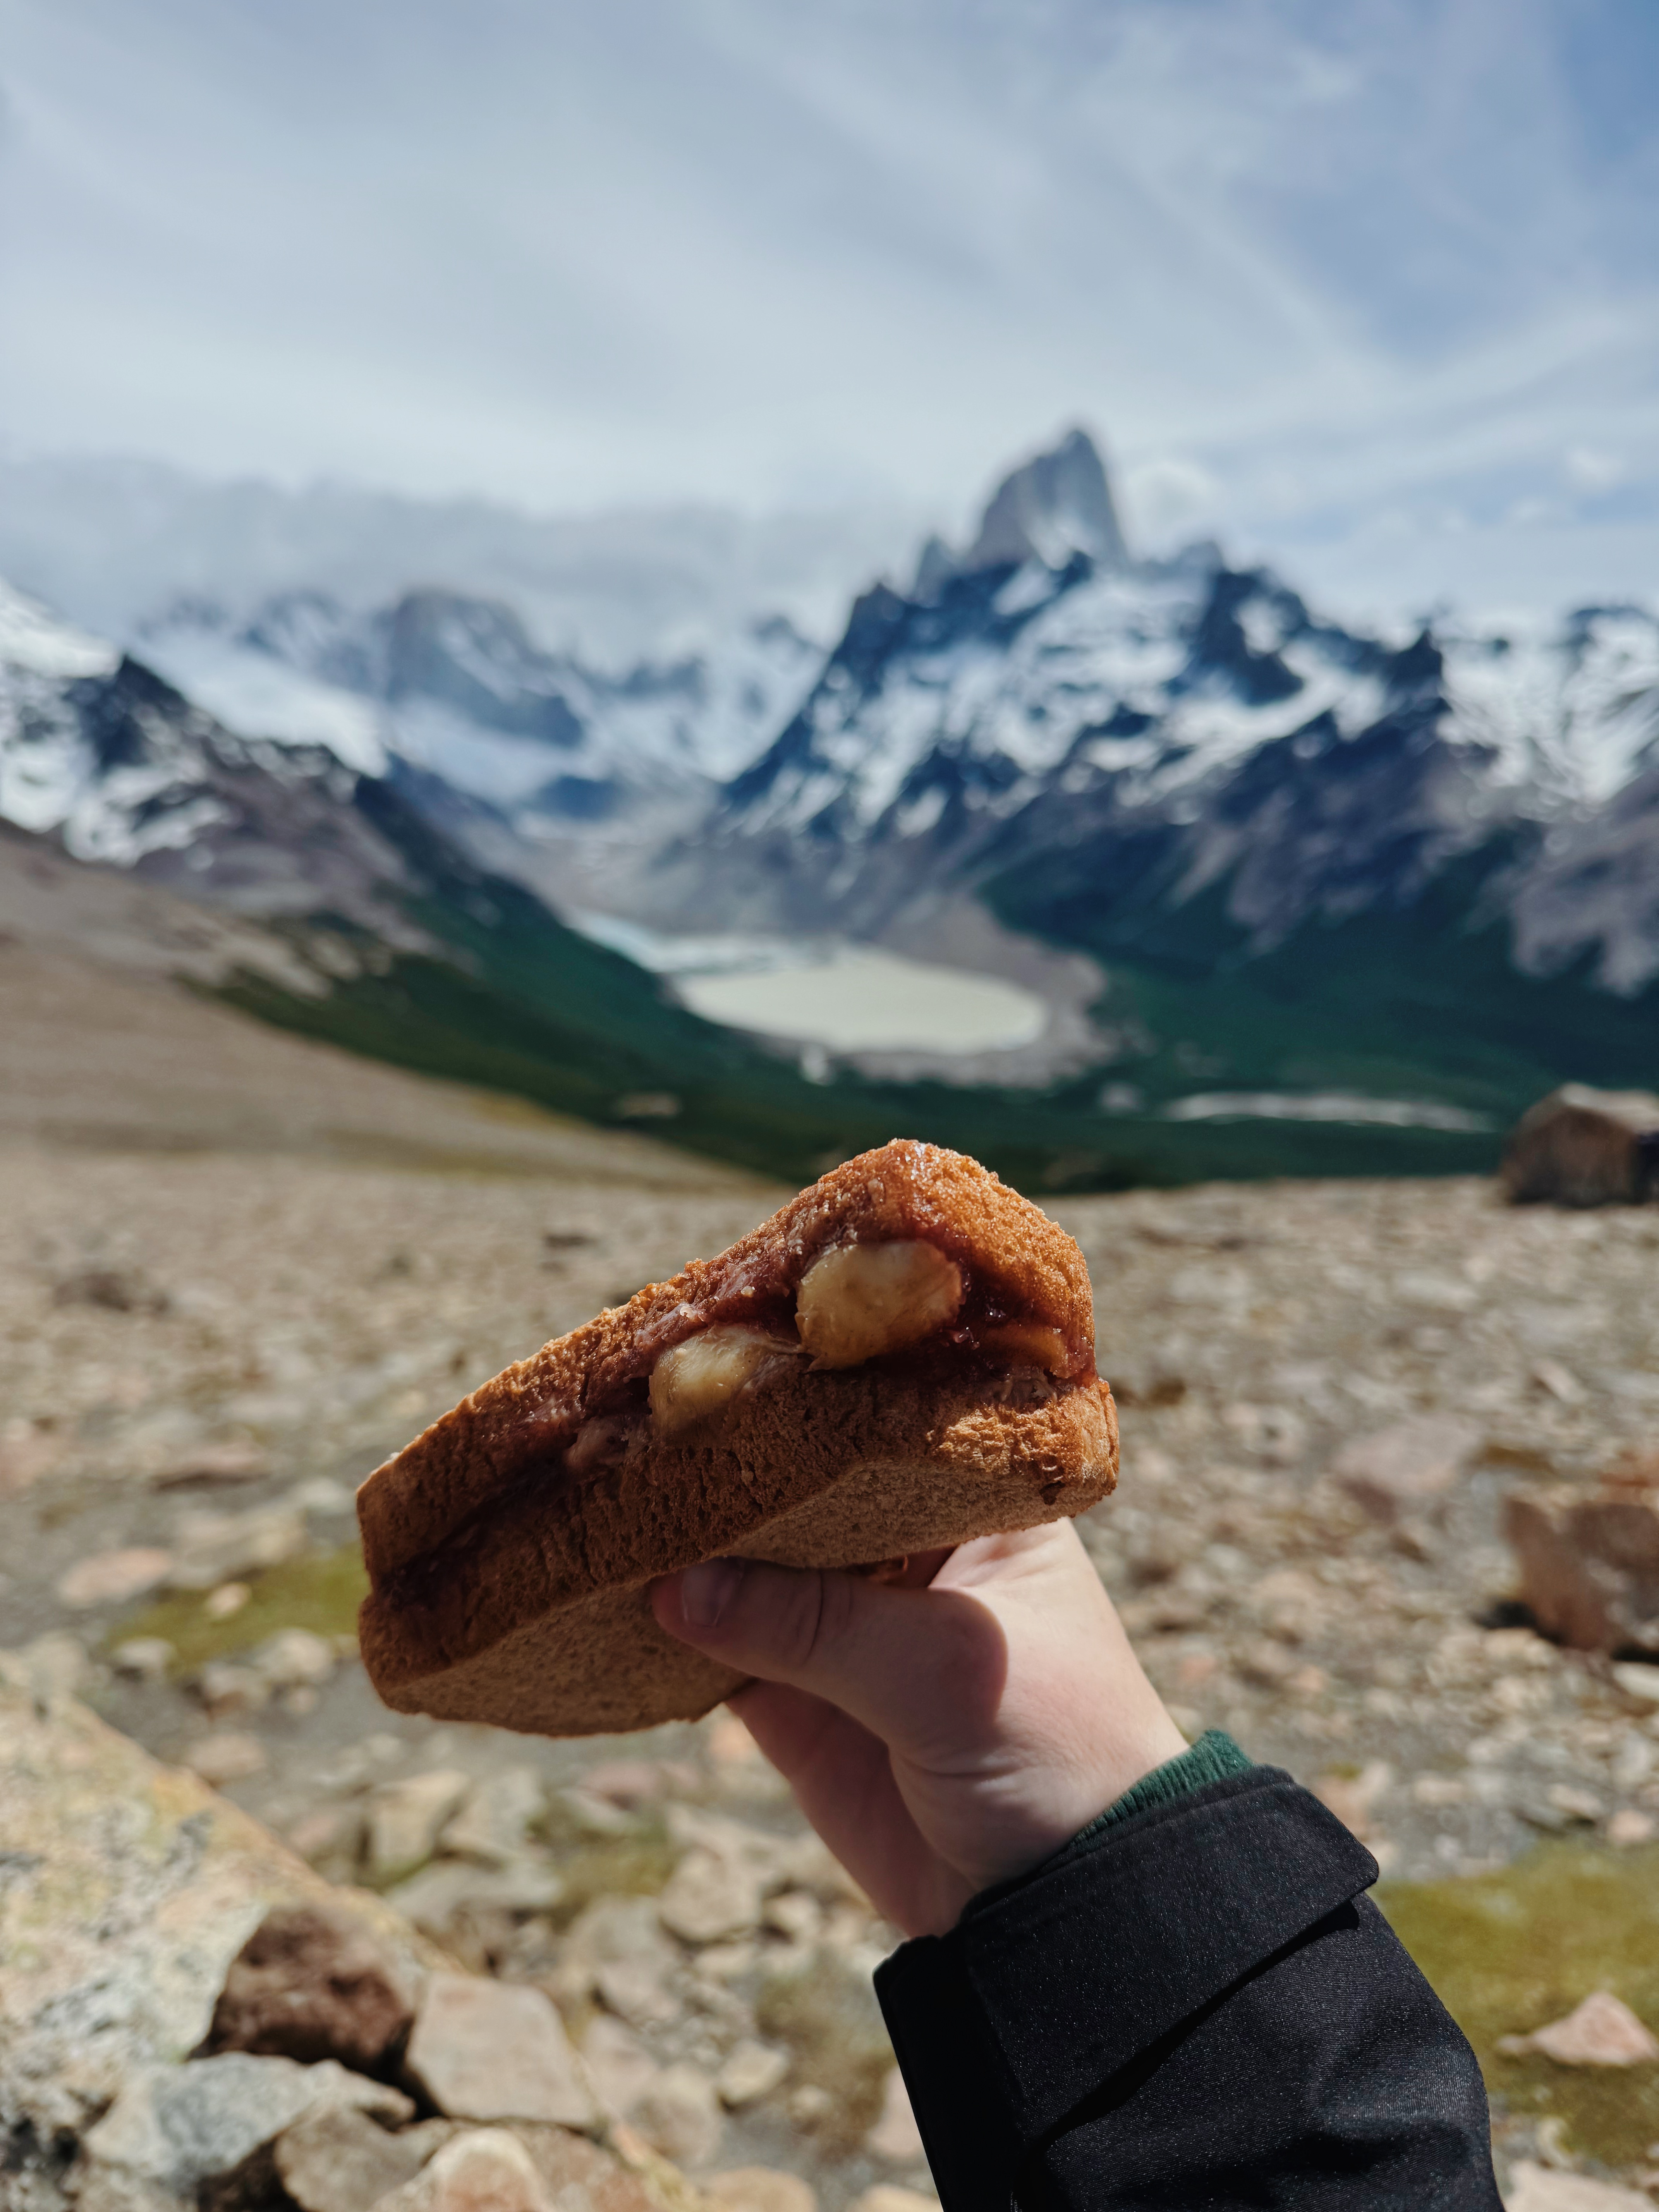
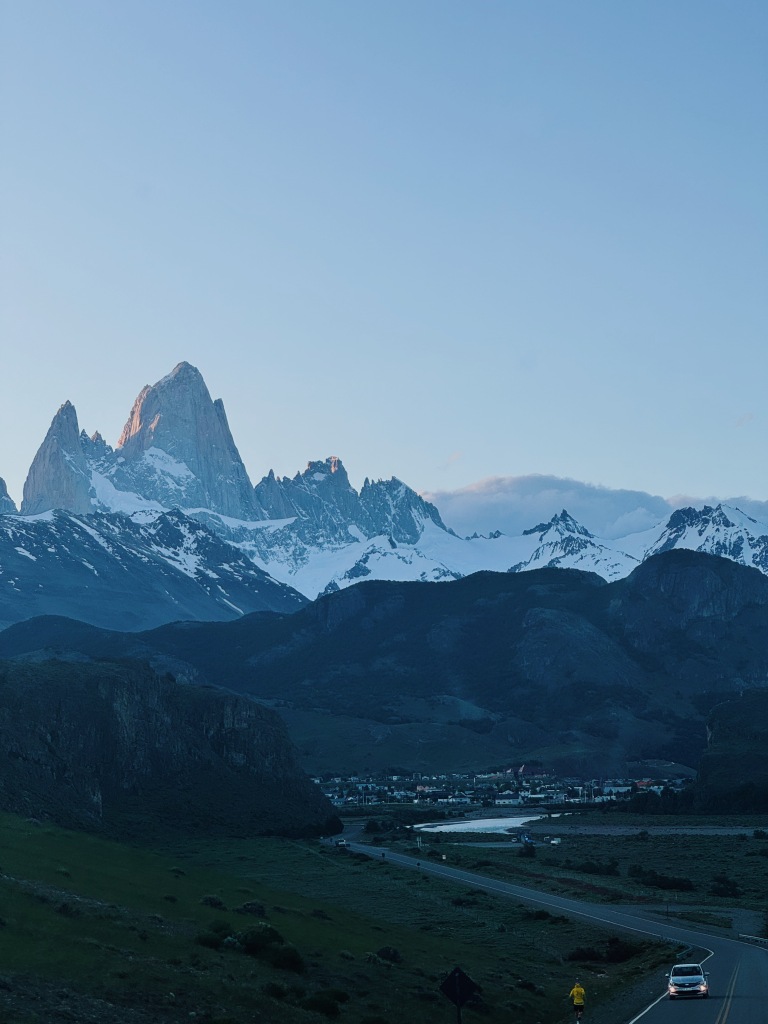
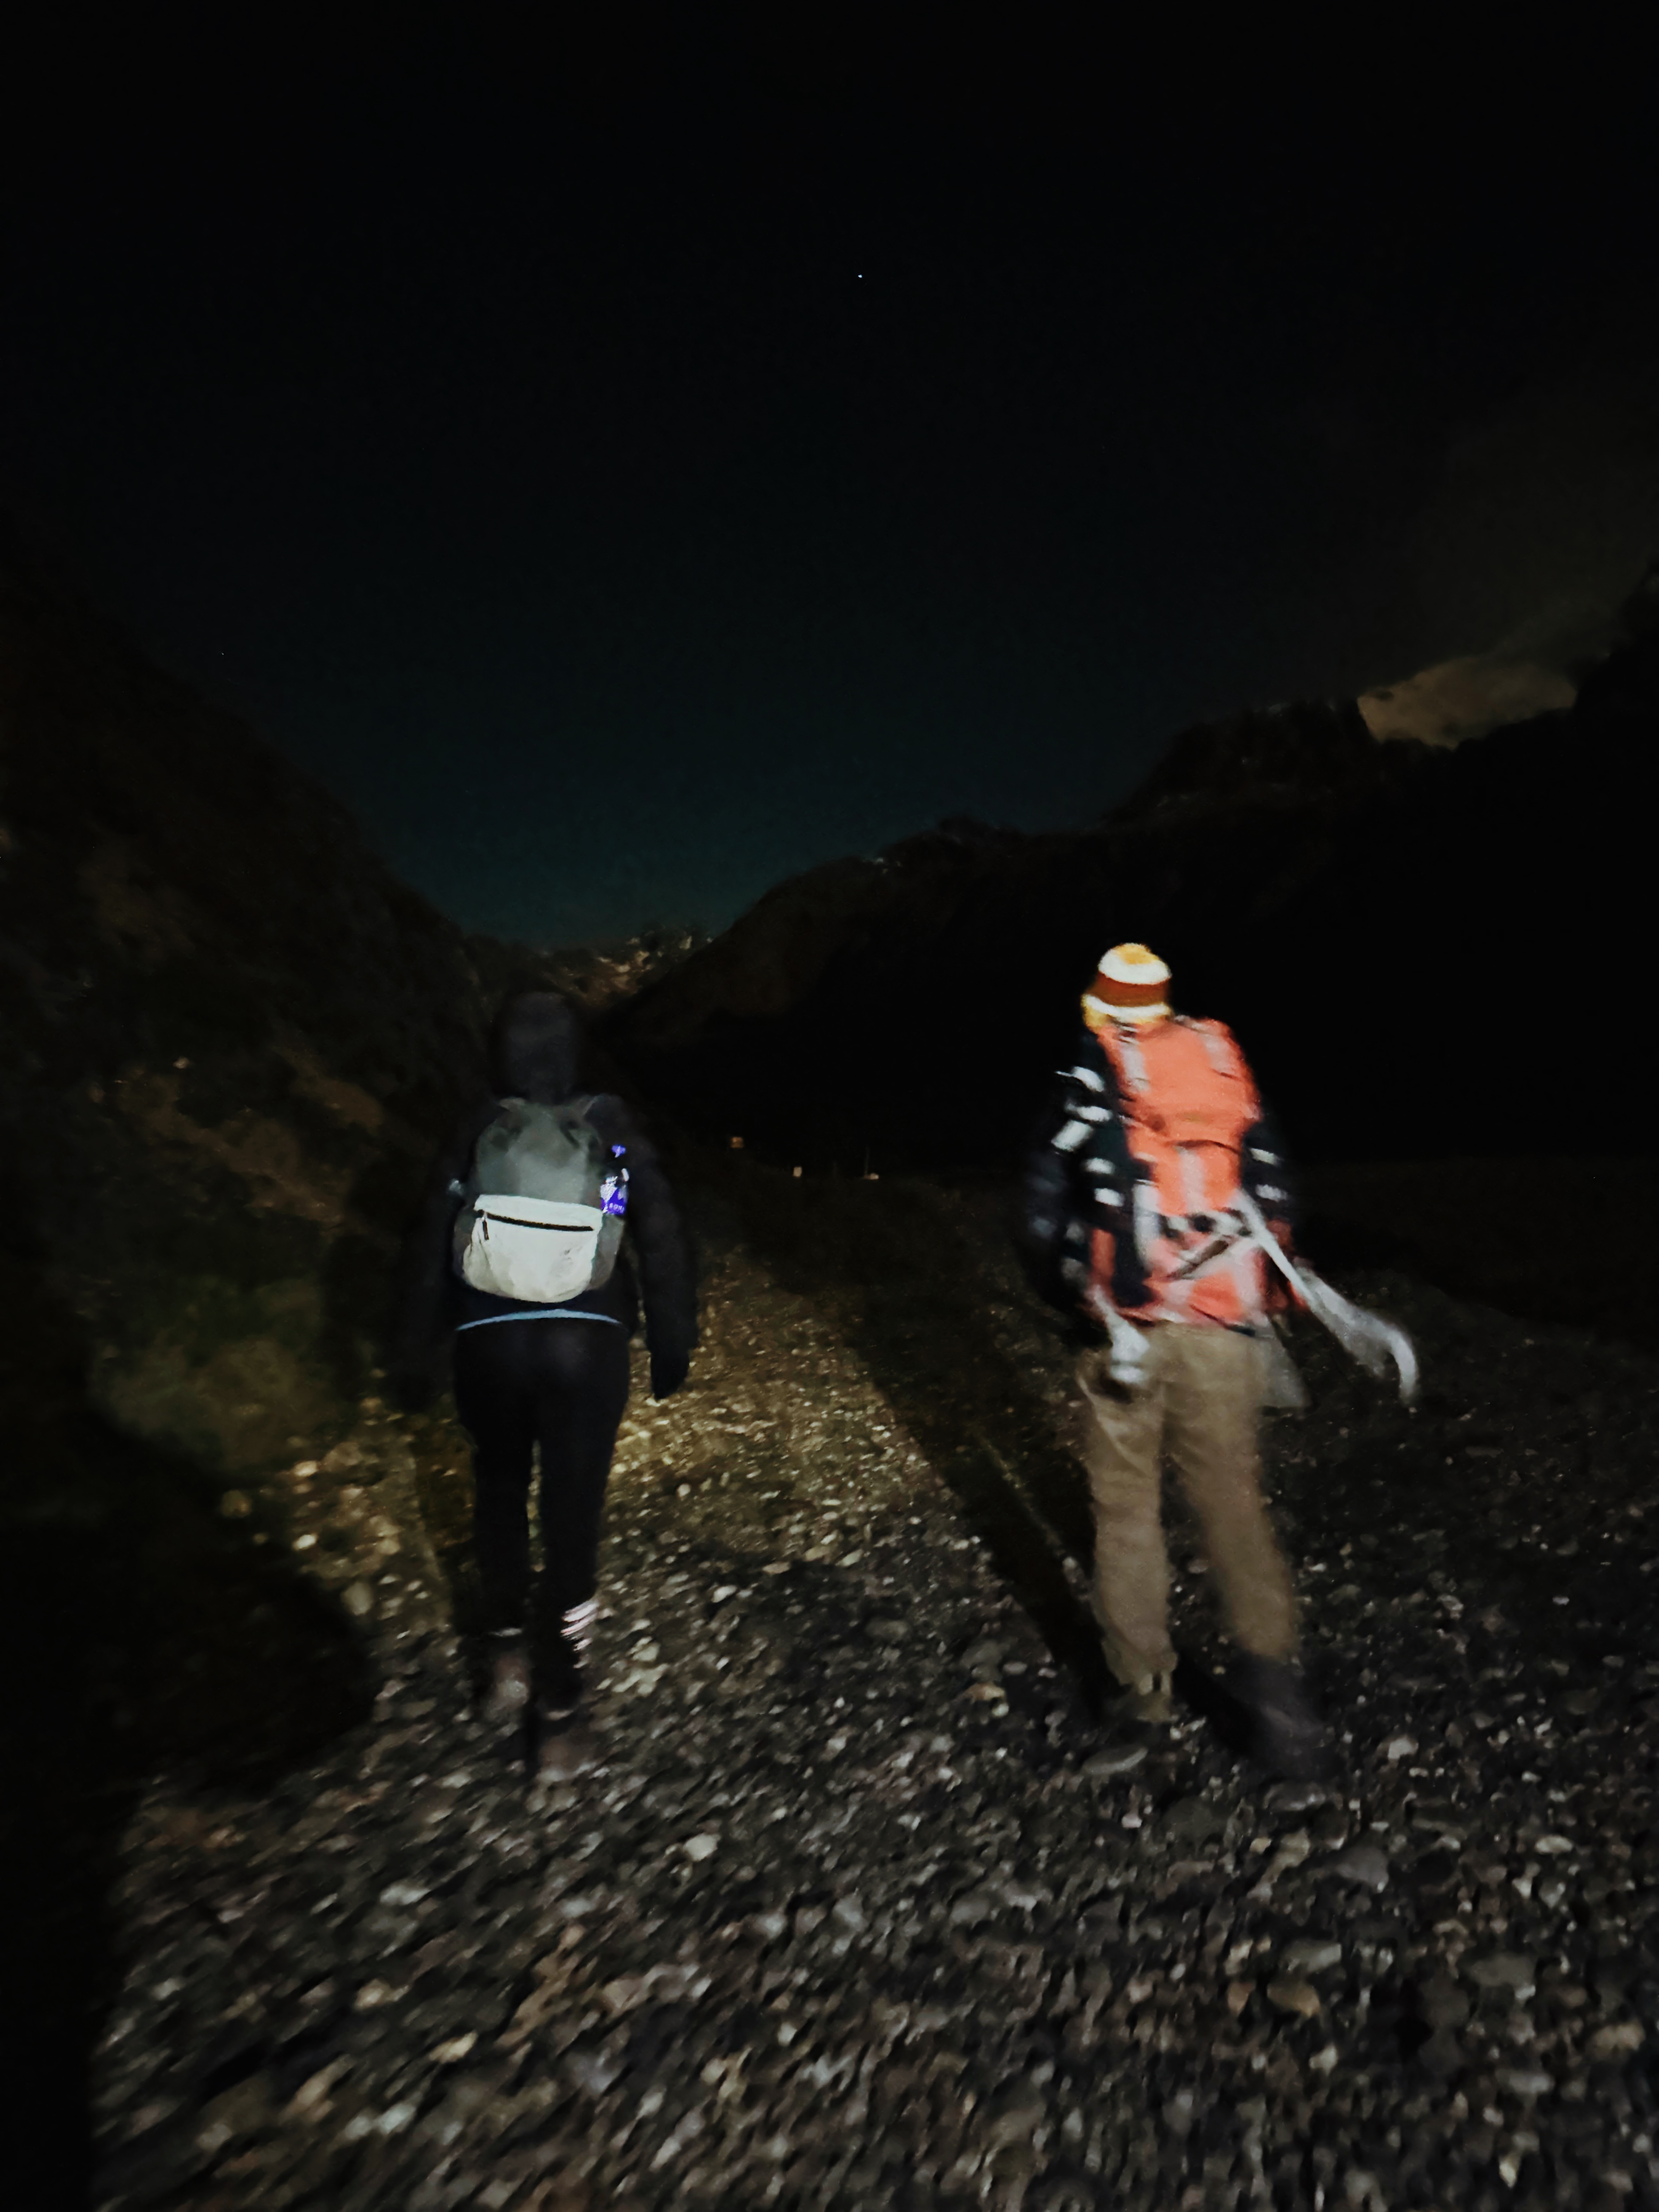
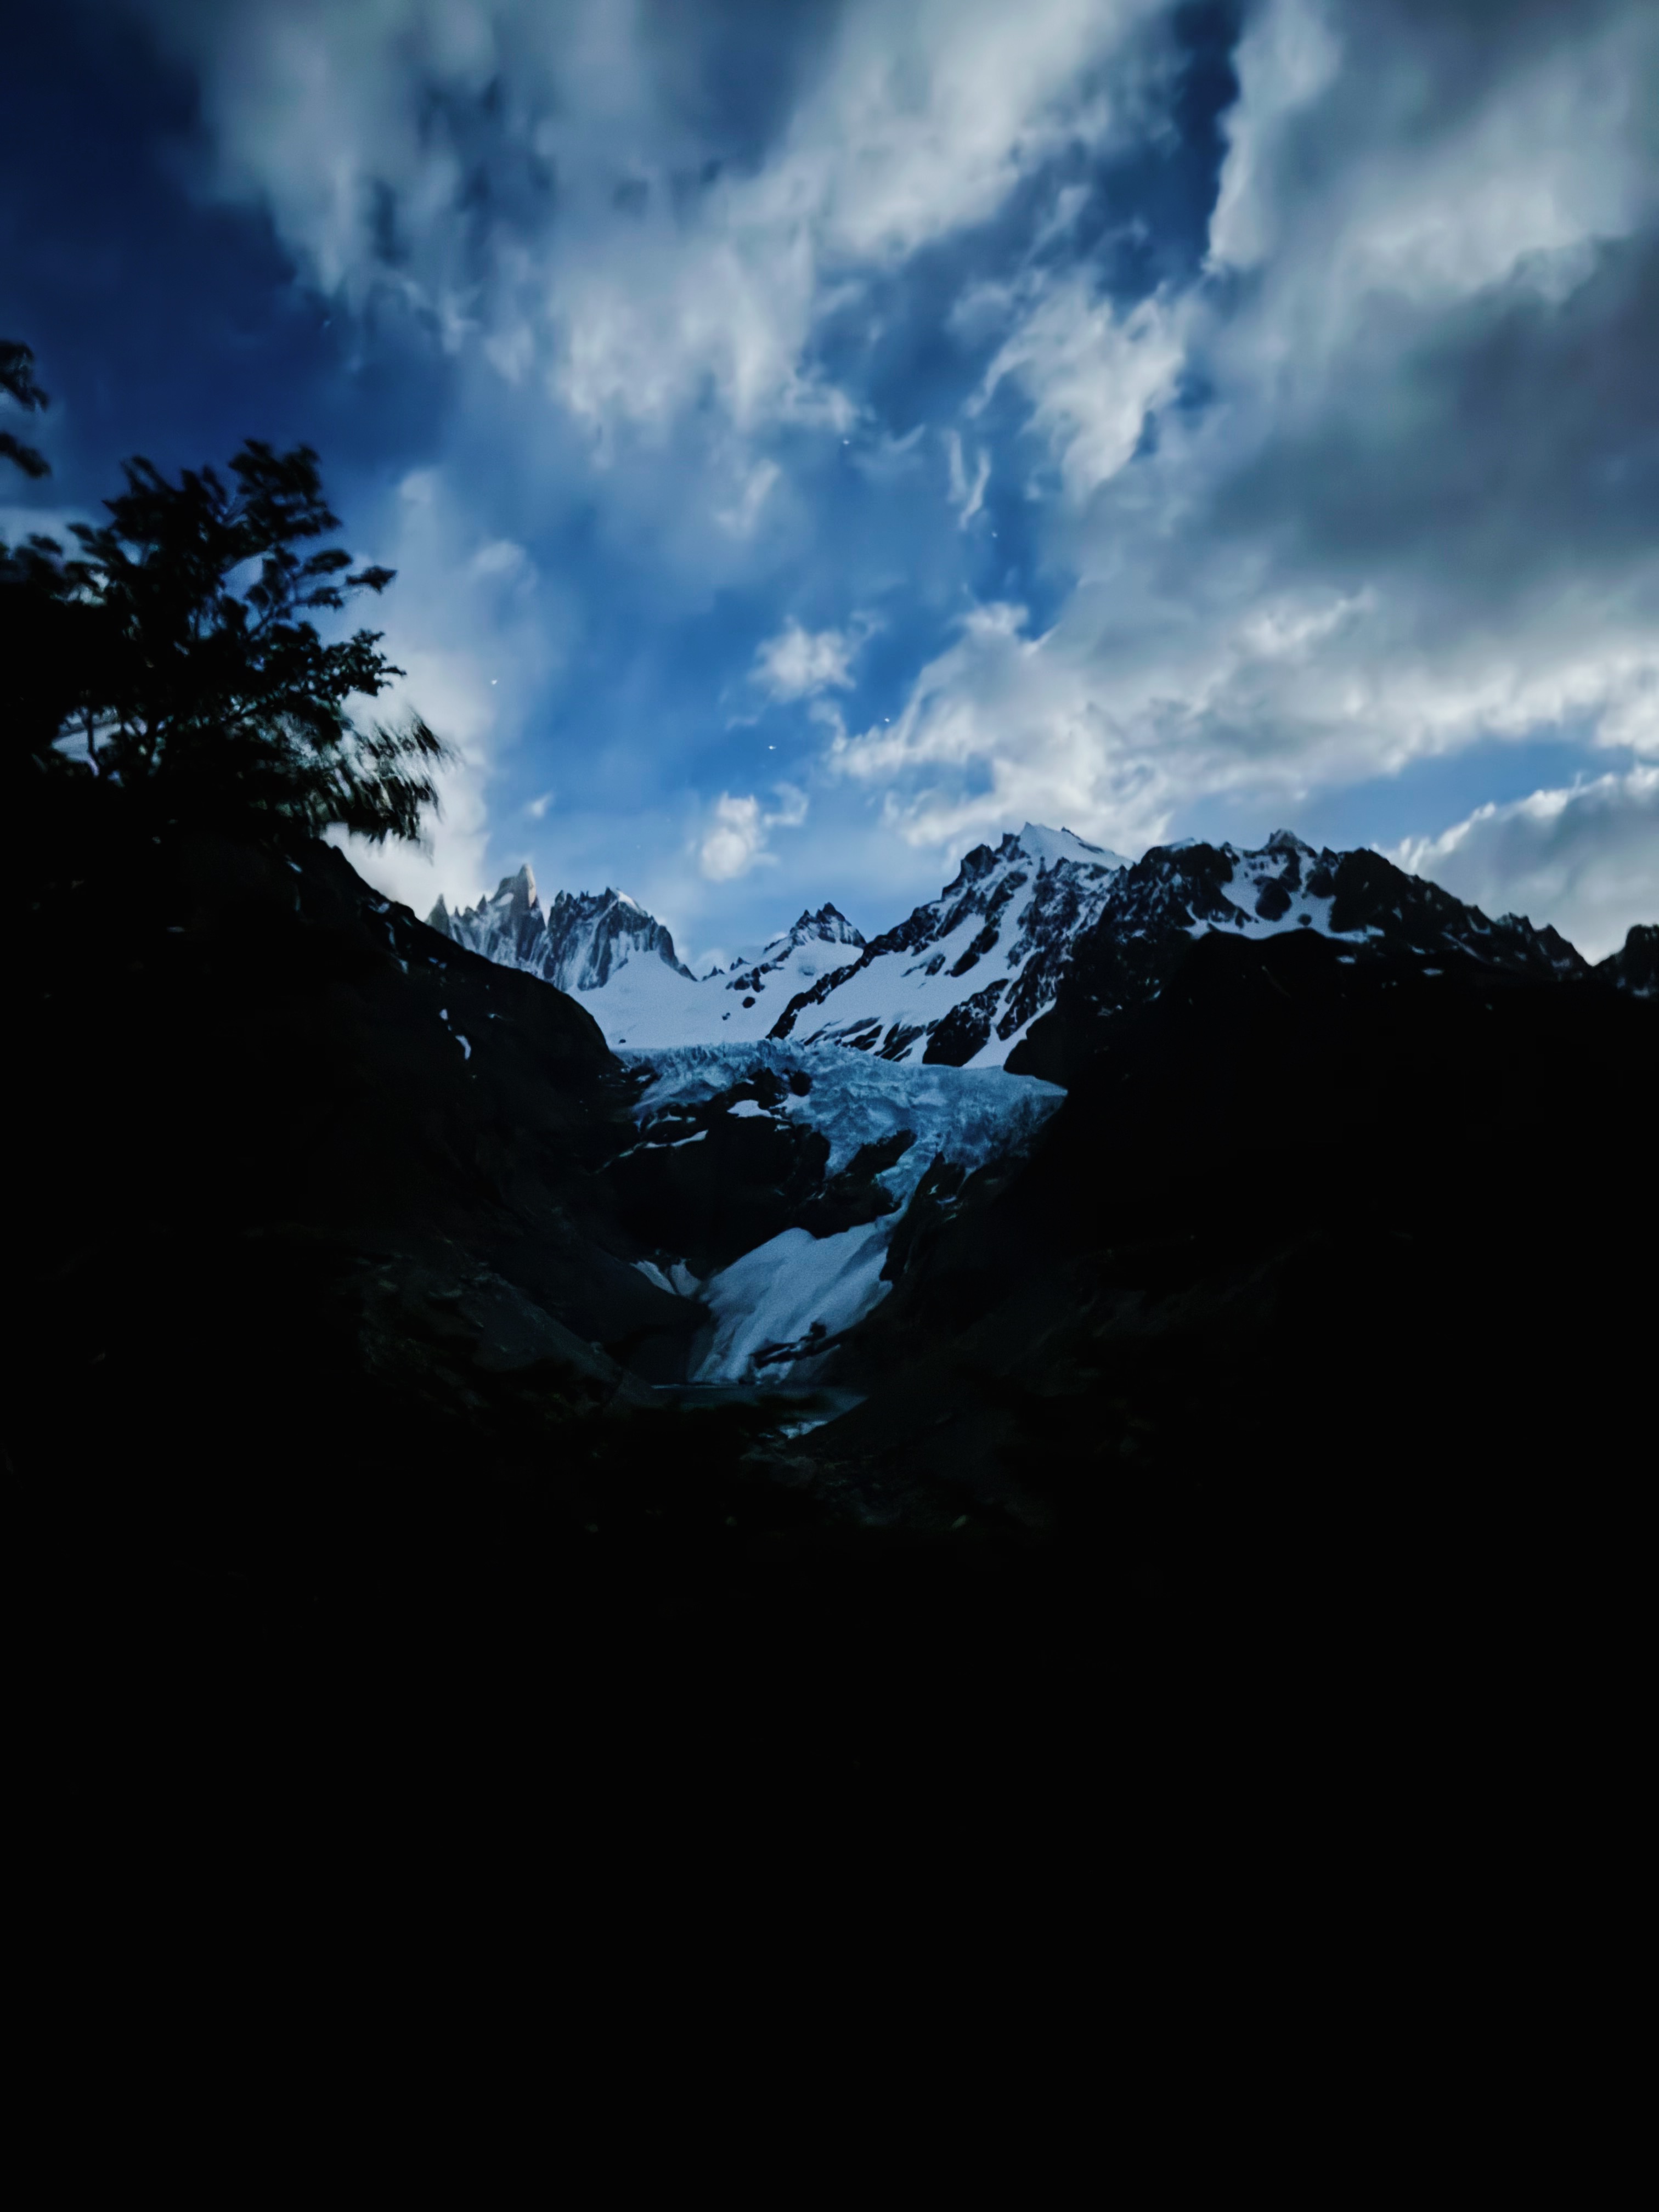
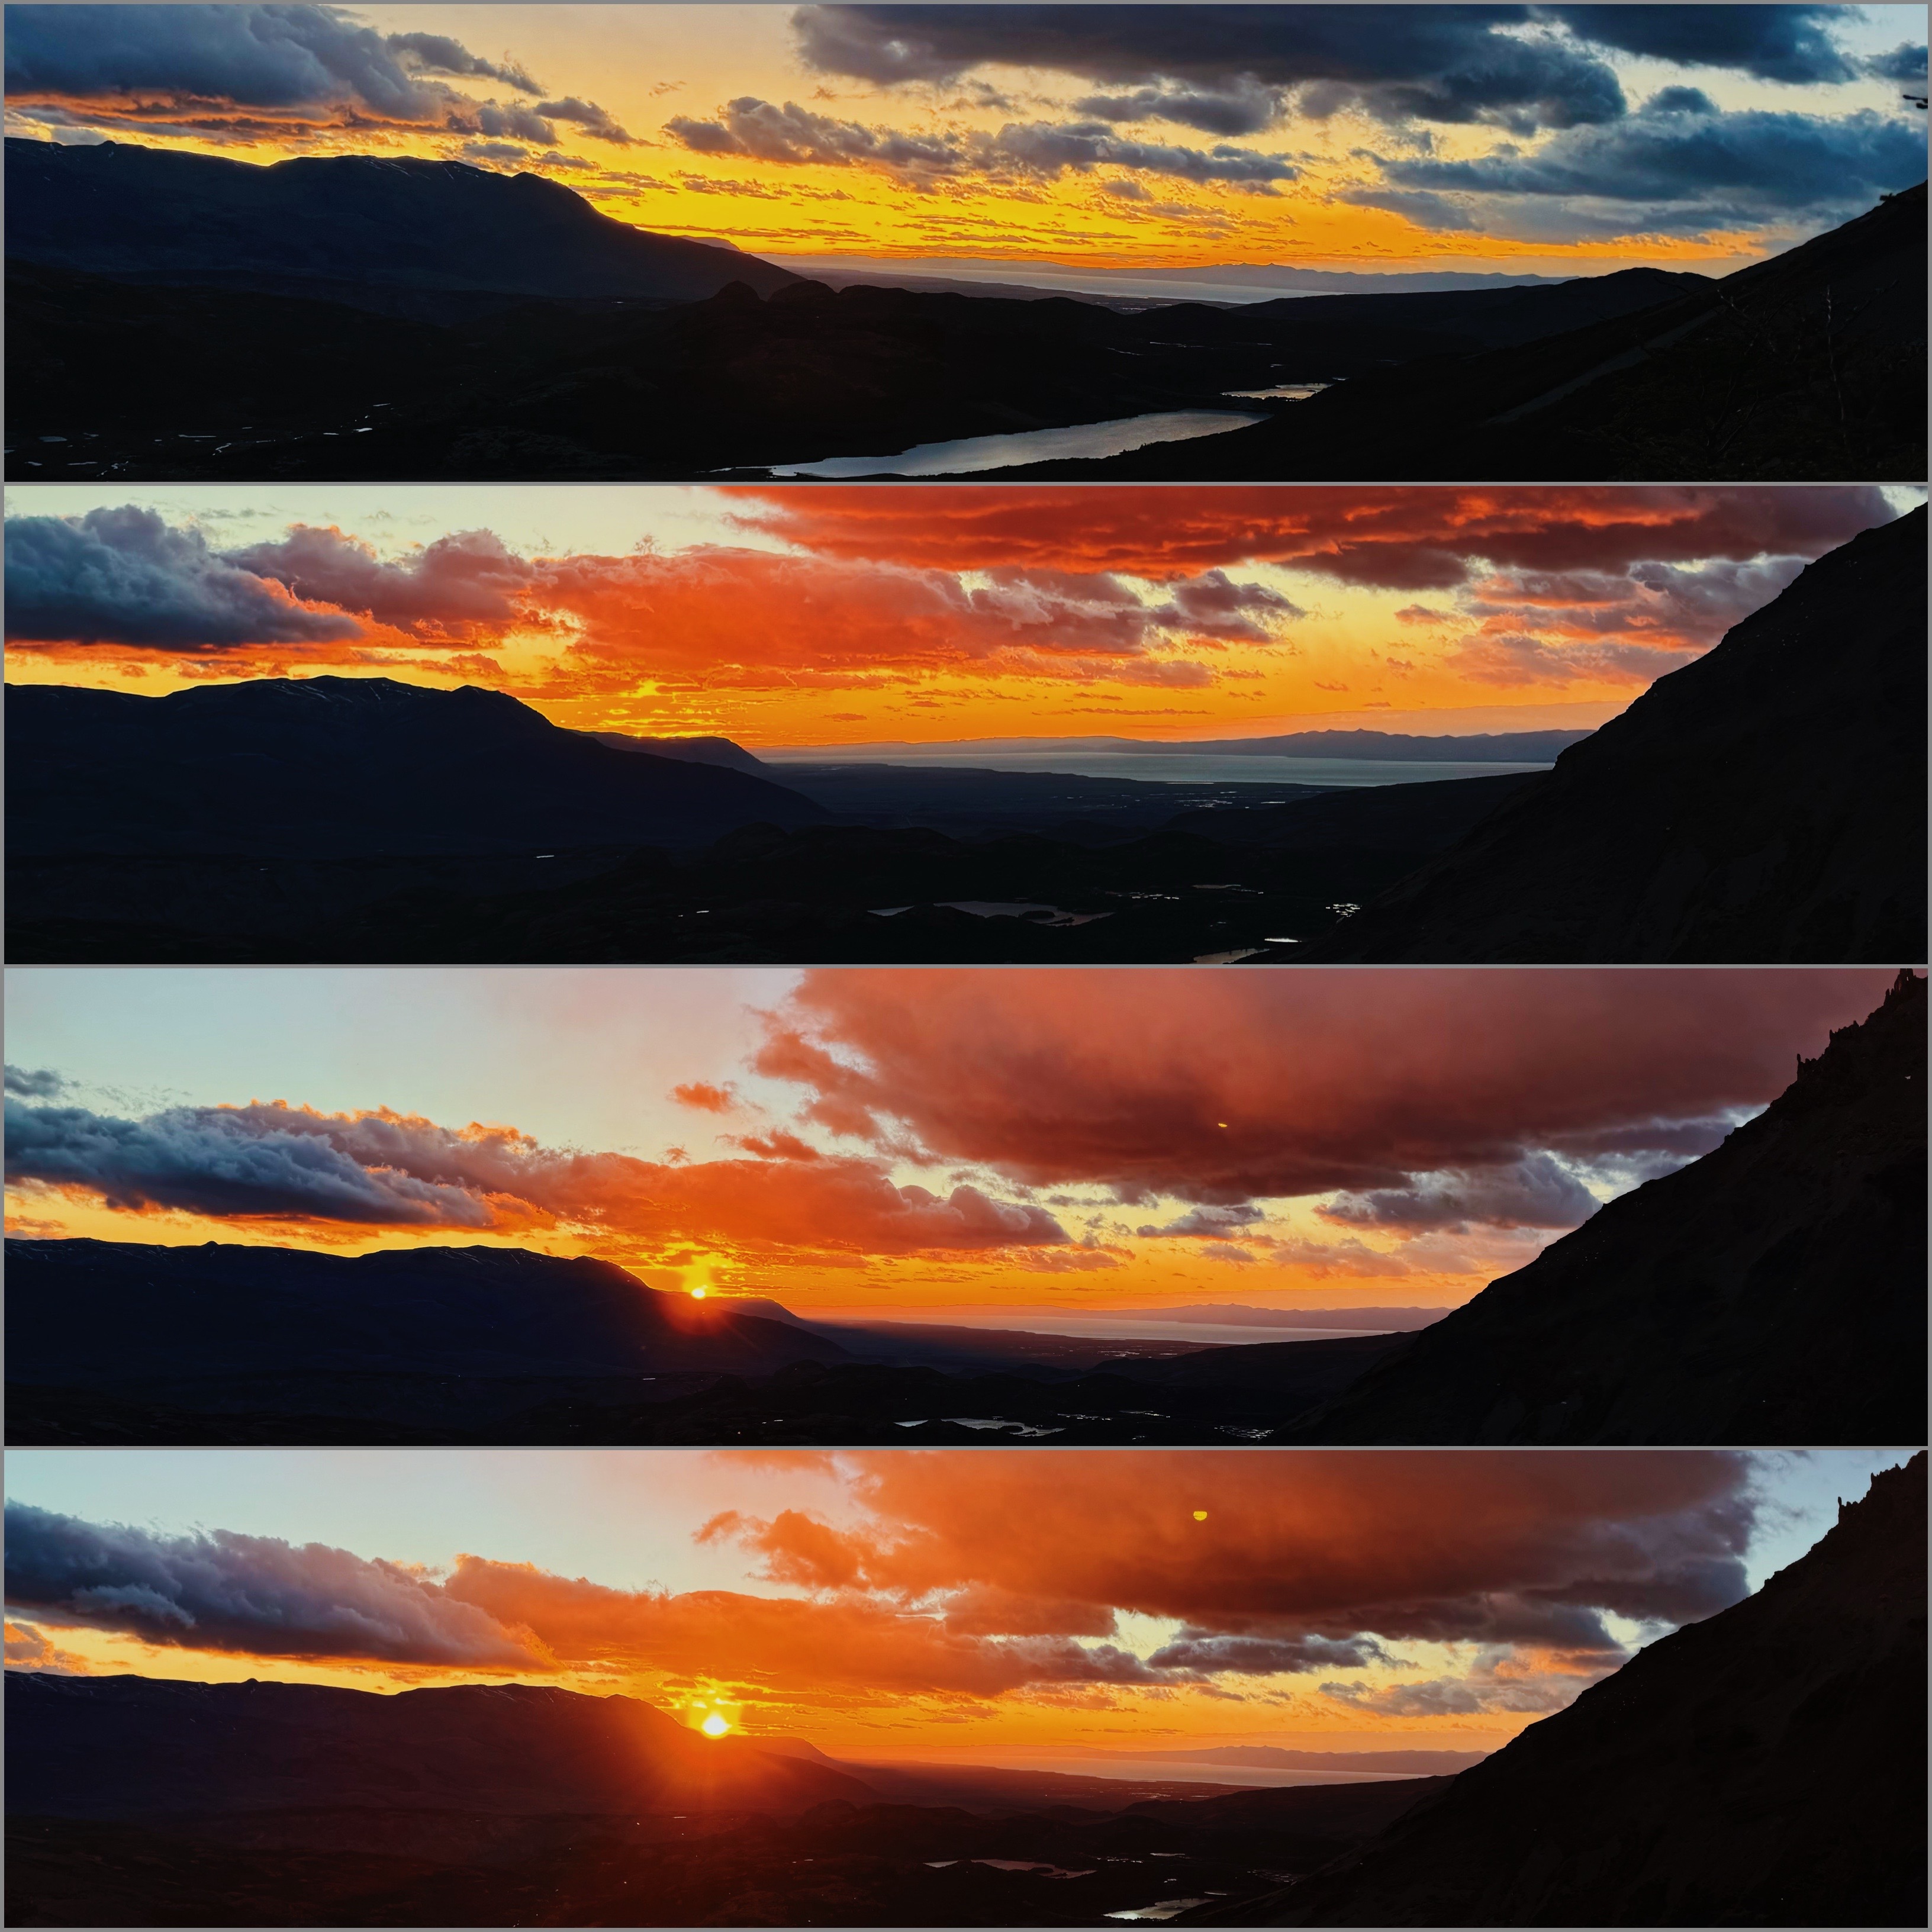
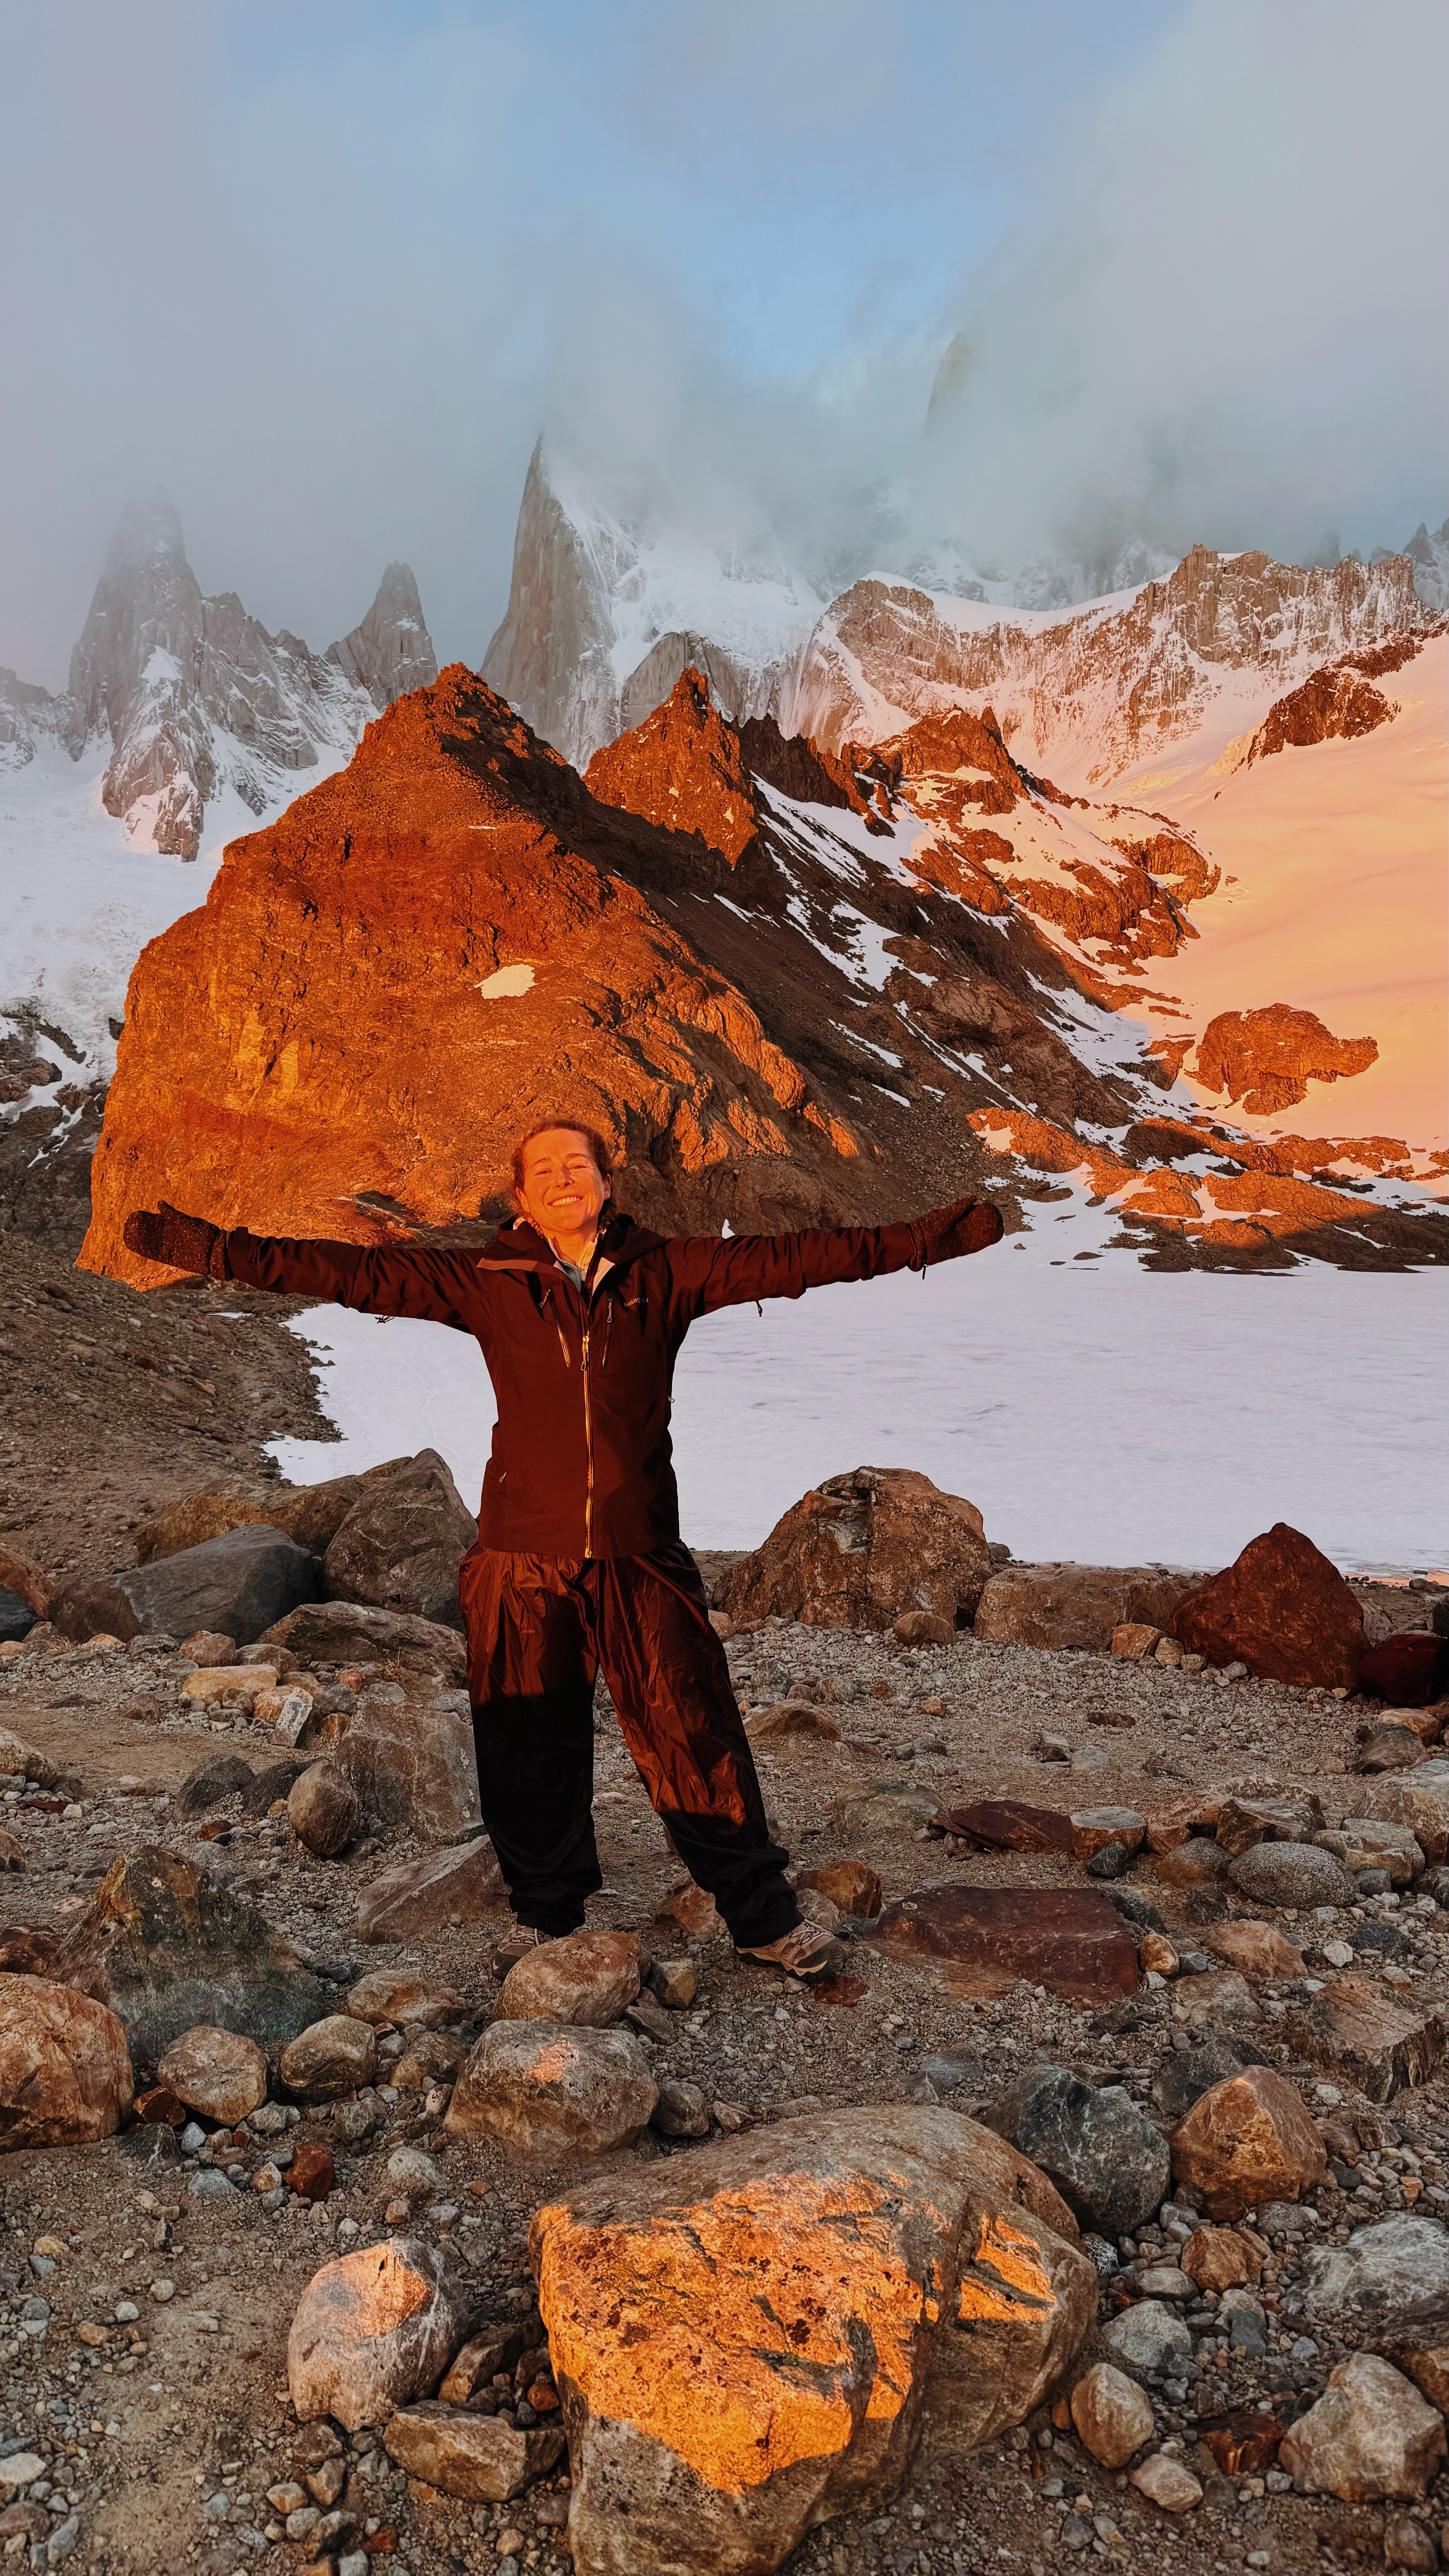
- Tres Torres – This is the classic, famous hike up to the Fitz Roy (the inspiration for the Patagonia logo). We decided to do it for sunrise with some new Argentinian friends we made. One of their mom’s dropped us at the Rio Electrico trailhead so we could do a through hike instead of an out & back from town (but this is an option). We started at 2am & got back at 11am. We arrived at the top right at sunrise at 6am. 3000 ft of elevation and around 14 miles so not for the faint of heart. If you want to do the Rio Electrico start (which ultimately makes the hike slightly easier and shorter), you’ll have to arrange for a taxi to take you there.

OVERALL THOUGHTS:
You could spend many days here and still have hikes to explores for the first time. Other than the prices, I don’t have any complaints. It’s a very cute mountain town that is small enough to start to feel like you’ve lived there for years by day 3. You quickly start to recognize people in town & I never tired of the views. Anywhere between 4-7 days is great here (as long as you like hiking). Have I made that clear?! 🙂
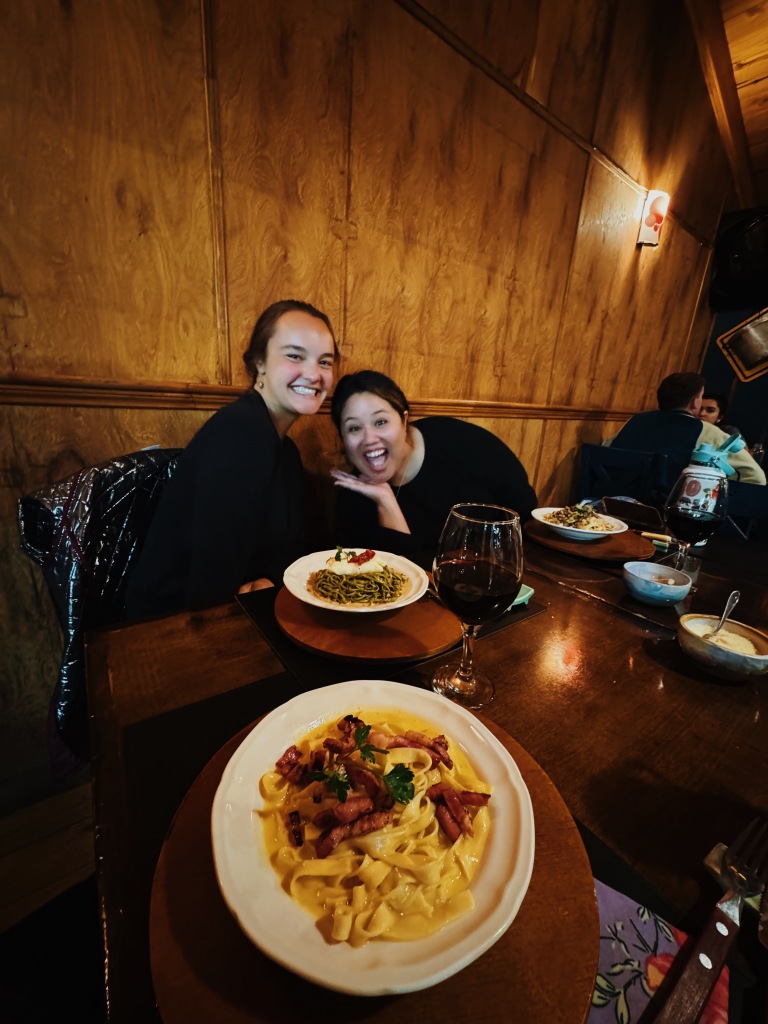
CITY: El Calfate, Argentina
HOW LONG: 4 Nights
ACCOMMODATION:
We stayed at Red House Hostel and had a mixed experience. The hotel itself was cute, clean, and in a pretty good location, but the staff were rude. Breakfast was from 7-10 but the pancakes would run out at 7:30am… which is odd, like just make enough if you know people are staying there. Also the common area shuts at 11pm sharp so there is no place to hang and play cards or make a phone call home if time zones don’t align with Argentina. I had to spend 2 hrs in the freezing cold to speak to a friend. I still think it’s not a bad spot, but just consider the above. It’s a small hotel so very easy to meet people!
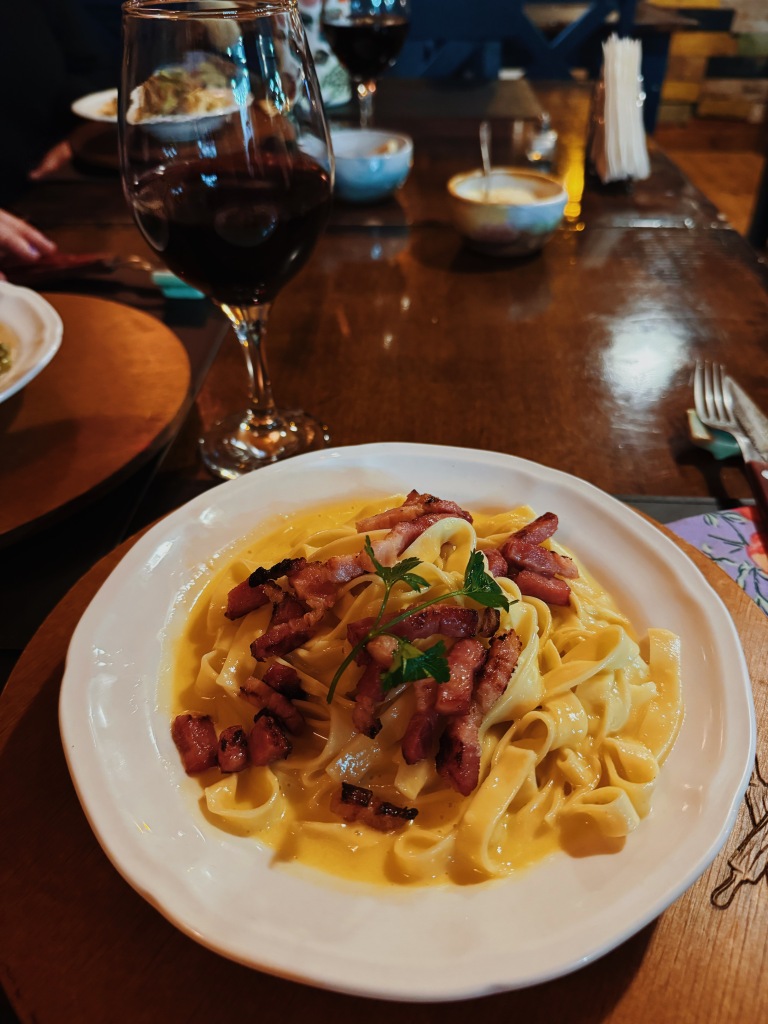
WHERE TO EAT:
We did lots of cooking at the hostel but here are the two places we went that I would recommend:
- Buenos Cruces – yummy homemade pasta + great ambiance. Lovely service as well!
- Helados Tito – delicious ice cream!
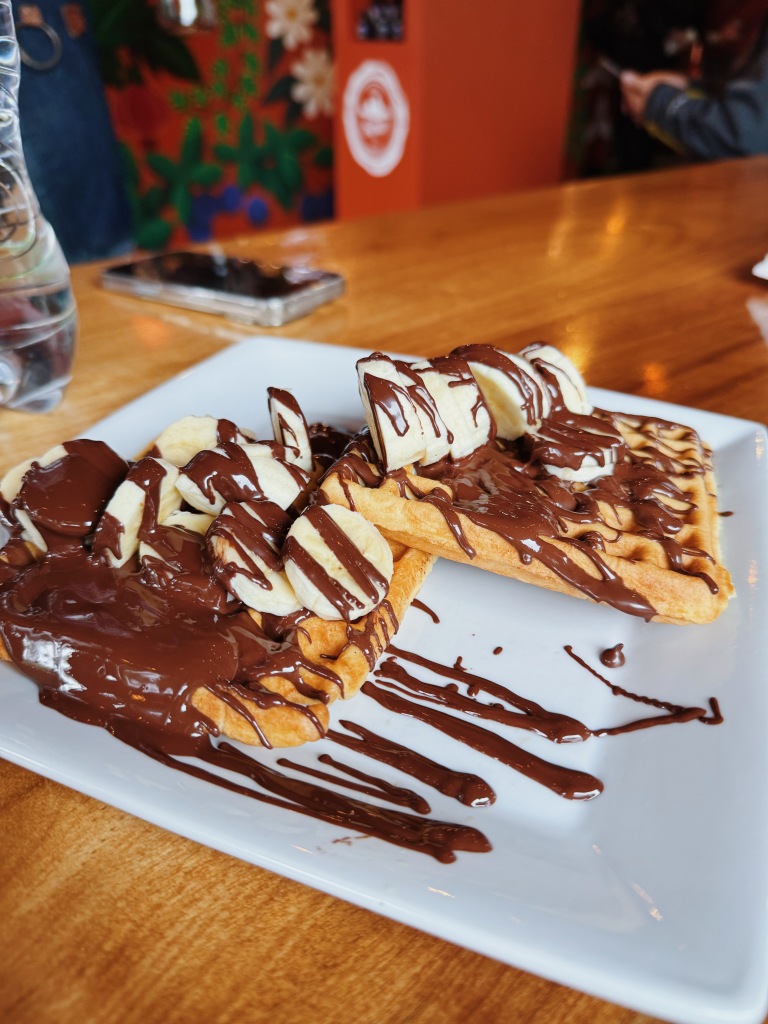
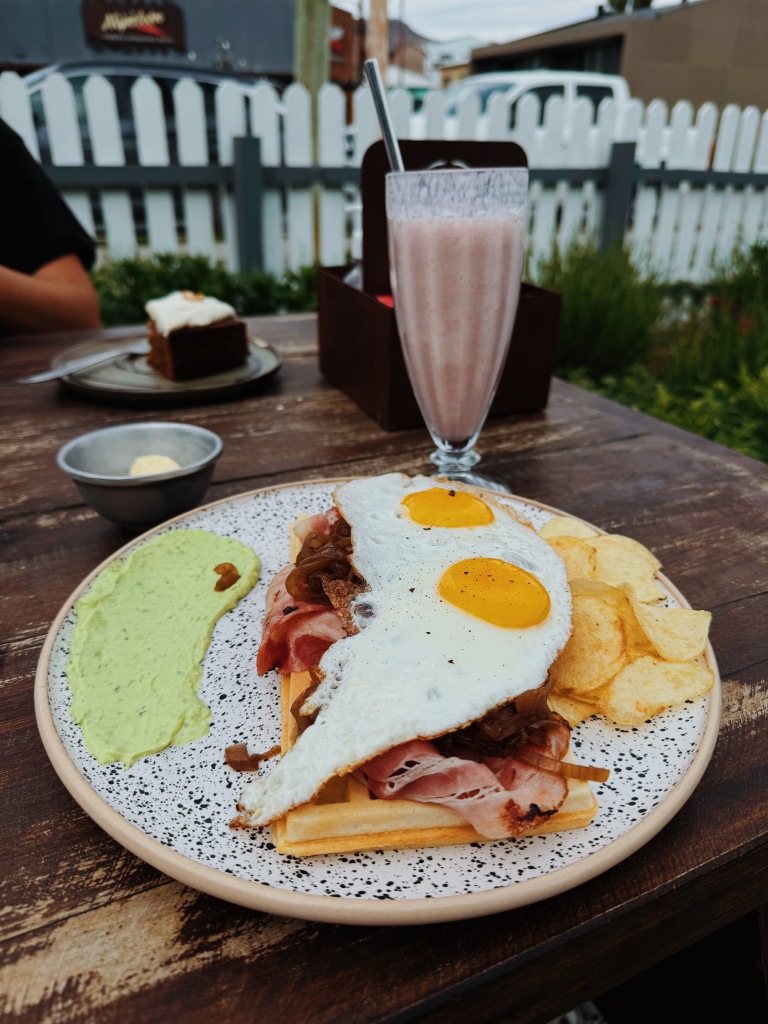
- Waffle Como En Casa – The waffle was great, but the best part was sitting outside in their patio in the sun. We spent a few hours here reading and playing cards after eating!
WHAT TO DO:
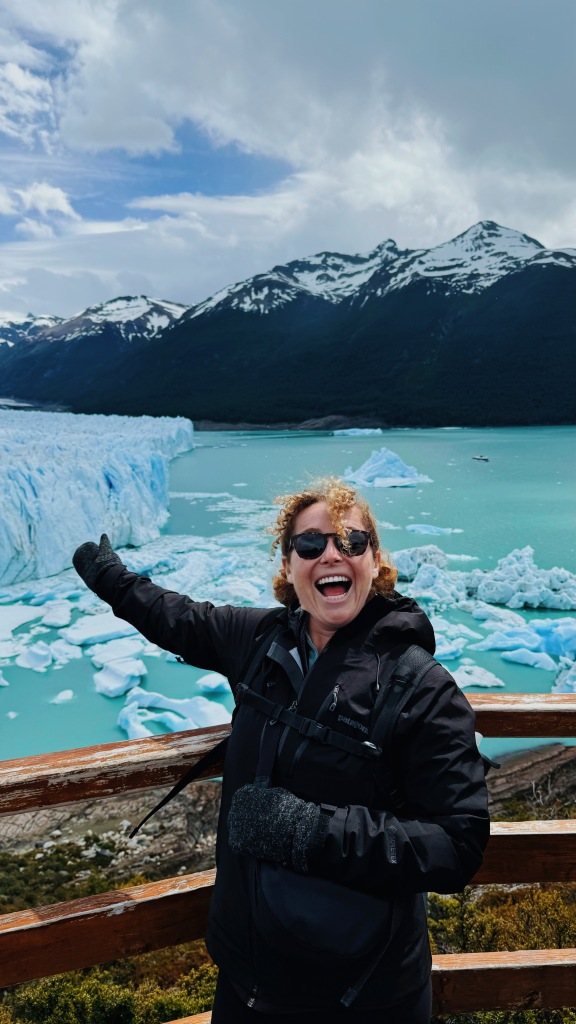
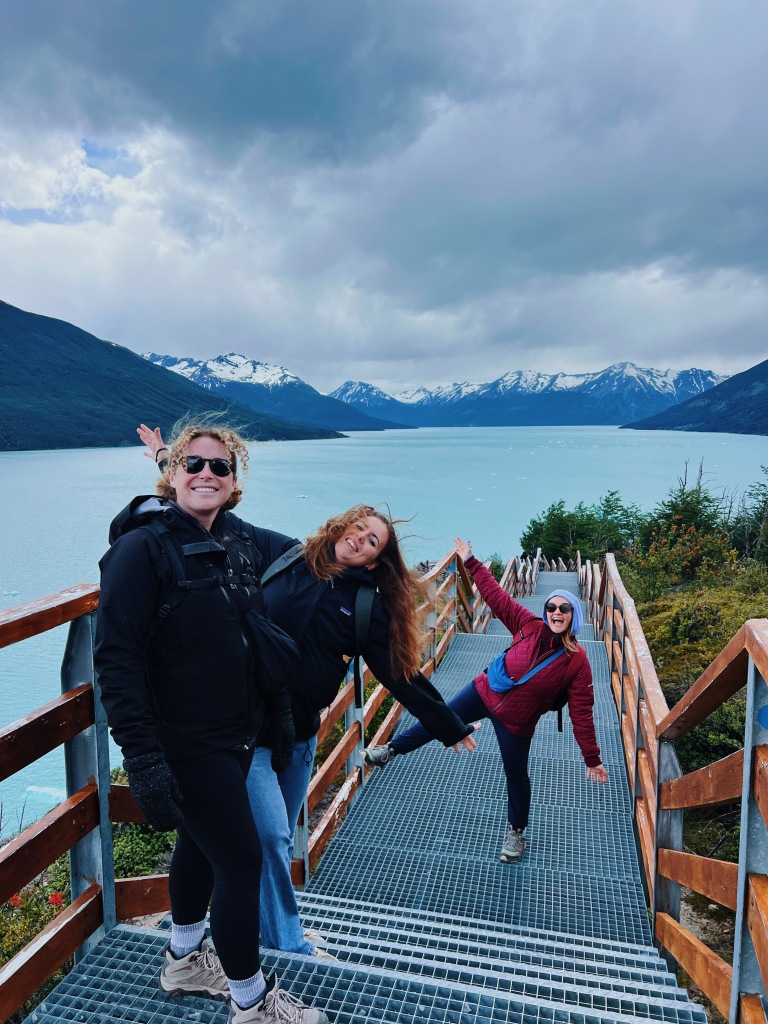
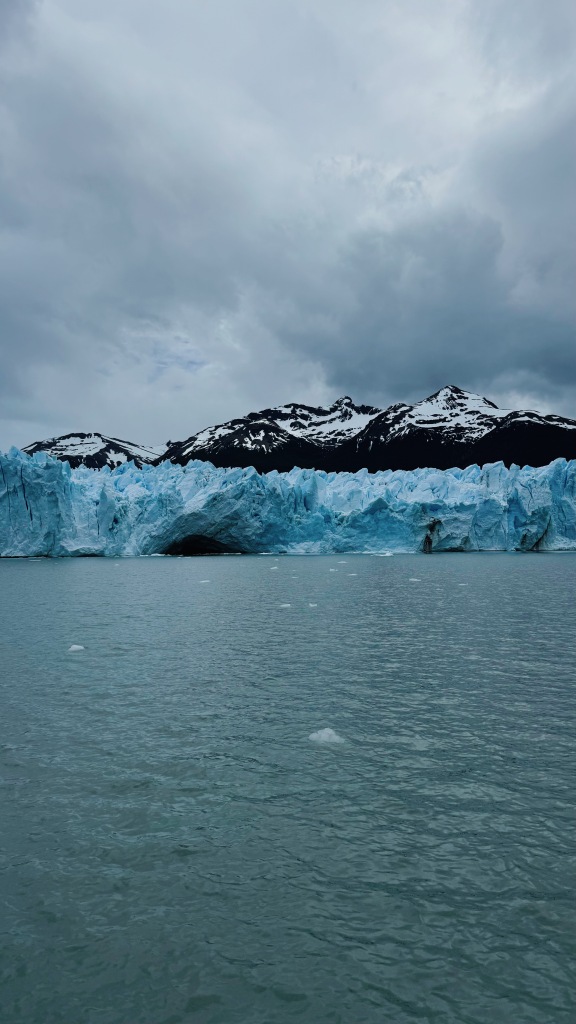
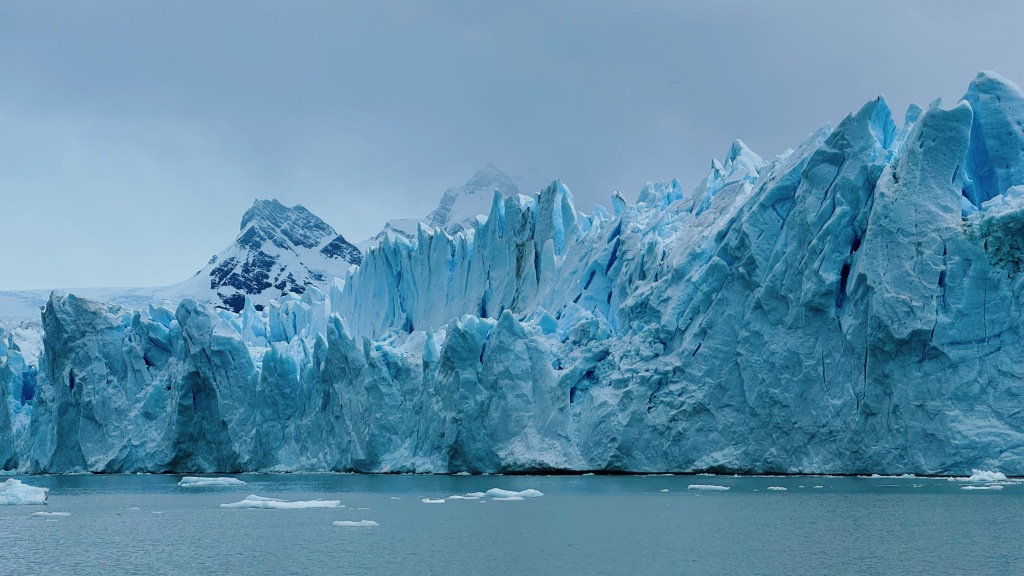
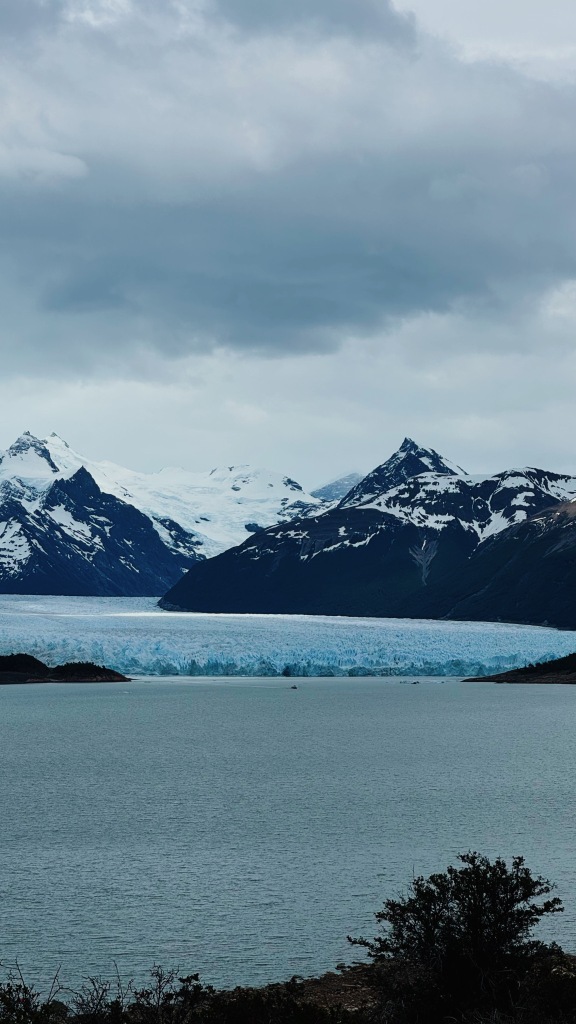
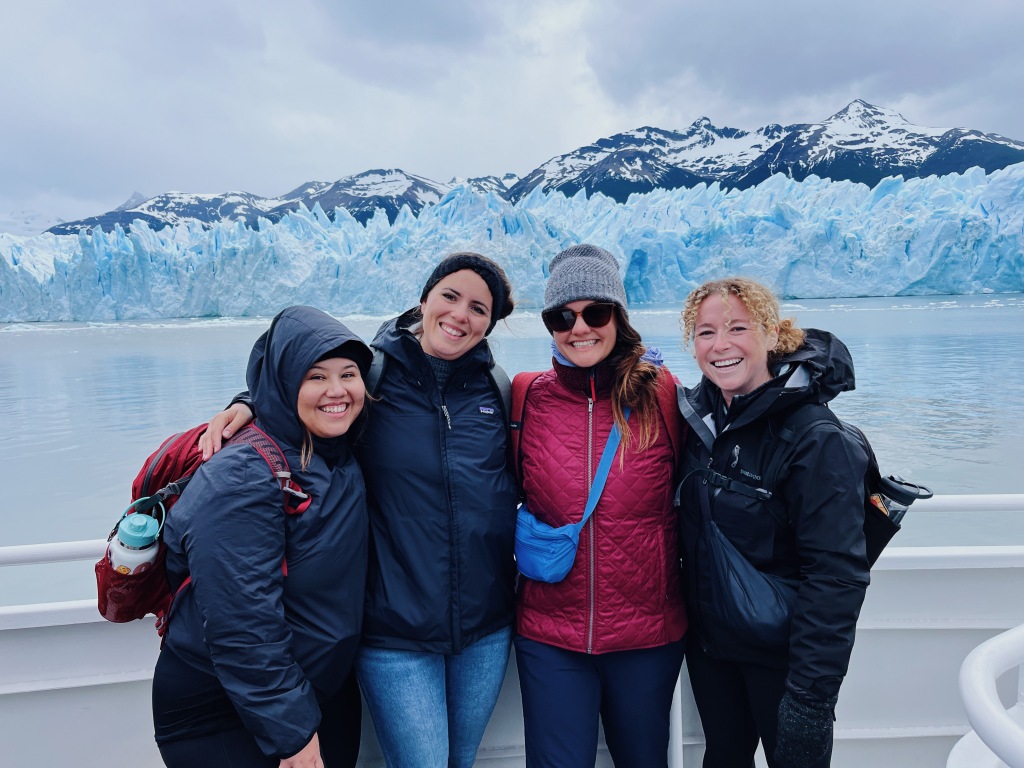
The main, almost only, thing to do here is visit the Perito Moreno Glacier. And boy is it a stunner! If you have enough people, renting a car can be cheaper & more efficient than taking the bus or a tour, but plan ahead because rental cars can get pricy last minute (if you can even find one). We were quoted $250 per day so we decided to just do the tour. We opted to upgrade and include the boat ride for an extra ~$85. It was pretty cool to see the glacier up close, but if you are on the fence, I would say the boardwalks also do a comprehensive way to see the glacier (just $55).

OVERALL THOUGHTS:
I loved the glacier. It was a total highlight for me. I had been saying “what’s the big deal about glaciers” since every other one we had seen was just firmly fine. This one knocked my socks off. Do not miss seeing this thing. You probably only need 2 nights here (to allow for one day visiting Perito Moreno), but we are happily traveling a bit slower these days to allow for some lazy ready & monopoly deal days. This was a perfect spot for a few extra days.
BUDGET FOR 16 DAYS IN PATAGONIA:
Patagonia is not a cheap travel destination in South America. Most people here are on vacation, rather than long term backpackers. It also tends to be more remote locations so it’s more expensive to get goods there.
- Accommodation: $629 ($39 per night) – Our hotel in Torres Del Paine brought the average up a bit.
- Food: $350
- Groceries: $83
- Activities: $376 (Park entrance fees, tours, Sonja’s birthday)
- Local Transportation: $322 (includes a rental car for 3 days)
- Miscellaneous: $110 (laundry, gifts, postcards, etc)
Total: $1870 (Daily average: $119)
Transportation to next destination: $177 (Flight to Ushuaia)