Pro Tips:
- If you are going on an Antarctic cruise that doesn’t include flights from Buenos Aires, plan to arrive a few days before. Flight easily get delayed or cancelled so you don’t want to be the person that misses your expensive cruise due to FlyBondi 😦
- Pack layers so you can adjust as weather varies. It’s actually warmer in Antarctica than most people expect. Take gloves with wrist straps so you don’t risk losing them when taking photos!
- You can get deals on Antarctica trips!! Do some research before booking as there are a few good agencies that offer all types of packages.
- Make sure your passport is up to date + has plenty of time before it expires as you’d hate to run into any issues when traveling to South America.
- Gratuity was already included for our trip, but feel free to bring some extra cash (USD are always appreciated) for anyone who went above and beyond taking care of you while abroad.
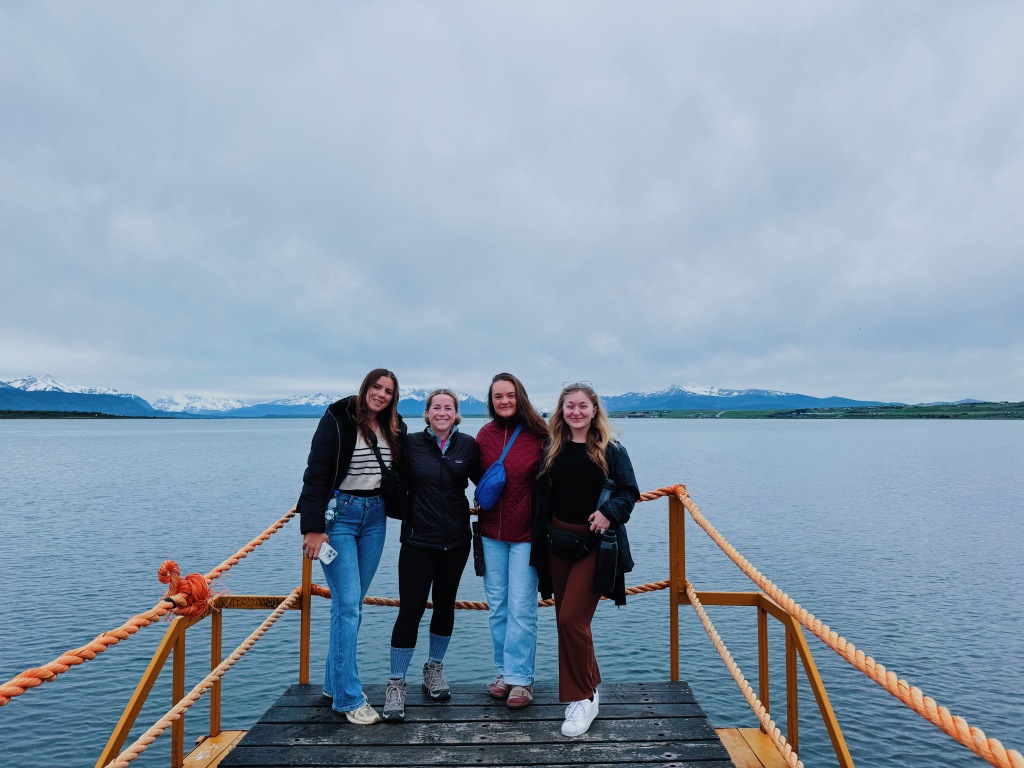
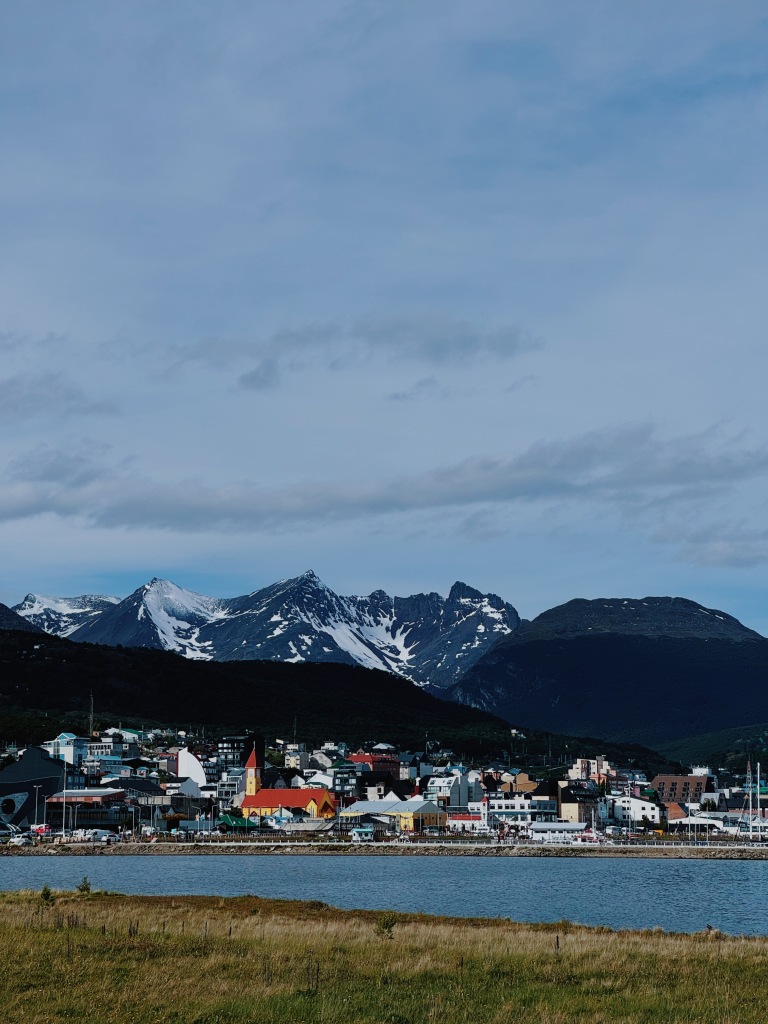
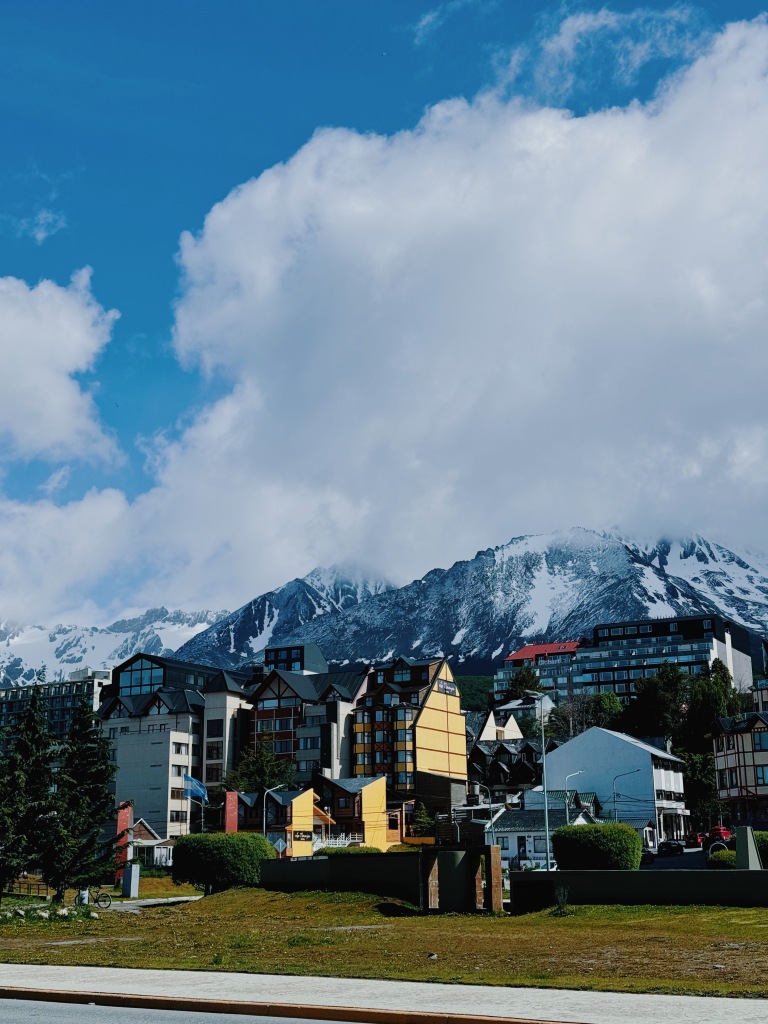
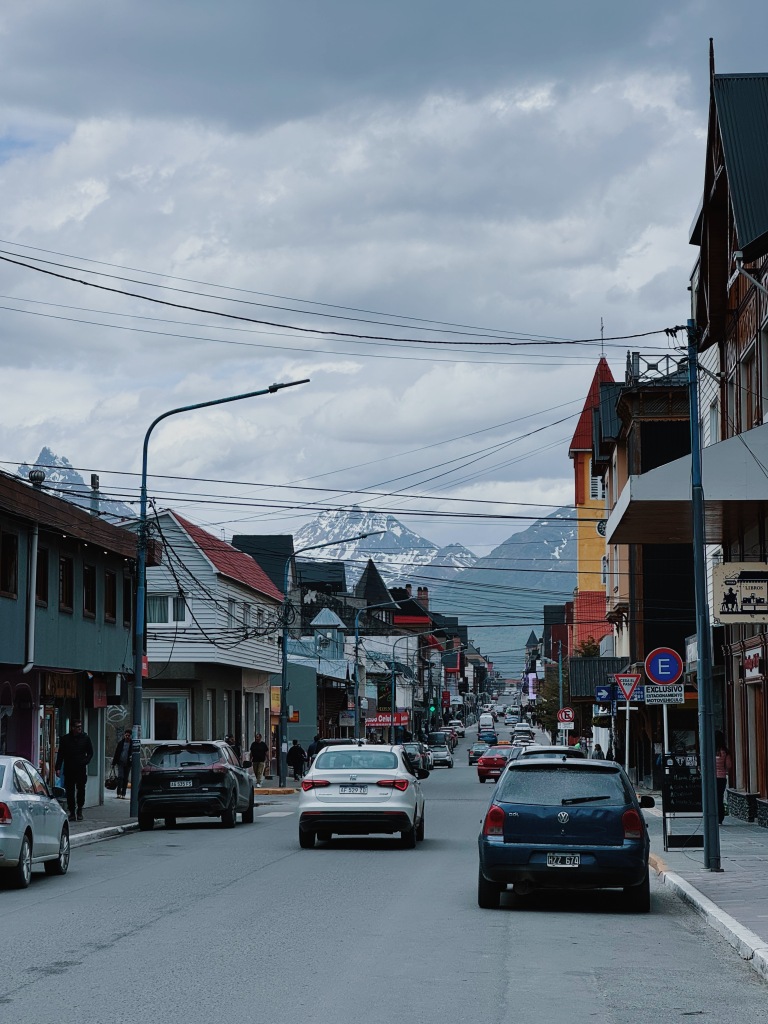
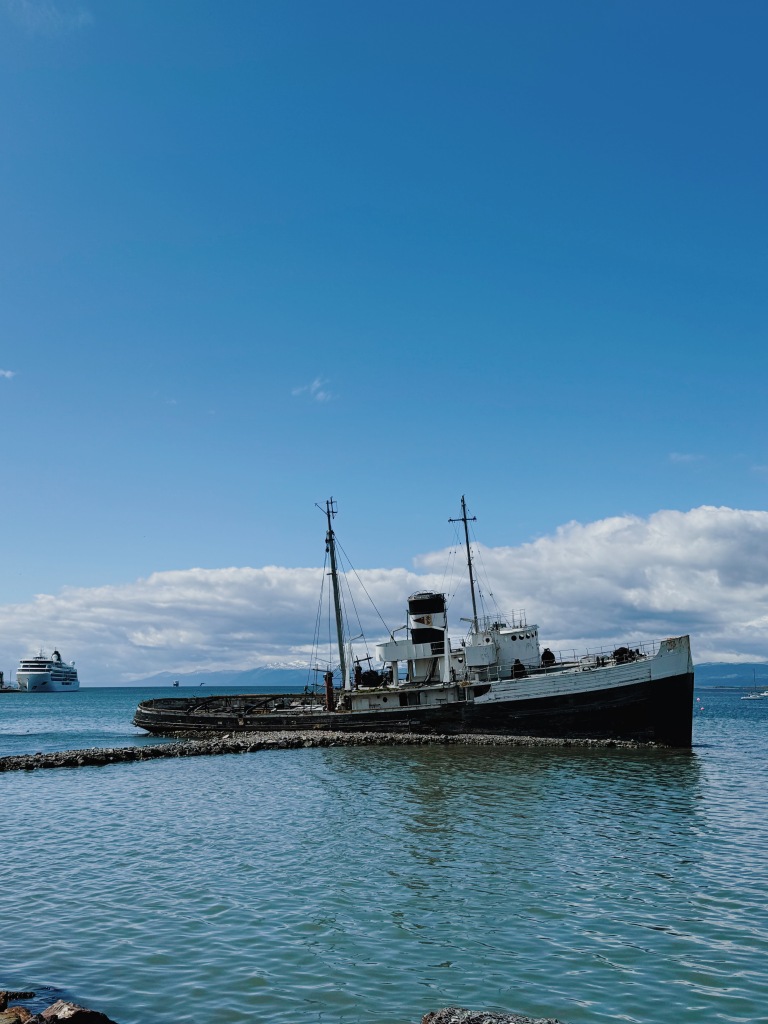
CITY: USHUAIA, ARGENTINA
HOW LONG: 6 NIGHTS
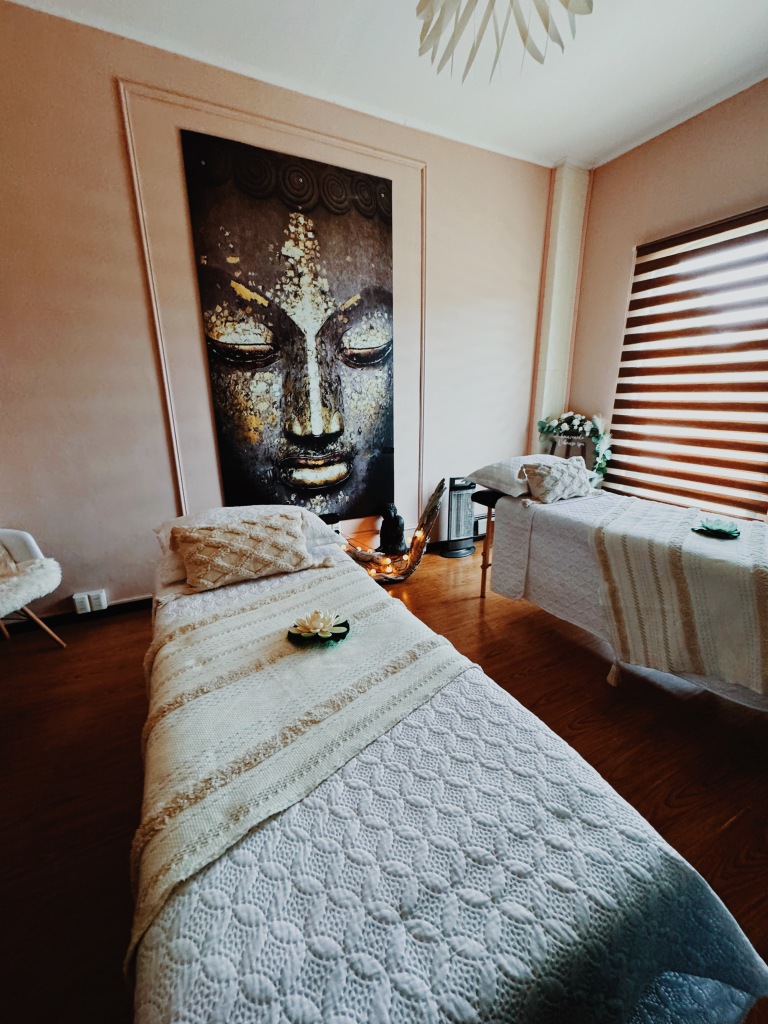
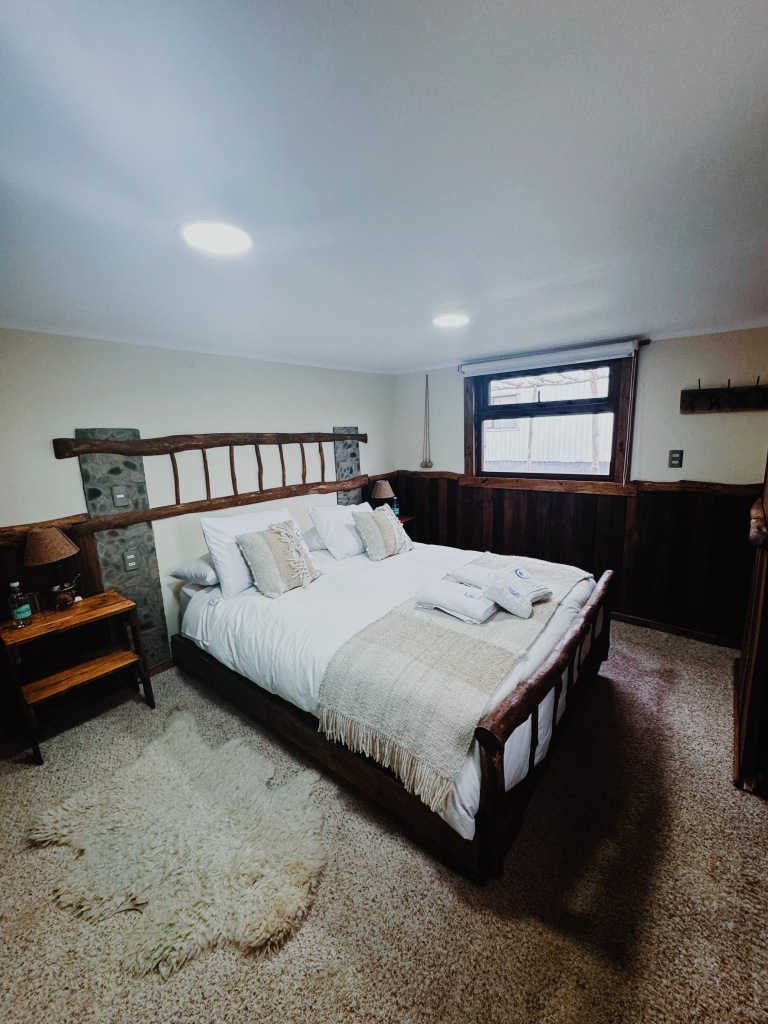
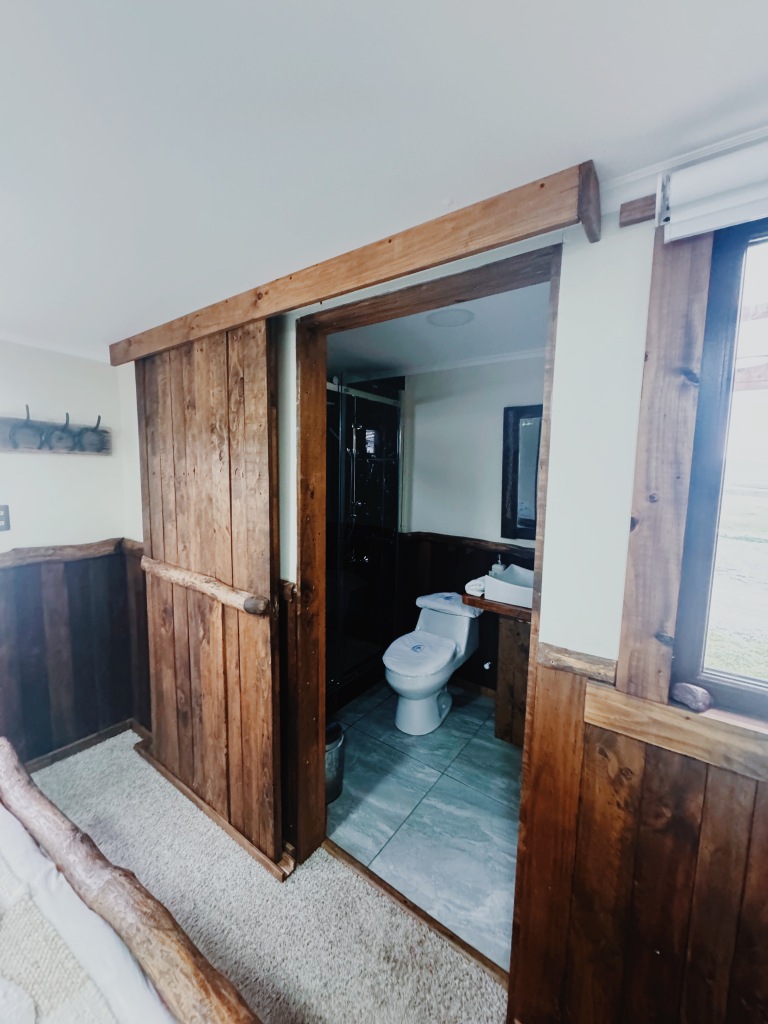
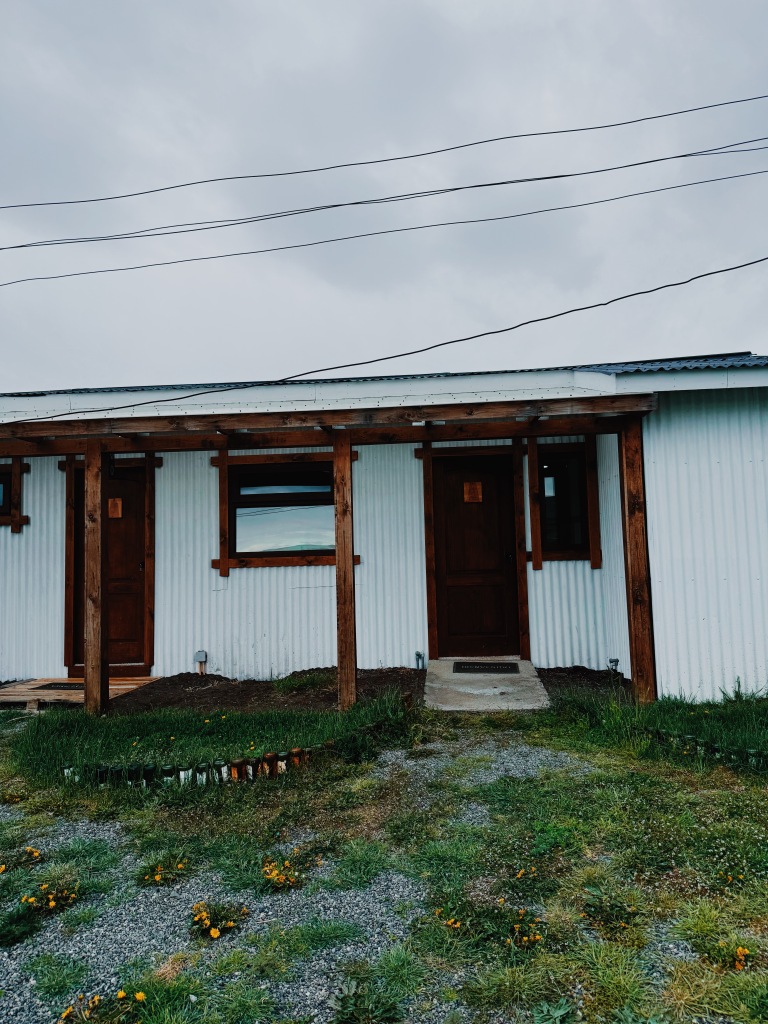
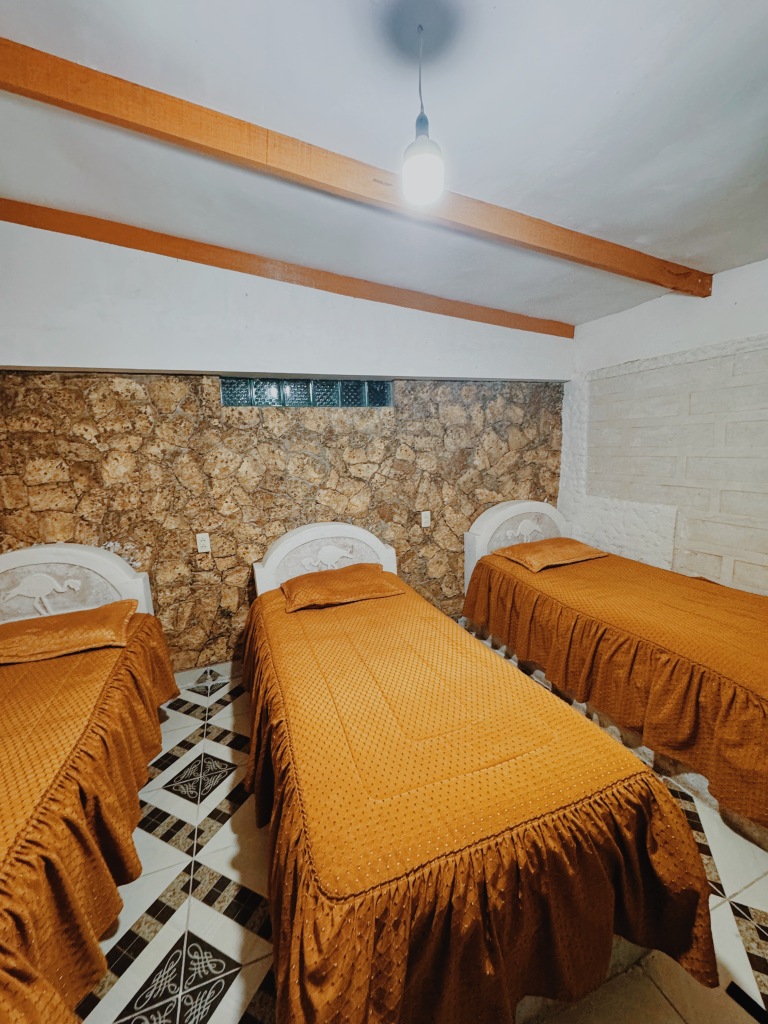
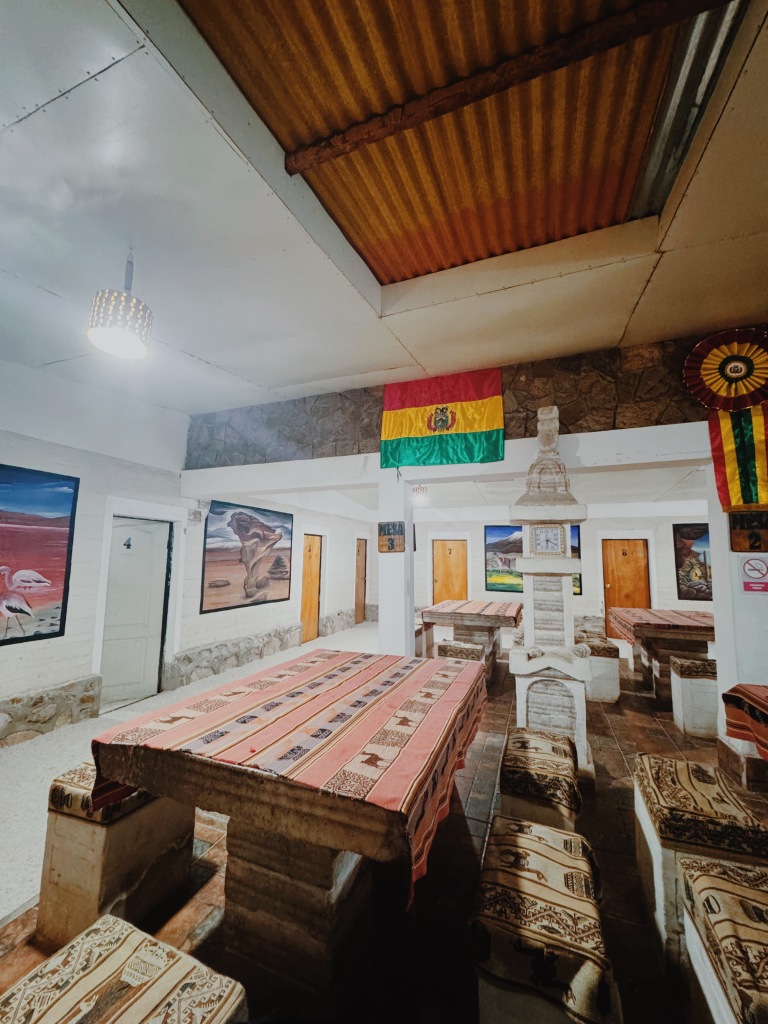
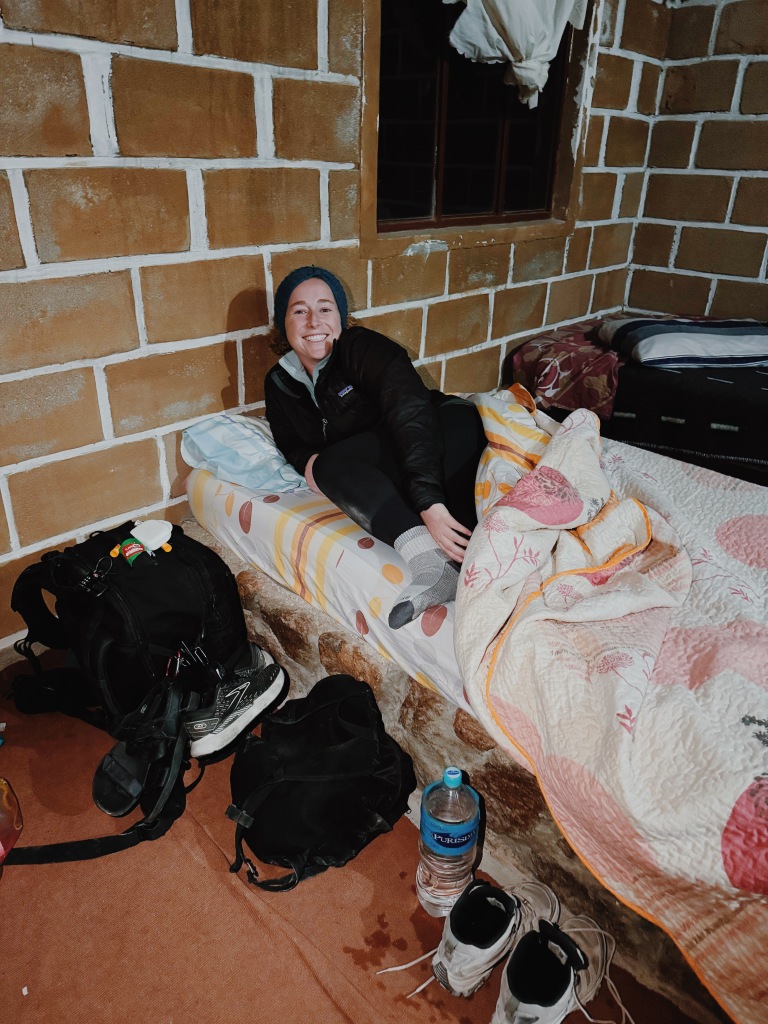
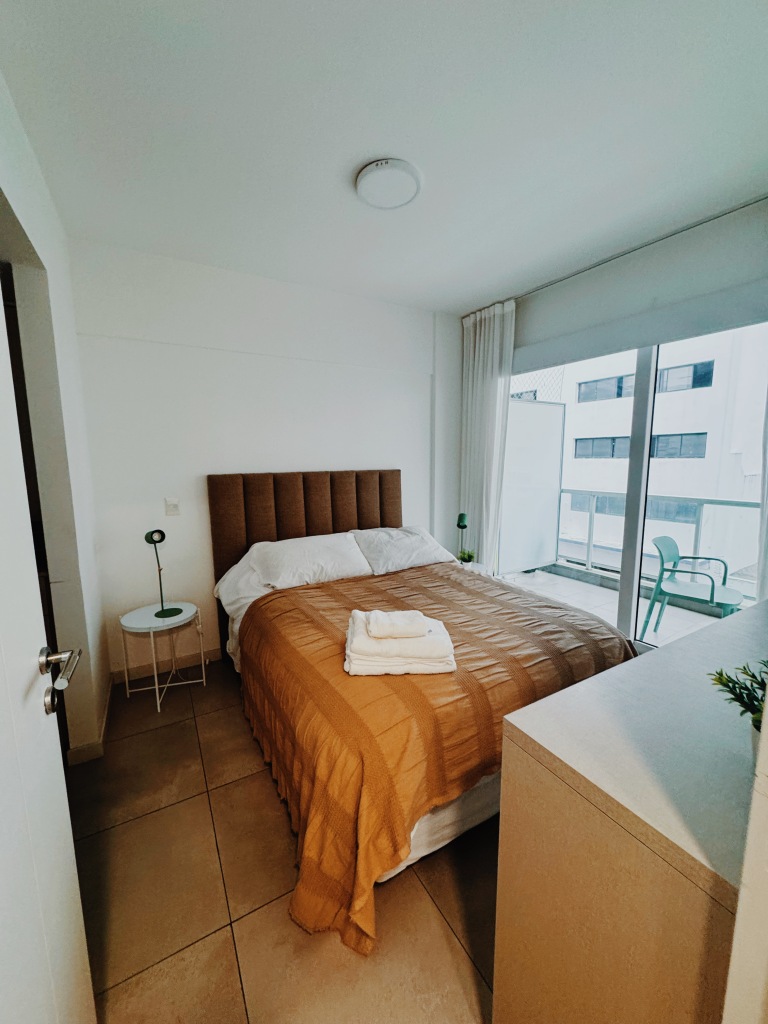
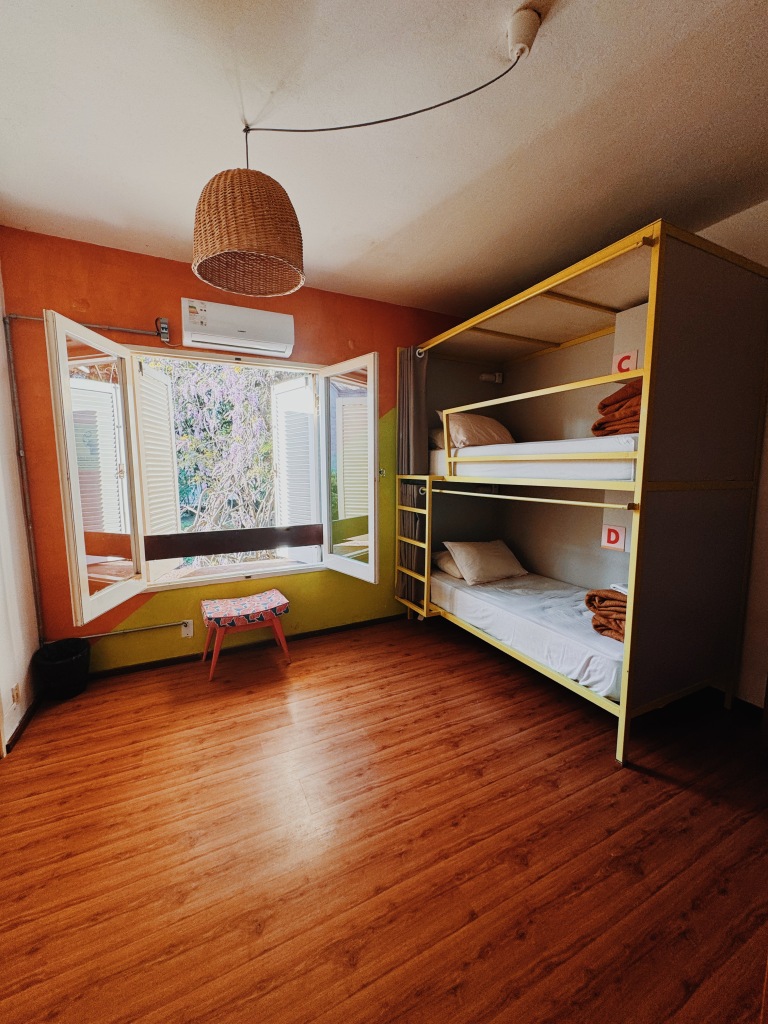
ACCOMMODATION:
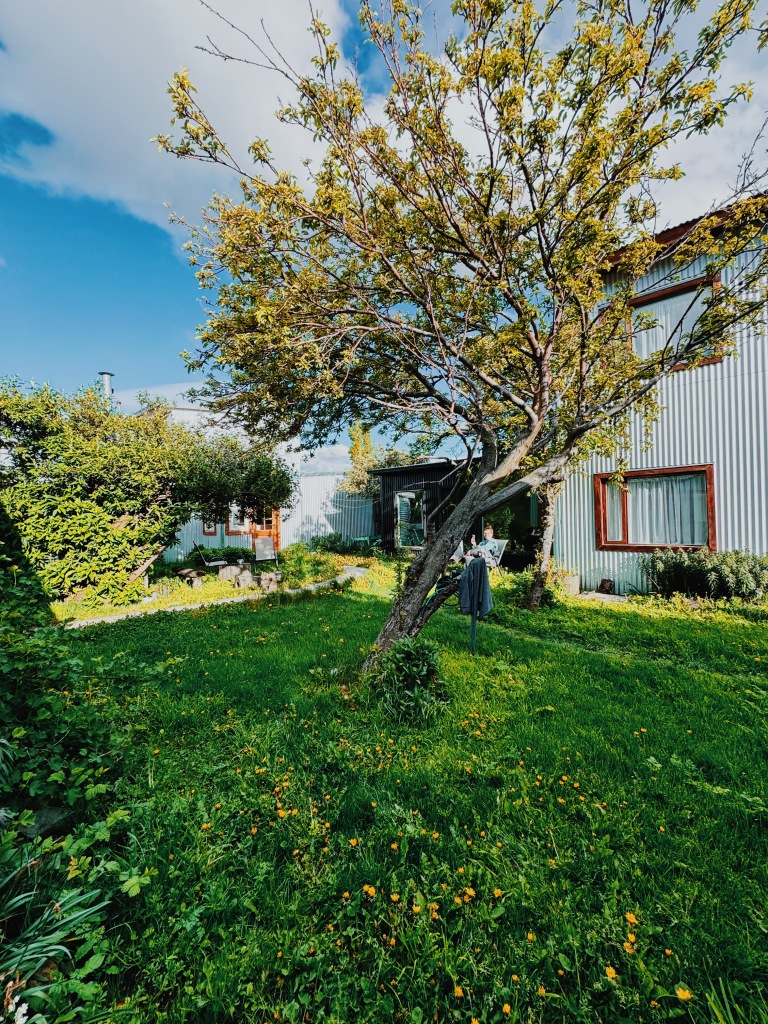
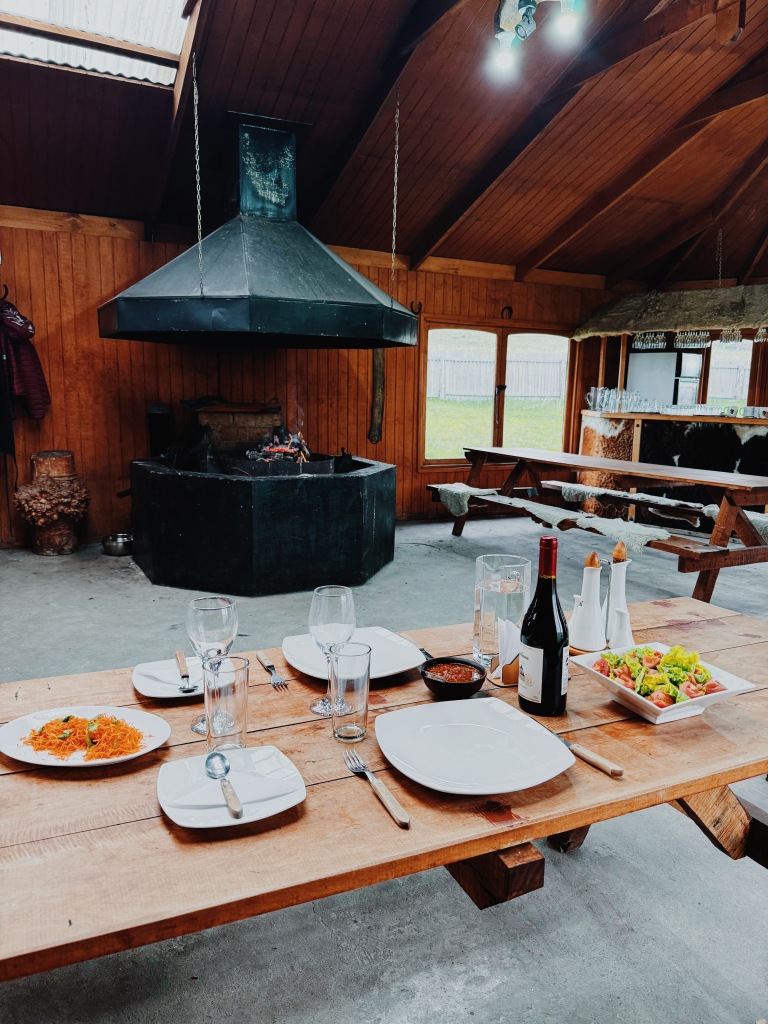
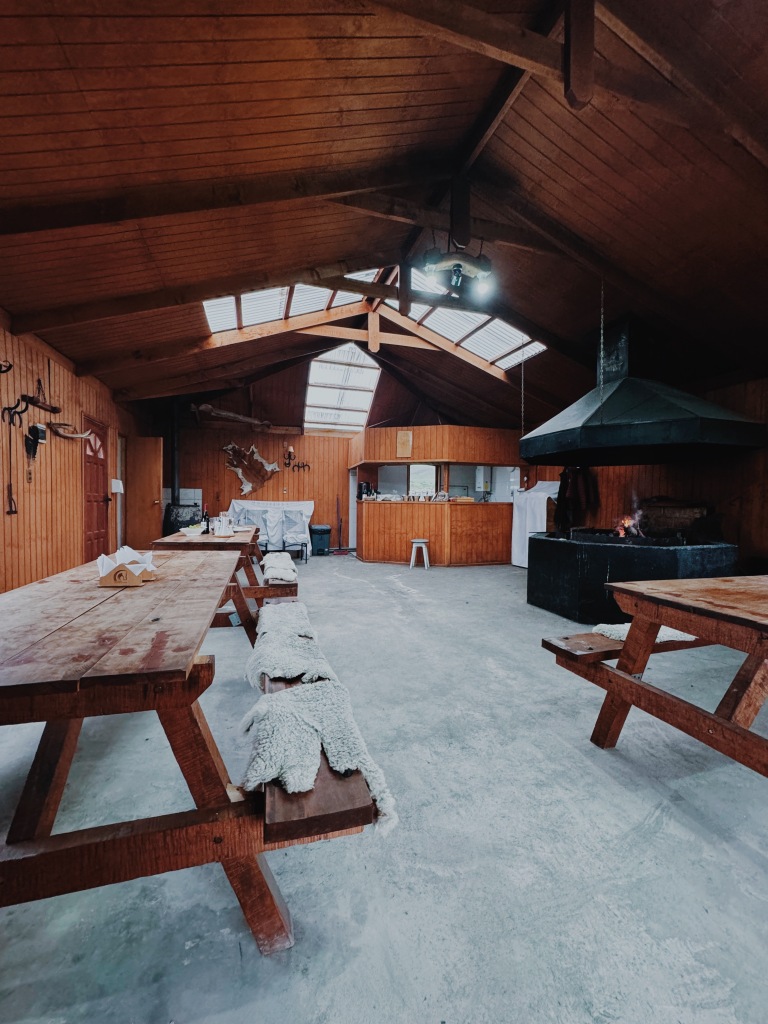
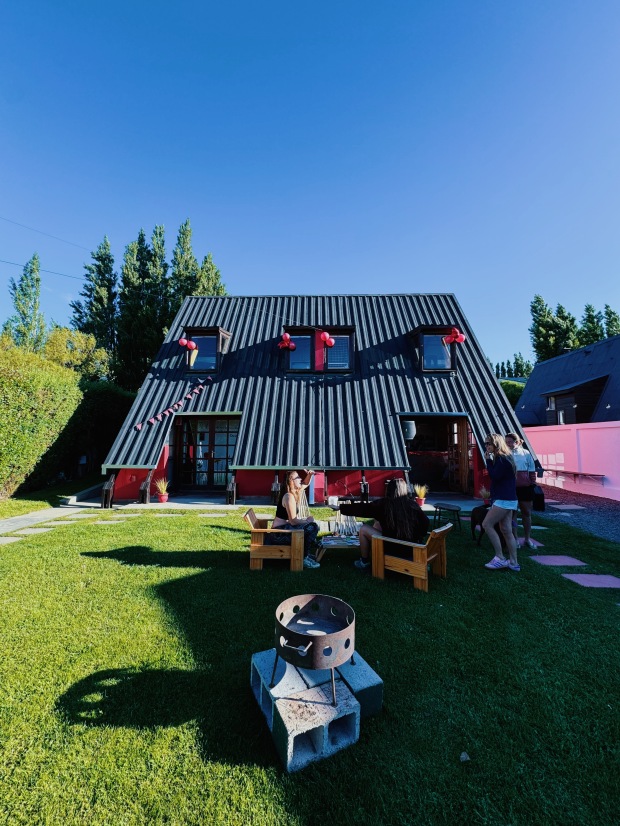
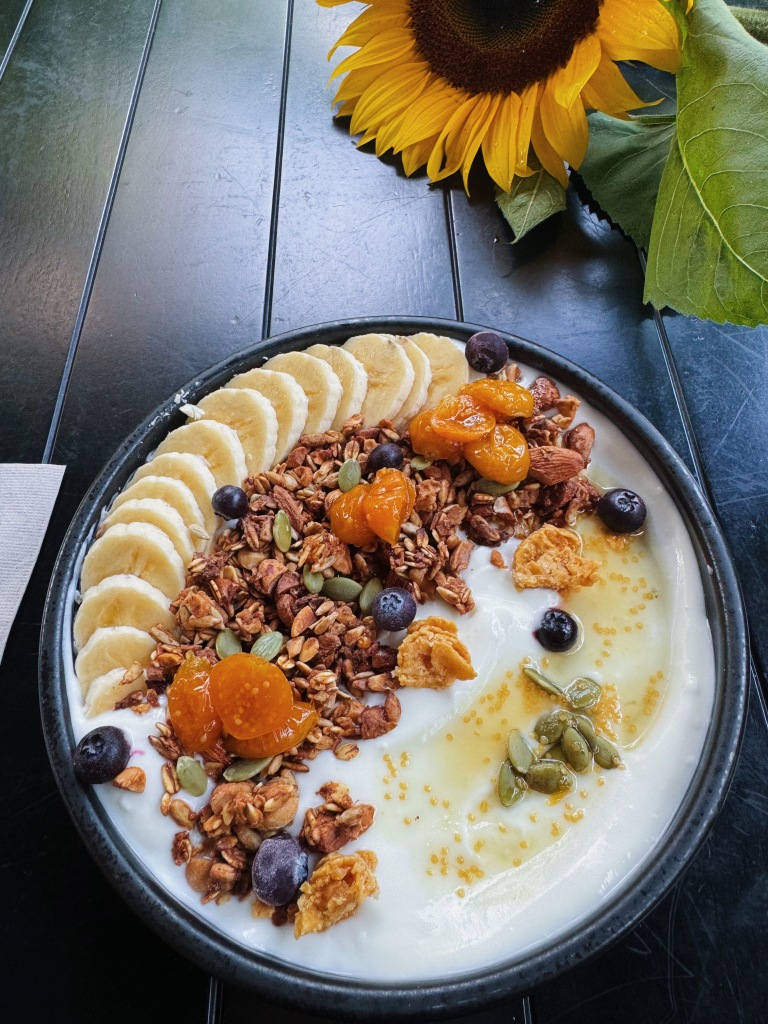
We stayed at one of my favorite hostels I have ever stayed in: Antarctica Hostel. The rooms were quiet & warm. The kitchen and common area were bright, airy, and easy to meet people. The kitchen was a dream to cook in as well. Free breakfast was great! The staff were so lovely. It’s very close to the main walking street. Don’t hesitate to stay here.
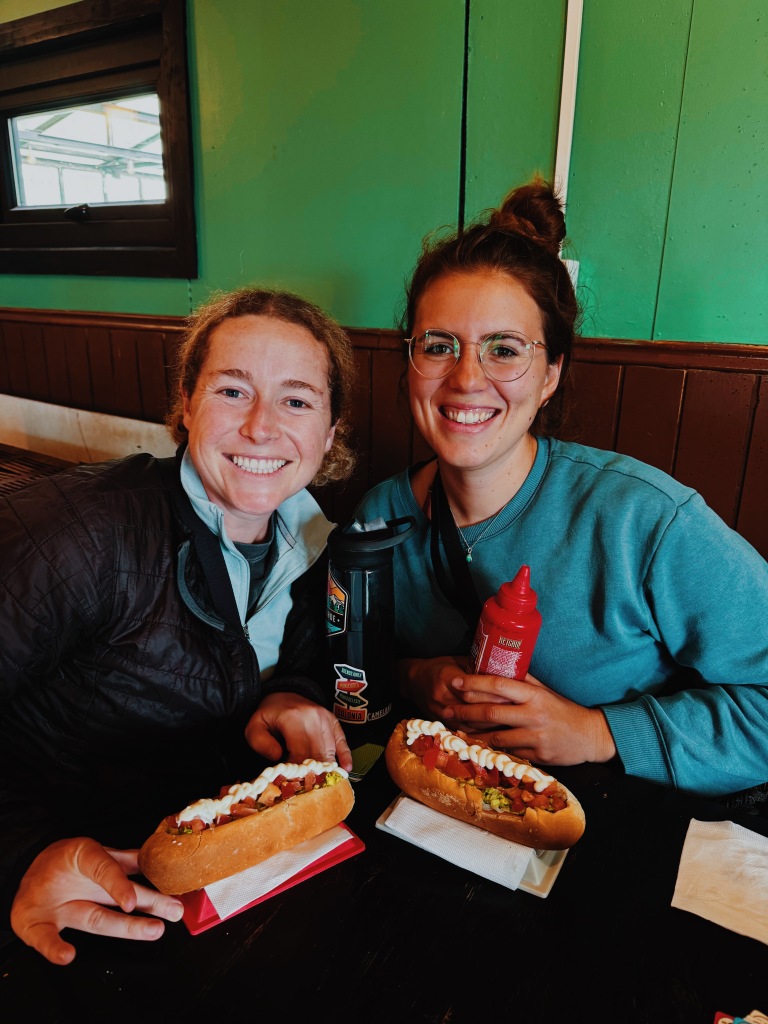
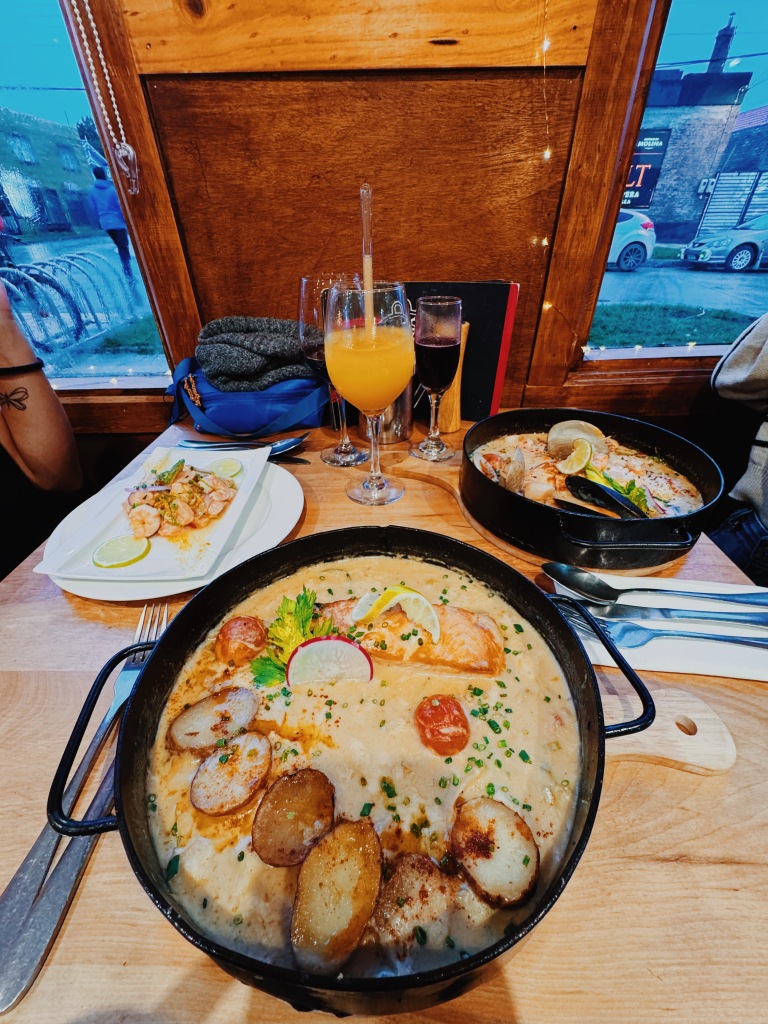
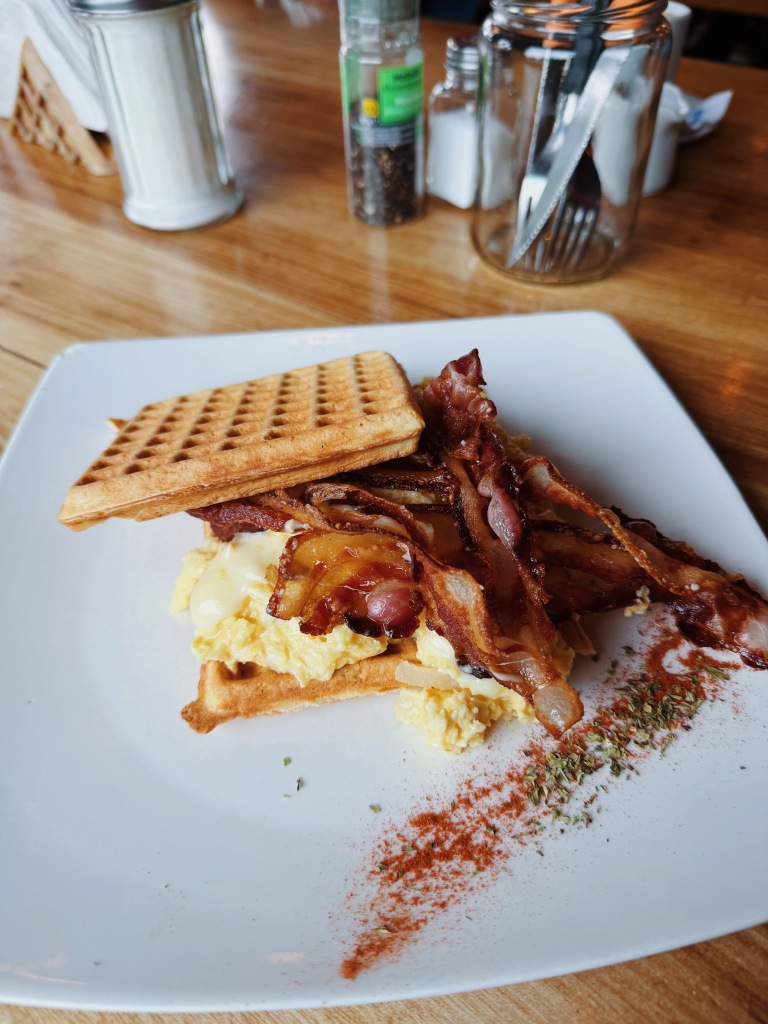
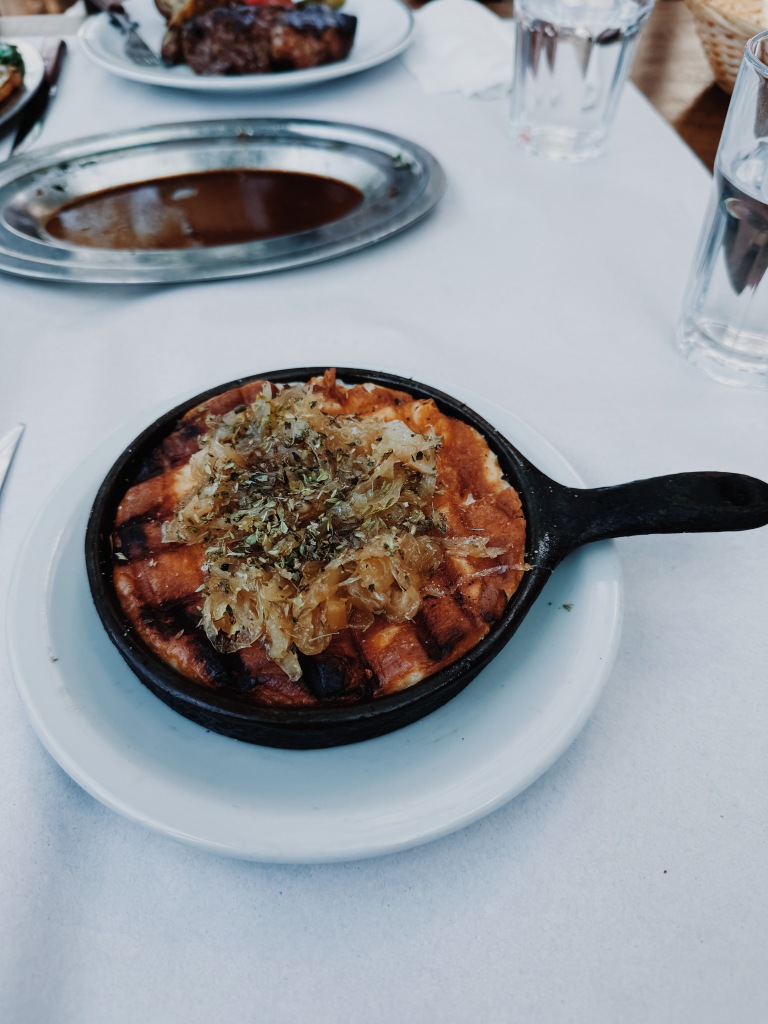
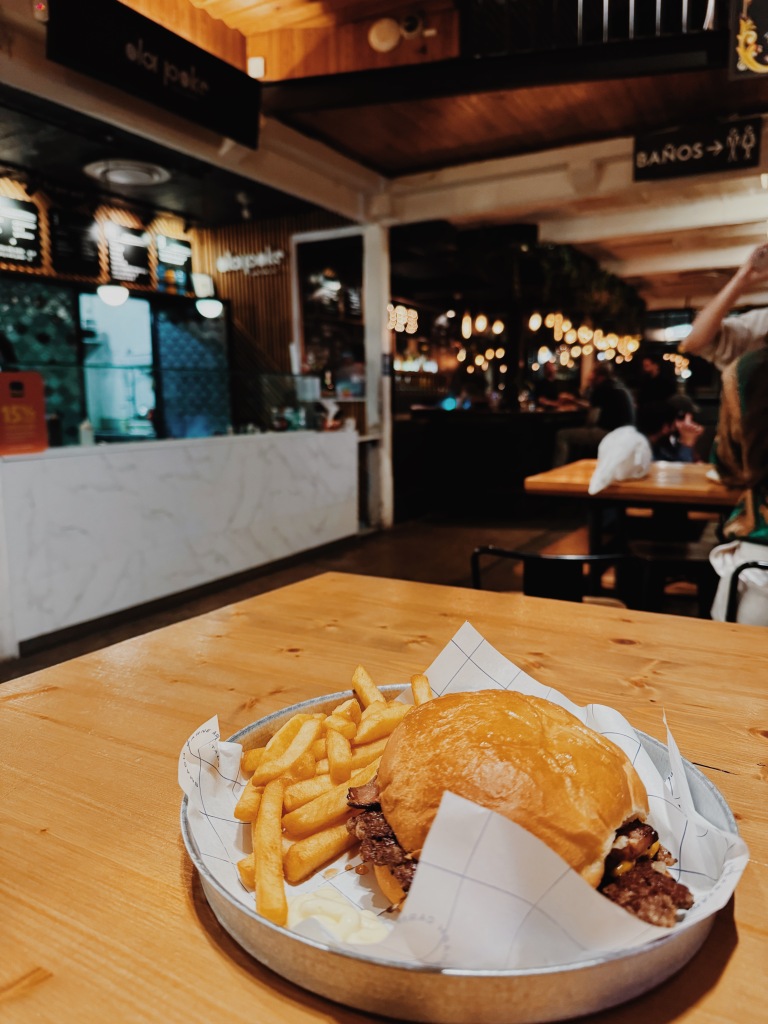
WHERE TO EAT:
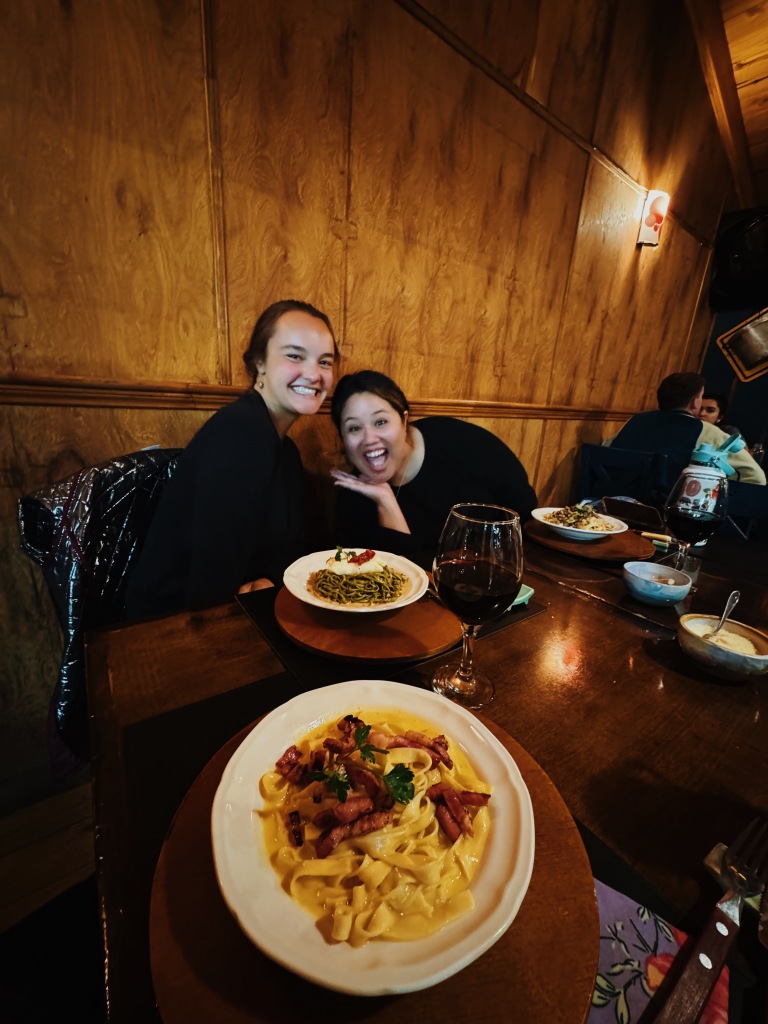
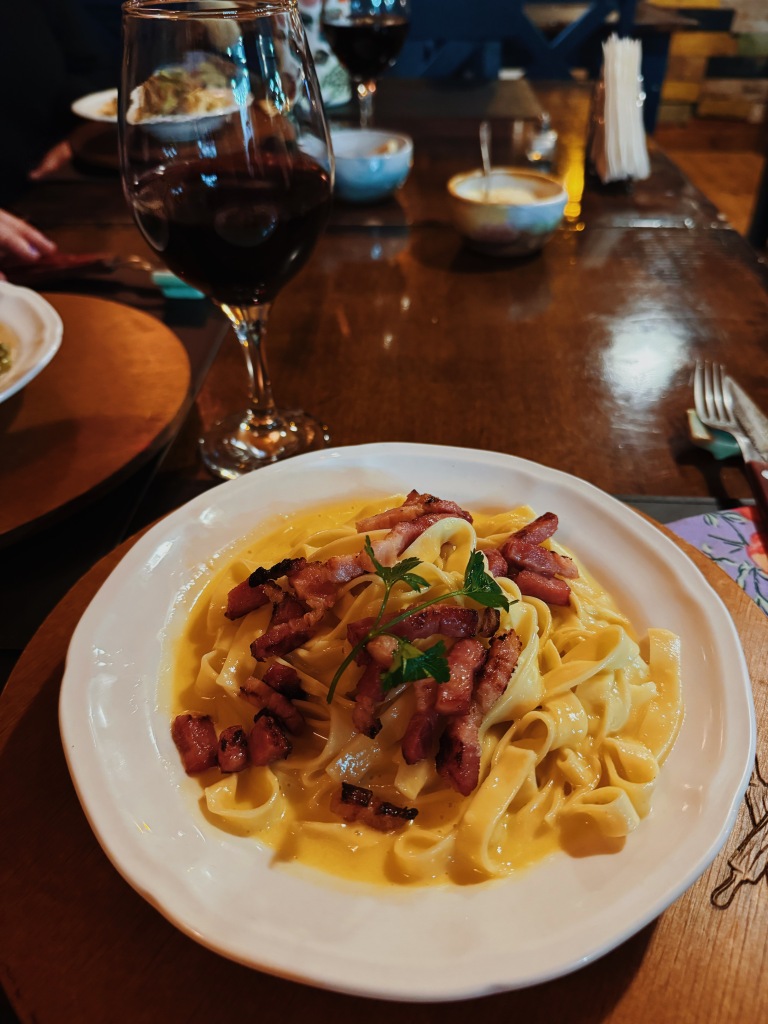
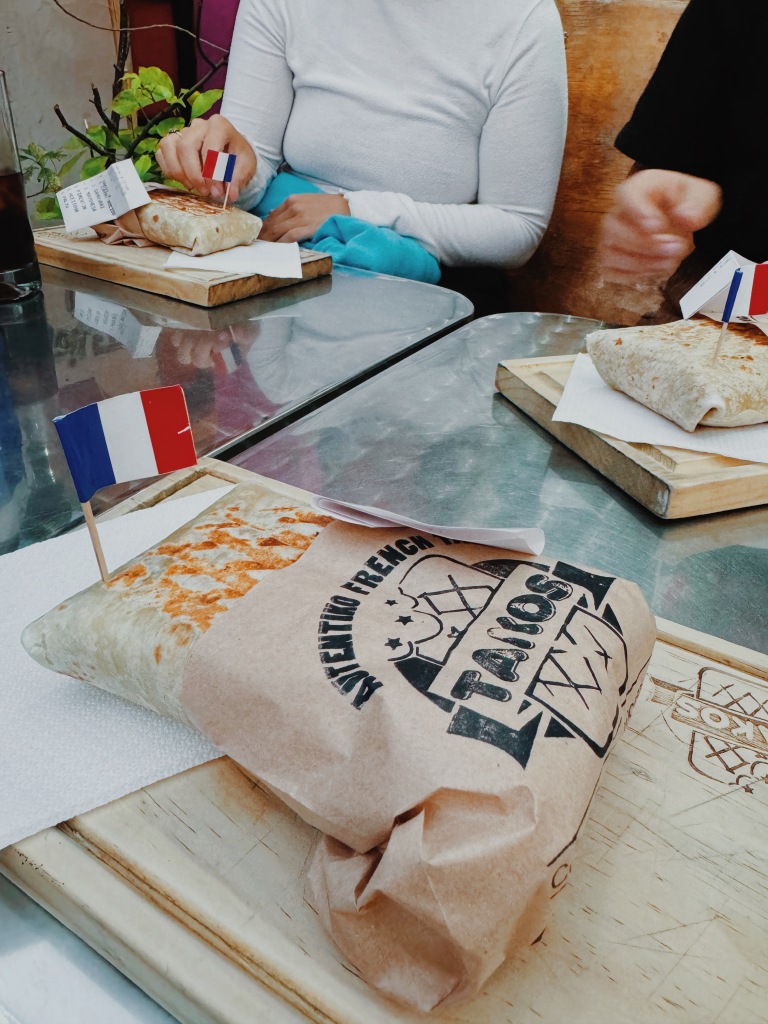
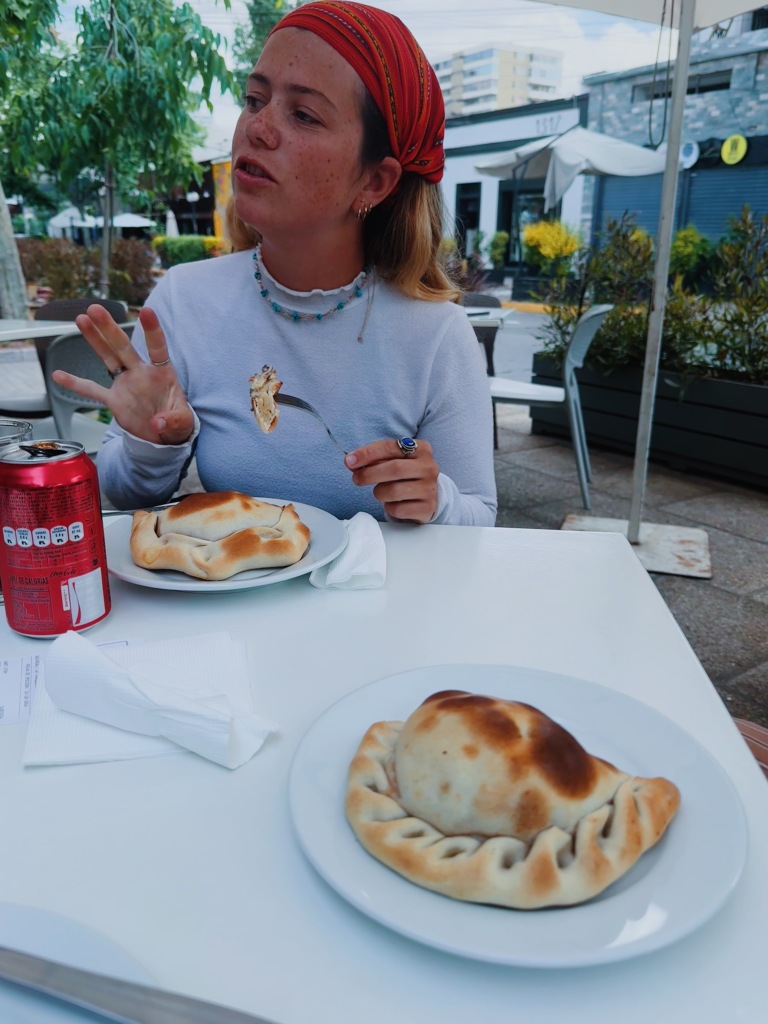
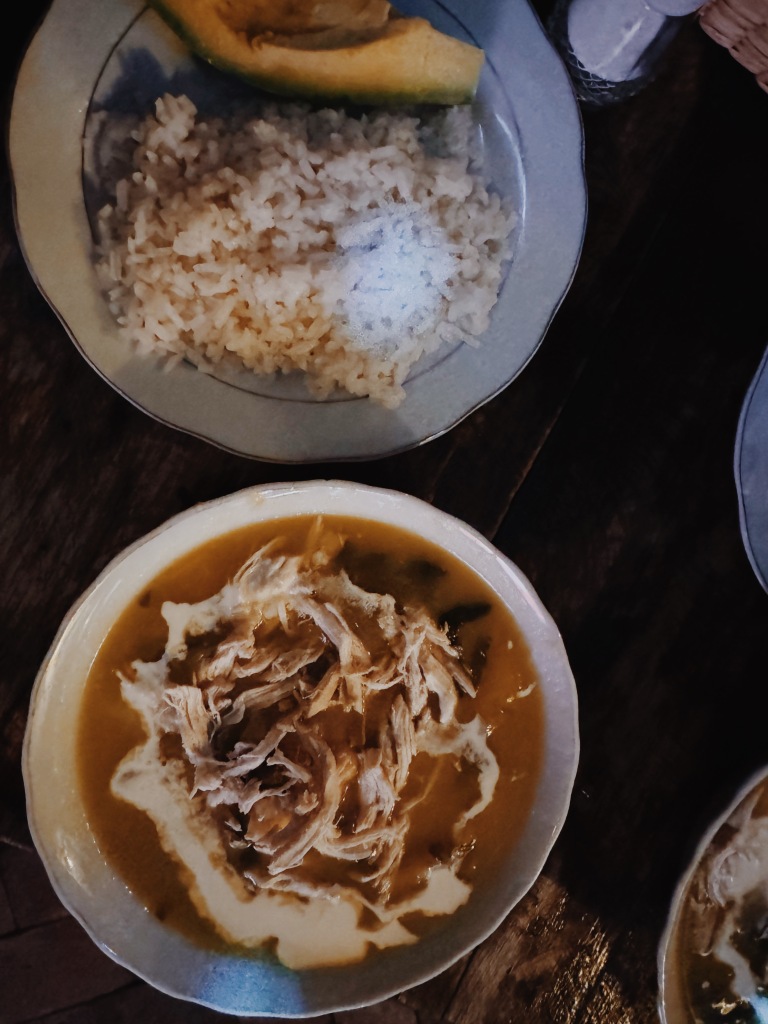
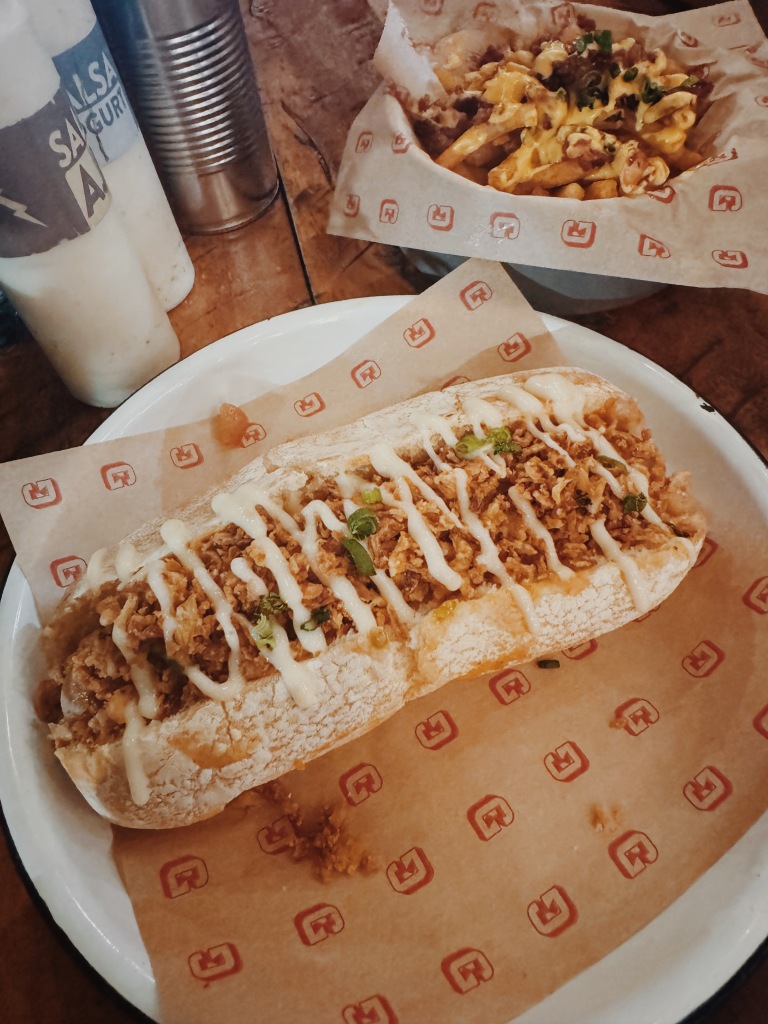
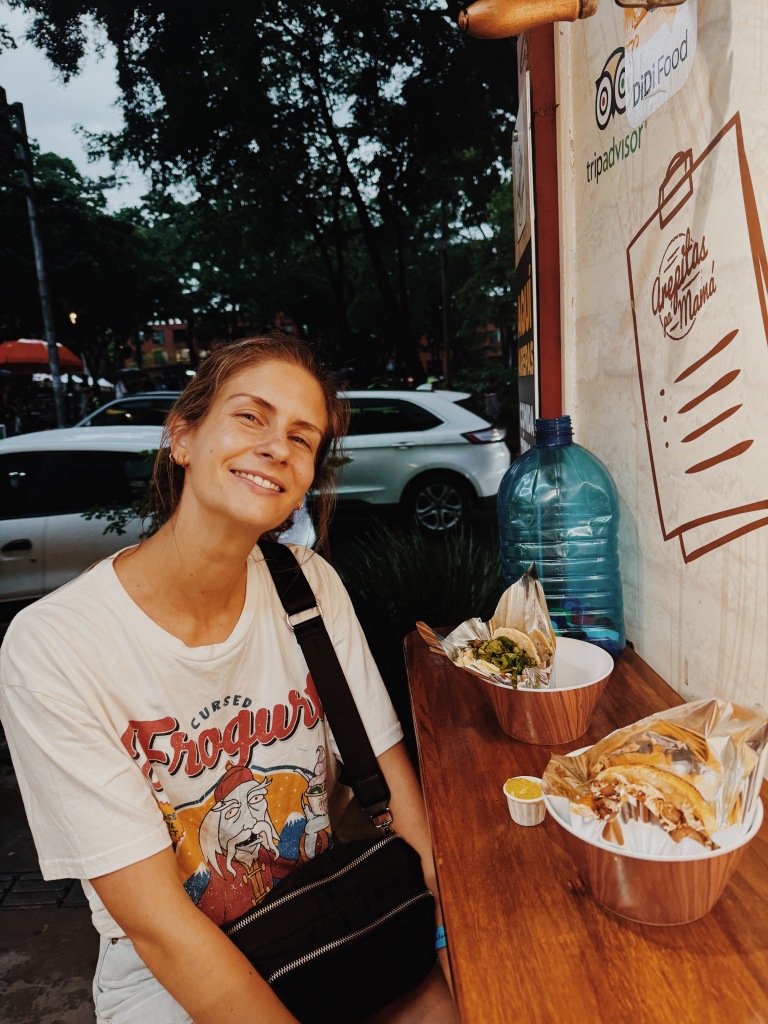
We literally ate almost every meal at the hostel 🙂 When you have a great hostel kitchen, especially in an expensive area, you take advantage. We did find delicious (cheap) empanadas around the corner at La Marmita. Don’t miss the chicken ones – that one was our favorite!
WHAT TO DO:
There are some things to do here, but we were honestly here just to prepare for our Antarctica voyage. A lot of the main things to do will be better in Antarctica so we were comfortable skipping the activities in Ushuaia. Here is an excellent overview of your options!
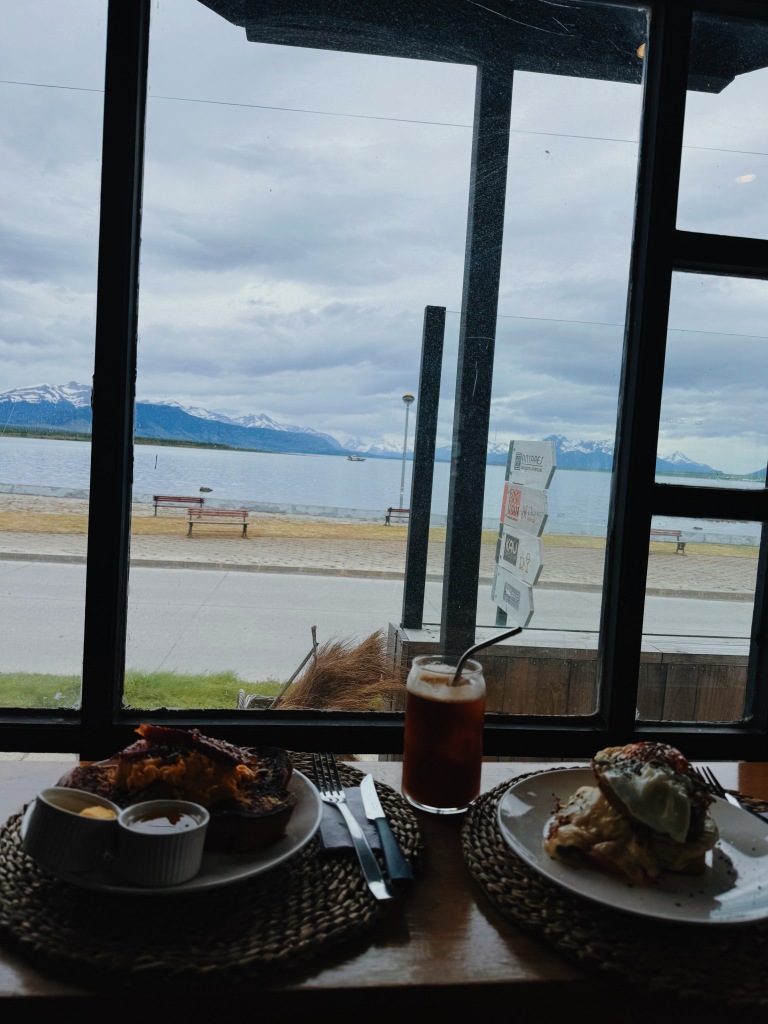
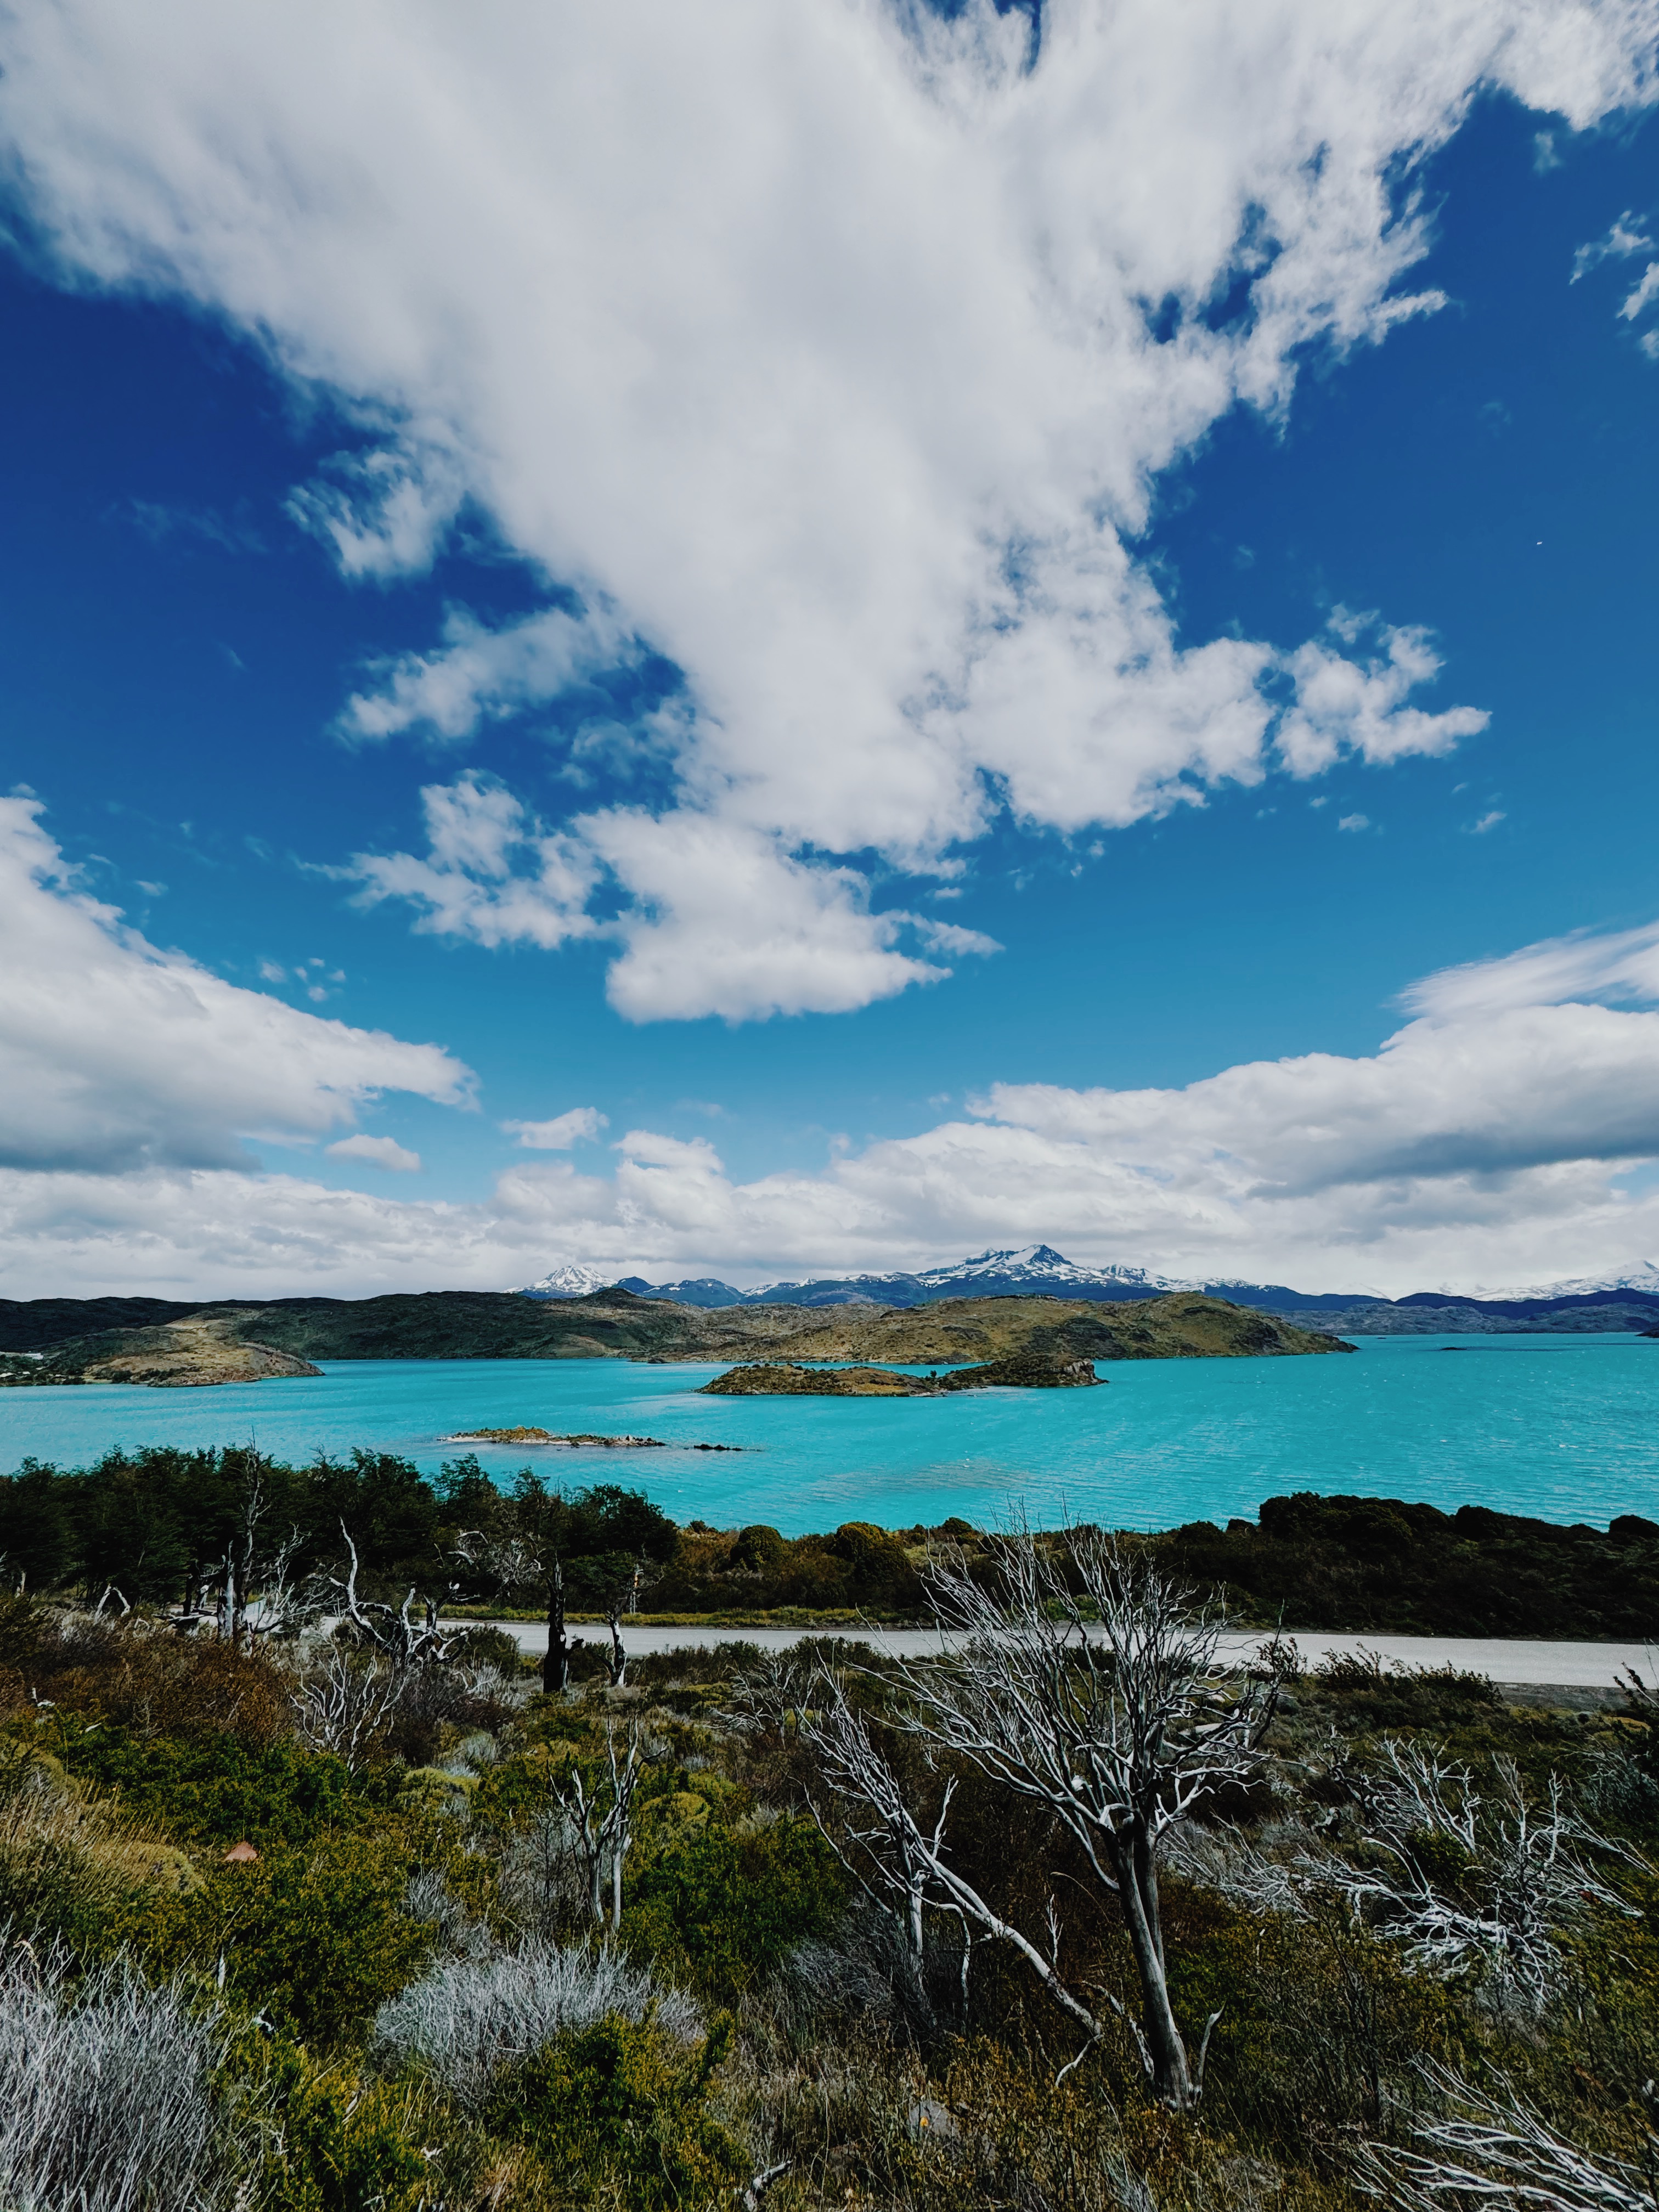
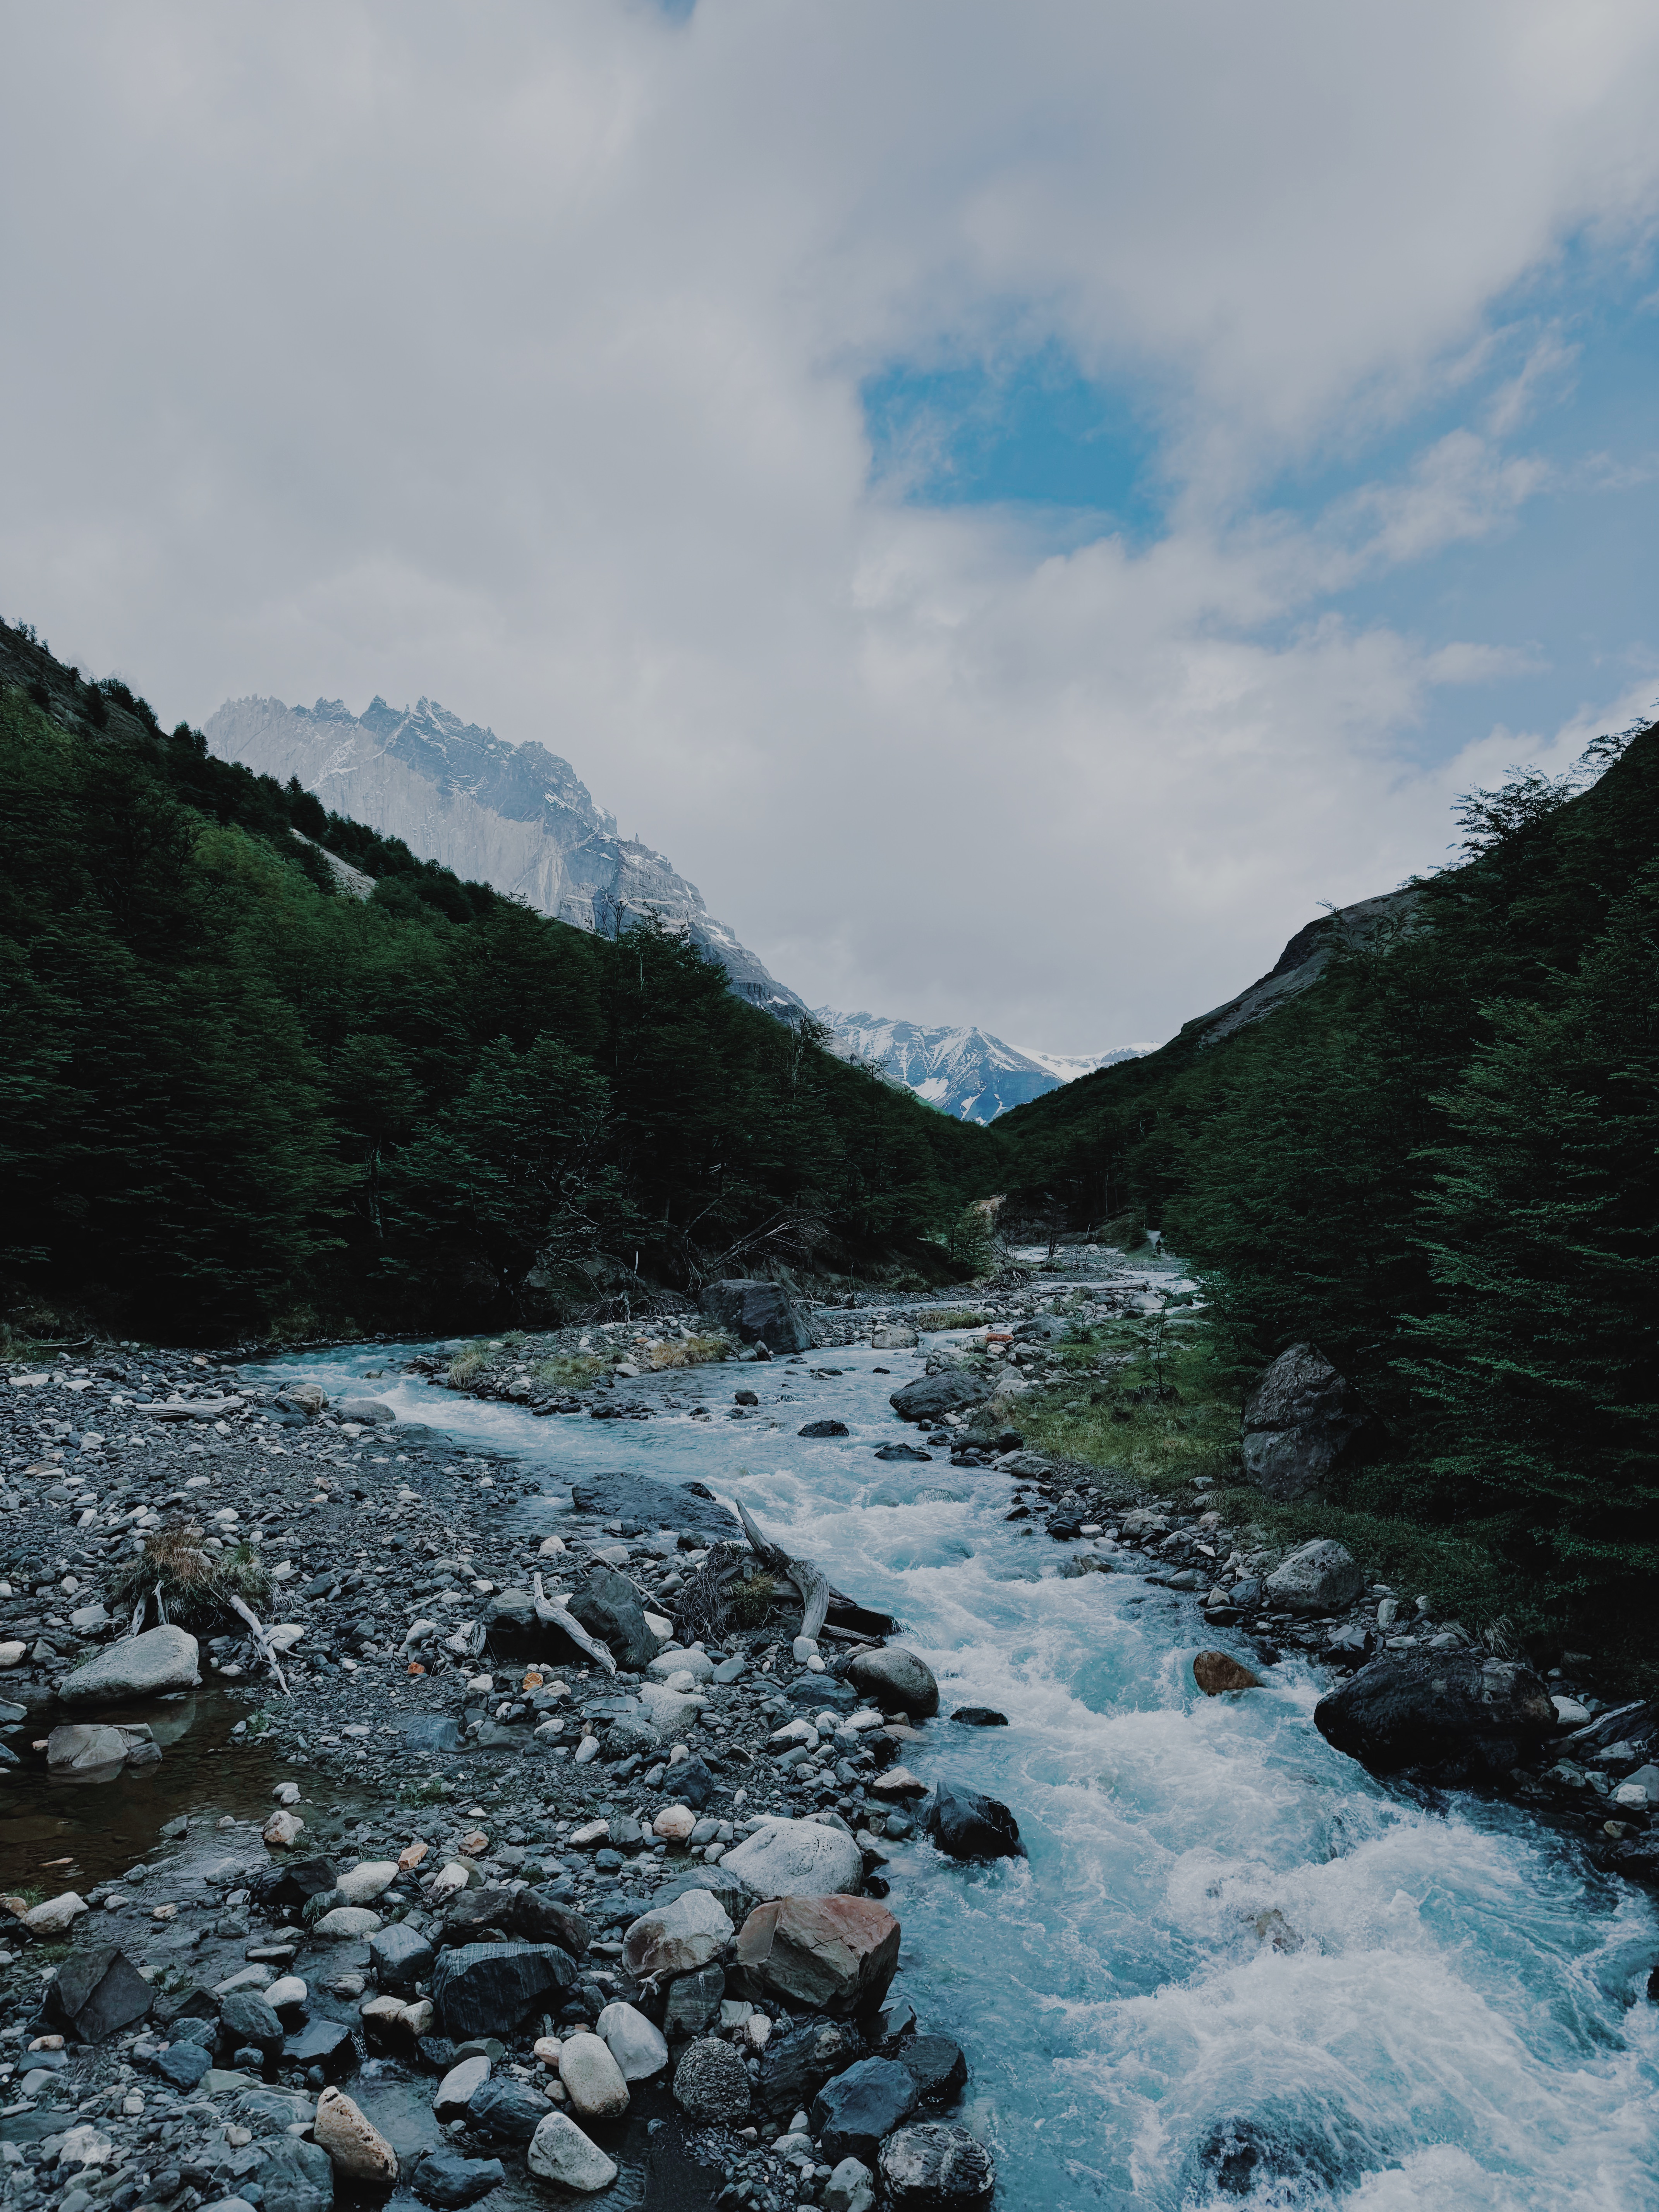
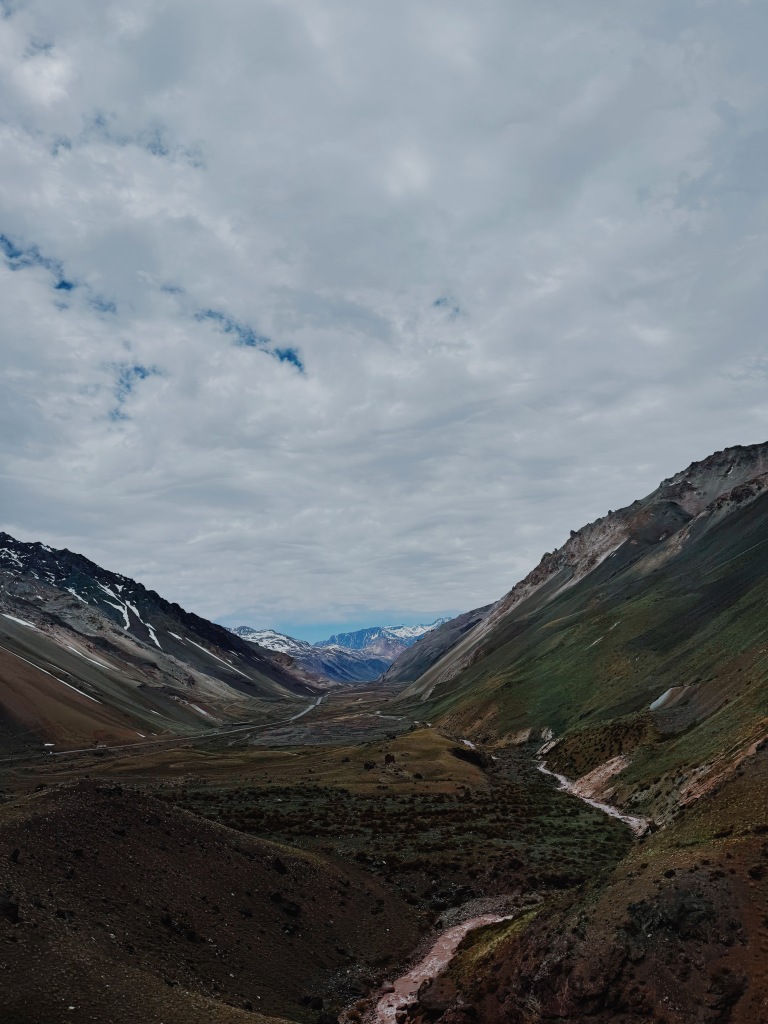
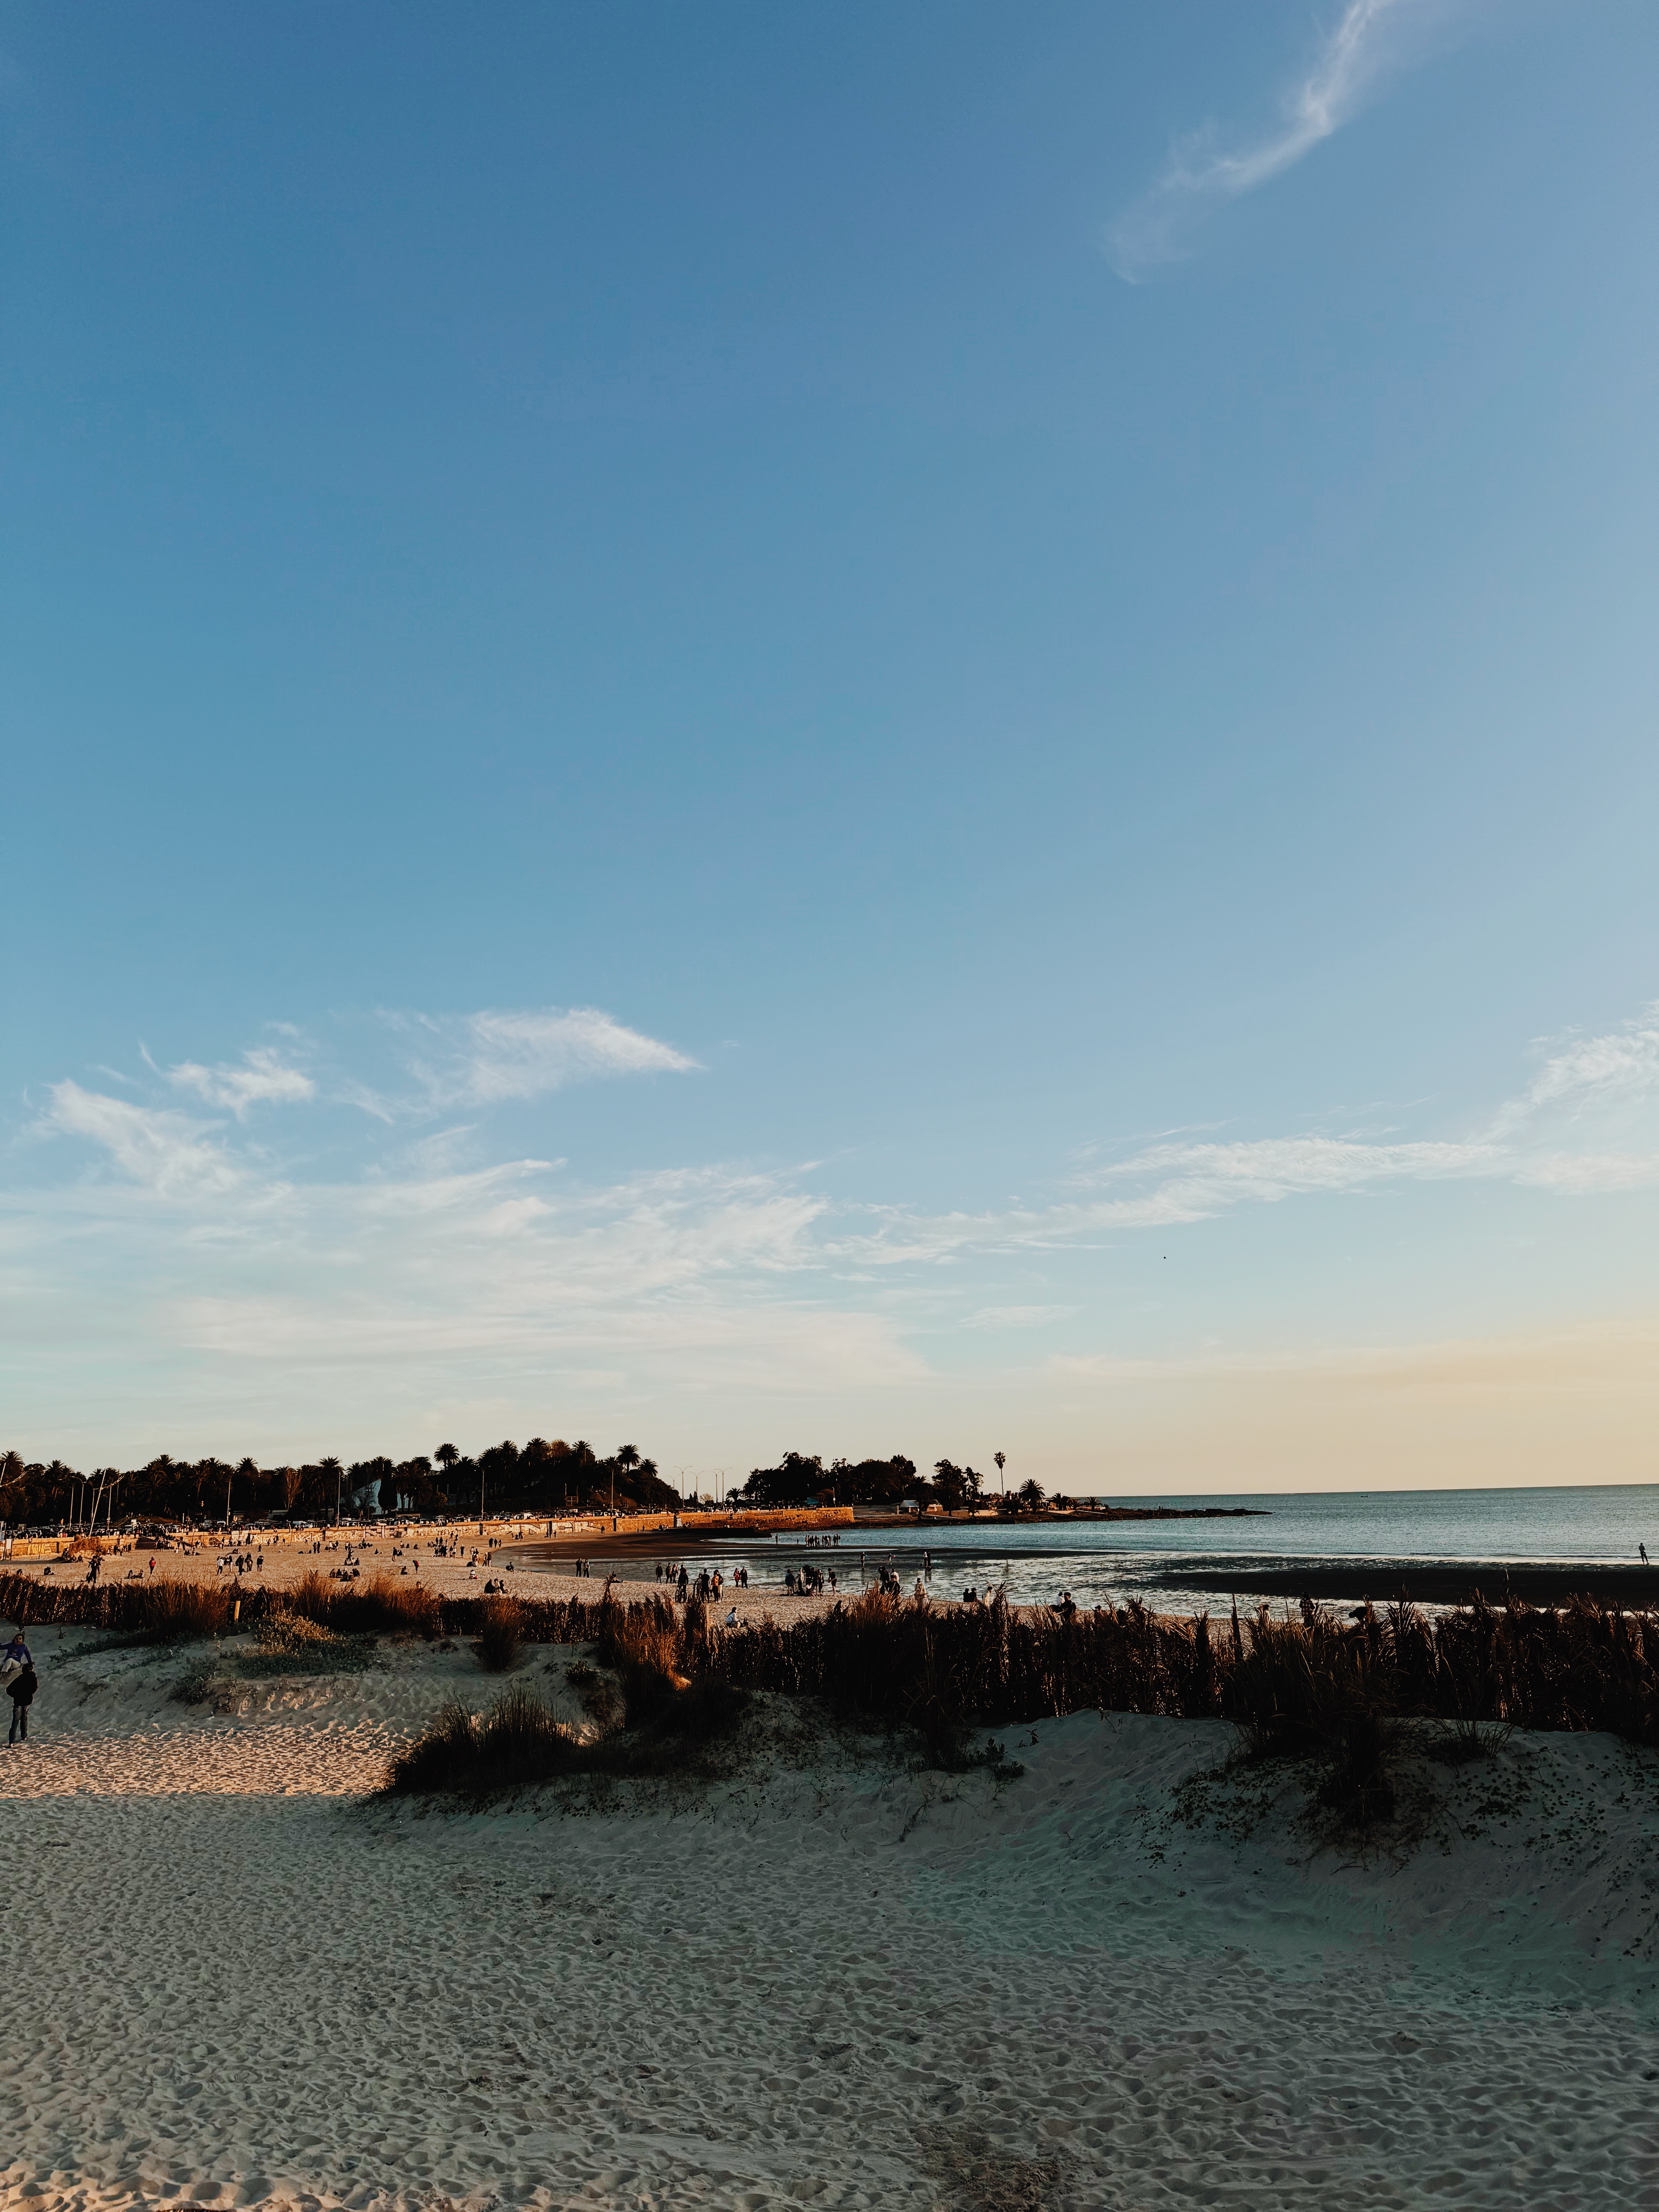
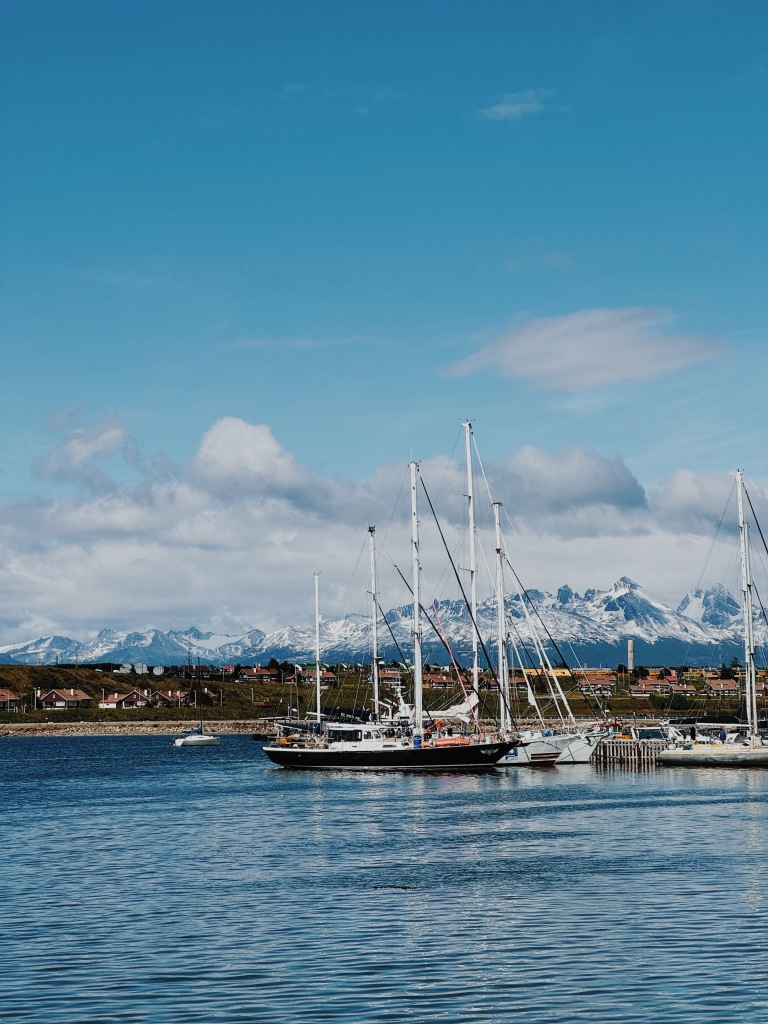
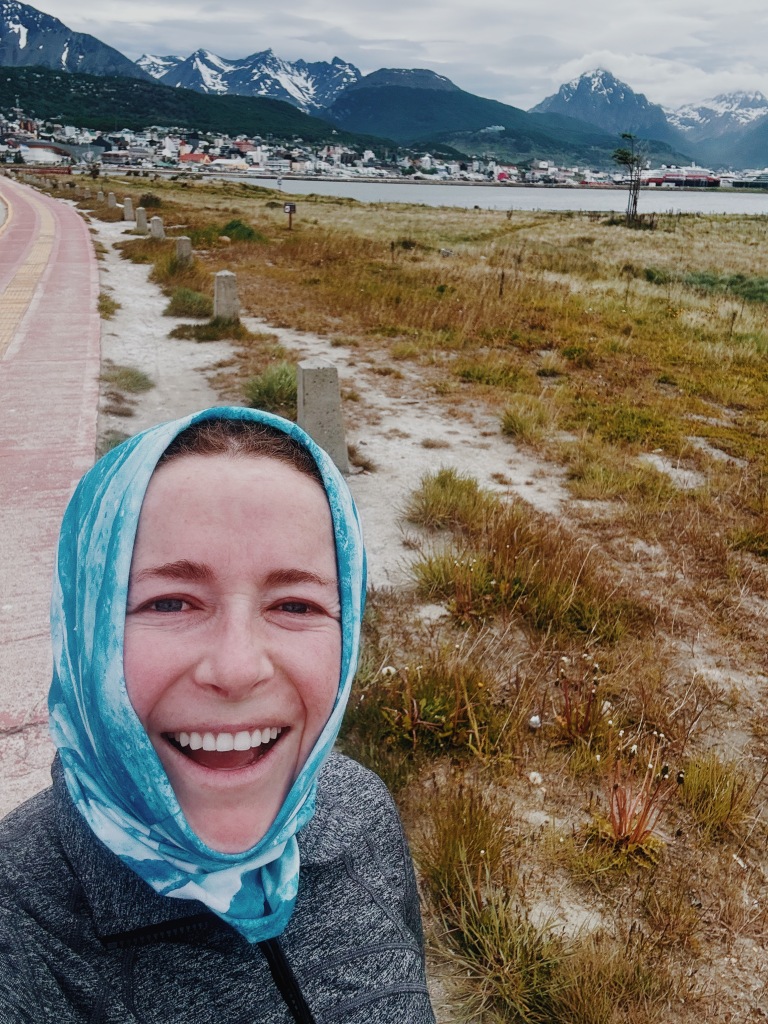
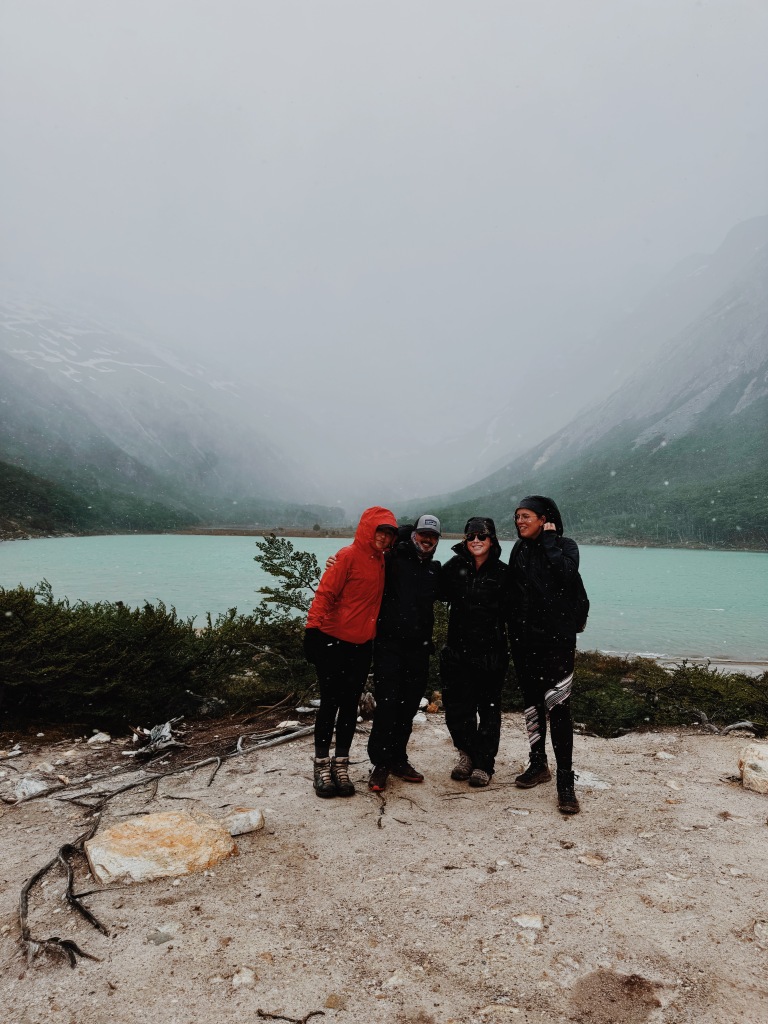
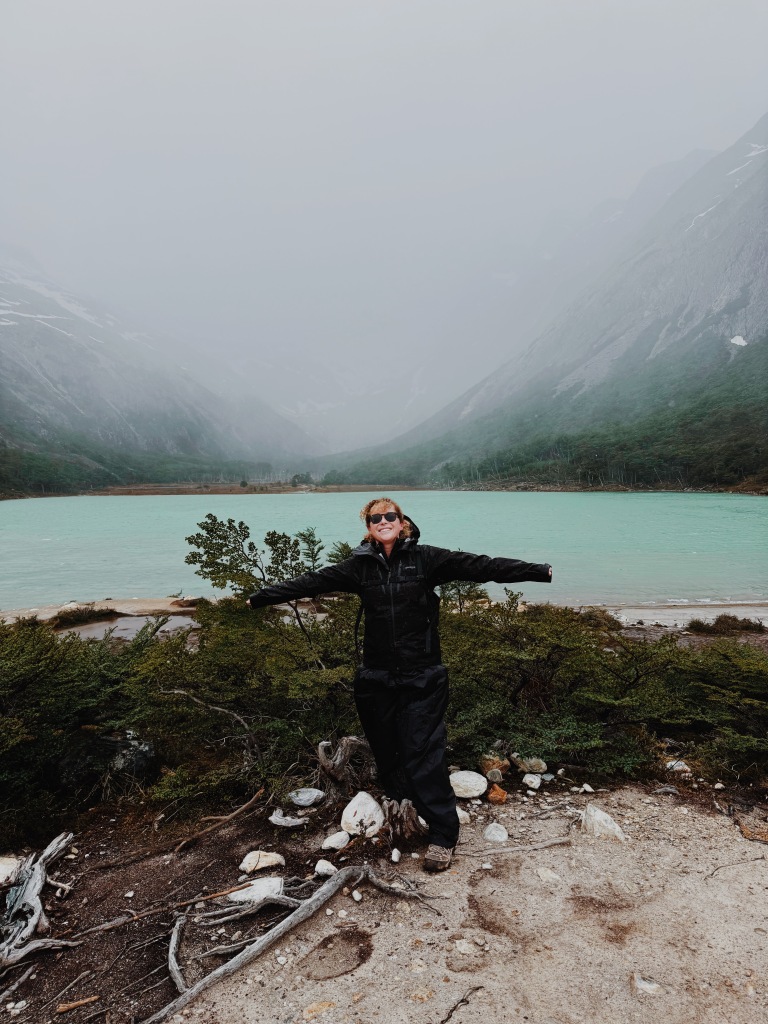
My favorite thing to do was enjoy walks & runs along the water front. The only other thing we did was hike Laguna Esmeralda, but the weather was horrible haha. We battled strong winds, rain & sleet. It was freezing. So maybe check the weather before going 🙂
OVERALL THOUGHTS:
Ushuaia is very cute and if you want to say you’ve been to the most southern city in the world, then don’t miss it! But in general I wouldn’t go way out of my way to come here.
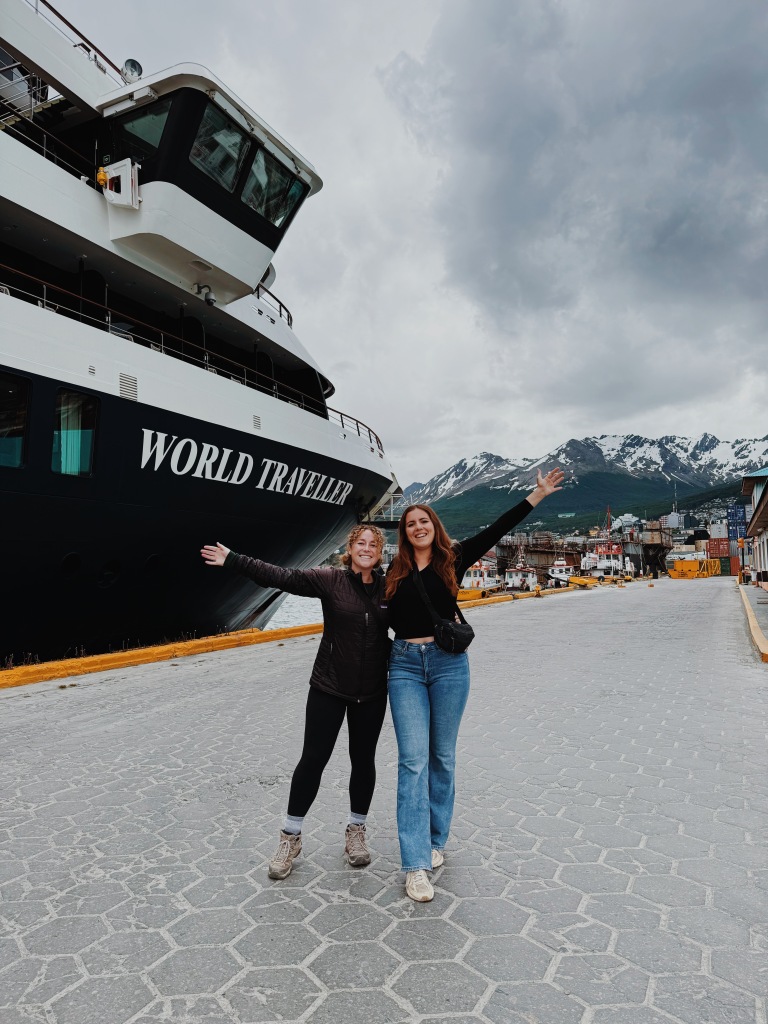
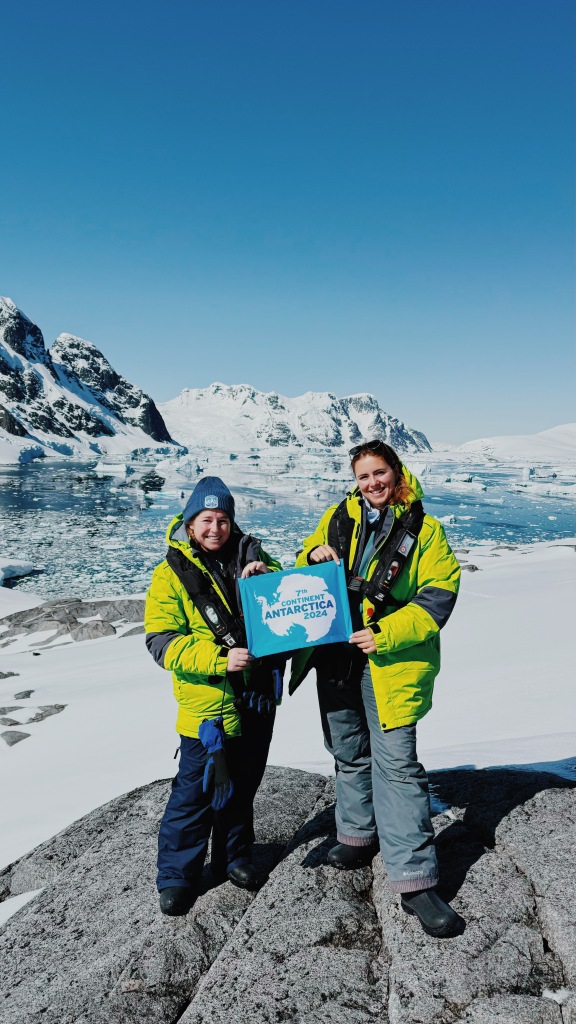
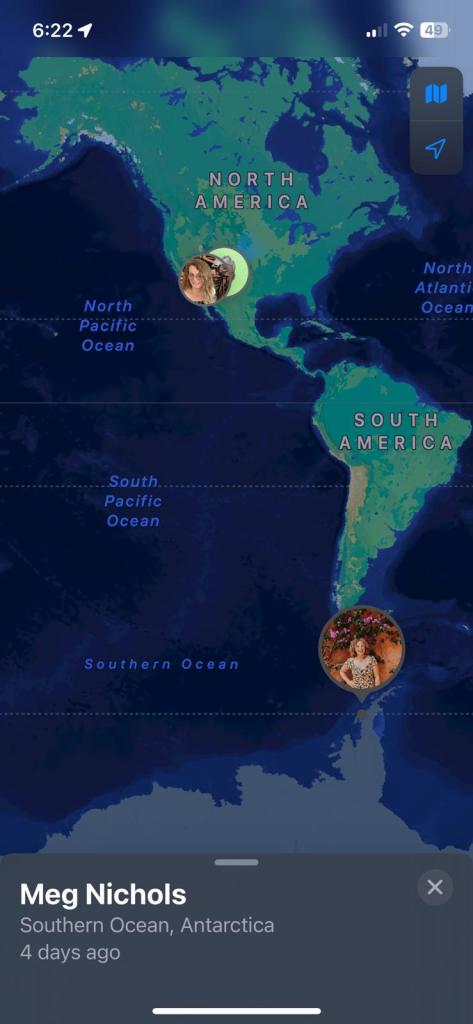
CITY: Antarctica
HOW LONG: 11 NIGHTS
I don’t even know where to start. This was such an incredible adventure.
How to book:
Sonja & I booked this trip 6 months in advance through Freestyle Adventure, one of a few agencies that sell Antarctica trips. Historically, one of the best ways to get cheap deals to the continent was to sit in Ushuaia and wait for a last minute deal on unsold inventory. This has become less effective as of late as Covid decimated some operators & demand continues to grow which means there are less rooms going unsold. That being said, there were definitely some deals that got swooped up by some fellow backpackers we met at our hostel in Ushuaia. My advice is to actually book ahead of time and try to get an early bird deal. Sign up for the newsletters that some of the agencies offer. Define what kind of trip you want to go on: the cheapest or a luxury option? 11 day efficient trip to the Antarctica Peninsula or an 18+ day trip that includes the Falkland Islands? Do you want it to include a charter flight to/from Buenos Aires? Do you want to go in early Dec to see more sea ice and penguins sitting on eggs, or in Feb to see peak whale season? Etc. As you begin to peruse the deal emails, you’ll start to familiarize yourself with the different options and price points! From there as soon as you see a trip that fits your budget, timing, level of luxury, I would hop on it! It’s obviously not a cheap adventure, but in our research we saw trips anywhere from $5k USD to 35k USD so there is a big price range. You could also try reaching out to the cruise lines directly to see if they will price match.
How to Pack:
I was overwhelmed with how to pack amidst only having a 35L carryon backpack and needing to pack for other climates for the rest of my 2.5 month adventure throughout South America. However, it was easier than I thought it would be. Here are my best tips on what to pack:
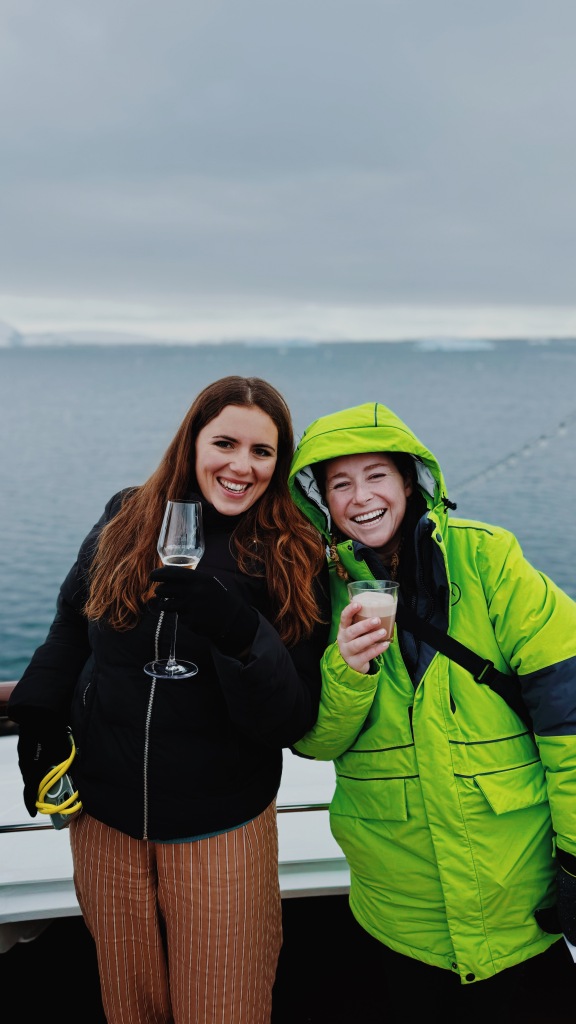
- Our cruise provided a warm winter jacket that was ours to keep (double check if yours will) but this was awesome as I didn’t need to worry about packing for this.
- A pair of snow/waterproof pants. Ski pants would work great. Again, I obviously didn’t want to lug these around with me, so luckily Freestyle also kindly lent us each a pair.
- I used my North Face pullover and Patagonia Nanopuff for layering under the big winter jacket. I tend to run very cold so am always happy to have too many layers. Other folks said they only wore one layer between the base layer and the big jacket.
- A base layer of non-cotton pants & long sleeve shirt. I wore lululemon Align pants + Swiftly Tech Long-sleeve shirts pretty much everyday under all the other layers. I’m allergic to wool, but otherwise this is considered the best material for Antarctica.
- A really good pair of gloves – I ended up buying a high quality pair in Ushuaia since I didn’t want to carry around a pair for the rest of my trip, but Freestyle actually had an office in town and also kindly lent me another bulkier, ski glove which I ended up using a ton. One nice feature about the ones I borrowed were they had wrist straps so I could take one off to take a picture and not worry about losing it!!
- A warm beanie to keep your head warm.
- A buff for extra cold or windy days. Again, Freestyle gave us one at their office, which was awesome!
- Sunglasses. Antarctica with its beautiful white landscapes is BRIGHT! No one on our trip seemed to be using ski goggles but if it was super windy or snowing, they could come in handy. We had sun pretty much the whole time so sunglasses were totally sufficient for me.
- A couple of pairs of warm socks (wool or synthetic). Most days weren’t super active so I had no problem re-wearing y socks (#backpackerlife) but you could also wash them in the sink (the air in Antarctic is very dry and the ship was kept warm so things dried quickly) or just bring 11 pairs.
- Our ship provided shoes to wear on all excursions so we only needed a pair of comfy shoes to lounge in around the ship. Make sure you can quickly put these on in case there is a wildlife sighting from the deck and you need to rush out there.
- A comfy outfit for when you are just hanging around the ship. No need to for anything fancy or super stylish (unless you want to!).
- There was laundry on board our ship but it was expensive (like a few $ per item). However as a backup it was nice to have this is as an option (that I luckily didn’t have to use).
- Sunscreen as it’s bright and there’s sun most of the day 🙂
- Dramamine or a patch for the Drake Passage.
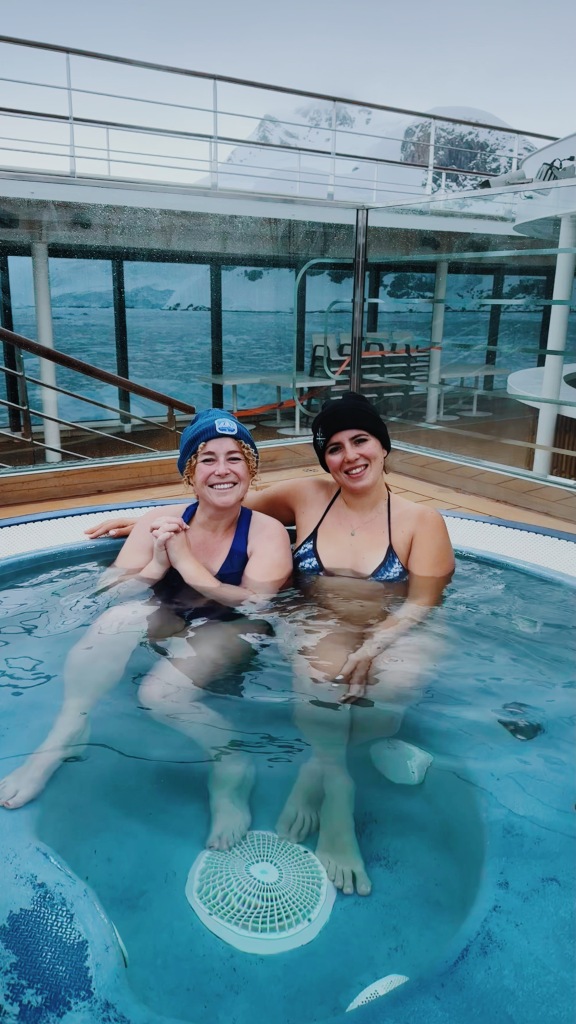
- Swimsuit for the polar plunge and hot tub/sauna (if your ship has it).
- Fancy camera if that’s your thing + any extra batteries & SD cards. Since I don’t have one, I was banking on making some friends on board who brought their fancy cameras who might be willing to share their photos with me. Luckily I made a few friends 🙂 Generally, people were very happy to swap any good shots they got! Also the ship had a photographer who sends out some great photos!
Here’s another packing list to check out.
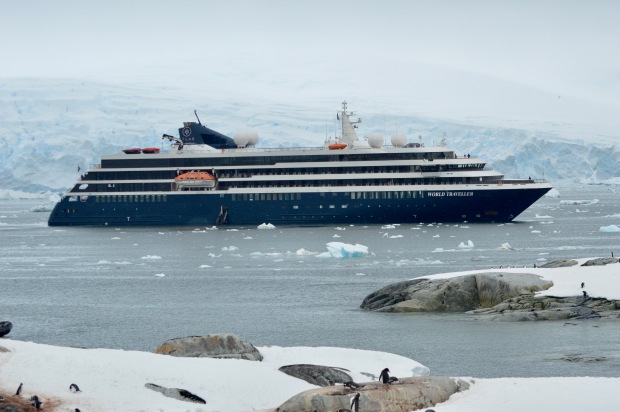
What to Expect On Board:
Our room was spacious (we got upgraded and we loved having the extra space!). The room had two twin beds, a sitting area, closet and bathroom. Everything felt of high quality. We had a Juliet balcony, which was fabulous for when we felt too sick to get out of bed but still wanted to see the landscapes.
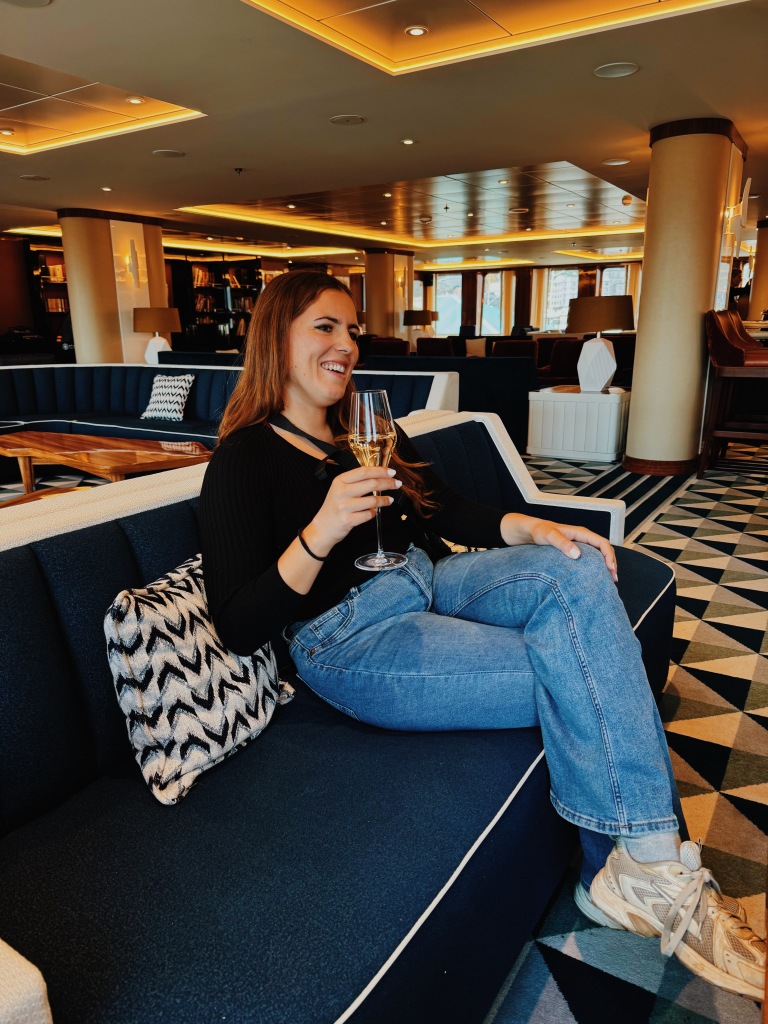
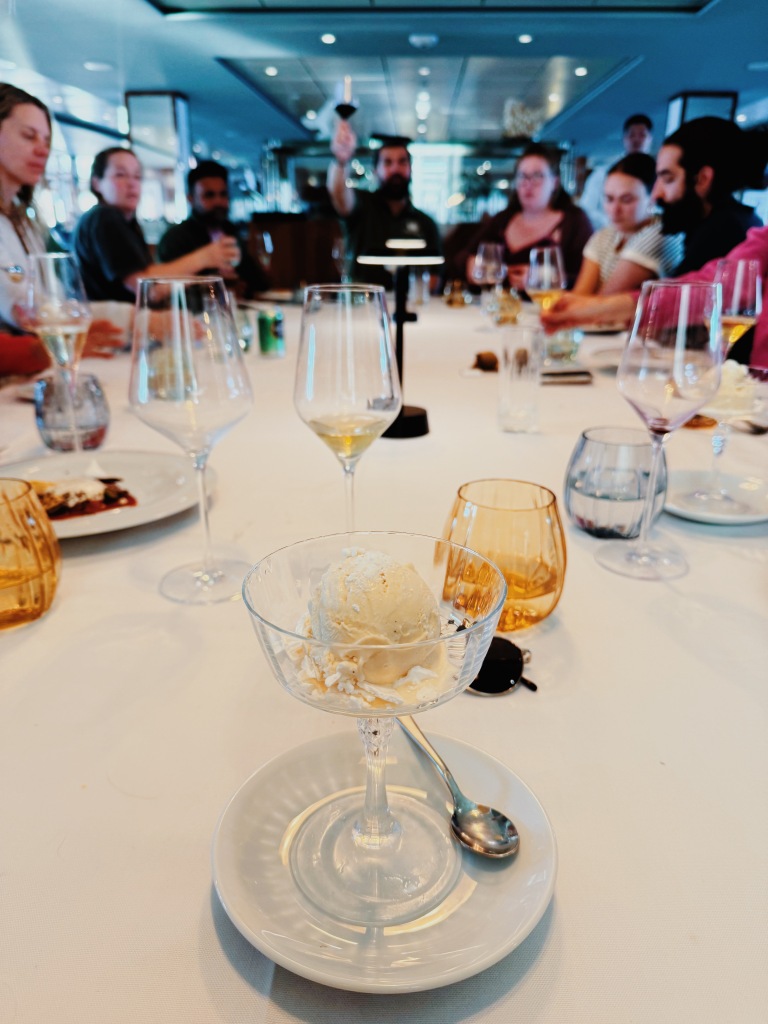
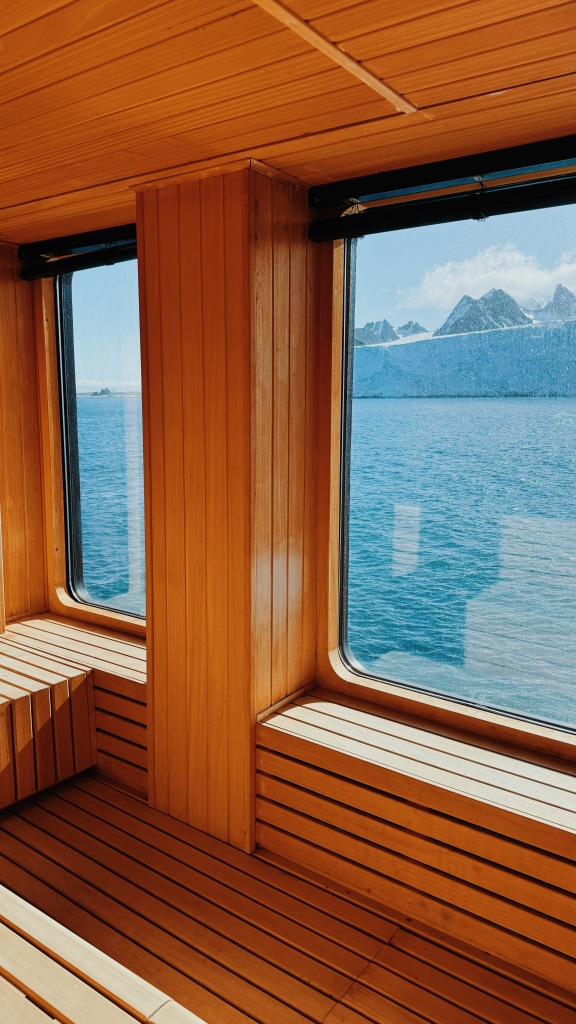
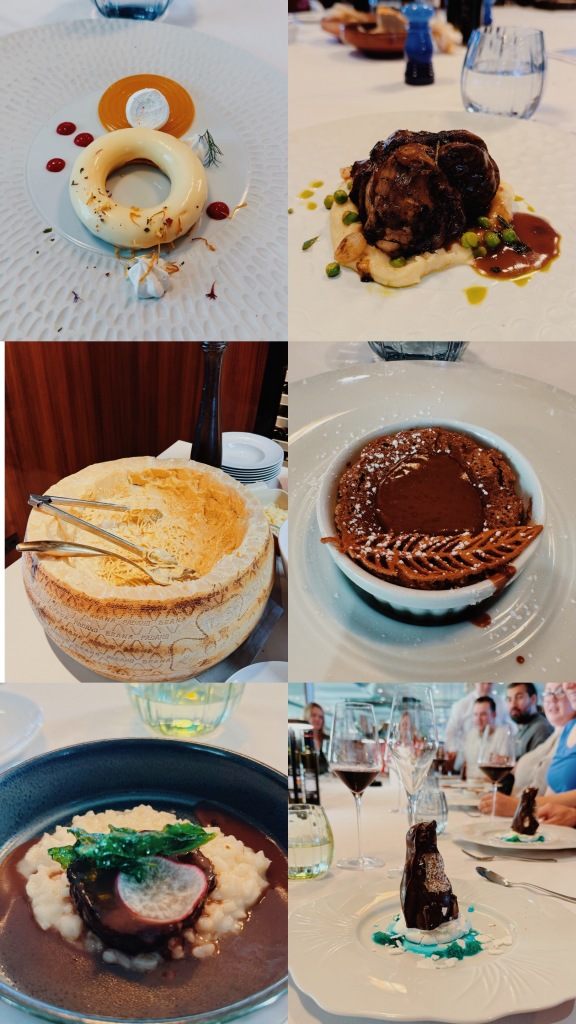
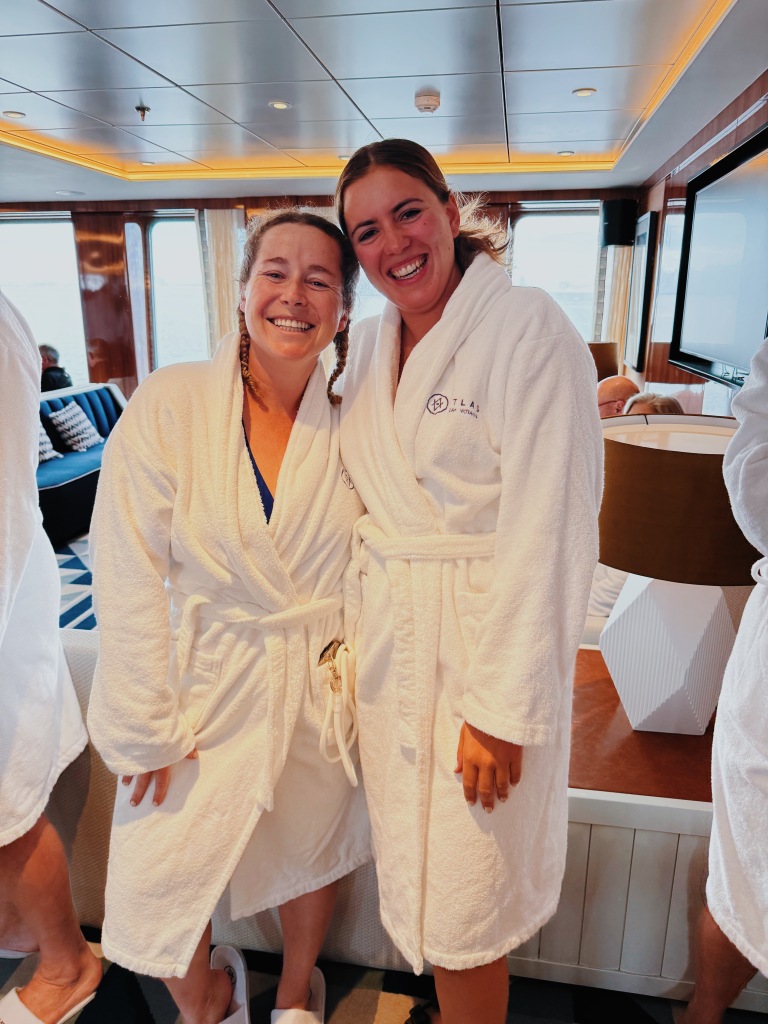
On board there were two bars, a restaurant, a snack bar, a pool & hot tub, a spa, a sauna and a gym. There were multiple decks for viewing outside & an auditorium for lectures. There was also a front desk and a nice sitting area for playing cards and chatting in your downtime.


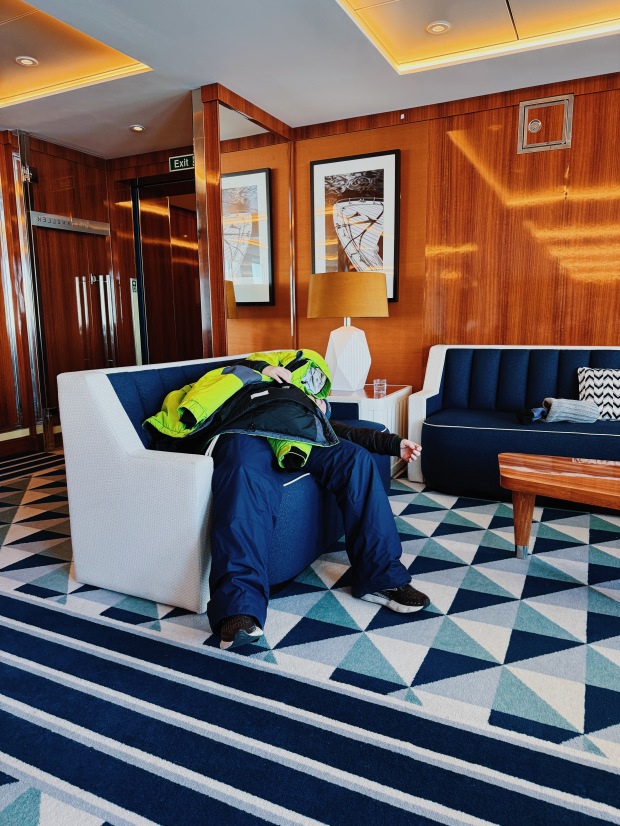
We spent 2 days at sea battling the Drake Passage on the way there and 2 days on the way back. Luckily on the way there it was about a 6/10 and on the way back it was only a 2/10 so overall not too bad. Sonja & I both got decently sea sick on the way there despite taking dramamine (Sonja even threw up) but we found that as long as we were horizontal lying in bed, it wasn’t too miserable. On the way back we were both totally fine, although we both had sourced patches from other passengers so hard to say if that is why we felt better.
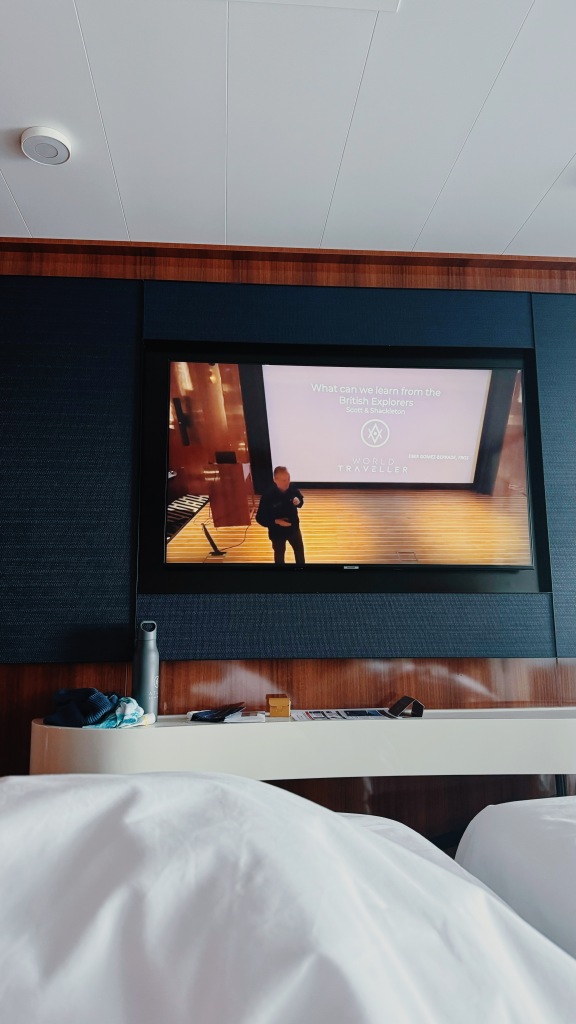
We spent the first two days at sea doing some prep for the time in Antarctica. The ship held lectures (luckily we could watch from our beds), had mandatory briefings for camping & kayaking, we went down to get fitted for our provided jackets and boots in the locker room and learned what the rough schedule was going to be. Generally the main takeaway was we needed to be flexible as conditions change at a moment’s notice and so we should be prepared for nothing to actually go as planned.
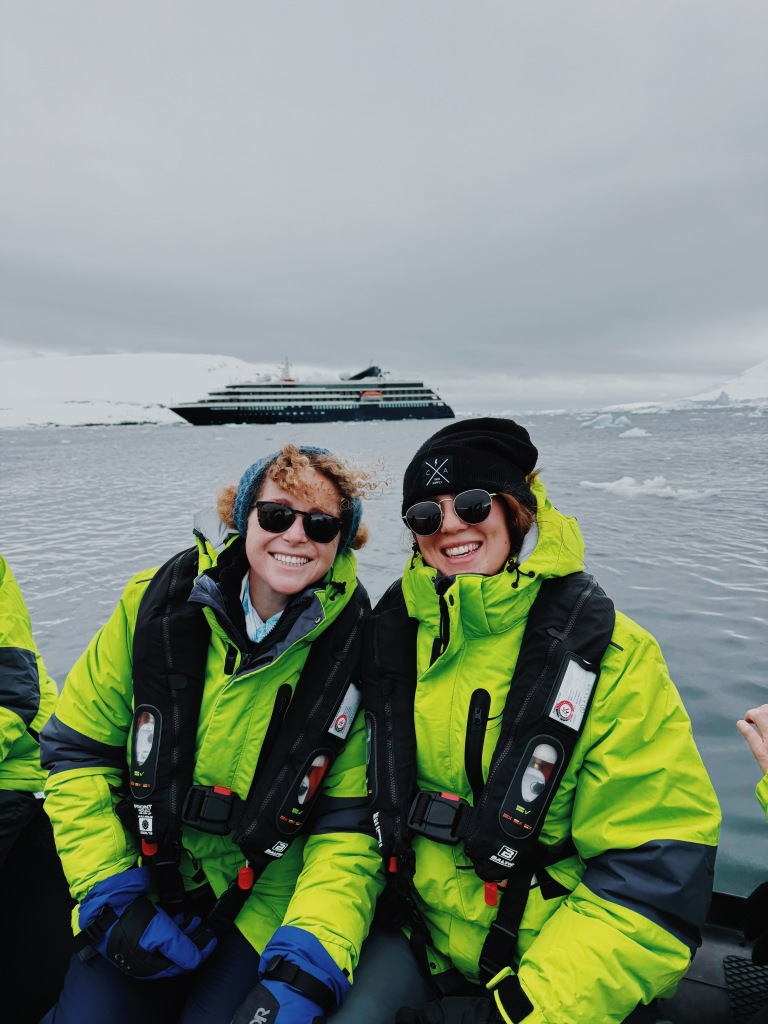
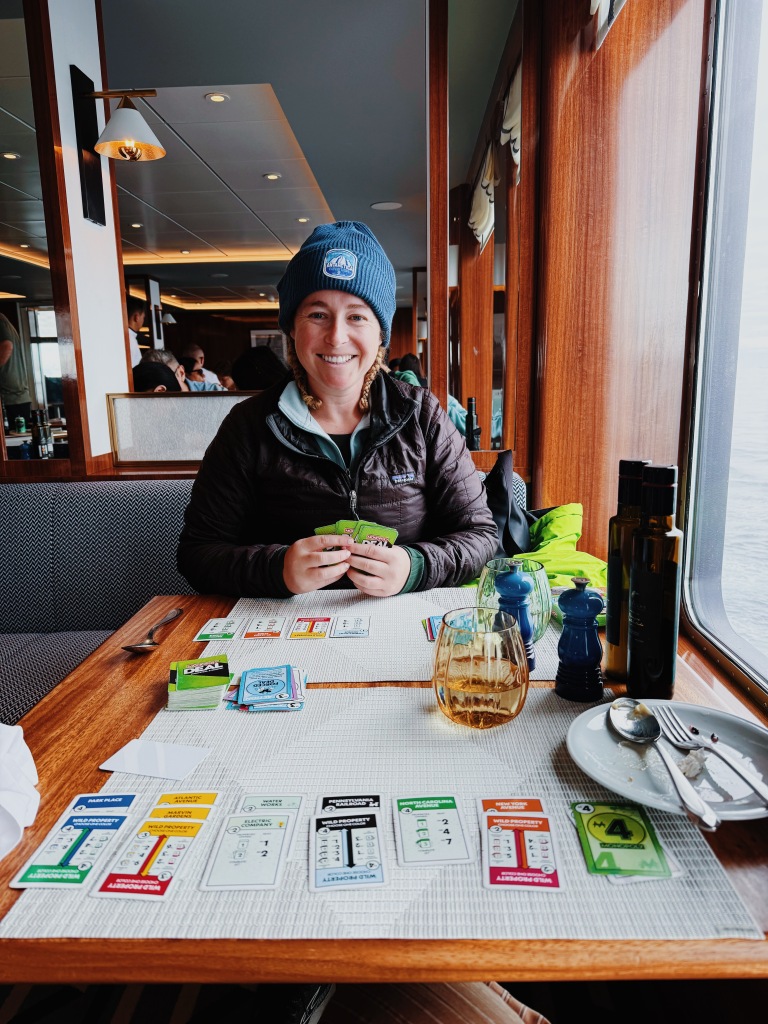
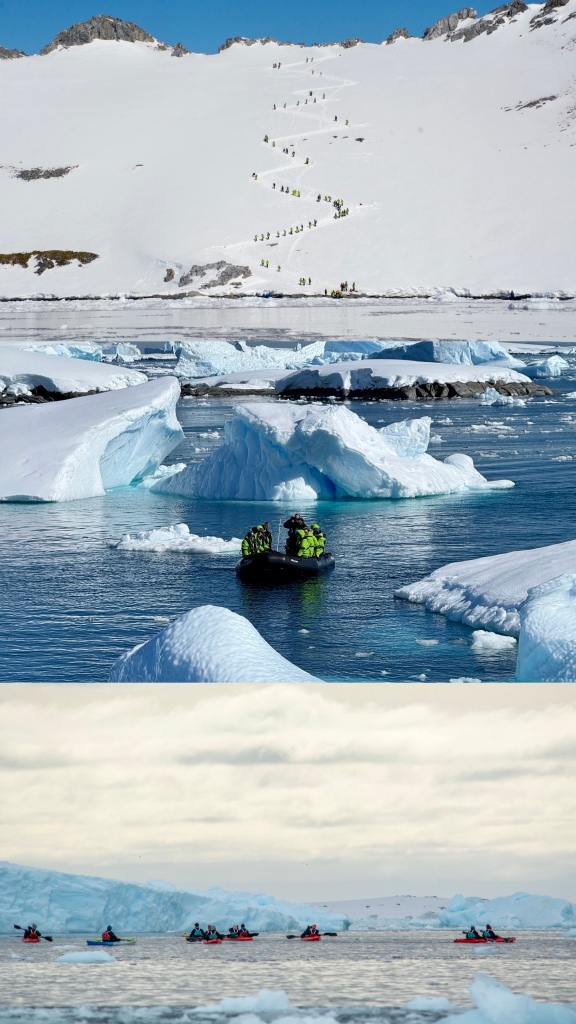
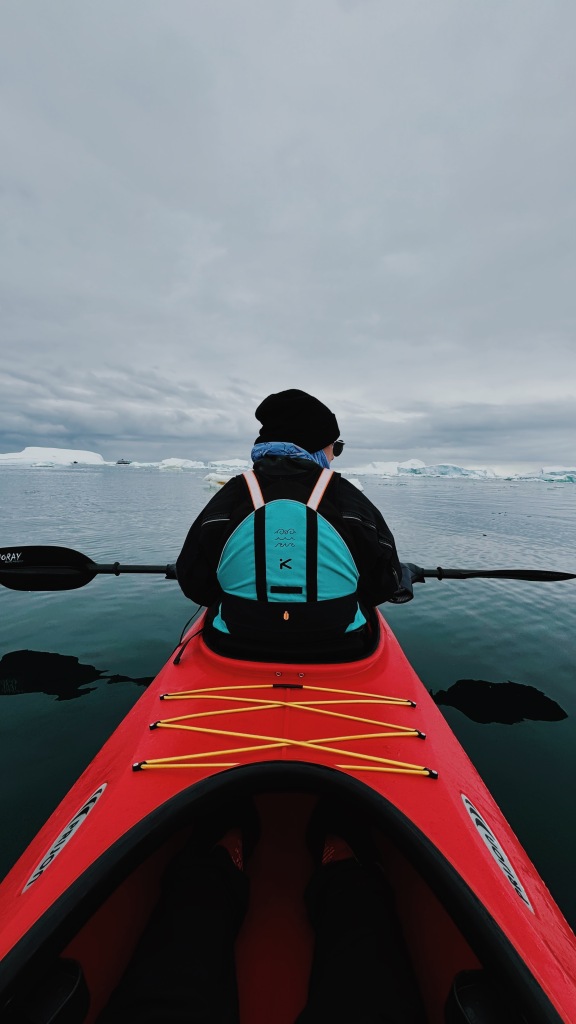
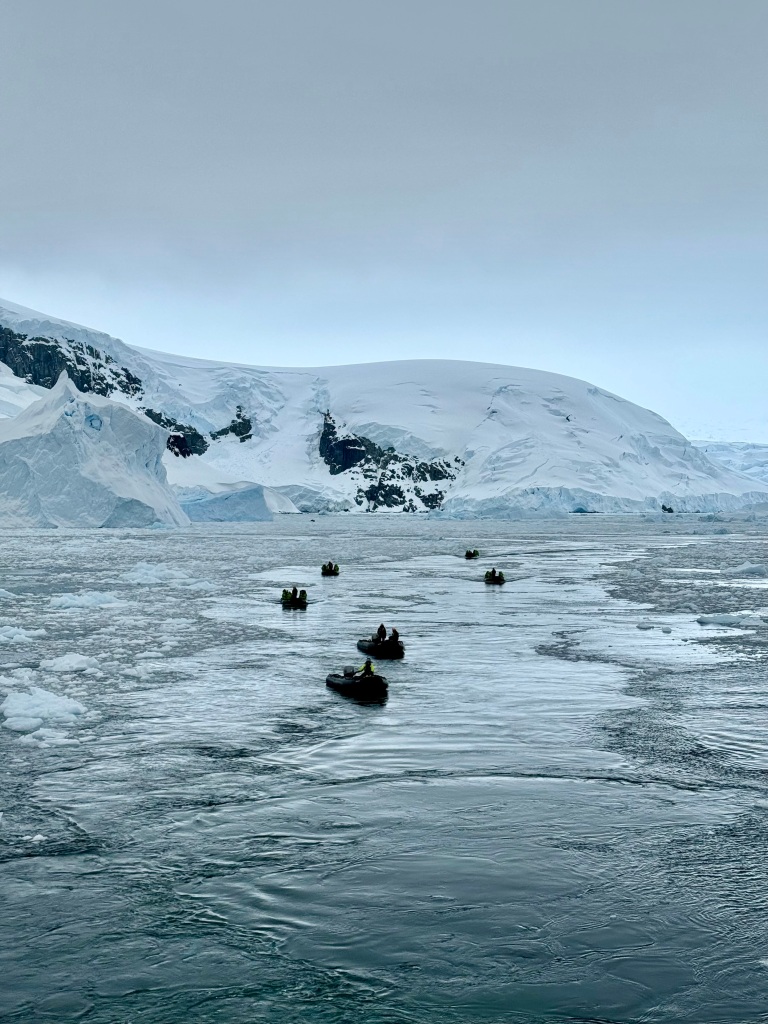
Once in Antarctica, we had two excursions per day, usually one landing and one zodiac ride. One day we went kayaking instead of the zodiac ride. You are divided up into groups and when it’s your groups time slot you head down to the locker room to get you gear on and then line up for the zodiac boats. The first activity of the day was typically between 8:30-10:30 and the afternoon activity was typically between 2-4pm. Each group’s activity was an hour long. For example, groups A & B would go from 8:30am- 9:30am and then groups C & D would go from 9:30am-10:30am. I would usually order breakfast to the room so I could eat when we got back from the activity. Lunch was from 12-1:30pm and then it was time to get ready for activity number 2 of the day. After the afternoon excursion, we would all chill on the boat, either in the hot tub, in our rooms, journaling, playing monopoly deal, out on the deck watching for whales, or at one of the bars. There is no drinking until after the second excursion. Dinner was served from 7-9pm.


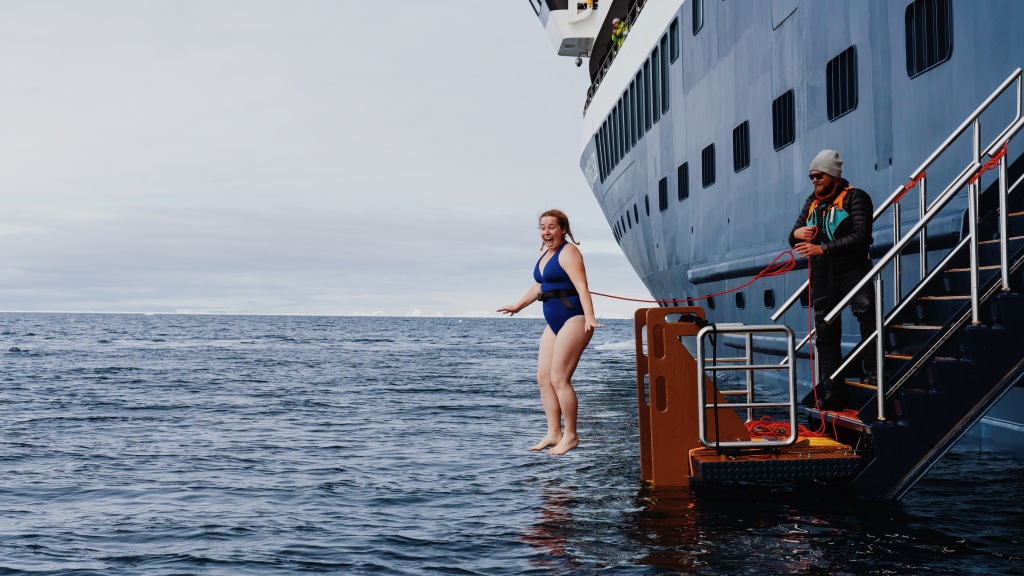
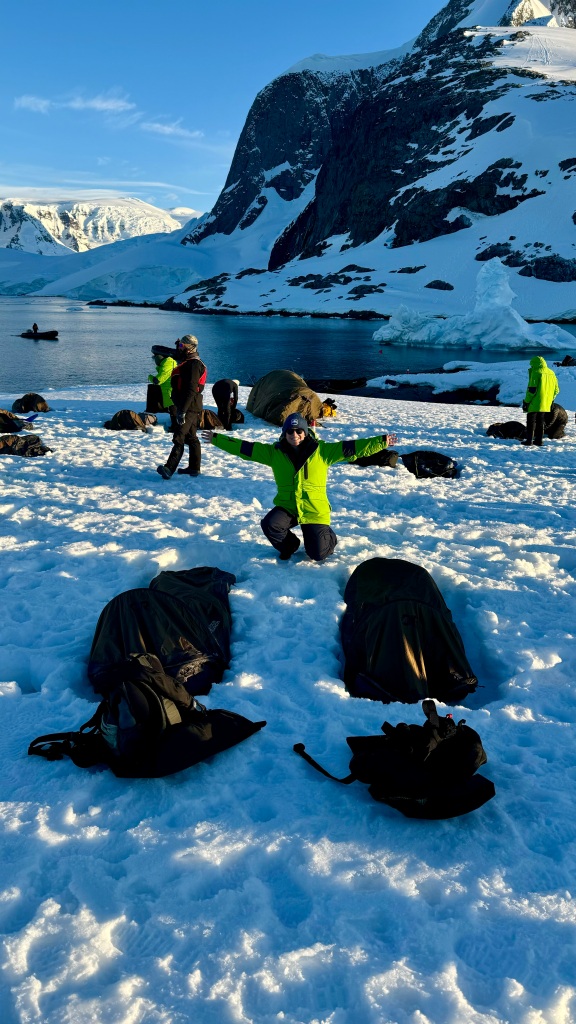
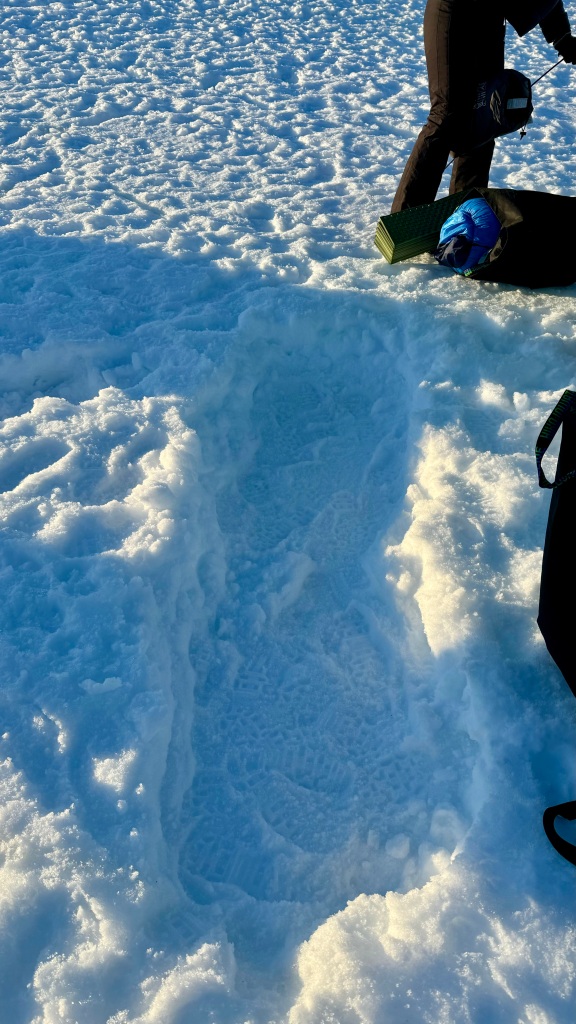
Sometimes there were lectures peppered throughout the day as well. We also had the polar plunge and camping mixed in when they determined the conditions were good!
Polar plunge & camping!
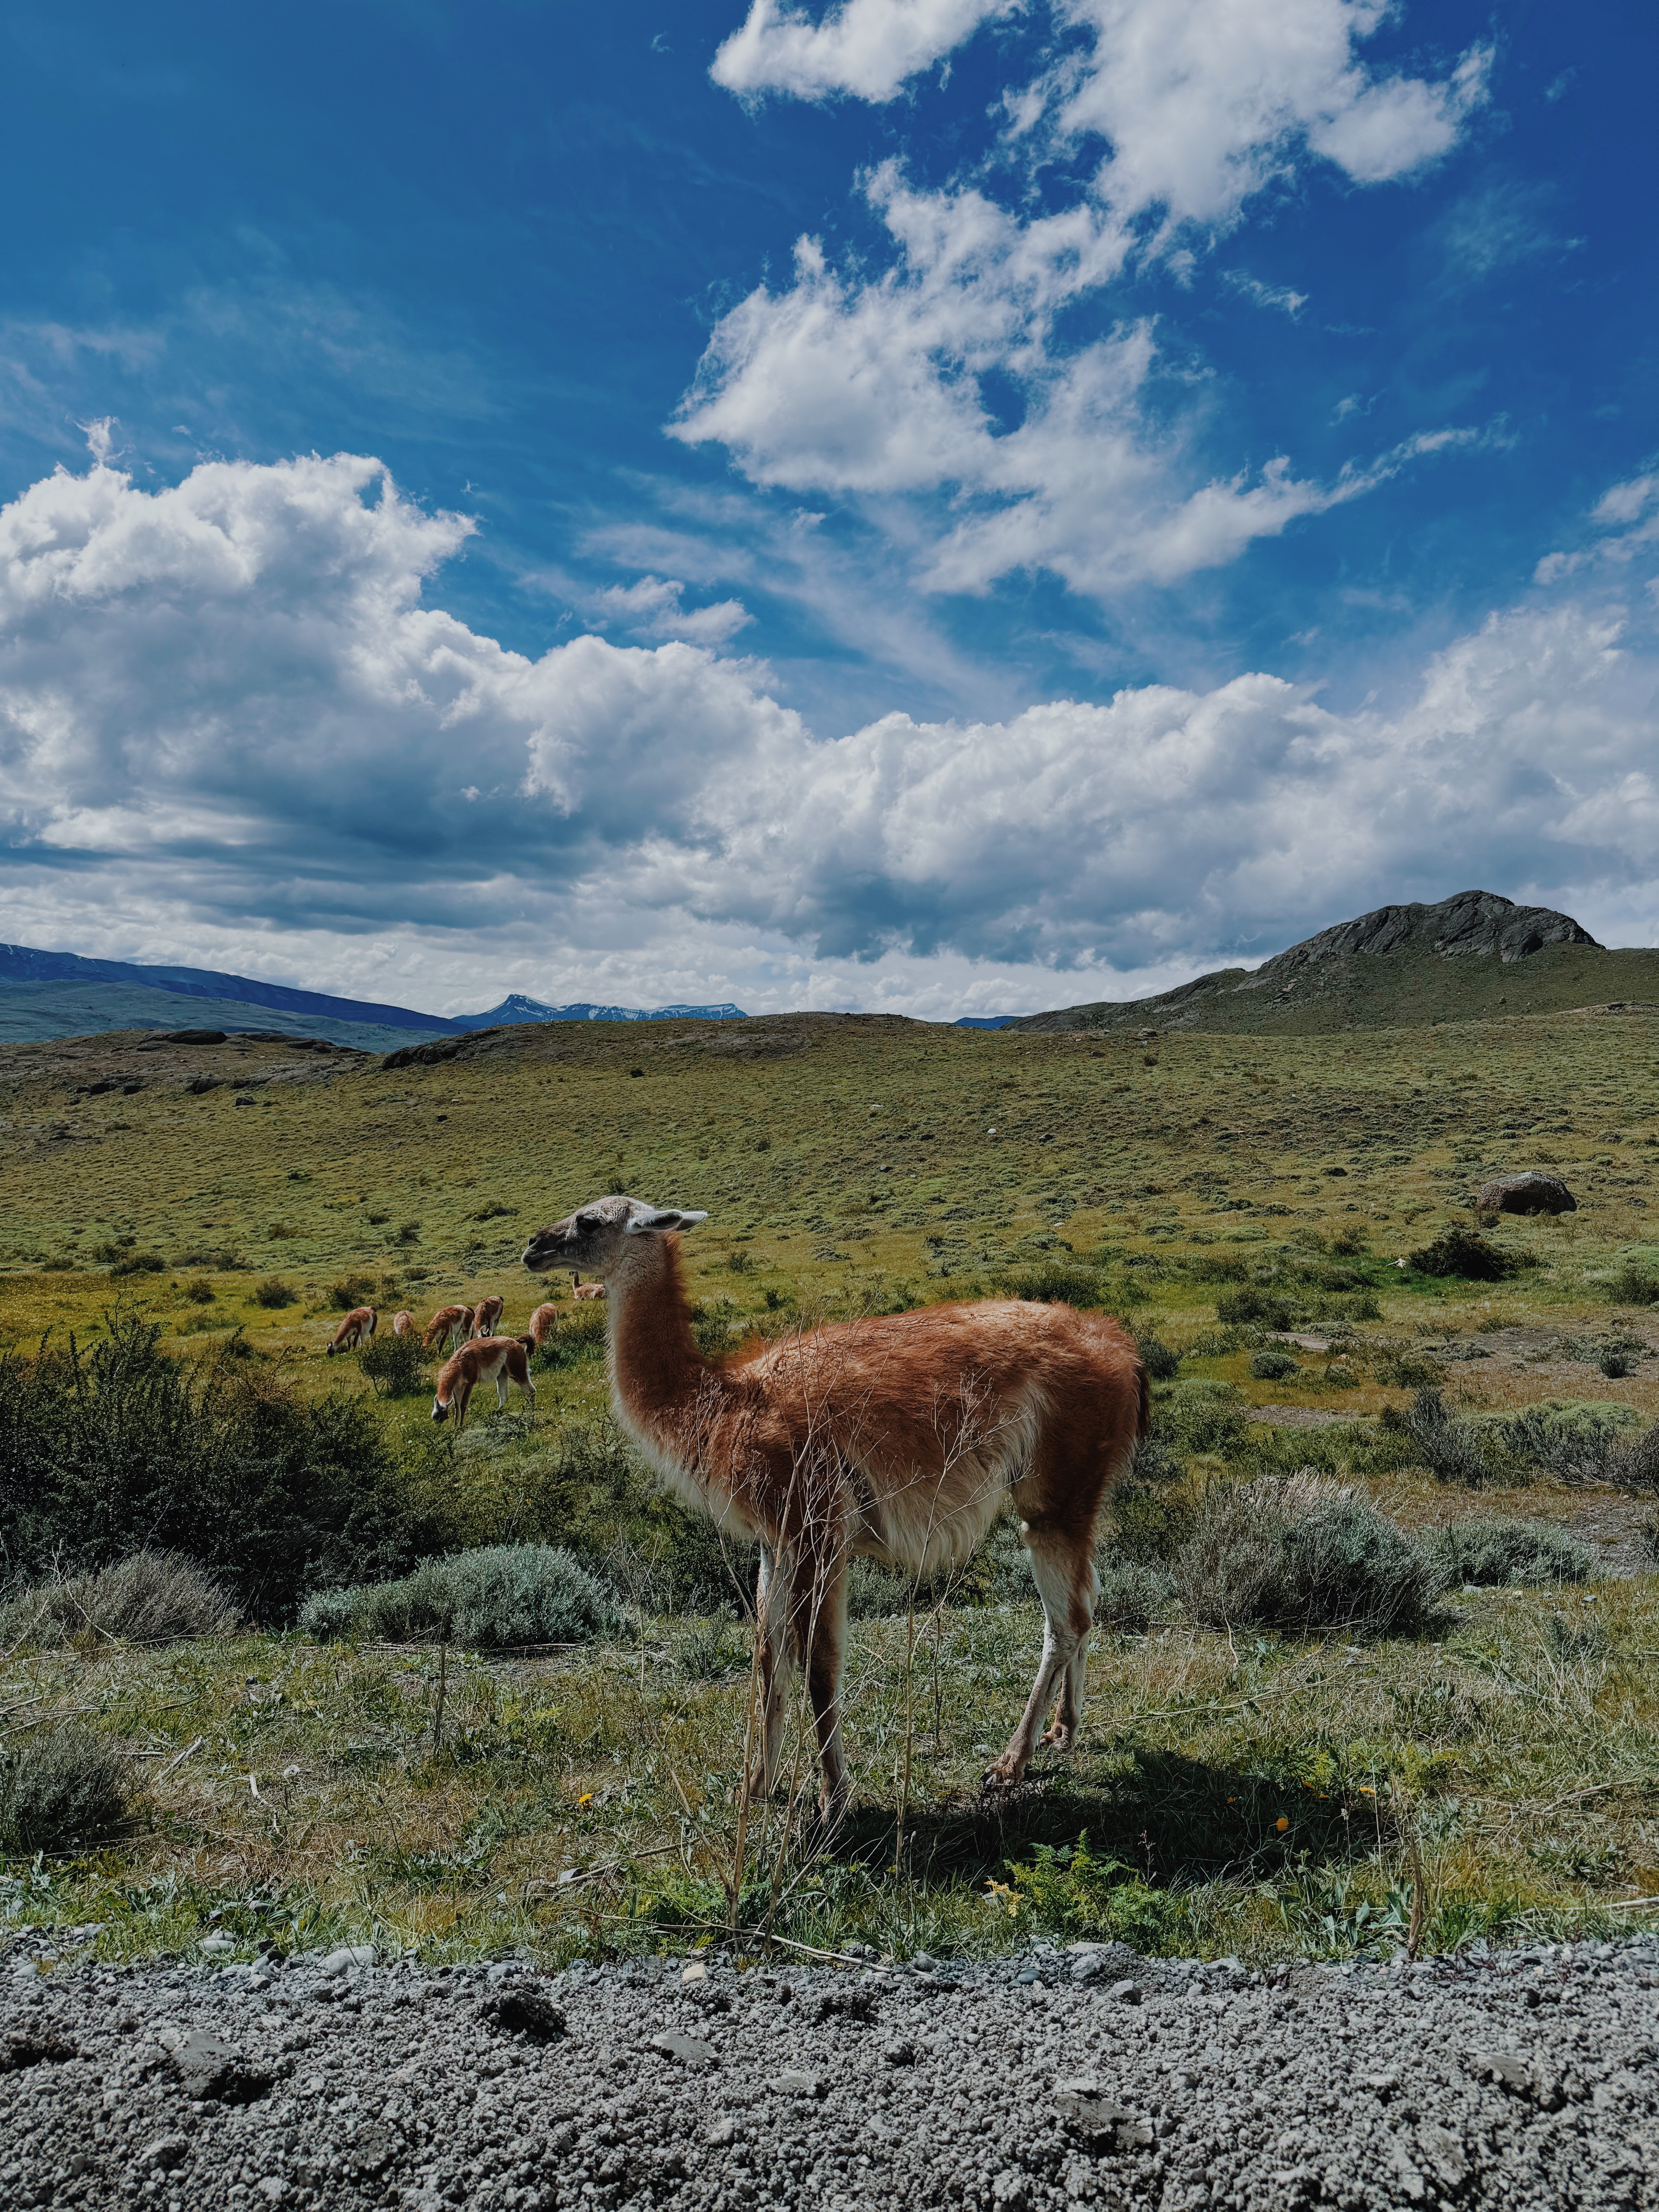
Animals We Saw
Every season in Antarctica is fabulous but if there are certain animals you want to see, then you should consider what month you want to visit! If you want to see more whales, later in the season will give you the best chance. If you want to see penguins sitting on eggs before they hatch, late Nov/early Dec is your best bet. If you want to see baby fluff ball penguins, go in late Dec/early Jan. Here’s a good breakdown of what you’ll likely see when.
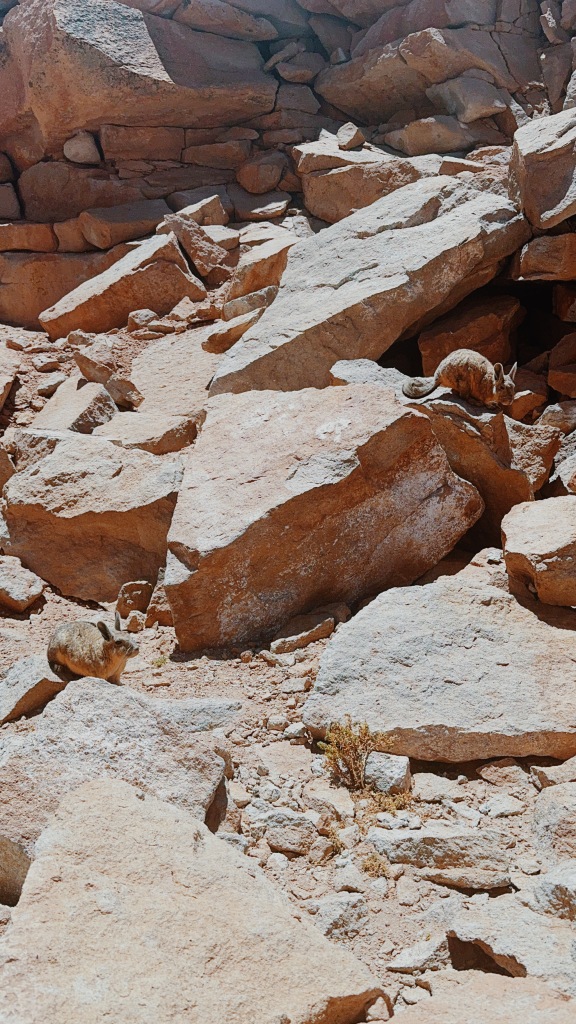
We got incredibly lucky and saw sooo many animals! I felt like I was on an adrenaline high the entire time.
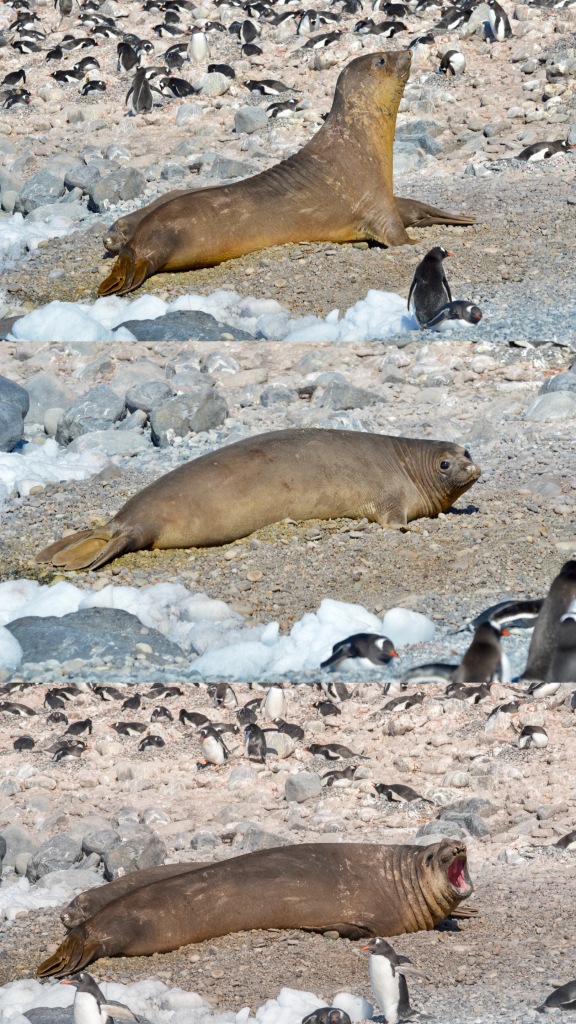
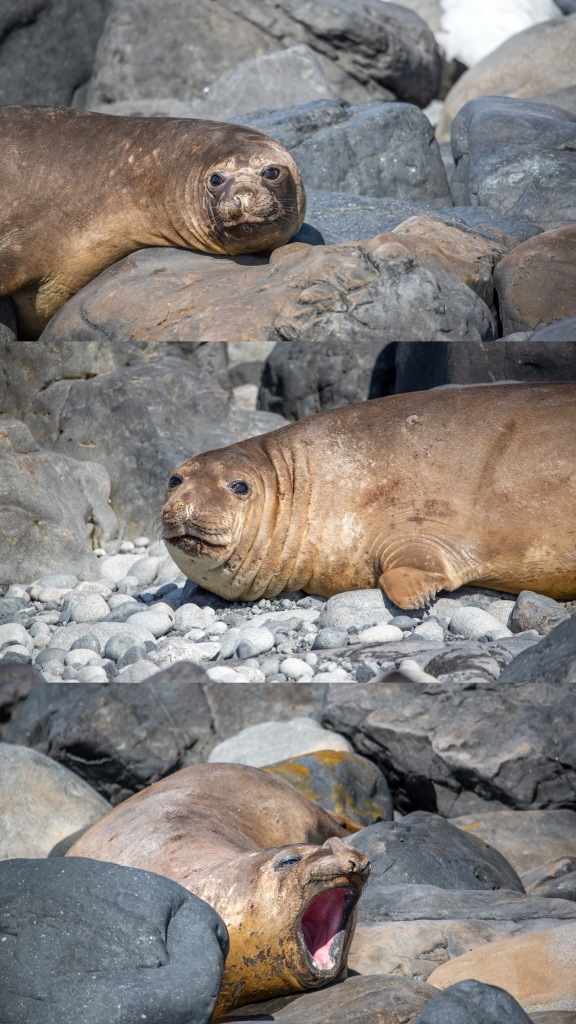
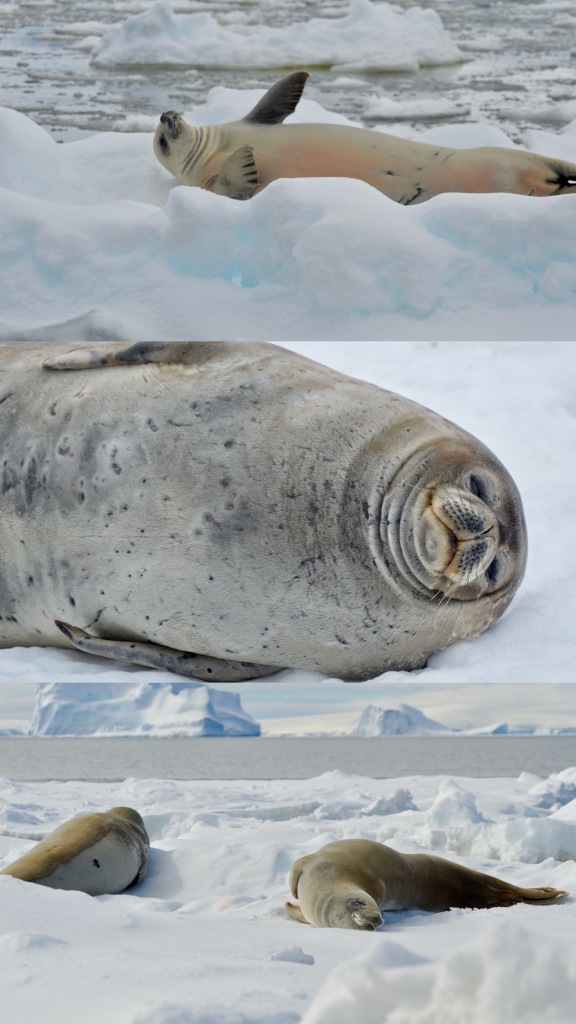
We saw Weddell seals, Crabeater seals, Elephant seal and even a Leopard seal with her pup. Sometimes we saw them on land and sometimes floating on icebergs.
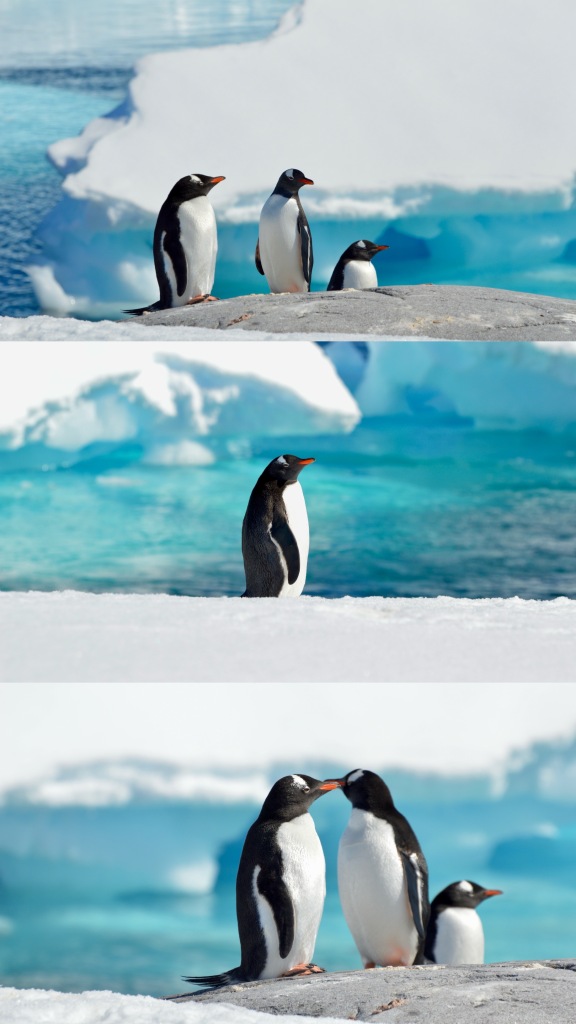
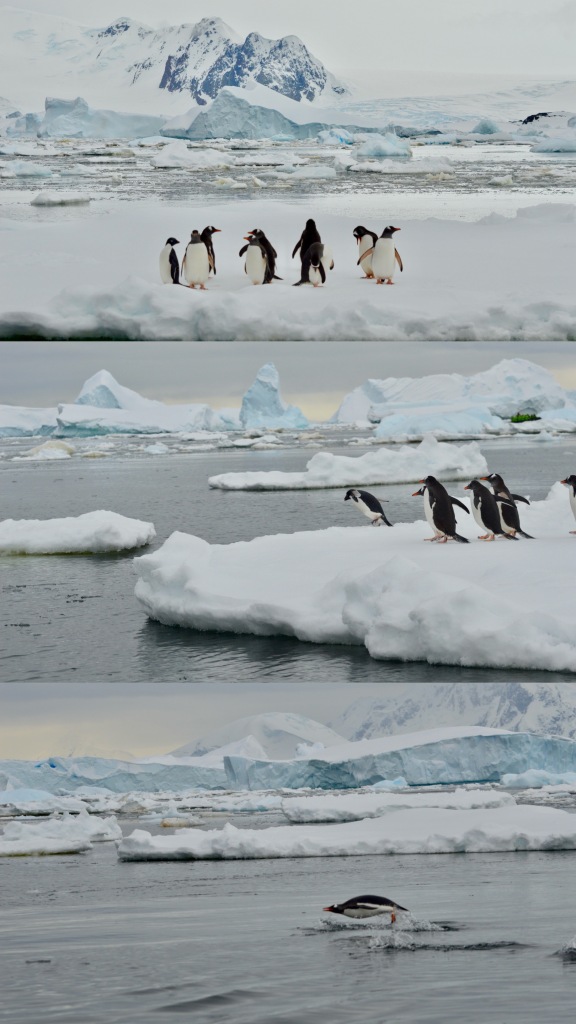
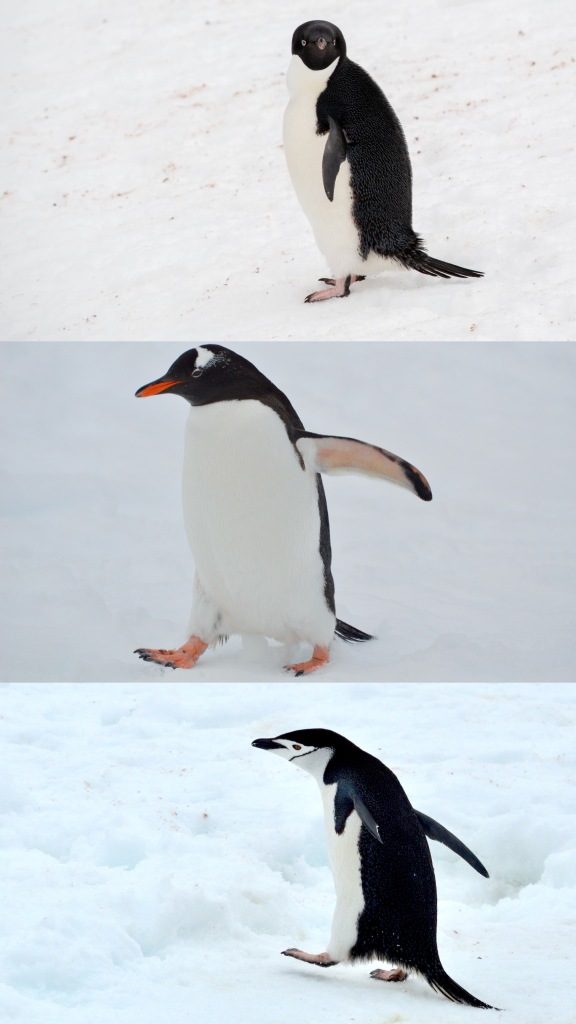
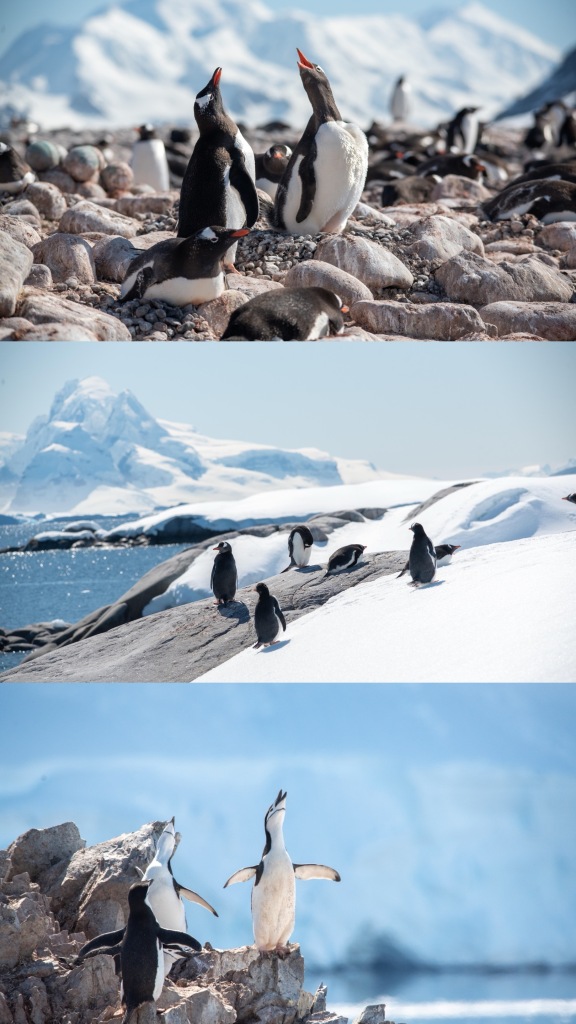
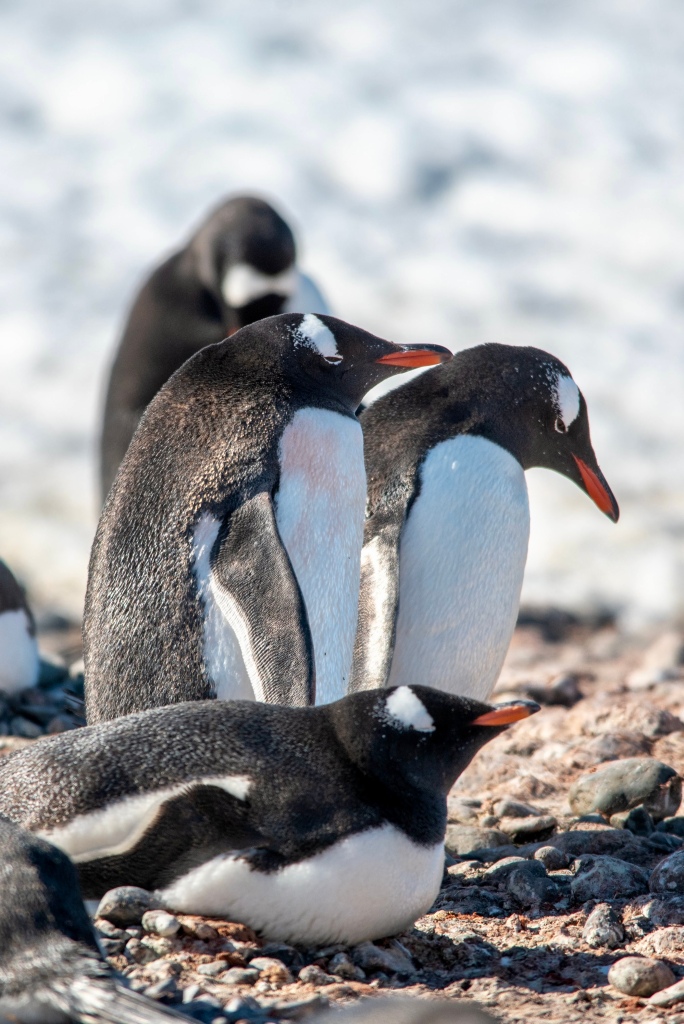
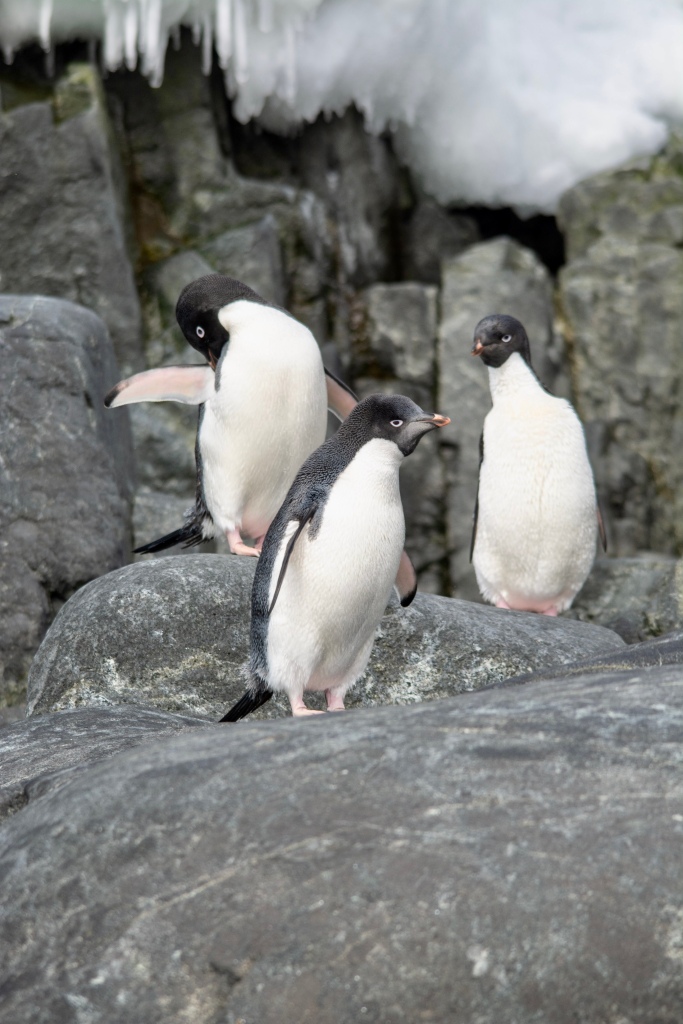
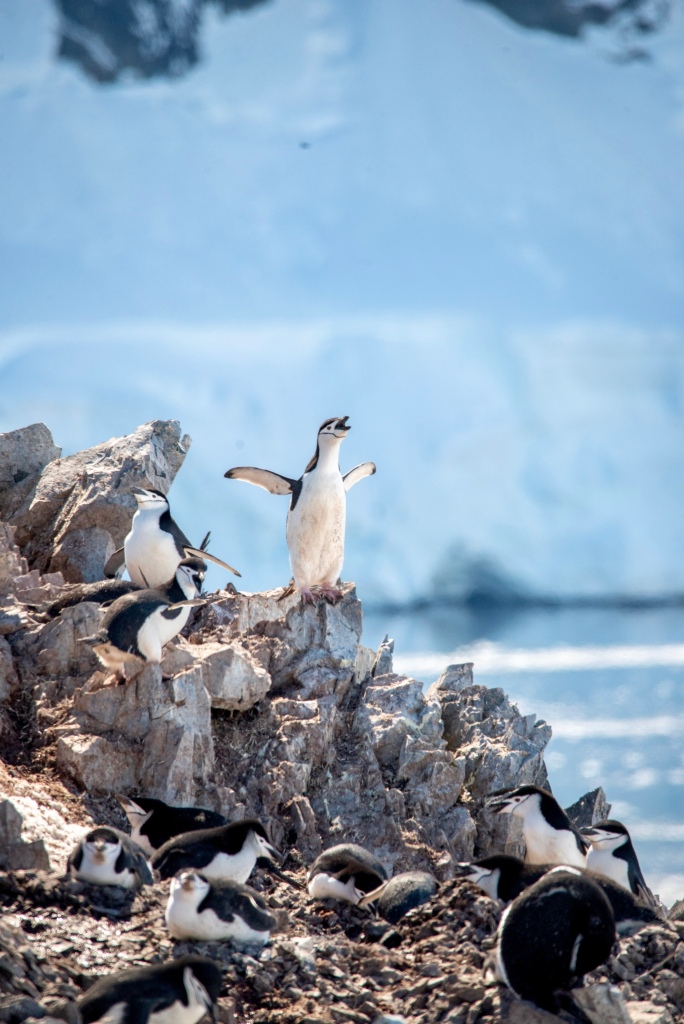
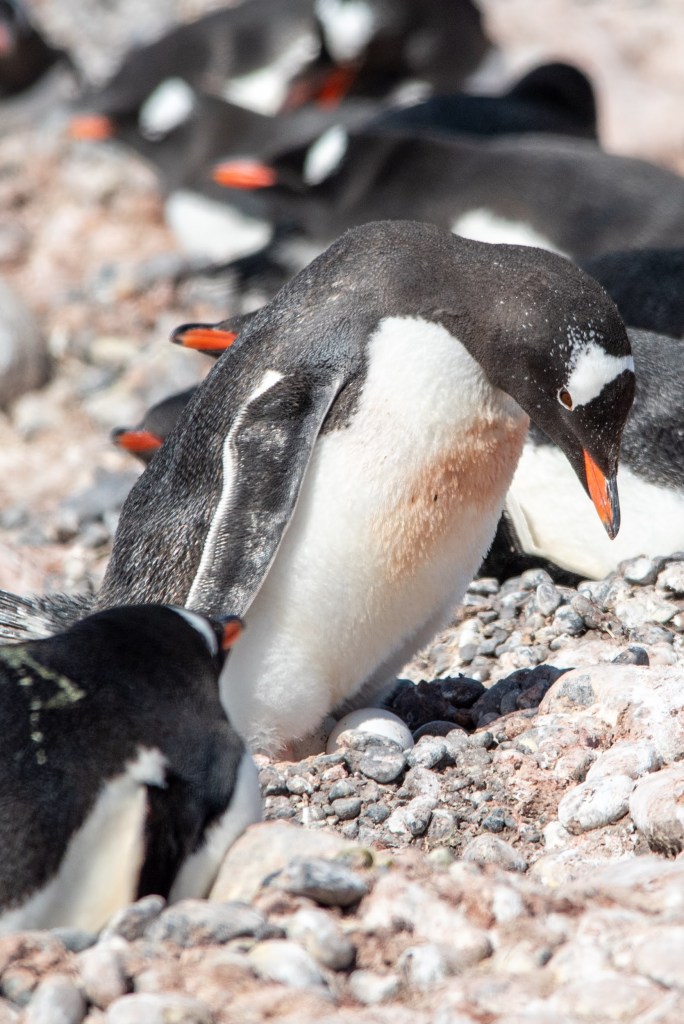
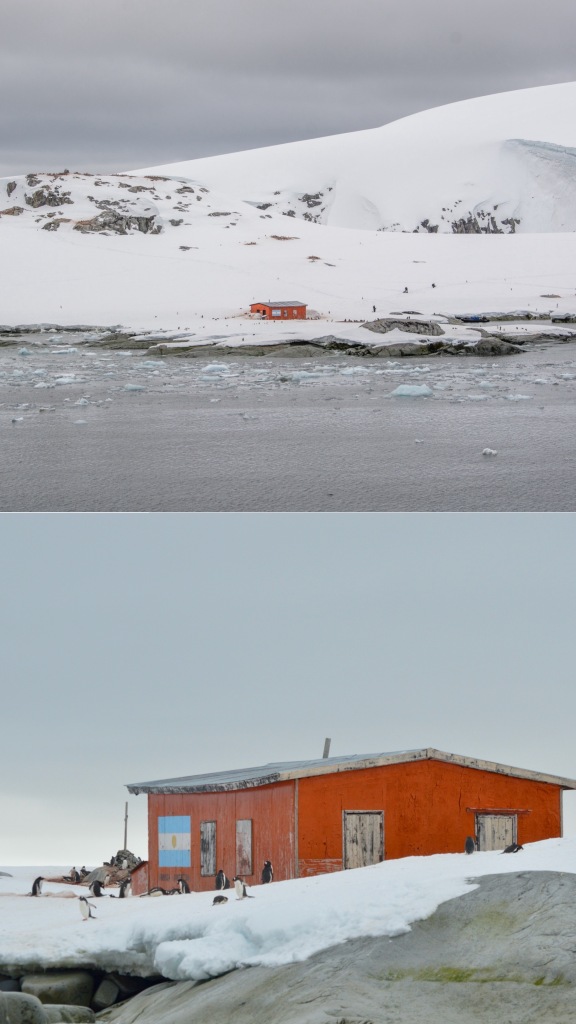
We saw three types of penguins: Adelie, Chinstrap and Gentoo. I loved them all. They were so chill and curious about us humans. They would let us walk right on past them with no disturbance. When we camped overnight, they walked all through the camp and also kept us up all night with their noises haha. We were there in early Dec so lots of them were mating and also keeping the eggs warm. If I get to go back to Antarctica, I’d love to go when the babies have hatched!!
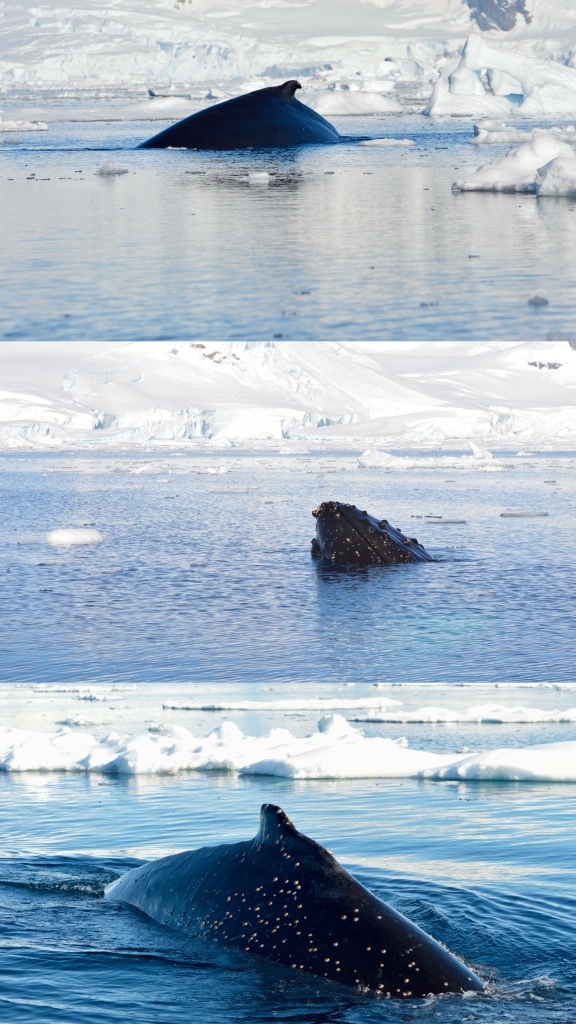
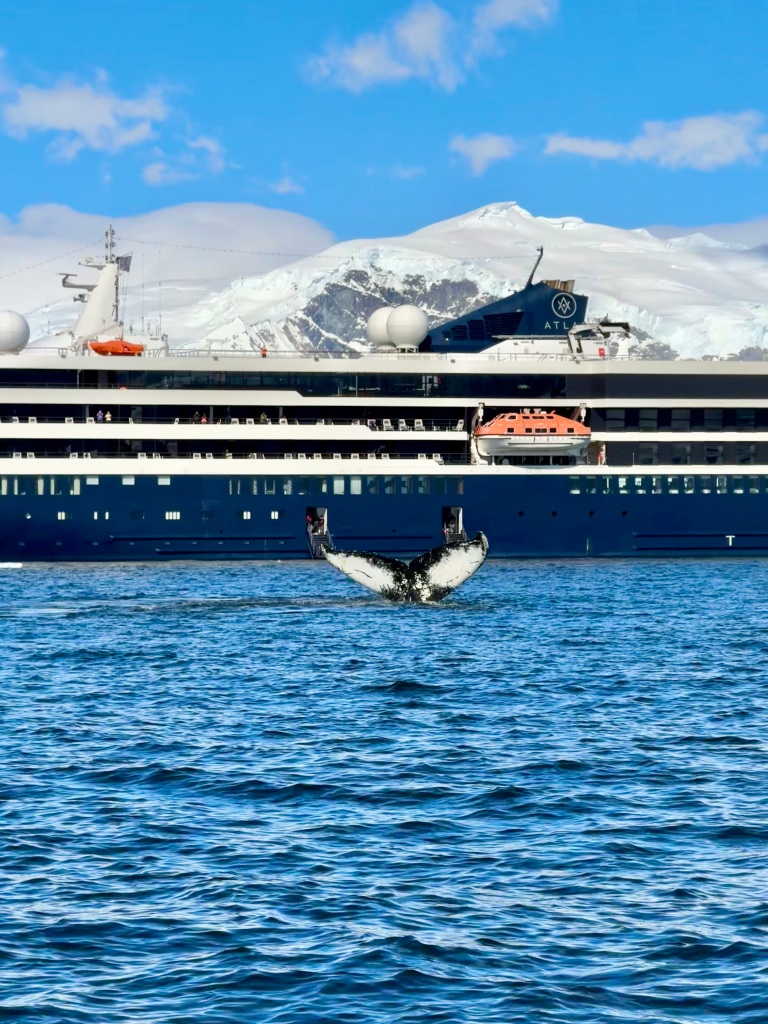
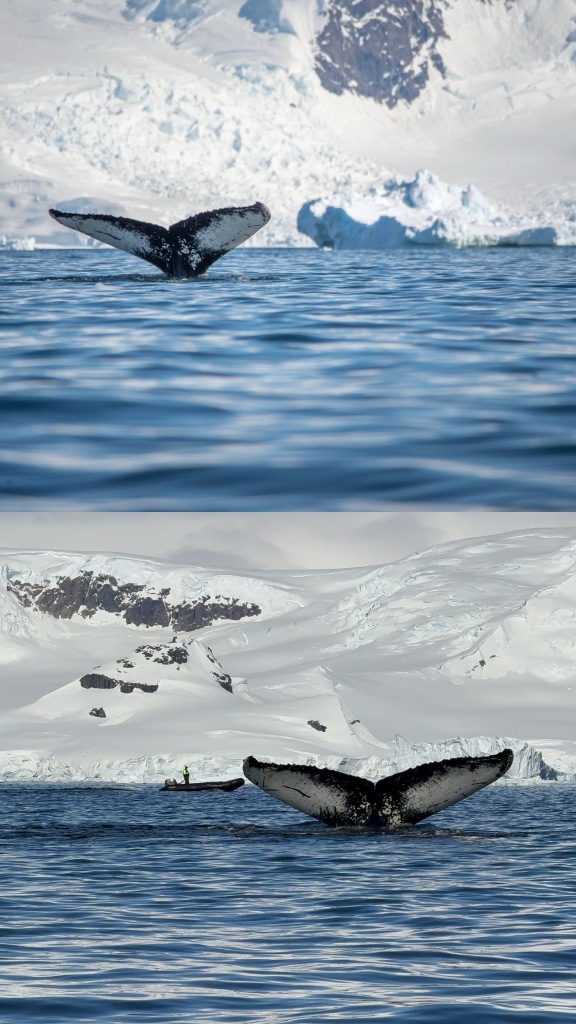
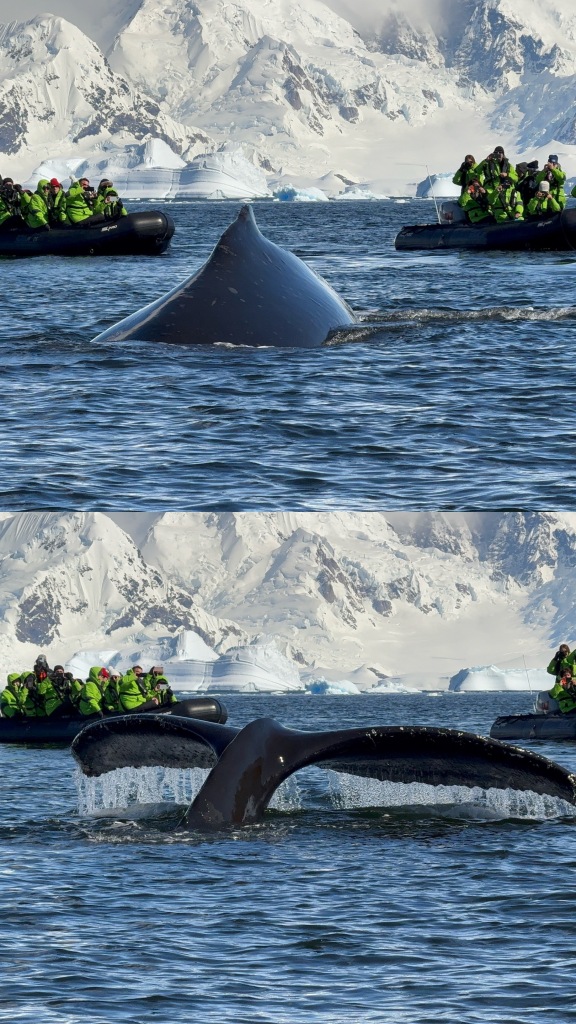
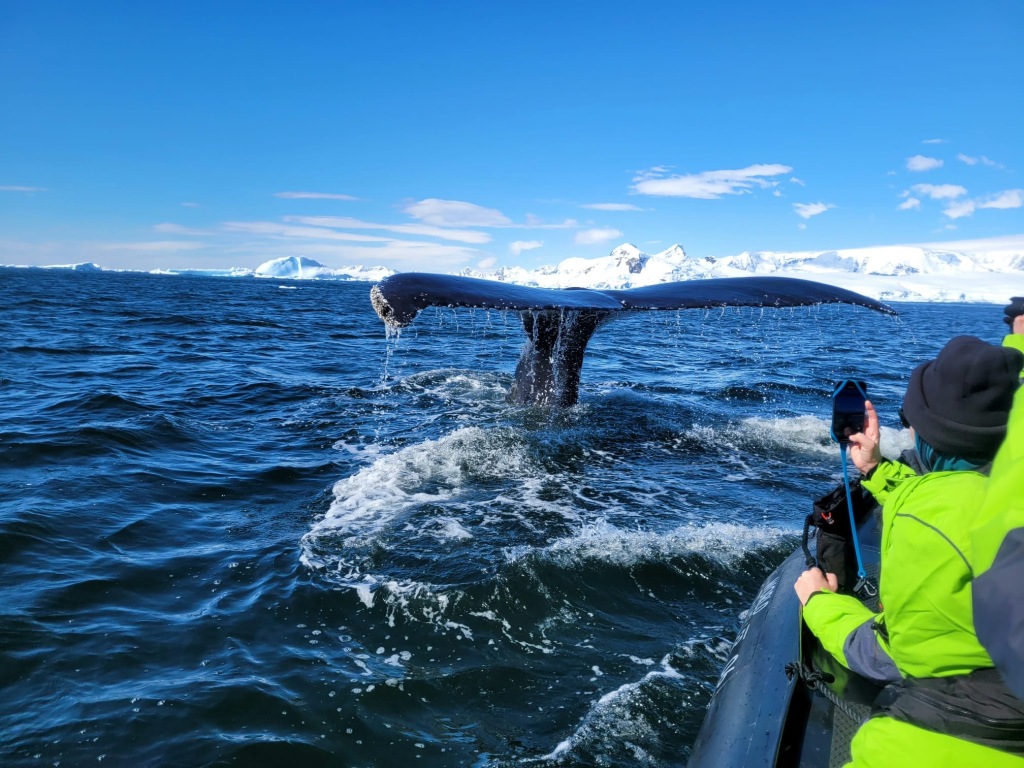
We saw sooo many whales! I think we probably saw 50+ humpback whales over the course of the week. We even accidentally got too close to one after it was bubble feeding and it almost knocked us over with its fluke (tail). INCREDIBLE!
We also had the magical experience of hanging out with a pod of Orcas for the afternoon, which is rare as they don’t often sit in one spot. Our expedition leaders shared that they were mating, hence them staying in one bay for a few hours.


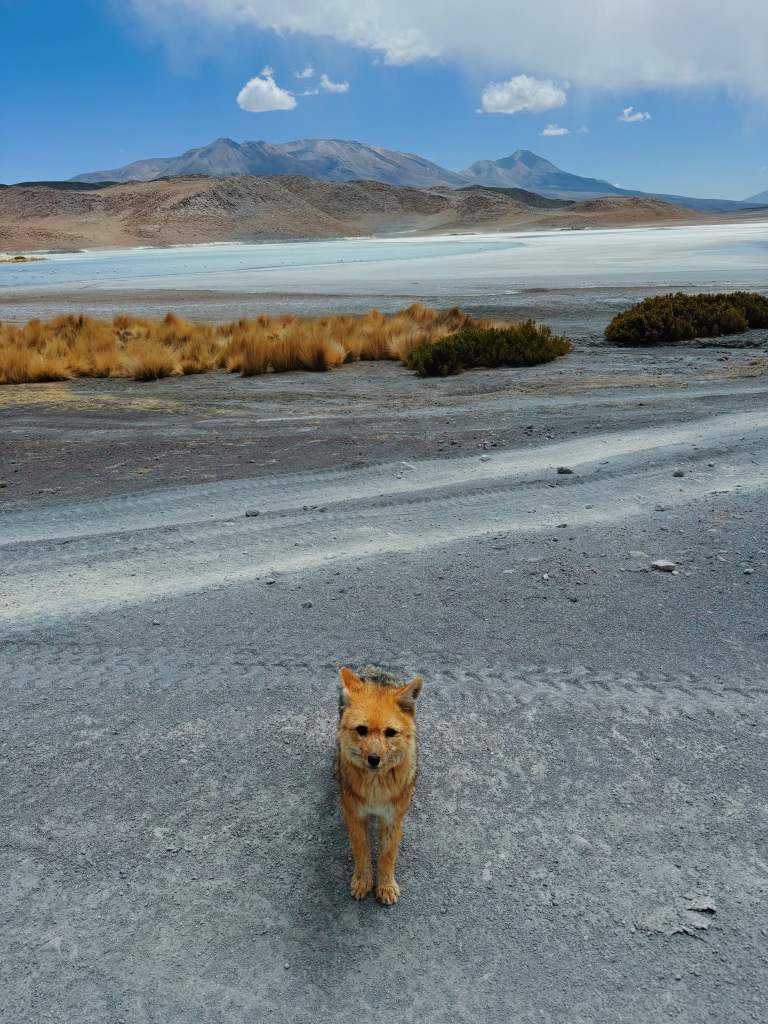
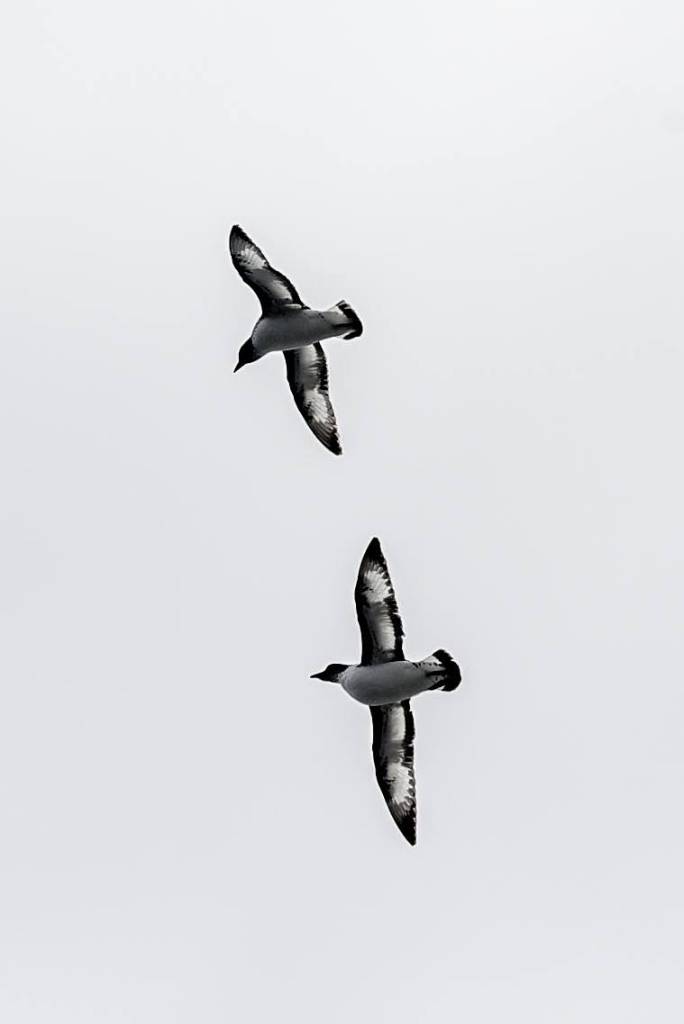
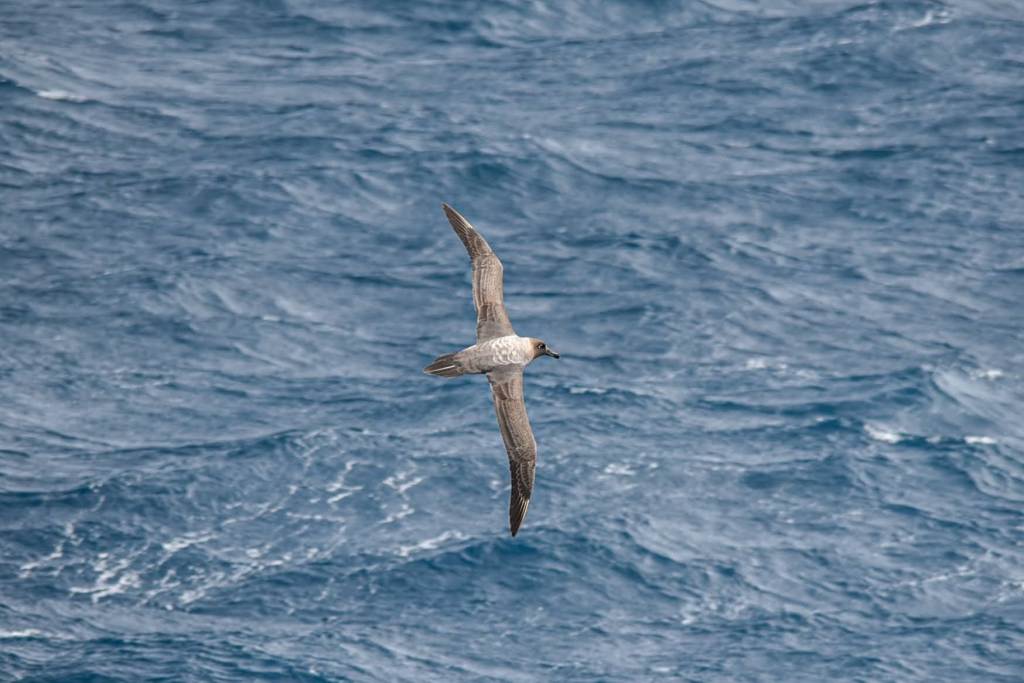
There were tons of birds as well, but I honestly don’t know their names. I need to get better at my birding skills haha.

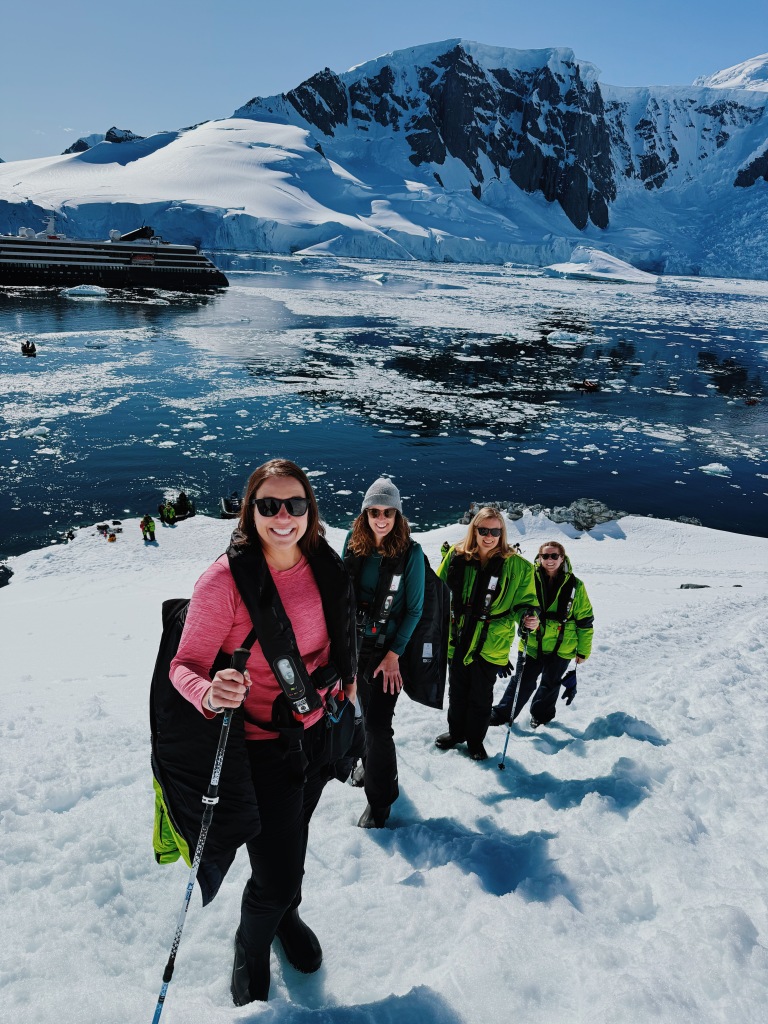
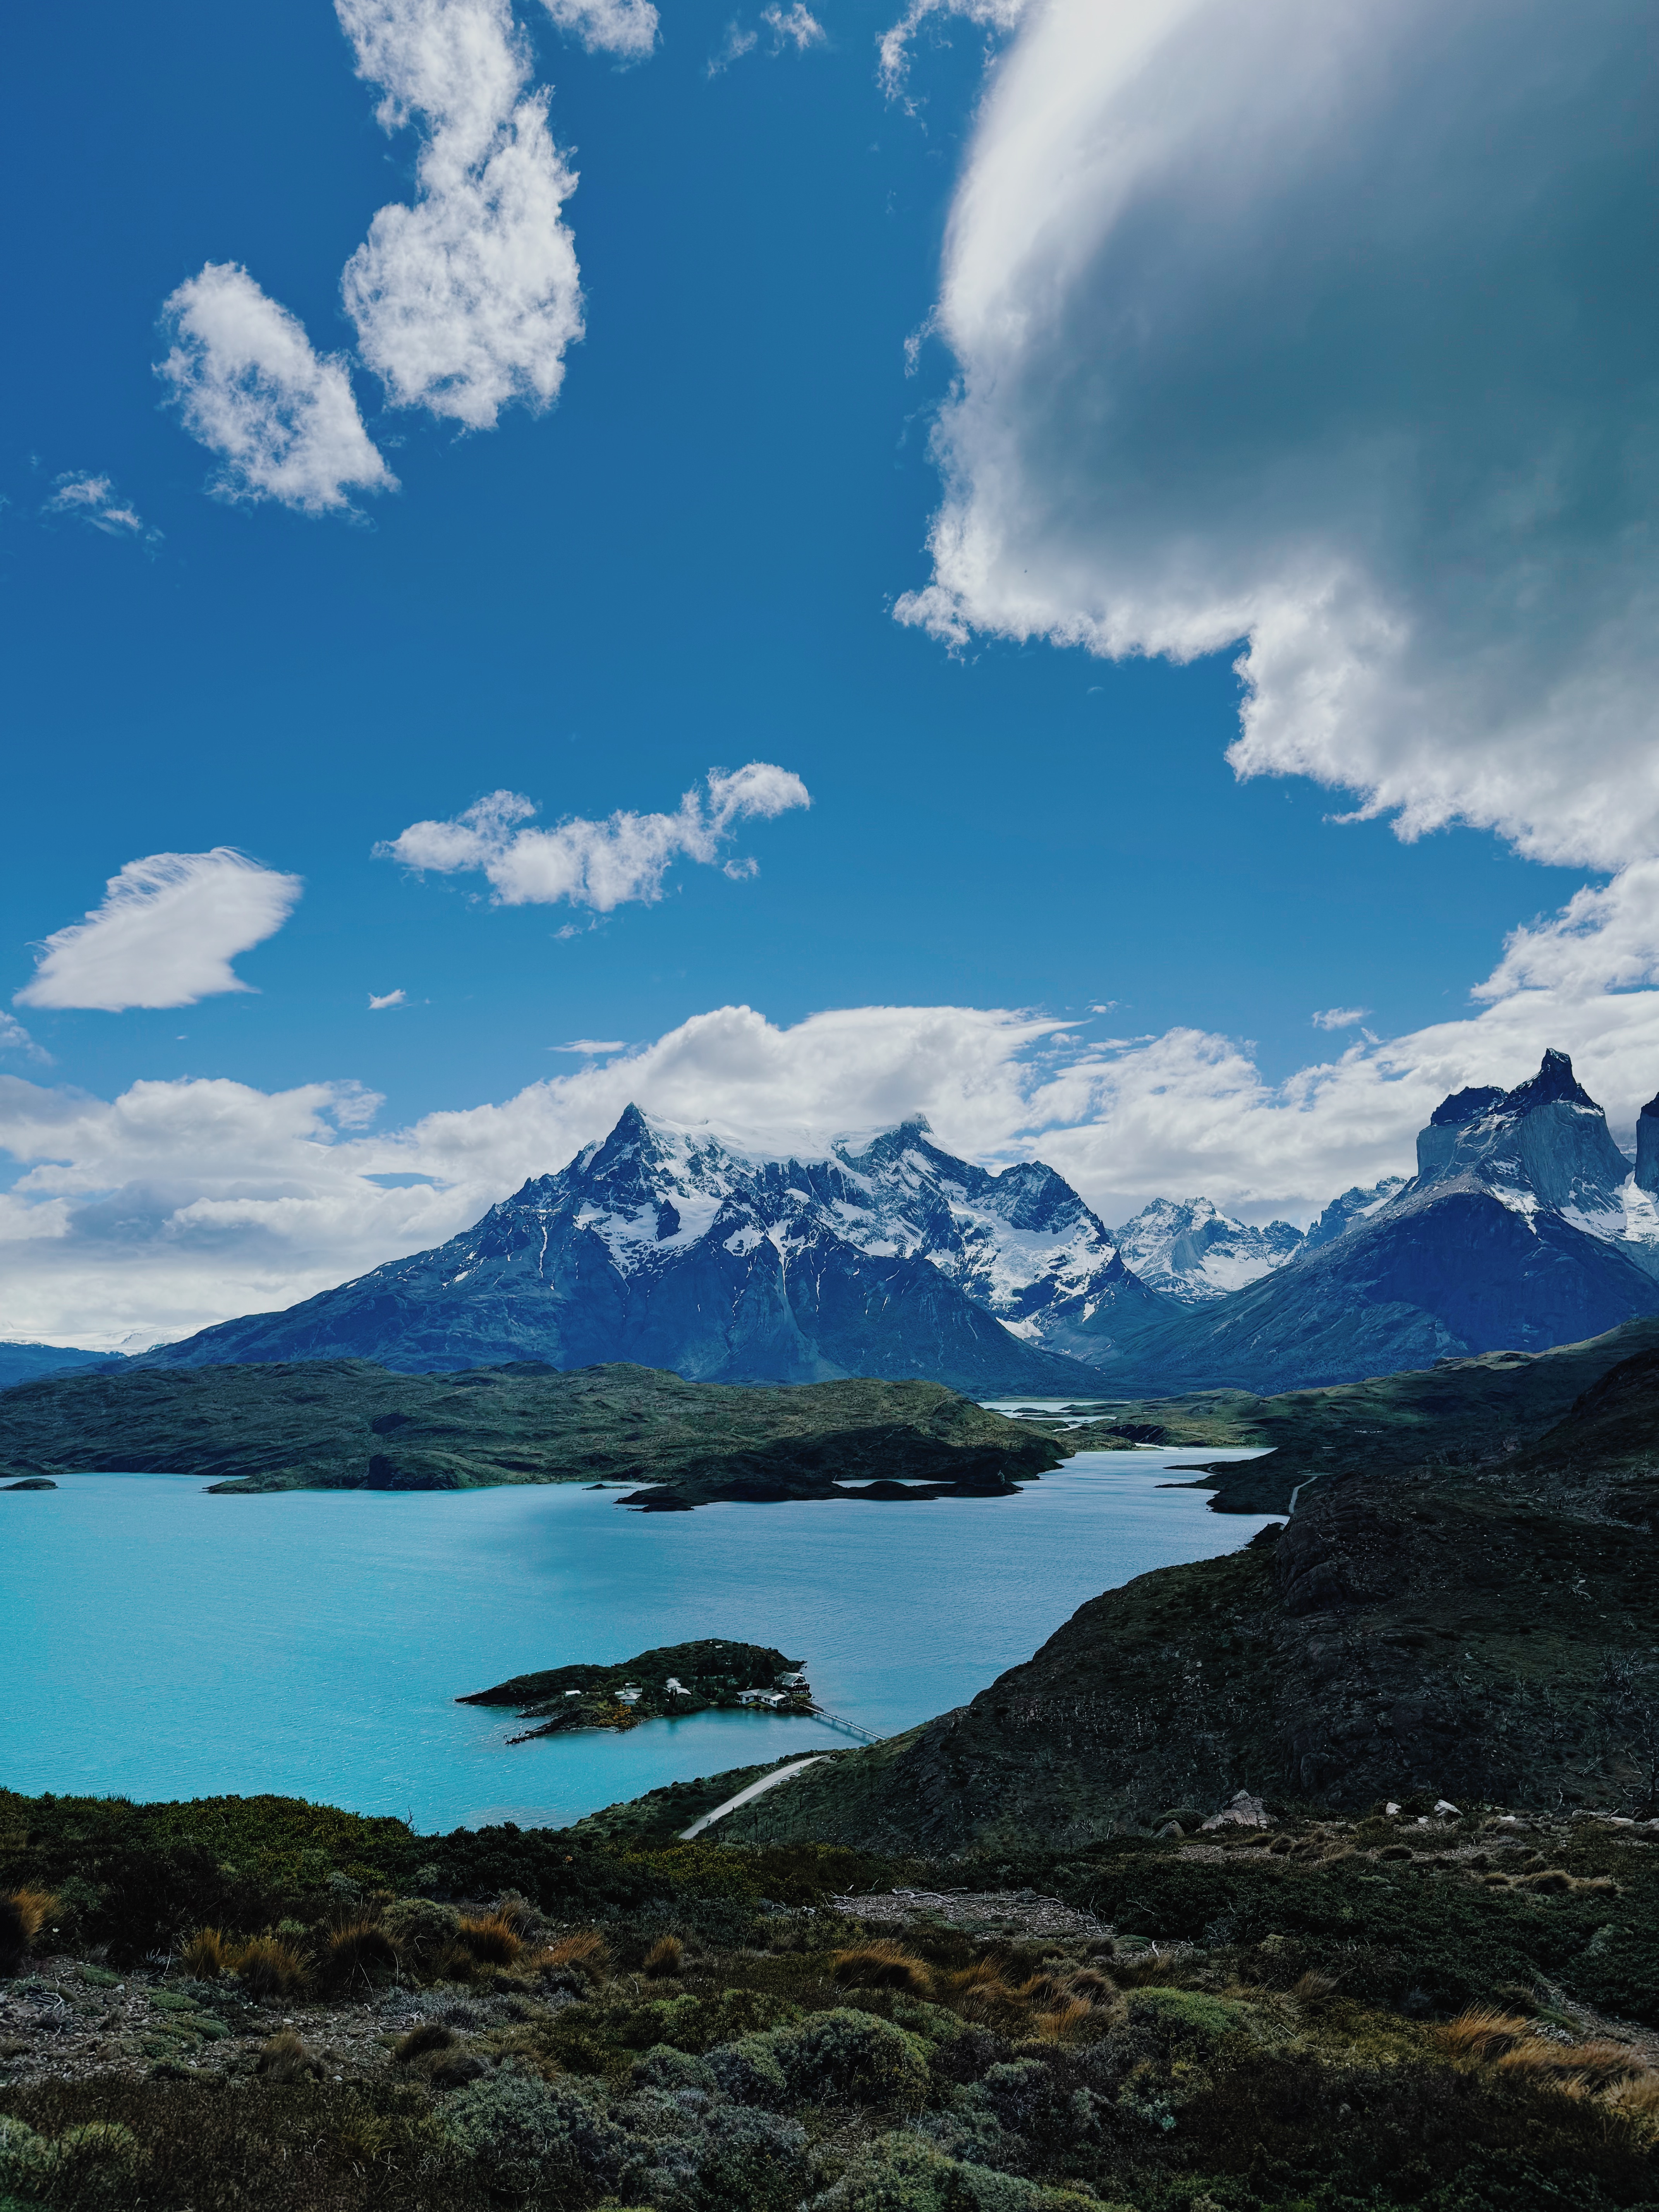
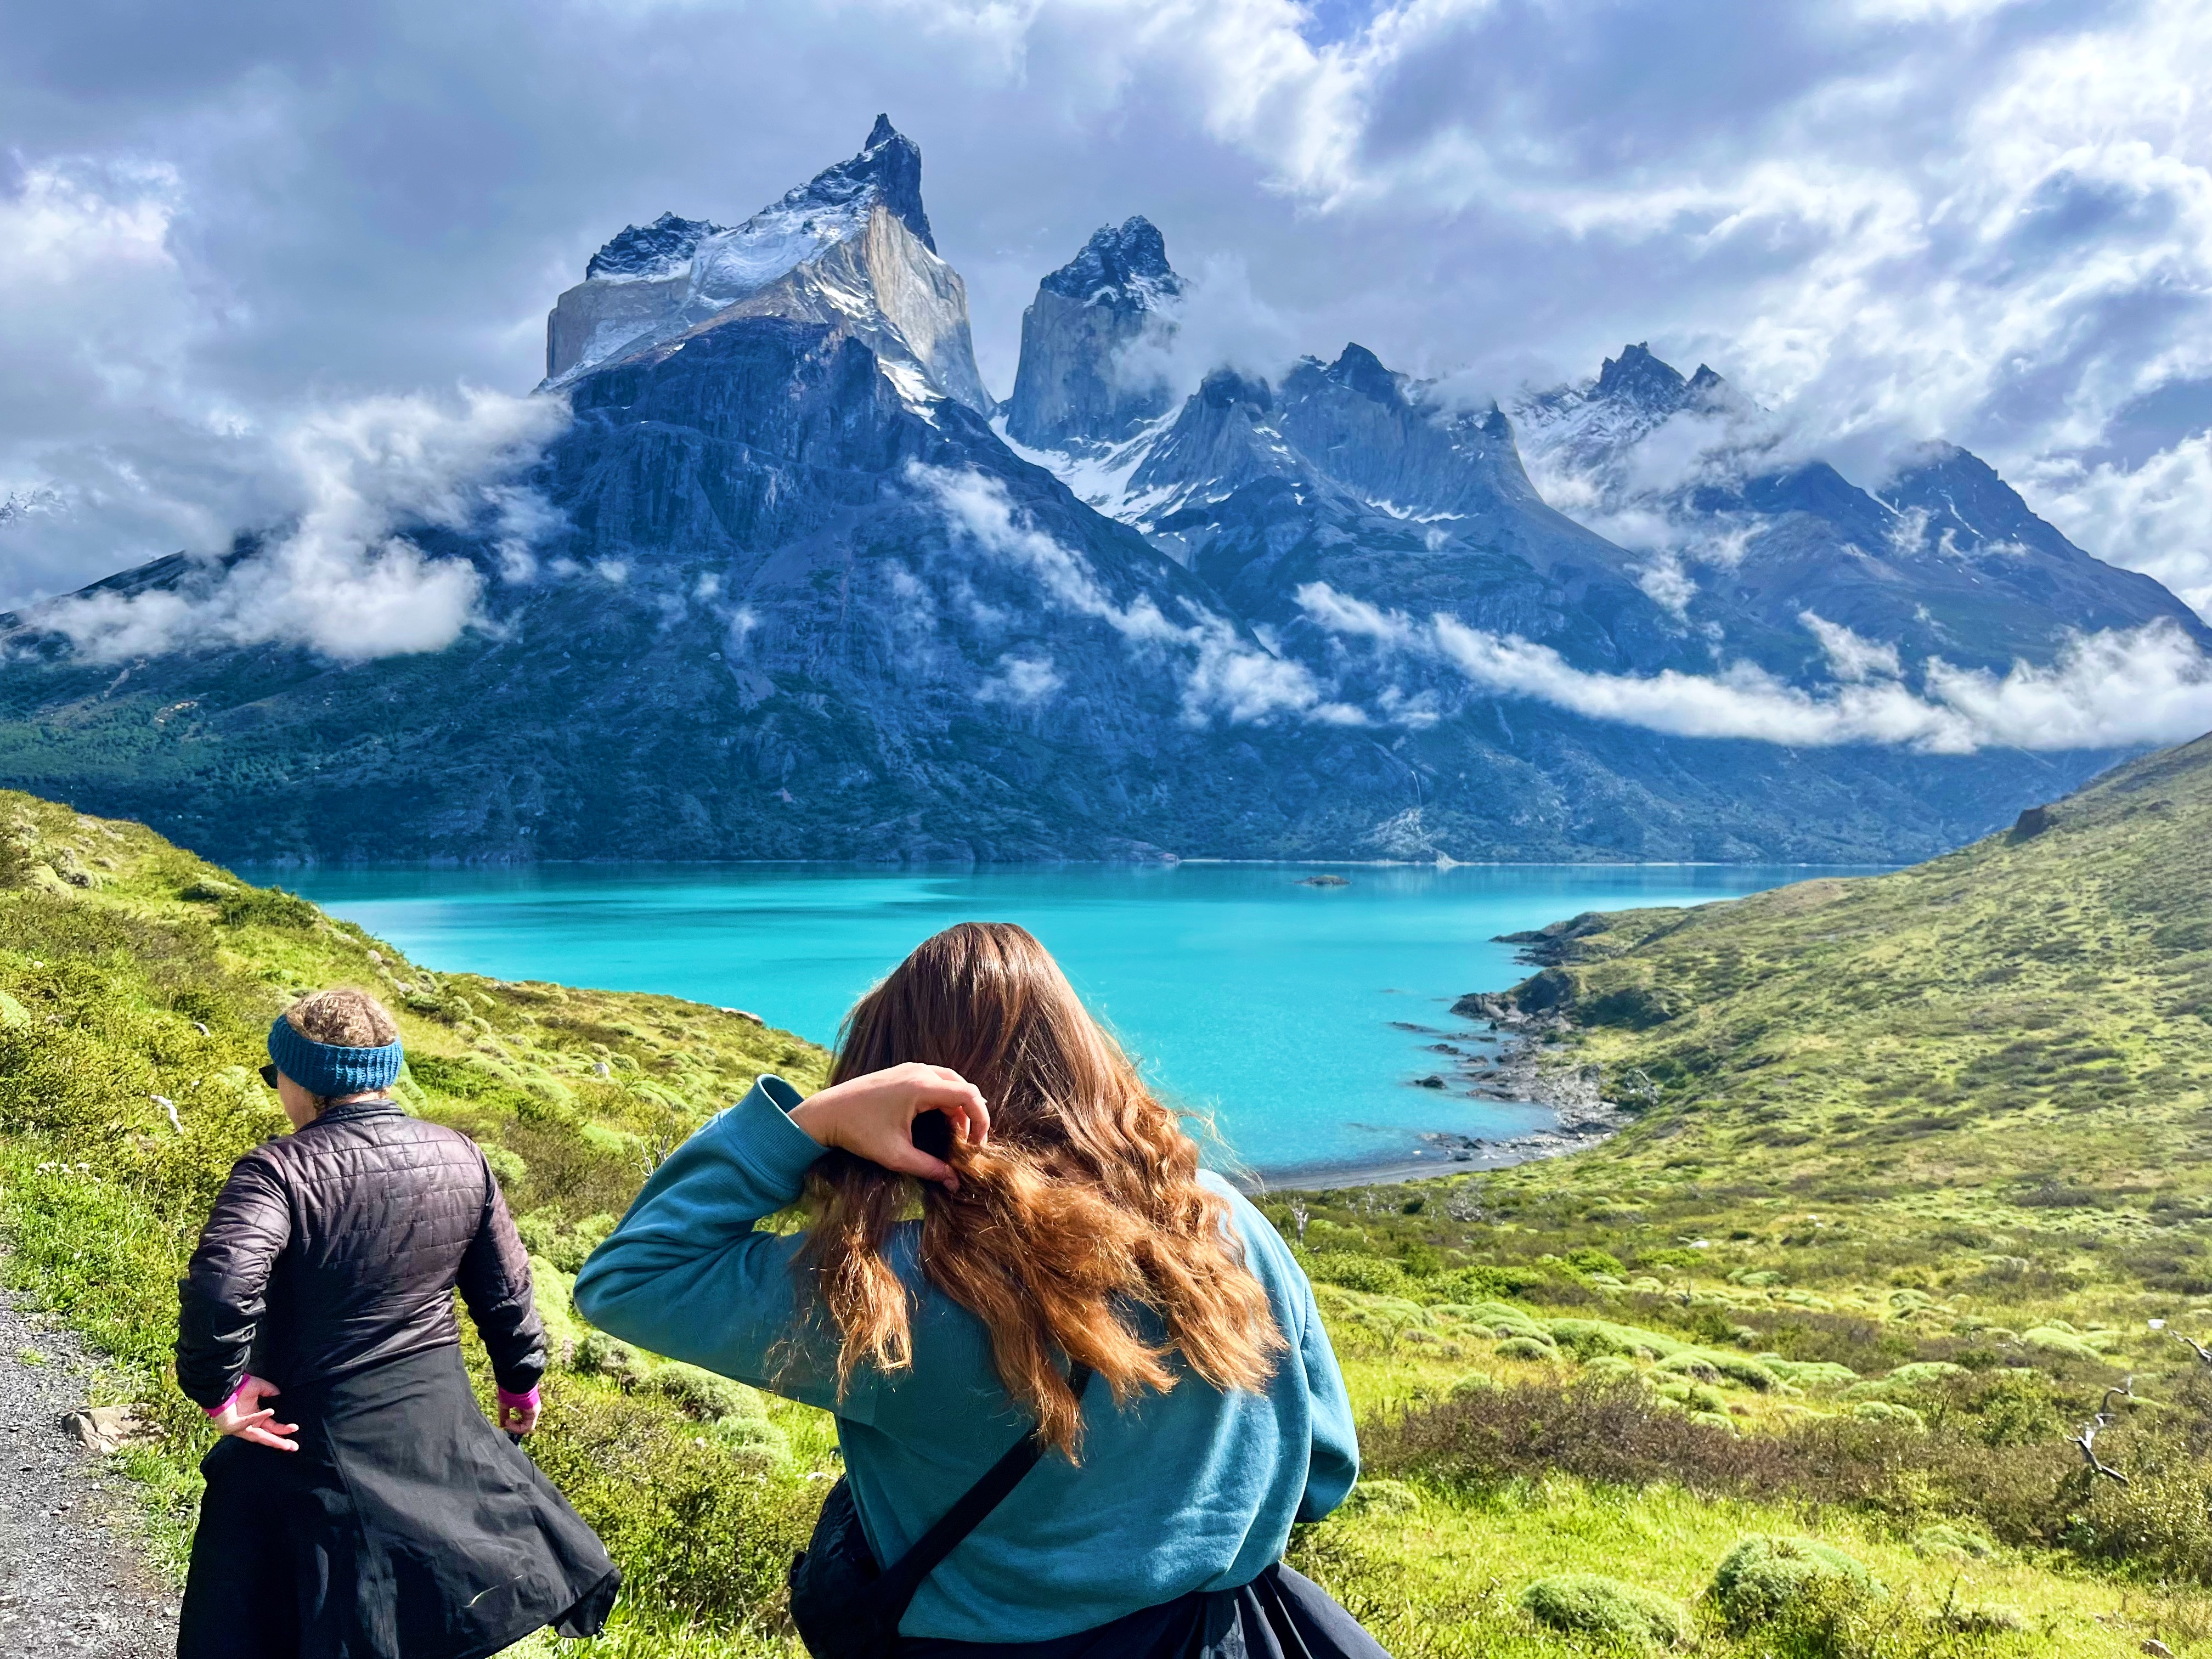
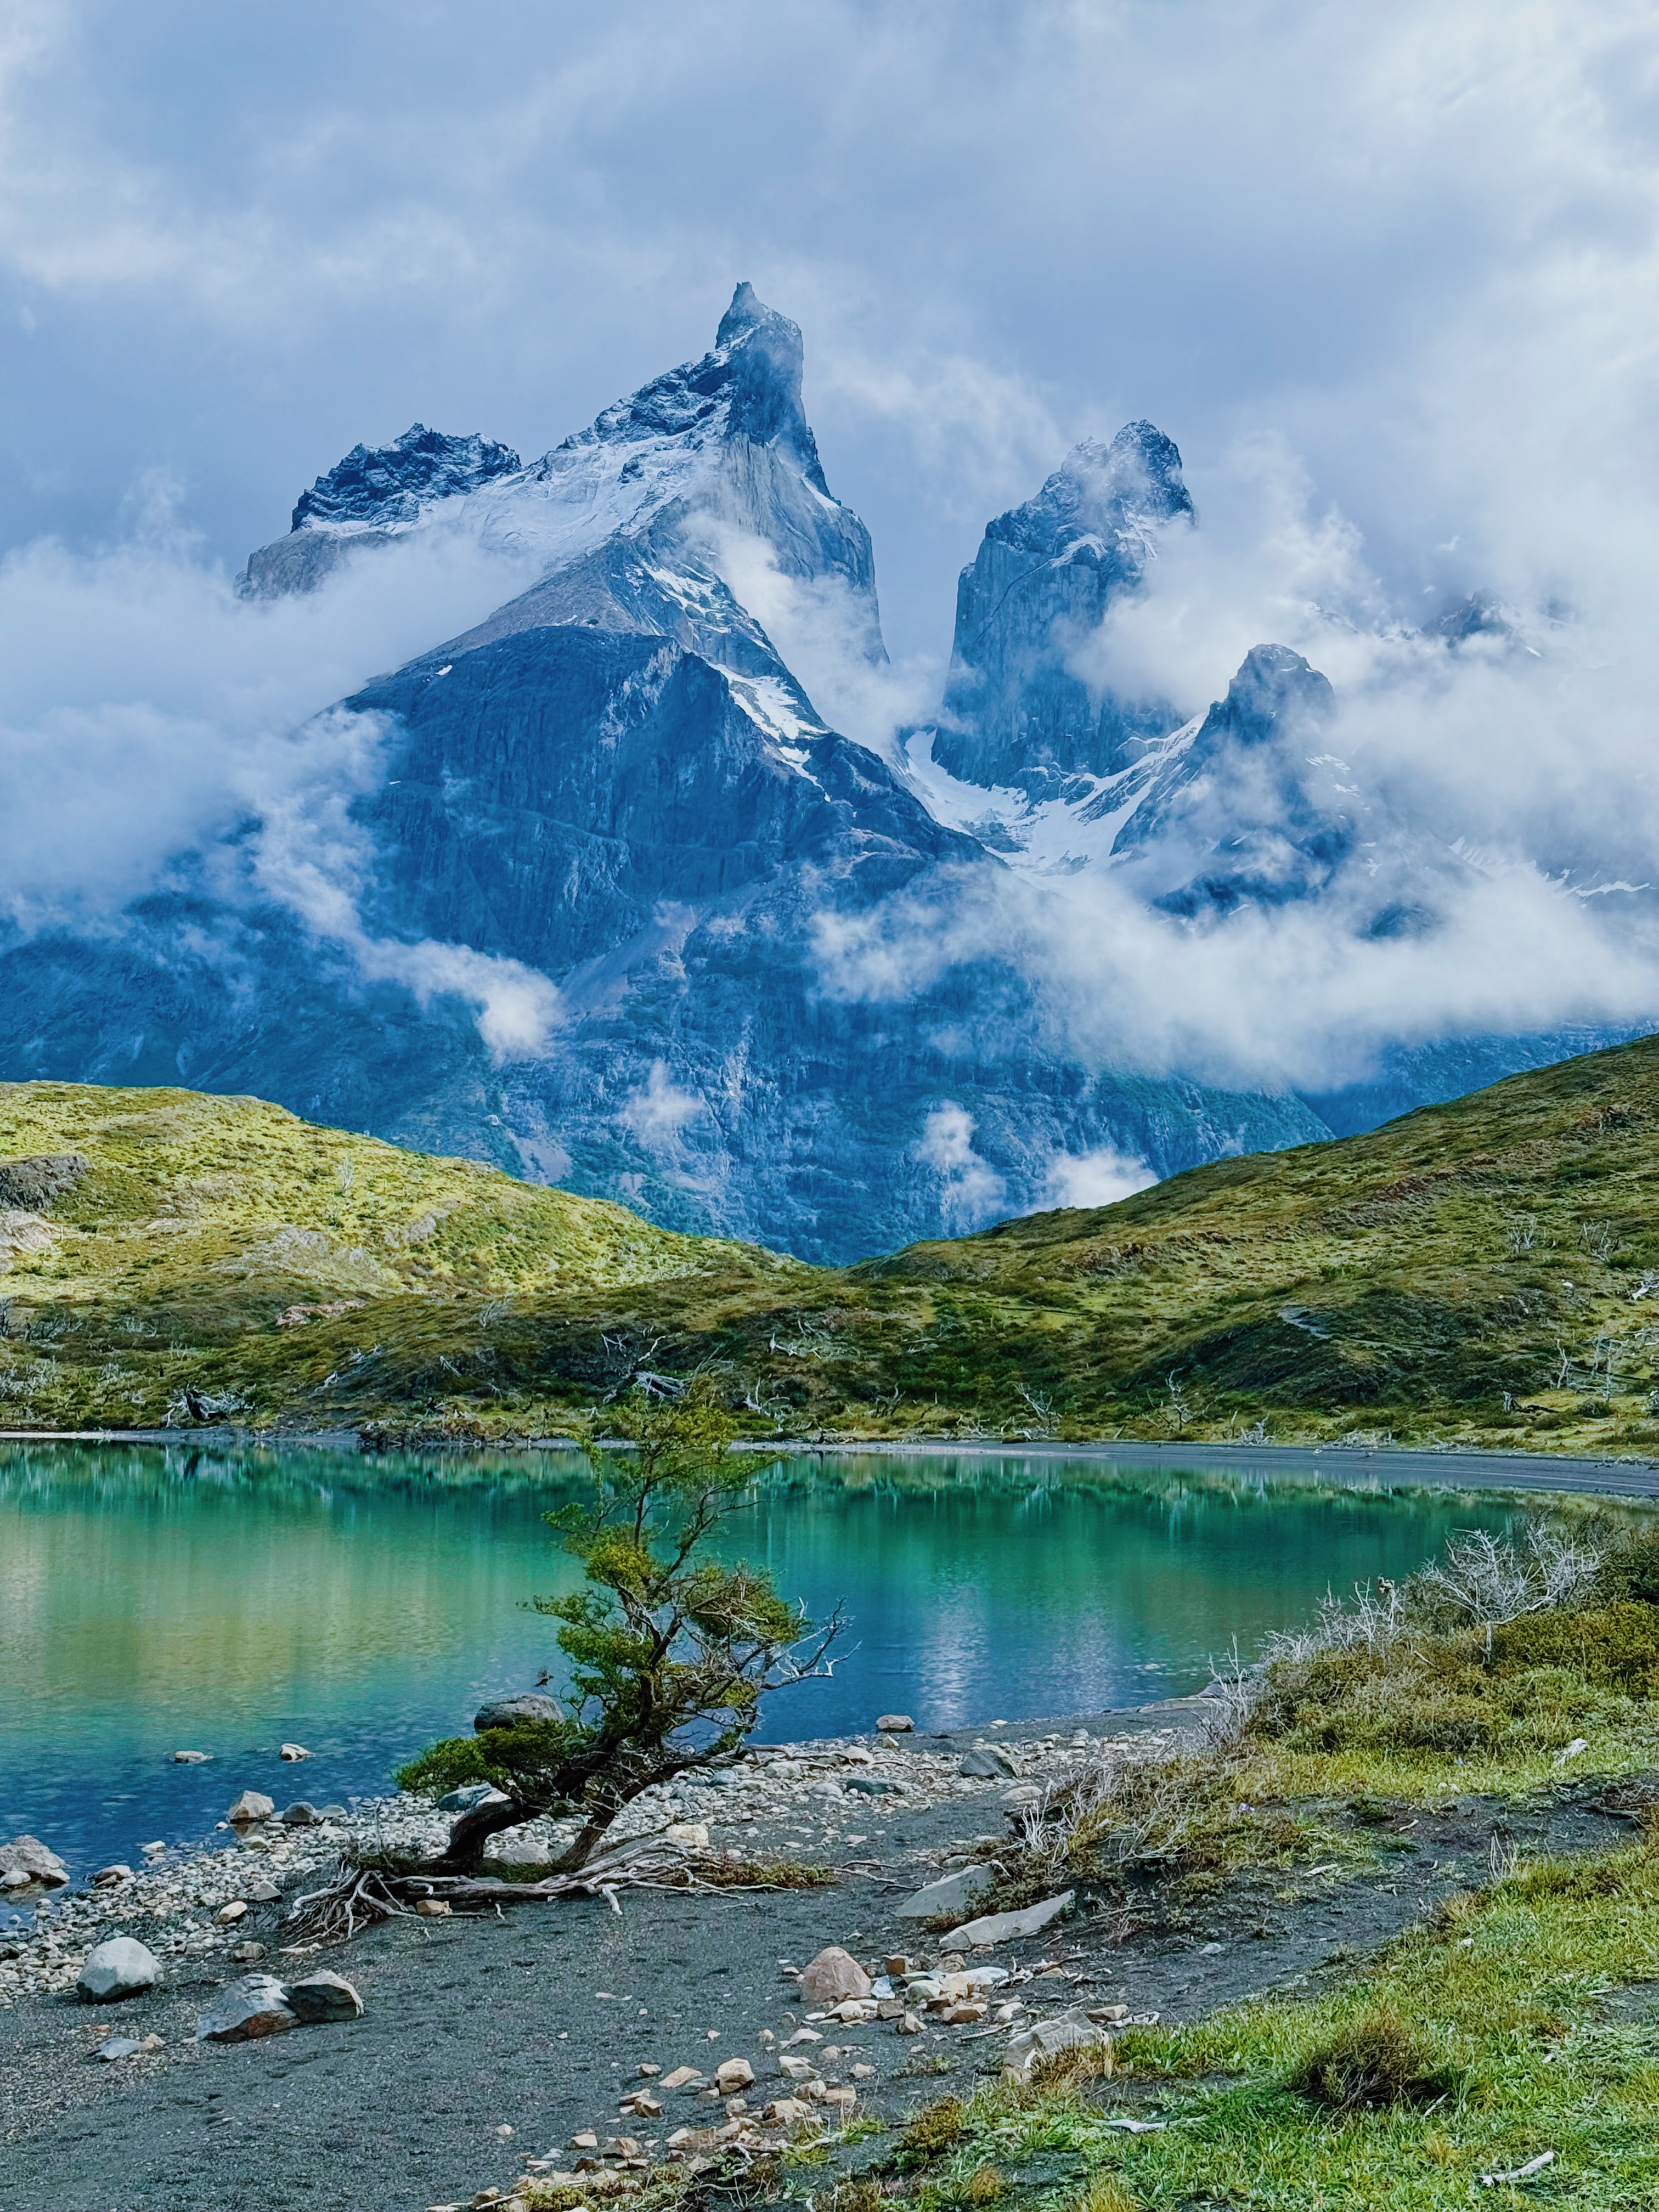
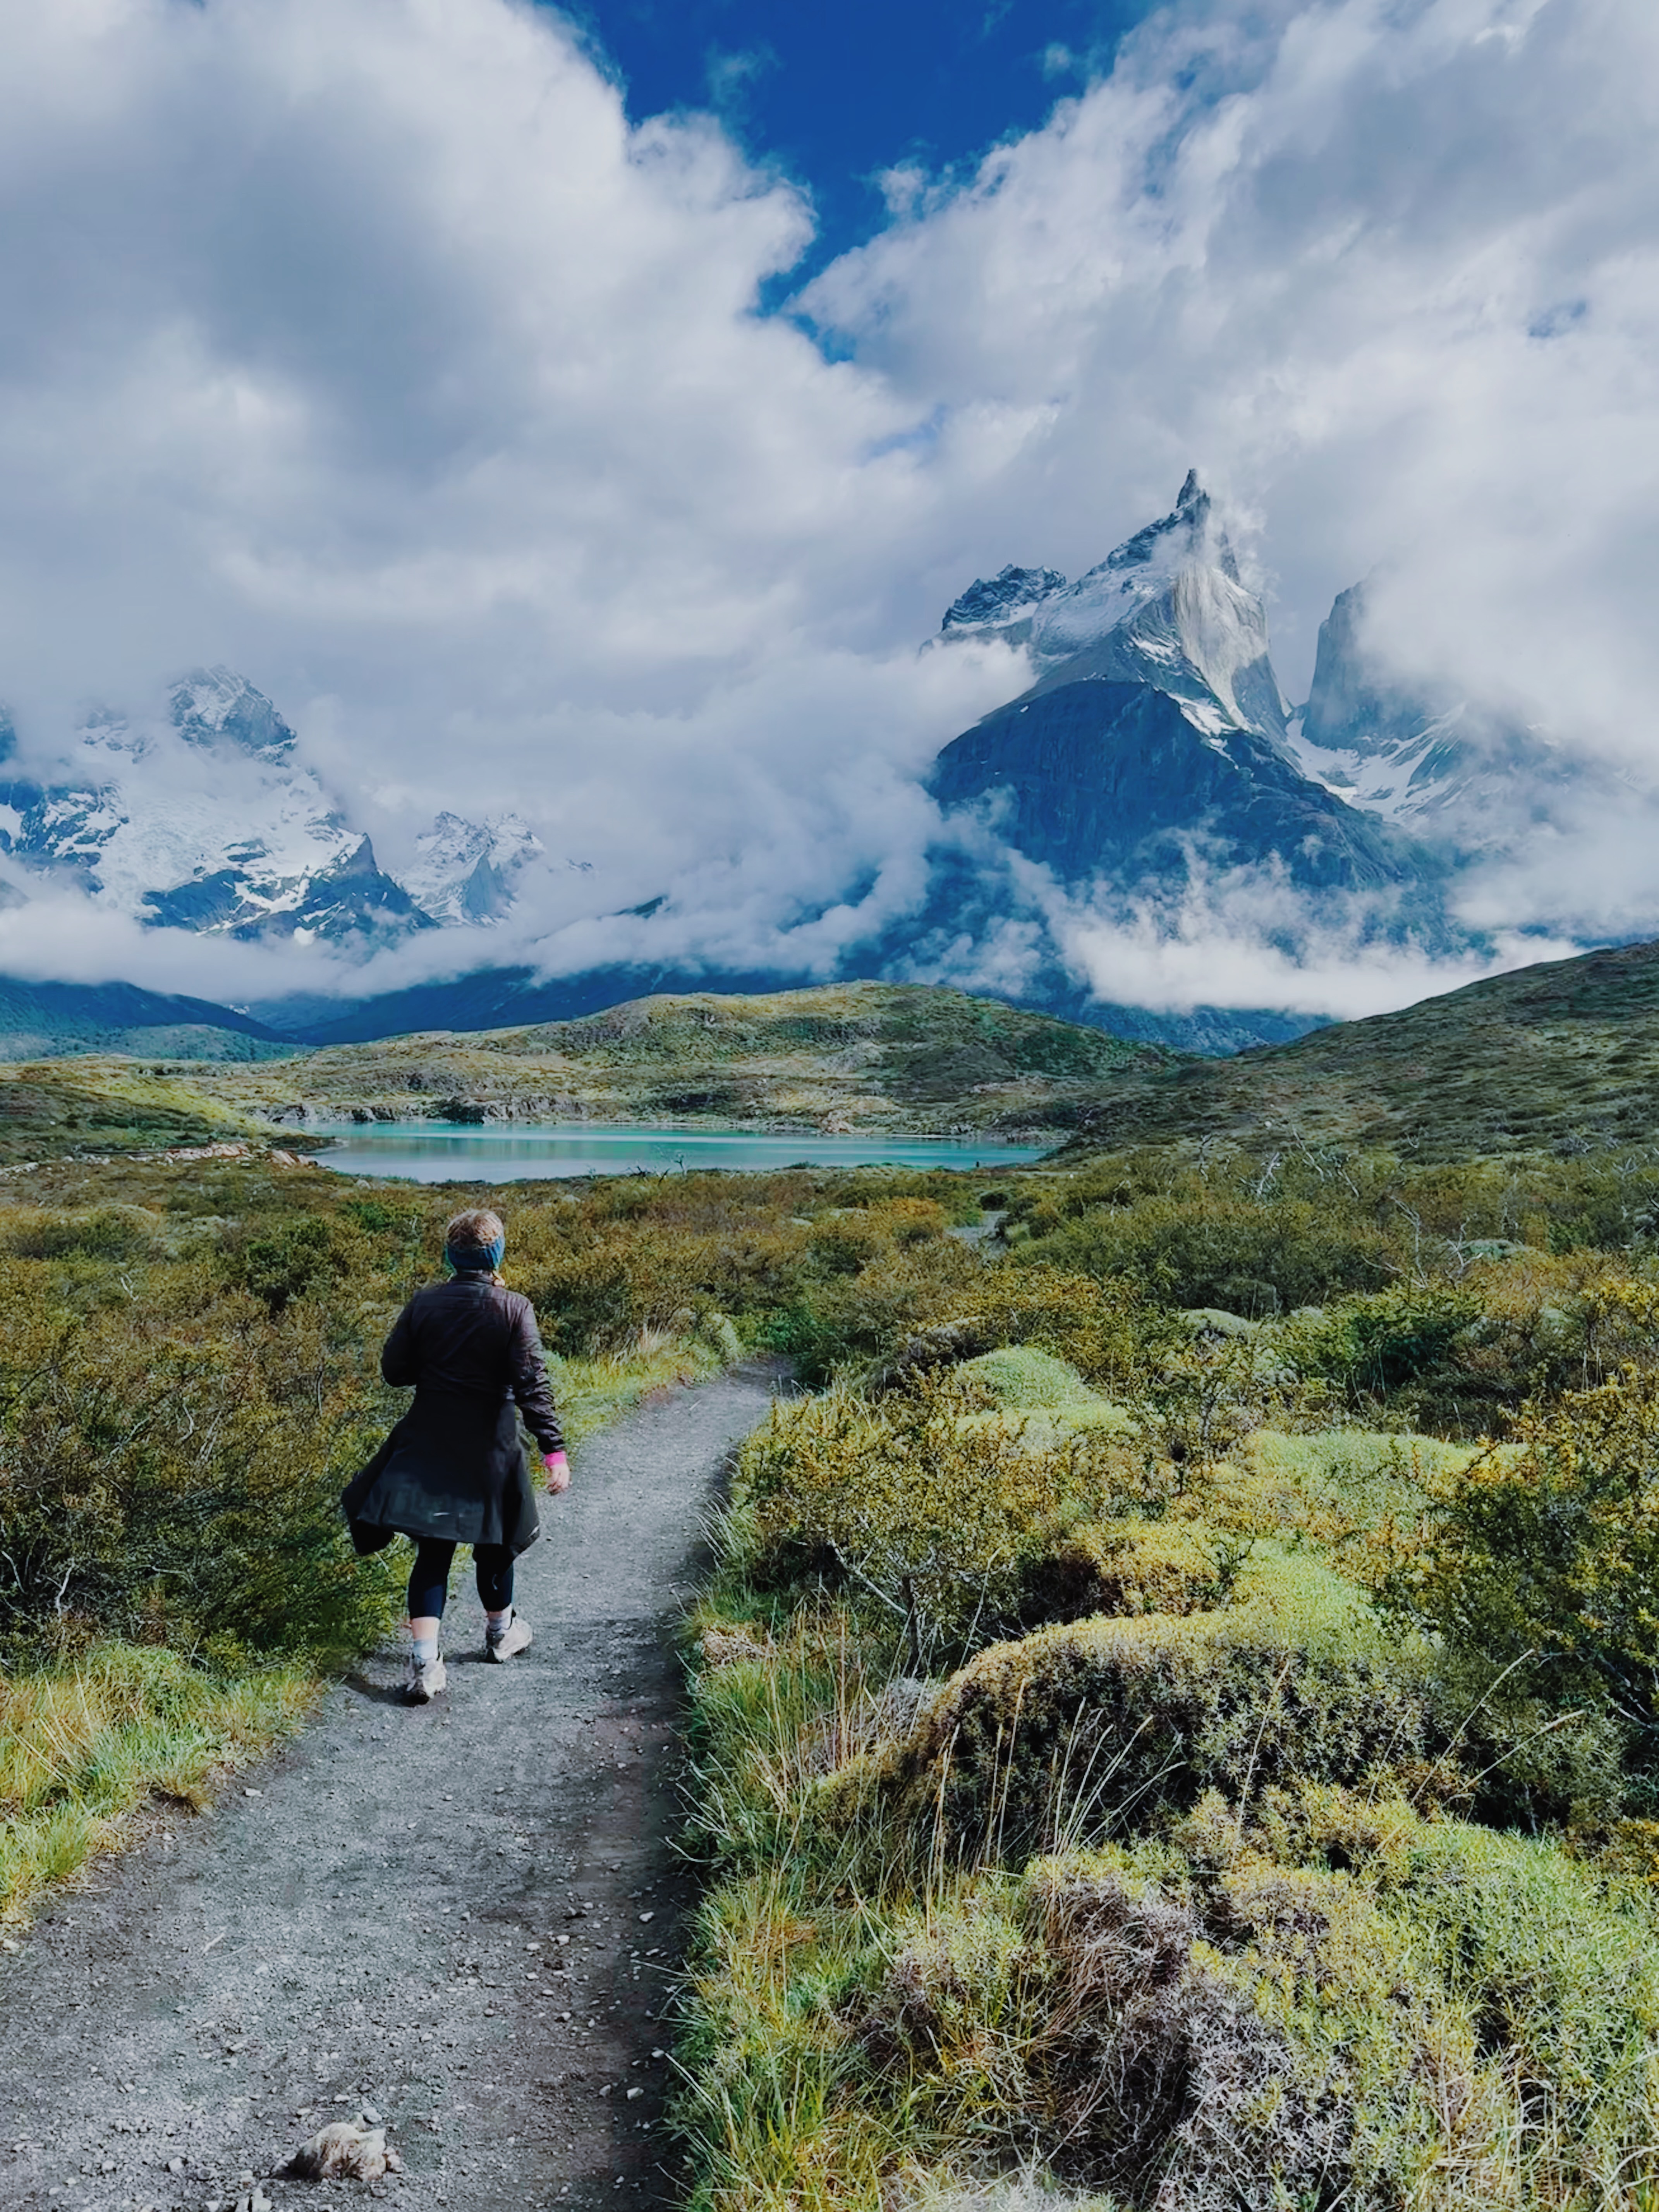
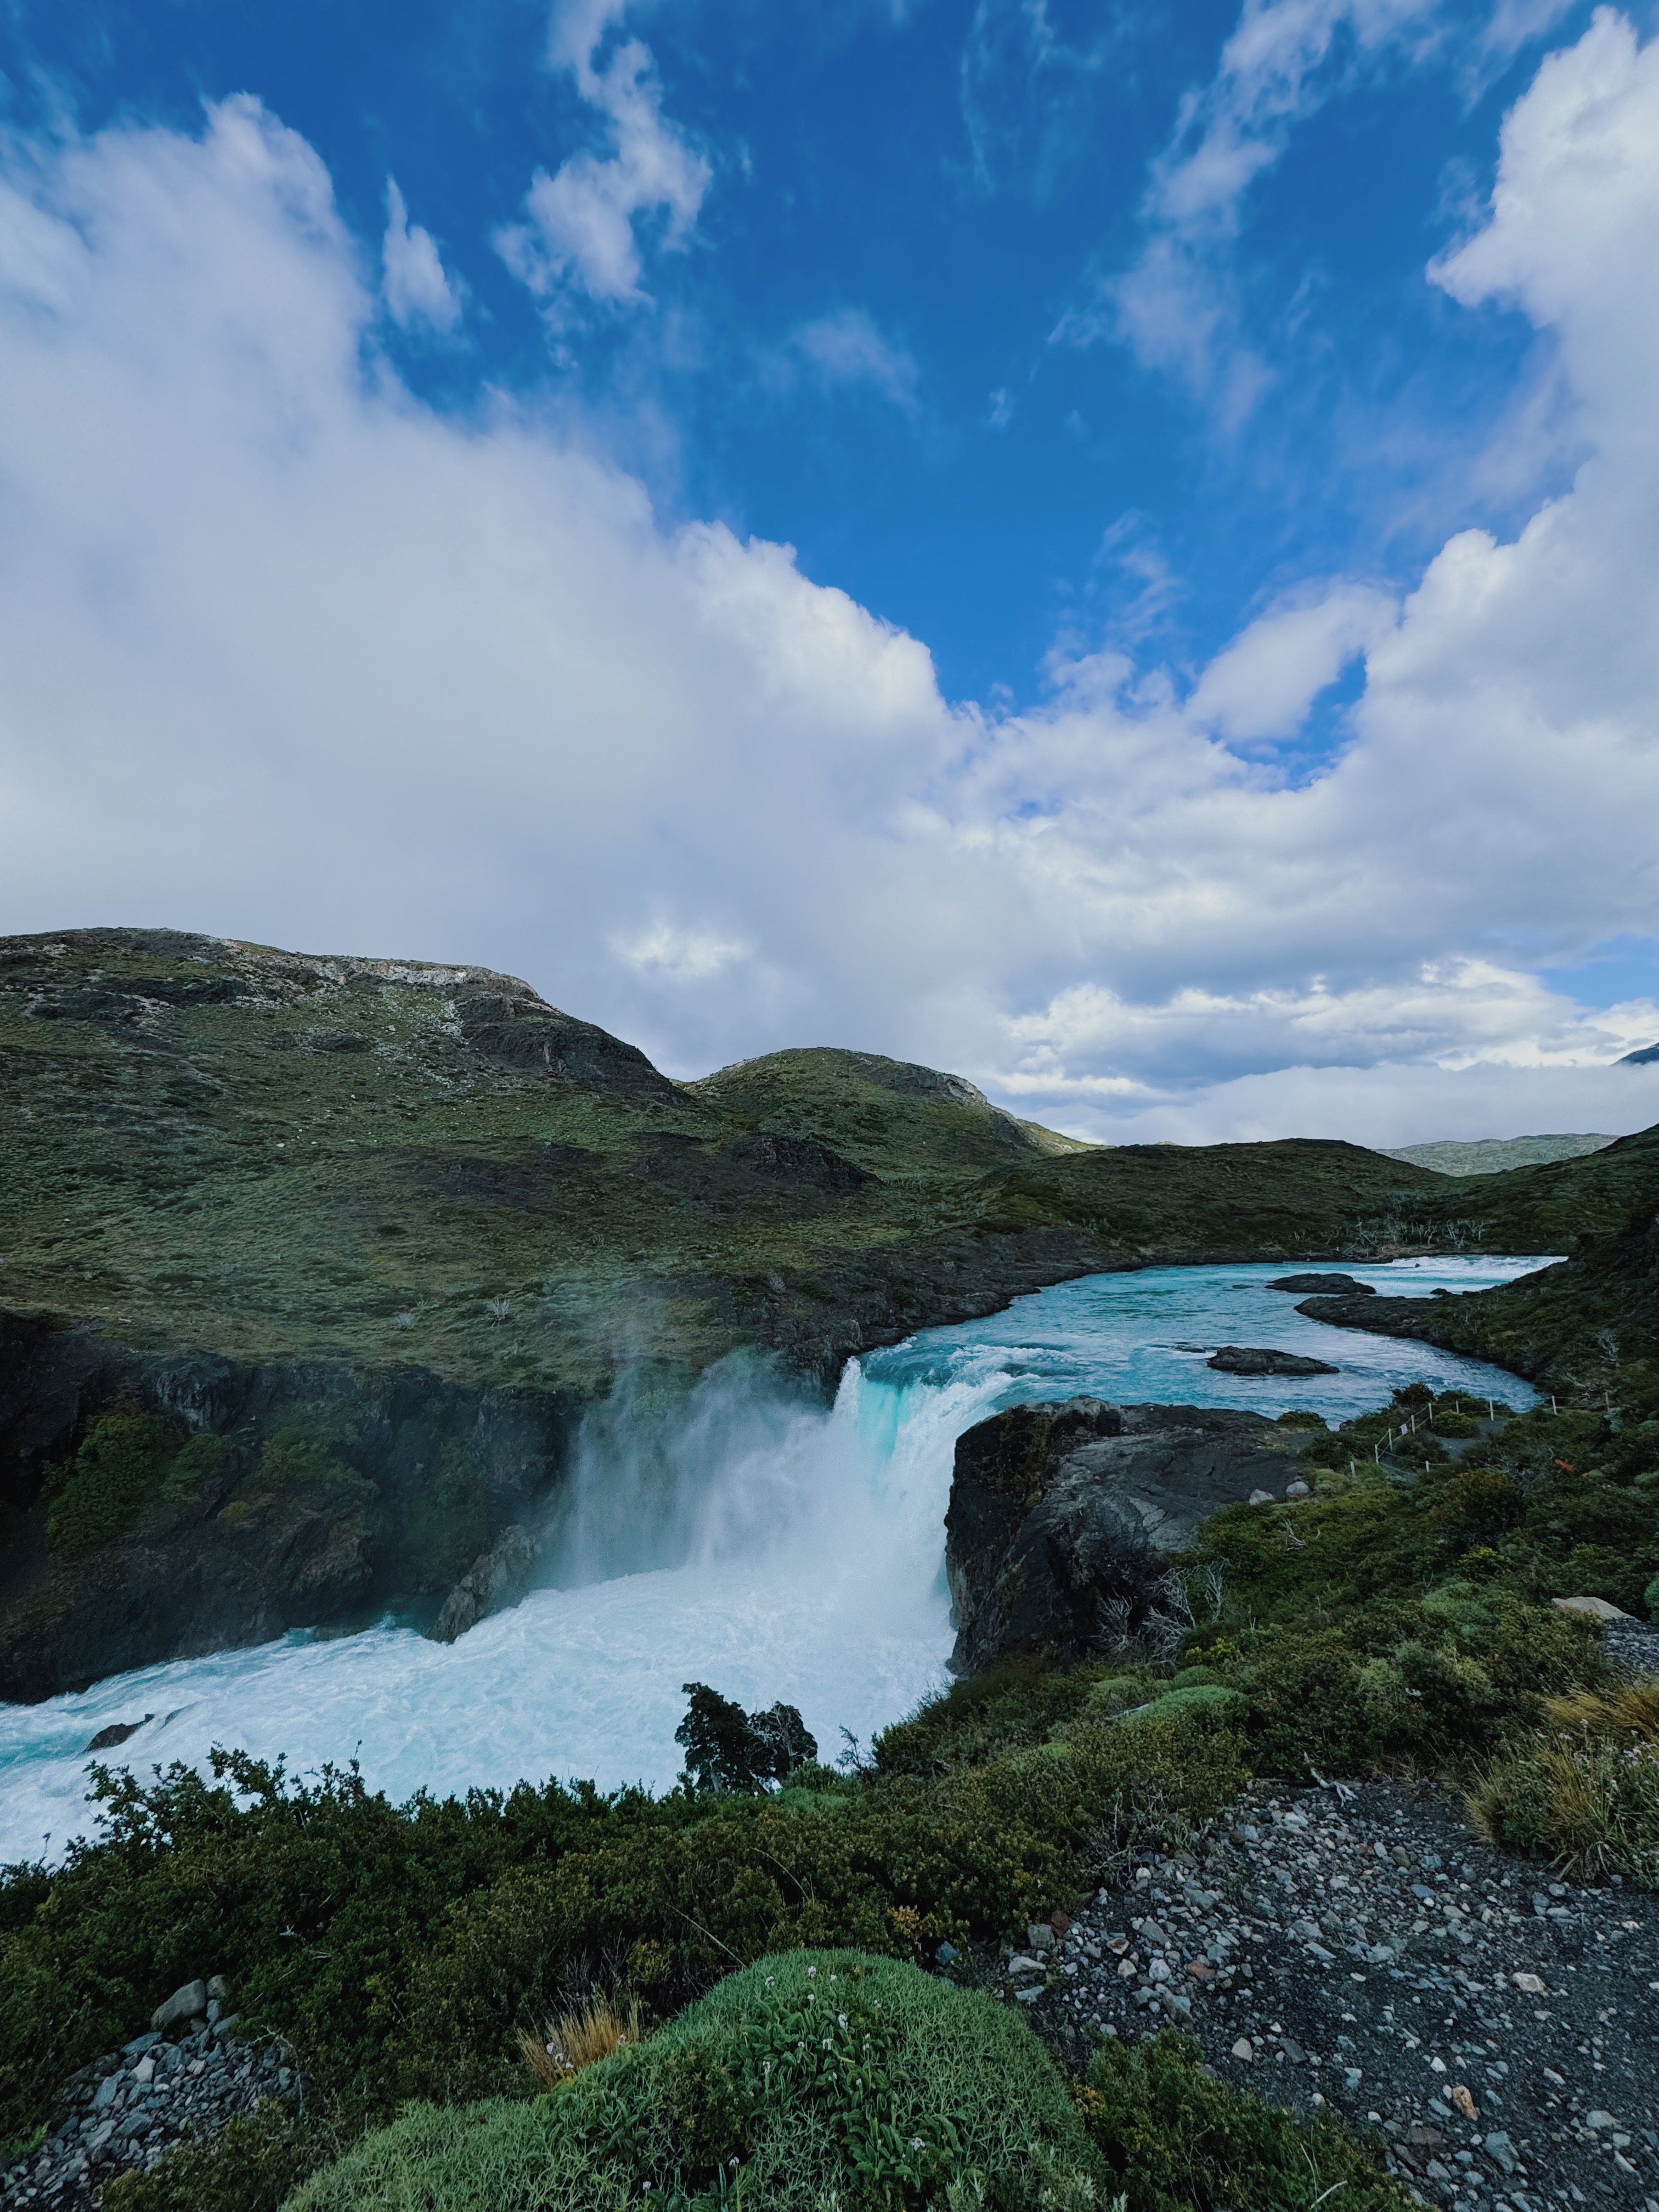
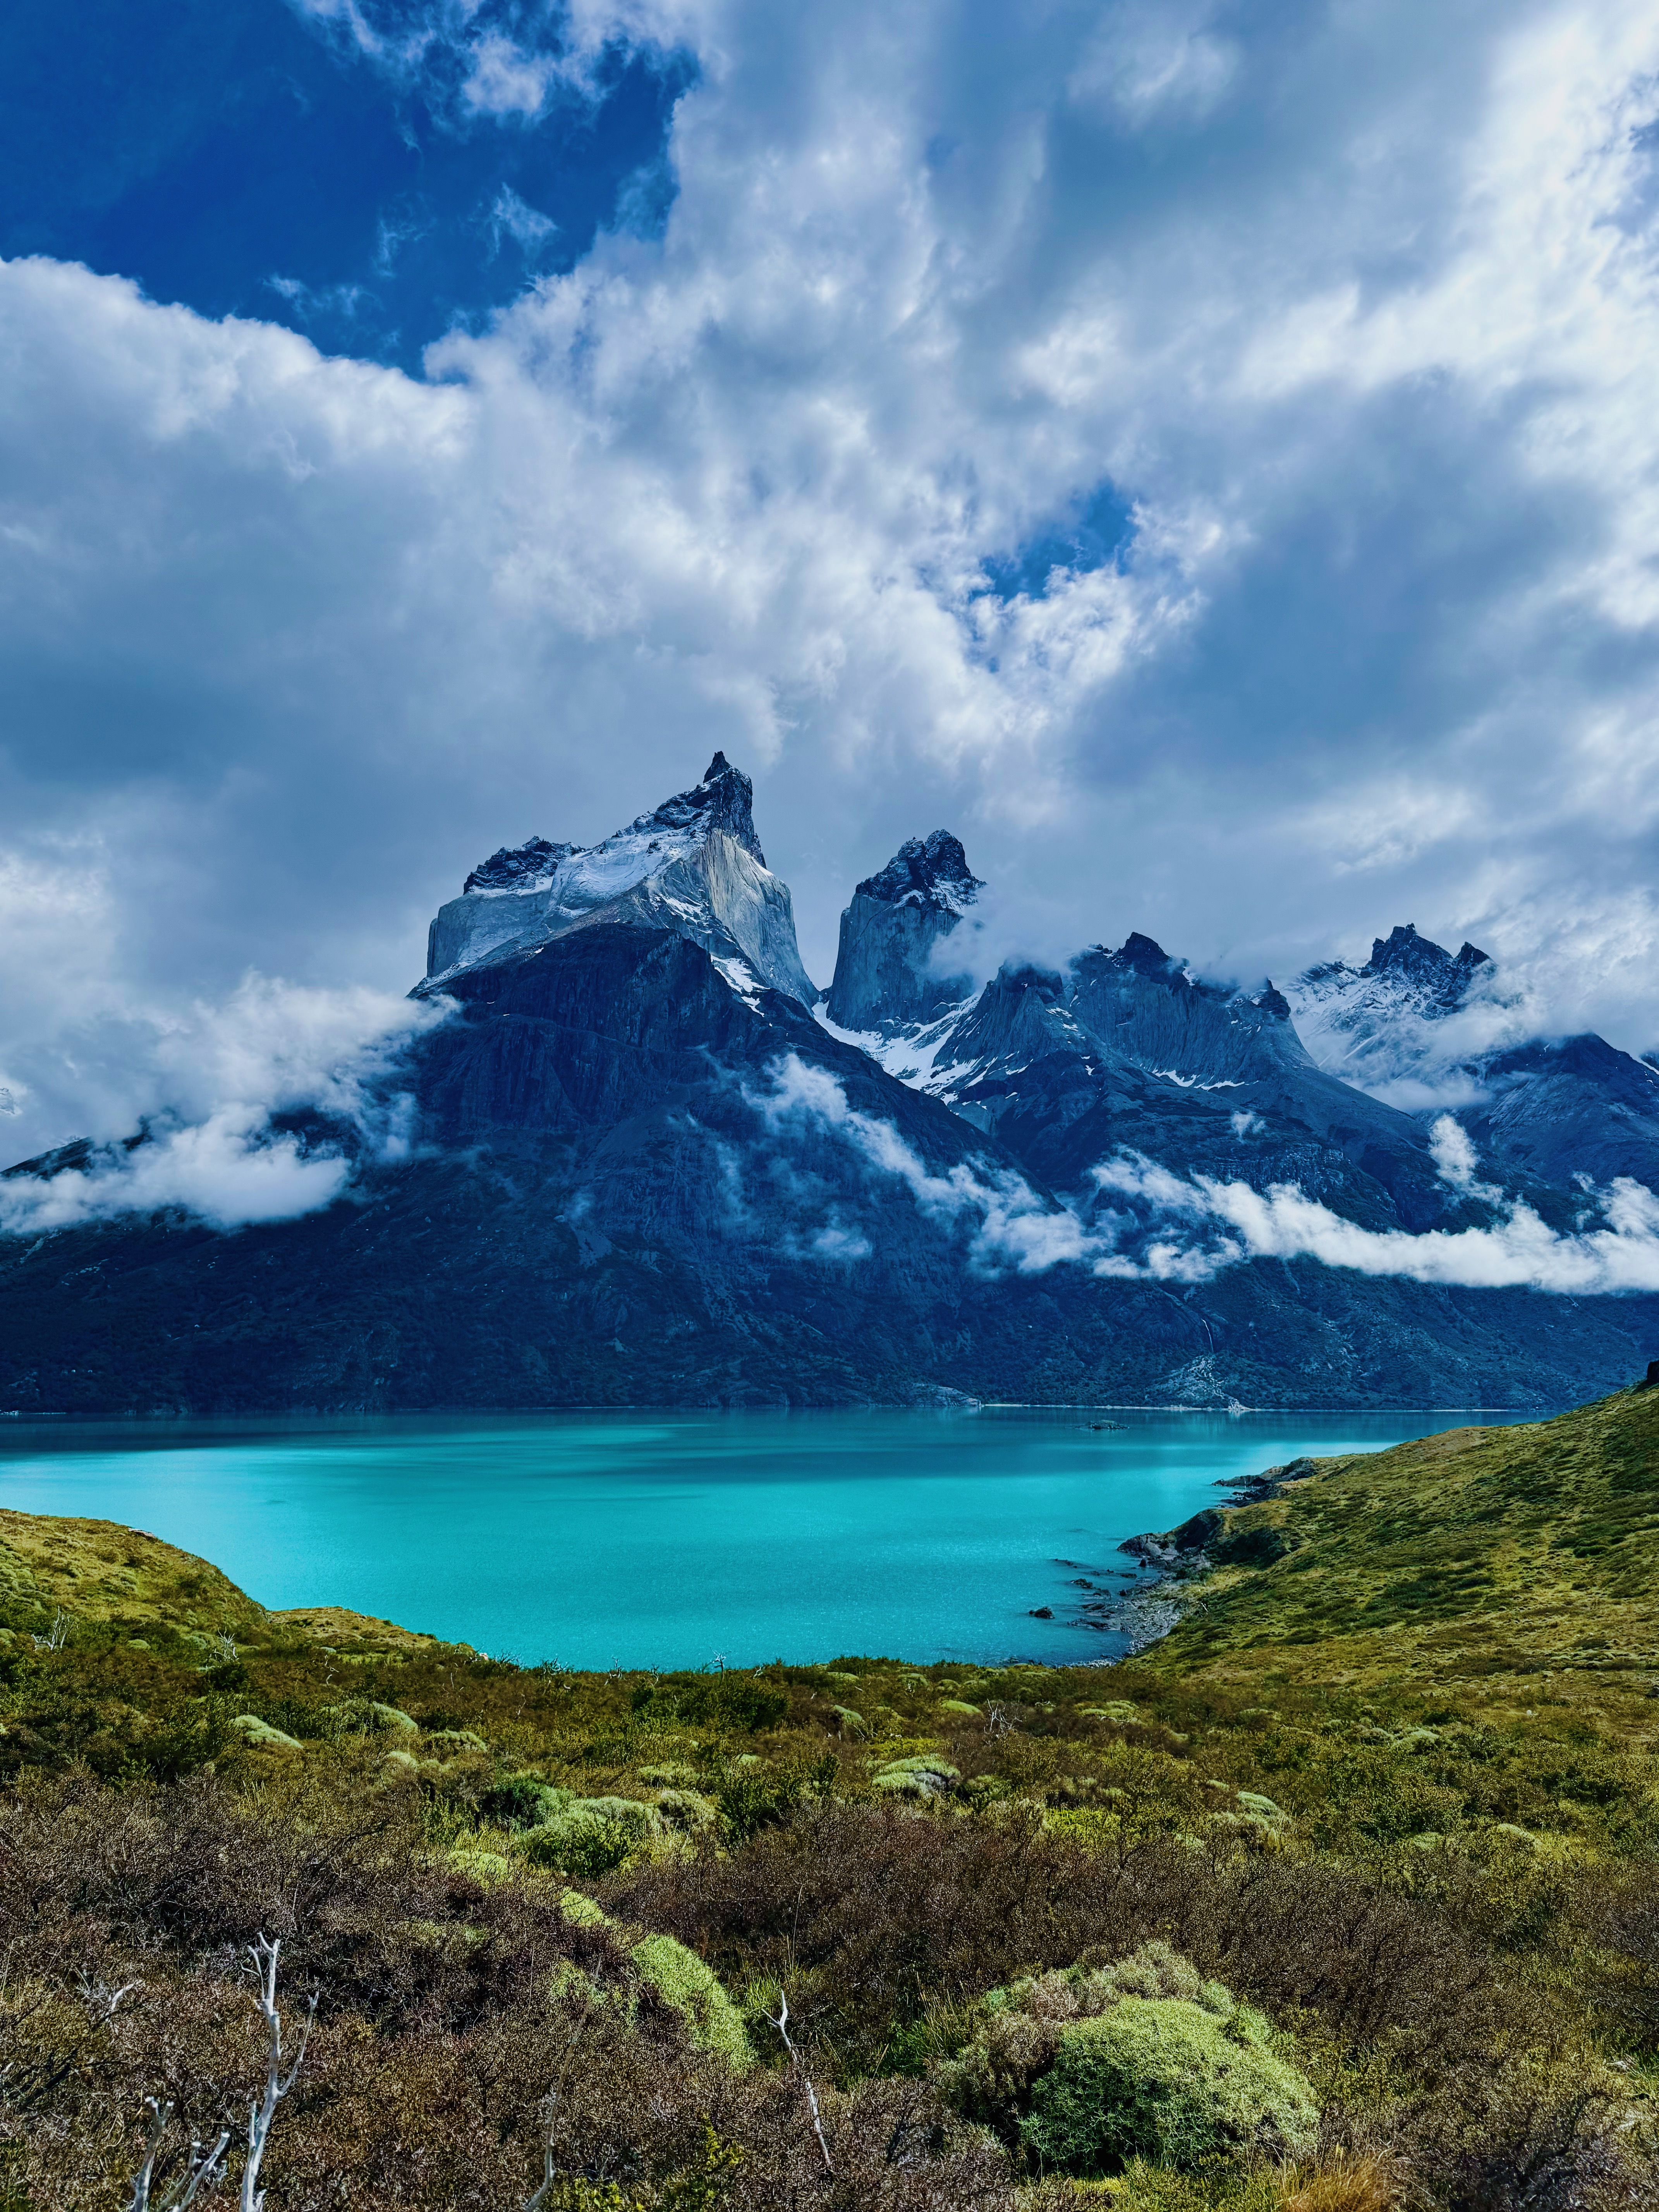
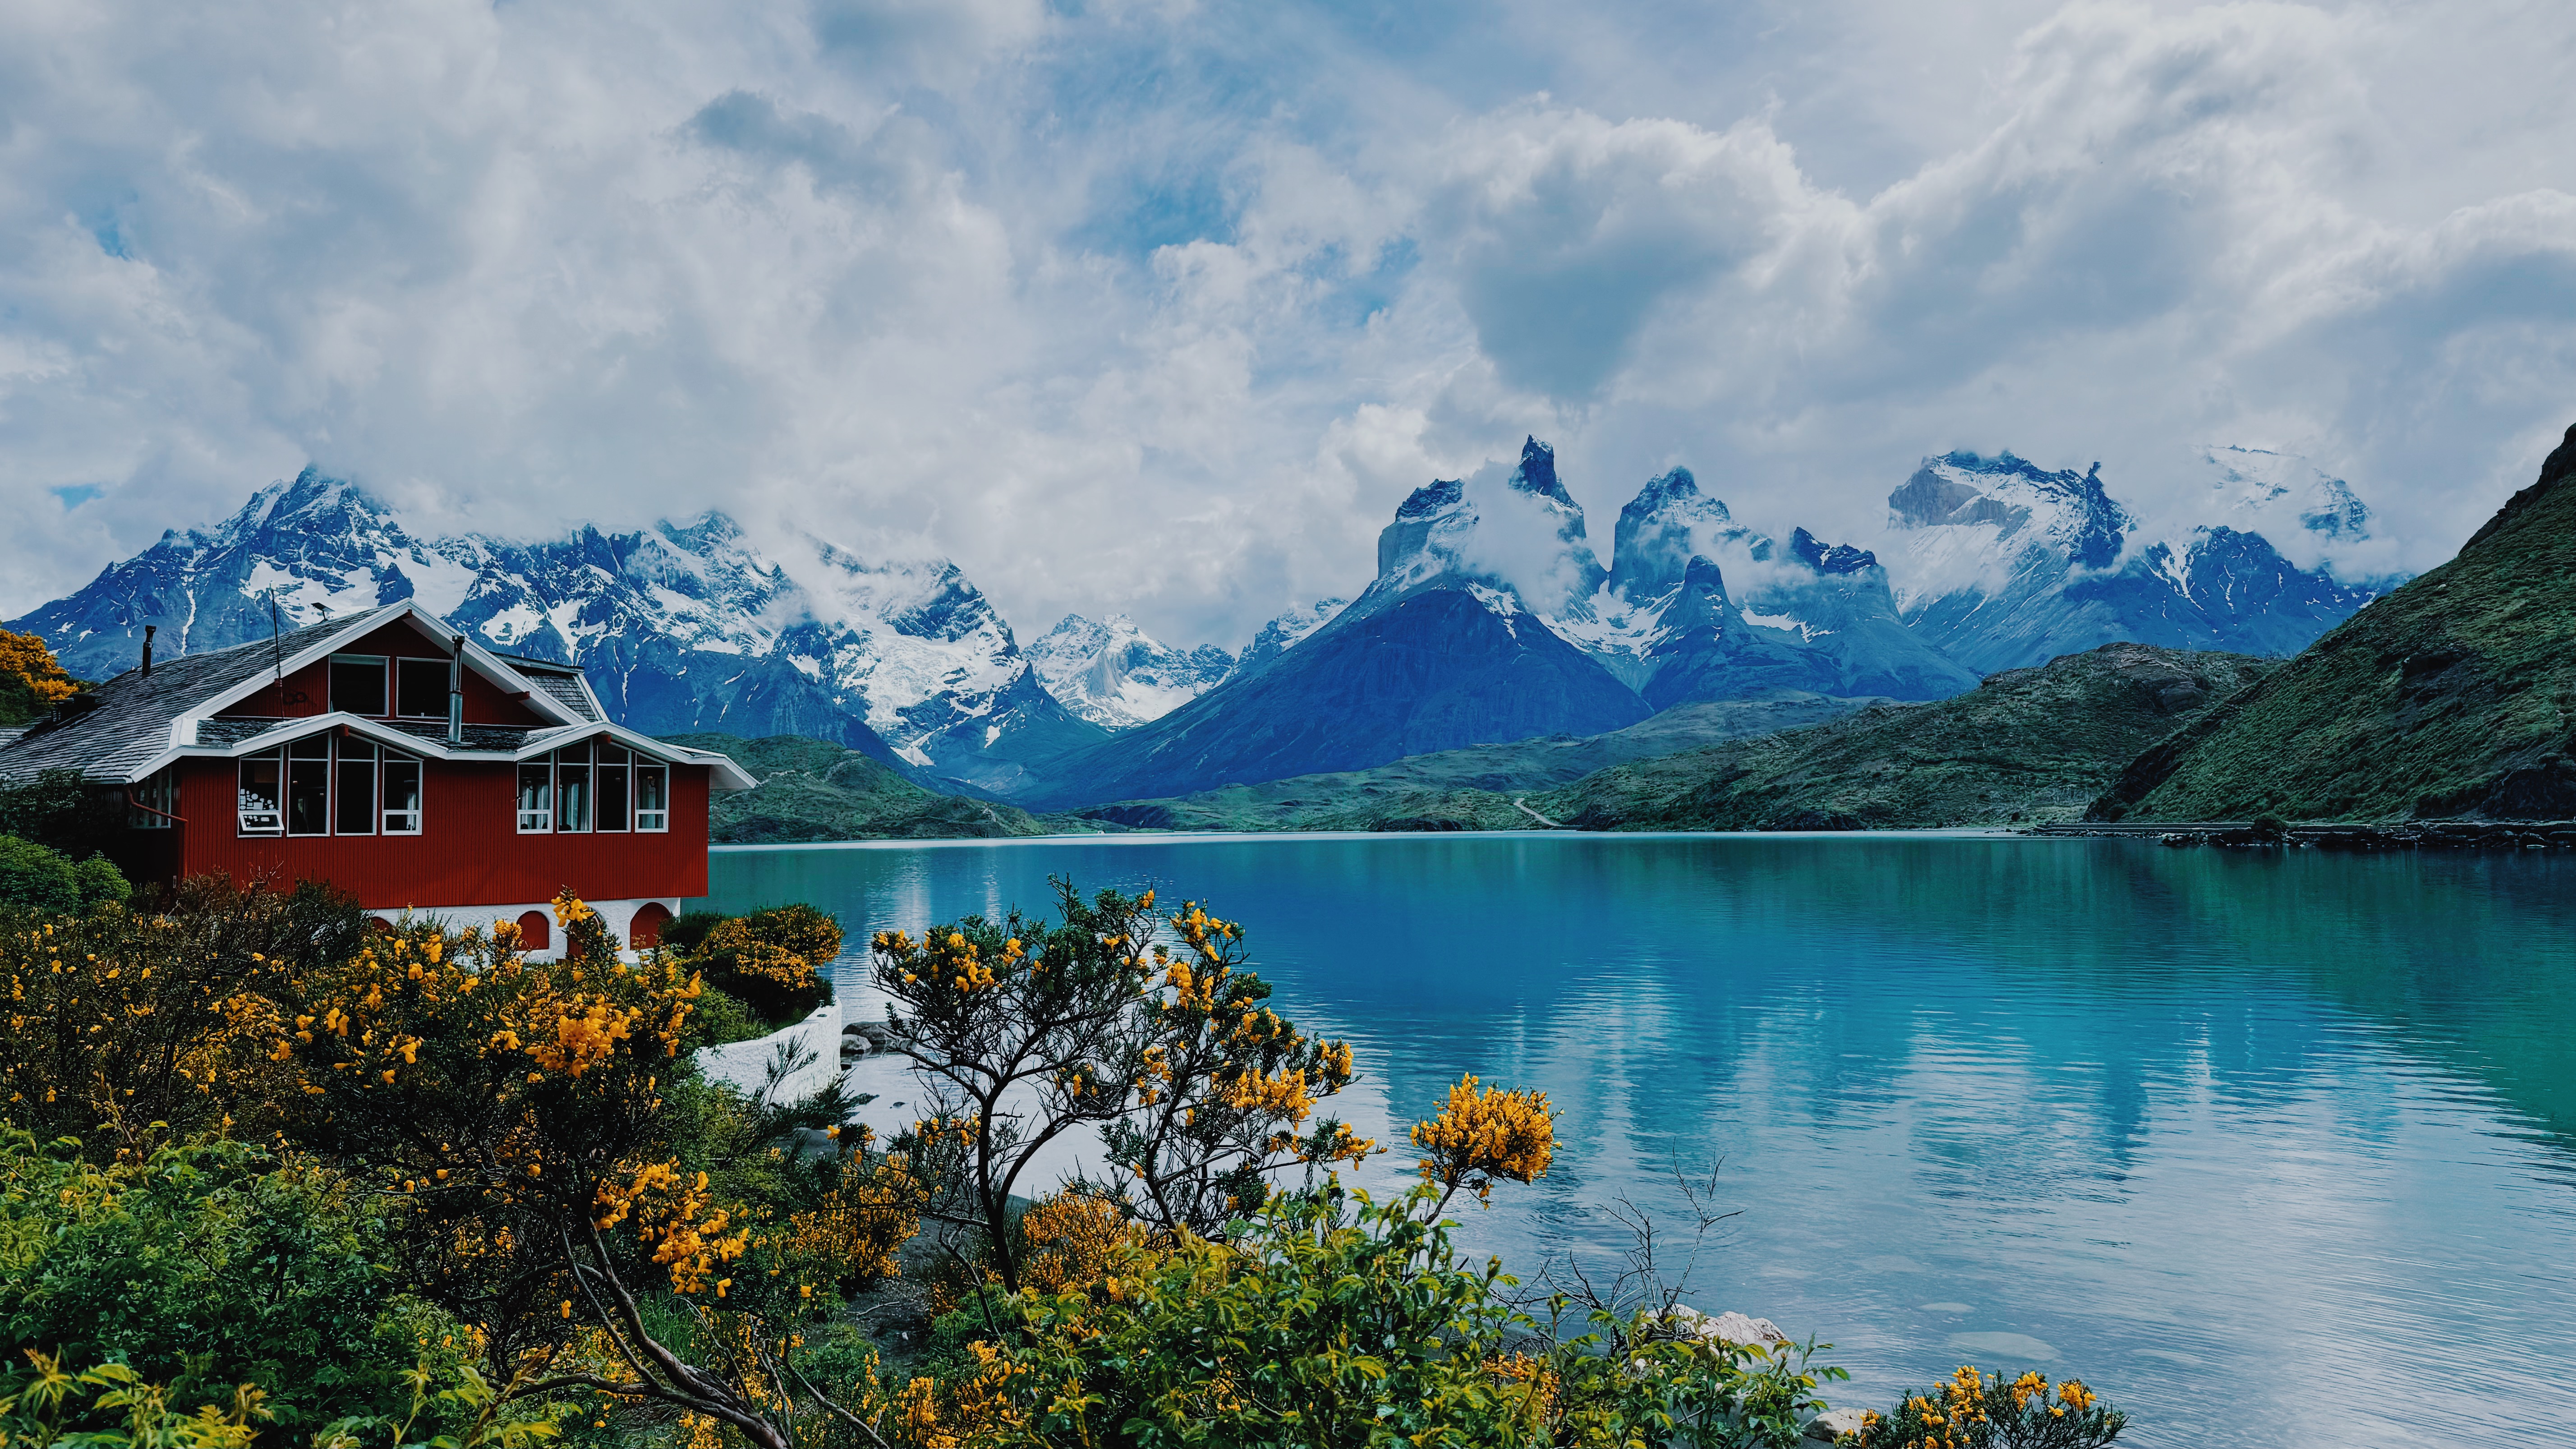
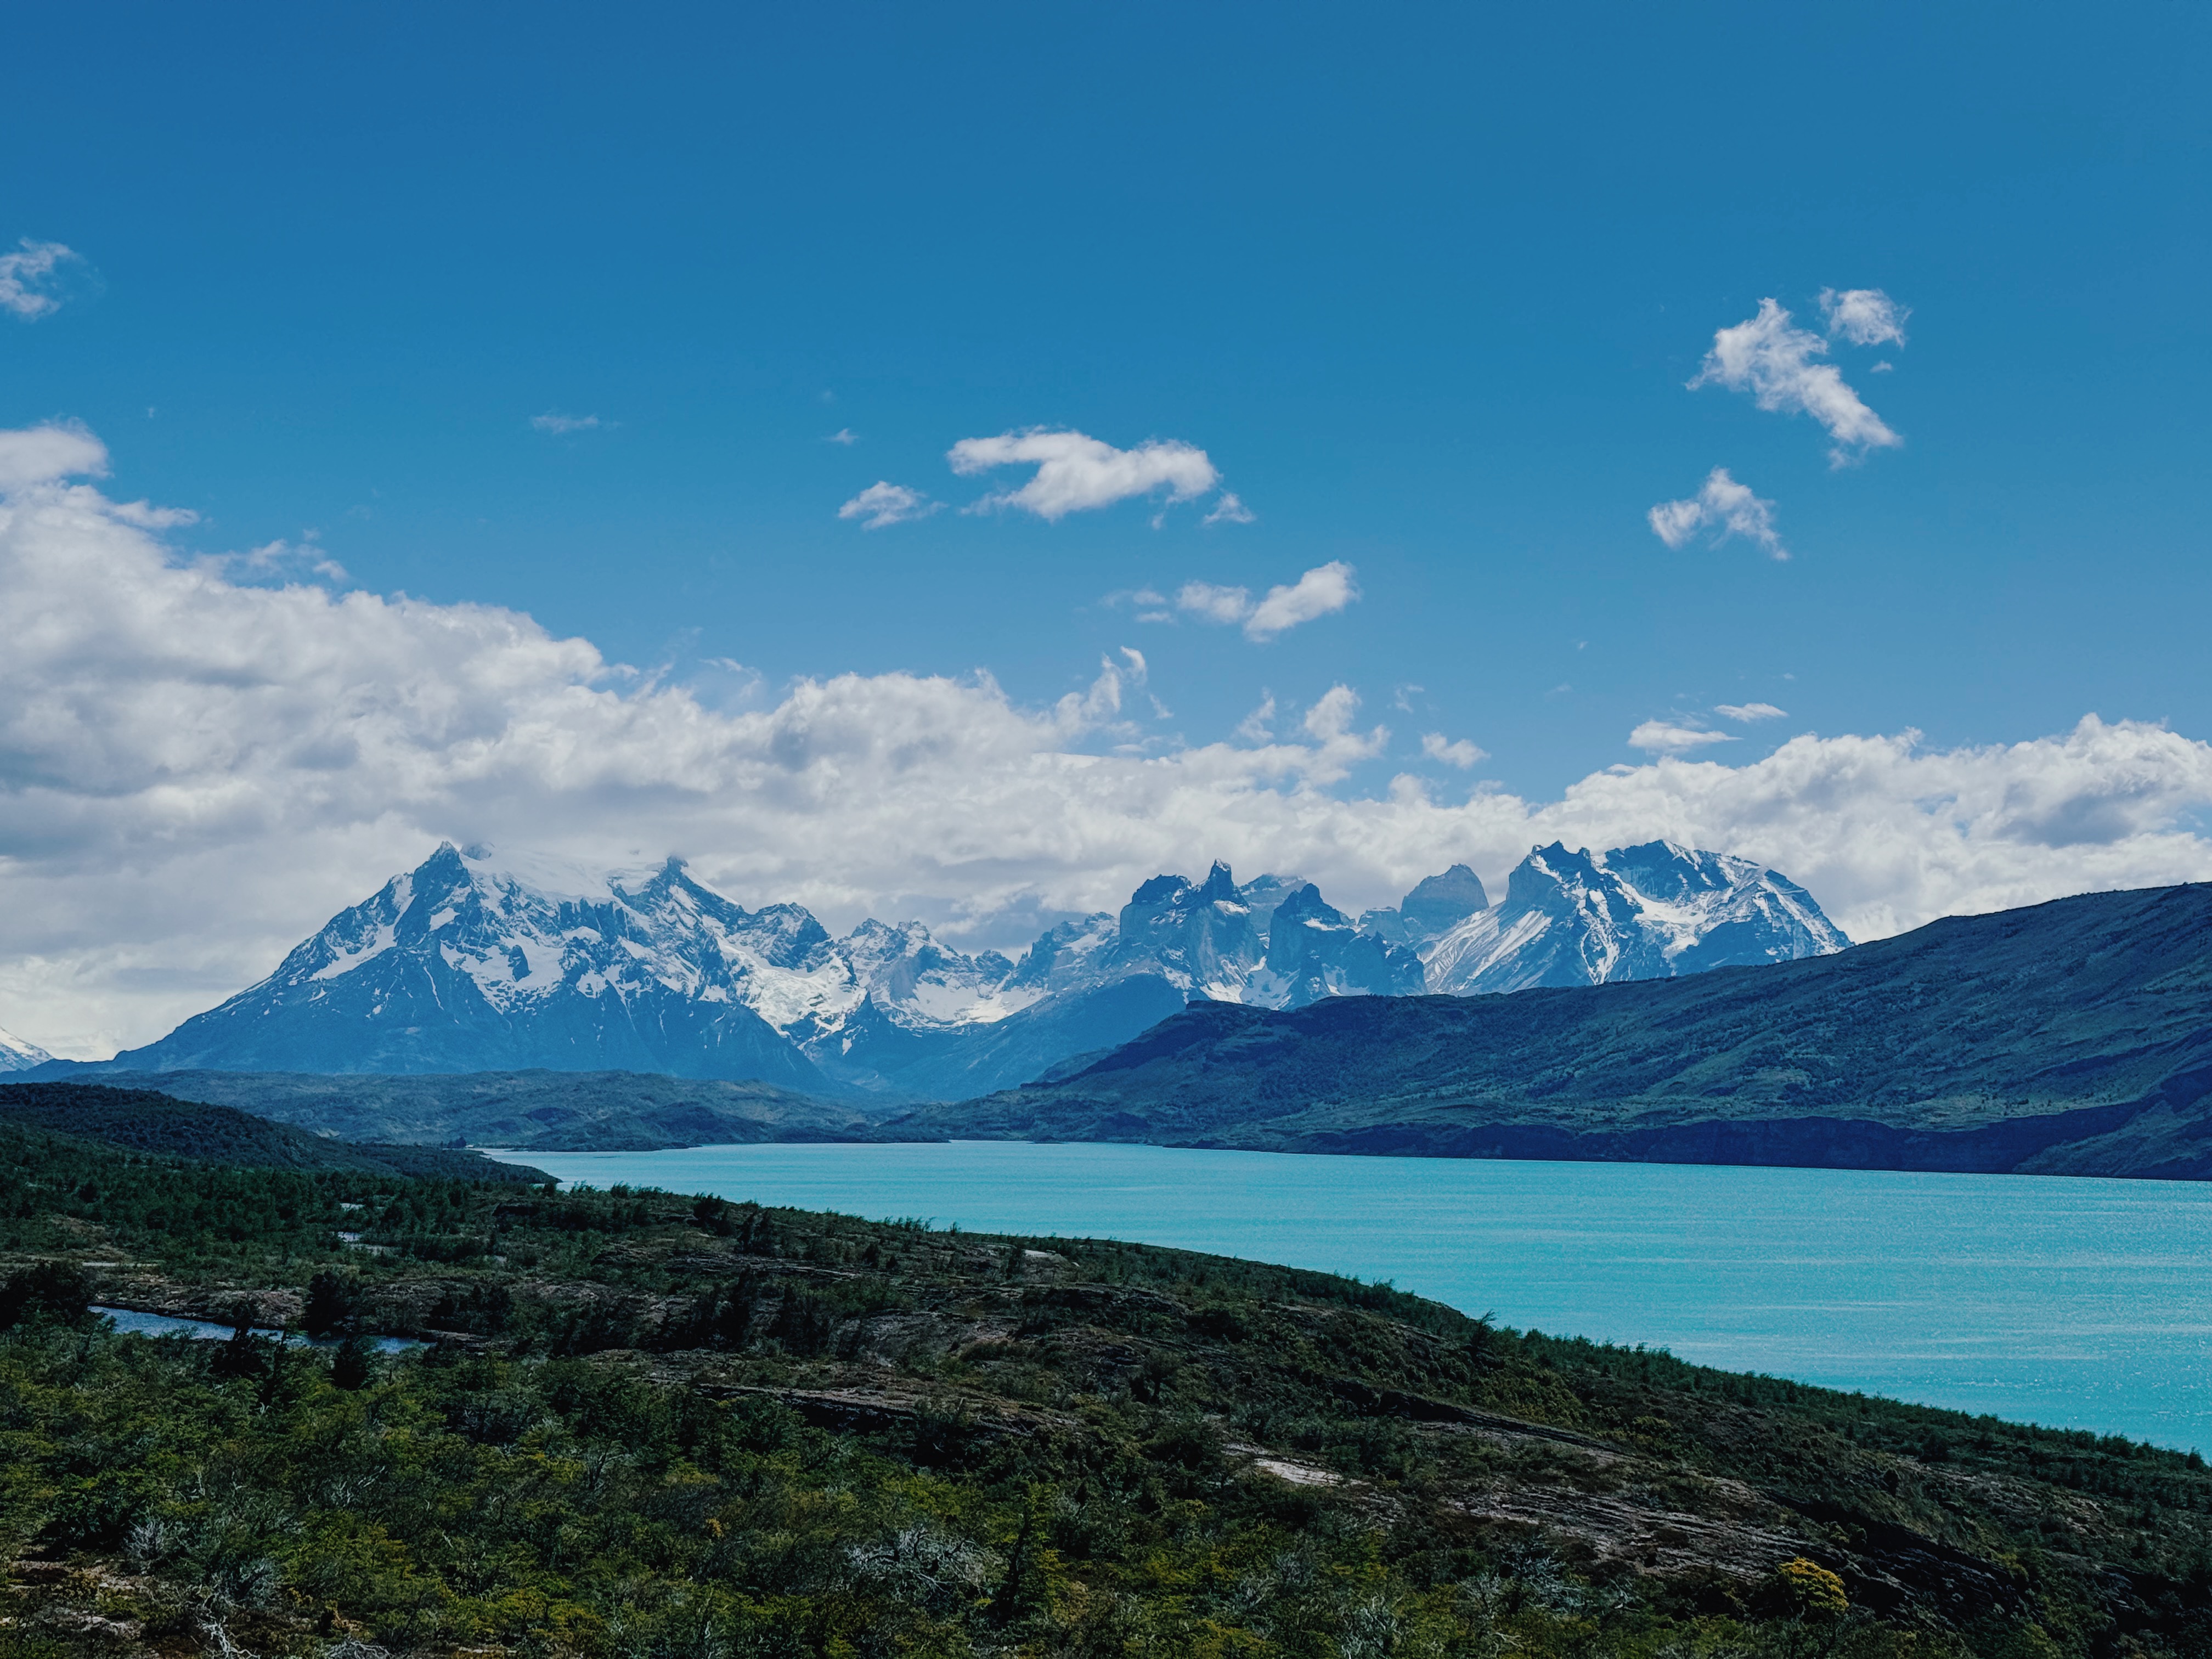
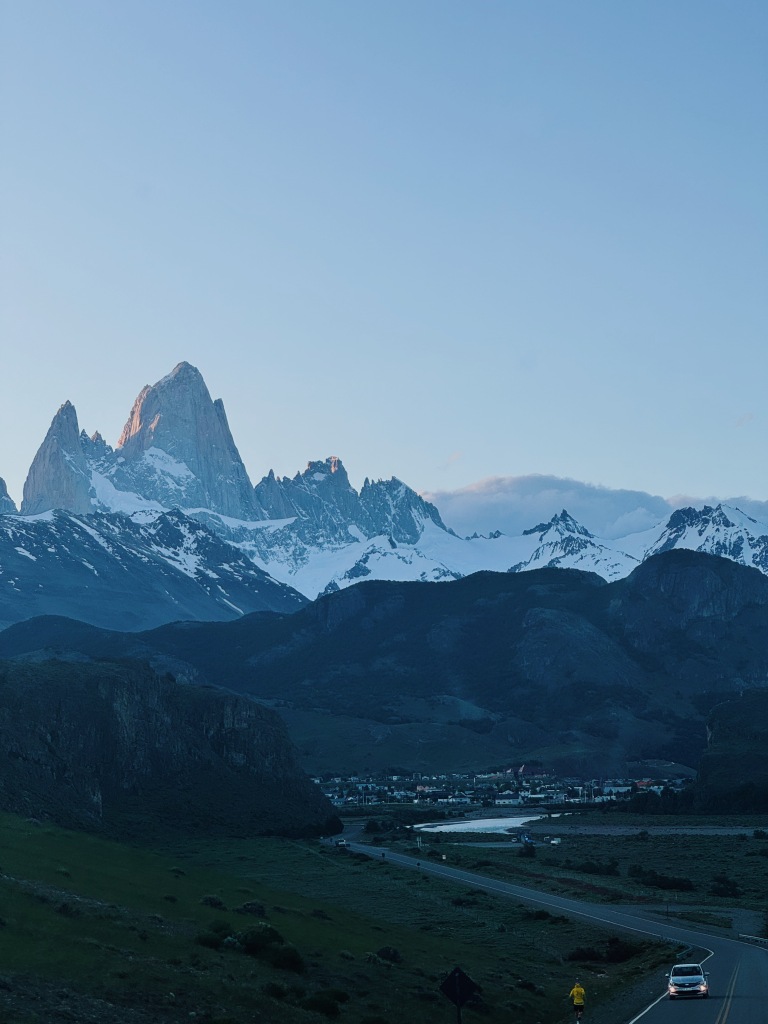
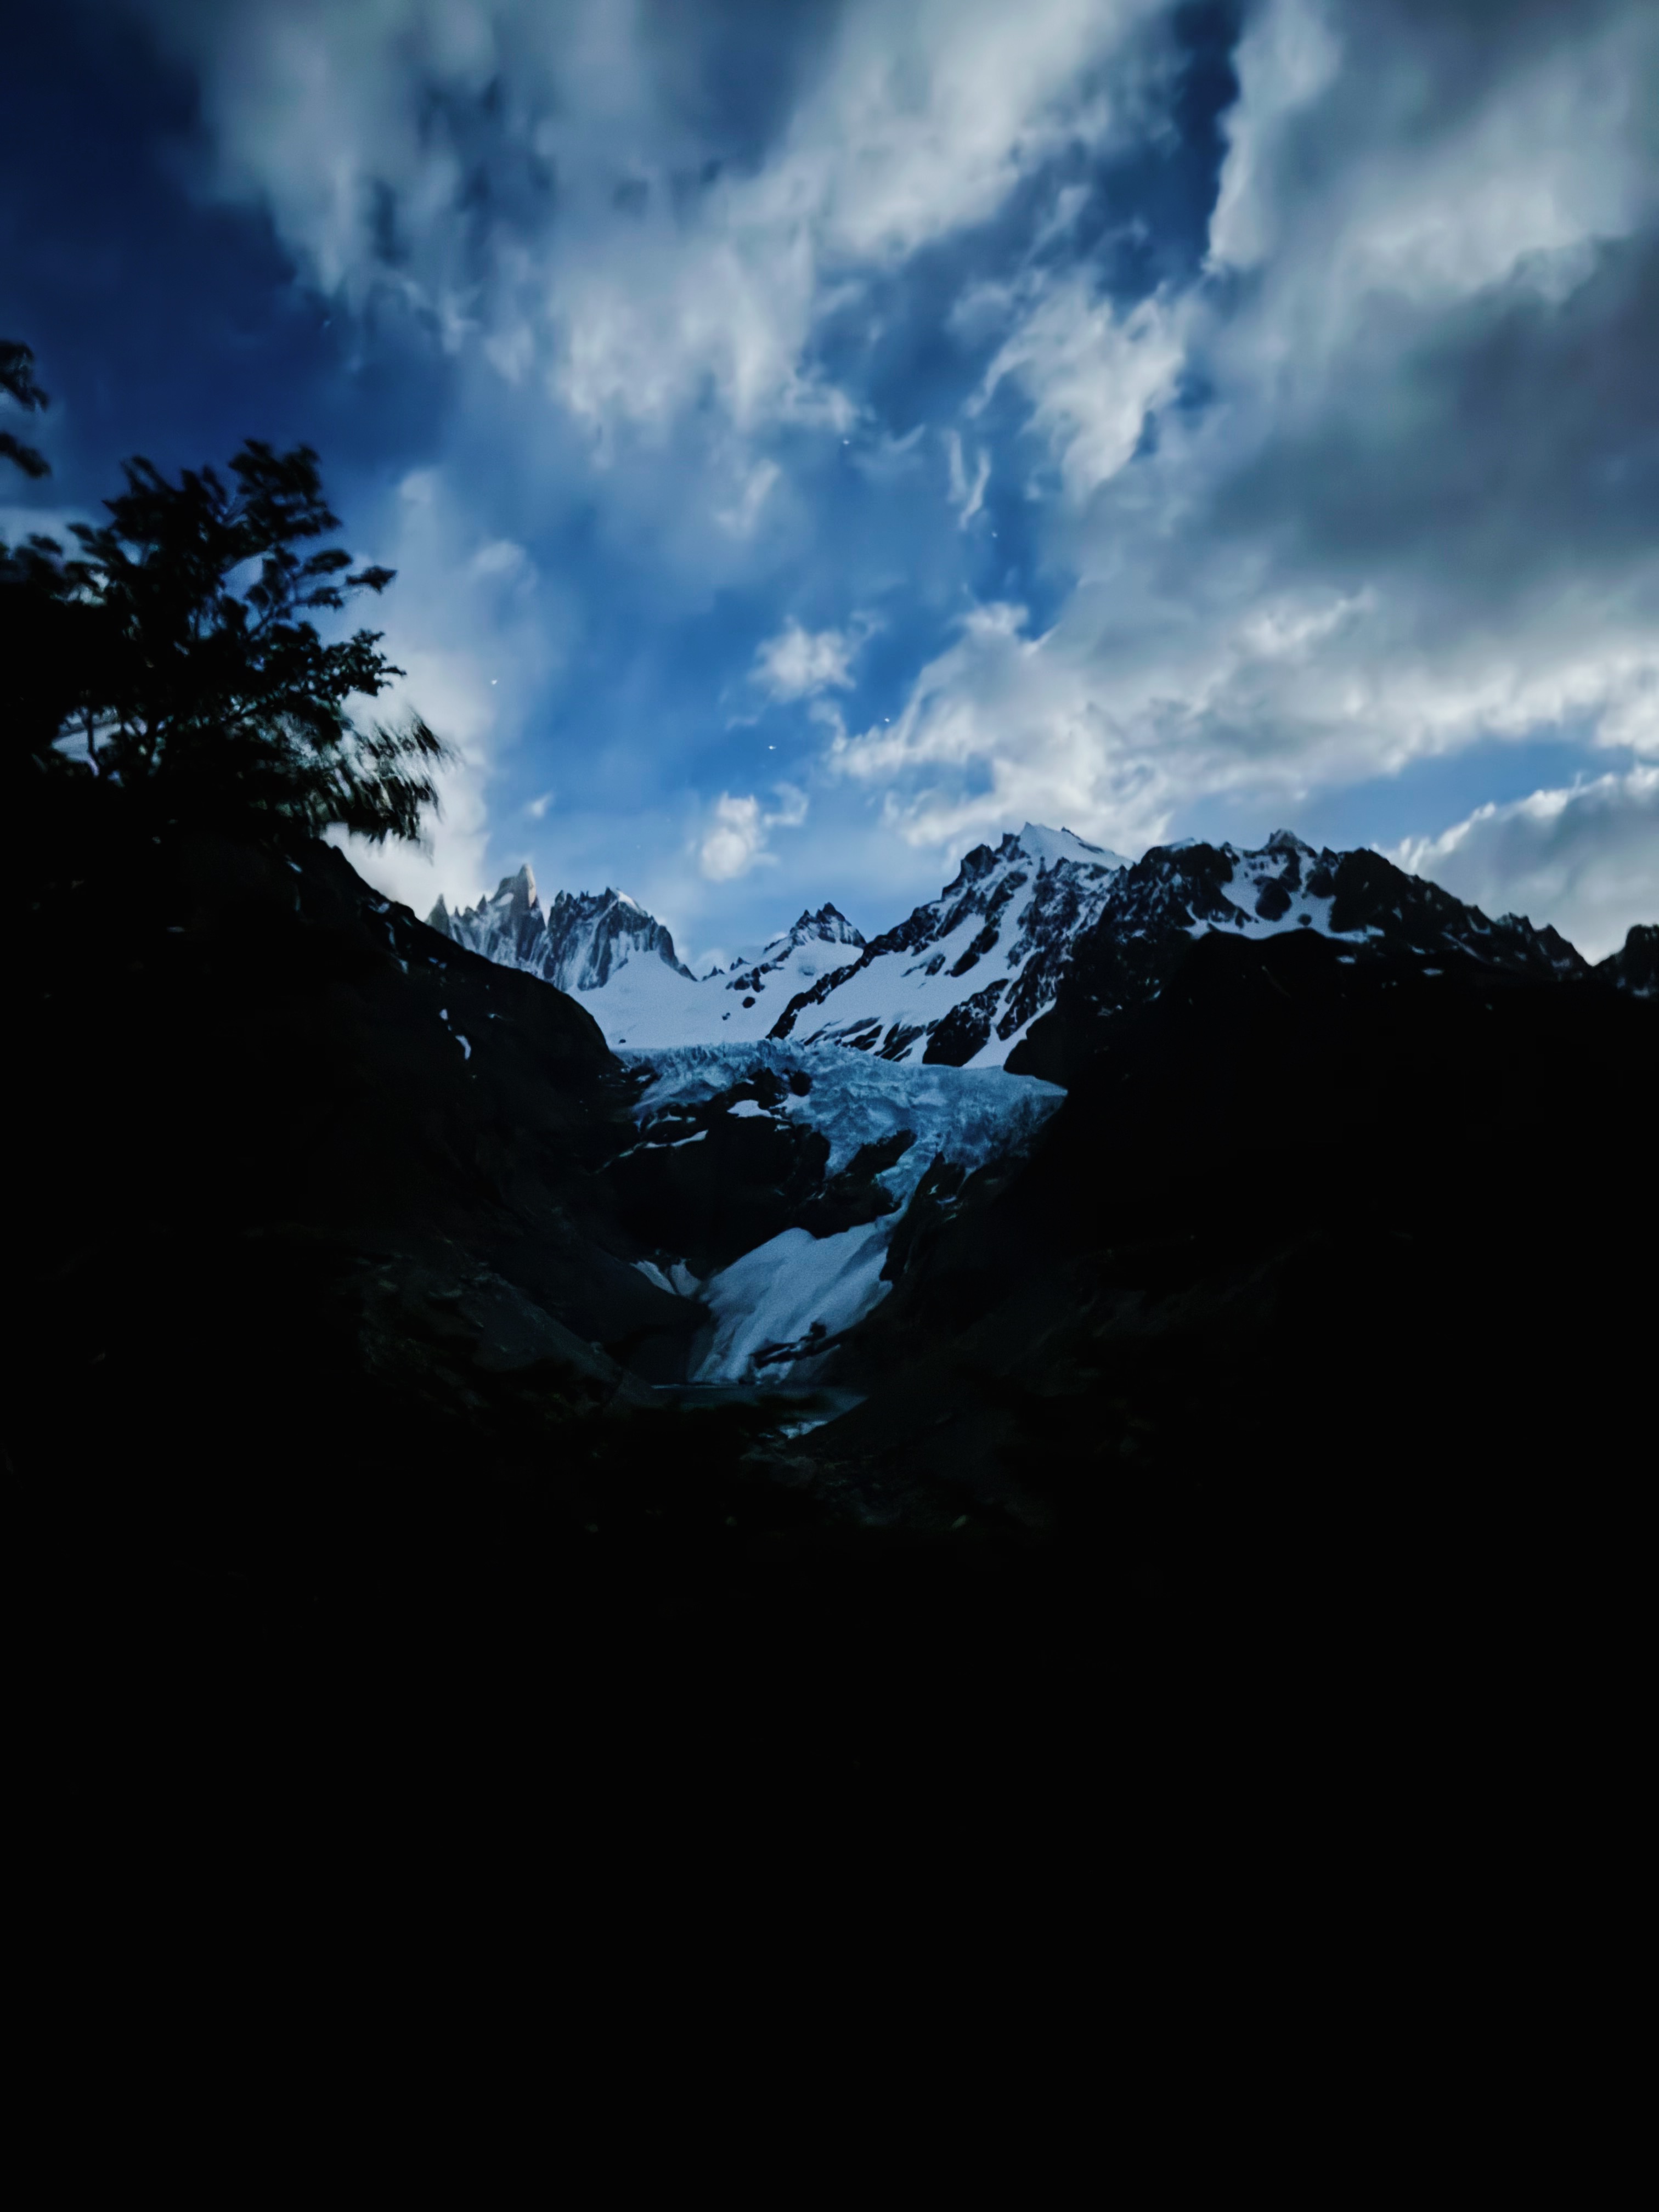
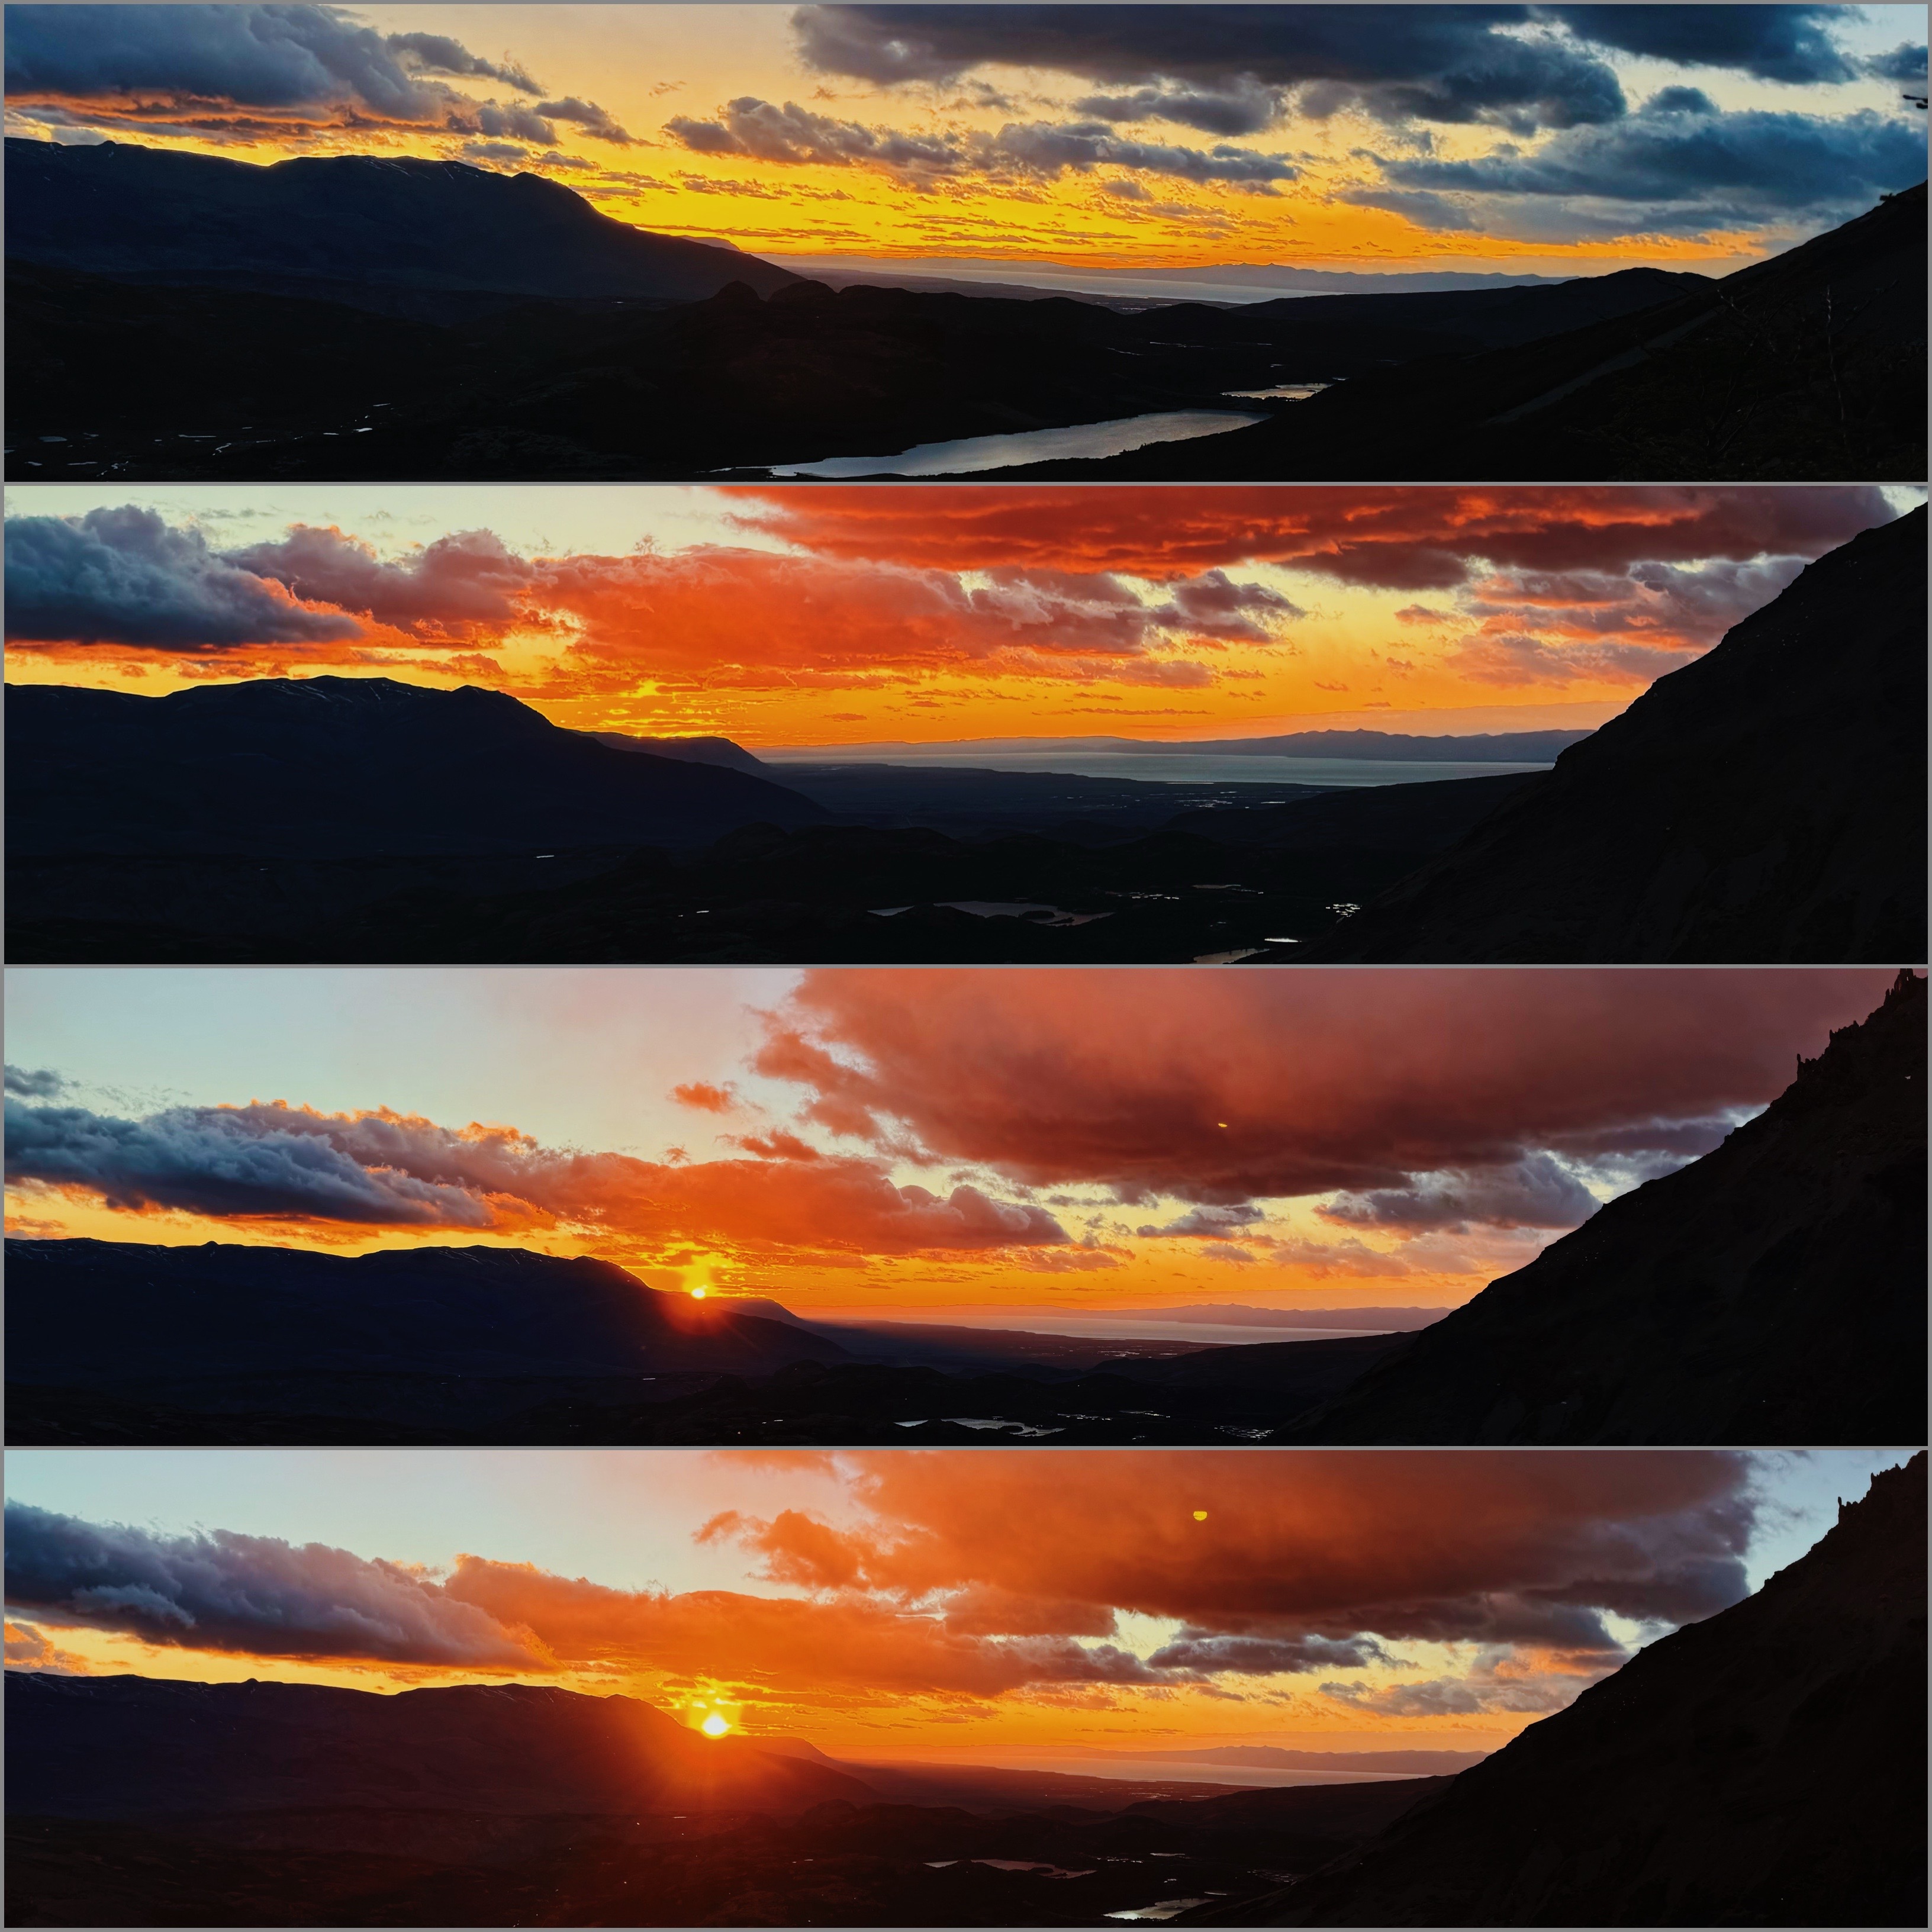
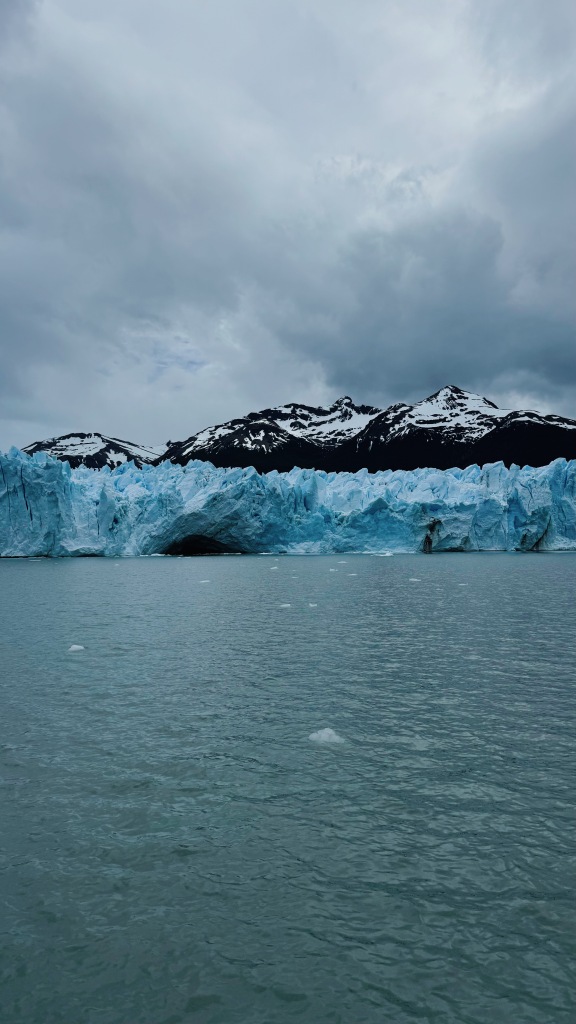
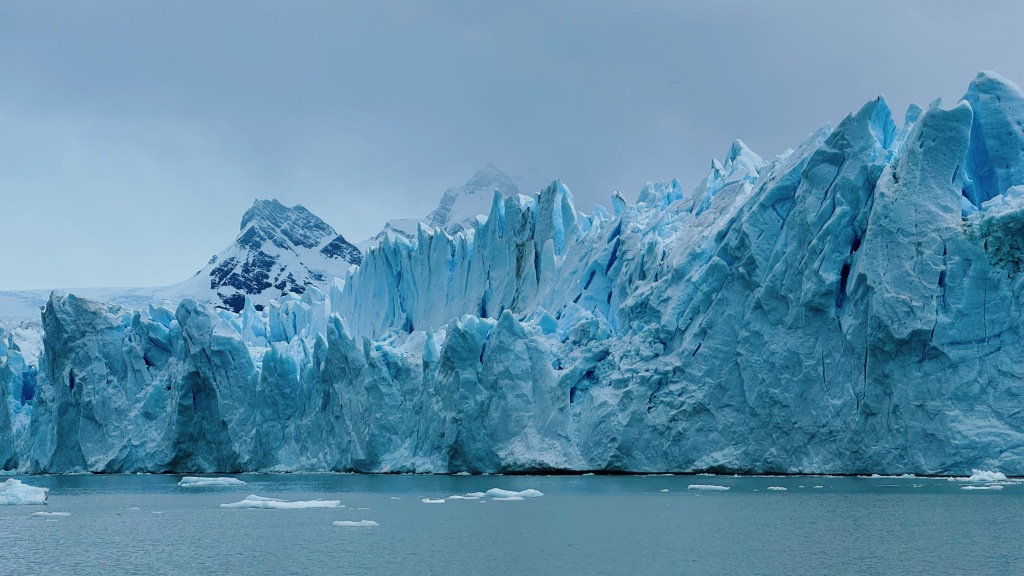
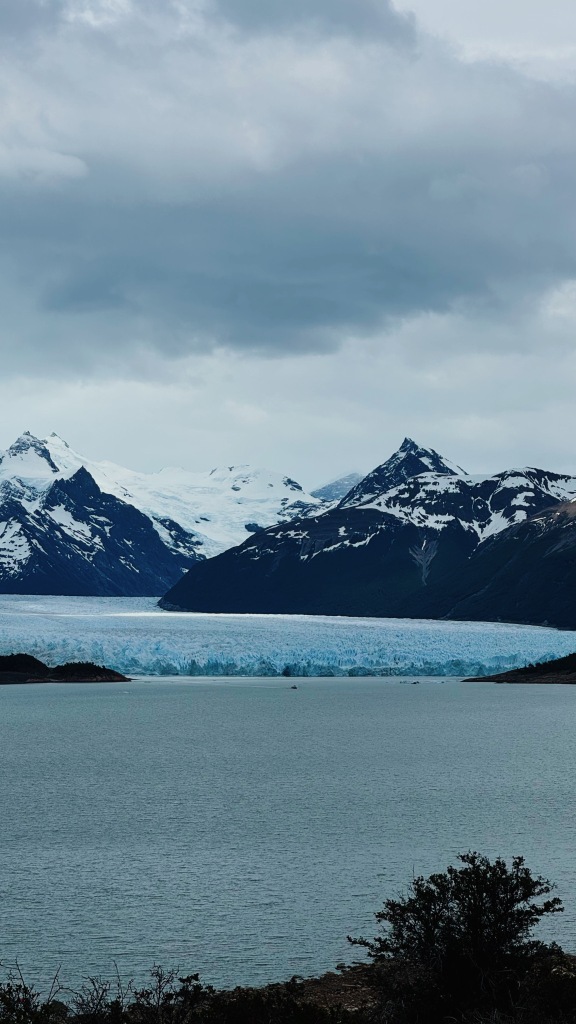
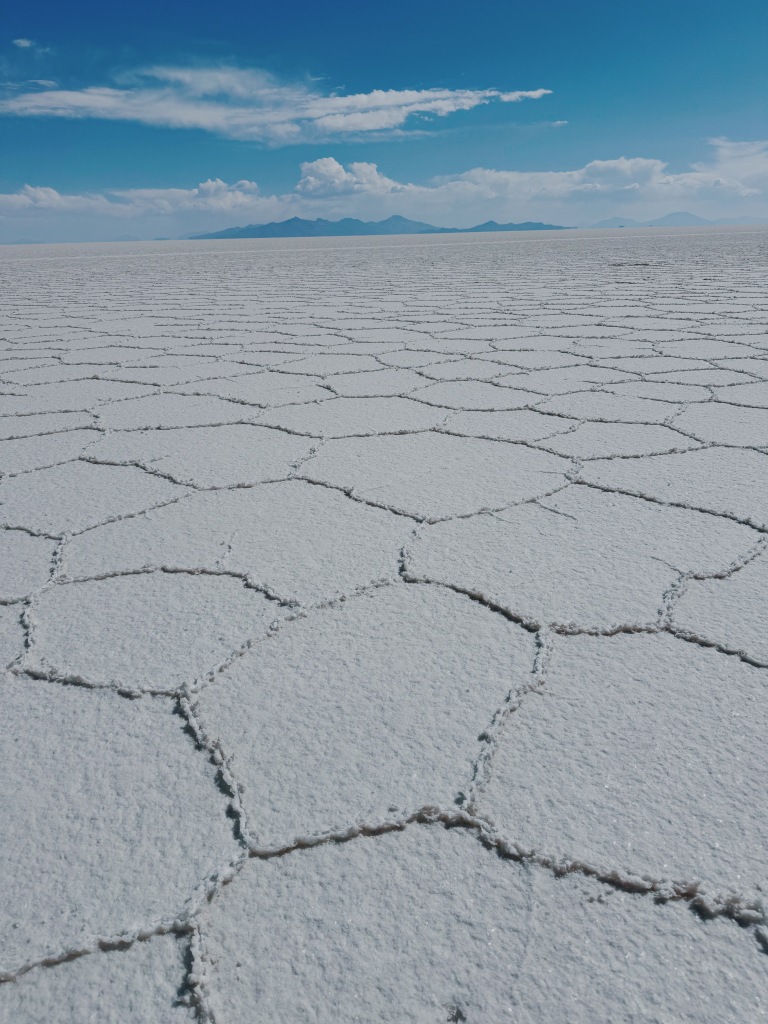
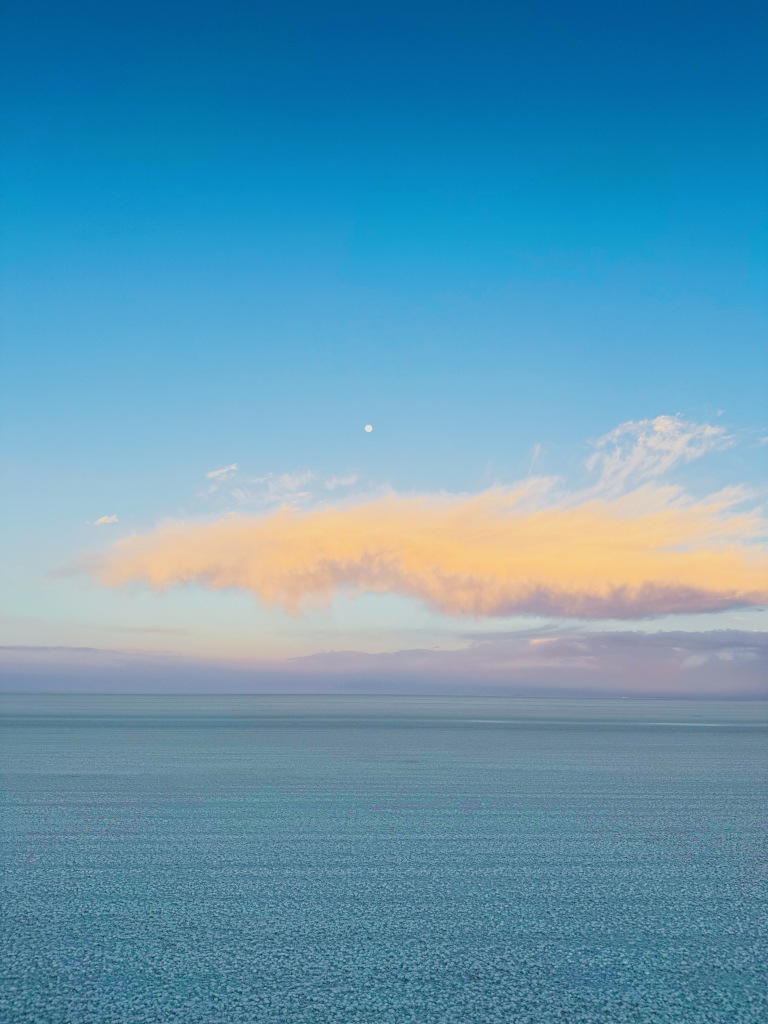
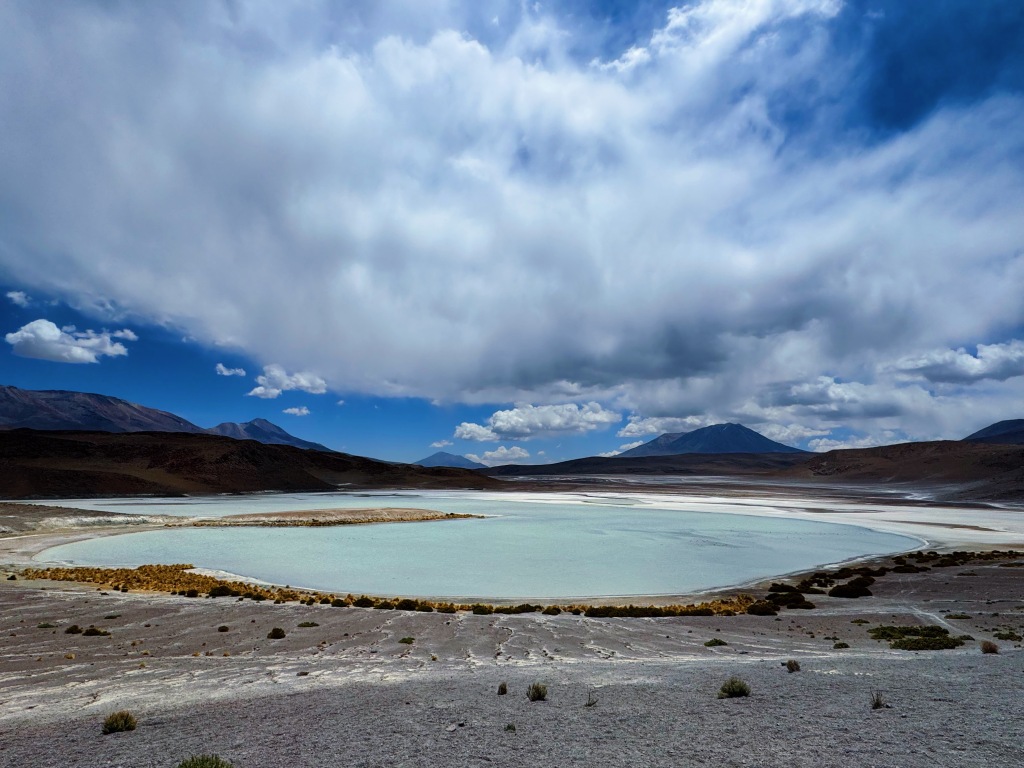
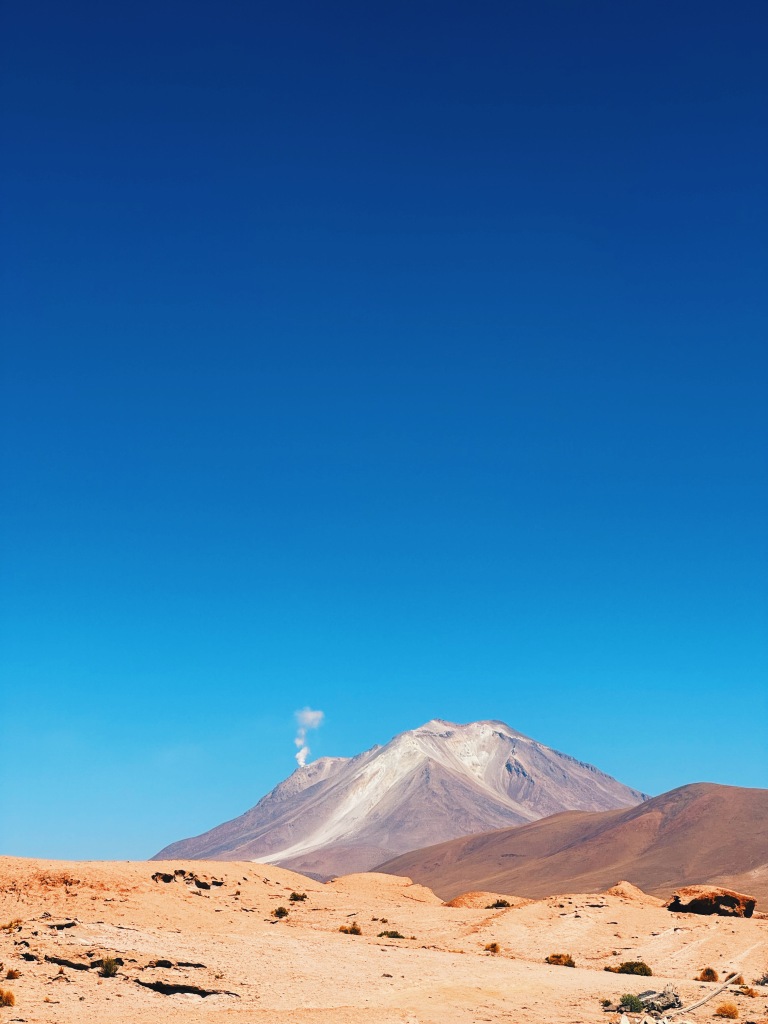
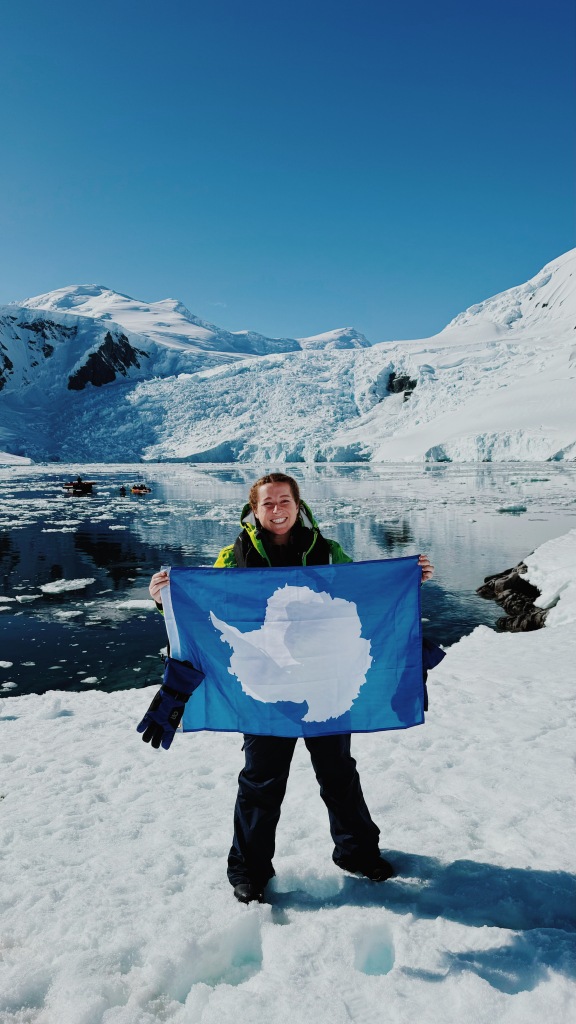
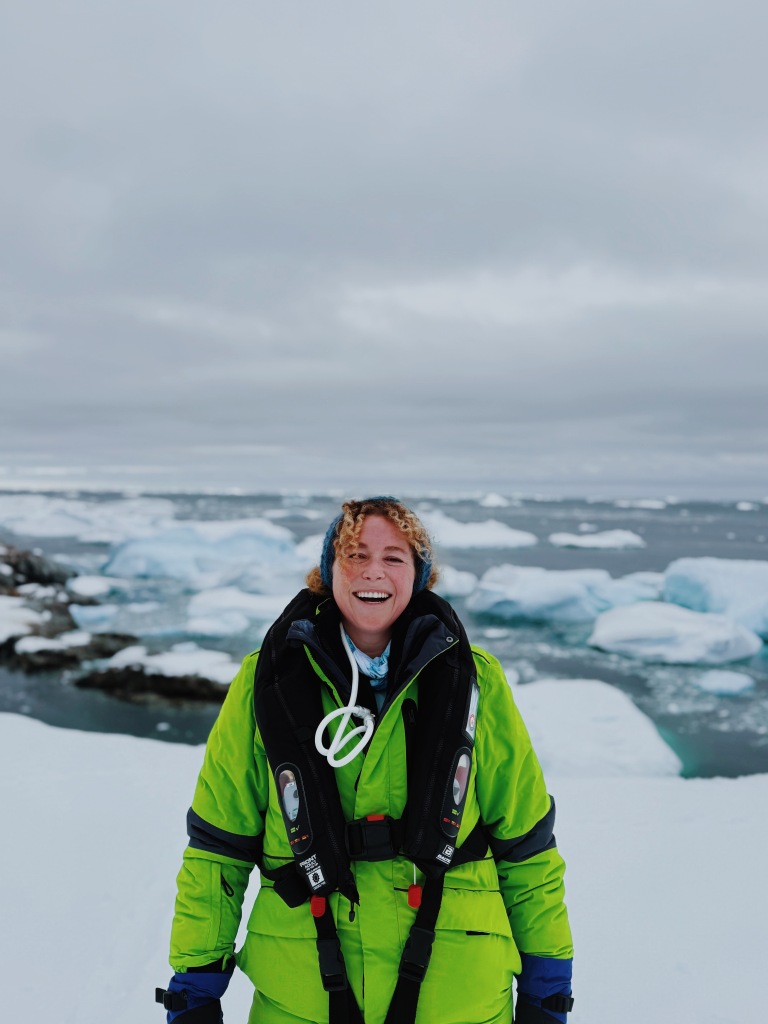
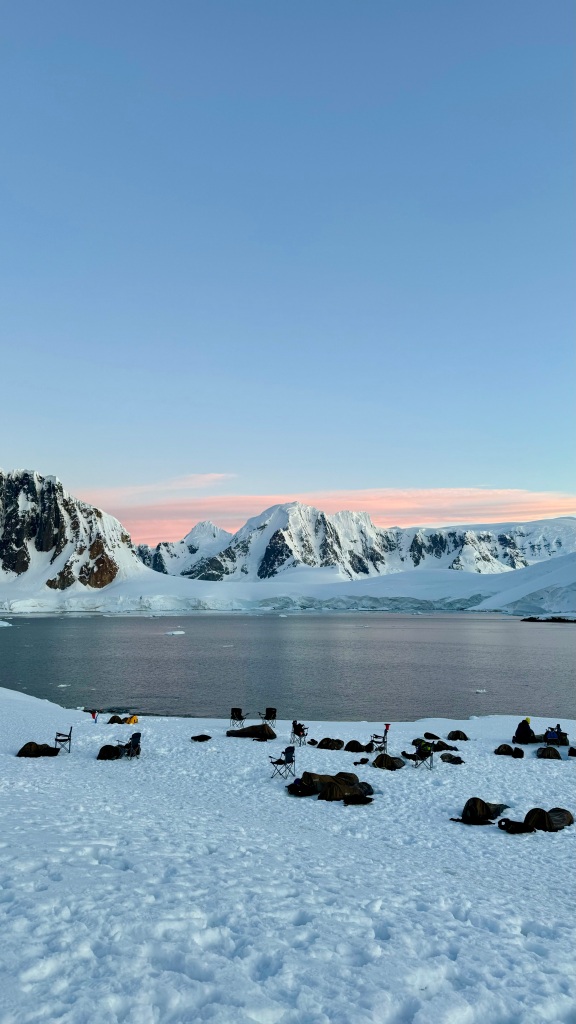
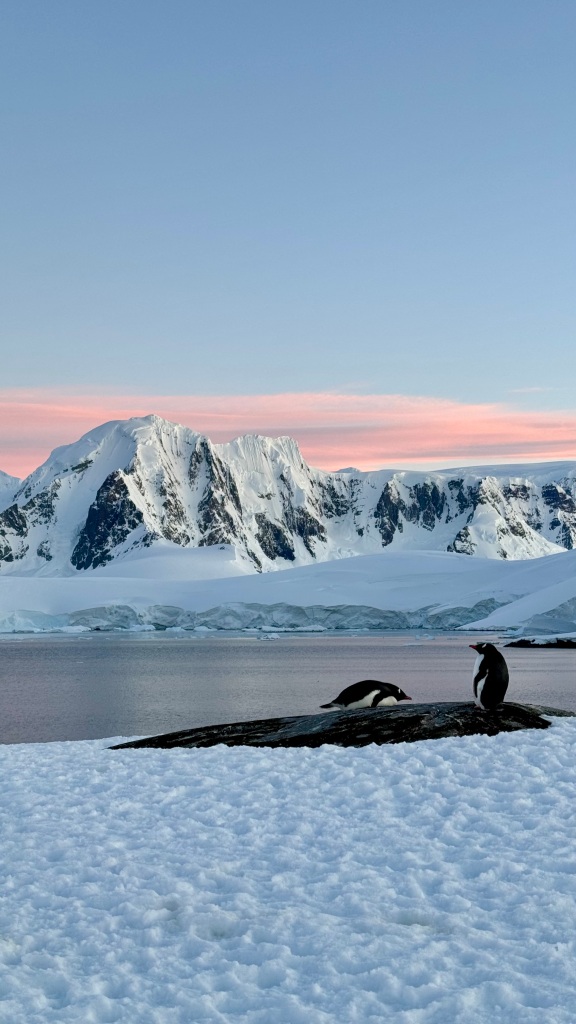
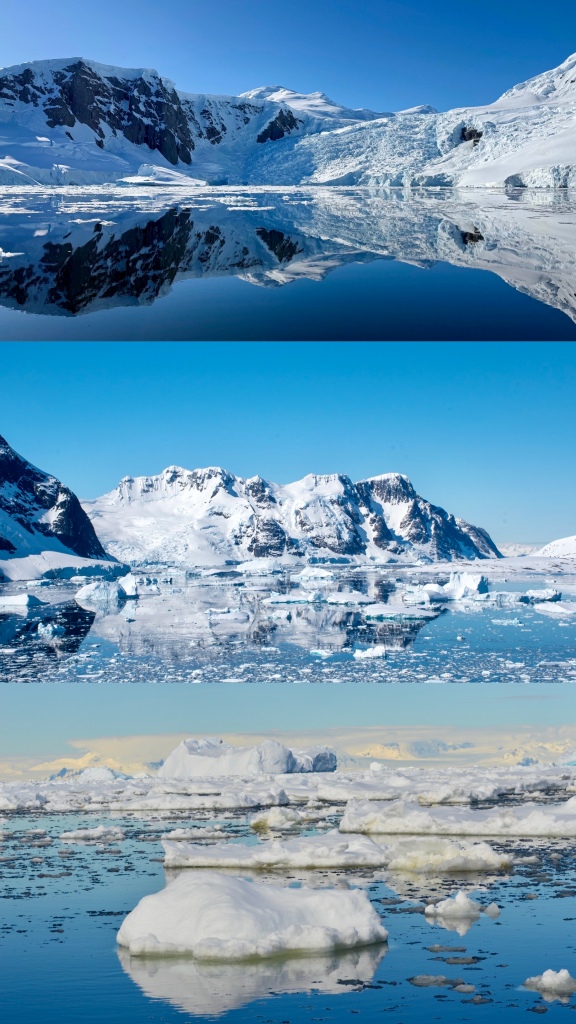
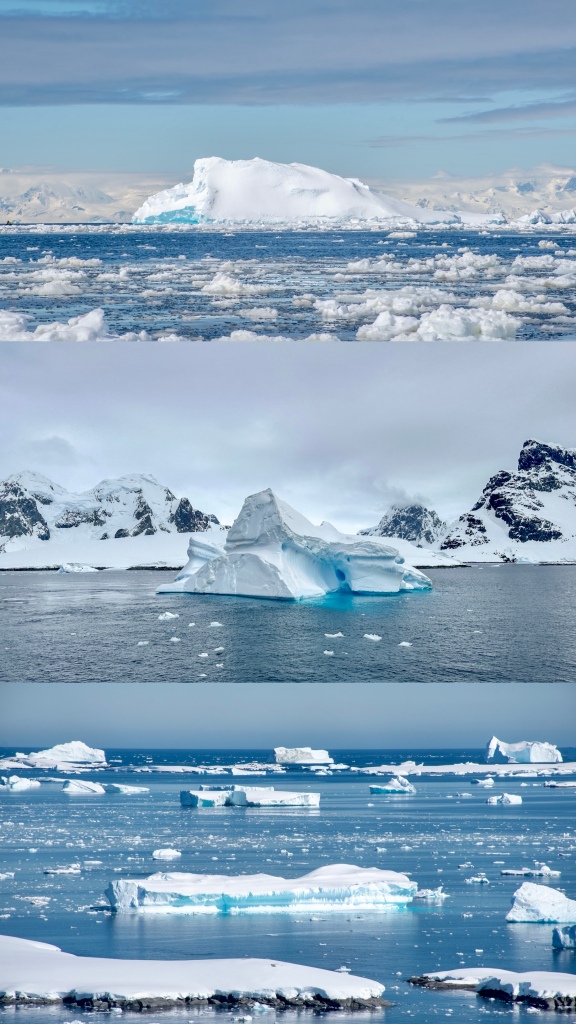
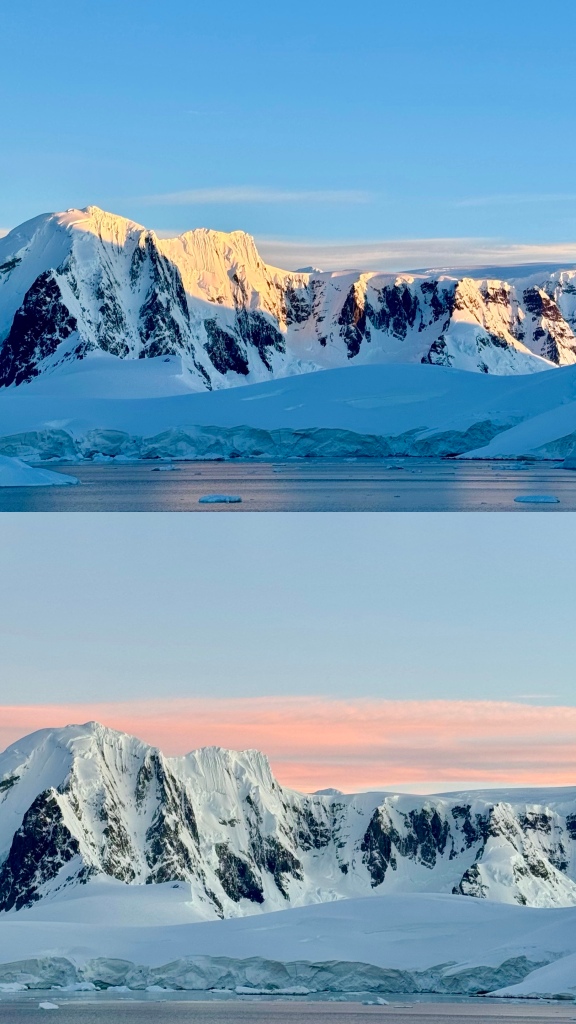
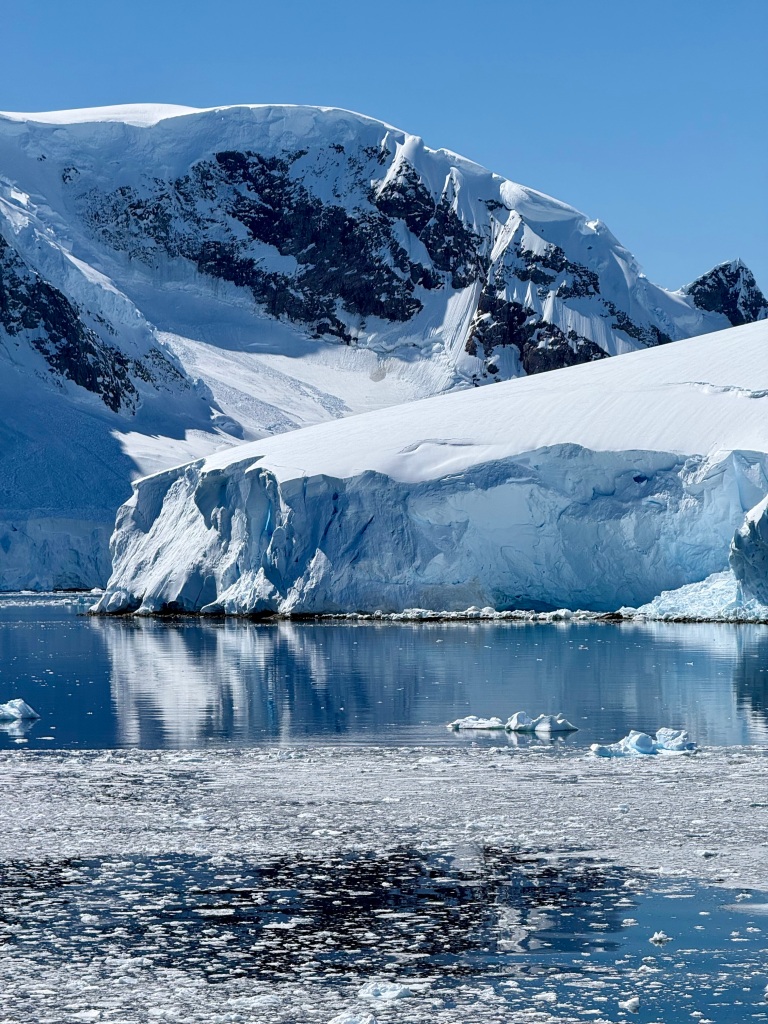
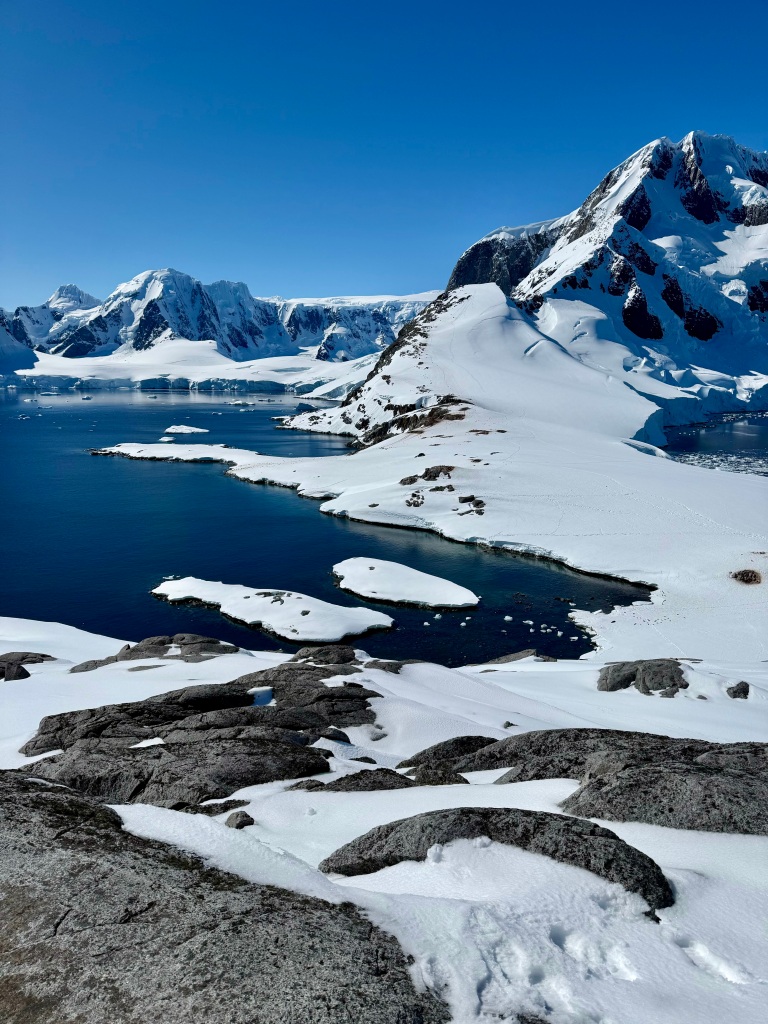
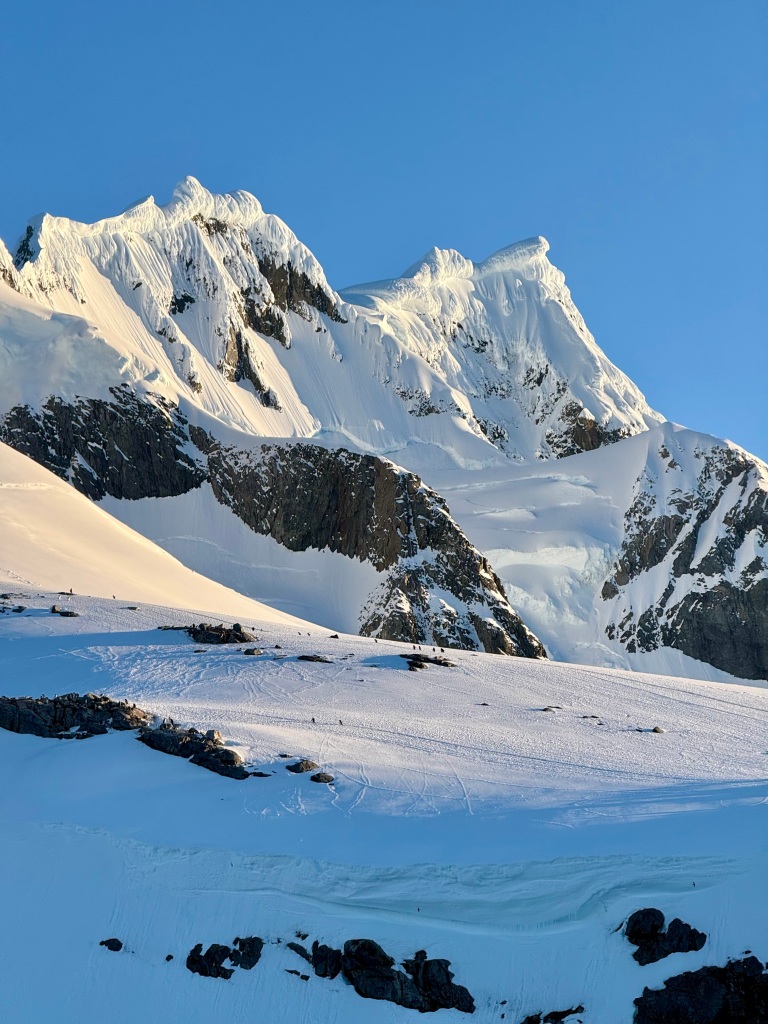
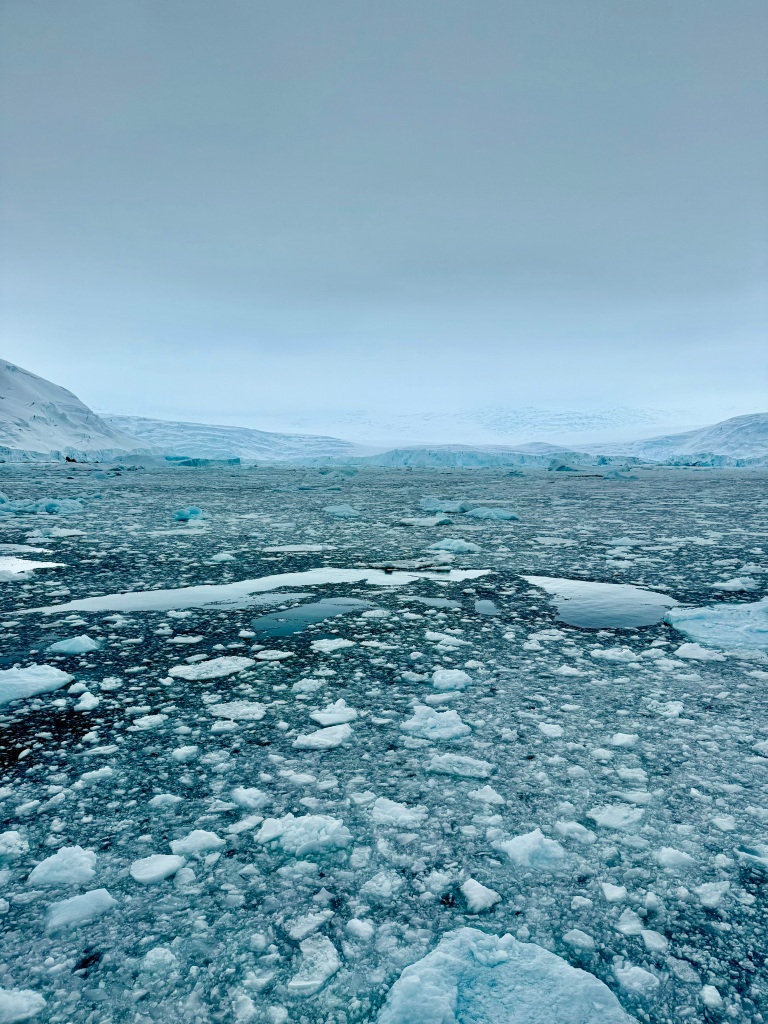
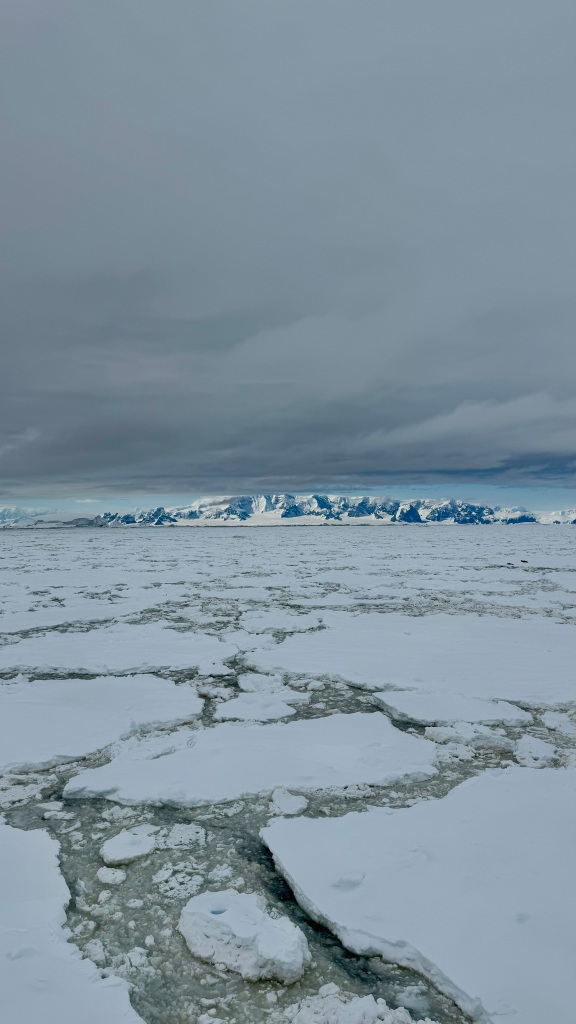
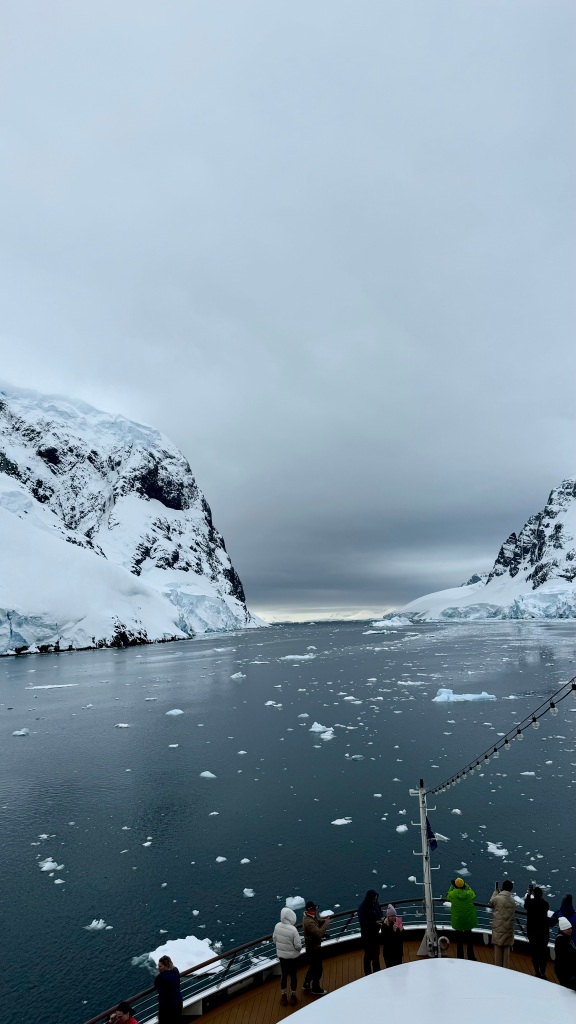
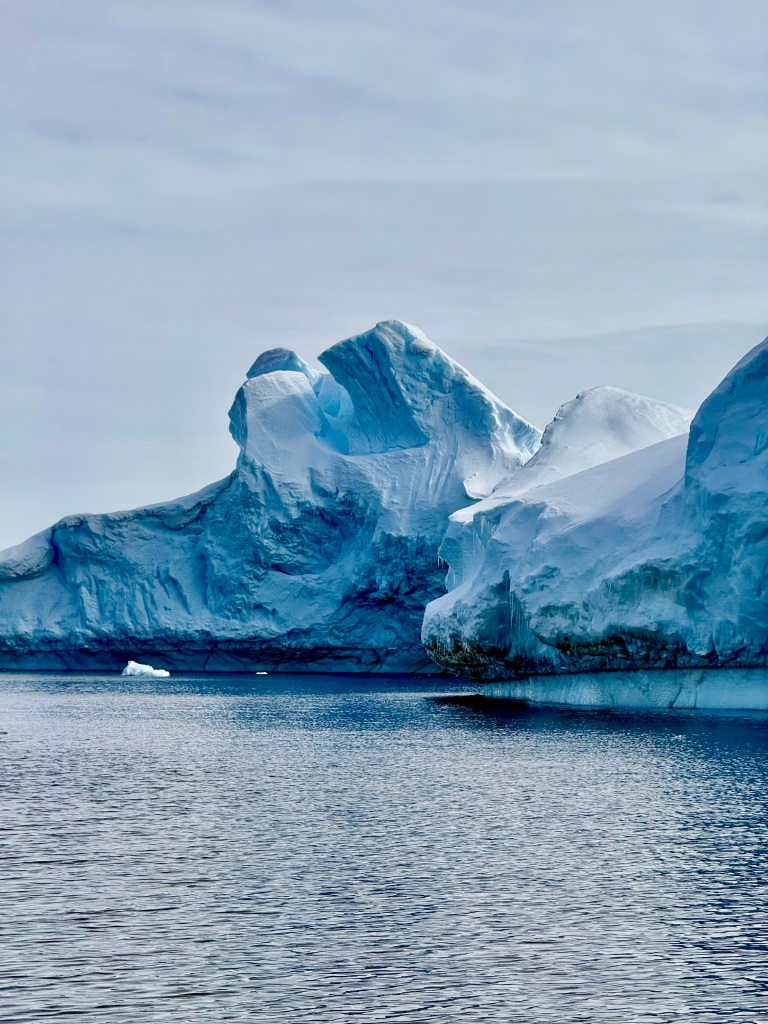
Landscapes
Antarctica is incredibly grand. Beautiful mountains. Huge icebergs. So much sea ice!
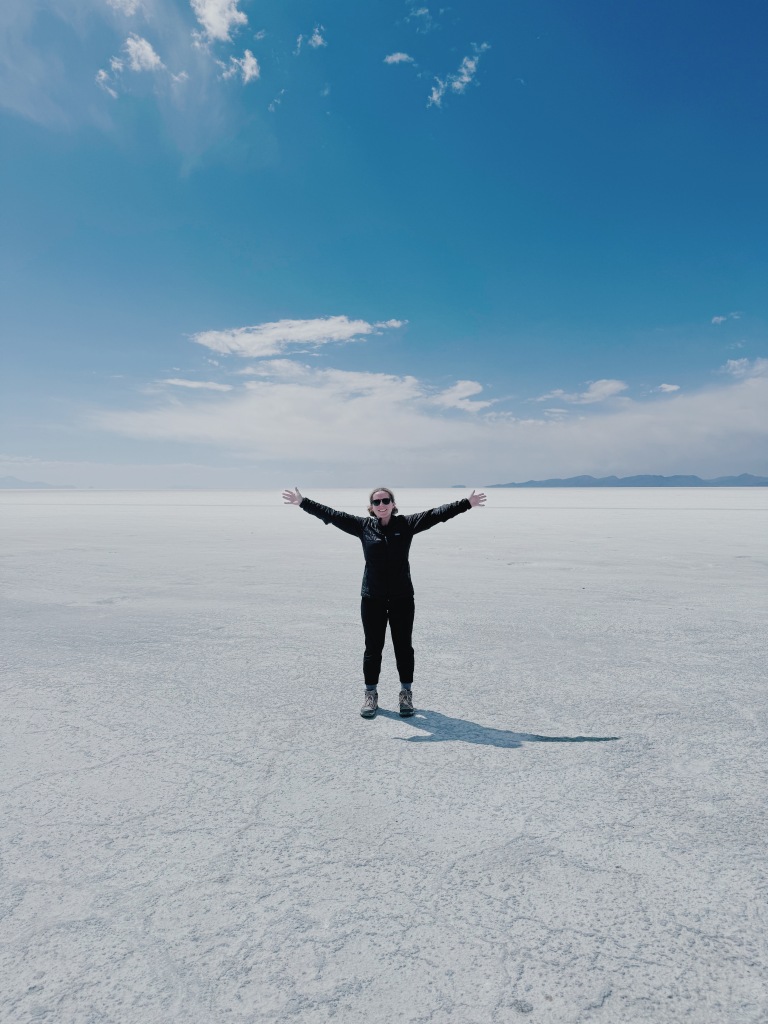
Overall Thoughts
This place was truly a spectacular sight to be seen. I was completely blown away. It exceeded every expectation I had. I would absolutely recommend it to anyone who had even the slightest bit of interest in going. It was tranquil. It was calm. It was quiet. It was enormous. It was imposing. It was breathtaking. It was dynamic. It was white. It was blue. It was magnificent. It also felt so special to know that you are part of a very small percent of humans that get the privilege of seeing this part of the world with your own eyes. I am so grateful.