We didn’t find there was much to do besides wine tasting so just do some research ahead of time to determine how many days you want to spend here.
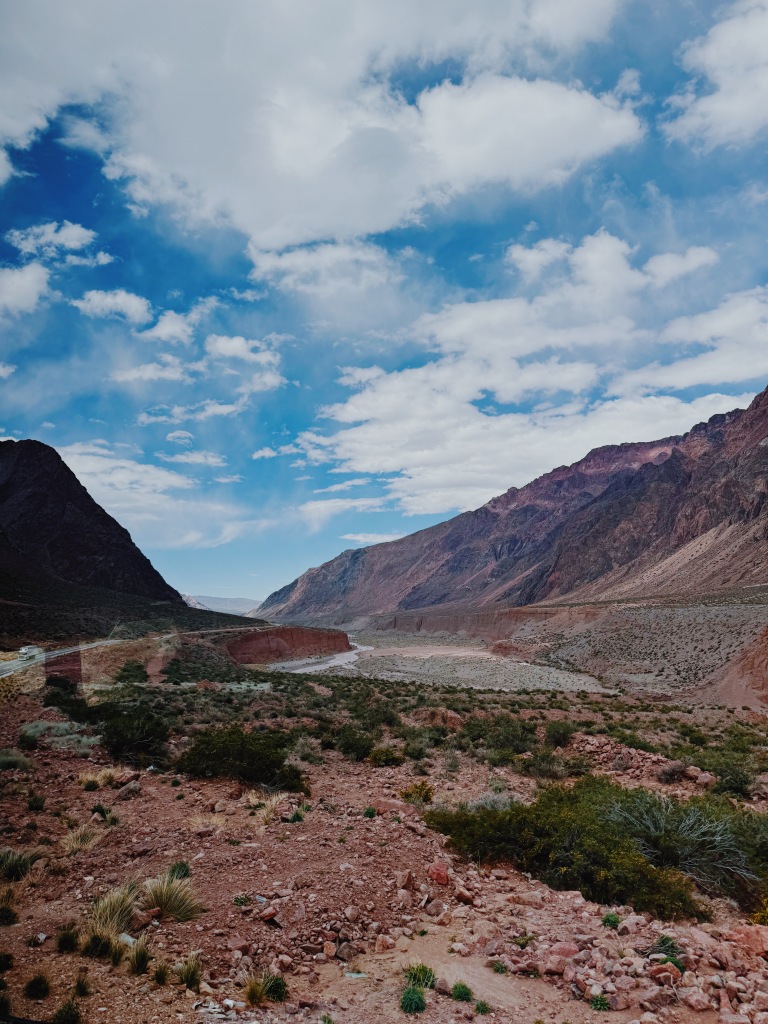
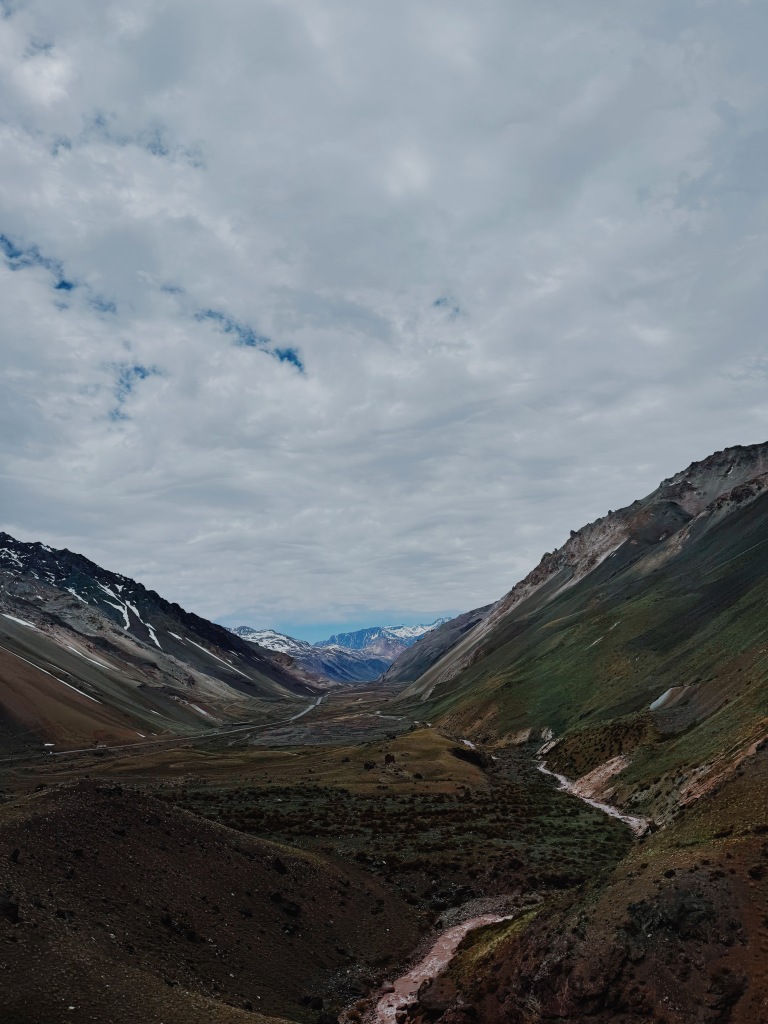
If you have time to take the bus to or from Santiago, I would highly recommend it! It’s a stunning ride through the Andes.
CITY: MENDOZA
HOW LONG: 3 NIGHTS
ACCOMMODATION:
We stayed at Lagares Hostel and honestly did not like it. We had a private room but the beds were very saggy in the middle. The hostel just felt very dark, like no natural light. Breakfast was pretty subpar. There was zero atmosphere and it was very hard to meet people. Overall don’t recommend 4/10.
WHERE TO EAT:
Overall we weren’t really all that impressed with the restaurants we tried in Mendoza. We also found the service at restaurants to be weirdly bad. The two spots we’d recommend:
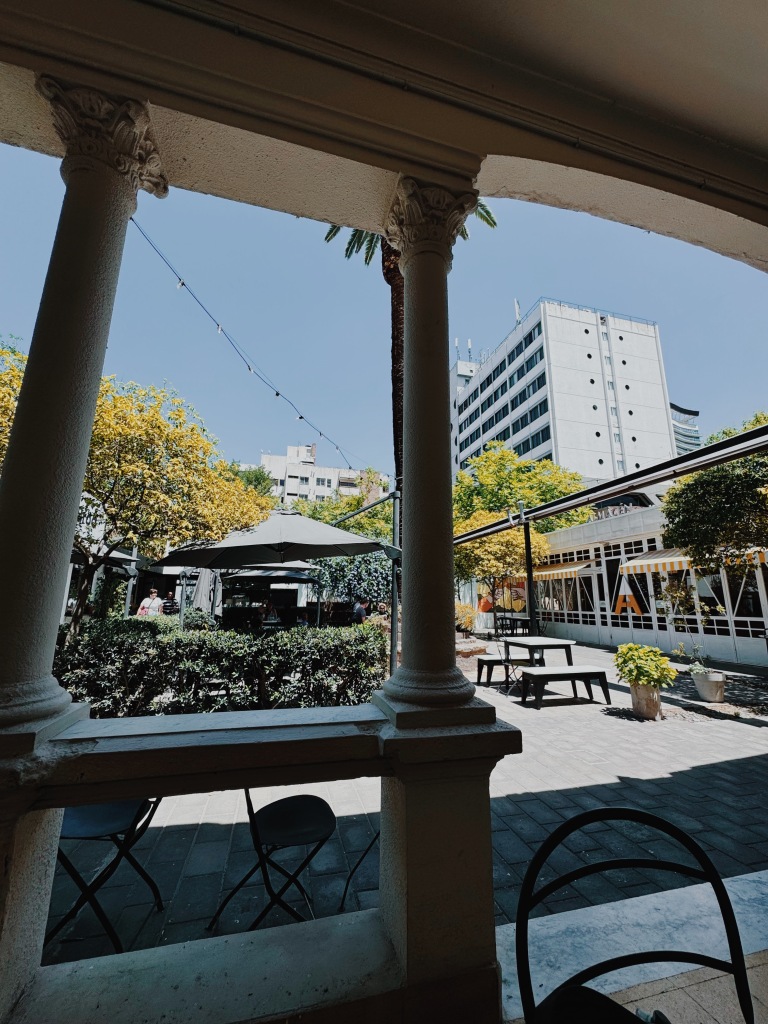
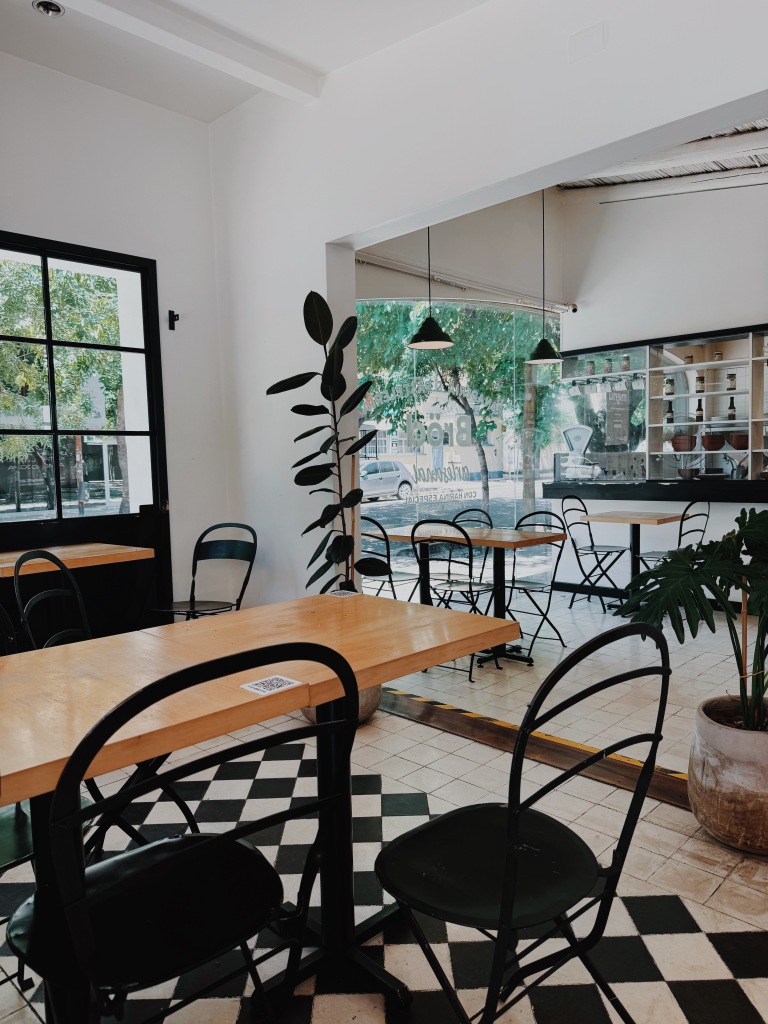
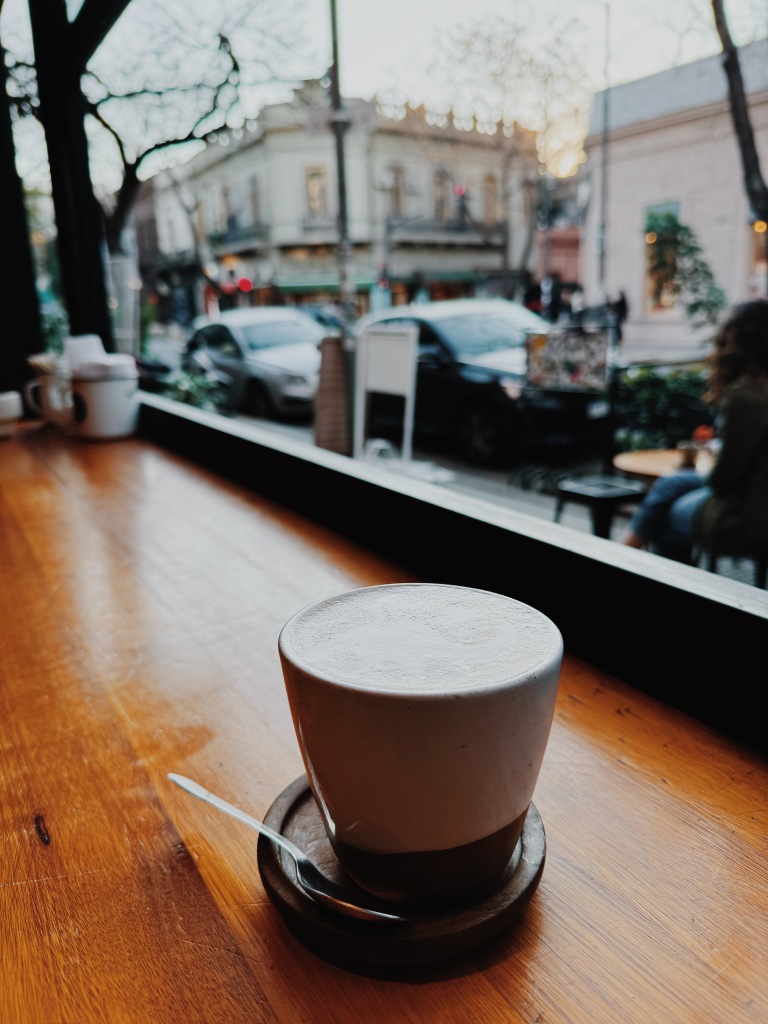
Brod Ciudad – gorgeous outdoor patio seating- perfect for a sunny afternoon coffee or pastry!
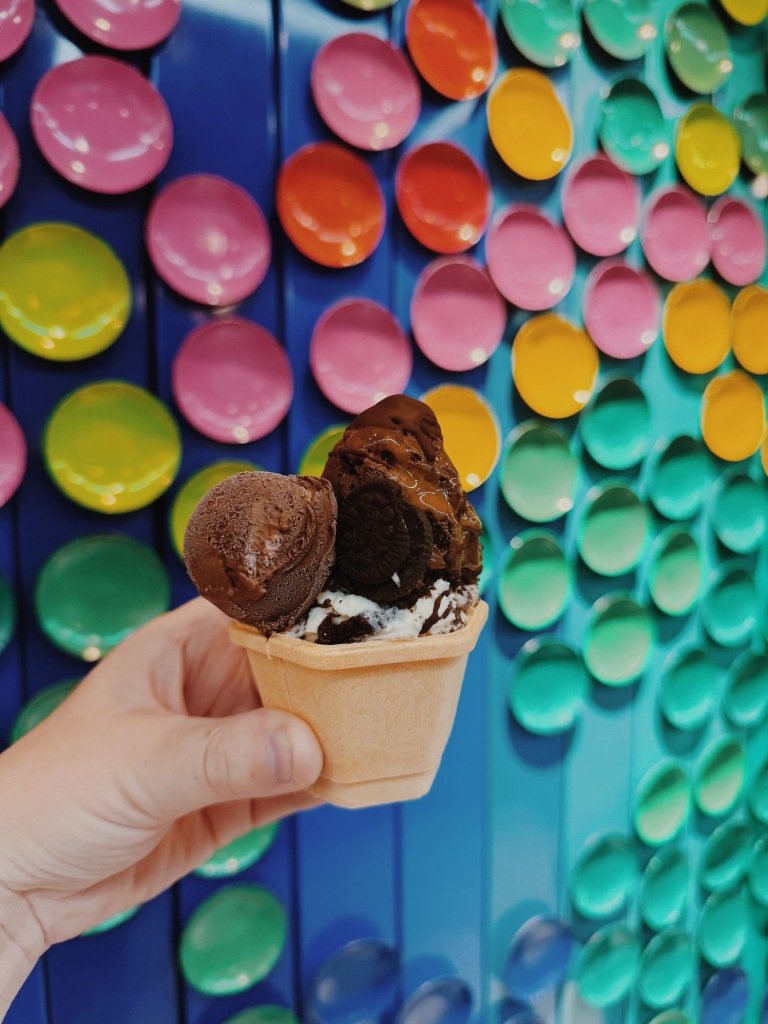
Flavio Soppelsa – Such a fun (but expensive) ice cream experience. Highly recommend, it’s a work of art!
Brod CiudadBrod CiudadIce Cream!!
WHAT TO DO:
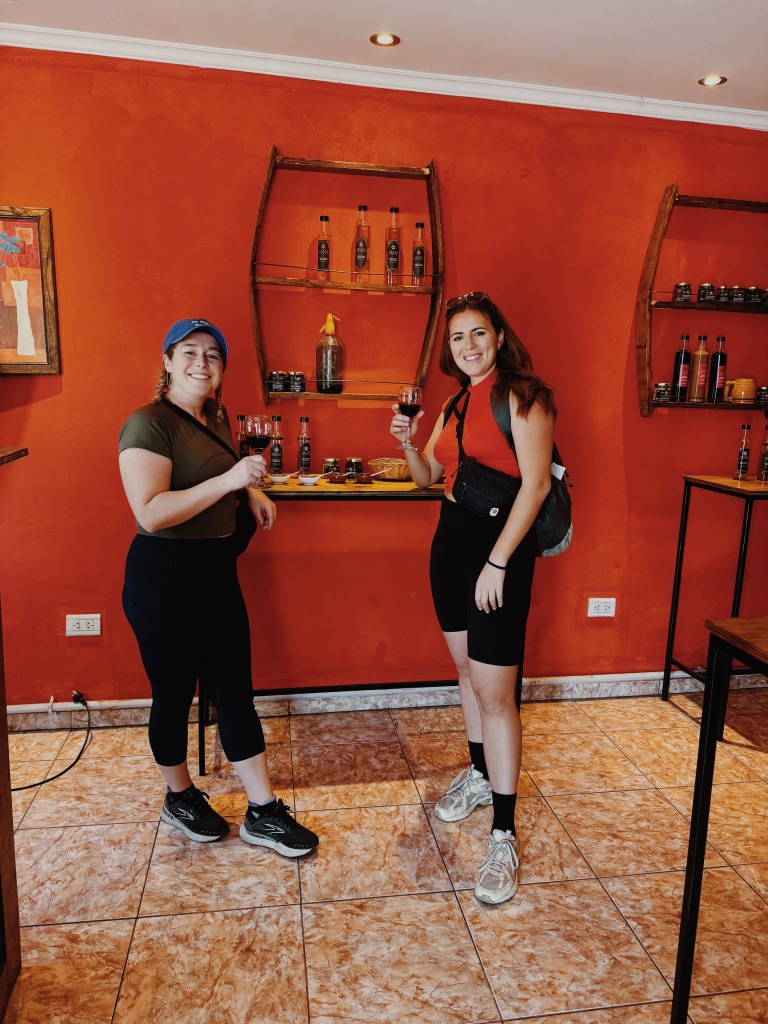
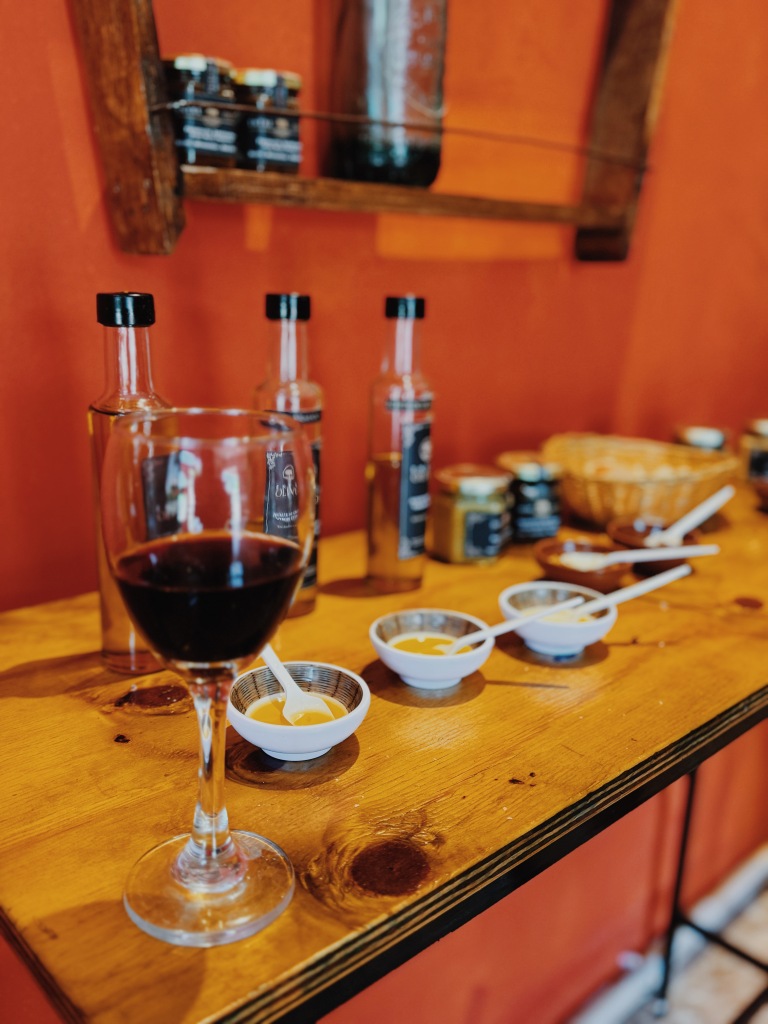
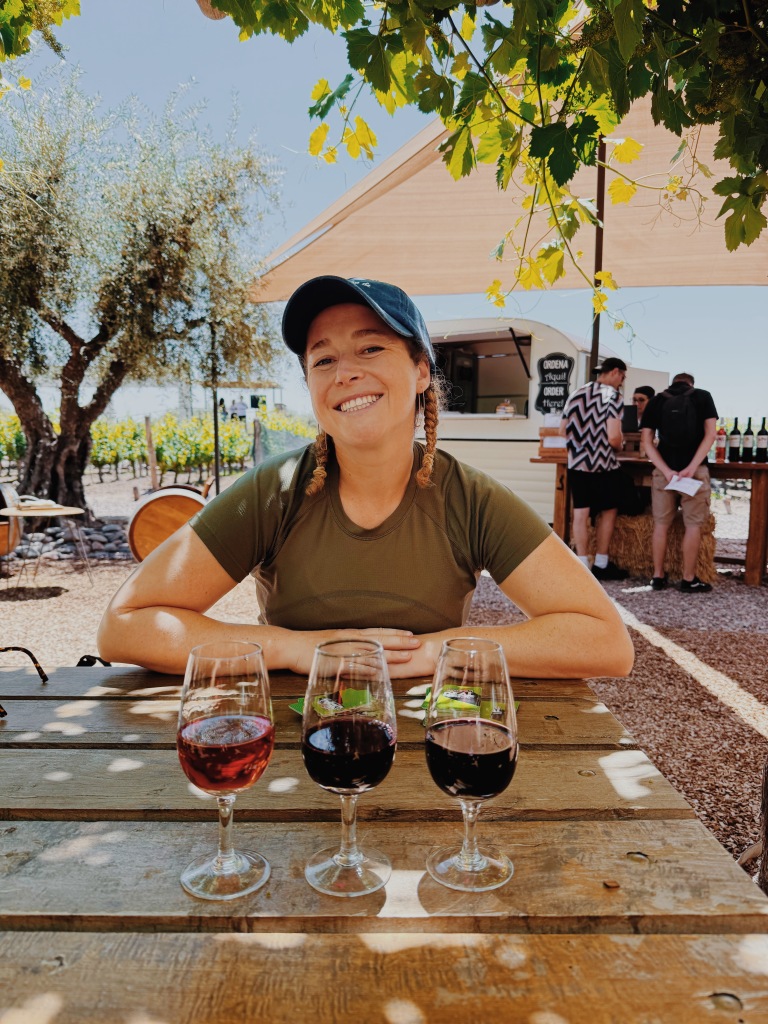
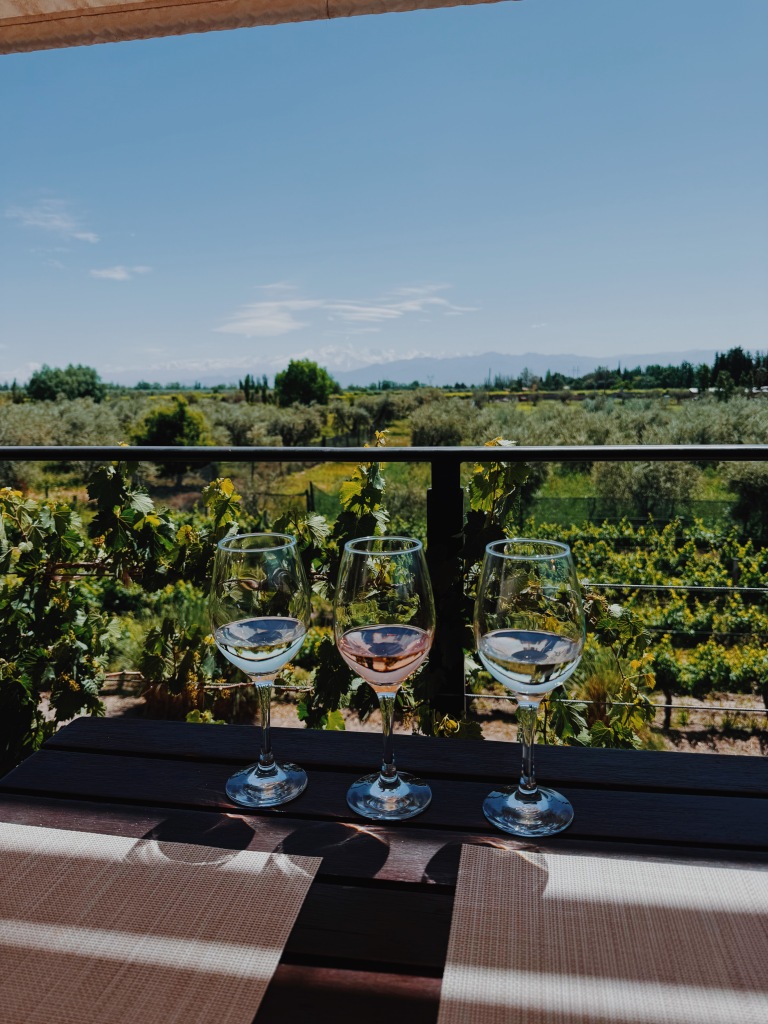
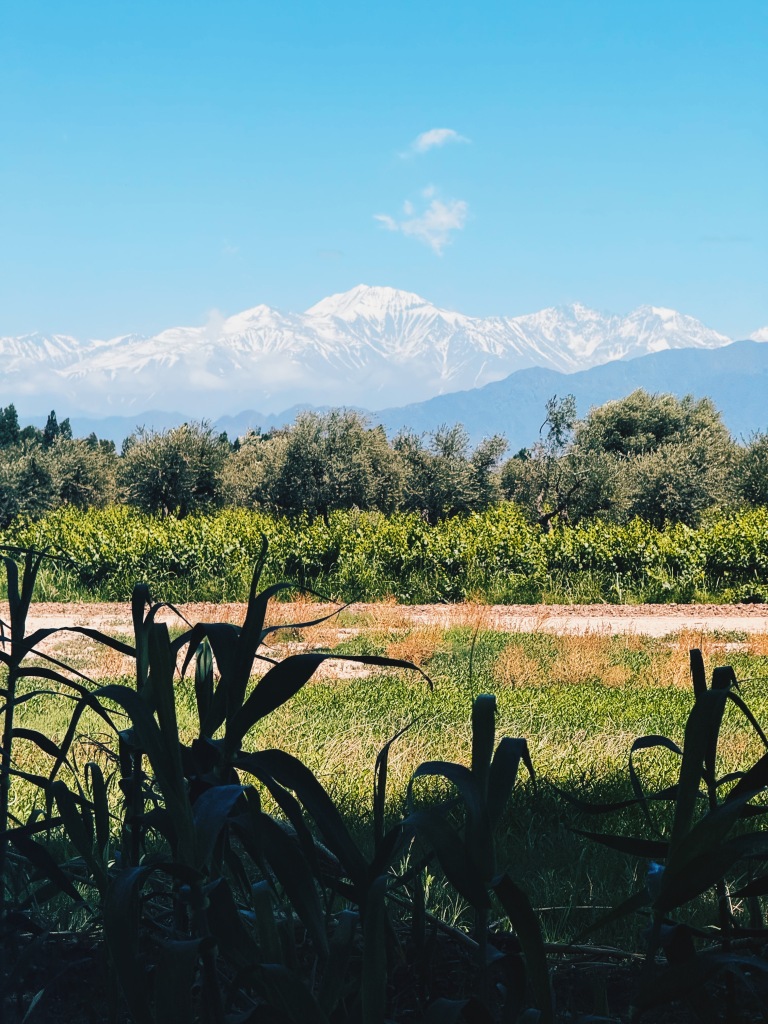
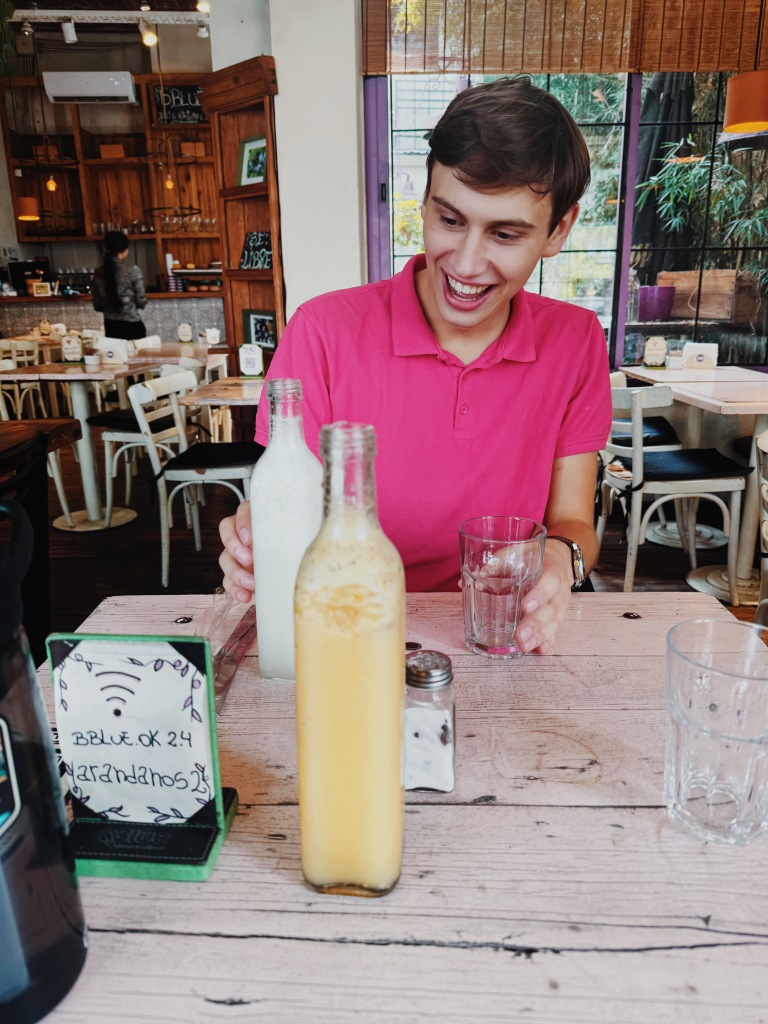
The highlight here is wine tasting!! It was slightly novel as the main way people wine taste here is to rent a bike and cycle your way through a few wineries throughout the day. While I am not a huge alcohol drinker, I actually had a blast biking around in the sun while staring through the vineyards to the Andes in the background. We visited Mevi, Tempus Alba and Entre Olivos for some wine, snacks, and an olive oil tasting!
Bike wine tastingOlive Oil tastingAndes!What I’d rather be doing 🙂Andes!
OVERALL THOUGHTS:
If you are a wine lover, then don’t miss a visit here. Sonja was absolutely in love with it and would’ve done a few more days of wine tasting. I was sorta ready to leave after the one day of wine tasting haha. The city itself didn’t wow me and just felt like a big city. It definitely didn’t feel touristy, but also didn’t feel super nice.
Mendoza city center
BUDGET FOR 3 DAYS IN MENDOZA:
Mendoza felt overall pretty reasonable compared some of the places we had been to lately.
Accommodation: $50 ($16.67 per night) – my half of the private room since I split it with Sonja
Food: $50
Groceries: $12
Activities: $15
Local Transportation: $9
Miscellaneous: $27
Total: $163 (Daily average: $54)
Transportation to next destination: $70 (RT bus to/from Santiago)
No visa needed from Americans (as of writing this). I wasn’t even asked for proof of onward travel. Also sadly no stamp
Bring US dollar bills as you will get a much better rate exchanging dollars (or euros/pounds) than taking money out of a ATM. This rate is known as the Blue Dollar rate & you can check what it’s currently at here. While I was here, I received around 15% more pesos for my USD while exchanging at a Western Union.
The public transit is super easy to use (google maps works great), but you need to buy a Sube card (which sometimes can be hard to find, so just ask the front desk of wherever you are staying to help you find a store or station that sells them).
In general I felt very safe, even walking home at night, but I was in the Palermo neighborhood which is particularly busy and full of tourists. Take care of your belongings and pay attention to your surroundings, but I never felt unsafe.
Consider adding a day trip or a few days to Uruguay since it’s just a ferry away!
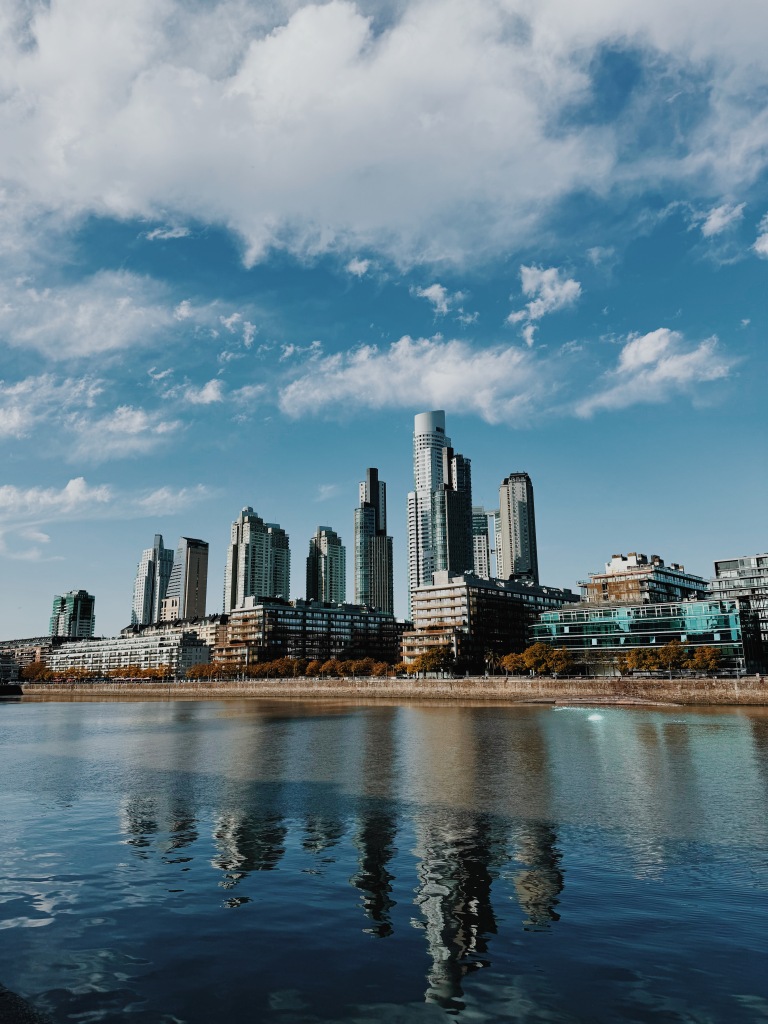
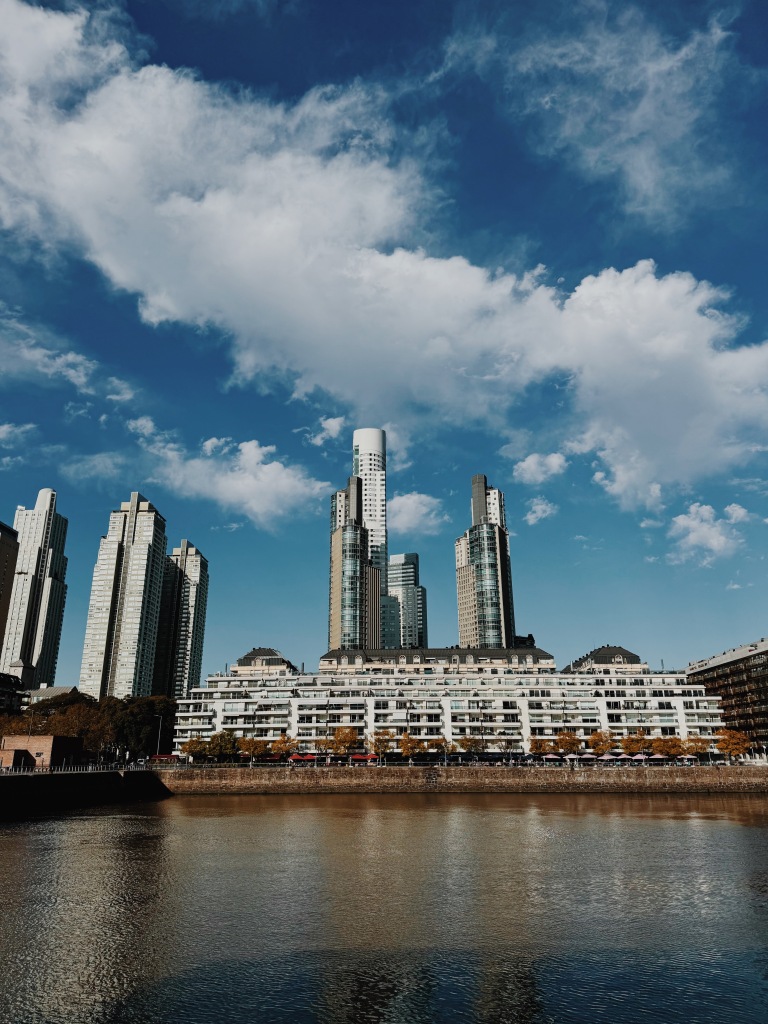
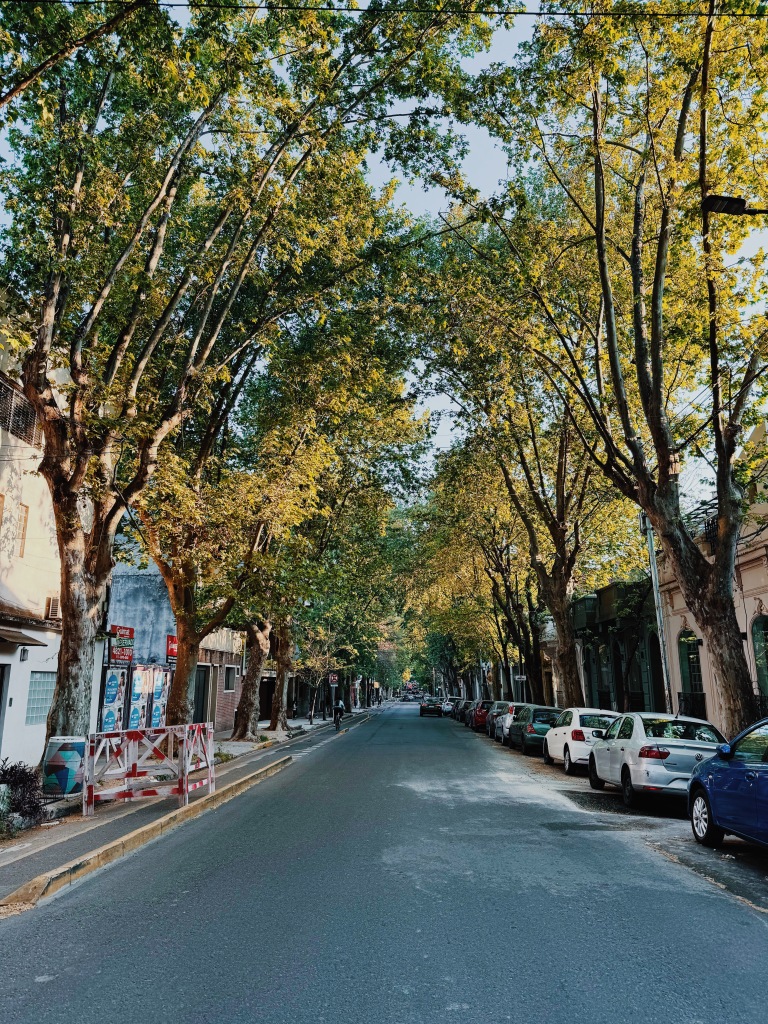
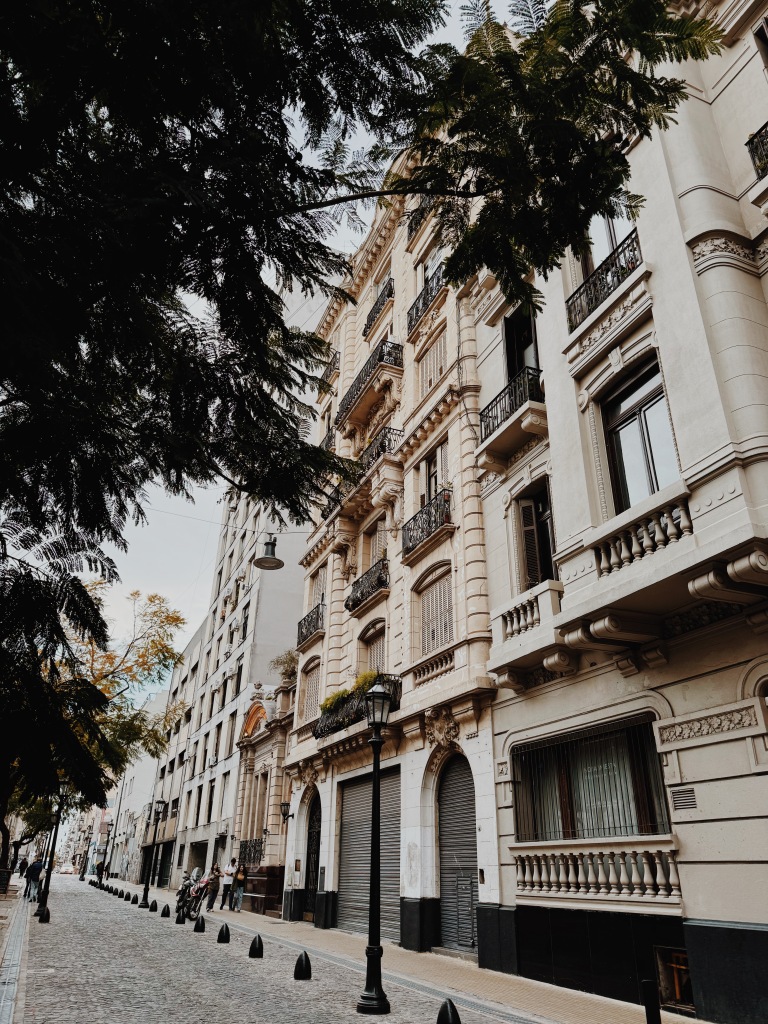
CITY: BUENOS AIRES
HOW LONG: 15 NIGHTS
ACCOMMODATION:
I spent a total of 2 nights at a hostel when I first arrived to Buenos Aires (then I went to Uruguay for a week) and then spend 13 nights at an airbnb solo while I took Spanish language classes for 2 weeks 🙂 I stayed America del Sur Hostel which was in a cool neighborhood for walking around. The hostel had a nice common area + kitchen. The front desk was super helpful! Beds were comfy & had curtains/personal light/socket. The only complaint was that the sink in my room was outside the bathroom which meant when people arrived late or left earlier, you pretty were guaranteed to wake up since someone was using the sink 2 feet from your sleeping face Very odd design haha
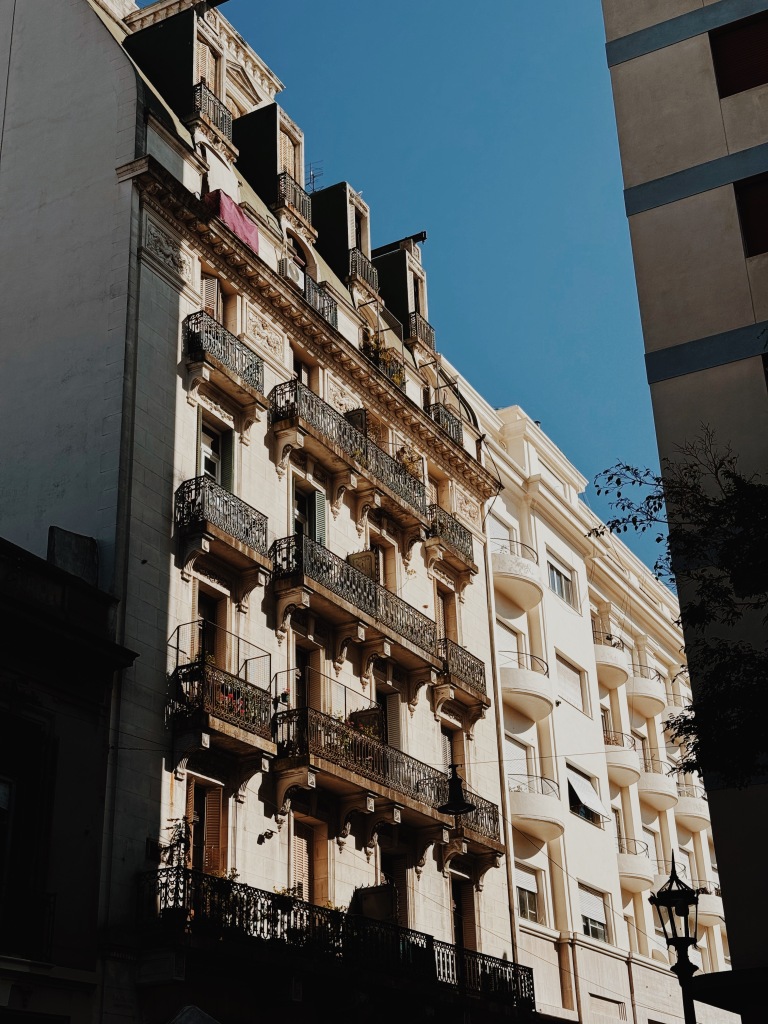
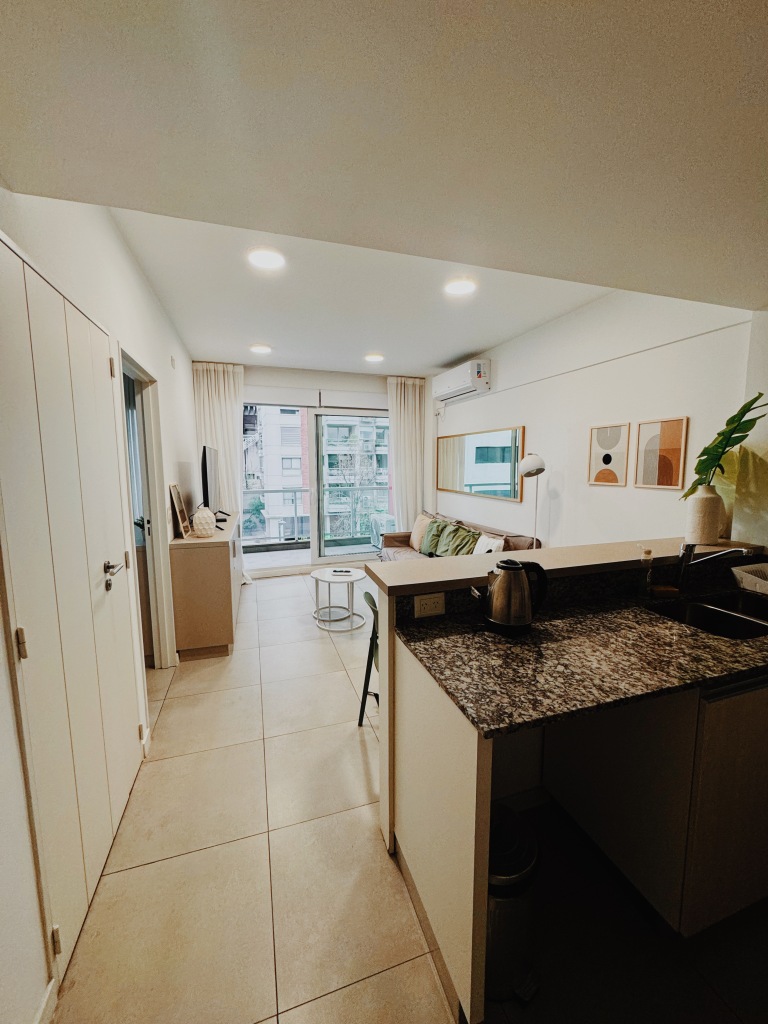
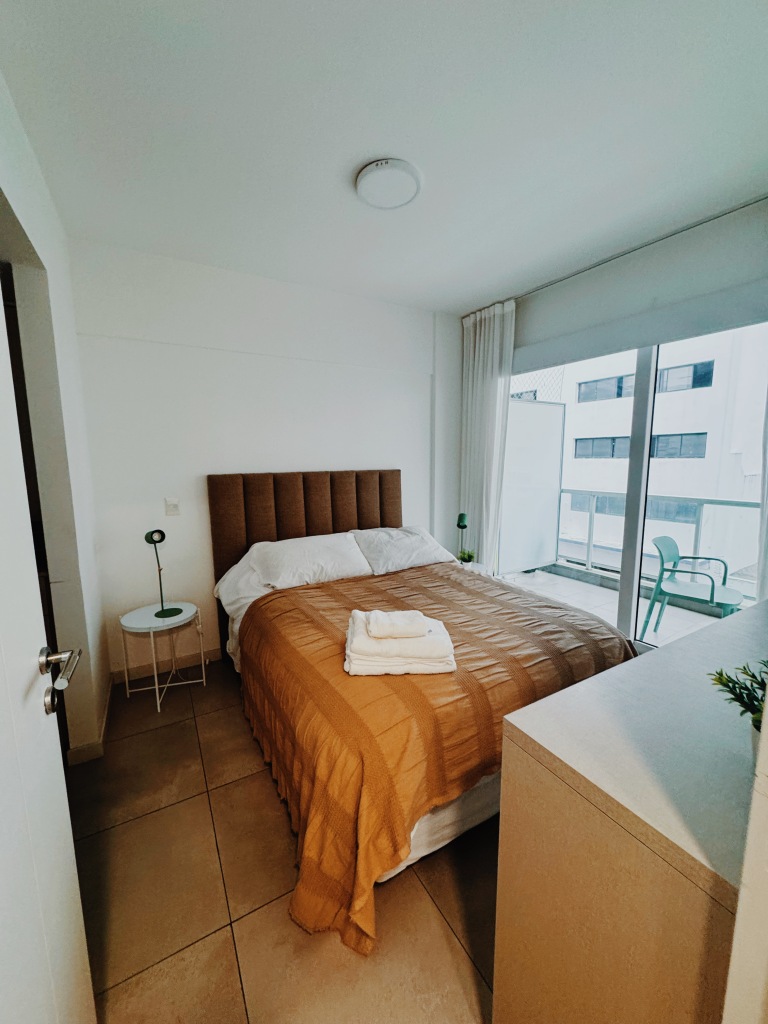
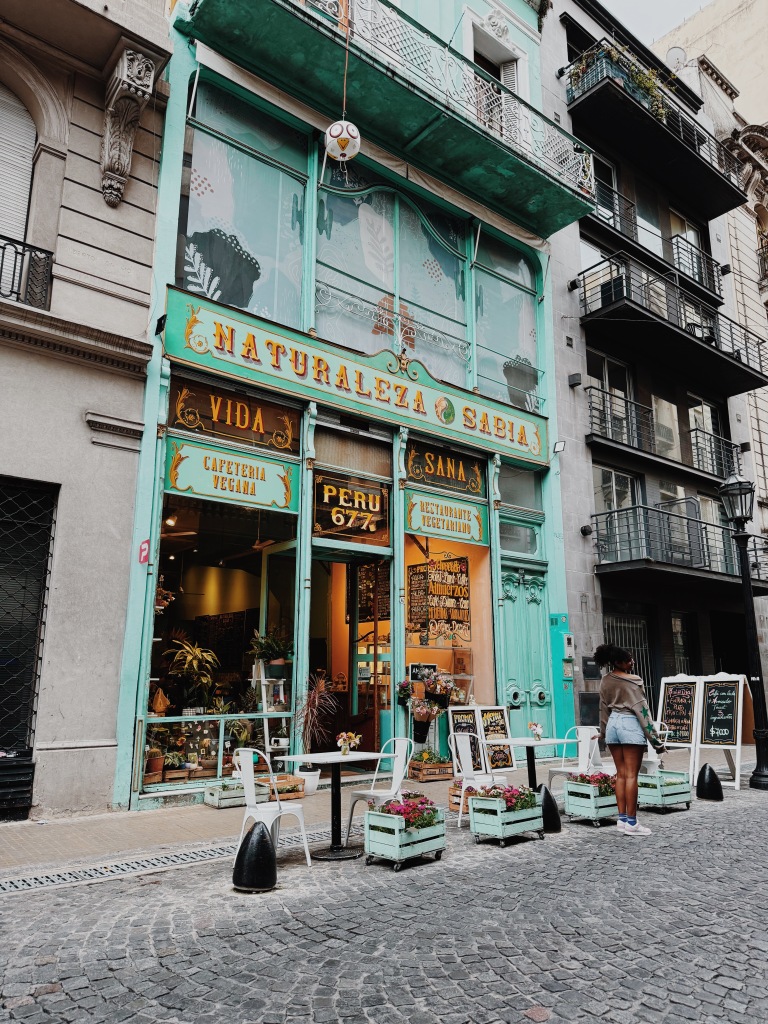
For my airbnb stay I chose an apartment within a 15 min walk from my school in the Palermo neighborhood. I loved this area! Highly recommend. The airbnb itself was cute, and was perfect for a two week stay. Kitchen was sufficient, laundry & gym in the building, and grocery stores nearby. I felt completely safe walking around solo day or night as well, which is such a treat while traveling! If I were to come back to Buenos Aires I would aim to stay as close to Plaza Immigrantes as possible as I loved eating it that area.
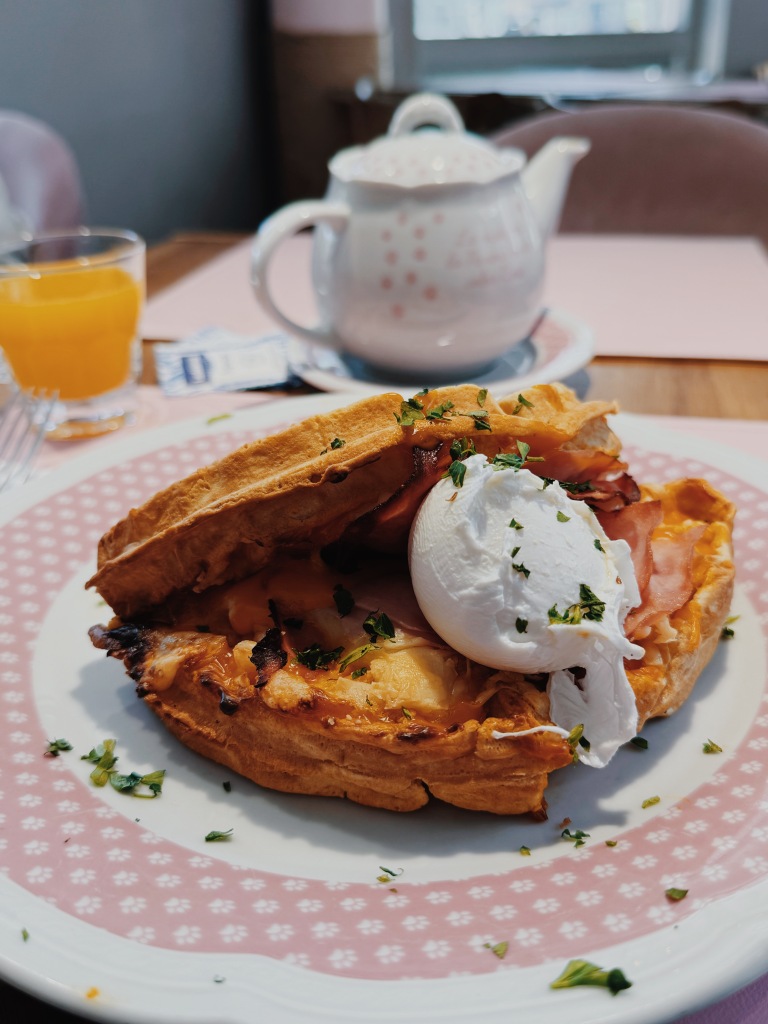
Las Petunias – Right on the main square in Palermo. Delicious (but slightly more expensive) Argentinian restaurant.
Ubu cafe – I ate here twice. Loved the Chicken Cesar wrap. It’s located right on the main square in Palermo.
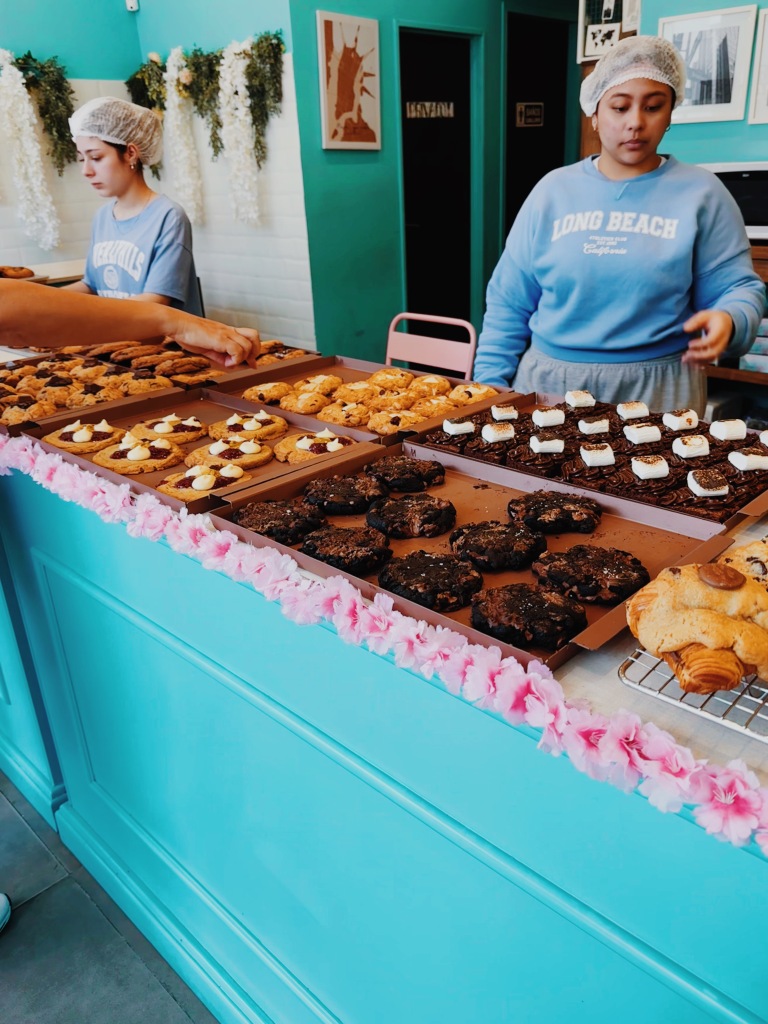
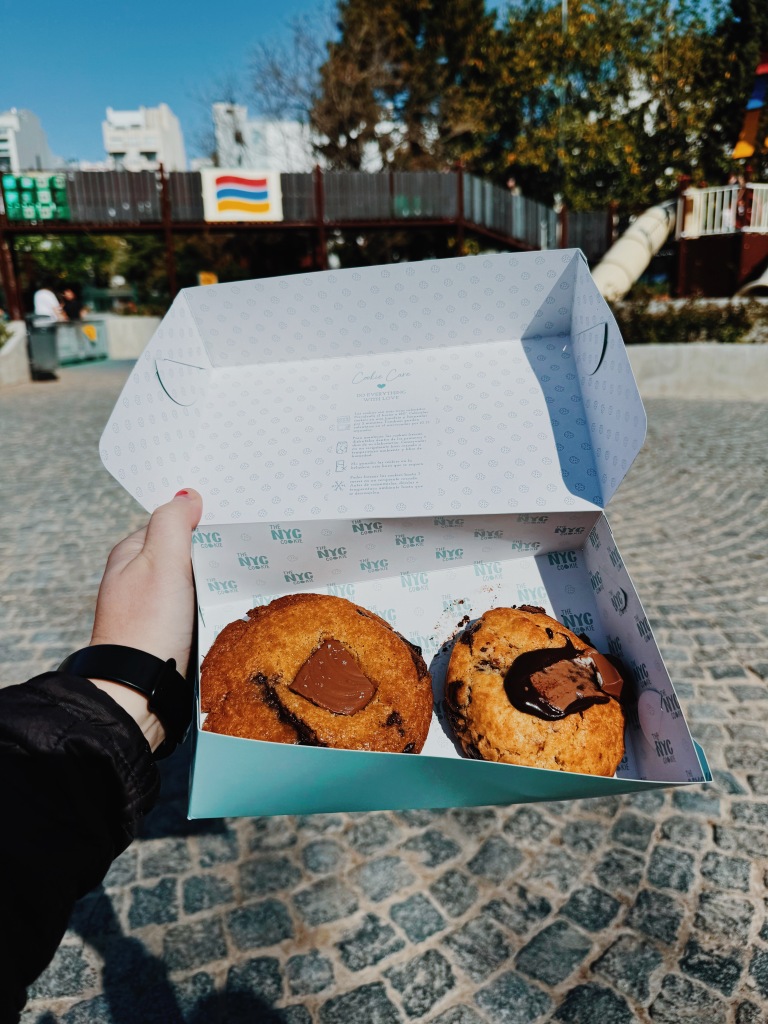
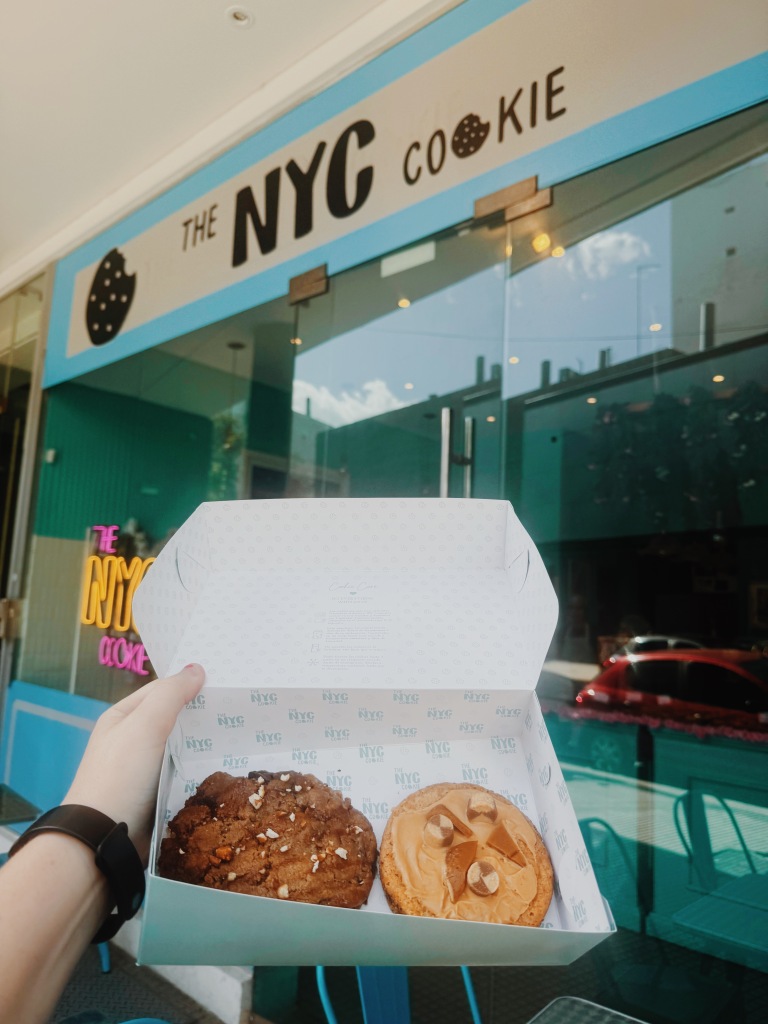
NYC cookies – Always happy to find a yummy cookie spot!
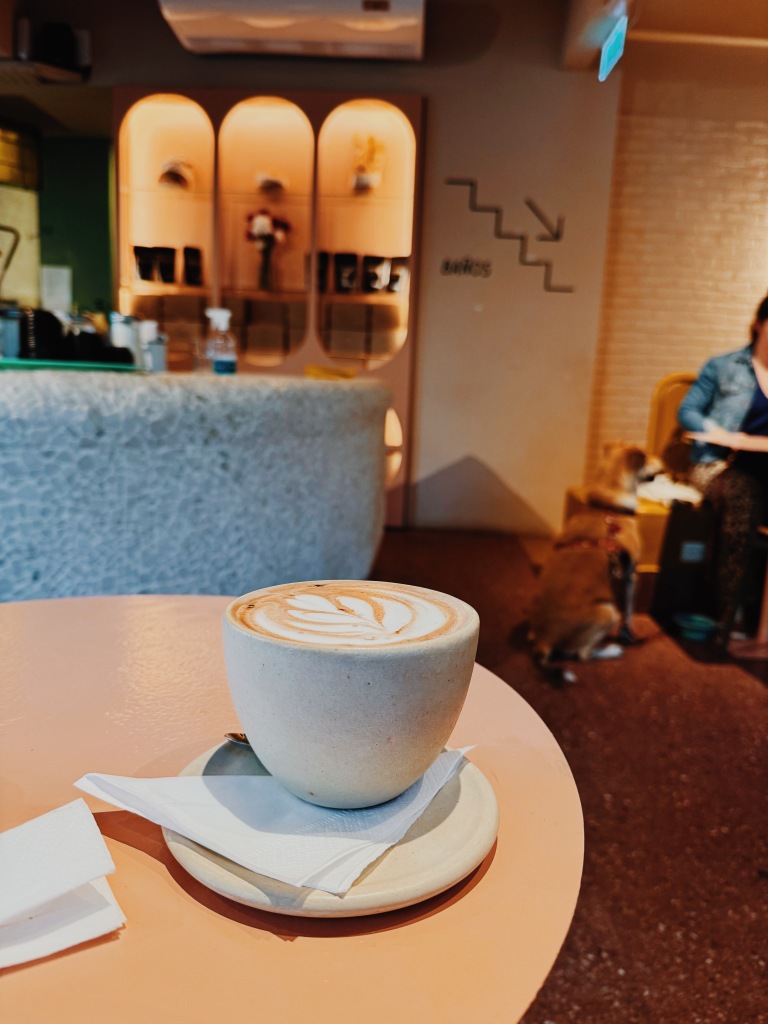
La paniglia – cute cafe with cozy vibes + hot chocolate
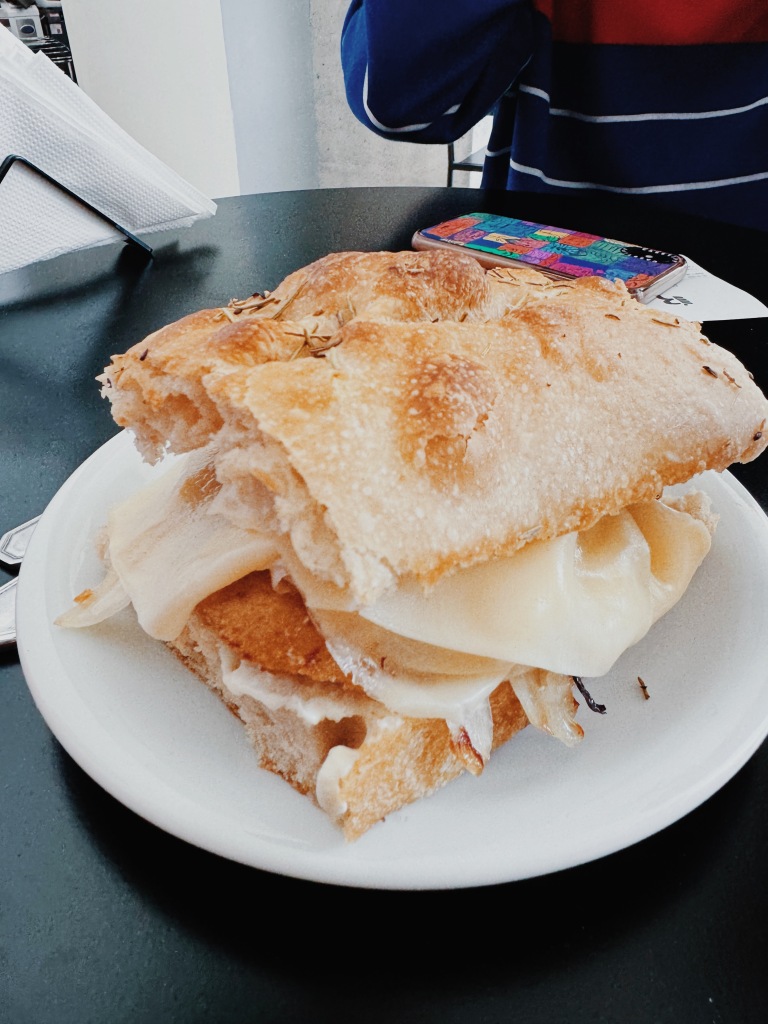
Arte focaccia – Delicious sandwiches! Felt like I was in Italy 🙂 We took the sandwiches and headed to the park to enjoy them
The Burger Company – Wow what a delicious burger. I expected a more fast-food level burger, but we all raved about the food. Great spot for lunch.
Casa Dingo – Aussie cafe right on the main square. Cute drinks & yummy lunch food.
Lardito – incredible, elevated club sandwich. Adorable vibes and every plate was delicious and interesting. Great for trying a bunch of different dishes. Highly recommend for dinner. You could go to the wine shop and pick out a bottle for the table. This was my favorite restaurant I ate at.
Submarino – hot milk with a bar of chocolate that melts into it to make hot chocolate!Focaccia in the park!NYC CookieNYC CookieNYC CookieArte Focaccia
WHAT TO DO:
Weirdly because I was using this two week as a break before heading into a bust two month stretch, I actually didn’t do much while here. Instead, I got into a routine where I worked out at the tiny gym in my airbnb, walked to Spanish class which was 4 hours long, and then headed to lunch with my classmates. In the late afternoons, I would catch up on admin work before cooking at home & watching some netflix. Honestly, I absolutely loved my chill time.
Given I have very little recommendations, here is a very comprehensive, well respected blog on a complete guide to Buenos Aires 🙂
We did go to some language exchanges which were fun! They are a great way to meet people and also practice some Spanish 🙂
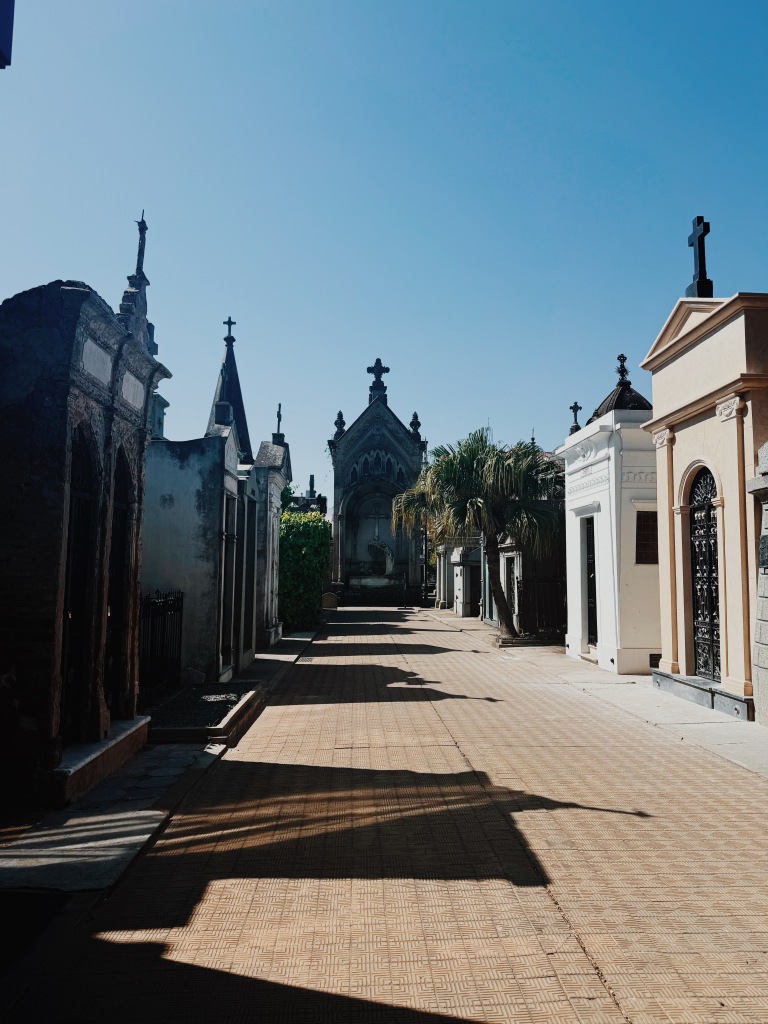
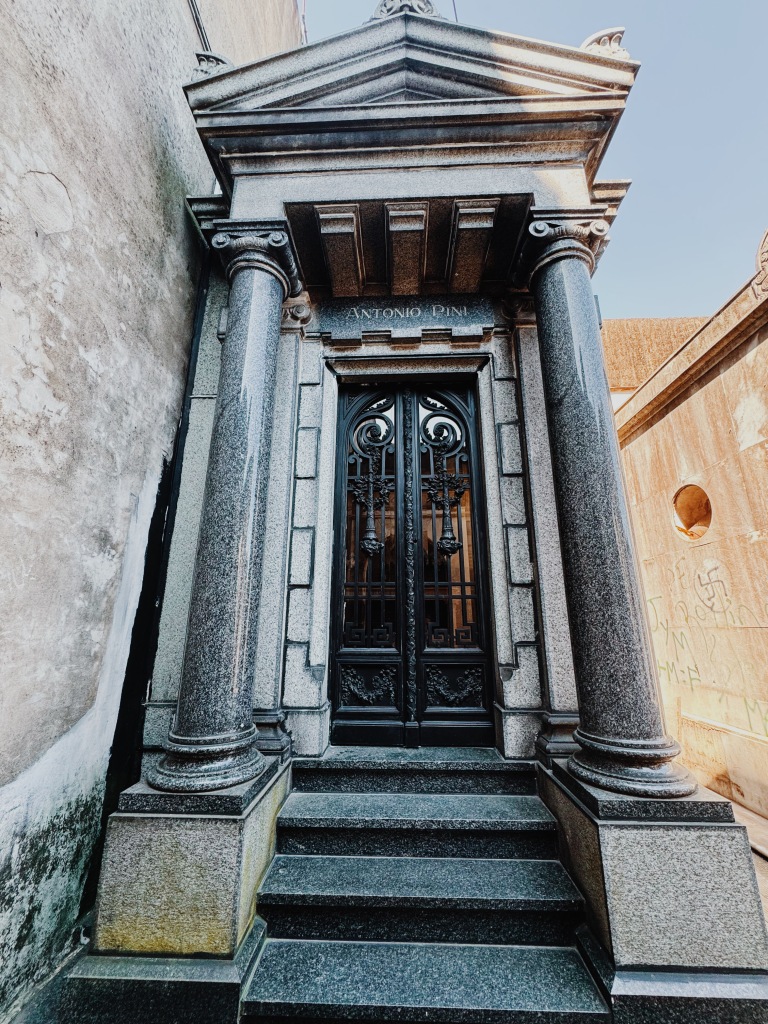
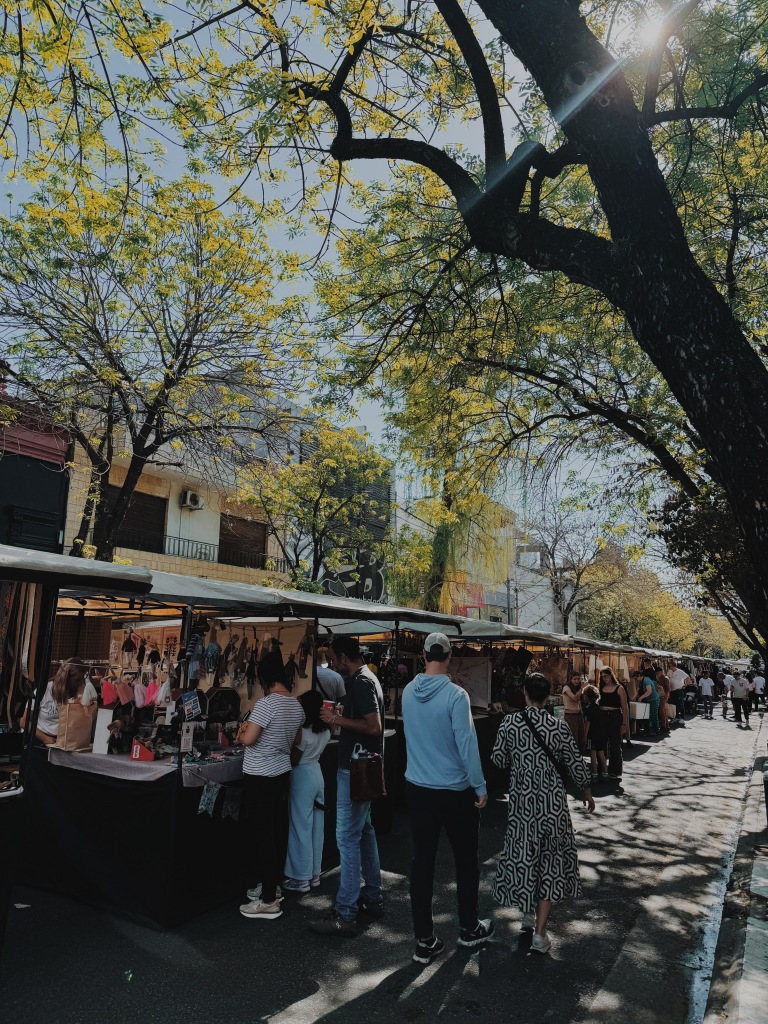
I also managed to get fairly sick my one weekend here However, I did go to the La Recoleta Cemetery and the Sunday market outside it. It was pretty cool to walk around the first public cemetery in Buenos Aires. Lots of old graves to check out.
Other than that, I just loved eating my way through all the fun & cute restaurants in Palermo with my friends.
OVERALL THOUGHTS:
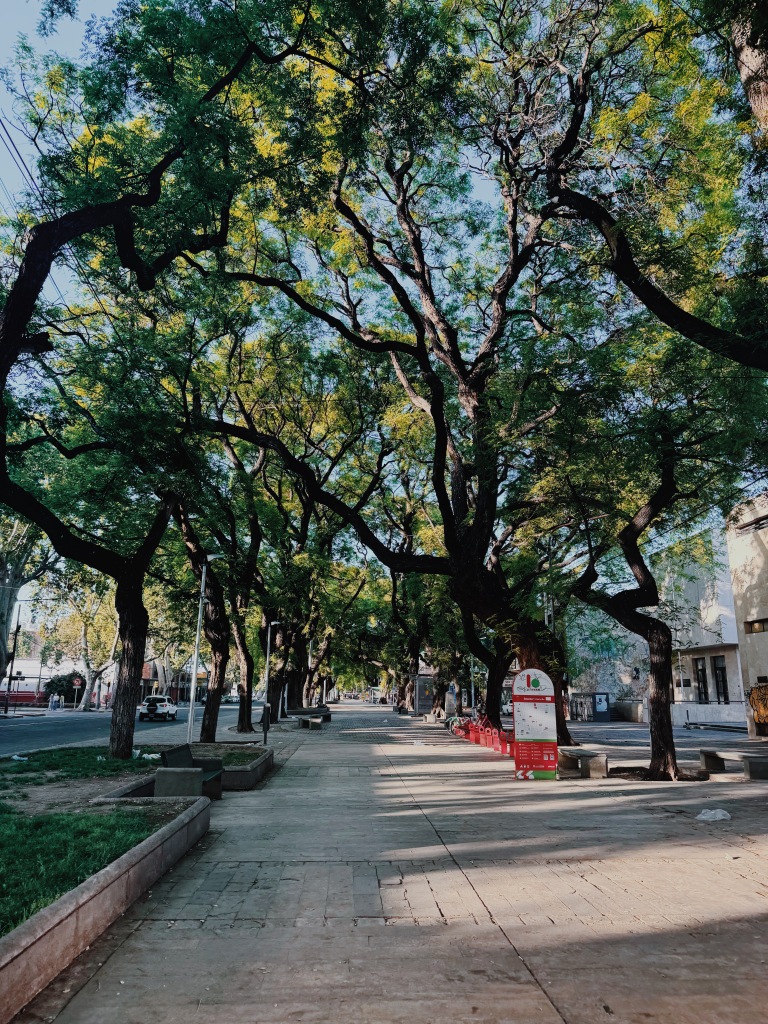
I always felt like I would love Buenos Aires and I was not wrong! It was such a beautiful city. It felt like a mixture of Paris, Barcelona & a hint of NYC, but overall a very European vibe. I was obsessed with the tree lined streets. I took a thousand photos but none did them justice. I was quite happy to be here for two weeks and would’ve loved to be here longer, but if you are just playing tourist, 3-5 days is probably plenty (but keep a minimum of one day for a day trip to Uruguay).
BUDGET FOR 17 DAYS IN BUENOS AIRES:
Accommodation: $440 ($30 per night)
Food: $155
Groceries: $78
Activities: $380 (This includes $370 for two weeks of Spanish classes; $9.25 per hour of class)
Local Transportation: $40
Total: $109 (Daily average: $72)
Transportation to next destination: $58 ferry to Uruguay + $226 flight to Bolivia
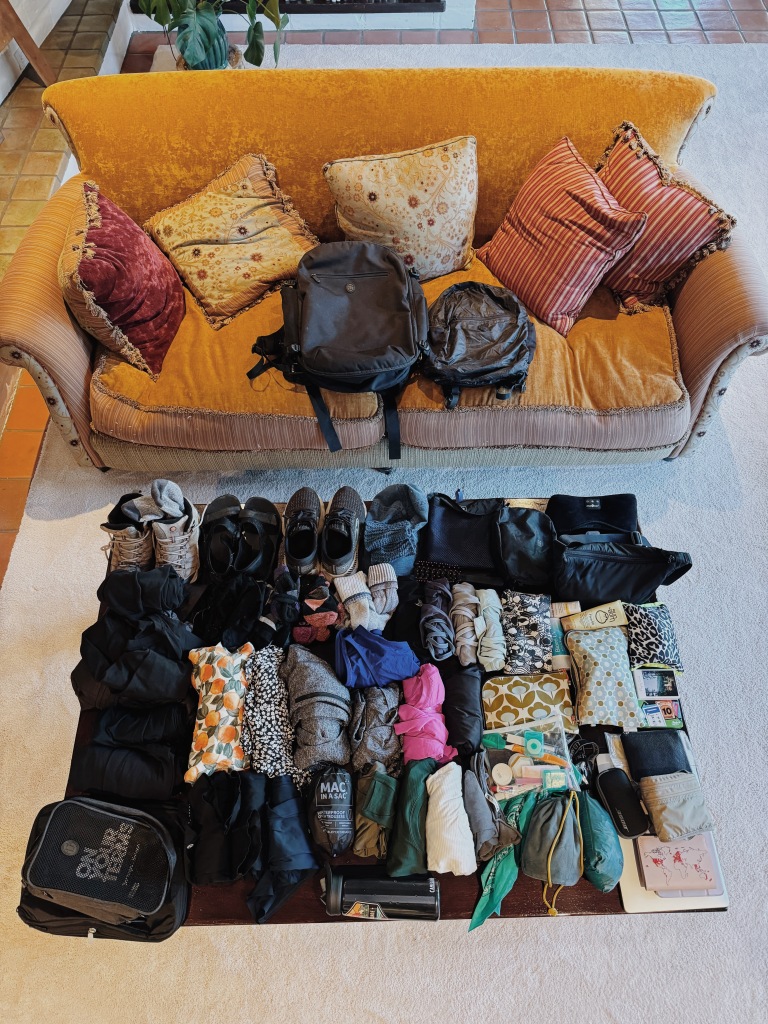
After a wonderful 2.5 months soaking up the summer sun in California, I am back on the road again. This time I am headed to South America to backpack all around this large continent! I am planning to go to Argentina, Uruguay, Bolivia, Chile, Brazil, & Paraguay… but also ANTARCTICA!! Pretty exciting stuff. I’ll finally check off all 7 continents 🙂
That being said, this was one of the more challenging trips to pack for because I’ll be doing lots of hiking & in some colder climates, which means more layers and bulkier items like my hiking shoes. I made the decision to really focus my clothes on practicality, which means I sacrificed bringing lots of “cute” clothes that I inevitably wouldn’t be wearing much since the focal point of this trip is hiking, often at higher (read: colder) altitudes. If you know me then you know I’d wayyyy rather be warm than dressed cutely haha.
Overall tips:
Start with the right bag! I love every bag I have ever had from Tortuga. They are designed for this type of travel and include features like opening like a suitcase (avoid top loading backpacks), fit carry on size restrictions, & organize your stuff beautifully. I currently use an old bag of theirs that is 35L. Try to take MAX 45L (but the smaller the better).
Consider the weather, destination, & time of year you are heading to South America as this will greatly vary what types of clothes you will need. Bolivia in the winter – COLD, Colombia in the summer- HOT, Buenos Aires – generally fairly mild year round
Think through how the clothes will layer together.
Make sure that every top works with every bottom and works with every shoes. Use a capsule wardrobe as inspiration. This is less important since my clothes are mostly athletic items, but still good to think through.
Less is more! I can’t emphasize this enough. You CAN do laundry. You CAN buy anything you feel like you ended up needing on the road. I promise!
If you are planning a longterm trip, don’t forget to check out all the things I wish I had known before setting off on my first big trip!
Also, here’s a great Antarctica specific packing list.
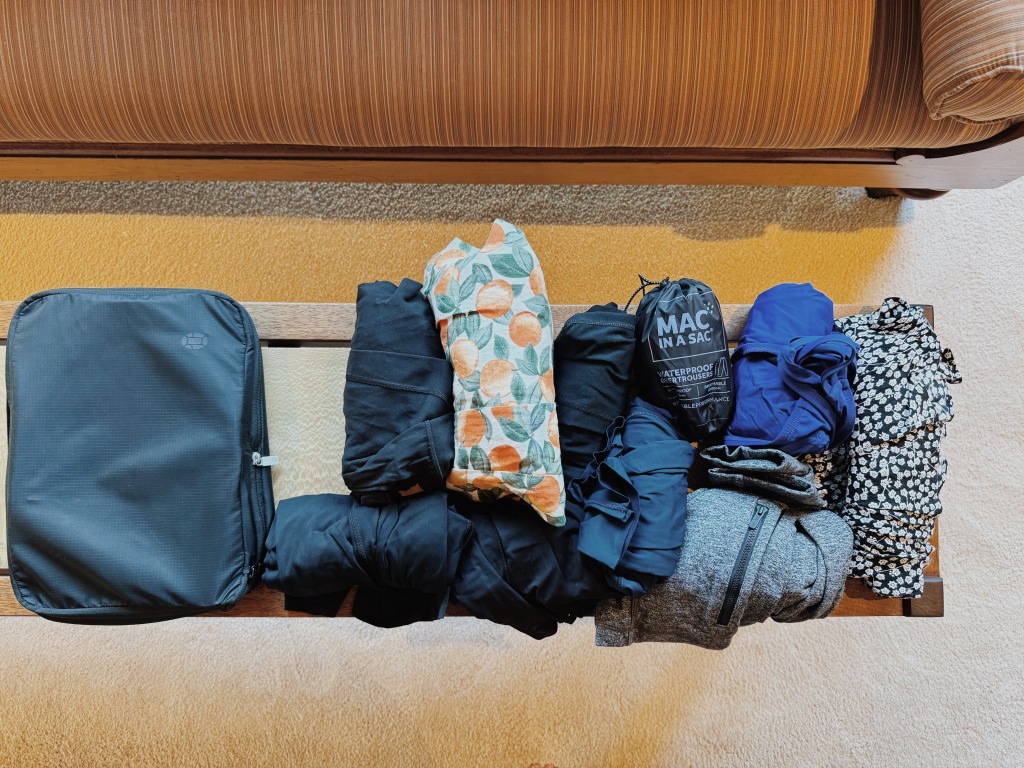
1 pair of Lululemon Align pants – can be used for working out/walking around town (even hiking in a pinch) or I can dress it up.
1 pair of Lululemon joggers- after a long day of hiking, I want a more casual, comfy pair of pants to throw on in the evenings.
One pair of warmer leggings from Patagonia – For Antarctica
Waterproof pants – for Antarctica
1 jumpsuit I had made in Hoi An (inspired by my Madewell Jumpsuit) – this will be my one cute outfit when needed
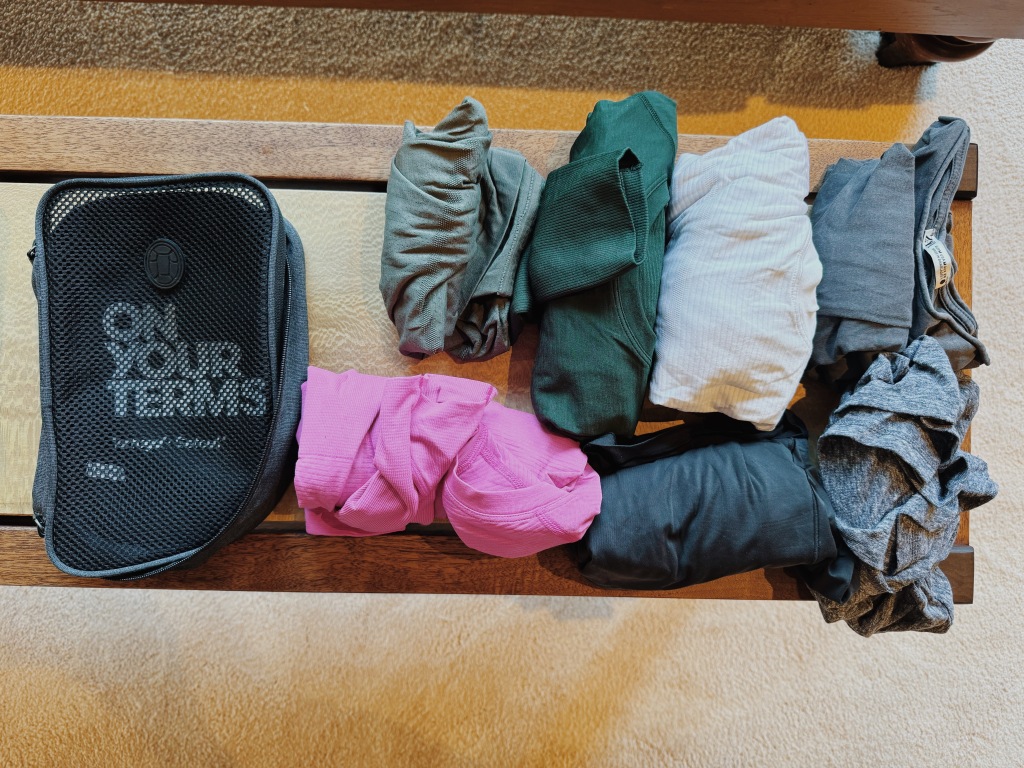
2 Cute shirts – these are pretty casual (in a pinch I could hike in them)
4 sports bras
4 athletic shirts (for running + sleeping in). One is from Vuori & a few from Lululemon. Need lots of these for all the hiking!
3 long sleeve shirt (I recommend Merino Wool but I can’t use it because I’m allergic to wool sadly so mine is from Lululemon – I have 3 colors!)
1 long sleeve jacket from Lululemon – good for warmth & layering, but also super cute!
Booty shorts (to sleep in)
5 pairs of underwear
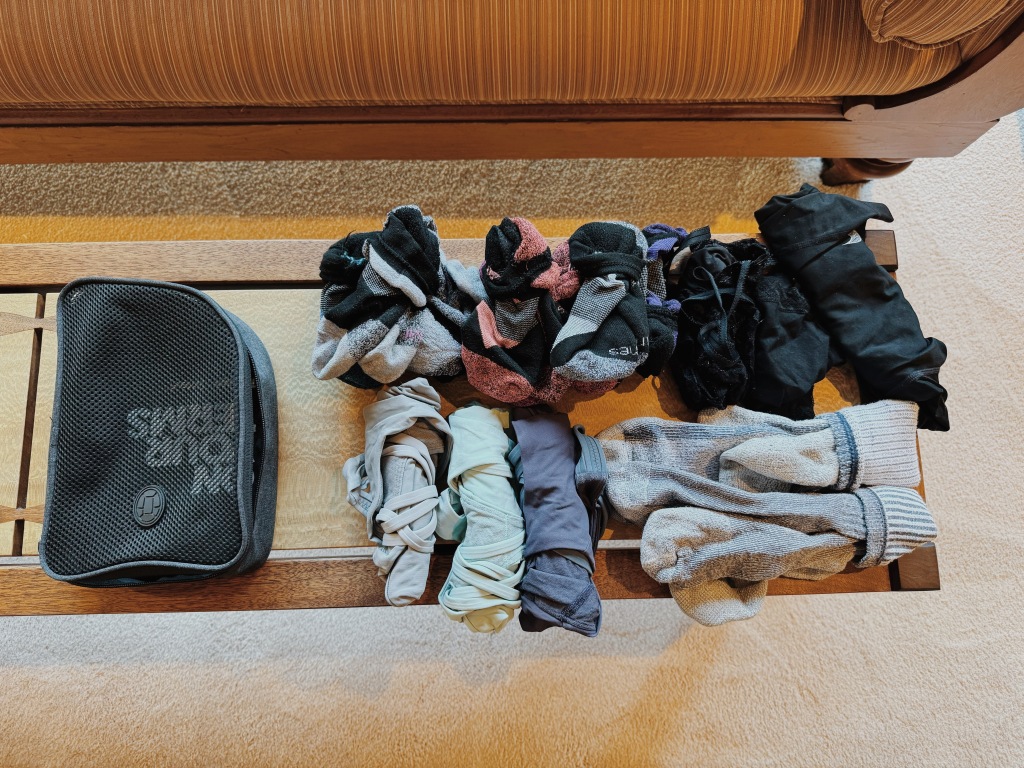
9 pairs of socks (some regular, some hiking, some warm for Antarctica)
Waterproof gloves (for Antarctica)
1 black bralette
Light Patagonia puffer – good for chilly planes/busses & for layering on hikes. It also smushes down fairly small so it’s a great backpacker jacket. I’ve also used it as a pillow in a pinch.
1 Swimsuit – I don’t foresee doing much swimming on this trip, but it’s always smart to bring one
Hiking boots – I normally don’t bring these traveling since they are heavy & bulky (aka they never go in my pack, I just wear them on travel days), but for the amount of hiking I am doing, it’s a must to bring them.
Waterproof sandals (will act as my water shoe as well as my cute shoes- I never said the backpacker lifestyle was glamorous haha)
Sunglasses (Warby Parker)
Baseball hat
Bandana- for hiking
Warm hat – for hiking & for Antarctica
Scarf or gator – for Antarctica
Rain coat (Patagonia; you can pack it up into its pocket so I can easily attach it to the outside of my bag via a carabiner)
Running belt – I don’t use it often since my Lululemon Fast & Free’s have a pocket for my phone, but every once in a while it comes in handy.
Crossbody bag (I put it into my daypack on travel days). I use this out and about on a daily basis. It fits my iPad mini, passport, keys, credit cards, cash, AirPods, chapstick, sunscreen, etc.
ELECTRONICS
Computer + Charger
iPad
iPhone + Charger (I get a 6 ft cord so I can always reach the plug from my hostel dorm bed!)
AirPod Pro’s
Headphones (Bose; noise-cancelling for travel days)
AirTag (This is a no brainer these days; provides peace of mind incase I am forced to check my bag or when it’s below me in a bus. Always nice to confirm it’s still with me!)
Headlamp – for hiking + Antartica
TOILETRIES (I USE A BUNCH OF LITTLE TOILETRY BAGS TO KEEP THESE ALL ORGANIZED)
Toothbrush
Toothpaste
Floss
Any medication you take
Retainer
Deodorant
Tiny roller perfume
Makeup
Makeup Remover (I’ve become obsessed with cleansing balm for this because it isn’t a liquid, & it’s highly effective at getting makeup off at the end of the day!)
Razor
Conditioner + Shampoo (Get containers to put your products into & refill on the road!!)
Face wash
Moisturizer
Hair Brush
Pocket Hand Sanitizer– I keep one in my backpack and one in my sling/purse. Great in general, but also for when inevitably there is no soap at a random bus stop bathroom 🙂
Tiger balm (I picked this up in Southeast Asia and it’s now a staple in my bag. Great for mosquito bites and just feeling a little sick. It’s kinda like Vick’s vapor rub).
Ibuprofen
Hair ties and bobby pins
Moleskin
Bandaids
Cough drops
Topical steroid cream for bed bug bites or regular bug bites to help with itchiness
MISCELLANEOUS
Passport – no explanation necessary 🙂
ID (I bring my driver’s license)
Travel Credit Card- I bring 2-3 cards with me in case I lose one it gets stolen or it gets hacked. Important to get ones with no foreign transaction fee; I have the Chase Sapphire Reserve (hello lounge access!) + Capital One Venture Card.
Debit Card (Charles Schwab has the best one because it reimburses ATM fees from any ATM in the world 🙂)
US Dollars – I always bring 1-2 Hundred dollar bills as an emergency source of cash (luckily most places in the world would take USD if it was truly an emergency & you needed some cash to get you out of a situation), however, in the case of South America, I’ve taken more! Between Bolivia’s visa requiring payment in USD & the best exchange rate being USD to local currencies in a lot of countries, I’ve taken closer to 10 Hundred dollar bills
Record of your plans (I make folders within my email inbox to keep track of everything or you could print out a copy of your itinerary)
Eye Mask (you can either go the classic eye mask route or get one like this that almost acts like your eye mask + ear plug since you can play white noise through the built in bluetooth speaker- pretty cool!)
Lock (for staying in hostels or locking my bag.) Get the combo lock so you don’t have to worry about tiny keys. I take two to be able to lock two different compartments in my bag AND so I can keep my computer/passport/iPad compartment still locked when I use the other one to lock a locker within a hostel.
3 carabiners – I just attach them to my backpack and over the course of the trip they will hold everything from my water bottle, shoes, rain jacket and more. You will not regret having a few on hand.
Hand warmers for Antarctica
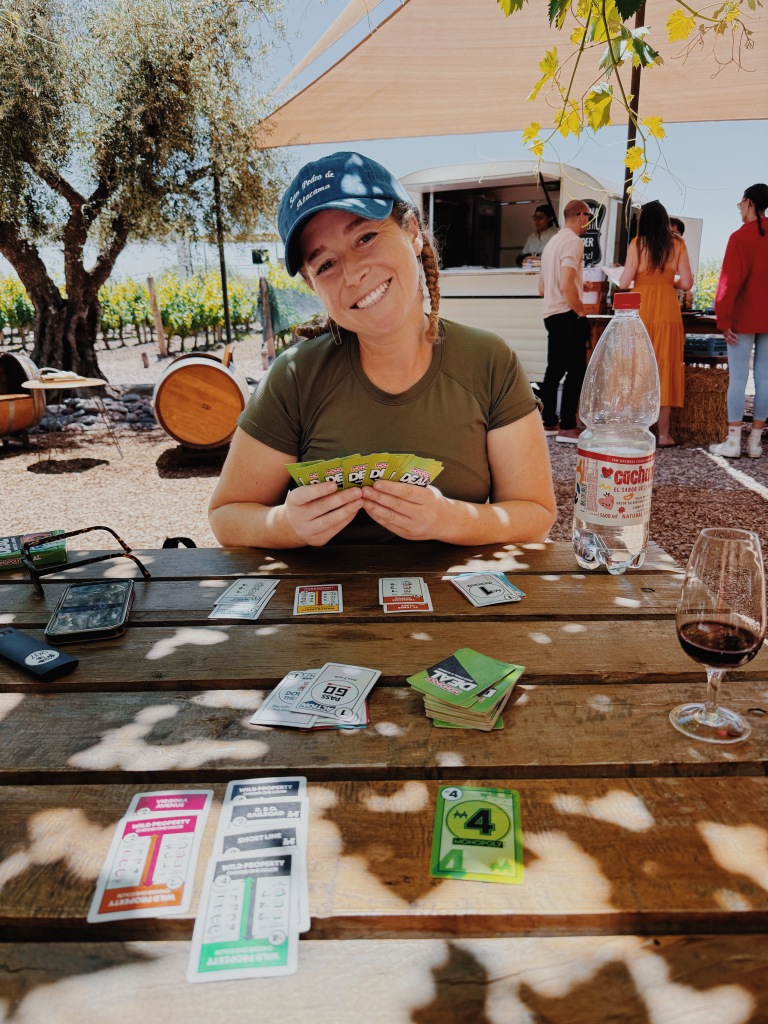
Pack of playing cards (My sister got my a custom deck with some of my favorite photos from my travels – such a thoughtful gift)
Monopoly Deal – a fabulous compact game for the backpacking trail!
Face mask (I’ve used this while feeling sick as well as on a dusty motorcycle ride)
2 pens for writing postcards
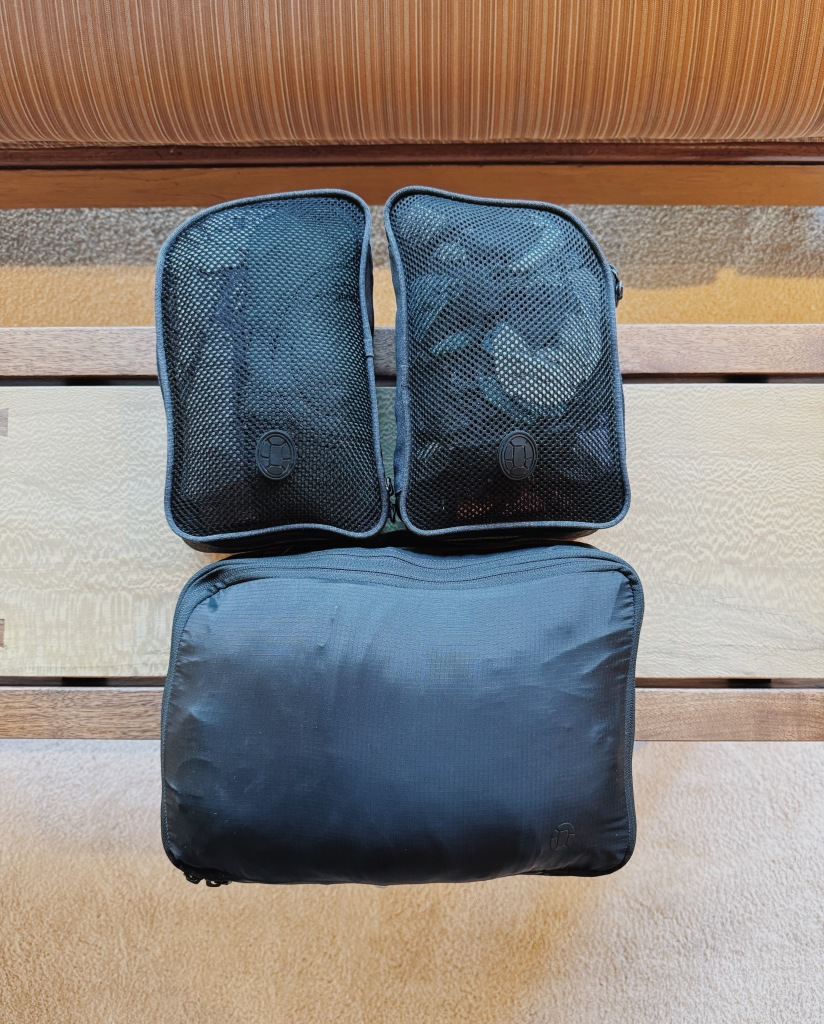
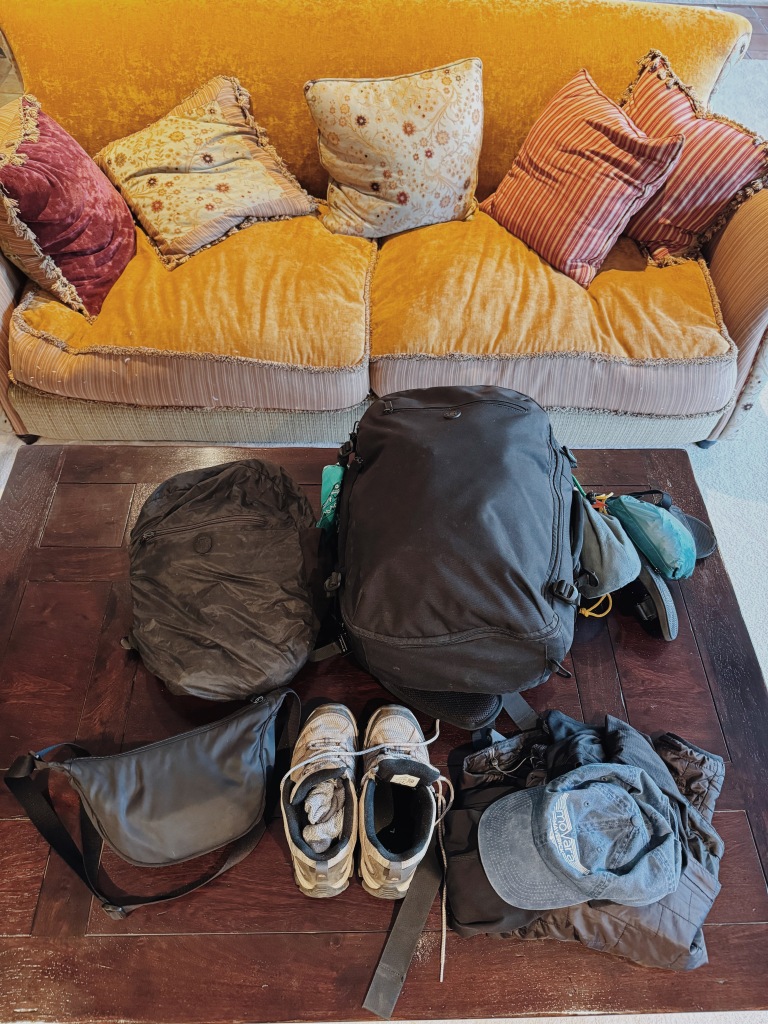
HERE IS EVERYTHING SPREAD OUT ON A TABLE!
Here is what is packed in each packing cube:
Three sports bras, 9 pairs of socks, booty shorts & underwear3 long sleeve shirts, 2 short sleeve shirts, & 2 cute shirtsLululemon jacket, 6 pairs of pants, swimsuit & jumpsuitAll packed up
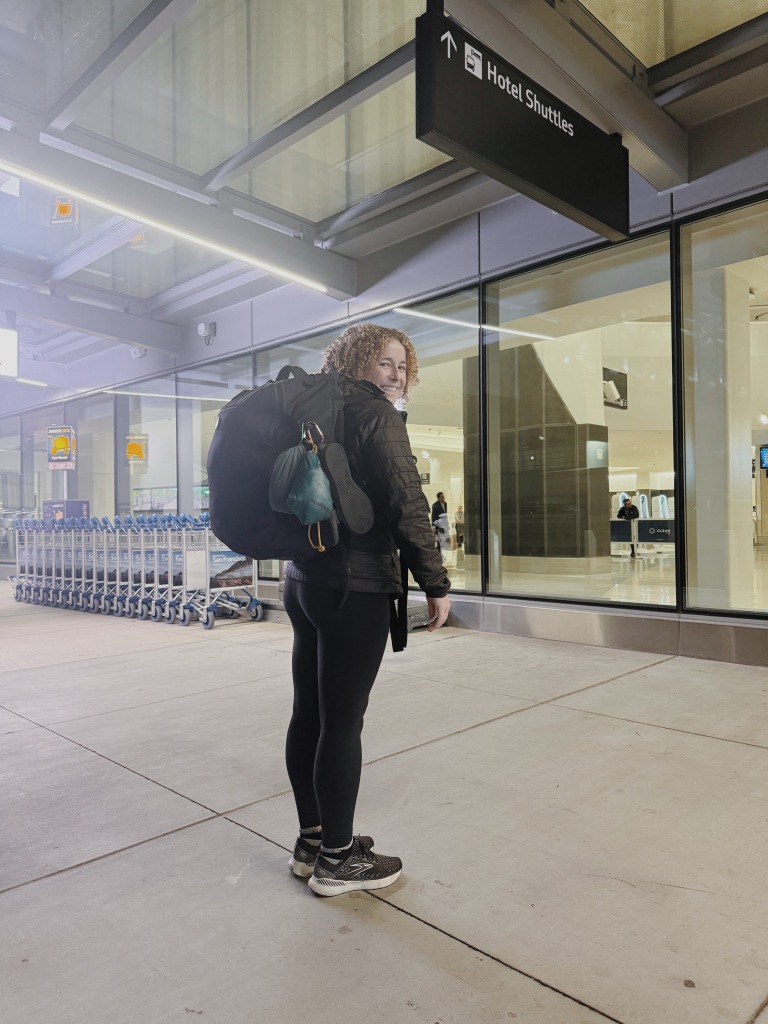
All packed up and ready to go on another adventure!