Uruguay

Cities visited: Montevideo, Punta del Este, & Colonia

Pro Tips:

  • Most commonly, Uruguay is visited in conjunction with traveling to Buenos Aires. It’s very easy to get between one another via flight, bus or usually by ferry (which is what I did).
  • No visa needed for US citizens (2024). I went through immigration in Buenos Aires as I boarded the ferry (out of Argentina & stamped into Uruguay) so once I arrived in Colonia there was no immigration to be done 🙂
  • You can even do just a day trip to Uruguay (to Colonia) from Buenos Aires, but I would recommend giving the country at least a few days. I was quite happy to spend a week here!
  • The best way to get cash is by exchanging dollars or euros (not by using an ATM). This will give you the best exchange rate.
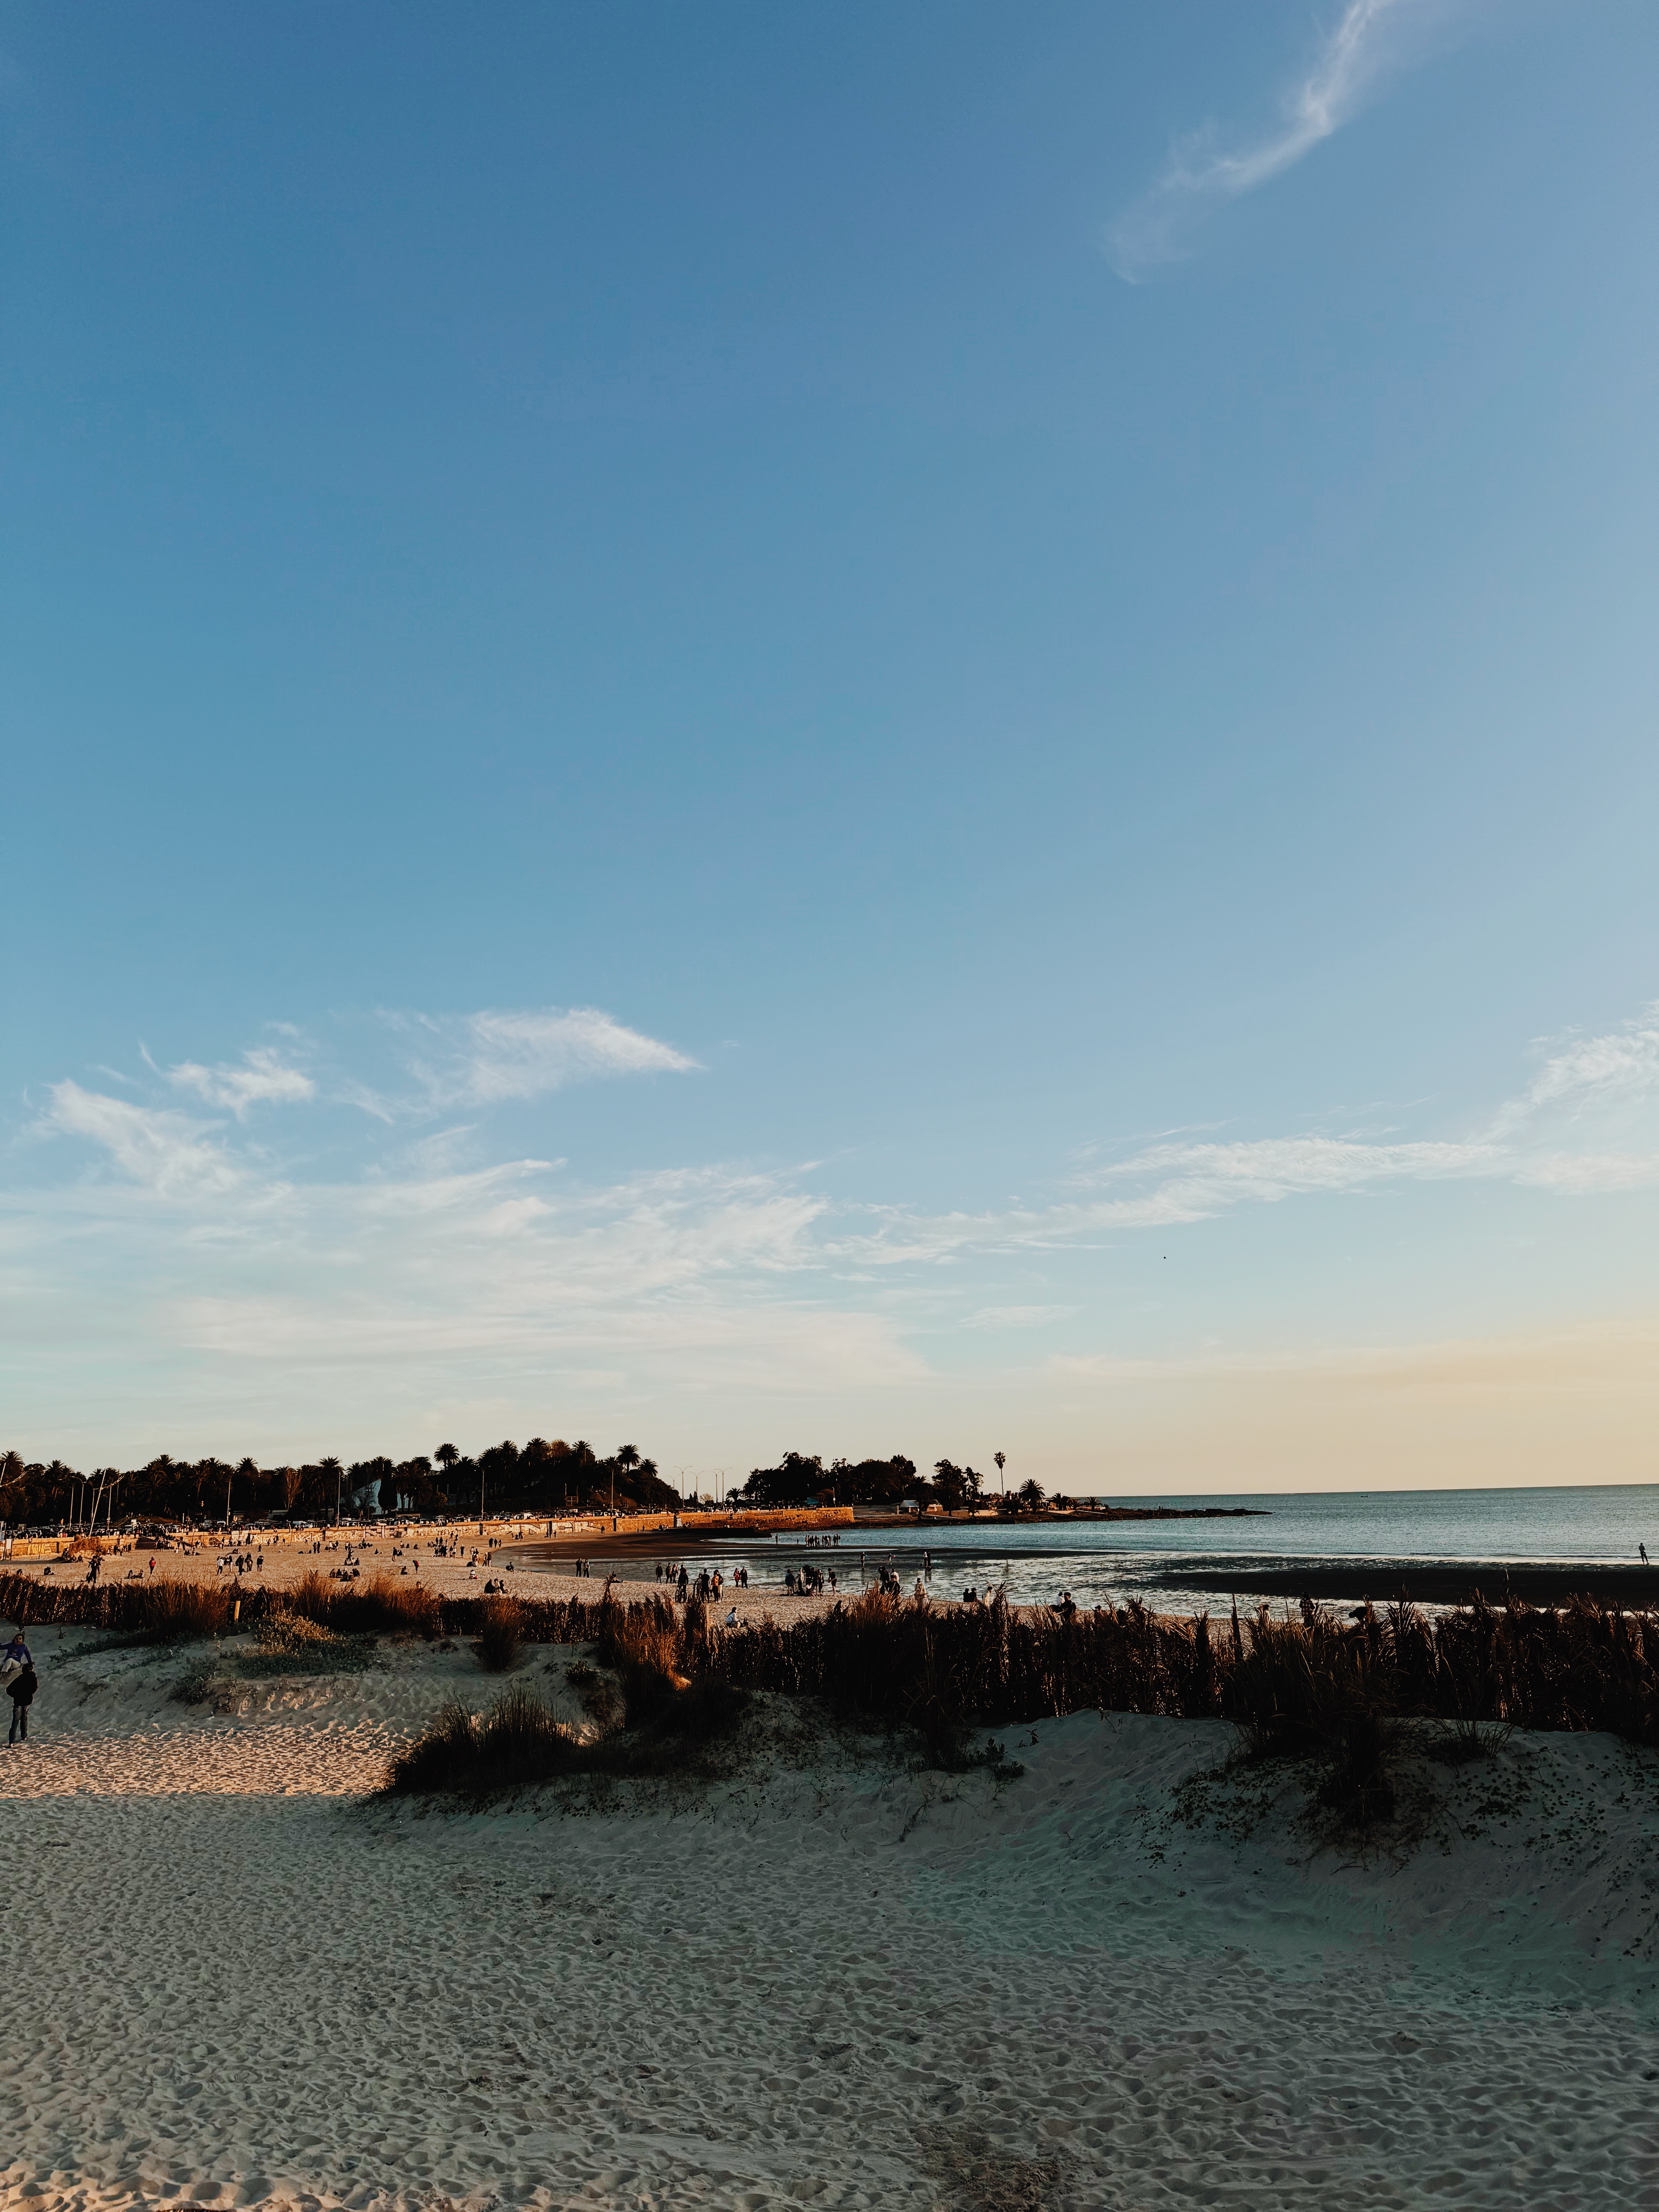
  • Uruguay is known for its stunning beaches, but I went in the shoulder season (Spring) so I enjoyed fairly quiet version of the country. It also meant I could book my accommodation as I went (rather than booking ahead). It was nice to be able to get to a place and feel it out before committing to timeframe of how long I’d stay.
  • Uruguay is one of the safest & most stable countries in South America – I absolutely loved it and not a single concern of safety. What a treat!
  • However, it is definitely not the cheapest country, in fact it’s probably one of the most expensive. The good news is that I still found it fairly reasonable so don’t let the cost put you off it.

CITY: Montevideo

HOW LONG: 3 NIGHTS

ACCOMMODATION:

I stayed at a very cozy hostel a little out of the historic part of the capital called Mediomundo. I loved its location as it was safe, quiet, but there were tons of restaurants. Also it was 5 min away from the water front promenade that goes on for 20km+ so I went for a run each morning!! Such a dream. There were curtains on the beds + a personal light/socket. The breakfast offered was pretty cheap & included eggs. Overall I would highly recommend!

WHERE TO EAT:

I ate breakfast at the hostel of 2 days, but tried Americo Cafe for some delicious French Toast.

With the family I met on the walking tour, we also found a cafe so they could try Mate, a traditional South American caffeine-rich infused herbal drink. It is such an important drink for everyone here. Everyday when I went on my sunset walks, everyone was carrying around a little holder for their thermos of hot water + cup for their mate. It was very cool to see.

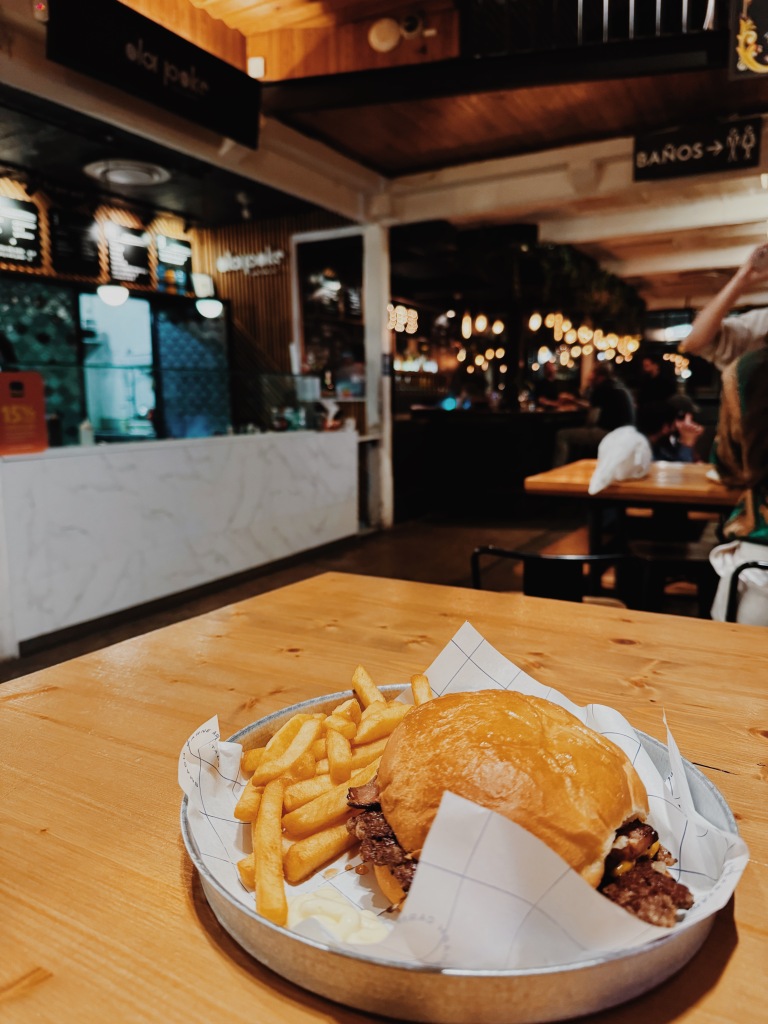
Mercado Ferrando was a fun food market spot with lots of great options for dinner! I had a delicious burger and some gelato for dessert. I just love a food hall 🙂

WHAT TO DO:

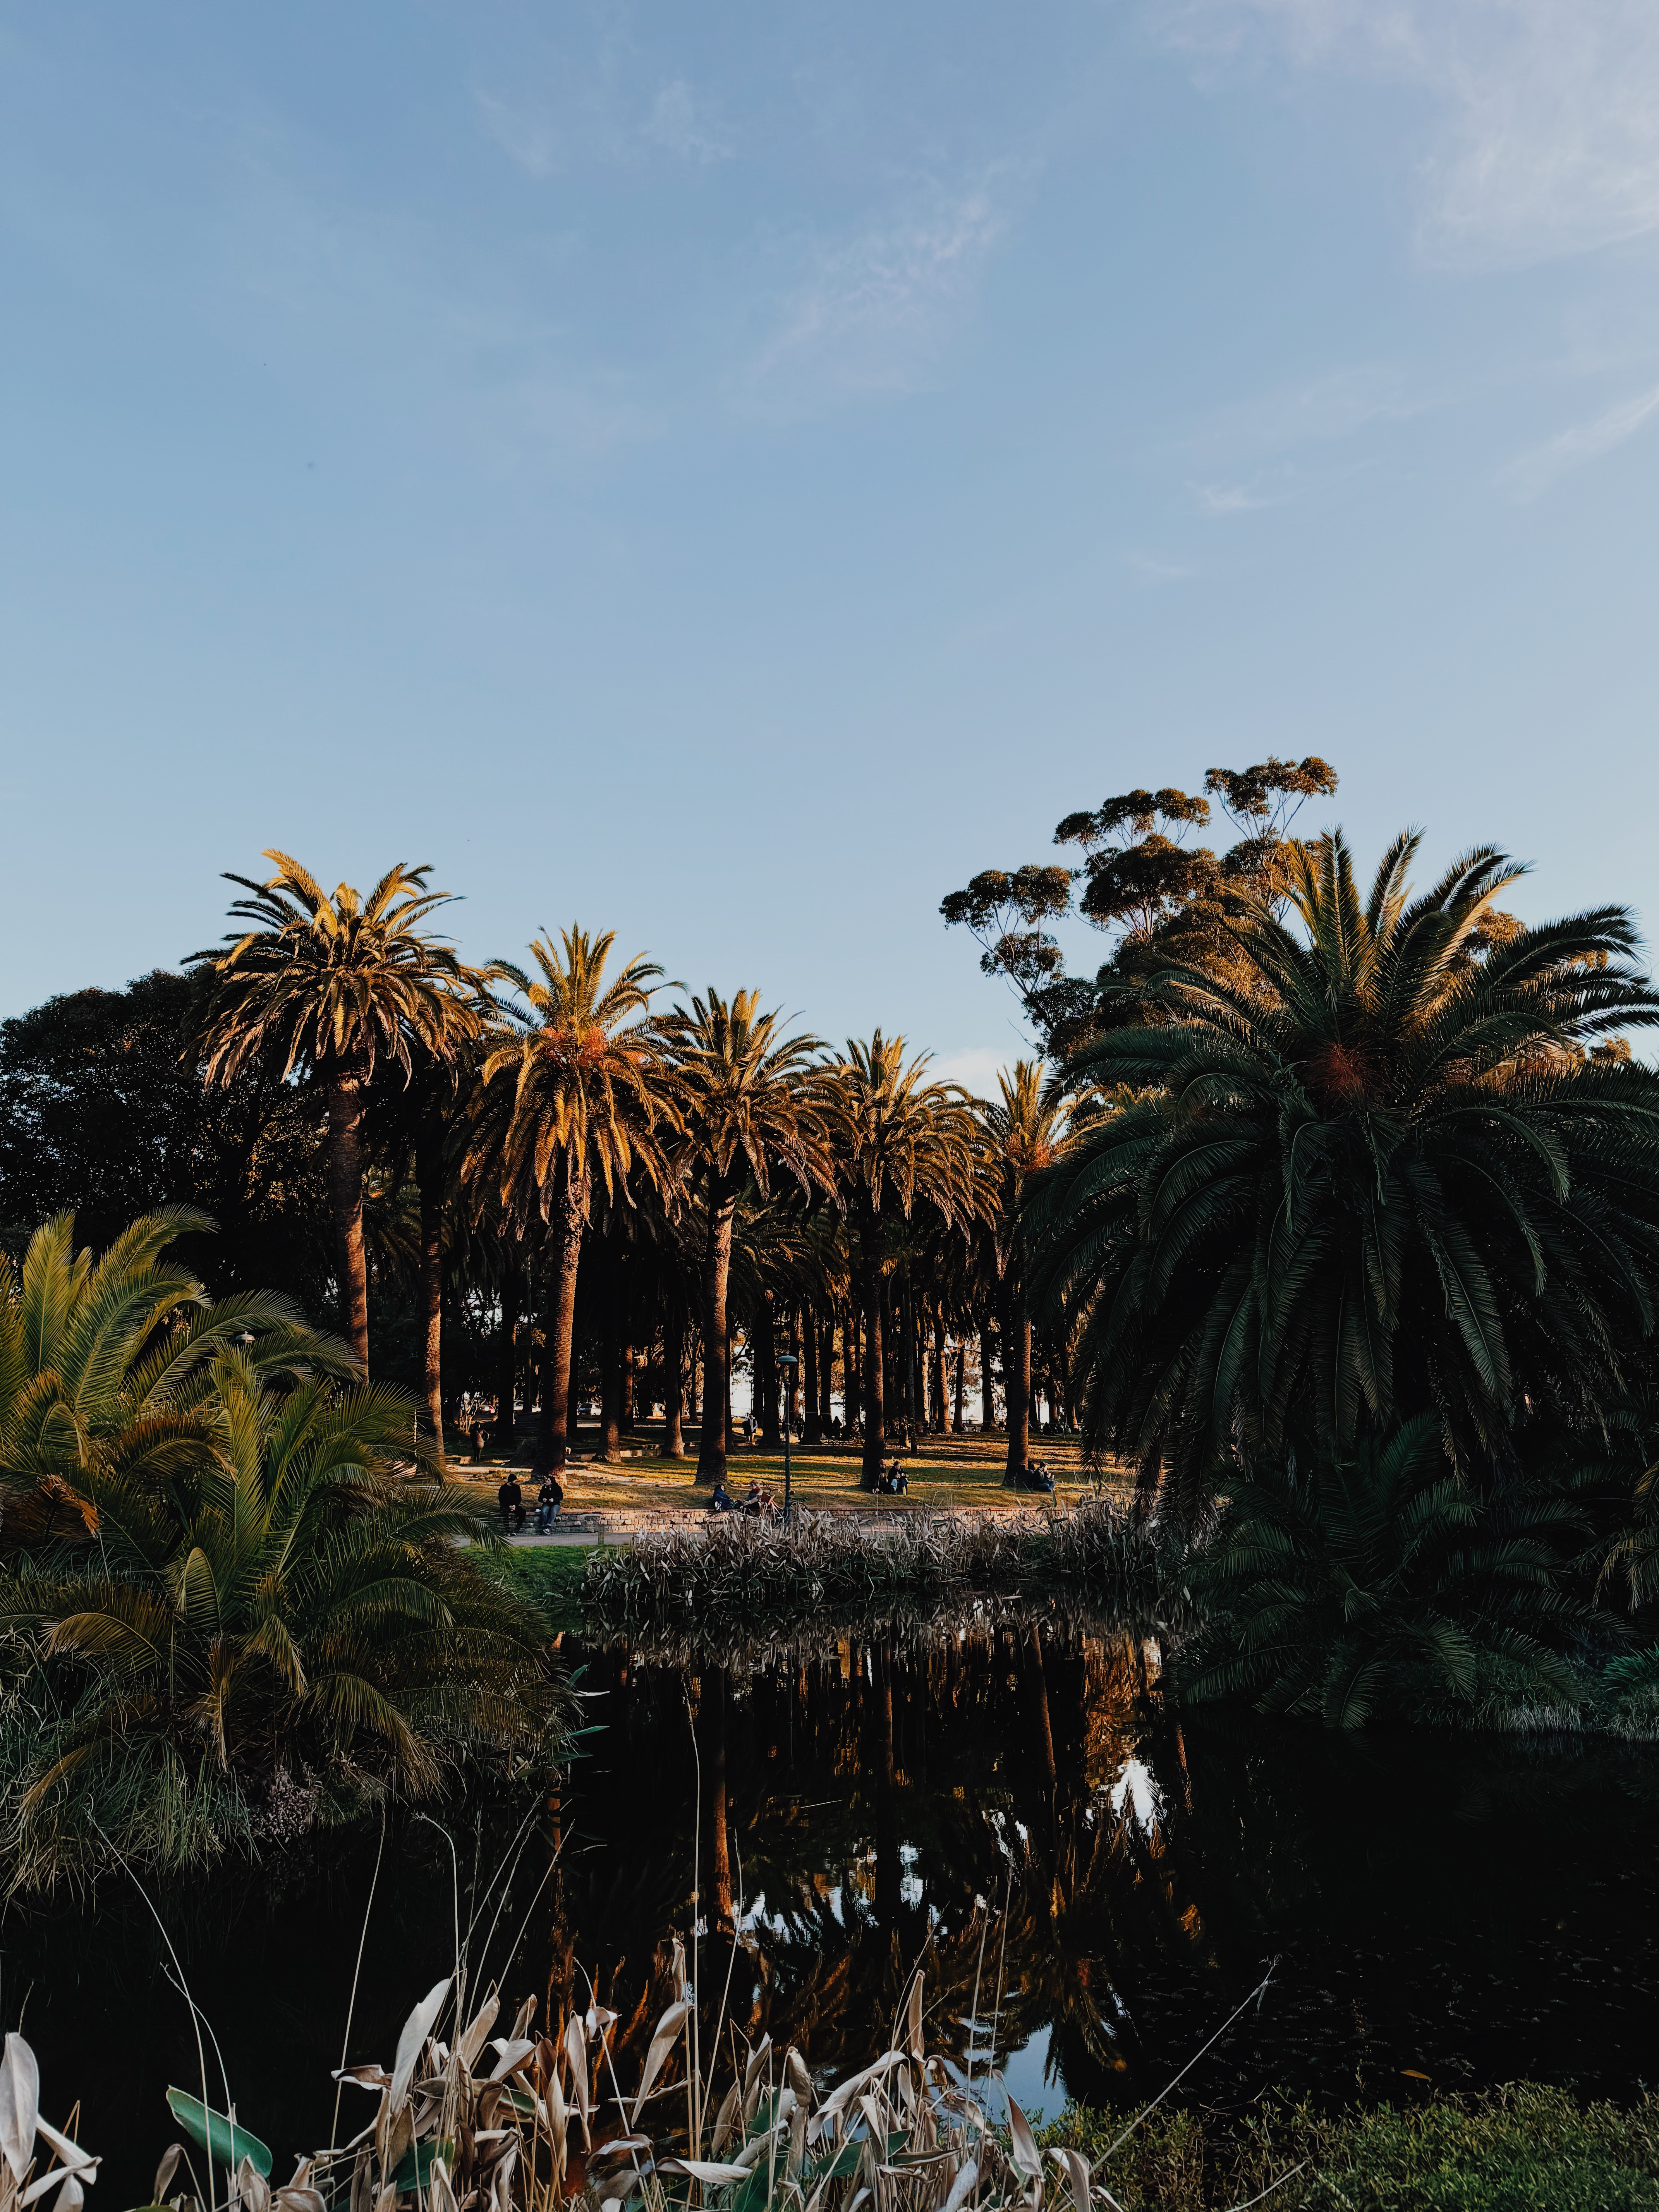
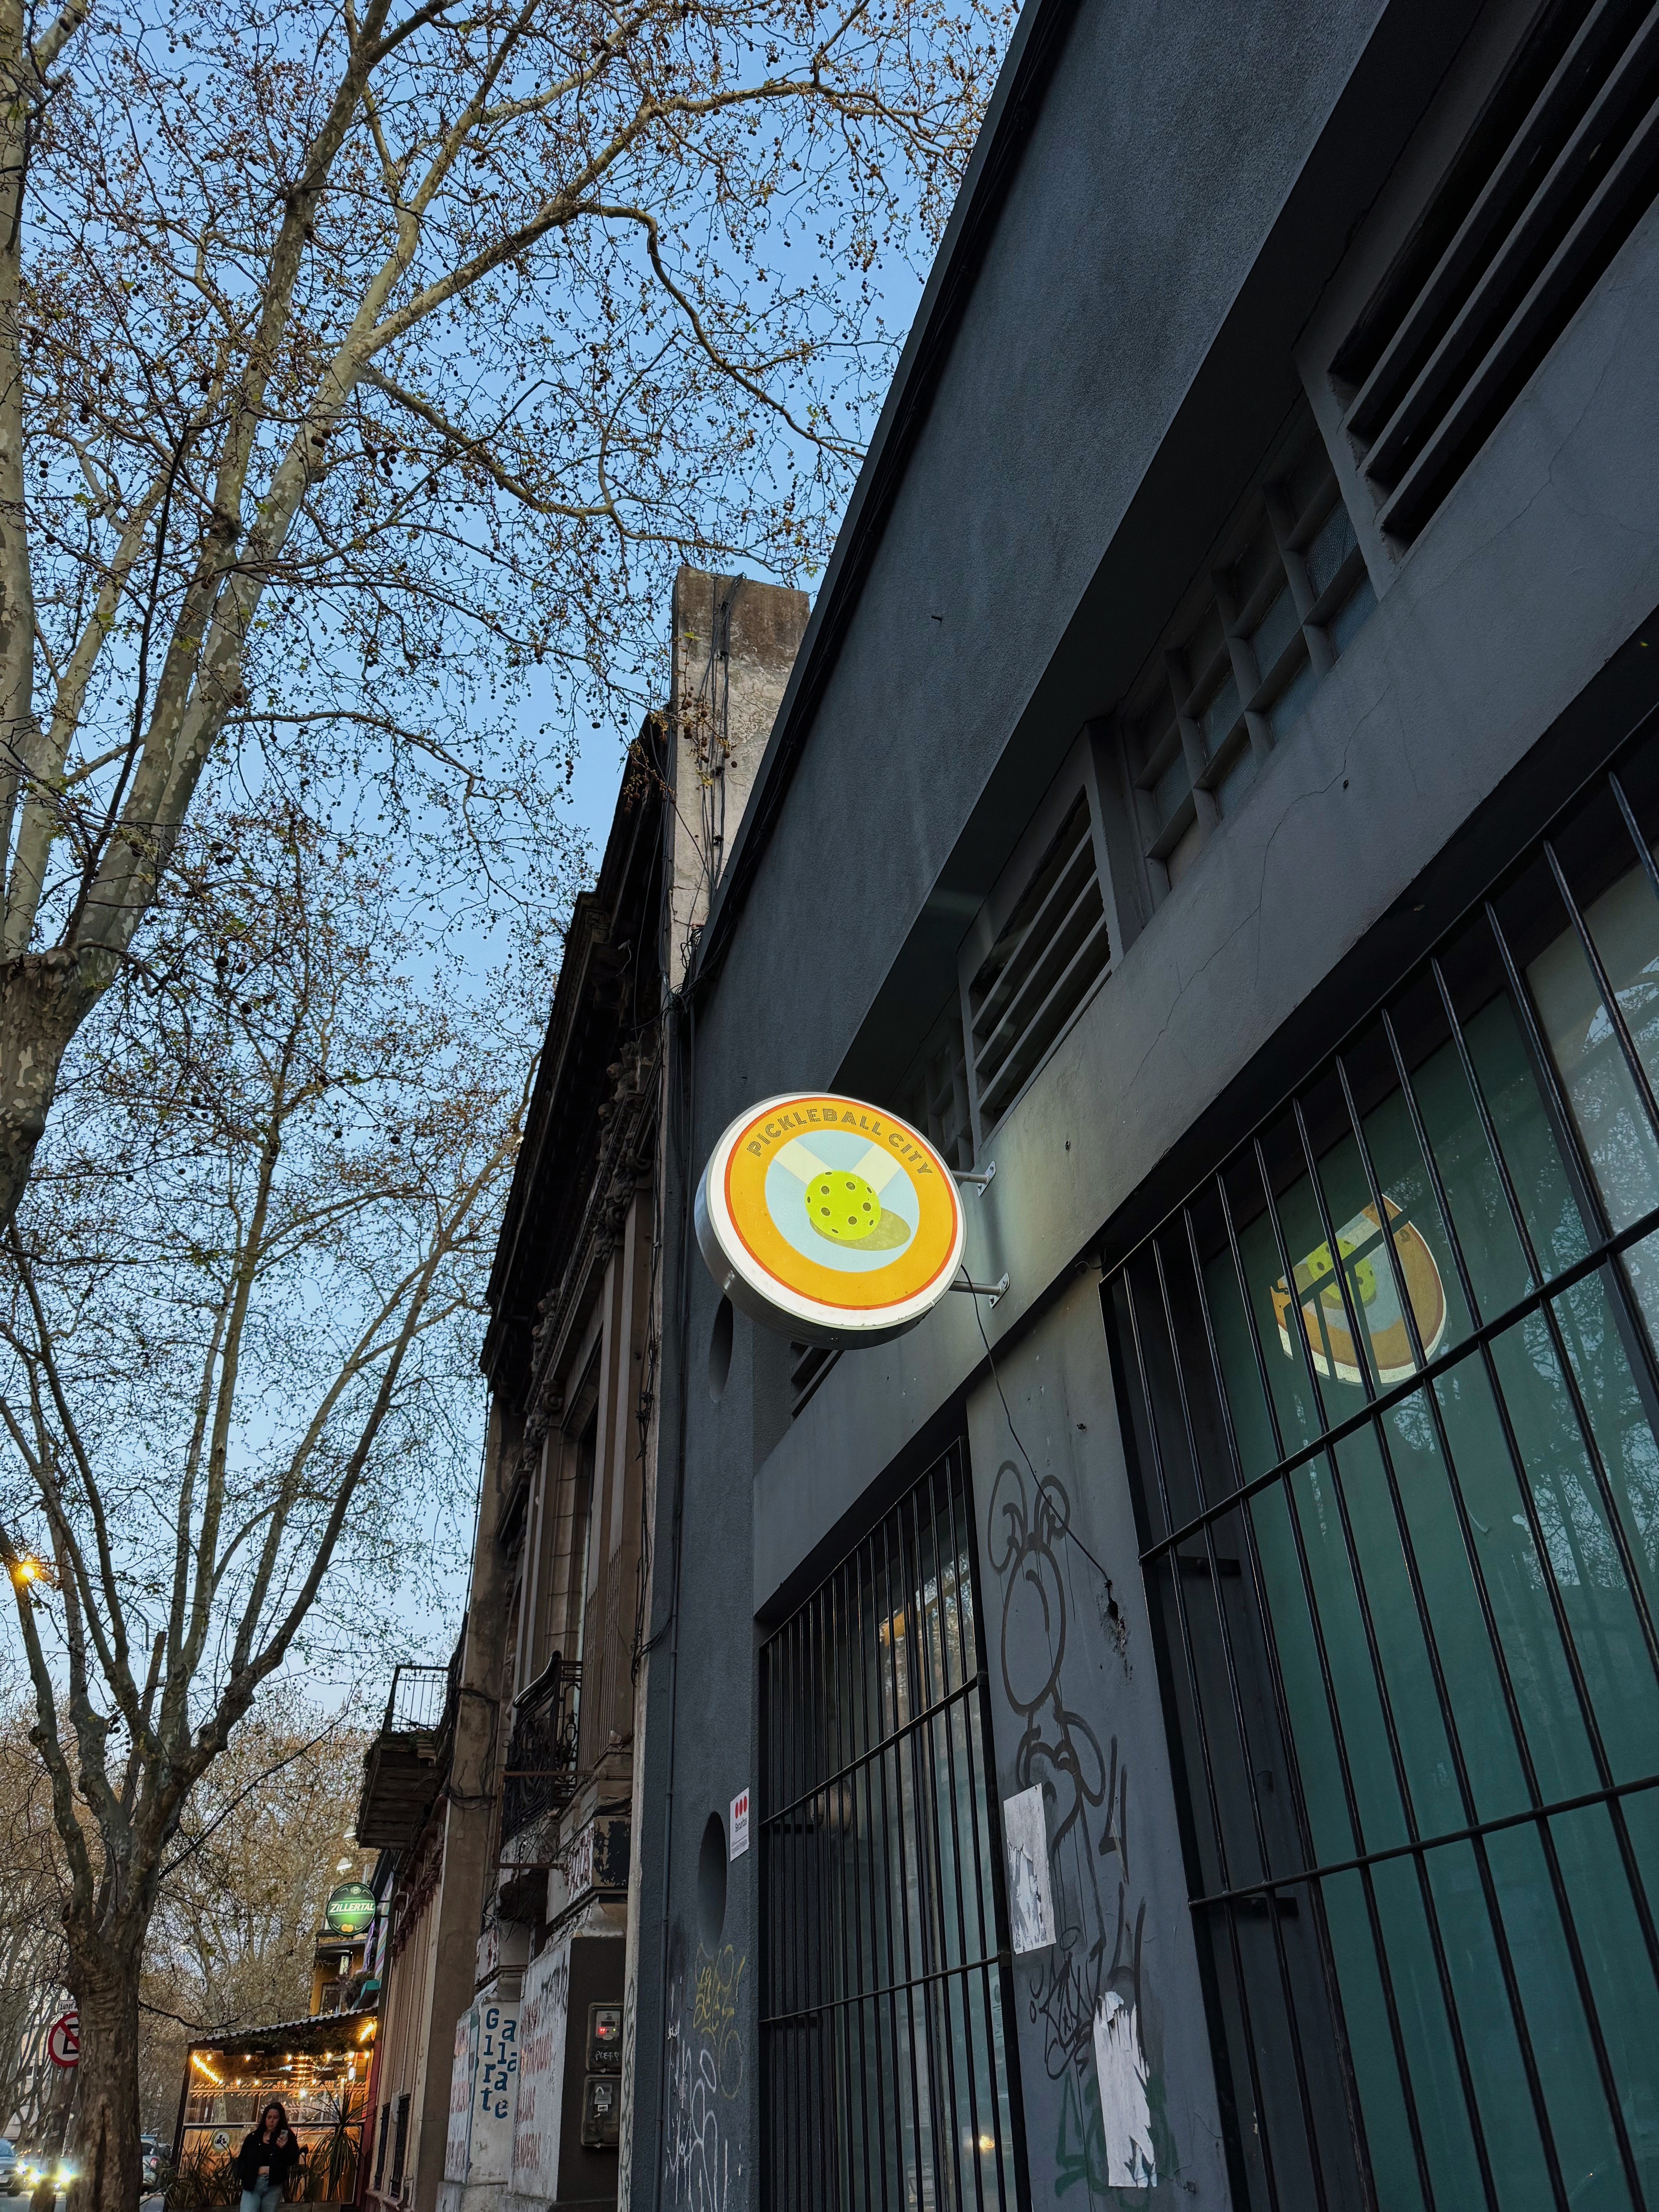
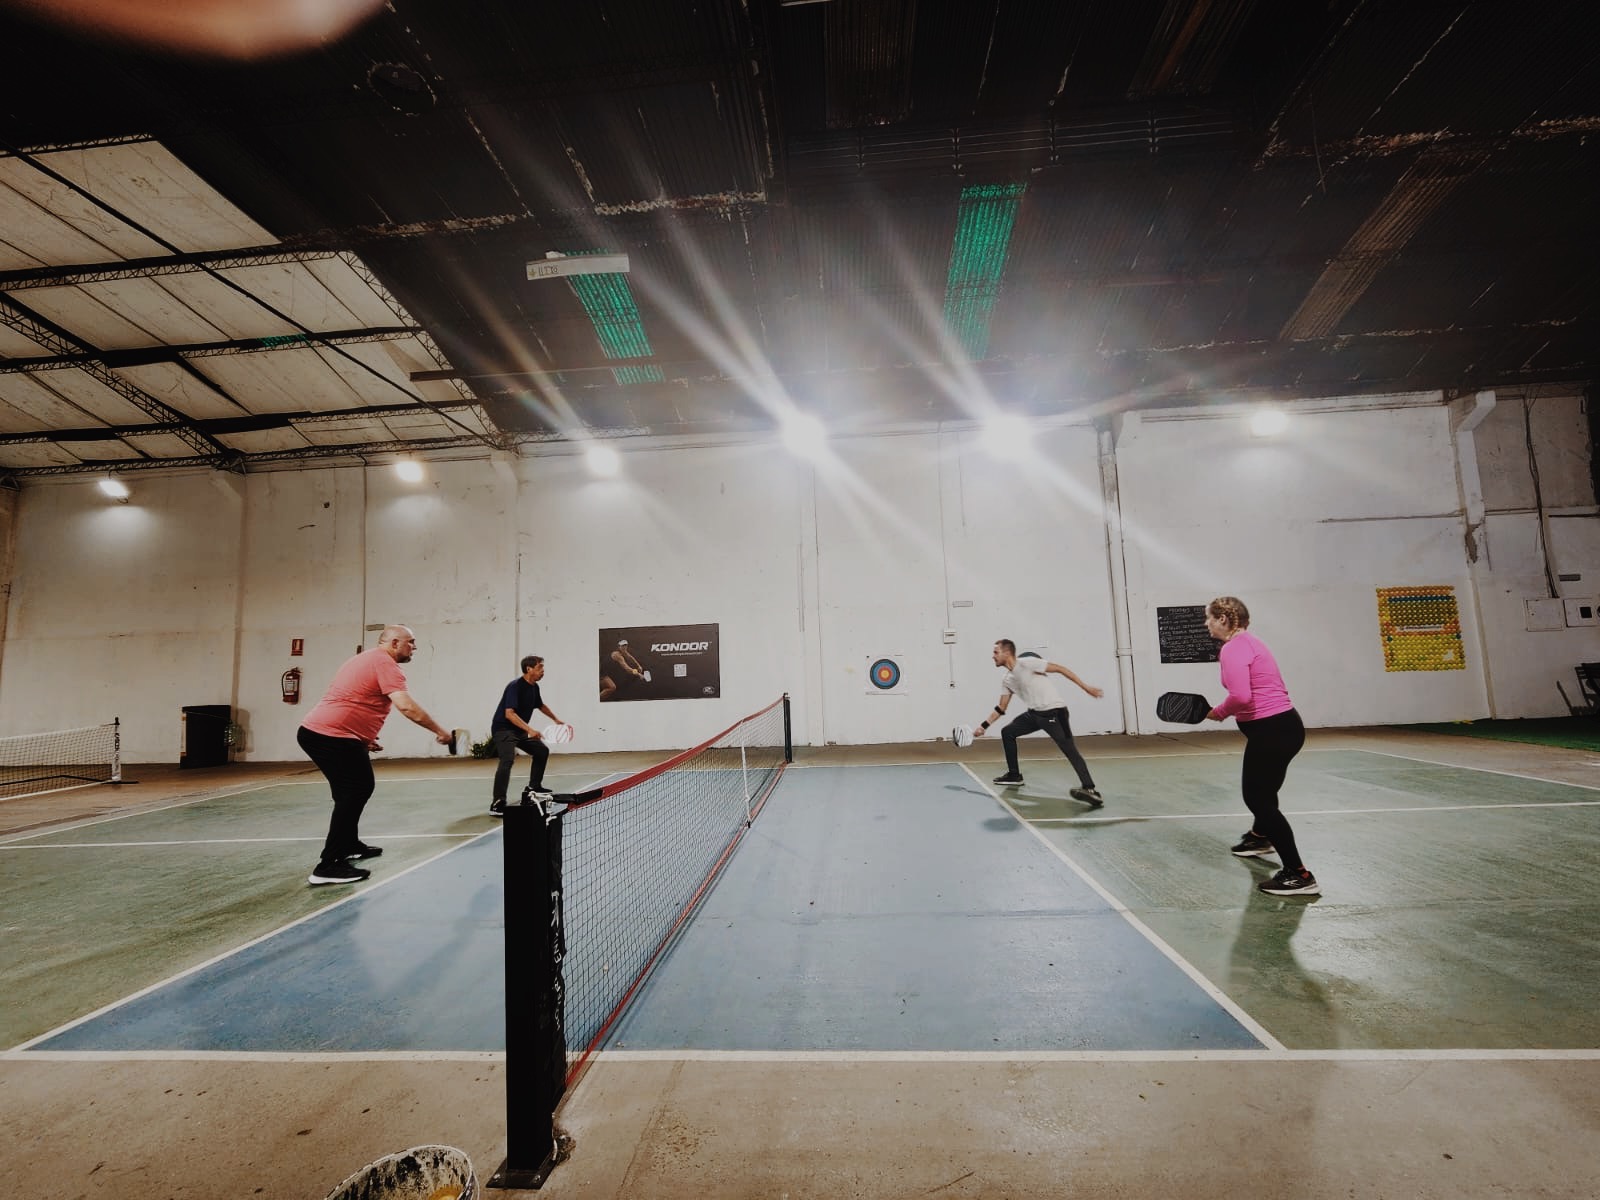
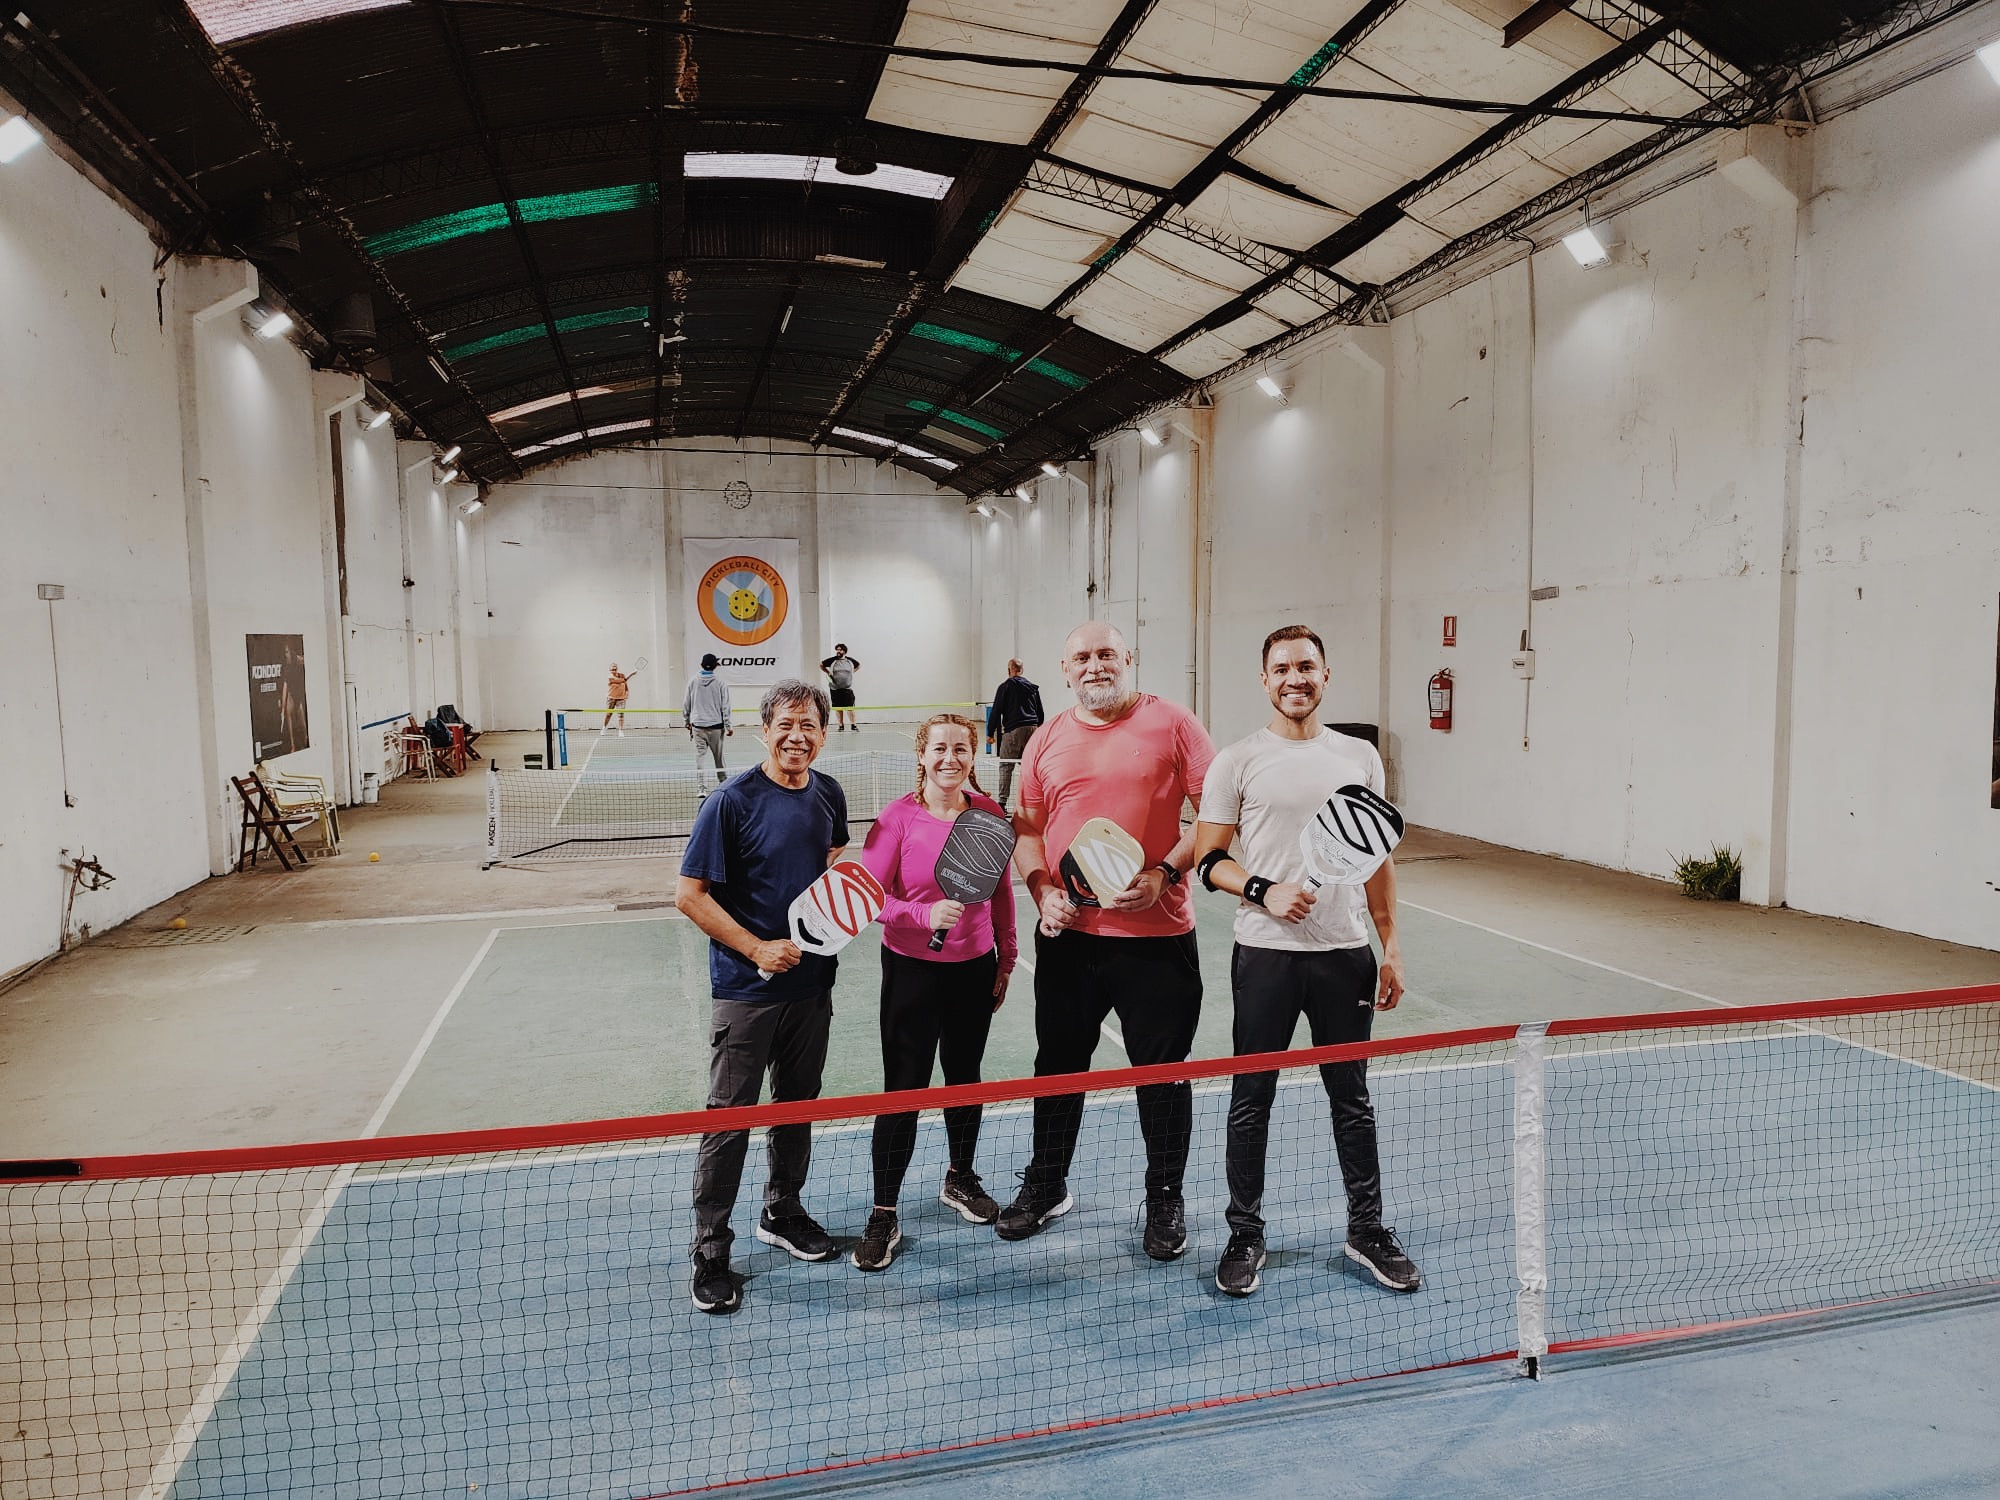
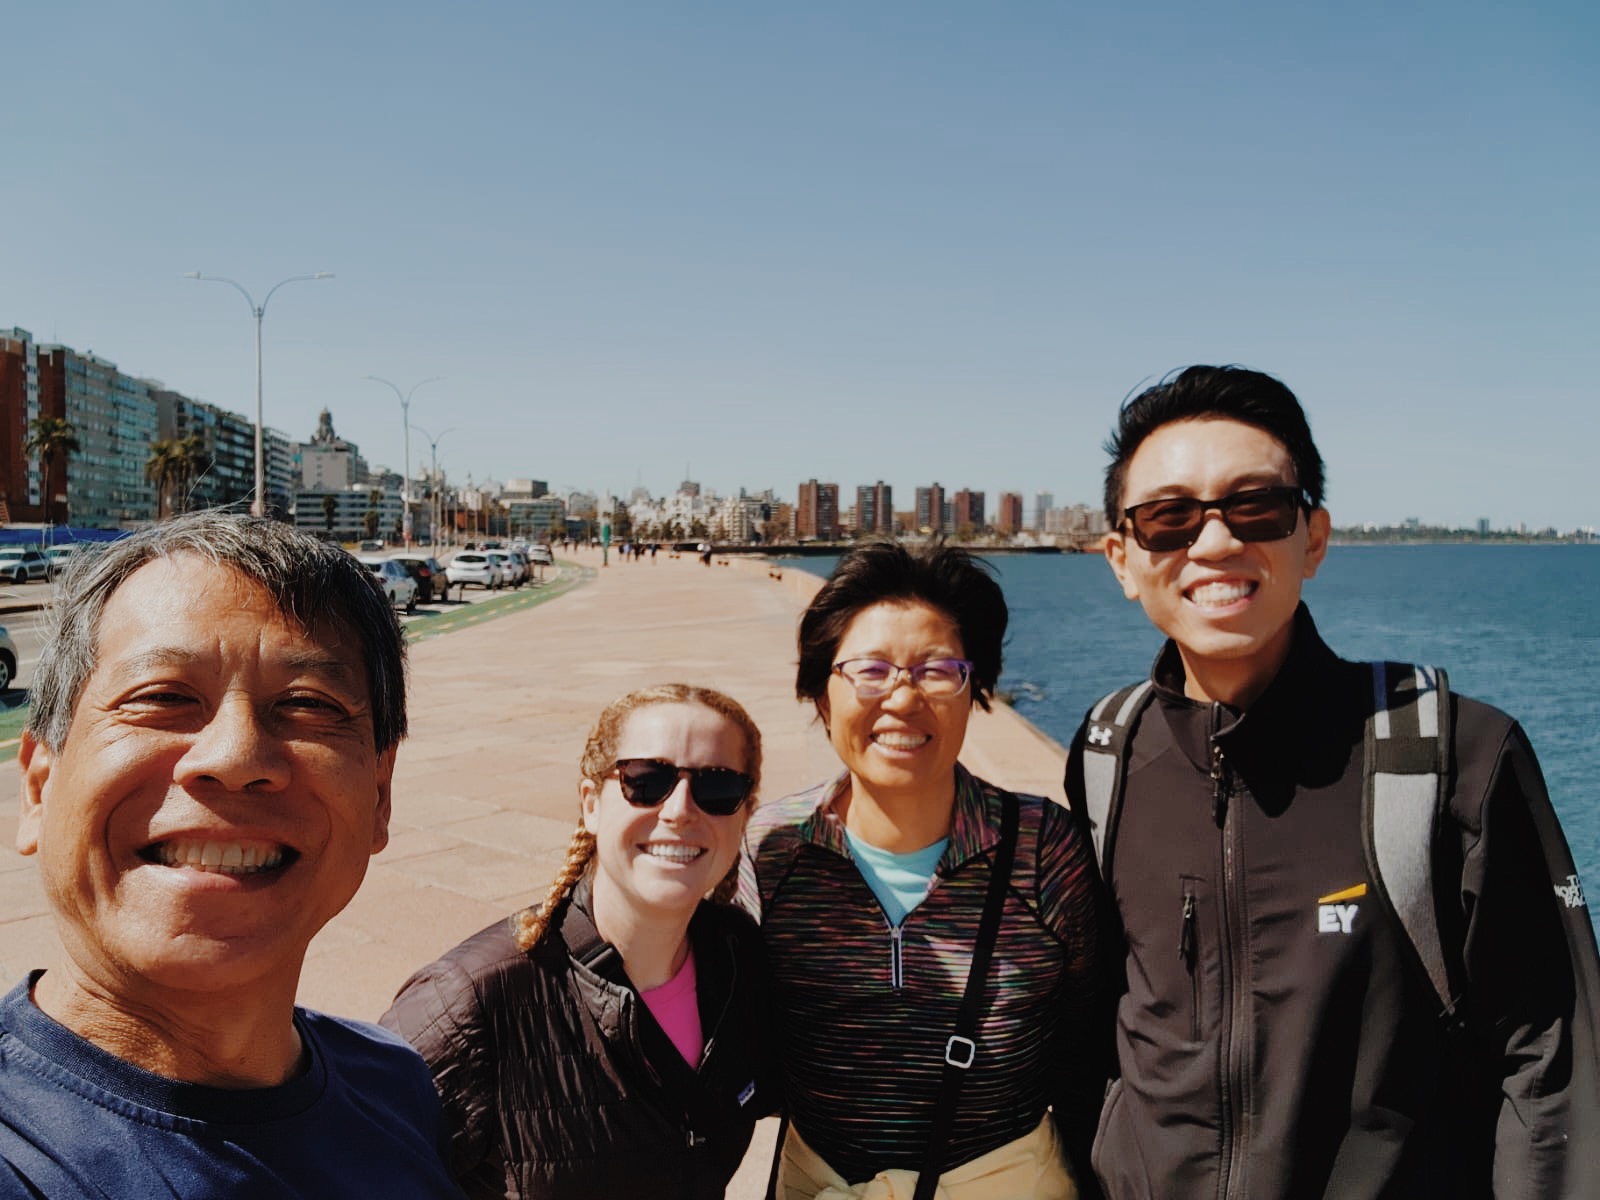
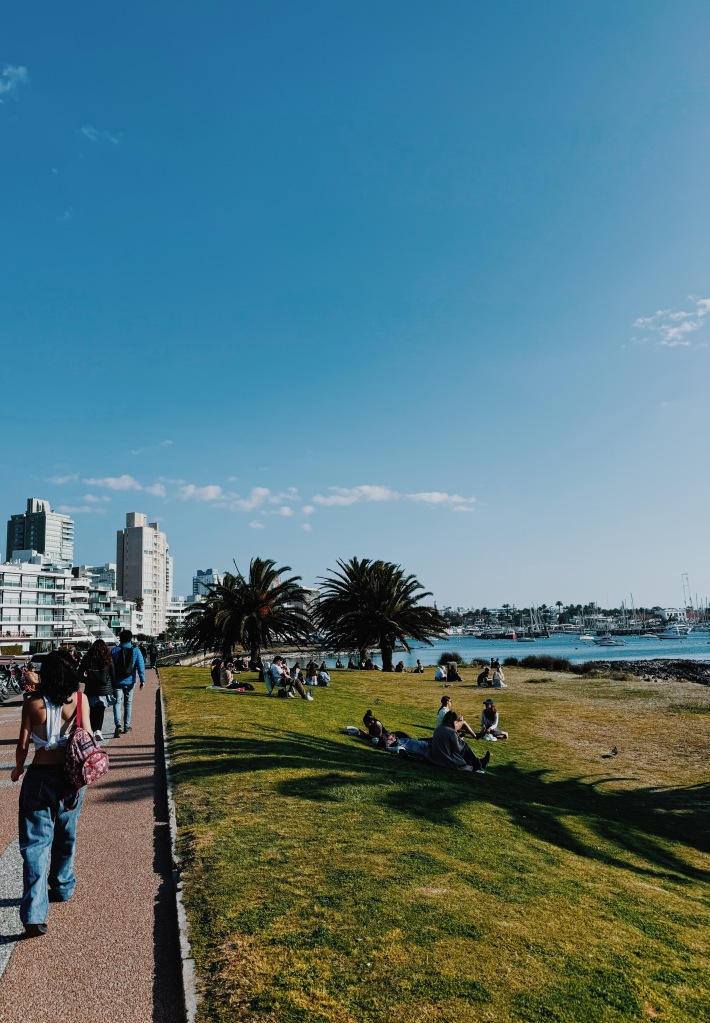
I loved just walking along the promenade and people watching. As per usual, I also went on a walking tour where I met a lovely family from California. We ended up spending the rest of the day together, including heading a pickleball spot I found as I walked around. The dad was thrilled to get out on the court on his vacation. It’s very difficult to find pickleball outside of the US so it was so much fun to play in Uruguay. In fact these courts (having been built 8 months prior) are the first in the capital city!

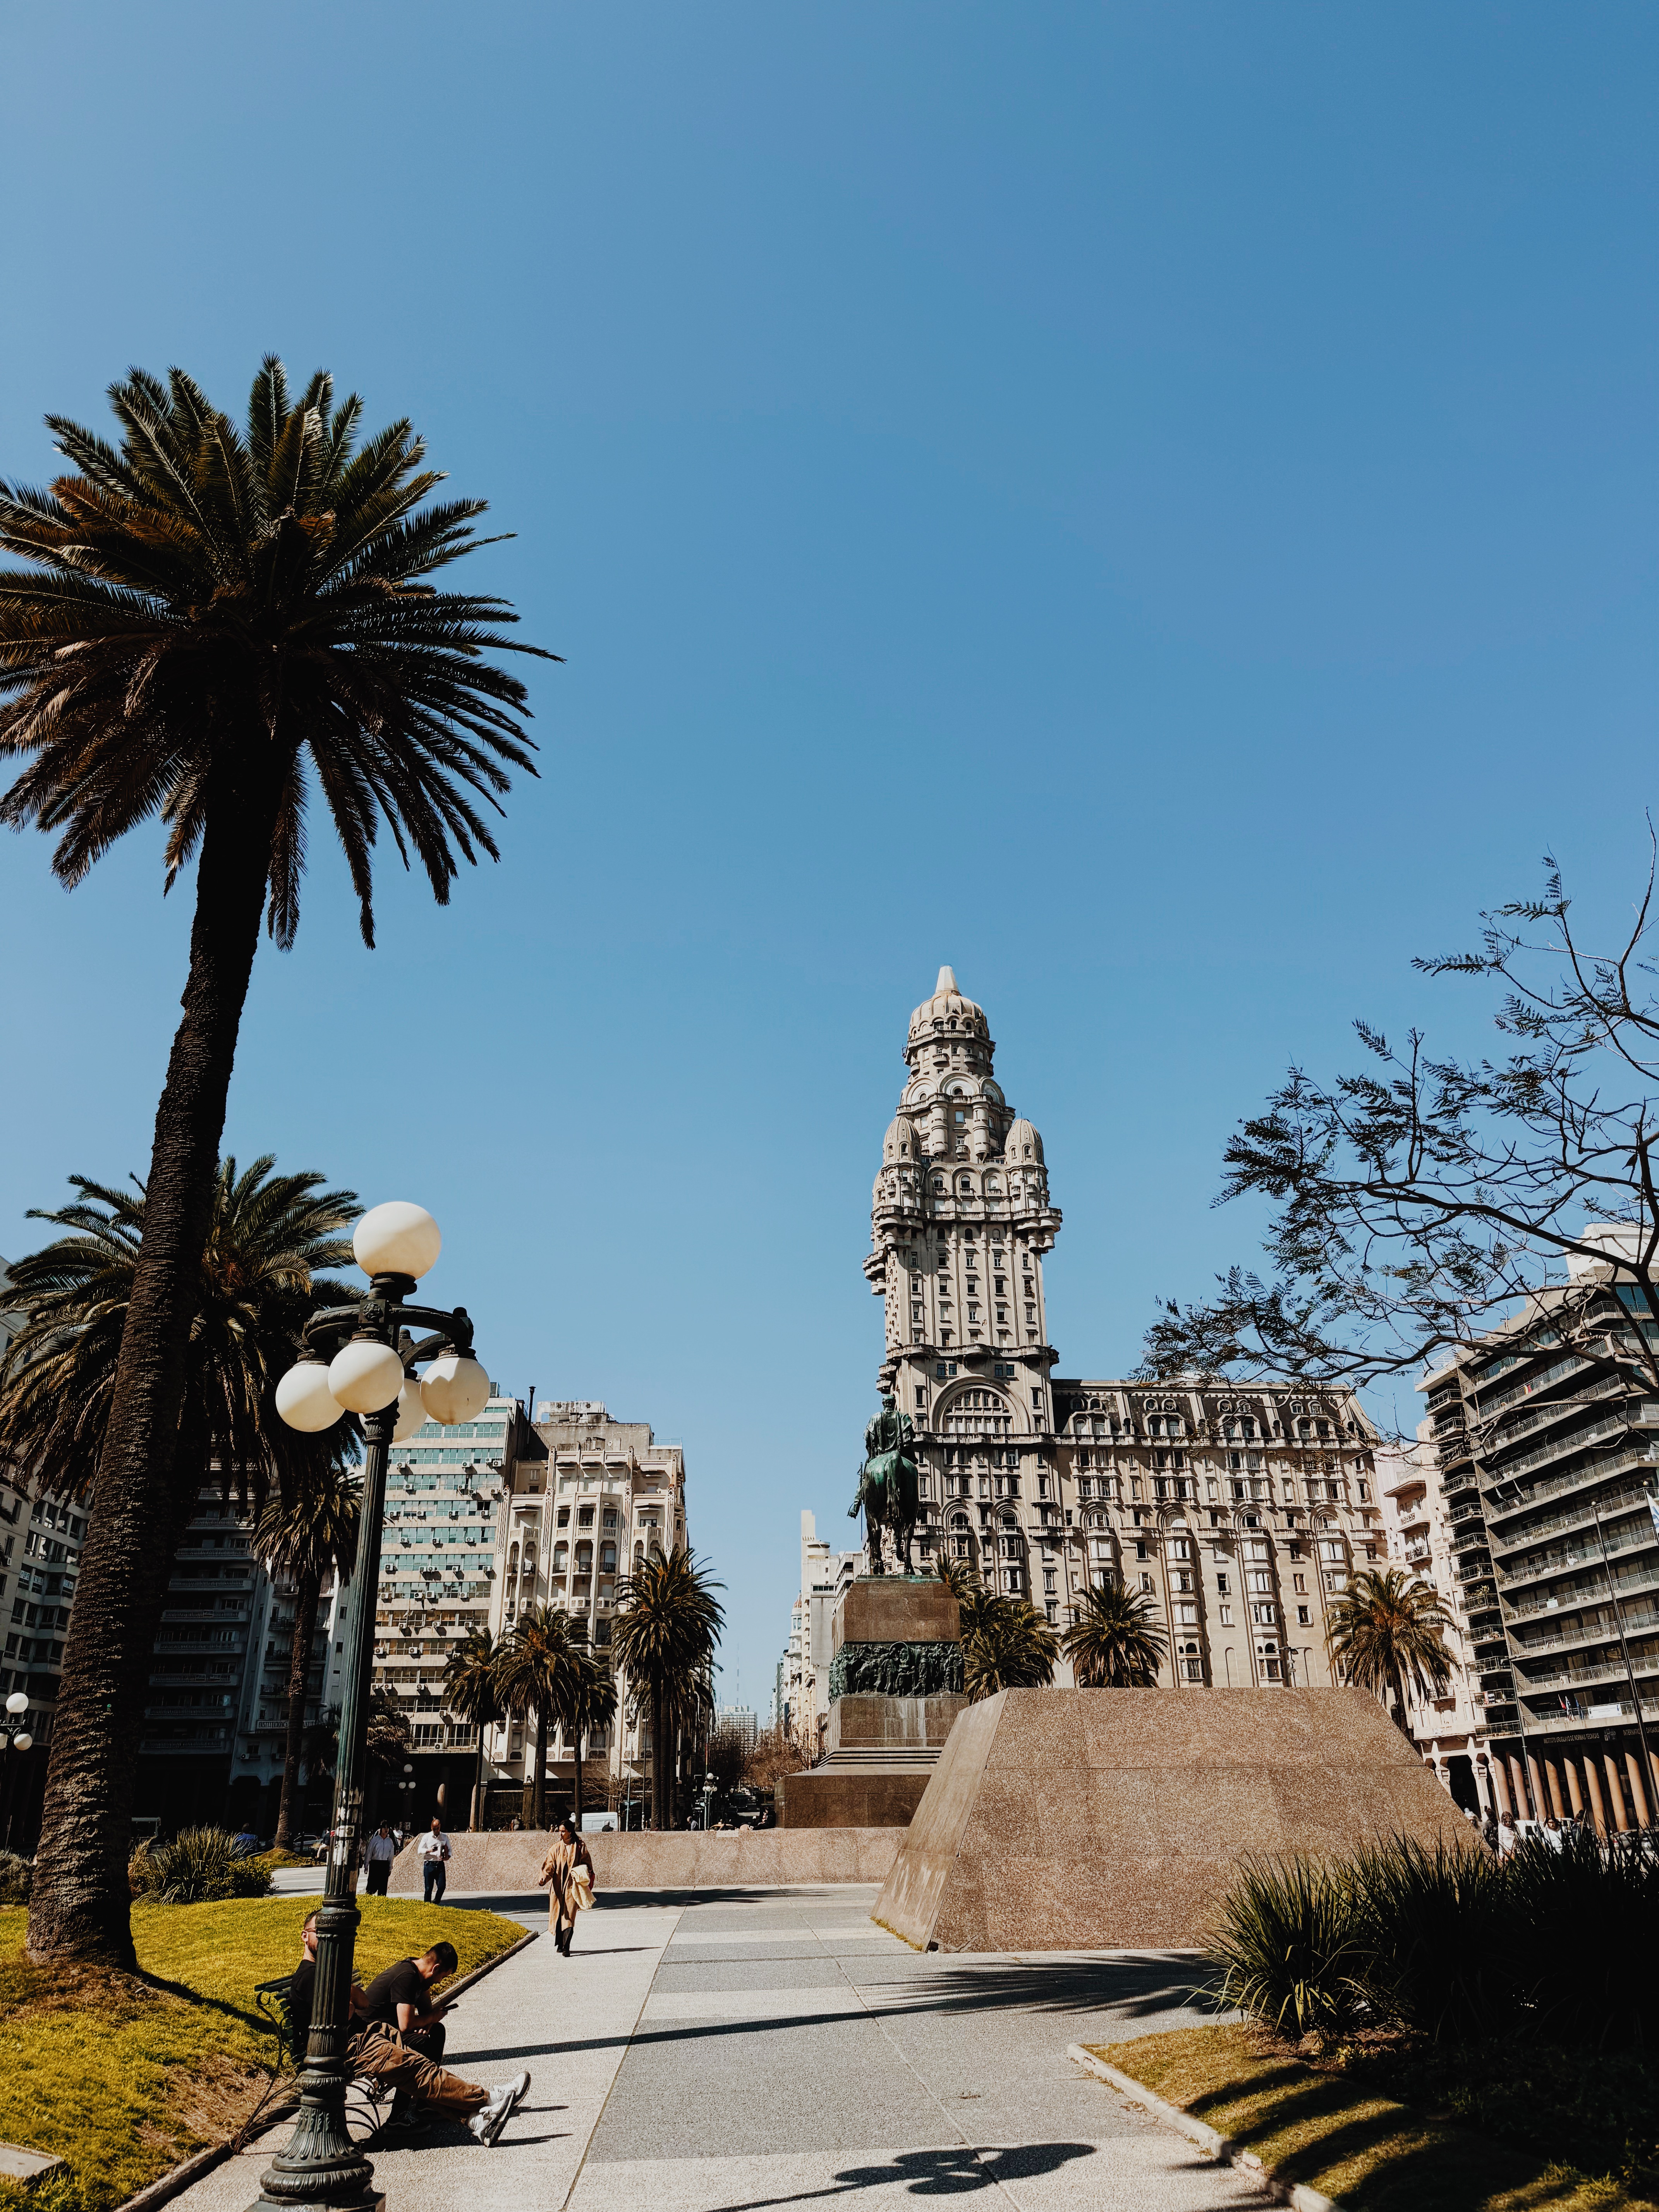
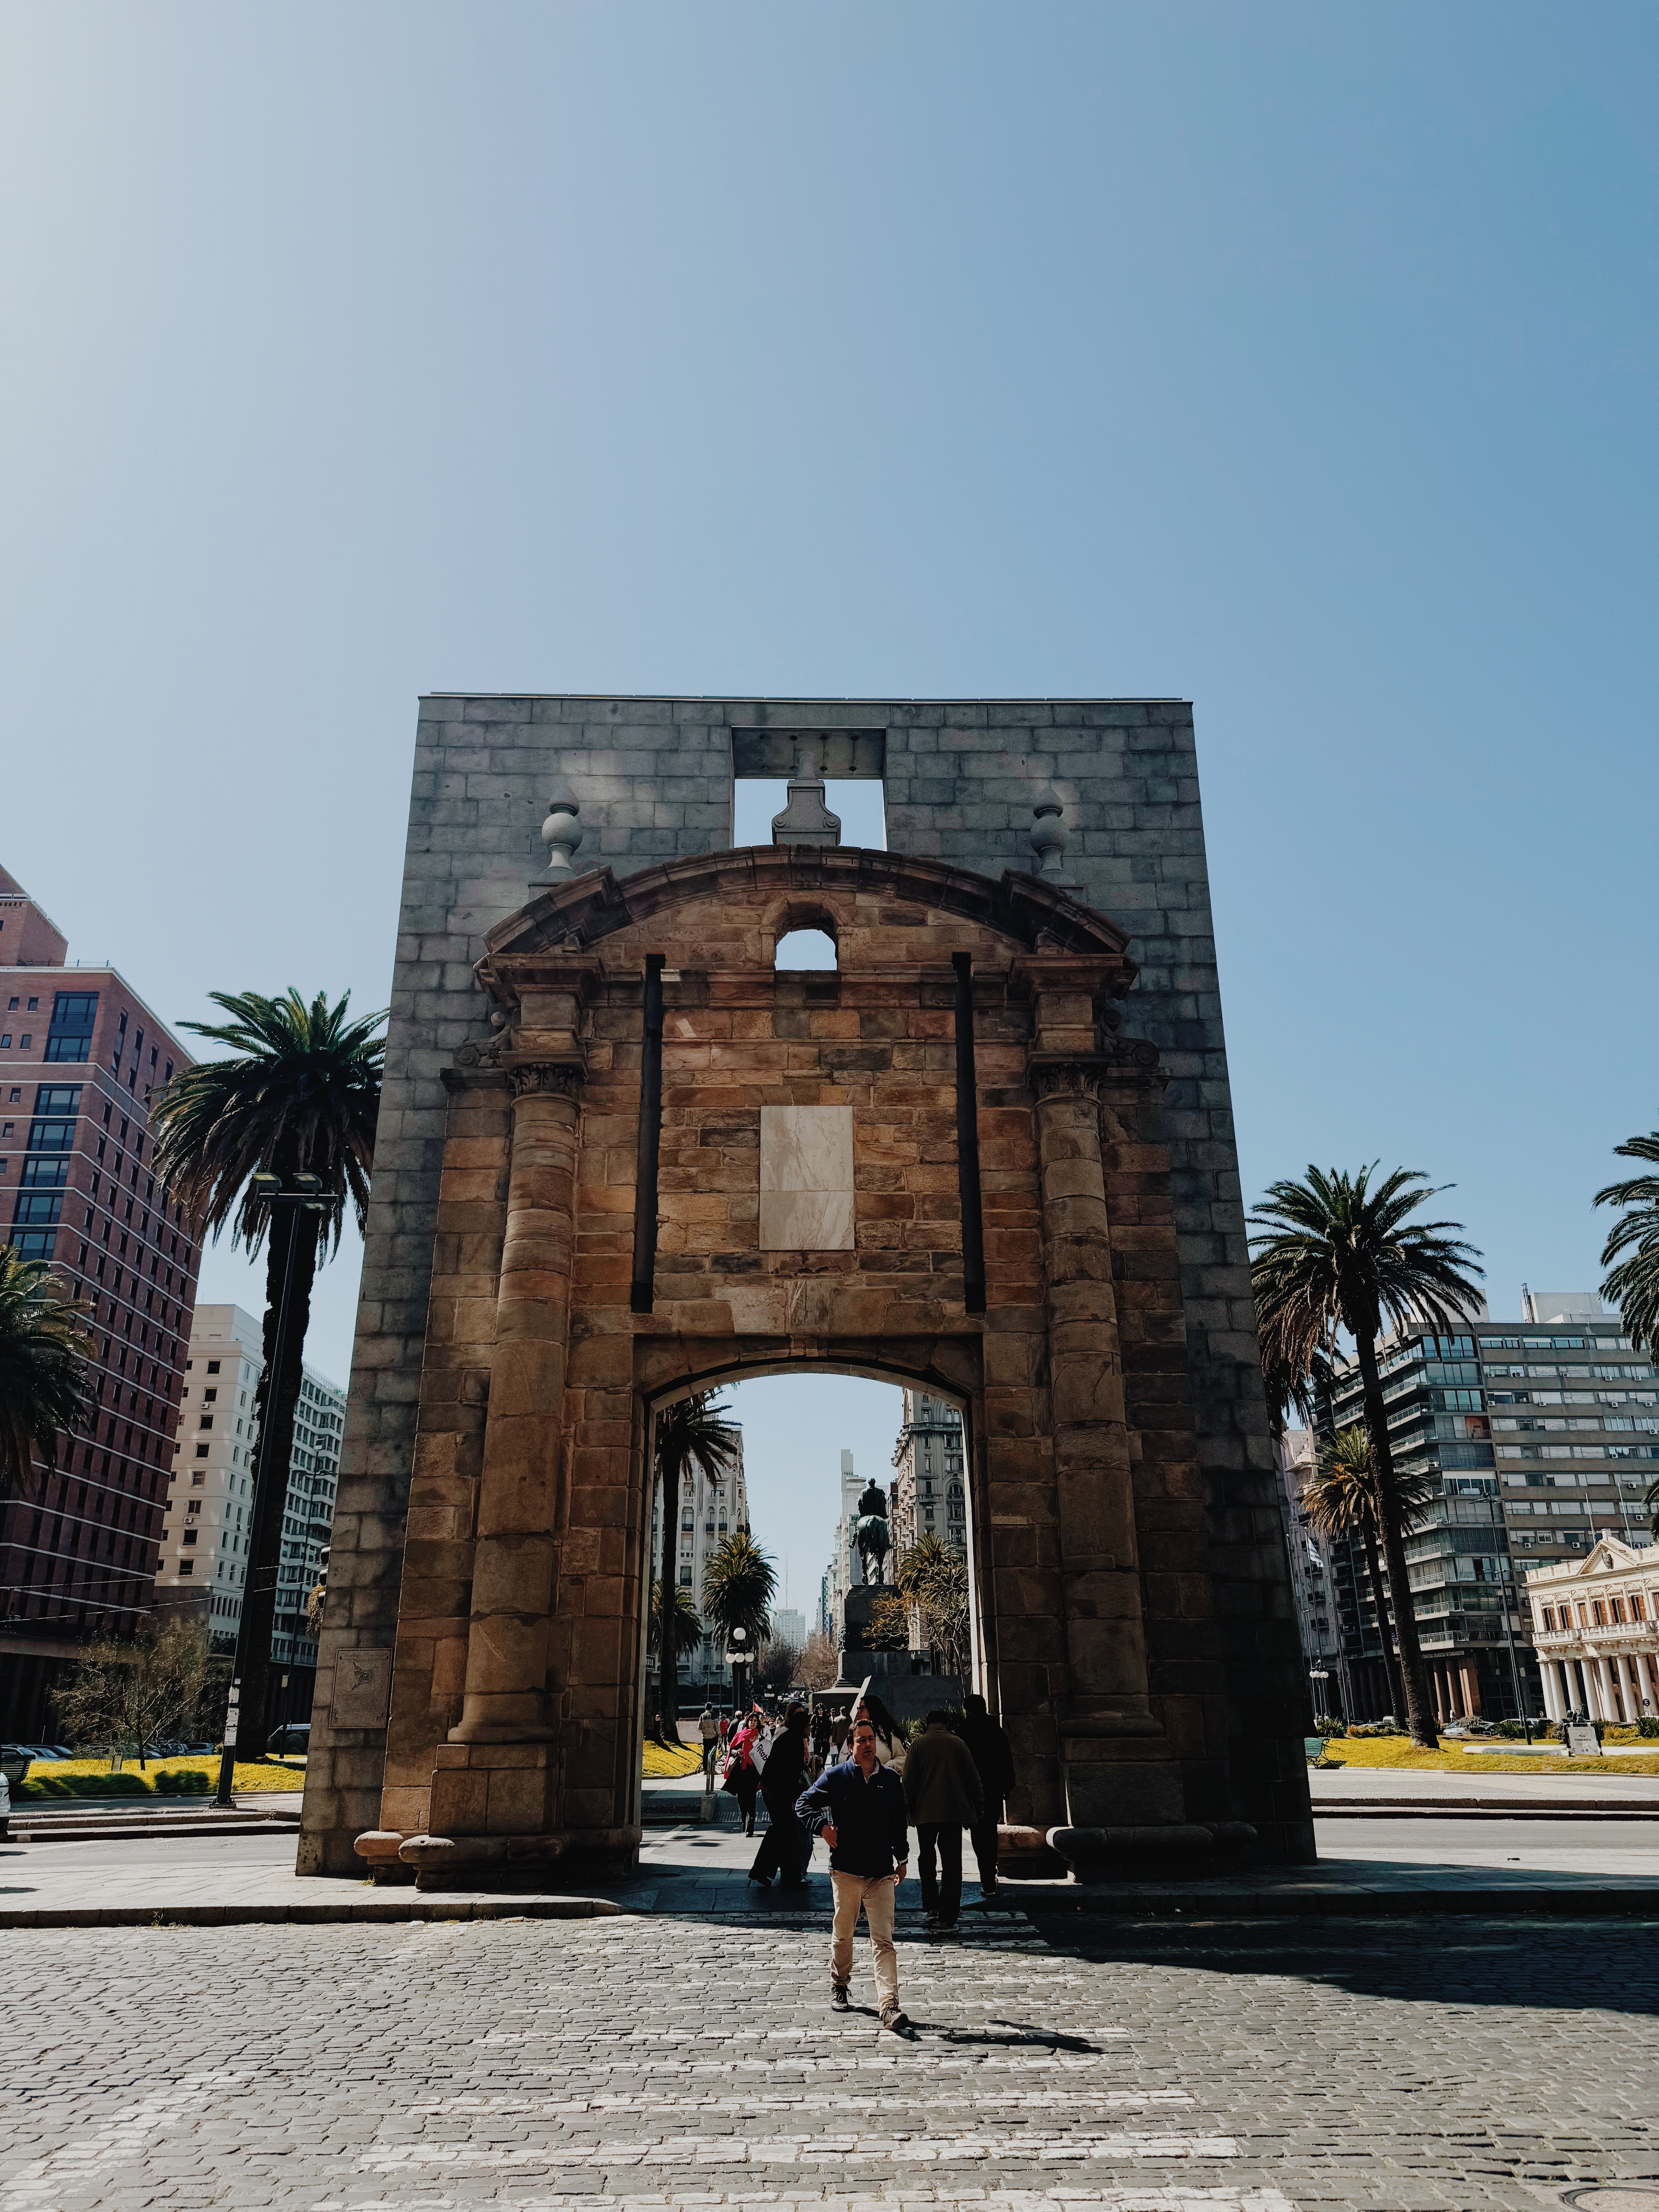
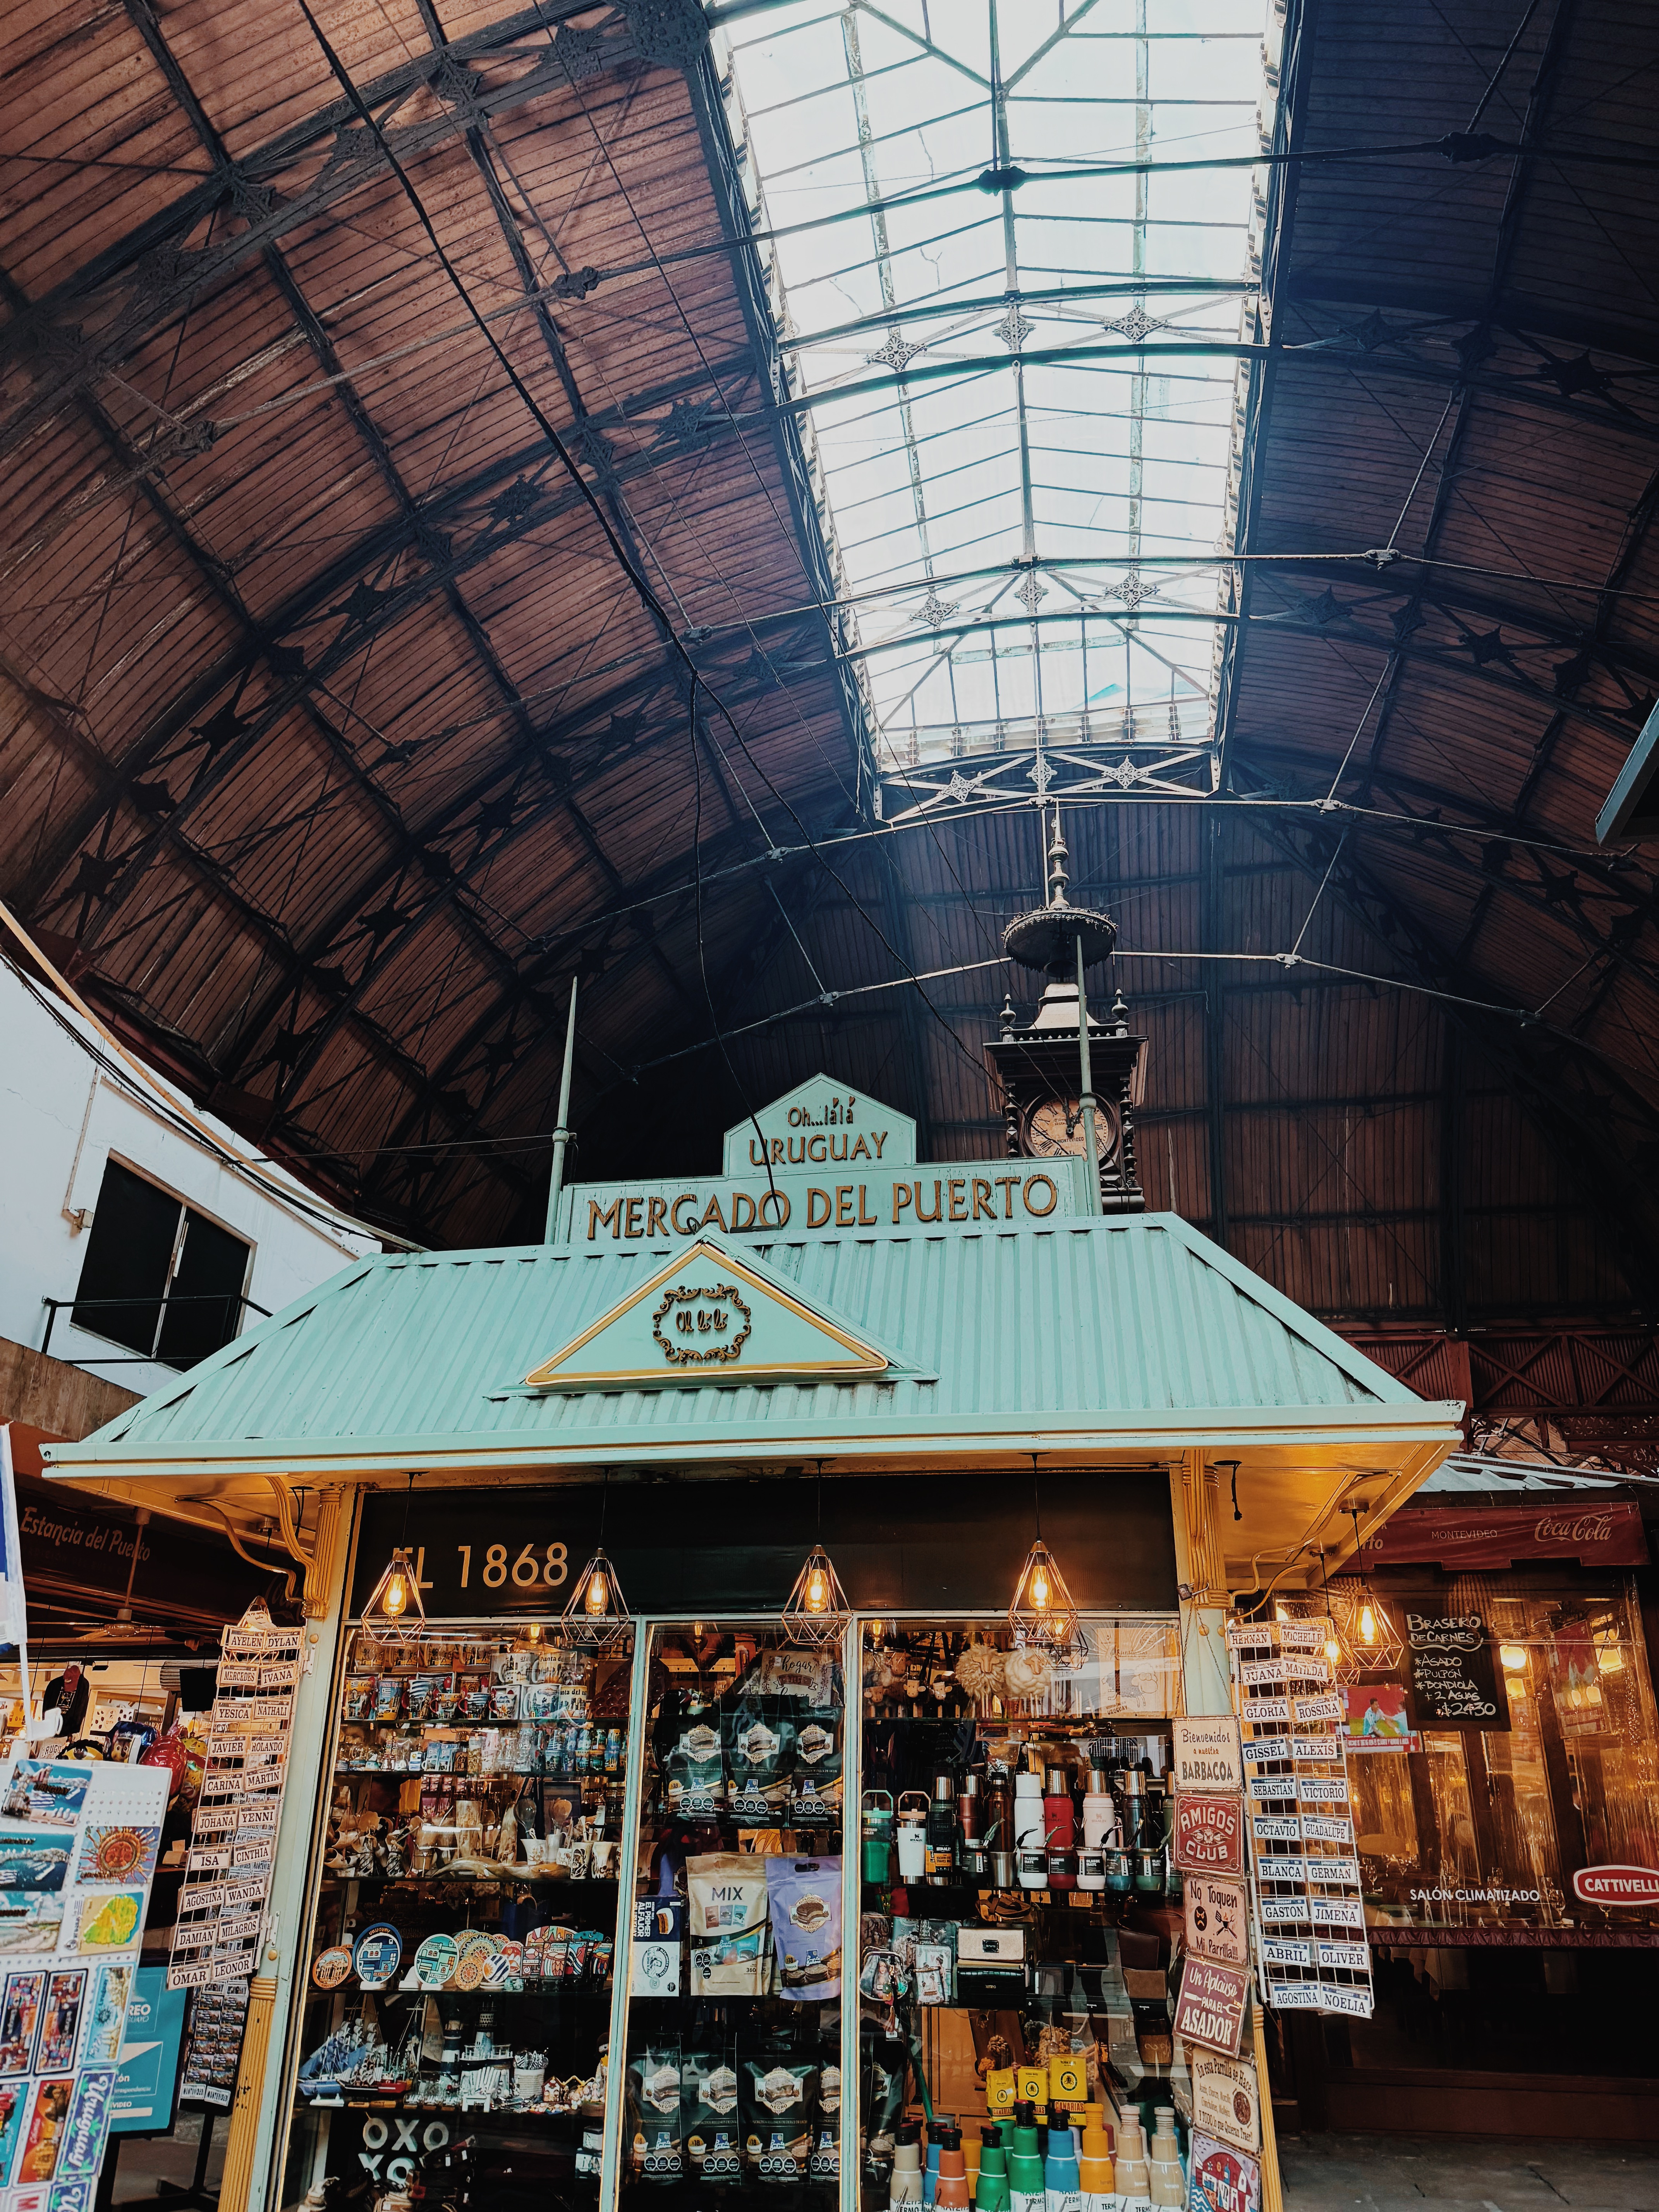
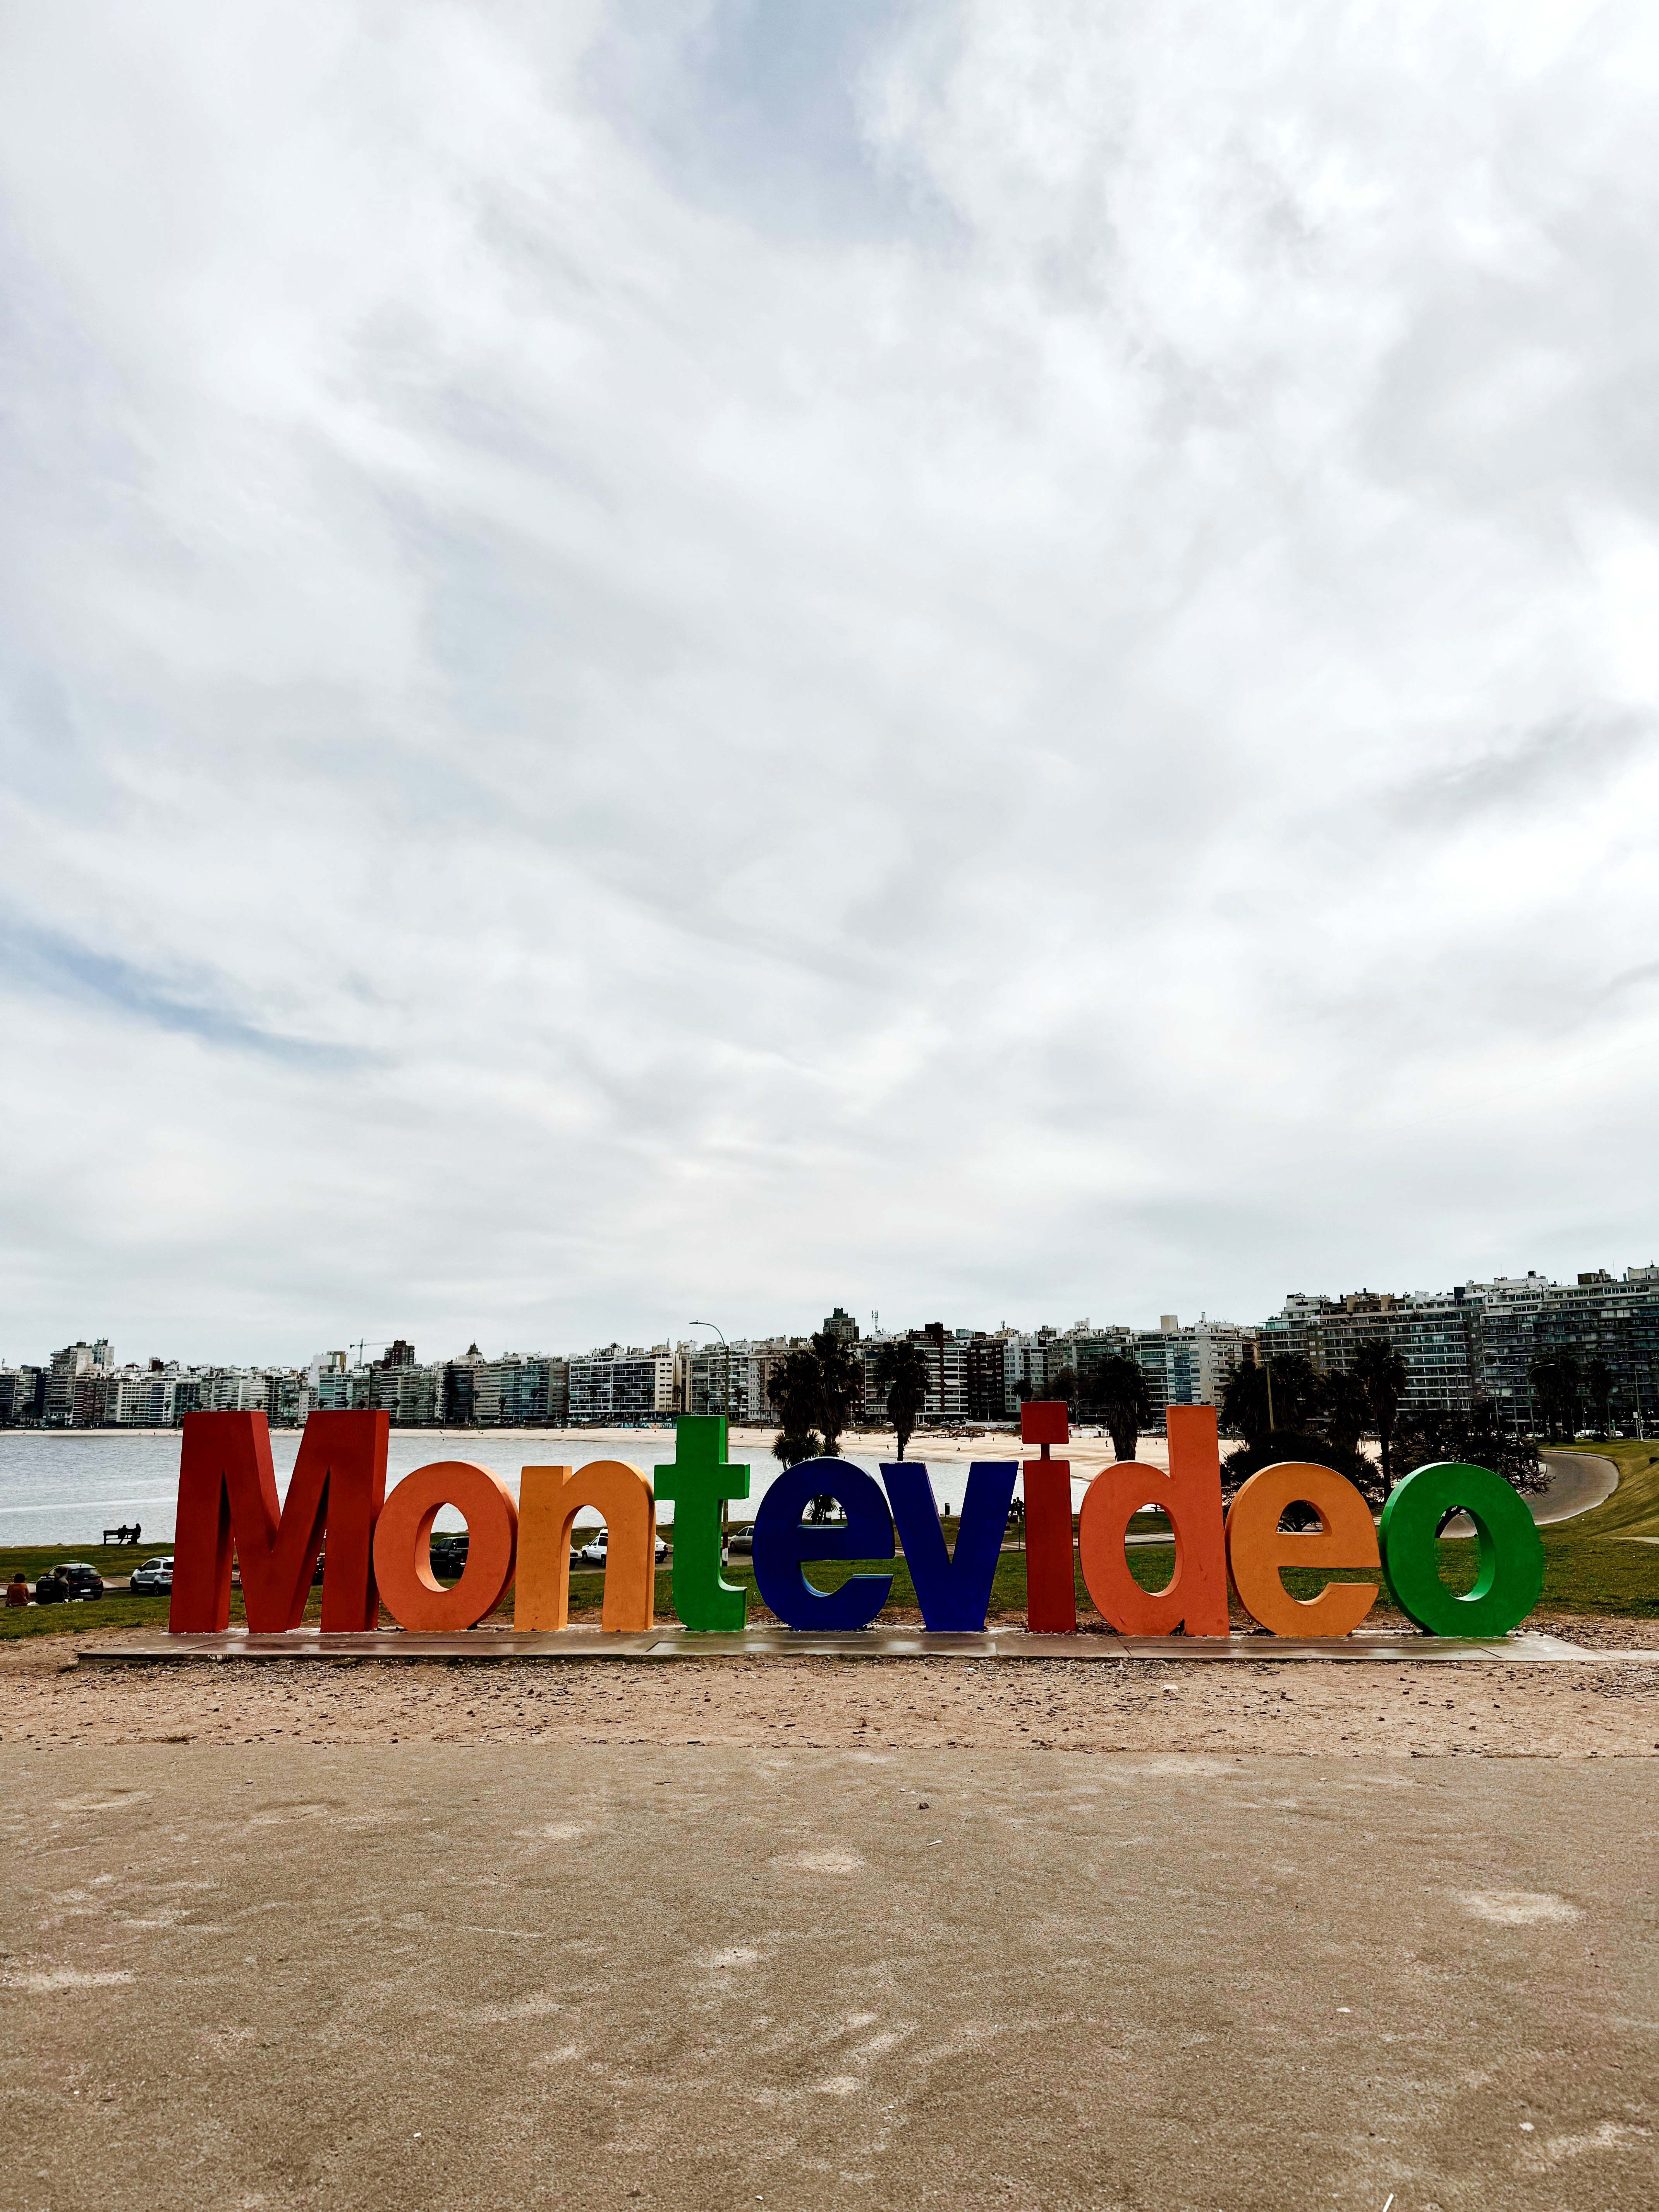
While walking around make sure to check out the Mercado del Puerto, Plaza Independencia, & the Montevideo sign (this is a little further away).

OVERALL THOUGHTS:

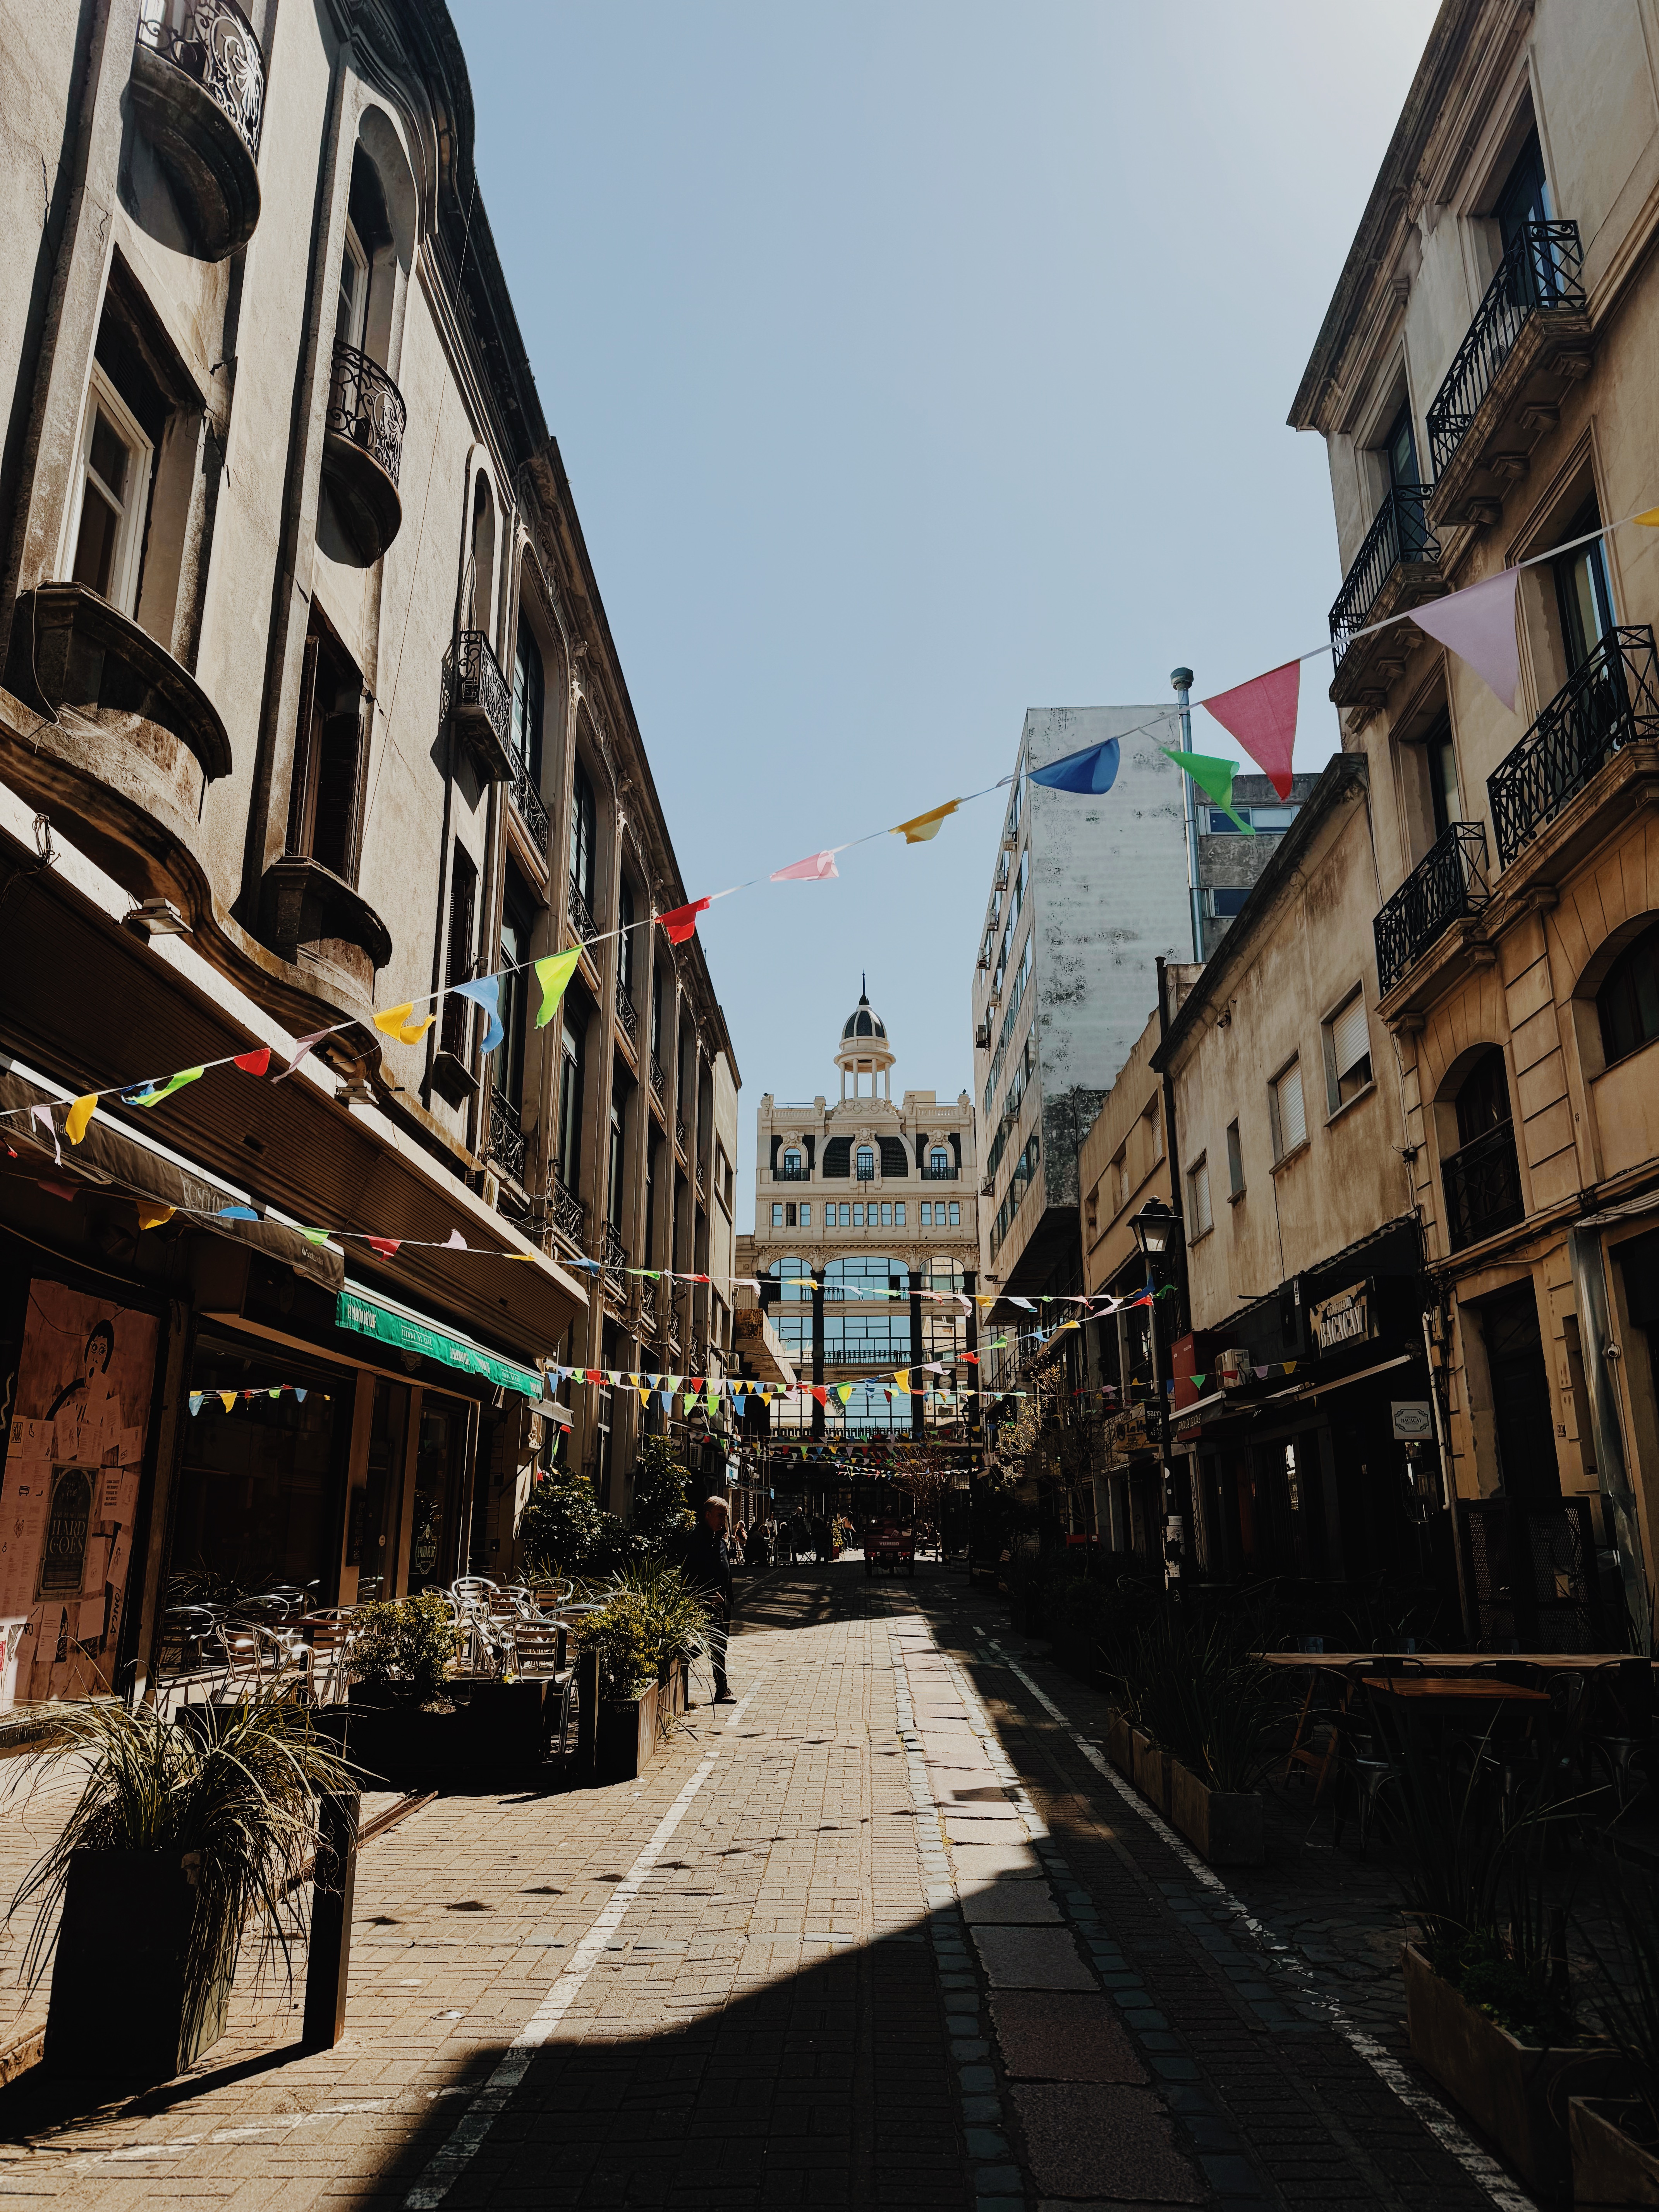
I totally fell in love with Montevideo. It felt safe, the architecture was charming, people were lovely, and it was so, so relaxed. I almost decided to do my 2 weeks of Spanish classes here instead of Buenos Aires. I hope to return to Montevideo/Uruguay again in my life!

CITY: Punta del Este

HOW LONG: 2 NIGHTS

ACCOMMODATION:

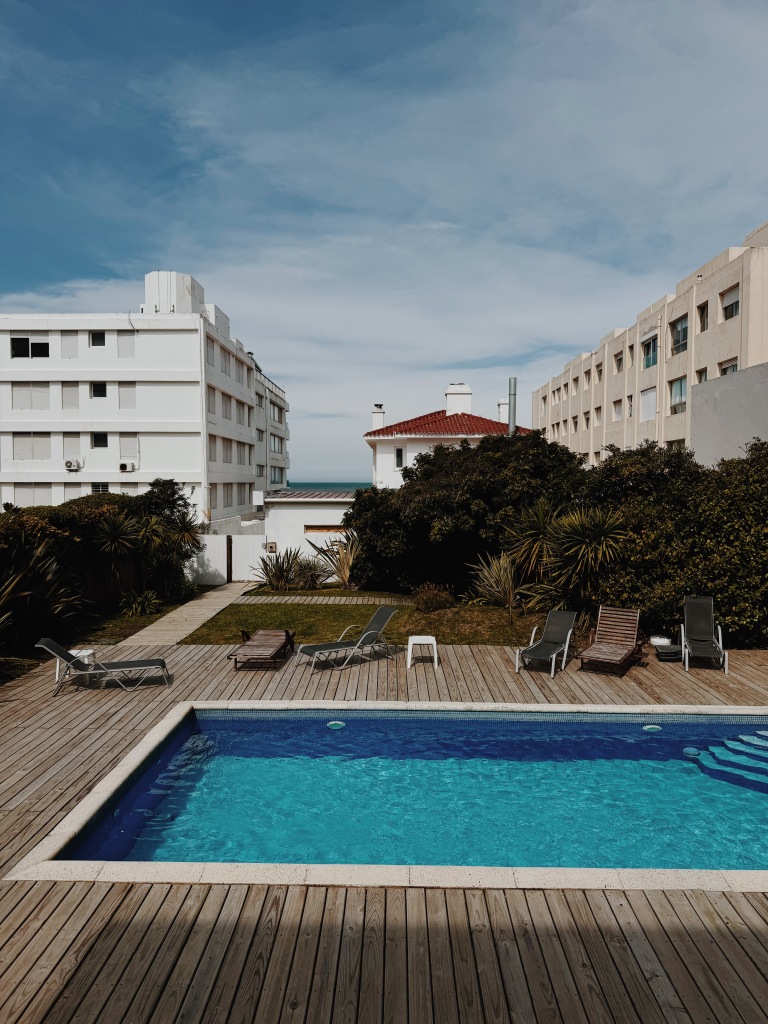
I treated myself to a hotel stay since it was only $40 per night (gotta love shoulder season)! It was in the center of town & included breakfast. There was a pool (but it was too cold to use it while I was there) & nice common area to sit in. Overall simple but nice.

WHERE TO EAT:

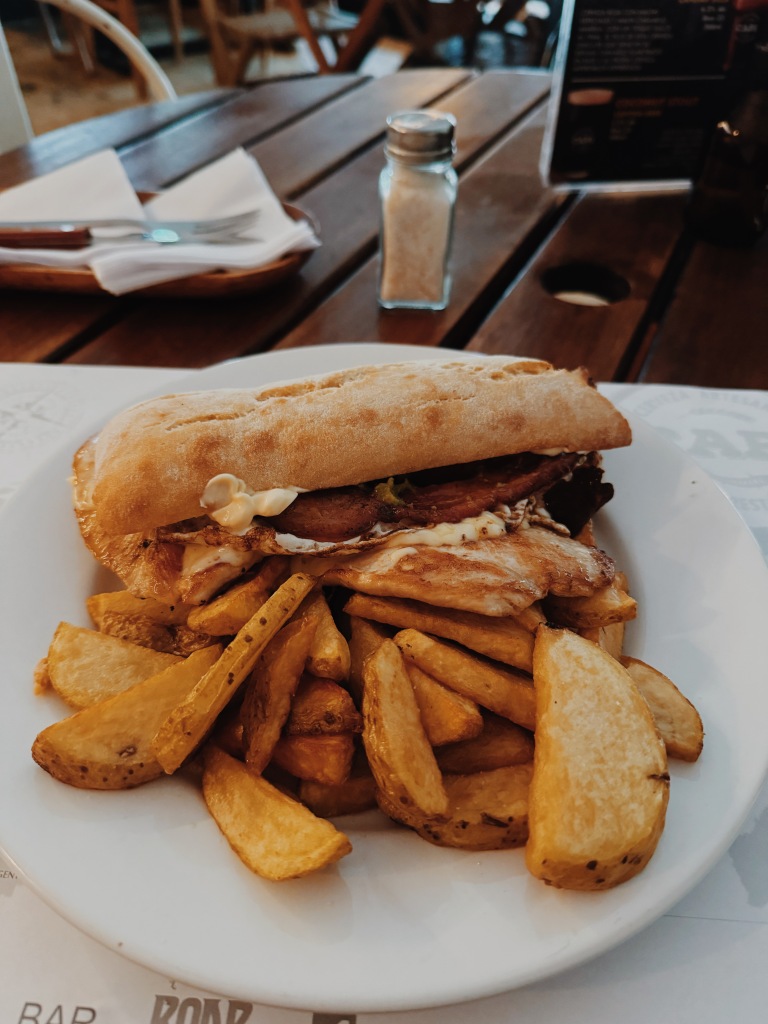
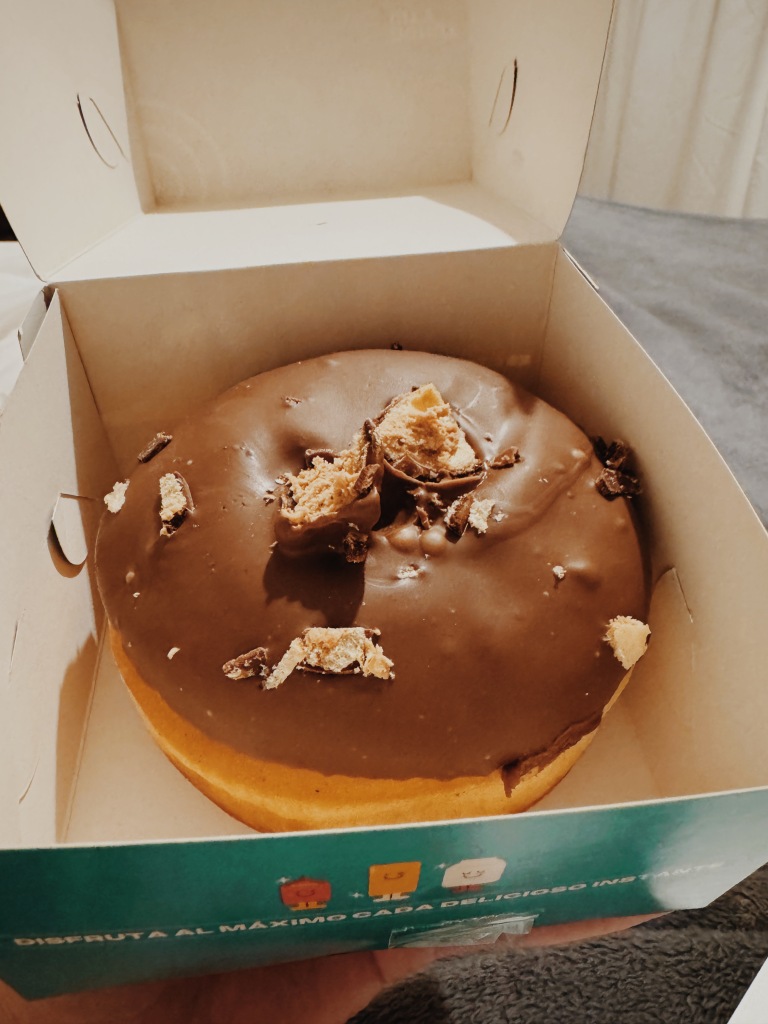
Because it was shoulder season, it definitely felt like a lot of restaurants were closed or doing renovations, but I enjoyed dinner at Capi Bar & Rey de La Pizza. I also tried a doughnut from Donut City that was decadent.

WHAT TO DO:

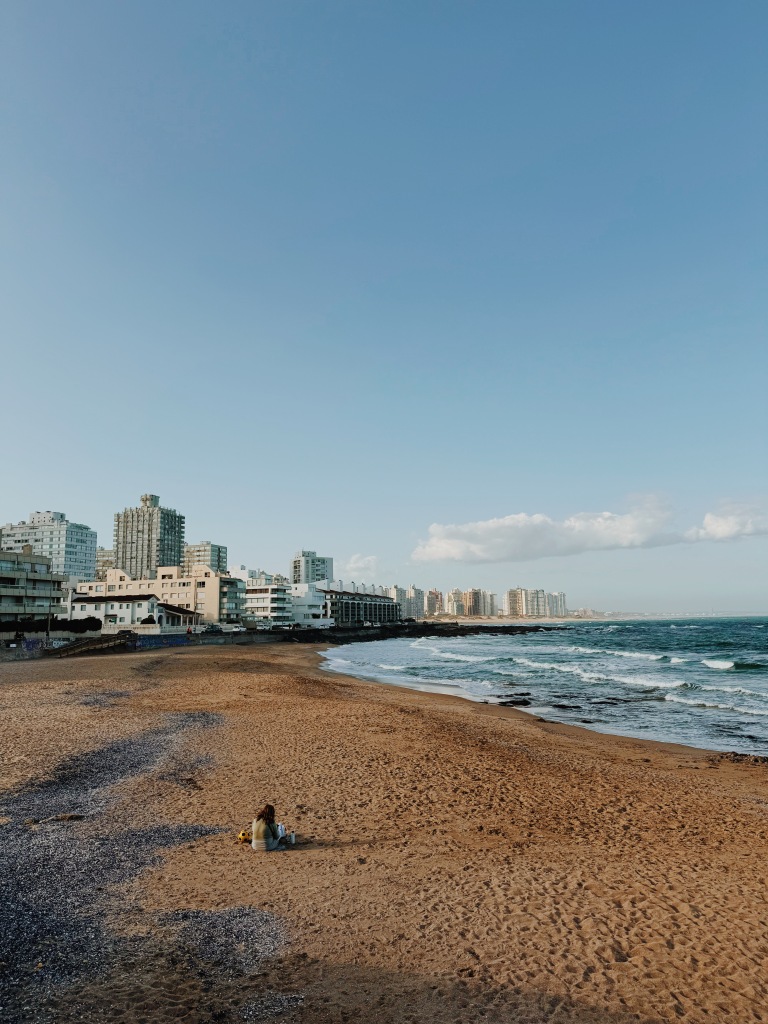
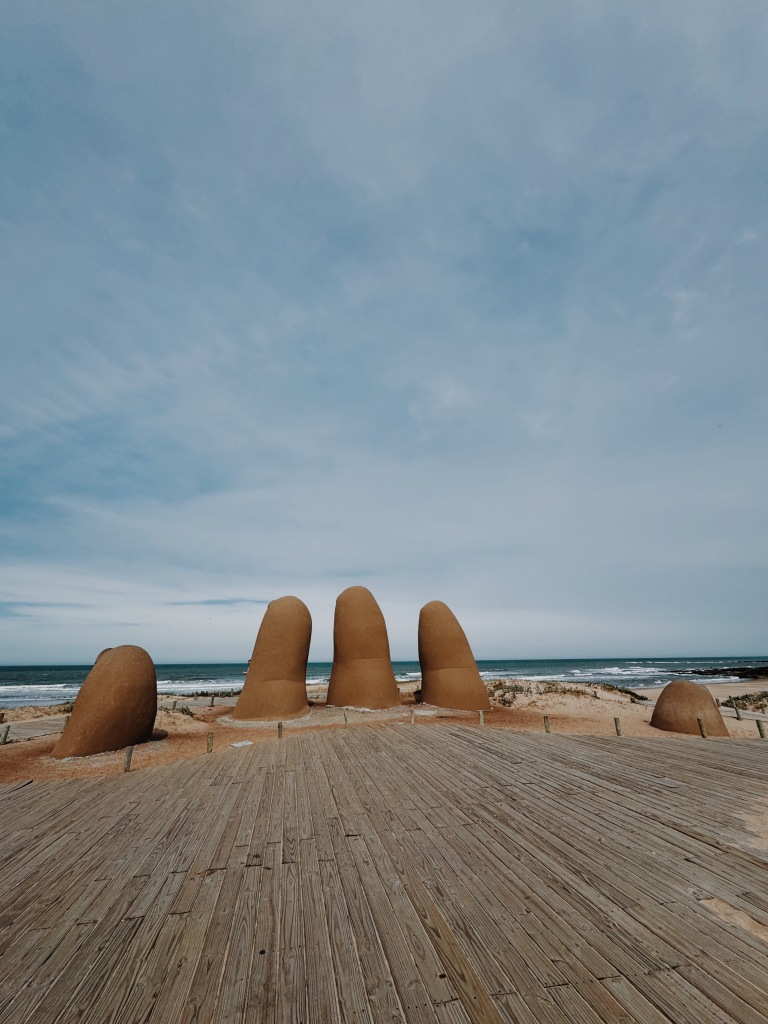
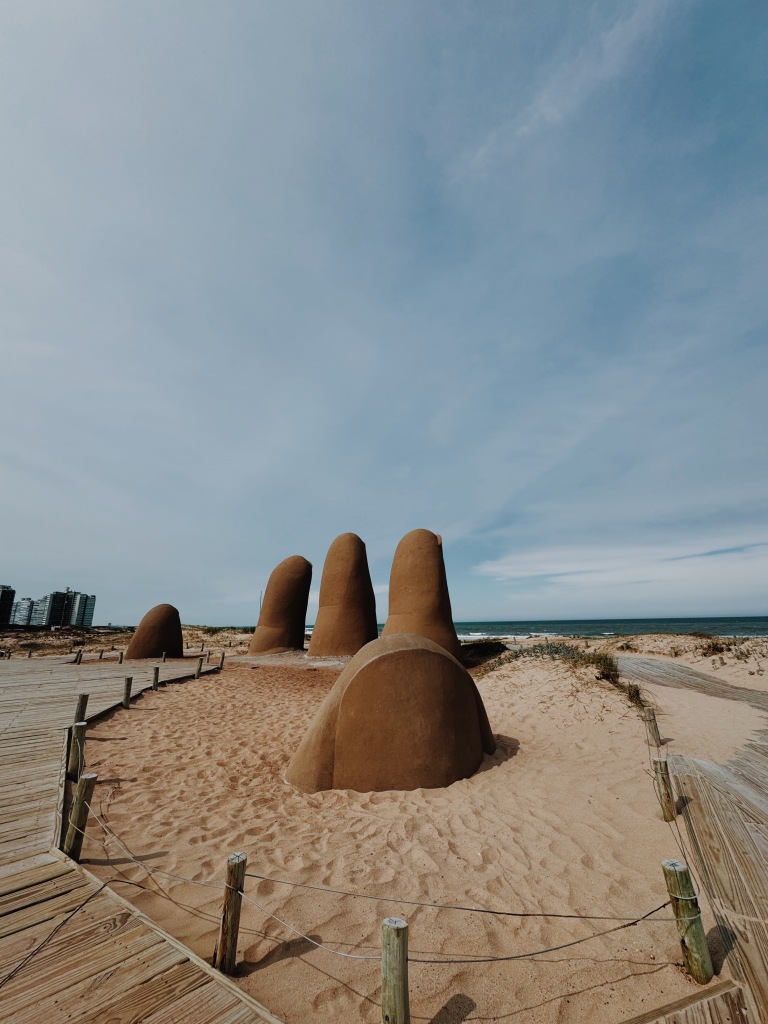
If you were visiting during the summer, the thing to do would be hang at the beach, but it was pretty windy & chilly while I was here. I still really enjoyed it though. Like Montevideo, there was a promenade along the water all around the city so I walked or ran along it each day! I also stopped to check out the cool sculpture of “La Mano.”

OVERALL THOUGHTS:

This beach town is likely best enjoyed during the summer (rather than spring), but it was kinda nice to feel like I had the town all to myself. It was very peaceful, calm, & cozy. Definitely worth a visit!

CITY: Colonia

HOW LONG: 2 NIGHTS

ACCOMMODATION:

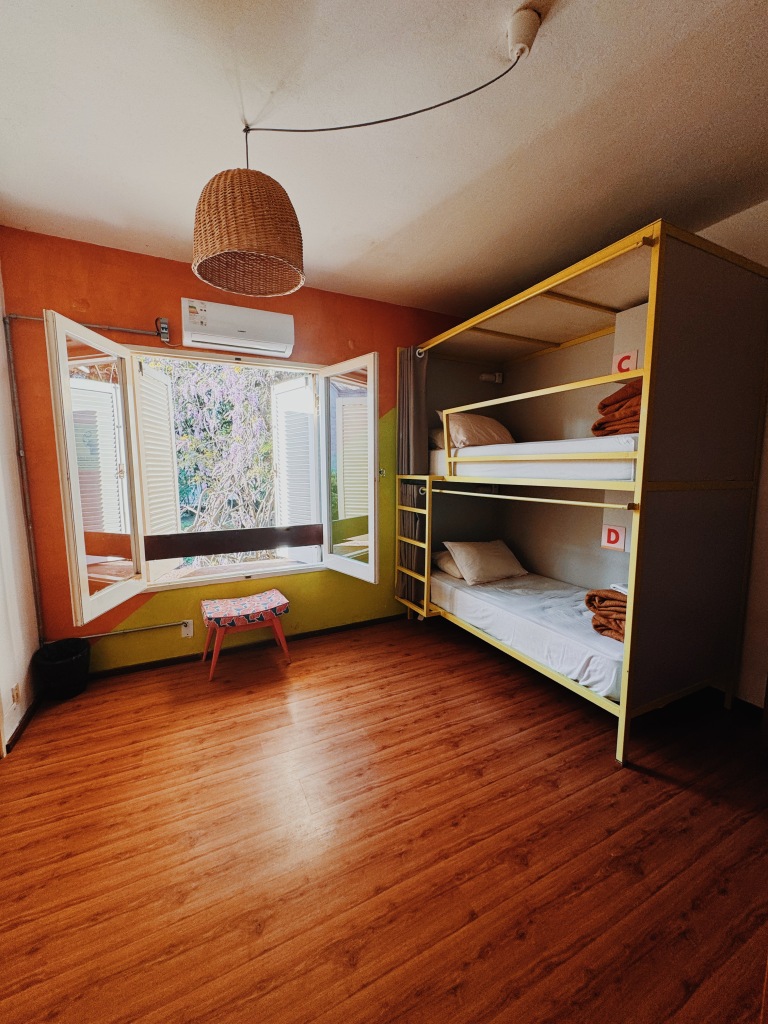
I stayed at Viajero Colonia Hostel. This is a chain hostel (which I tend to try to avoid), but this one was actually great! The room was clean & quiet. There were curtains on the bed as well as a personal light, a lockable storage area for small valuables and a plug. Bathroom was attached to the room. Huge common area & the hostel was located in the center of town! I also did a free yoga class on the rooftop terrace. Definitely would stay here again.

WHERE TO EAT:

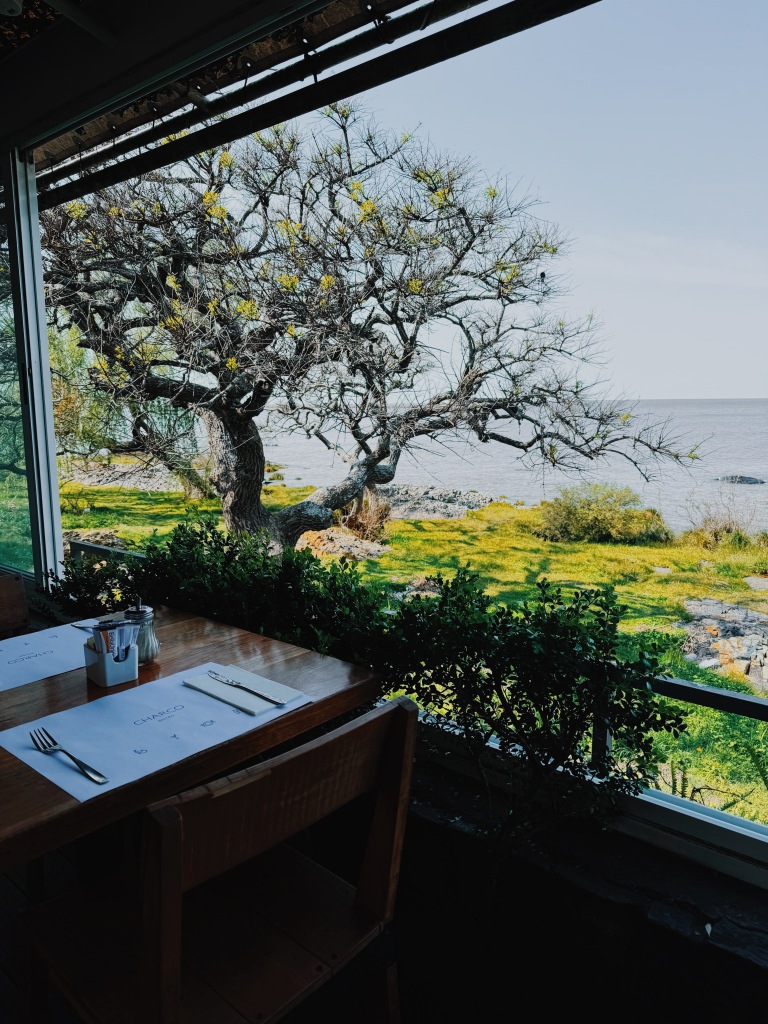
Breakfast at Charco Bistro was delightful. You sit with views right out on the water and restaurant is gorgeously decorated. Very light & area & green with plants. Food was yummy too!

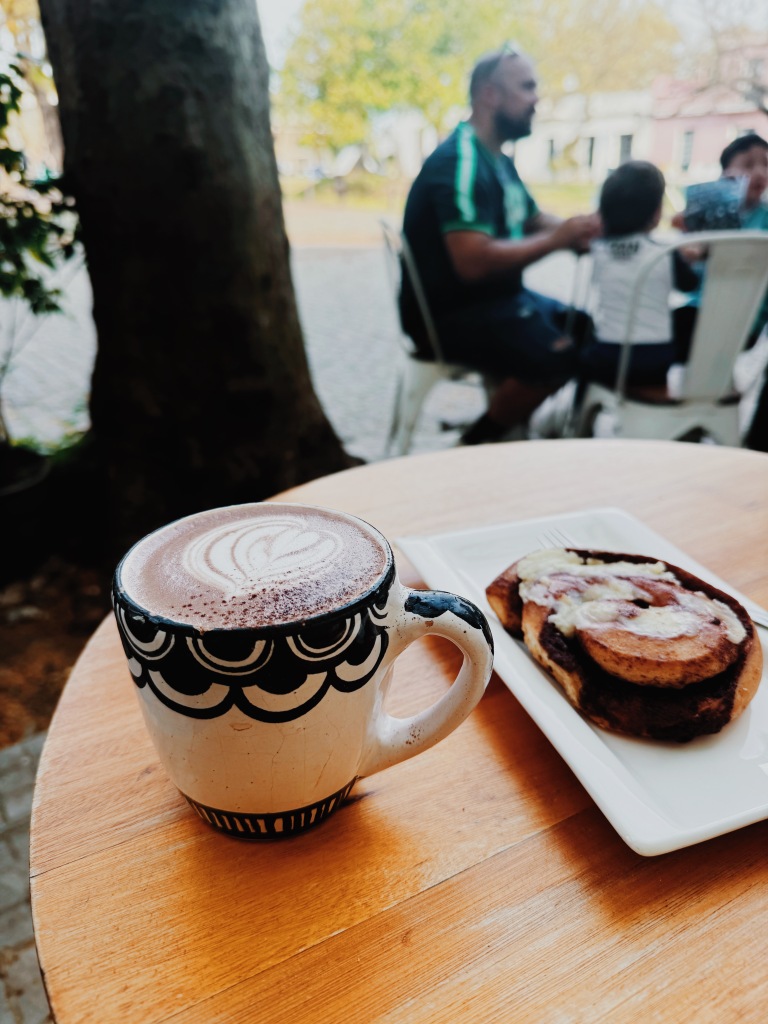
Colonia Sandwich Shop offered delicious sandwiches and they are also famous for their cinnamon rolls, so I obviously tried one! Lived up to its reputation. I paired it with a hot chocolate as well on a chilly, but sunny afternoon.

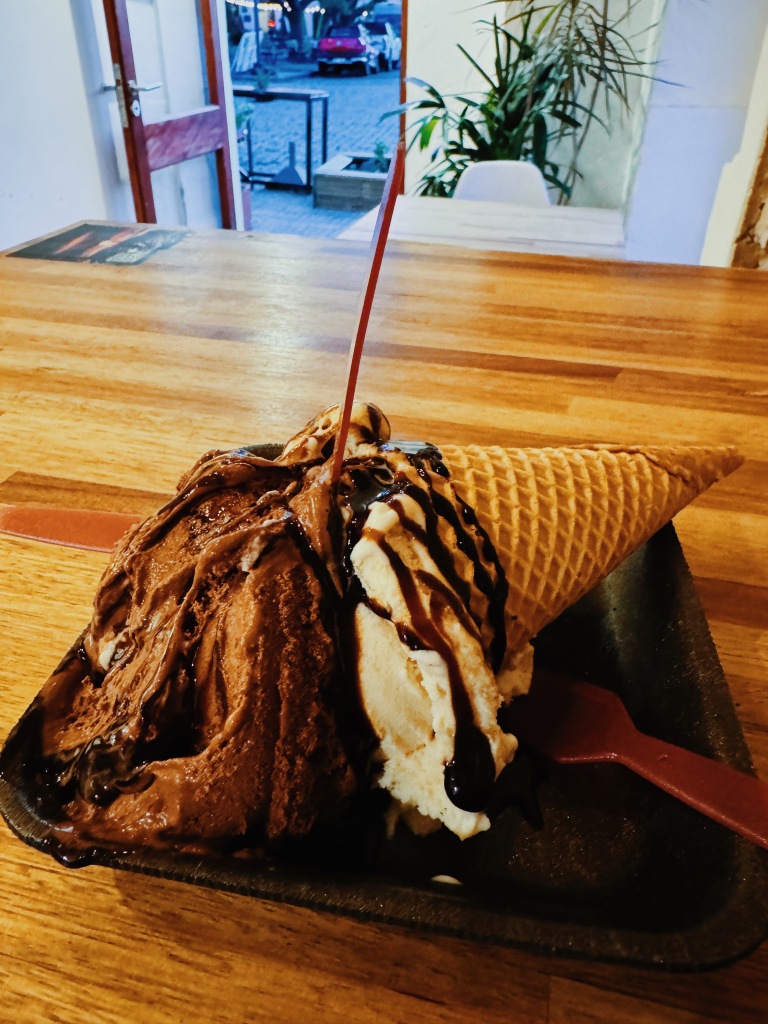
Don’t miss Helados Dienzzo for a gelato treat!

WHAT TO DO:

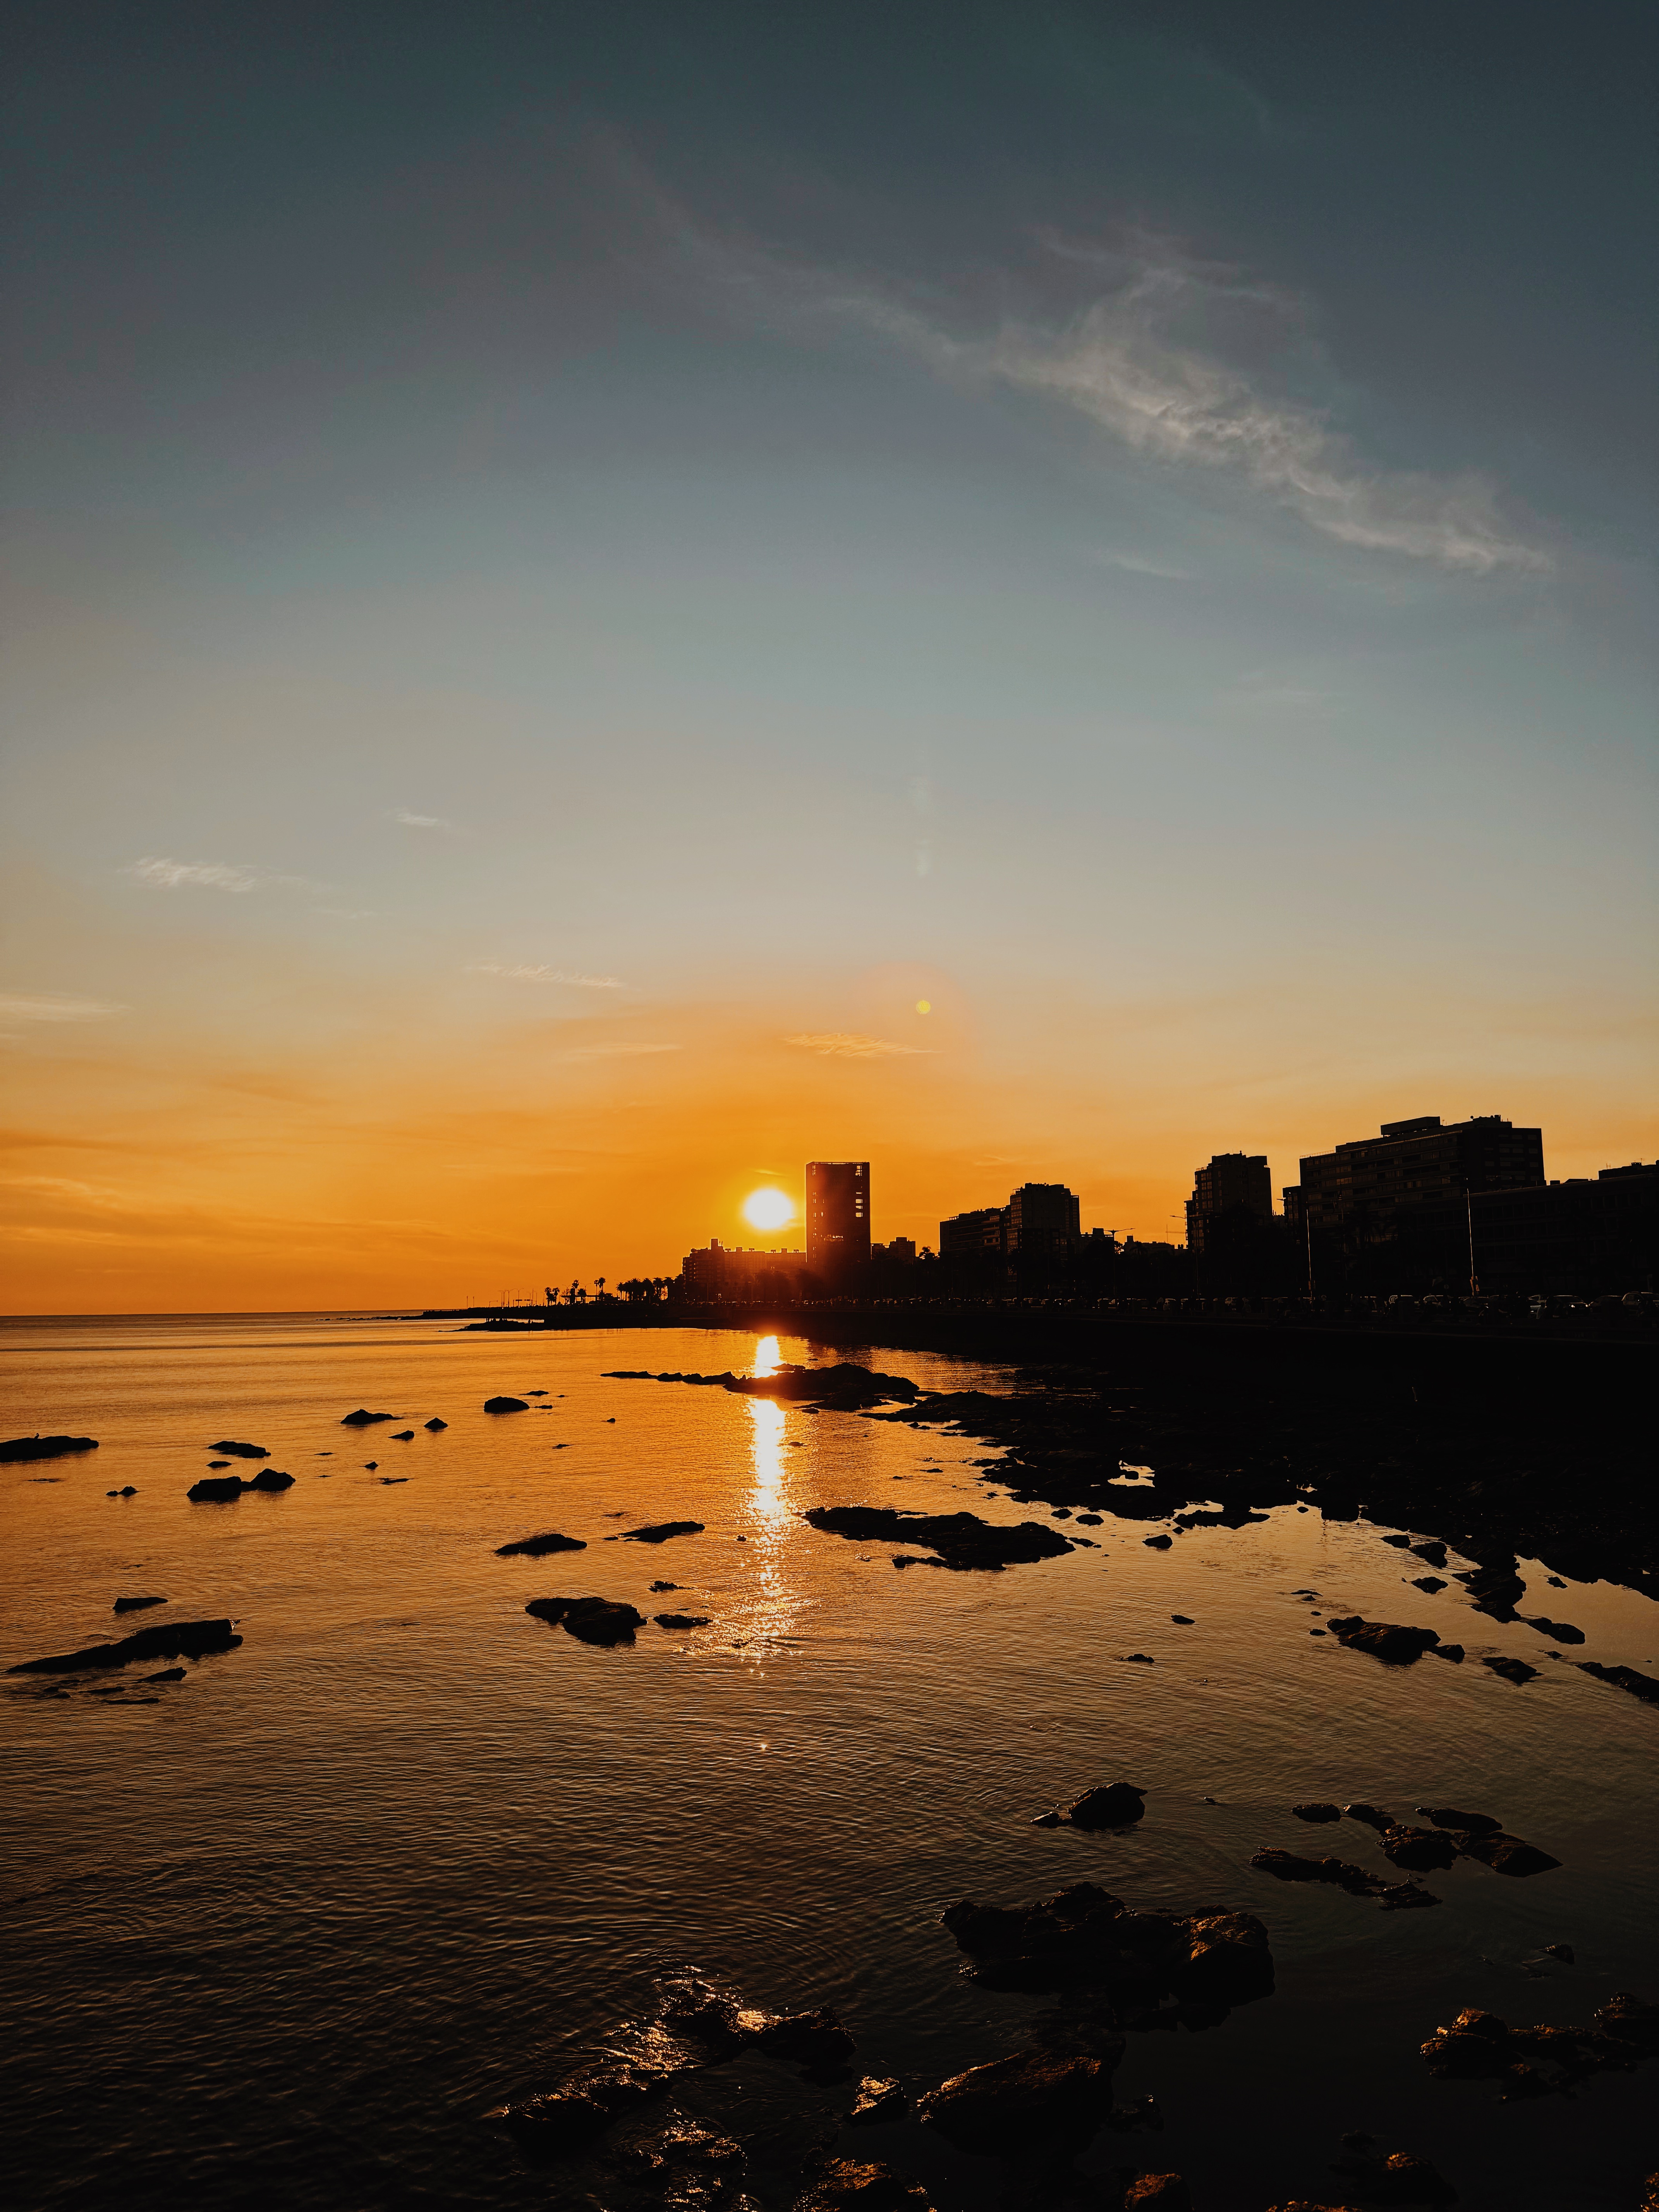
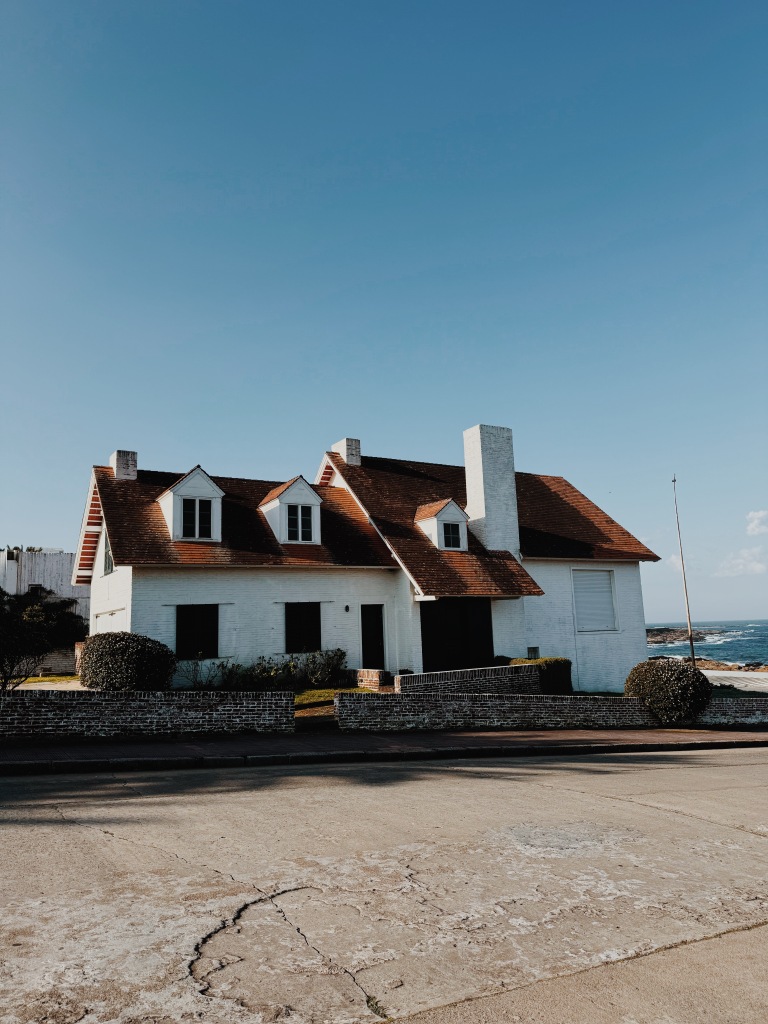
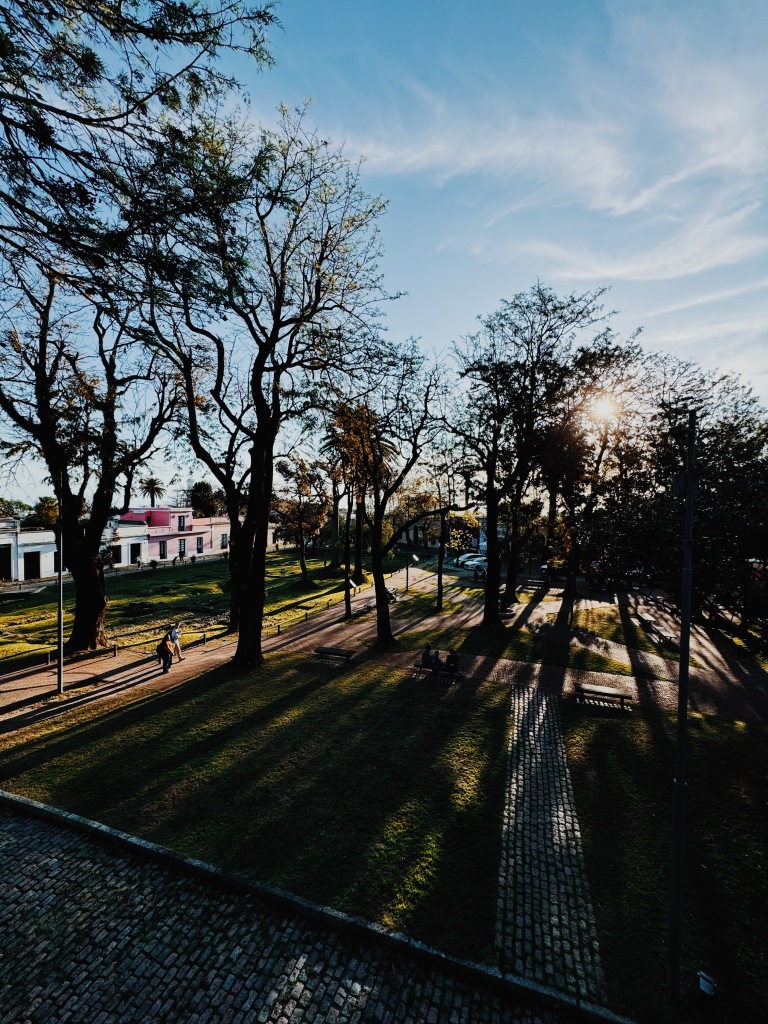
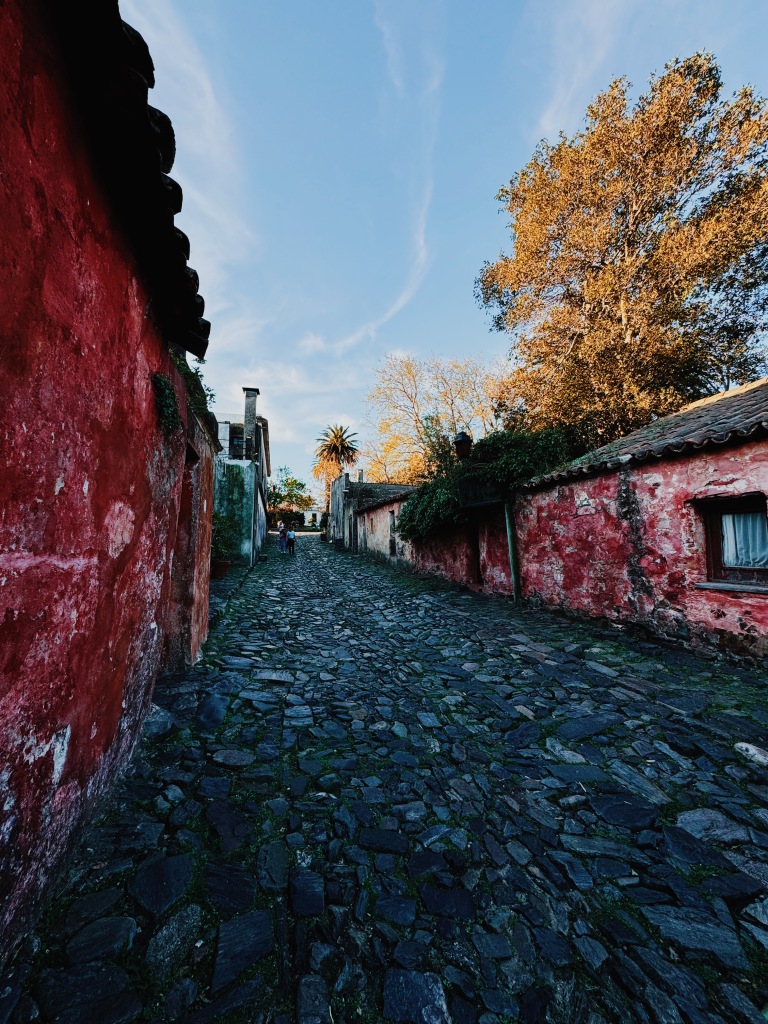
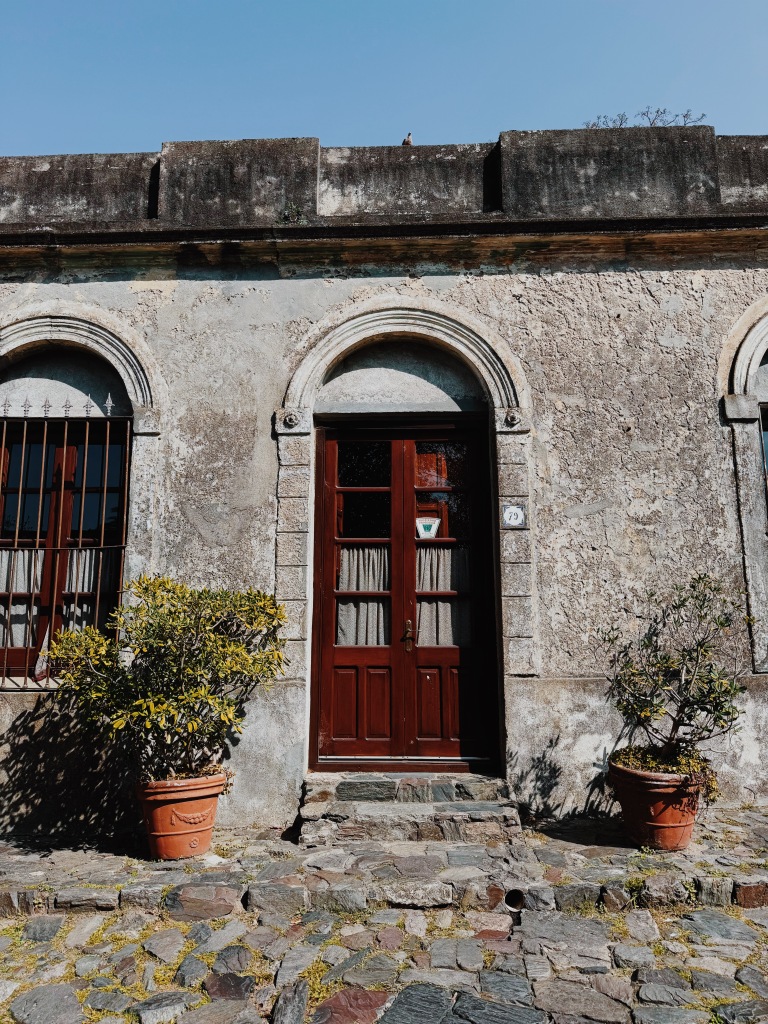
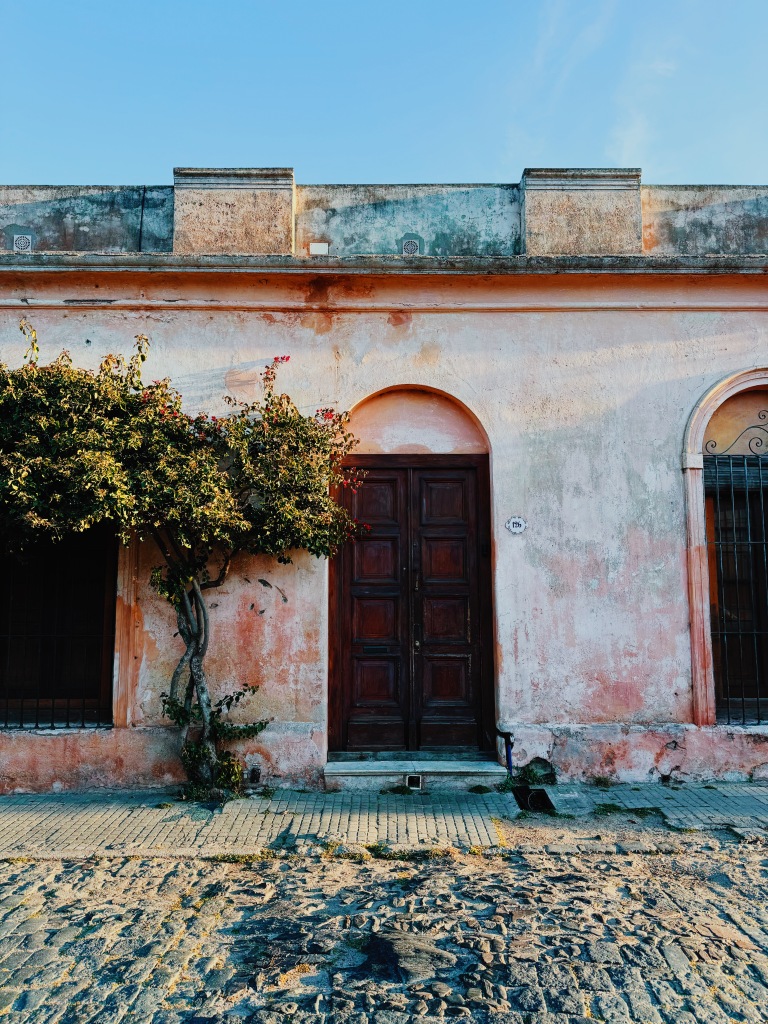
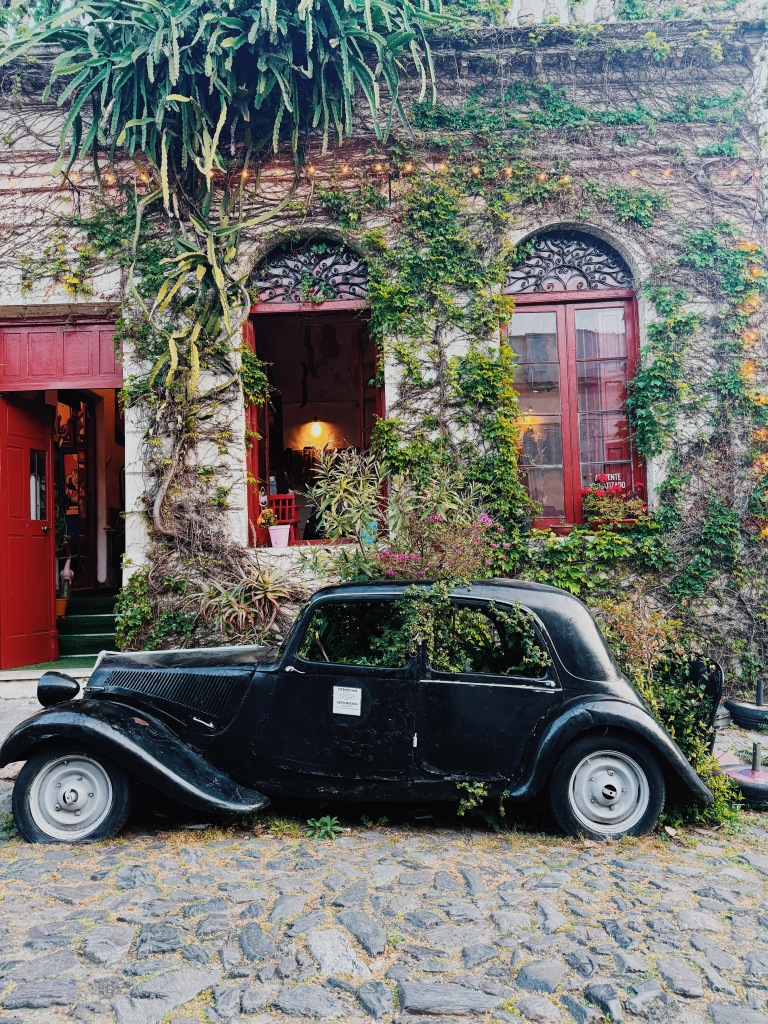
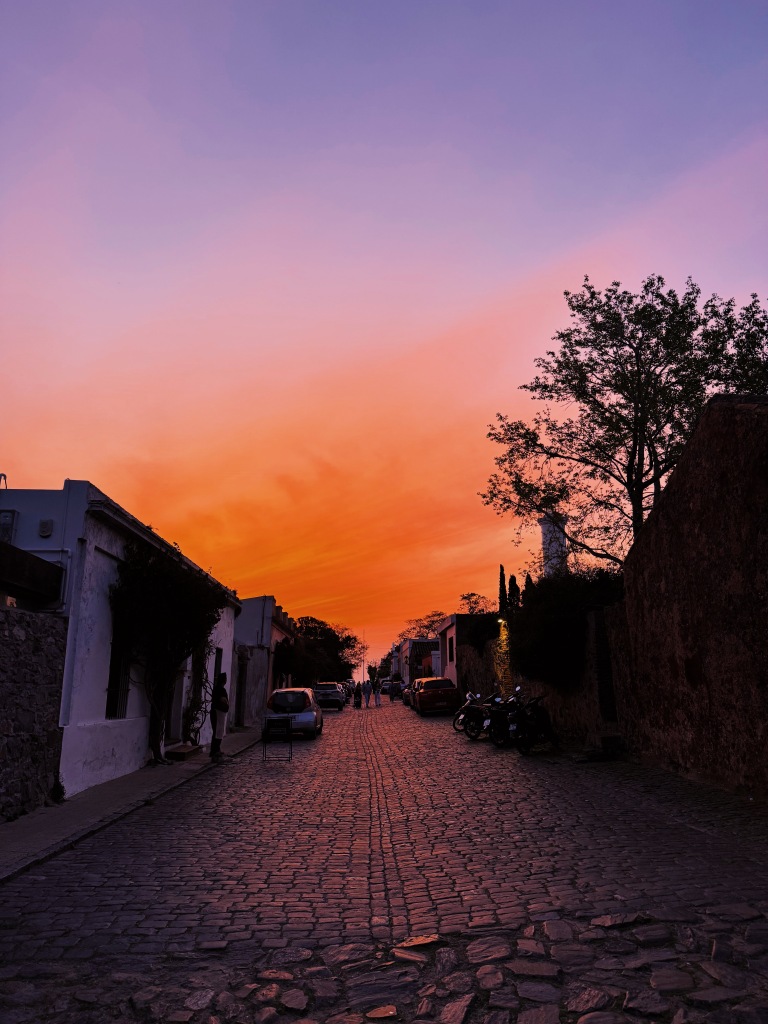
I honestly just enjoyed meandering around the small town center. Sunsets on the ocean were stunning and it was fun to see everyone gather on the waterfront. The architecture is charming & has a European feel. I took wayyyy too many photos haha.

OVERALL THOUGHTS:

Colonia is small so it really only needs a day, but I was happy enough to spend a full, lazy day walking around. I don’t like being rushed and constantly packing up so these days I try to spend a minimum of 2 nights in a place. So like I said, I didn’t find that there was much to do here, but just being here was a treat.

BUDGET FOR 7 DAYS IN URUGUAY:

Accommodation: $180 ($26 per night)

Food: $110

Groceries: $20

Activities: $33

Local Transportation: $50

Miscellaneous: $20

Total: $413 (Daily average: $59)

Transportation to next destination: $56 ferry back to Buenos Aires. I love an easy, cheap travel day to the next country 🙂

Packing List: 4 months in South America (2024)

After a wonderful 2.5 months soaking up the summer sun in California, I am back on the road again. This time I am headed to South America to backpack all around this large continent! I am planning to go to Argentina, Uruguay, Bolivia, Chile, Brazil, & Paraguay… but also ANTARCTICA!! Pretty exciting stuff. I’ll finally check off all 7 continents 🙂

That being said, this was one of the more challenging trips to pack for because I’ll be doing lots of hiking & in some colder climates, which means more layers and bulkier items like my hiking shoes. I made the decision to really focus my clothes on practicality, which means I sacrificed bringing lots of “cute” clothes that I inevitably wouldn’t be wearing much since the focal point of this trip is hiking, often at higher (read: colder) altitudes. If you know me then you know I’d wayyyy rather be warm than dressed cutely haha.

Overall tips:

  • Start with the right bag! I love every bag I have ever had from Tortuga. They are designed for this type of travel and include features like opening like a suitcase (avoid top loading backpacks), fit carry on size restrictions, & organize your stuff beautifully. I currently use an old bag of theirs that is 35L. Try to take MAX 45L (but the smaller the better).
  • Use packing cubes! I love my new Tortuga Compression Packing Cube, as well as their normal packing cubes.
  • Consider the weather, destination, & time of year you are heading to South America as this will greatly vary what types of clothes you will need. Bolivia in the winter – COLD, Colombia in the summer- HOT, Buenos Aires – generally fairly mild year round
  • Think through how the clothes will layer together.
  • Make sure that every top works with every bottom and works with every shoes. Use a capsule wardrobe as inspiration. This is less important since my clothes are mostly athletic items, but still good to think through.
  • Less is more! I can’t emphasize this enough. You CAN do laundry. You CAN buy anything you feel like you ended up needing on the road. I promise!

If you are planning a longterm trip, don’t forget to check out all the things I wish I had known before setting off on my first big trip!

Also, here’s a great Antarctica specific packing list.

PACKING LIST FOR SOUTH AMERICA:

CLOTHES

  • 3 pairs of Lululemon Fast & Free Crop’s 
  • 1 pair of Lululemon Align pants – can be used for working out/walking around town (even hiking in a pinch) or I can dress it up.
  • 1 pair of Lululemon joggers- after a long day of hiking, I want a more casual, comfy pair of pants to throw on in the evenings.
  • One pair of warmer leggings from Patagonia – For Antarctica
  • Waterproof pants – for Antarctica
  • 1 jumpsuit I had made in Hoi An (inspired by my Madewell Jumpsuit) – this will be my one cute outfit when needed
  • 2 Cute shirts – these are pretty casual (in a pinch I could hike in them)
  • 4 sports bras
  • 4 athletic shirts (for running + sleeping in). One is from Vuori & a few from Lululemon. Need lots of these for all the hiking!
  • 3 long sleeve shirt (I recommend Merino Wool but I can’t use it because I’m allergic to wool sadly so mine is from Lululemon – I have 3 colors!)
  • 1 long sleeve jacket from Lululemon – good for warmth & layering, but also super cute!
  • Booty shorts (to sleep in)
  • 5 pairs of underwear
  • 9 pairs of socks (some regular, some hiking, some warm for Antarctica)
  • Waterproof gloves (for Antarctica)
  • 1 black bralette
  • Light Patagonia puffer â€“ good for chilly planes/busses & for layering on hikes. It also smushes down fairly small so it’s a great backpacker jacket. I’ve also used it as a pillow in a pinch.
  • 1 Swimsuit – I don’t foresee doing much swimming on this trip, but it’s always smart to bring one
  • 3 pairs of shoes
    • Running shoes
    • Hiking boots – I normally don’t bring these traveling since they are heavy & bulky (aka they never go in my pack, I just wear them on travel days), but for the amount of hiking I am doing, it’s a must to bring them.
    • Waterproof sandals (will act as my water shoe as well as my cute shoes- I never said the backpacker lifestyle was glamorous haha)
  • Sunglasses (Warby Parker)
  • Baseball hat
  • Bandana- for hiking
  • Warm hat – for hiking & for Antarctica
  • Scarf or gator – for Antarctica
  • Rain coat (Patagonia; you can pack it up into its pocket so I can easily attach it to the outside of my bag via a carabiner)
  • Running belt – I don’t use it often since my Lululemon Fast & Free’s have a pocket for my phone, but every once in a while it comes in handy.
  • Tortuga Packable Daypack â€“ This is my personal item for flights.
  • Crossbody bag (I put it into my daypack on travel days). I use this out and about on a daily basis. It fits my iPad mini, passport, keys, credit cards, cash, AirPods, chapstick, sunscreen, etc.

ELECTRONICS

  • Computer + Charger
  • iPad
  • iPhone + Charger (I get a 6 ft cord so I can always reach the plug from my hostel dorm bed!)
  • AirPod Pro’s
  • Headphones (Bose; noise-cancelling for travel days)
  • Plug adapter (I use this one)
  • Portable charger (like this one)
  • AirTag (This is a no brainer these days; provides peace of mind incase I am forced to check my bag or when it’s below me in a bus. Always nice to confirm it’s still with me!)
  • Headlamp – for hiking + Antartica

TOILETRIES (I USE A BUNCH OF LITTLE TOILETRY BAGS TO KEEP THESE ALL ORGANIZED)

  • Toothbrush
  • Toothpaste
  • Floss
  • Any medication you take
  • Retainer
  • Deodorant
  • Tiny roller perfume
  • Makeup
  • Makeup Remover (I’ve become obsessed with cleansing balm for this because it isn’t a liquid, & it’s highly effective at getting makeup off at the end of the day!)
  • Razor
  • Conditioner + Shampoo (Get containers to put your products into & refill on the road!!)
  • Face wash
  • Moisturizer
  • Hair Brush
  • Pocket Hand Sanitizer– I keep one in my backpack and one in my sling/purse. Great in general, but also for when inevitably there is no soap at a random bus stop bathroom 🙂
  • Sunscreen (I love Sun Bum)
  • Chapstick (Don’t forget to get one with SPF)
  • Tiger balm (I picked this up in Southeast Asia and it’s now a staple in my bag. Great for mosquito bites and just feeling a little sick. It’s kinda like Vick’s vapor rub).
  • Ibuprofen
  • Hair ties and bobby pins
  • Moleskin
  • Bandaids
  • Cough drops
  • Topical steroid cream for bed bug bites or regular bug bites to help with itchiness

MISCELLANEOUS

  • Passport â€“ no explanation necessary 🙂
  • ID (I bring my driver’s license)
  • Travel Credit Card- I bring 2-3 cards with me in case I lose one it gets stolen or it gets hacked. Important to get ones with no foreign transaction fee; I have the Chase Sapphire Reserve (hello lounge access!) + Capital One Venture Card.
  • Debit Card (Charles Schwab has the best one because it reimburses ATM fees from any ATM in the world 🙂)
  • US Dollars – I always bring 1-2 Hundred dollar bills as an emergency source of cash (luckily most places in the world would take USD if it was truly an emergency & you needed some cash to get you out of a situation), however, in the case of South America, I’ve taken more! Between Bolivia’s visa requiring payment in USD & the best exchange rate being USD to local currencies in a lot of countries, I’ve taken closer to 10 Hundred dollar bills
  • Record of your plans (I make folders within my email inbox to keep track of everything or you could print out a copy of your itinerary)
  • Extra Passport photos
  • Thumb drive with all documentation if desired
  • Quick dry towel – From REI
  • Water Bottle – Camelbak
  • Ear Plug
  • Eye Mask (you can either go the classic eye mask route or get one like this that almost acts like your eye mask + ear plug since you can play white noise through the built in bluetooth speaker- pretty cool!)
  • Lock (for staying in hostels or locking my bag.) Get the combo lock so you don’t have to worry about tiny keys. I take two to be able to lock two different compartments in my bag AND so I can keep my computer/passport/iPad compartment still locked when I use the other one to lock a locker within a hostel.
  • 3 carabiners – I just attach them to my backpack and over the course of the trip they will hold everything from my water bottle, shoes, rain jacket and more. You will not regret having a few on hand.
  • Hand warmers for Antarctica
  • Pack of playing cards (My sister got my a custom deck with some of my favorite photos from my travels – such a thoughtful gift)
  • Monopoly Deal – a fabulous compact game for the backpacking trail!
  • Face mask (I’ve used this while feeling sick as well as on a dusty motorcycle ride)
  • 2 pens for writing postcards

HERE IS EVERYTHING SPREAD OUT ON A TABLE!

Here is what is packed in each packing cube:

All packed up and ready to go on another adventure!